


This post is sponsored by Ace Hardware, but all opinions are my own. As always, thank you so, so much for supporting the partnerships that keep Kelly in the City up and running!
Mitch here!
All my life, I’ve wanted to live in an old single-family house in Lincoln Park, where I spent half my childhood. Outside of marrying an awesome person, starting a family and growing a beard, it was my fundamental goal. I’m so, so happy… and I can see the change in my family’s happiness, too. We have SPACE! I also just can’t get over the thought that this is my office and that is my door and why does the doorknob look like that and we have to change it immediately but I have no idea how to change a doorknob.
🤗
This is our forever home, so we want to turn it into something that will work for us… forever. And that means making little improvements that’ll make a big impact on the house. In my mind, I’m that Chicago homeowner guy who spends his weekends fixing up his place. In reality, though, I am not that guy. Not yet, at least.
Part of it isn’t my fault. I spent the last decade of my life living in tiny apartments that were either maintained by property management companies or totally neglected. I think I just assumed that on the first day of homeownership, someone would hand me a tool belt and I’d sort of magically transform into one of those twin property guys from TV. But that is, unfortunately, not how it works, and I learned that when we bought our first home. It turns out that like most things in life, home improvements require a willingness to learn, be curious, and, you know, ask for help–all skills outside of my comfort zone. Until recently, I could barely be trusted to put together IKEA furniture.

But this is how we found Ace Hardware. If you’ve never visited an Ace, just imagine a store staffed entirely by helpful people. Unlike the big box stores, the people at Ace get invested in your projects. Before Ace, my DIY stuff went like this: 1. Dream up project 2. Buy a bunch of stuff 3. Screw everything up 4. Apologize to wife 5. Hire someone to fix it. With Ace, though, the workflow is 1. Dream up project 2. Go to Ace to figure it out and get help 3. Buy the tools 4. Succeed.
Ace Hardware has over 5,000 locations and I’m willing to bet that there’s one within 15 minutes of your house. Each Ace store is independently owned, which explains the incredible dedication and knowledge of the employees. They specialize in power tools, paint, grills… pretty much anything you could need to repair and maintain your home.
So this fall, we’re partnering with Ace to drop the DIY bomb on our outdoor space. With two young children at home, we rely on it as the only way we “get out.” And while we’ve been working on furnishing it for a while now, it’s also in need of few trickier updates.
Kelly: Ahhh! I’m so excited about everything. As Mitch said, we did put quite a bit of work into furnishing the outside space over the summer, but there are several things that we didn’t do because they were kind of daunting. We’re not exactly the handiest couple, haha, so having Ace’s guidance has been incredibly helpful! While getting projects like these off the ground certainly takes time and motivation–two things we’re low on right now 😉–it also makes for years of enjoyment in our home. Worth it!
Back to Mitch!
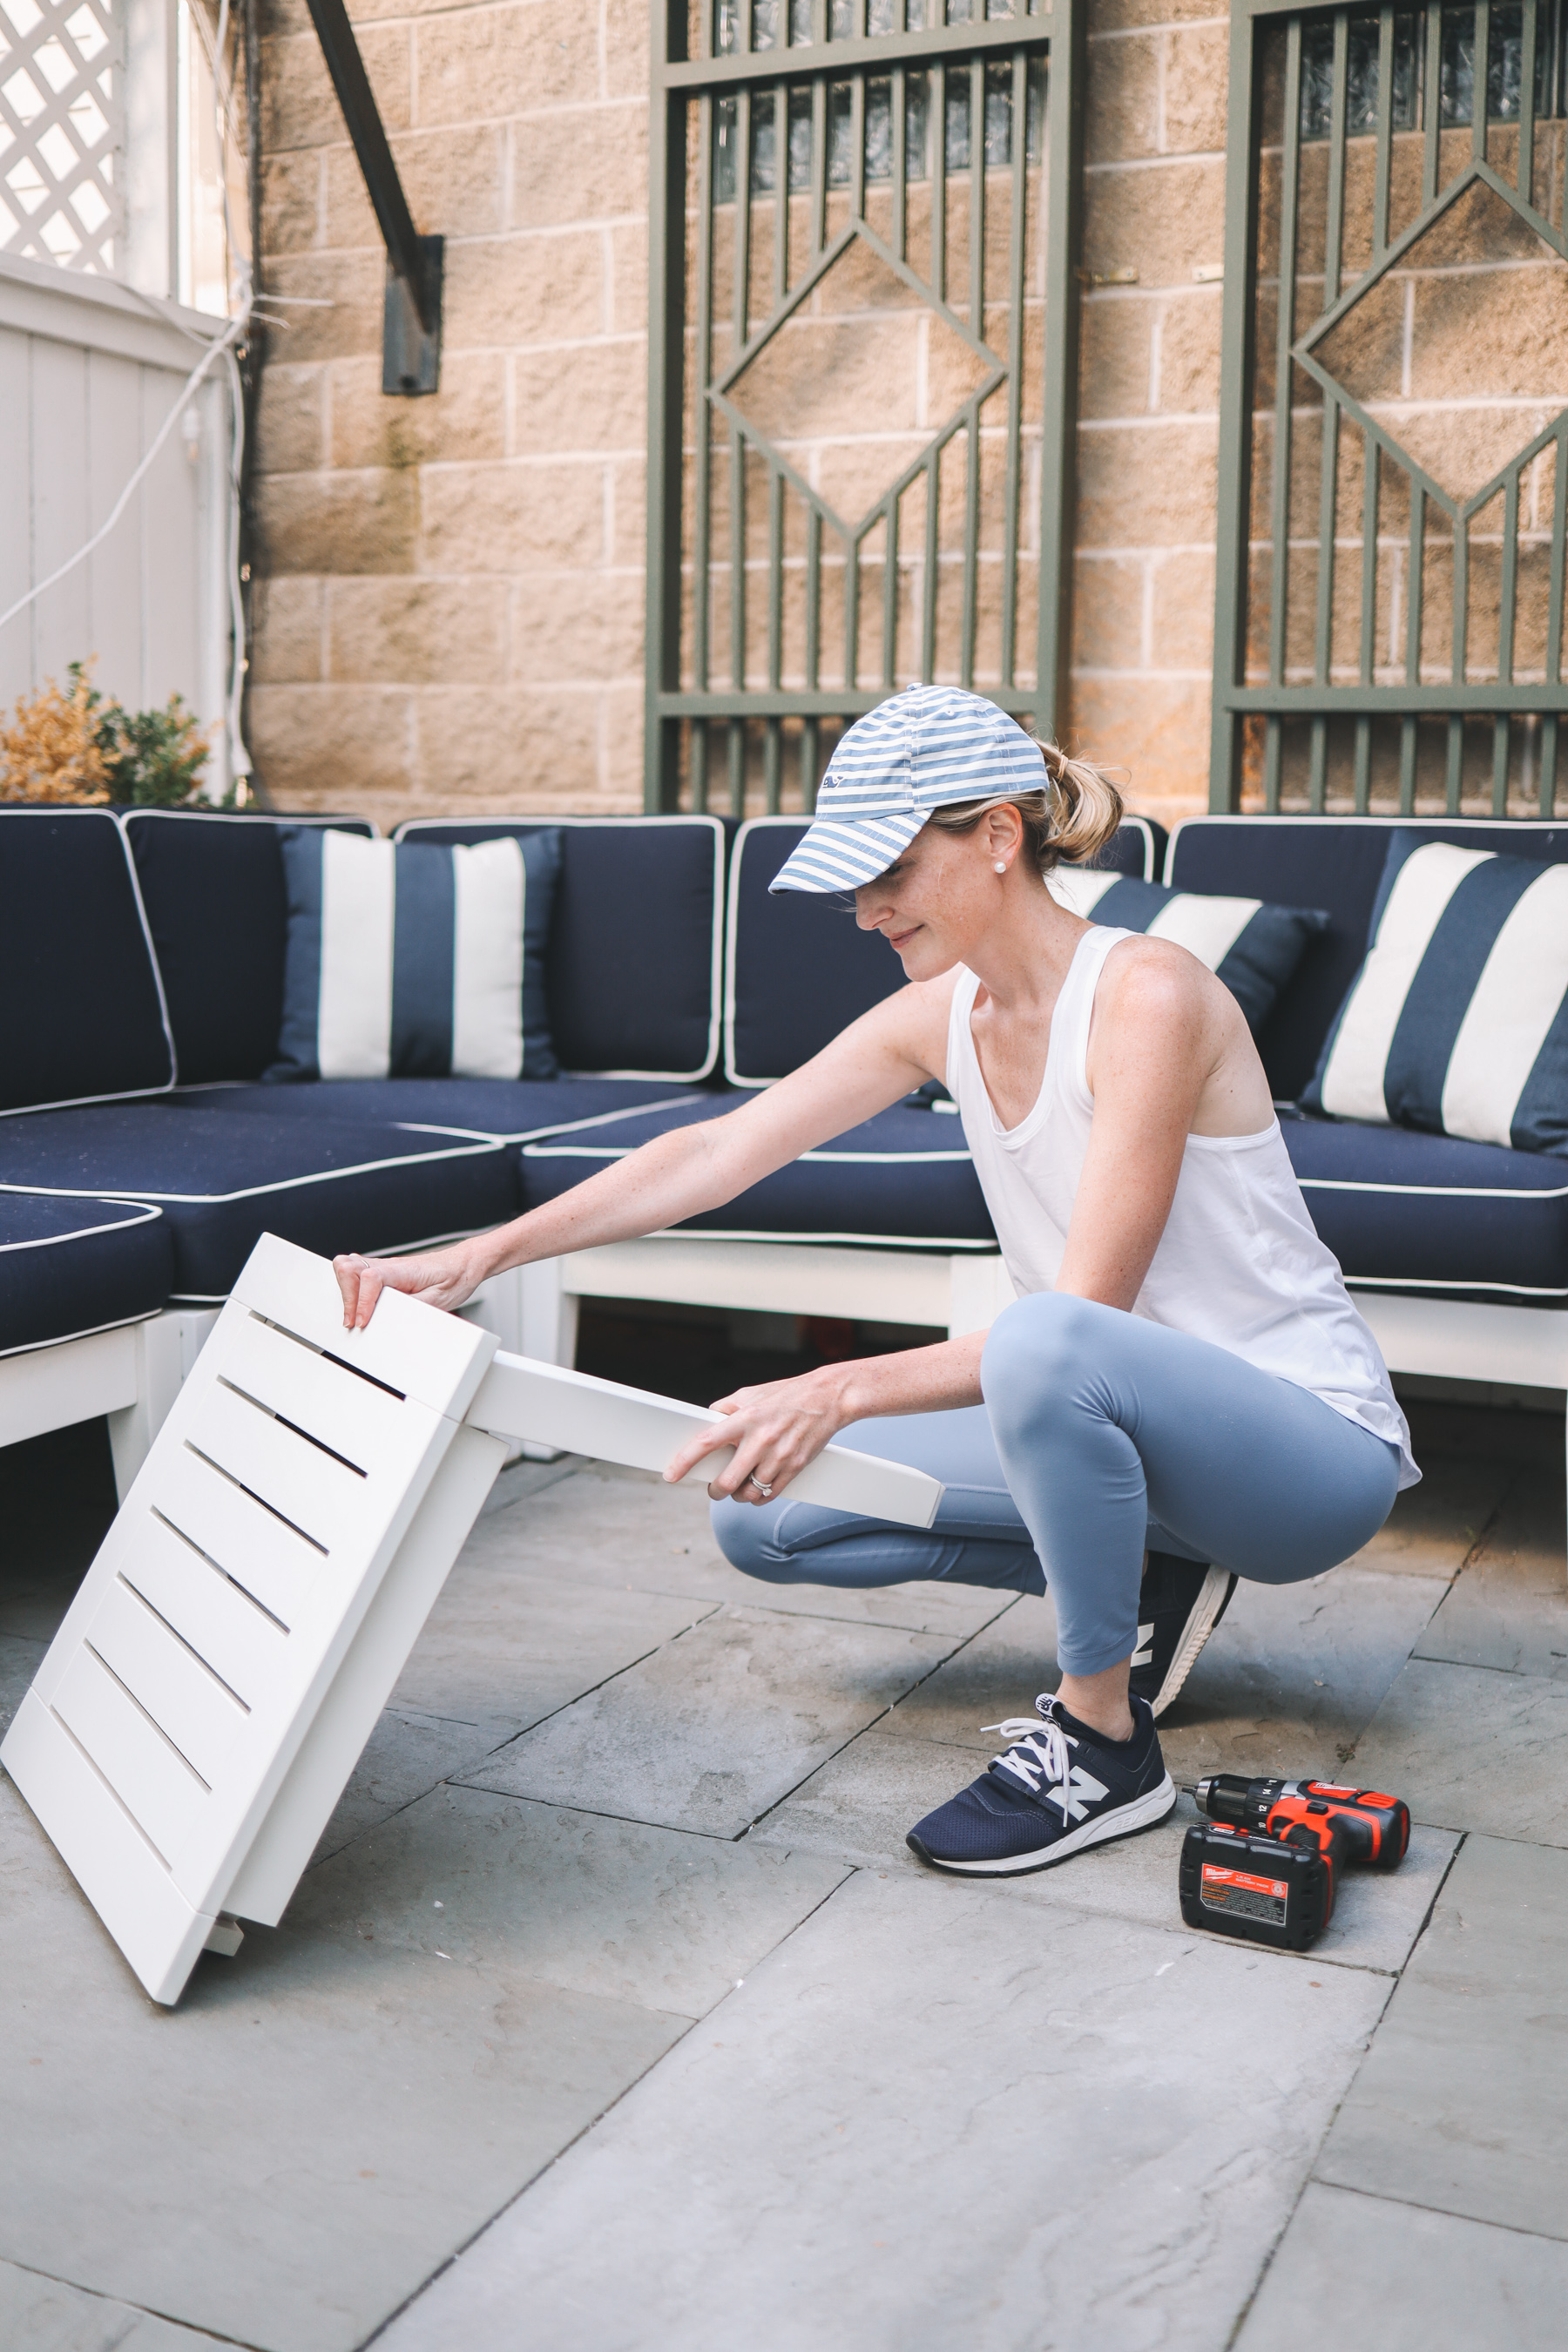
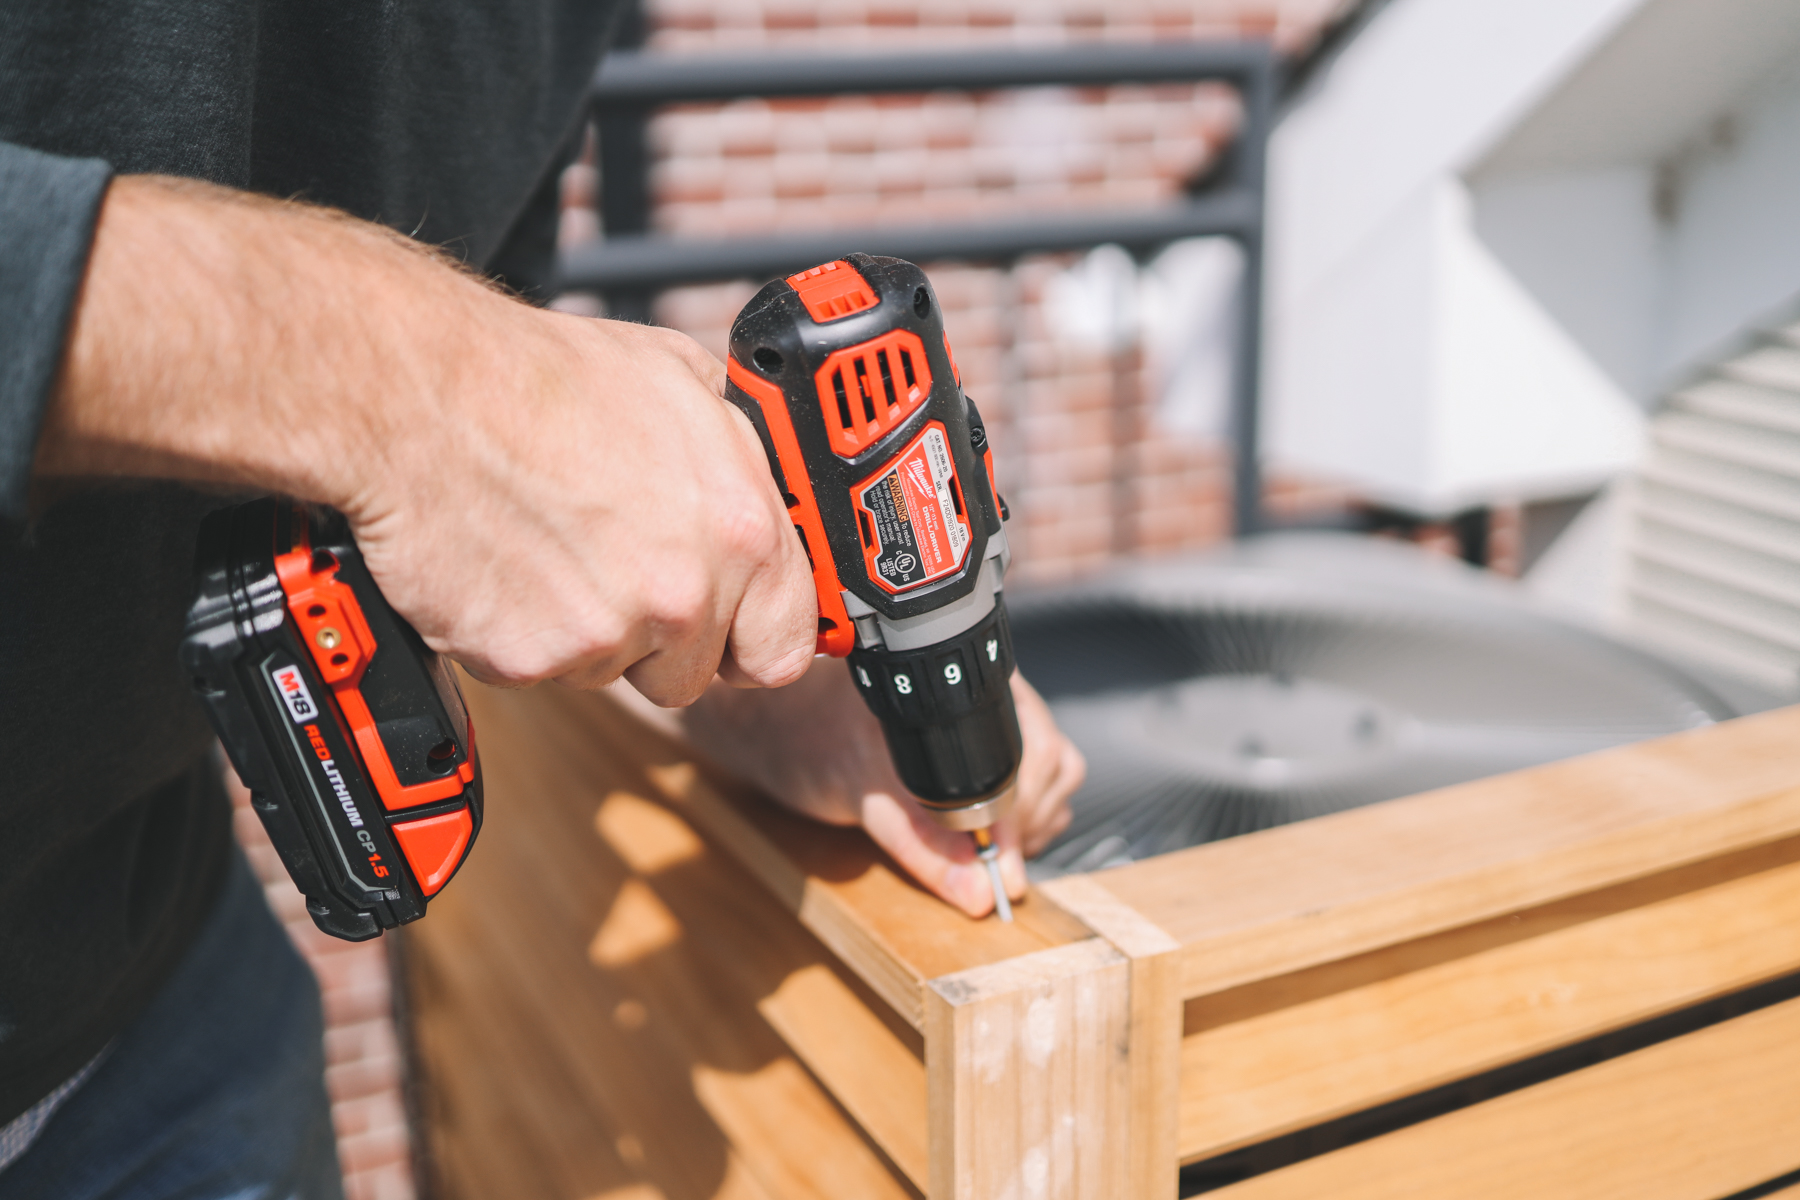
I’ve got to hand it to Kelly… and I literally did for most of these projects. She’s like a surgeon with that drill. There were exactly five times during this project when I threw my hands up and started cursing, a lot. Each and every time, though, Kelly stepped up and solved the problem. I’m talking pilot holes, leveling, measuring; she’s a virtuoso. (With some obsessive qualities which are actually very helpful in situations like this one.) Not only that, but she also fully designed the space. She’s this super creative writer/photography/blogger and she’s also able to piece together an outdoor home refresh while juggling motherhood and work.
Just look at her with that Milwaukee. She tamed the screw. She turned specs into decks. She’s the killer driller. The blonde magic wand.
…I’ll show myself out.
Kelly: Wow, Mitch. Thank you for this, haha! As I mentioned before, I’m not the handiest girl, but I couldn’t believe how easy it was to use the Milwaukee drill, and how much faster it made the work. It isn’t prohibitively heavy, so I was able to use it for long periods of time without pain. And it never once malfunctioned! A reliable and versatile tool is so important for busy parents.


Note: Use the appropriate safety equipment when operating your tool as guided in the manual.
The tools
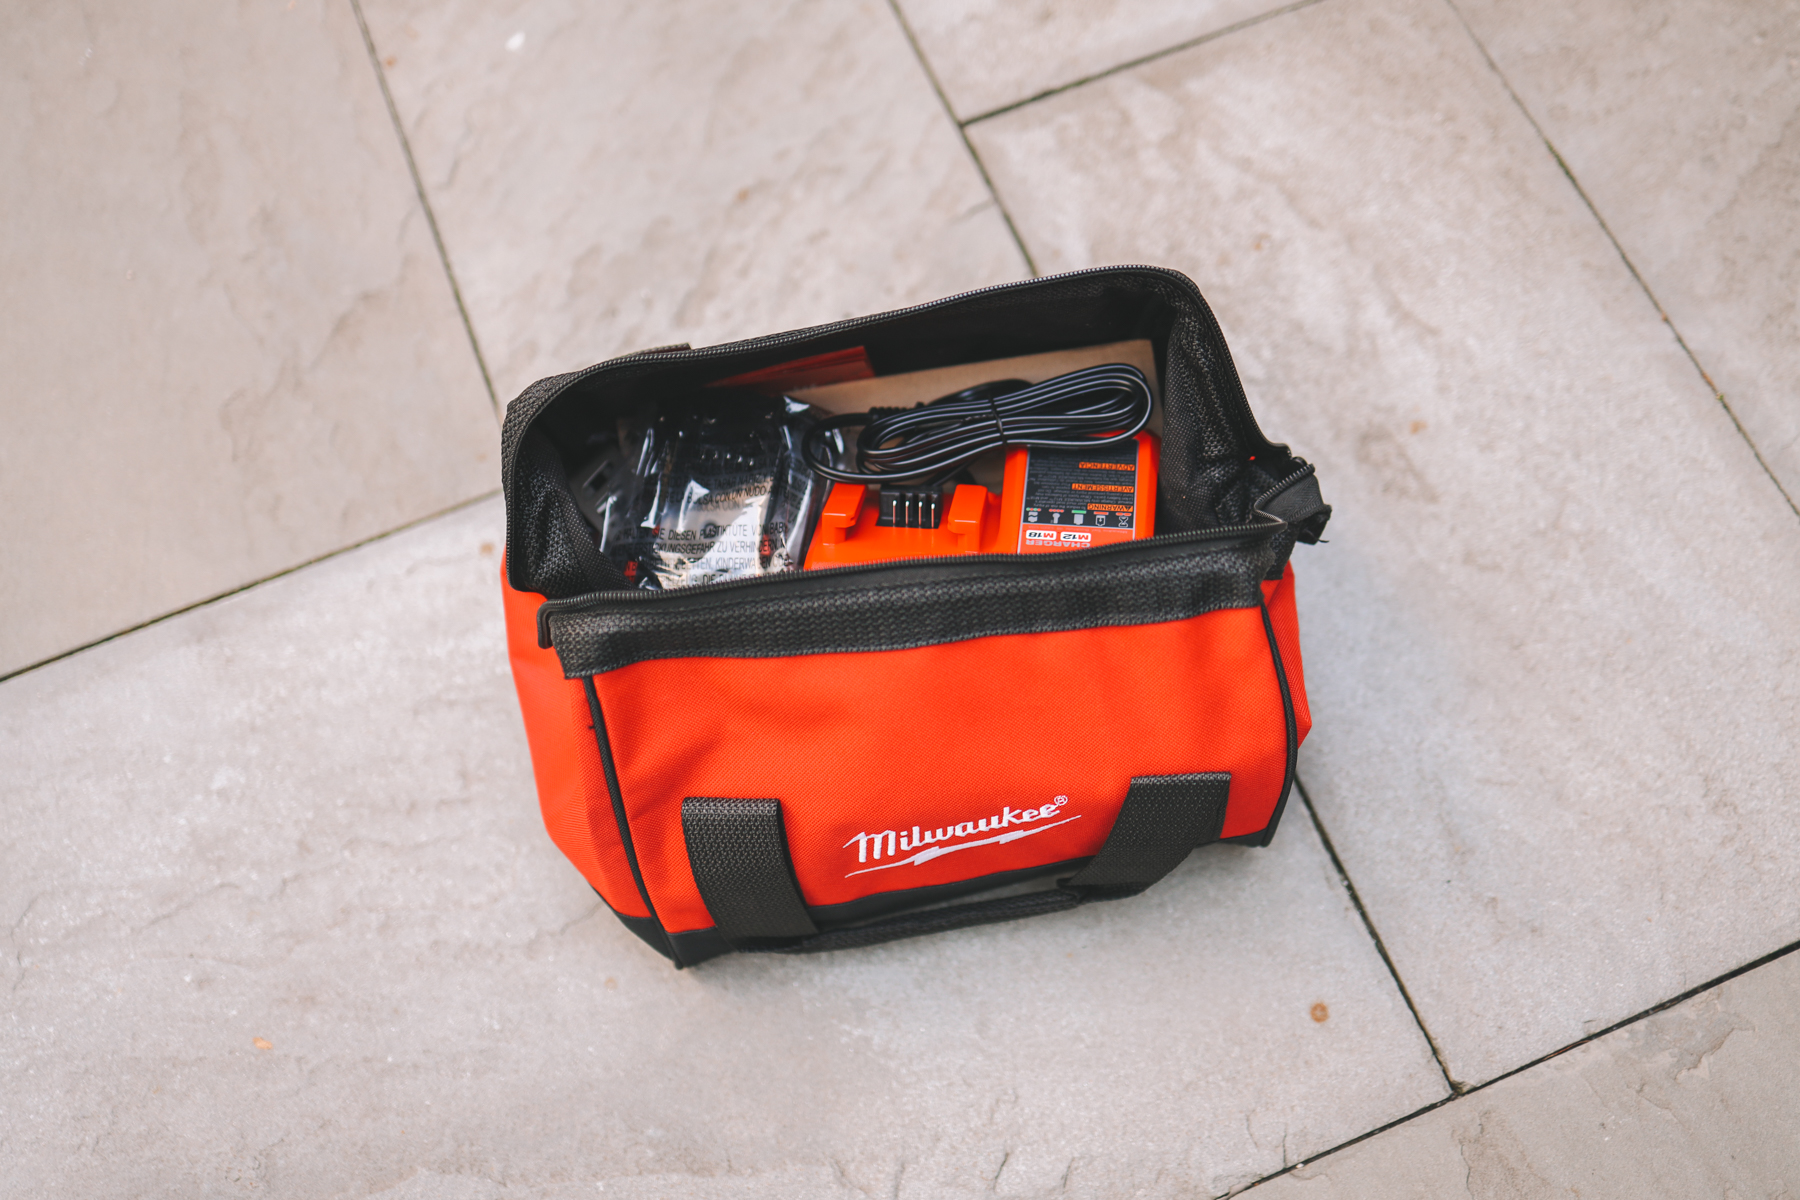
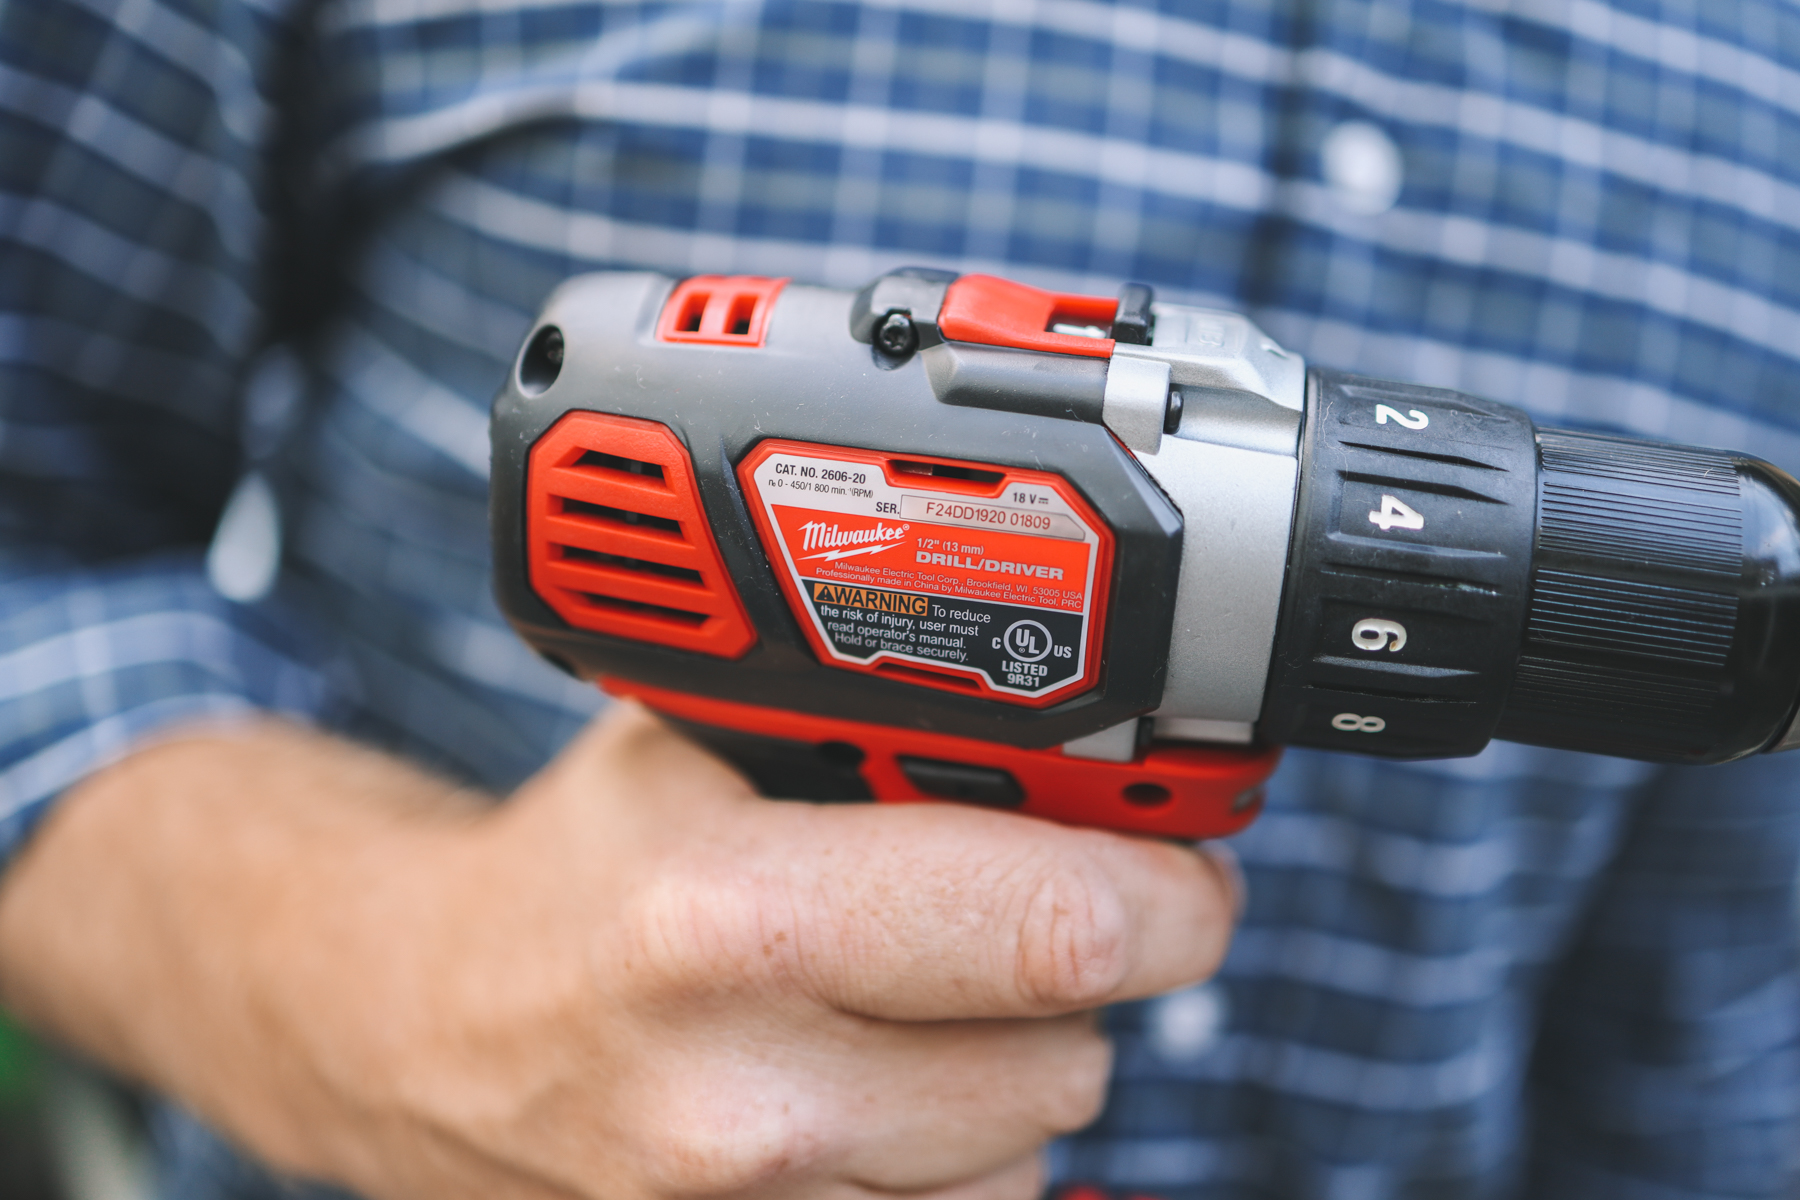
Ace has everything you could need for your next DIY project including circular saws and belt sanders, but the hero of today’s story is this Milwaukee M18 Cordless Lithium-Ion 2-Tool Combo Kit. The kit comes with the M18 Compact Drill and the M18 Hex Impact Driver and it works with the included set of interchangeable, rechargeable lithium-ion batteries.
I really can’t overstate how easy these drills made my job. If you’ve ever struggled to drive a screw or gotten tangled up in dangerous extension cords, you’ll see where I’m coming from.
Kelly: I totally agree about this! I really loved the cordless aspect of the drill. We were standing on ladders and chairs in places where there were no power outlets, so this feature was imperative for us. The batteries kept their charge for an extremely long time, too, and we never once had to switch them out. (We simply charged them overnight.) Finally, I appreciated the carrying case. Mitch’s tools are normally spread all over the garage, but this bag just sits on the shelf. It’s easy to find and everything we need is inside of it. No more lost parts!

The “Before” ^

Deck crawl space cover
City living requires efficiency, and our new place makes use of every square inch of the lot. There’s not a lot of room for a yard, so the previous owners built a deck on top of the garage. It’s a beautiful deck, but it does have a very visible and rather unsightly crawlspace that we see right out the kitchen windows.
So we decided to put our Milwaukee drill to the test and cover the crawlspace with some pre-made lattice material. It was the perfect DIY project for us as it required little skill but made a big difference. We appreciated the drill’s power and portability and the battery held out for the entire installation, which took about an hour!
Based on Ace’s advice, we finished it off with a combination of lattice trim and “back bend” molding which luckily snapped right into place off the edge of the deck. We think it came together perfectly and really gives the patio a finished feel.
Kelly: HOLY MOLY! When we first moved in, Mitch and I both said that we’d tackle this project the following year. But the more time we spent outside and even just looking at the space from the kitchen windows, the more we wanted it done earlier than that. To be honest, I thought it was going to take multiple days and cost a TON of money. But it only took a few hours and it cost less than $200! I can’t believe what a big difference it makes in the backyard.
Note: Use the appropriate safety equipment when operating your tool as guided in the manual.
What do you think?! Stain or paint it? We’re undecided!
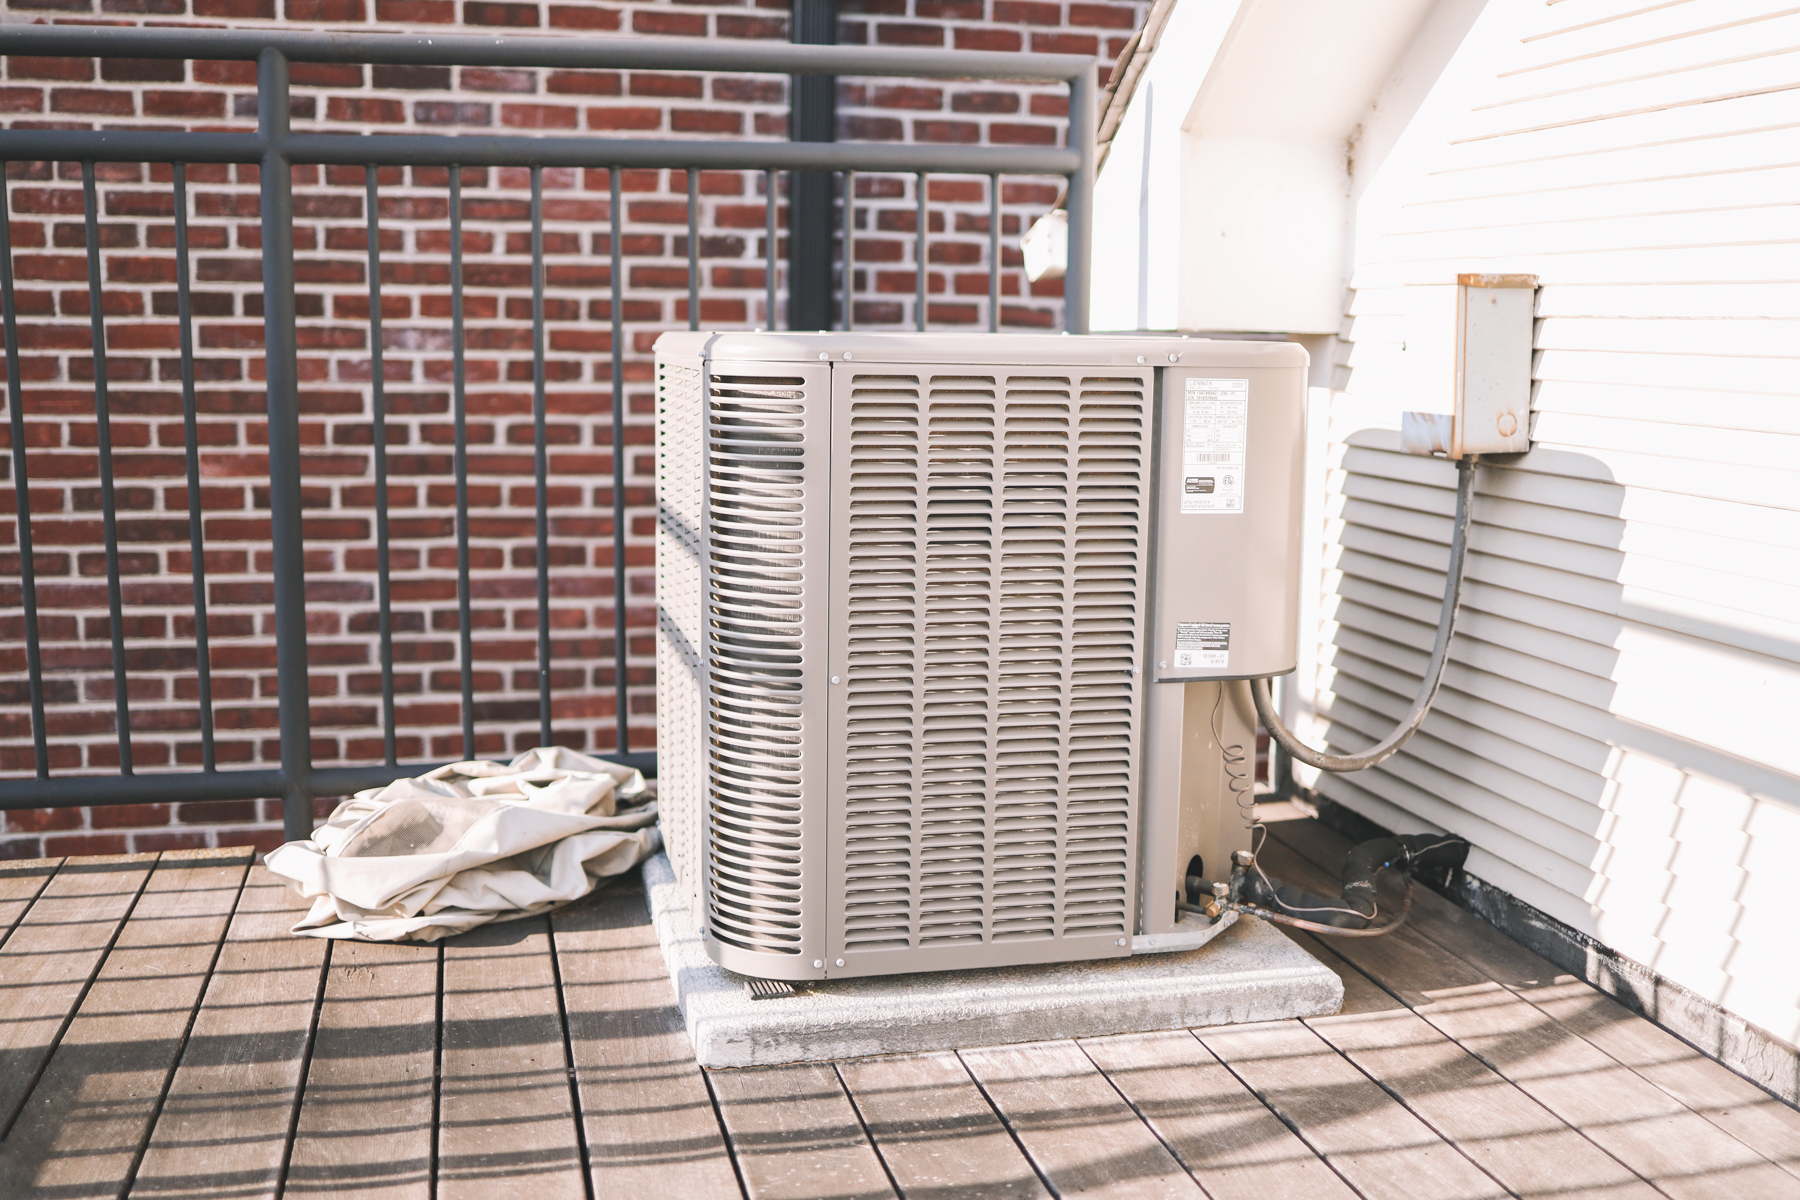
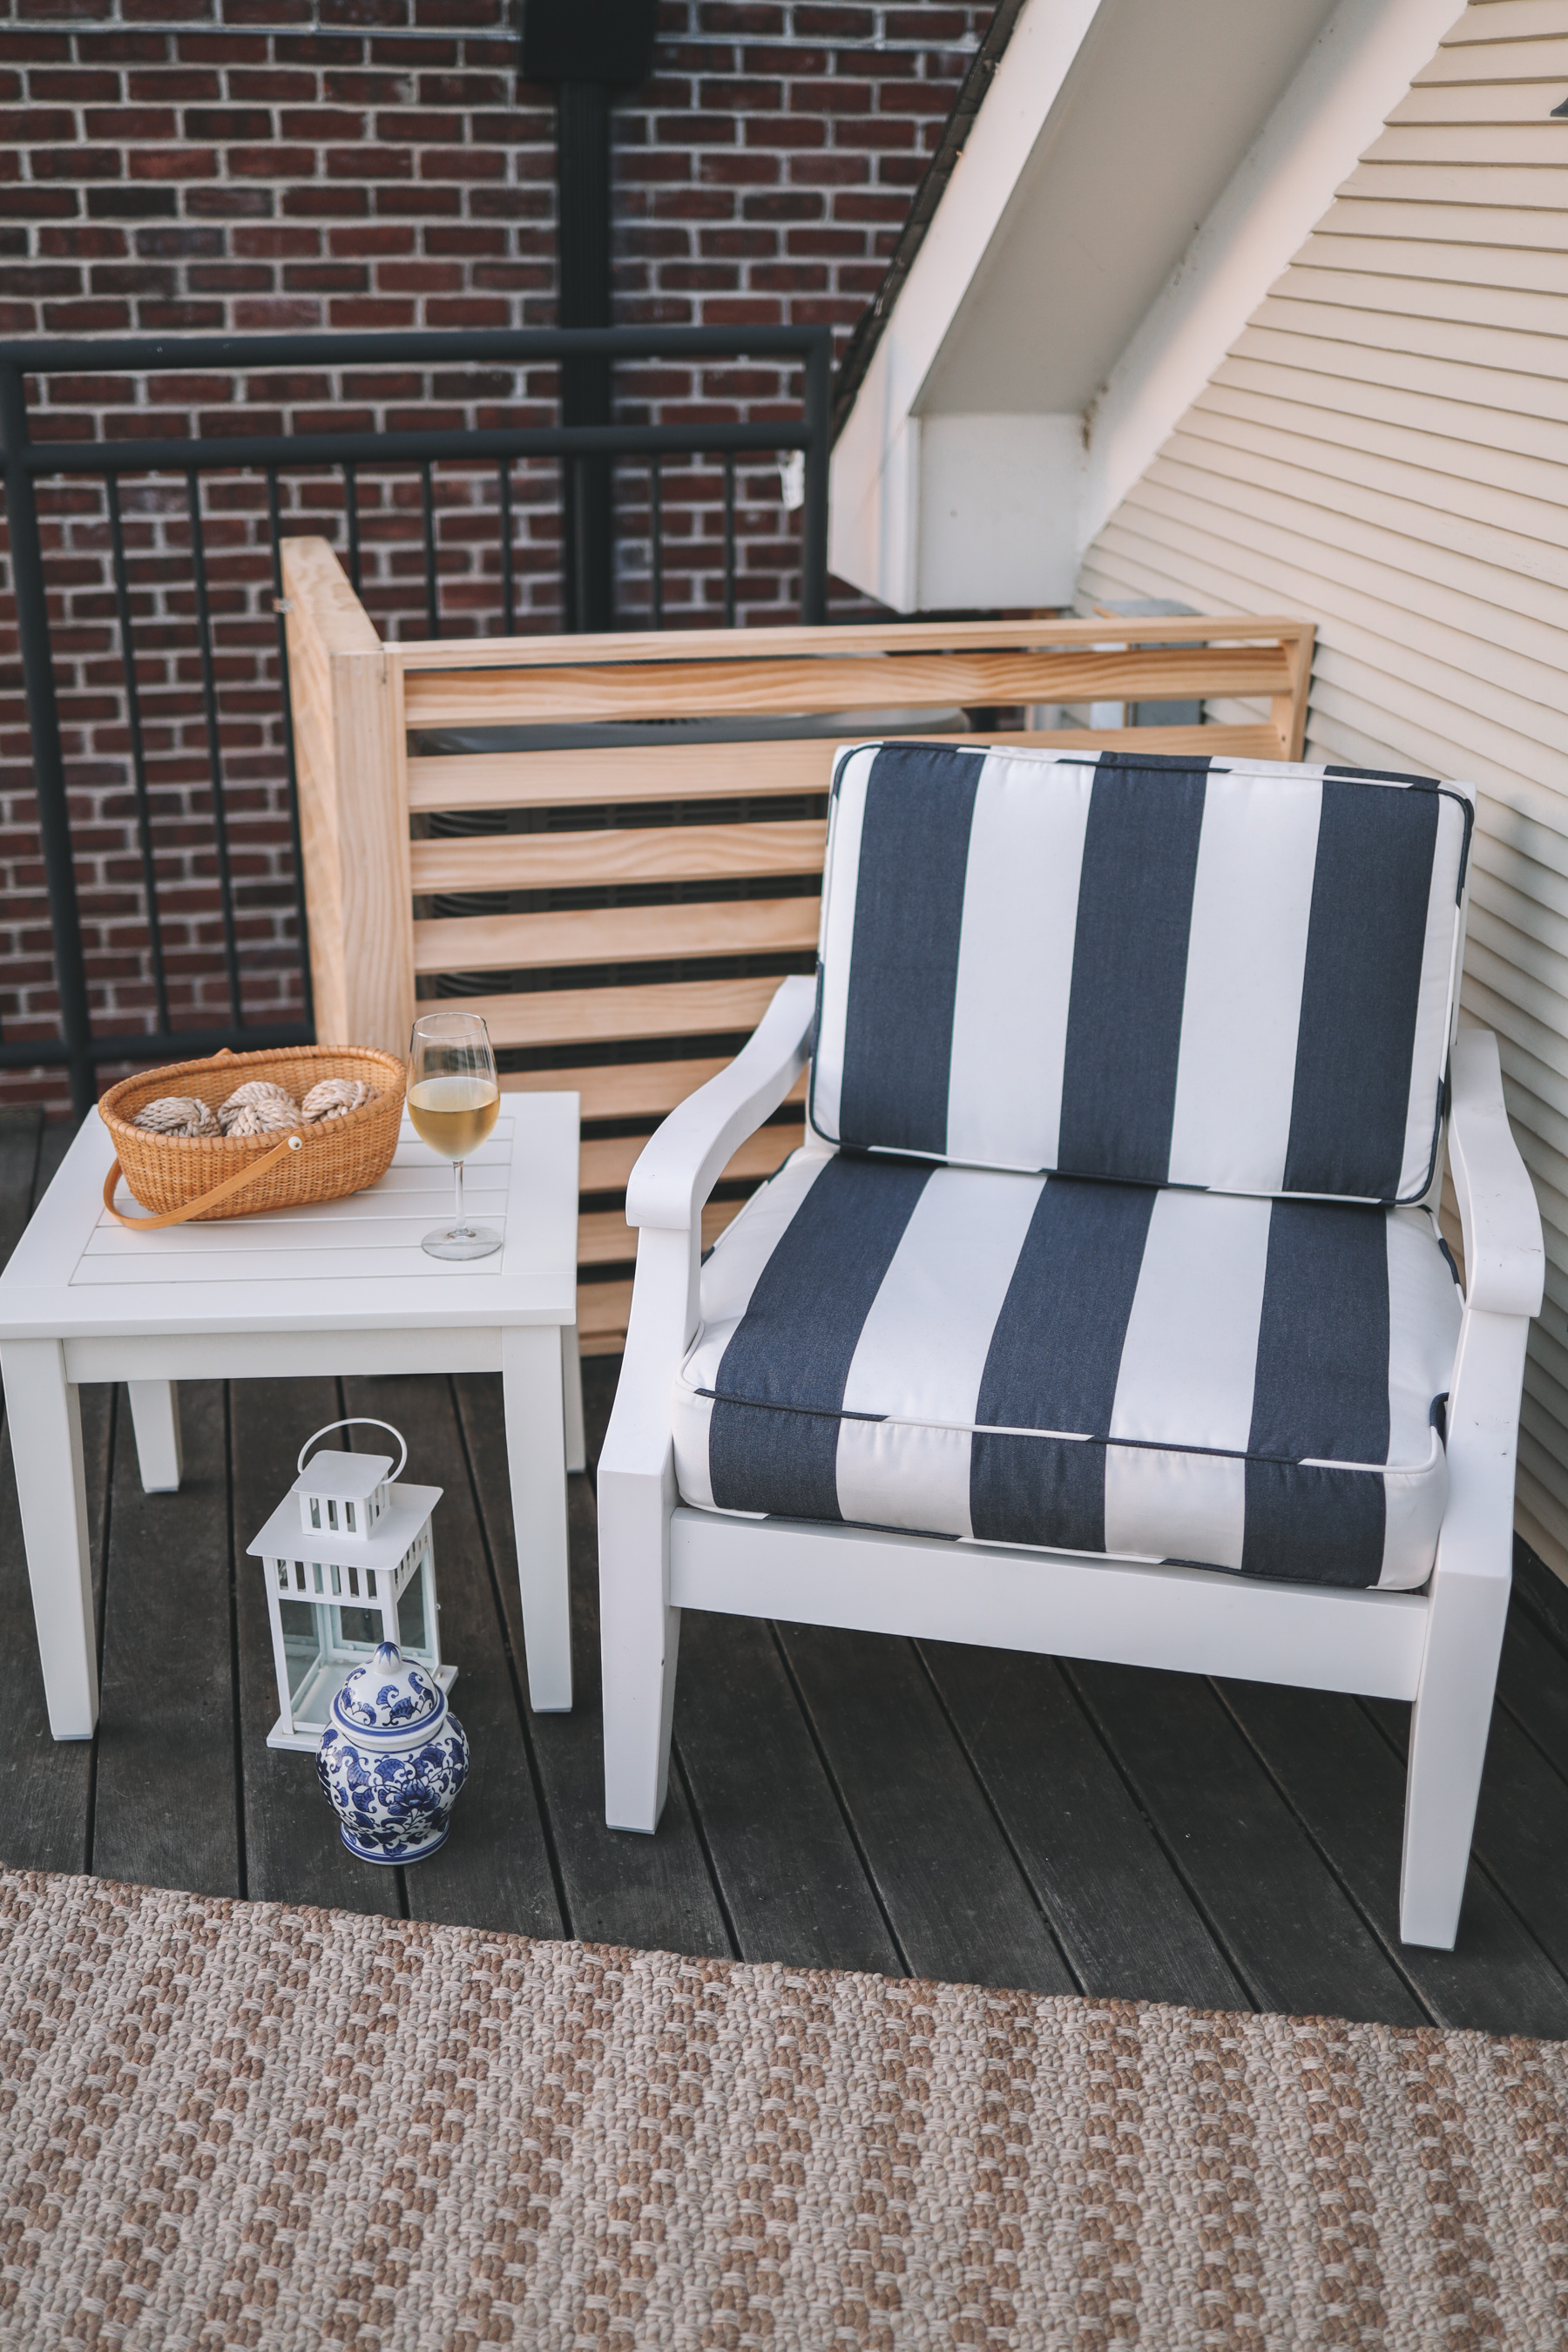
Air conditioner cover
This one was Pinterest’s fault. Does an AC really need to be covered? The answer is no, but Kelly hated how it looked and was worried about it being accessible by the girls. I have to admit that I understood, and this project did seem right in our wheelhouse. We took inspiration from this blog post right into Ace to talk strategies. They helped us simplify the design, select the necessary tools (including my new favorite Milwaukee drill set), and identify the right screws.
This balcony is off our master bedroom. I love the views and how private it is! I think one day, when the kids are older, Kelly and I will have our morning coffee up there. Life is a bit too crazy for that right now, but since recently installing the air conditioner cover and getting some furniture, we do make a point to hang out up there if only for a half hour every night! We have a glass of wine and recap the day… and we talk. It’s one of the few times we’re alone every day, and it’s really been amazing for our marriage! Such a fan of the space now.
Kelly: Like Mitch said, one of our favorite parts of the day is catching up on the balcony over a glass of wine before bed. But the air conditioner was pretty unsightly. I tried putting a chair in front of it to disguise it, but it didn’t work. The thing needed a cover!
After searching high and low, I really couldn’t find a cover that worked for the unit or the area. This one–created with the Milwaukee drill–is perfect, though. And I no longer focus on it when we’re out there. ;) What do you think about the painting/staining situation? I’m leaning toward painting it white, but let me know what your opinion is!
Deck speakers
I guess I’m late to the party, but I’m very surprised that four-season outdoor speakers even exist. Like, what? How is that possible? Anyway, I’m a nerd at heart, and since we moved in, I’ve wanted to extend my speaker network outdoors. I’d been putting it off for months, but with the Milwaukee drill set in tow, I easily drilled through our garage’s masonry to make way for the speaker wire up to the deck. I then mounted four speakers so I can blast tunes well into the fall. I even set it up so our family deck movie sessions can be in surround sound. Sorry, neighbors!
Kelly: I didn’t think that these were necessary at first. Like, why not just bring a portable speaker out there whenever we wanted to listen to music?! But I quickly realized that getting the girls and whatever else we need up on the deck requires a whole lot of planning and work, and carrying said portable speaker up there rarely happened. The speakers that Mitch went with easily attached to the posts of the deck with the drill, and now we can listen to whatever we want with a touch of a button on our phones!

Furniture assembly
Okay, it’s not technically DIY, but we had a LOT to put together, and it was taking me forever using that little “L” shaped hex screw that companies include with the instructions. Only now do I realize the error of my ways. The Milwaukee M18 1/4 Hex Impact Driver is THE KING of furniture assembly. No more bloody fingers, cursing and piles of unmade furniture. This drill helped me assemble all the furniture you see in these pictures and if it wasn’t for that drill, we wouldn’t have been able to enjoy our outdoor space this summer!
Kelly: I hate to admit this, but I always figured that using a drill would end in destroyed furniture. Seemed a bit too intense for expensive pieces that could wind up ruined! But the Milwaukee drill handled the whole thing perfectly, never once damaging a piece, and I’d say that assembly took about a quarter of the time that it would have otherwise!
In conclusion
I’m no Bob Villa, but I’m really proud of these projects. Each of them made us even happier in our new house and they upped our confidence in our ability to tackle future home improvements. Over the past week, we’ve just sort of walked around looking at them, admiring our craft. Anyway, a big thank you to both Ace Hardware for the help and you for following along with the Larkins’ adventures. And as always…
Mitch. OUT!