


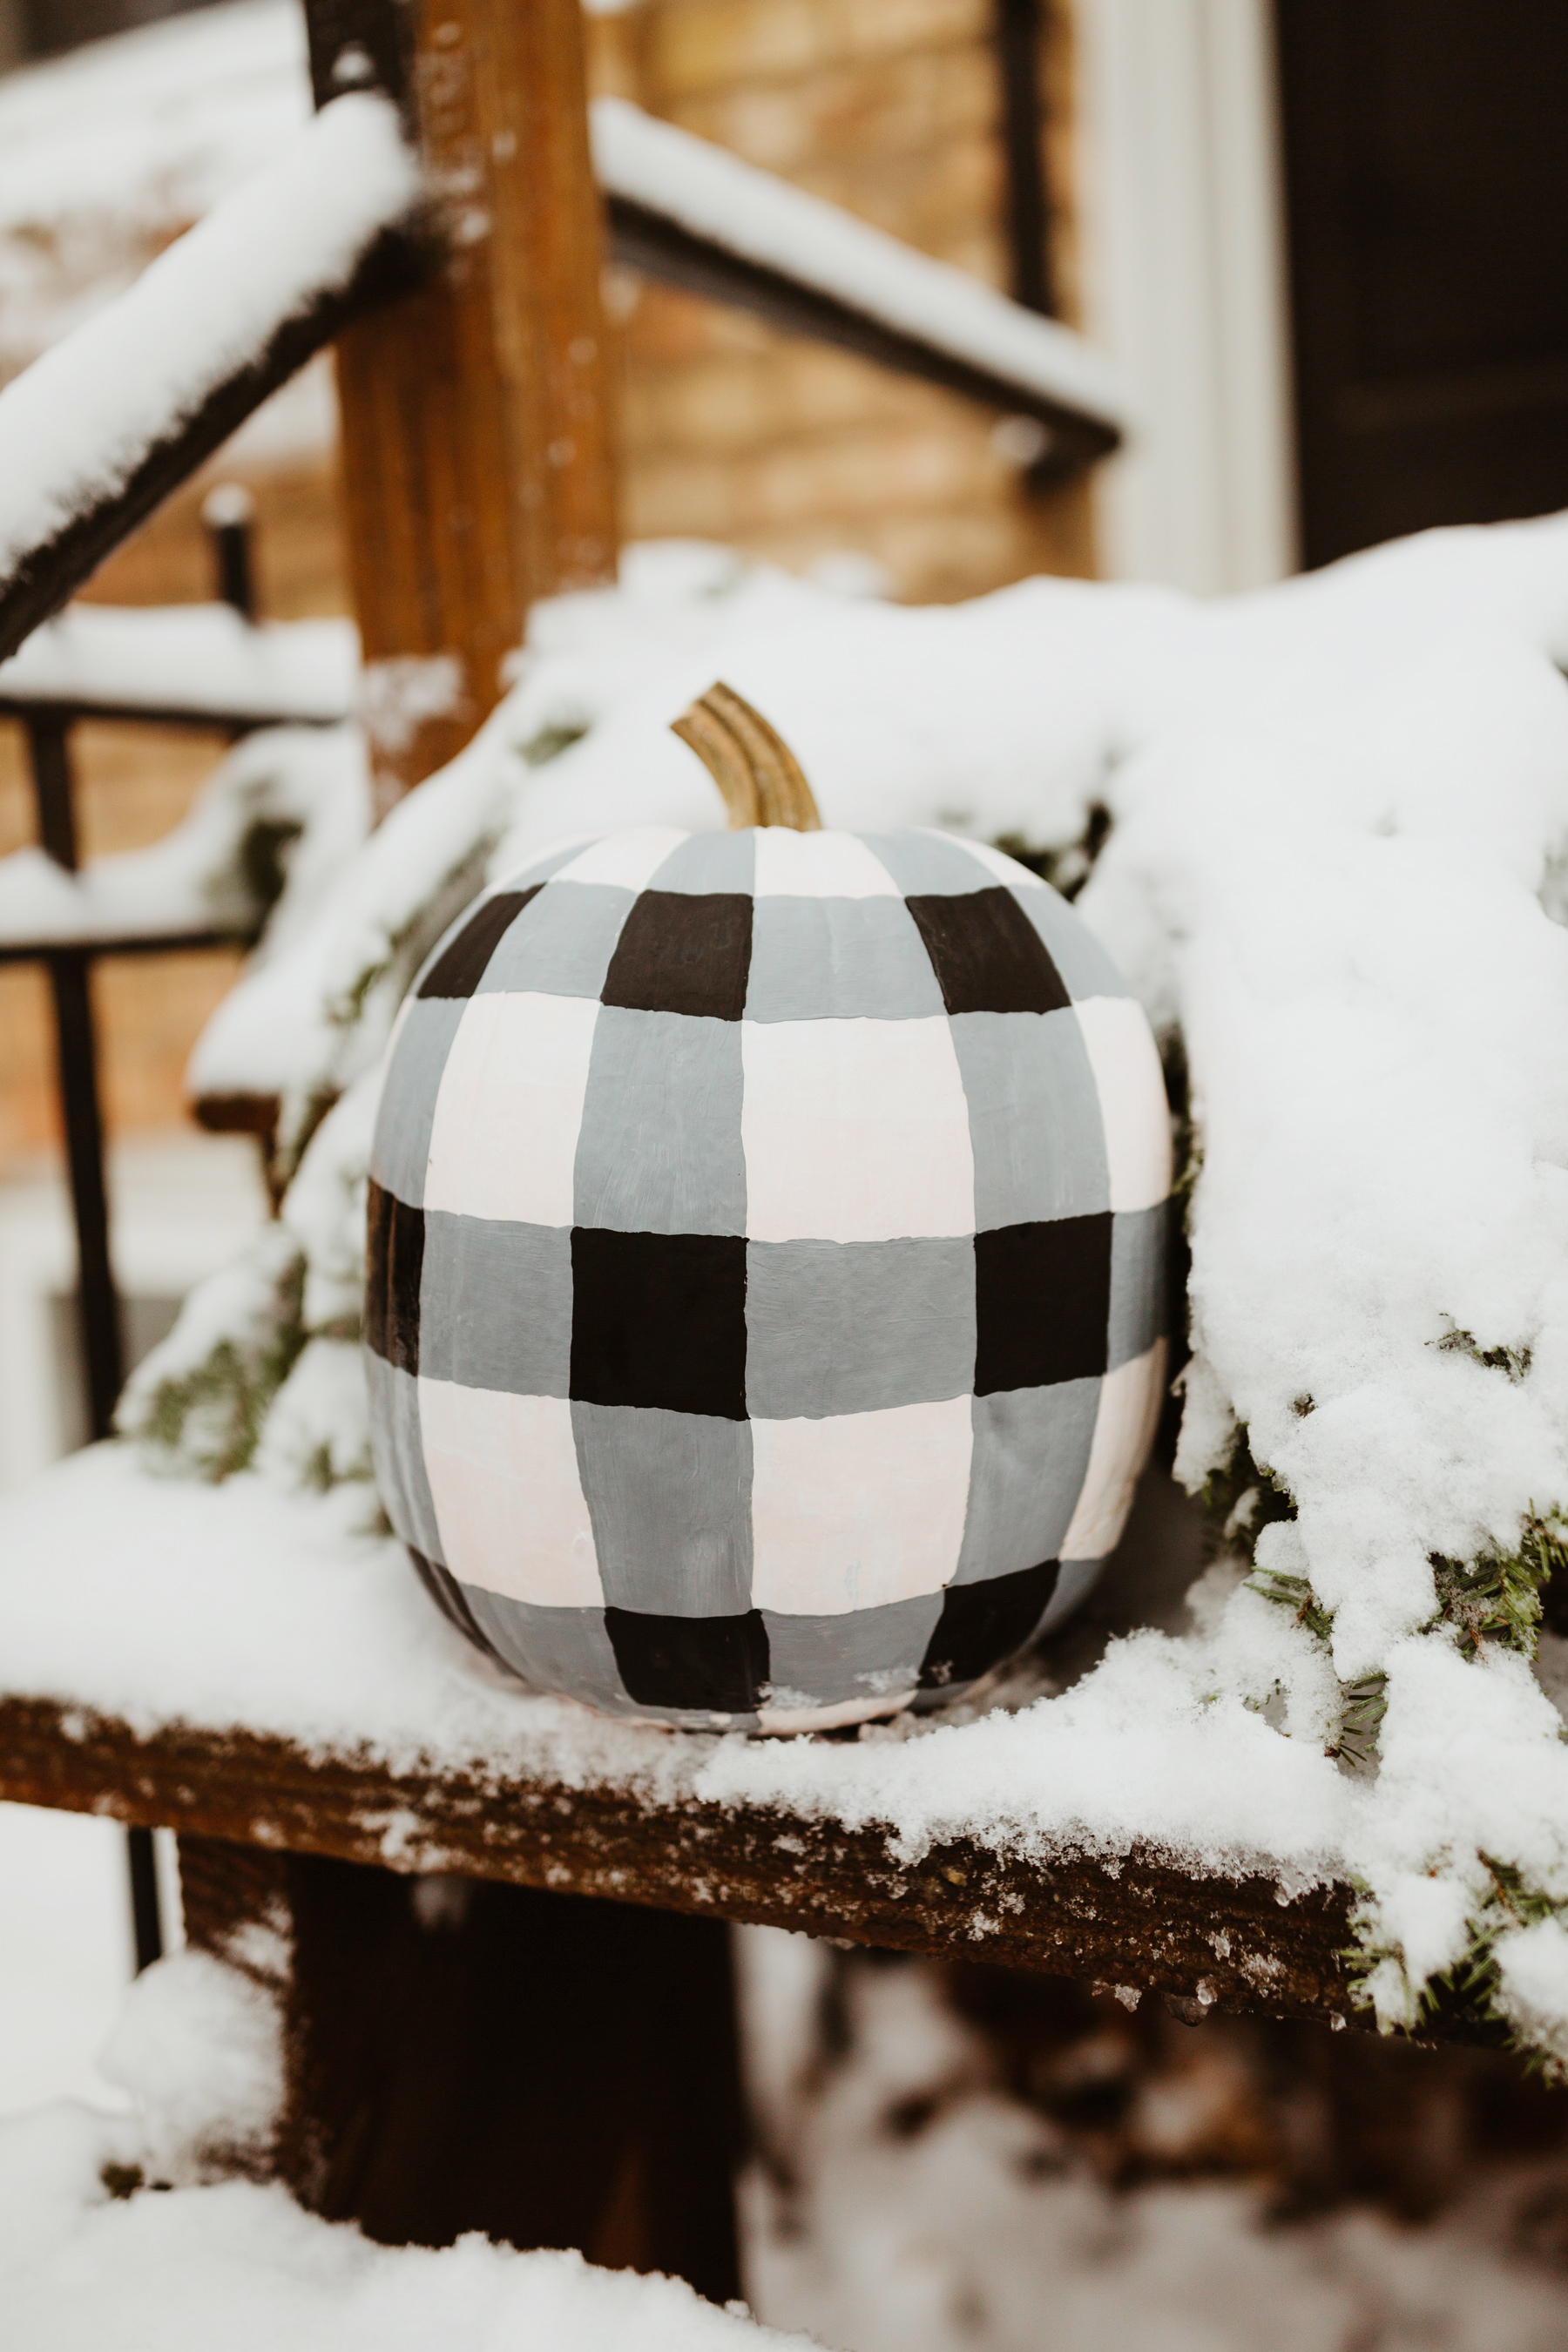
You might remember this little tutorial that Mitch and I put together on how to paint gingham pumpkins. :) So today, we’re showing you how to turn your leftover pumpkins into holiday decor. Listen: I’ve been confined to the house a lot lately. 😂
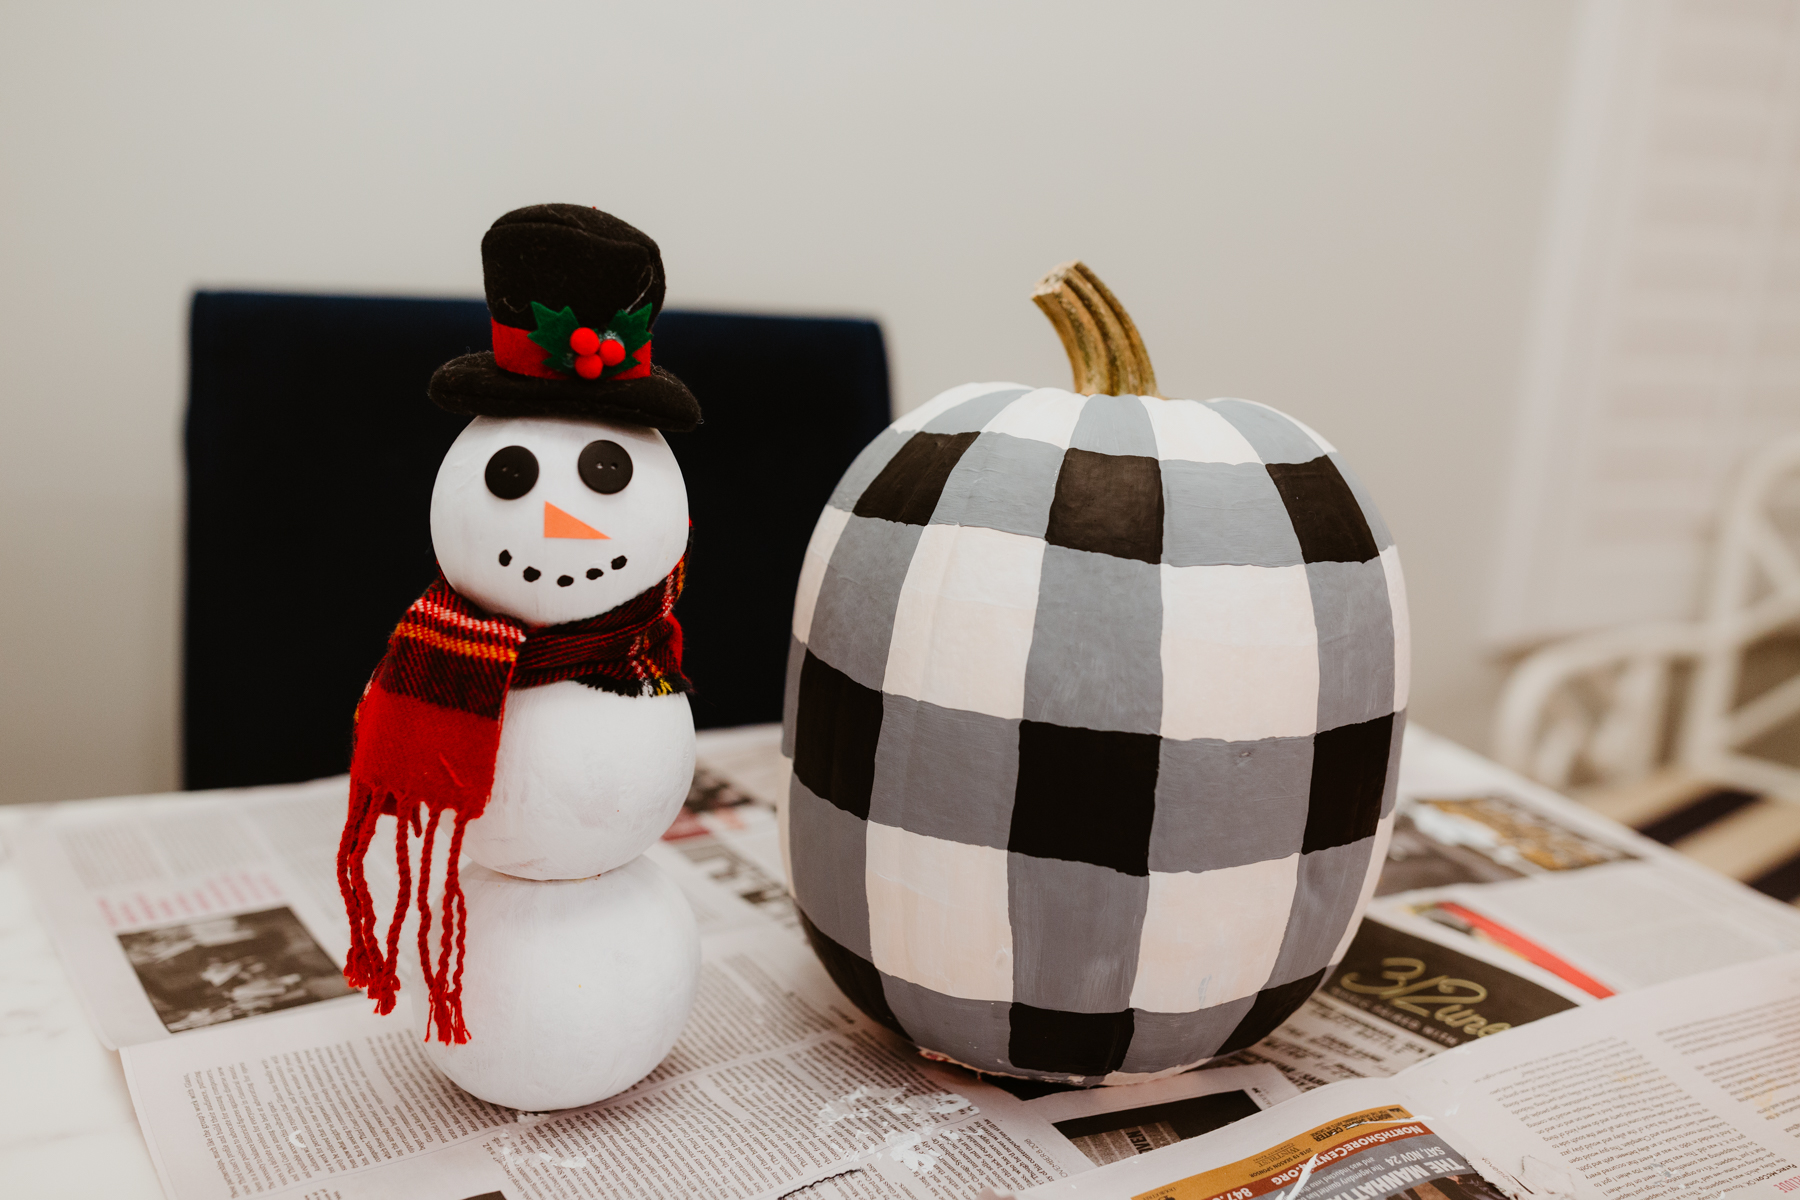
We’re actually going to be making a gingham pumpkin and a snowman pumpkin. Overachievers, I know! ;)
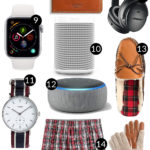
Materials:
- Black and white acrylic paint
- Paintbrushes
- Paper plates
- Newspapers
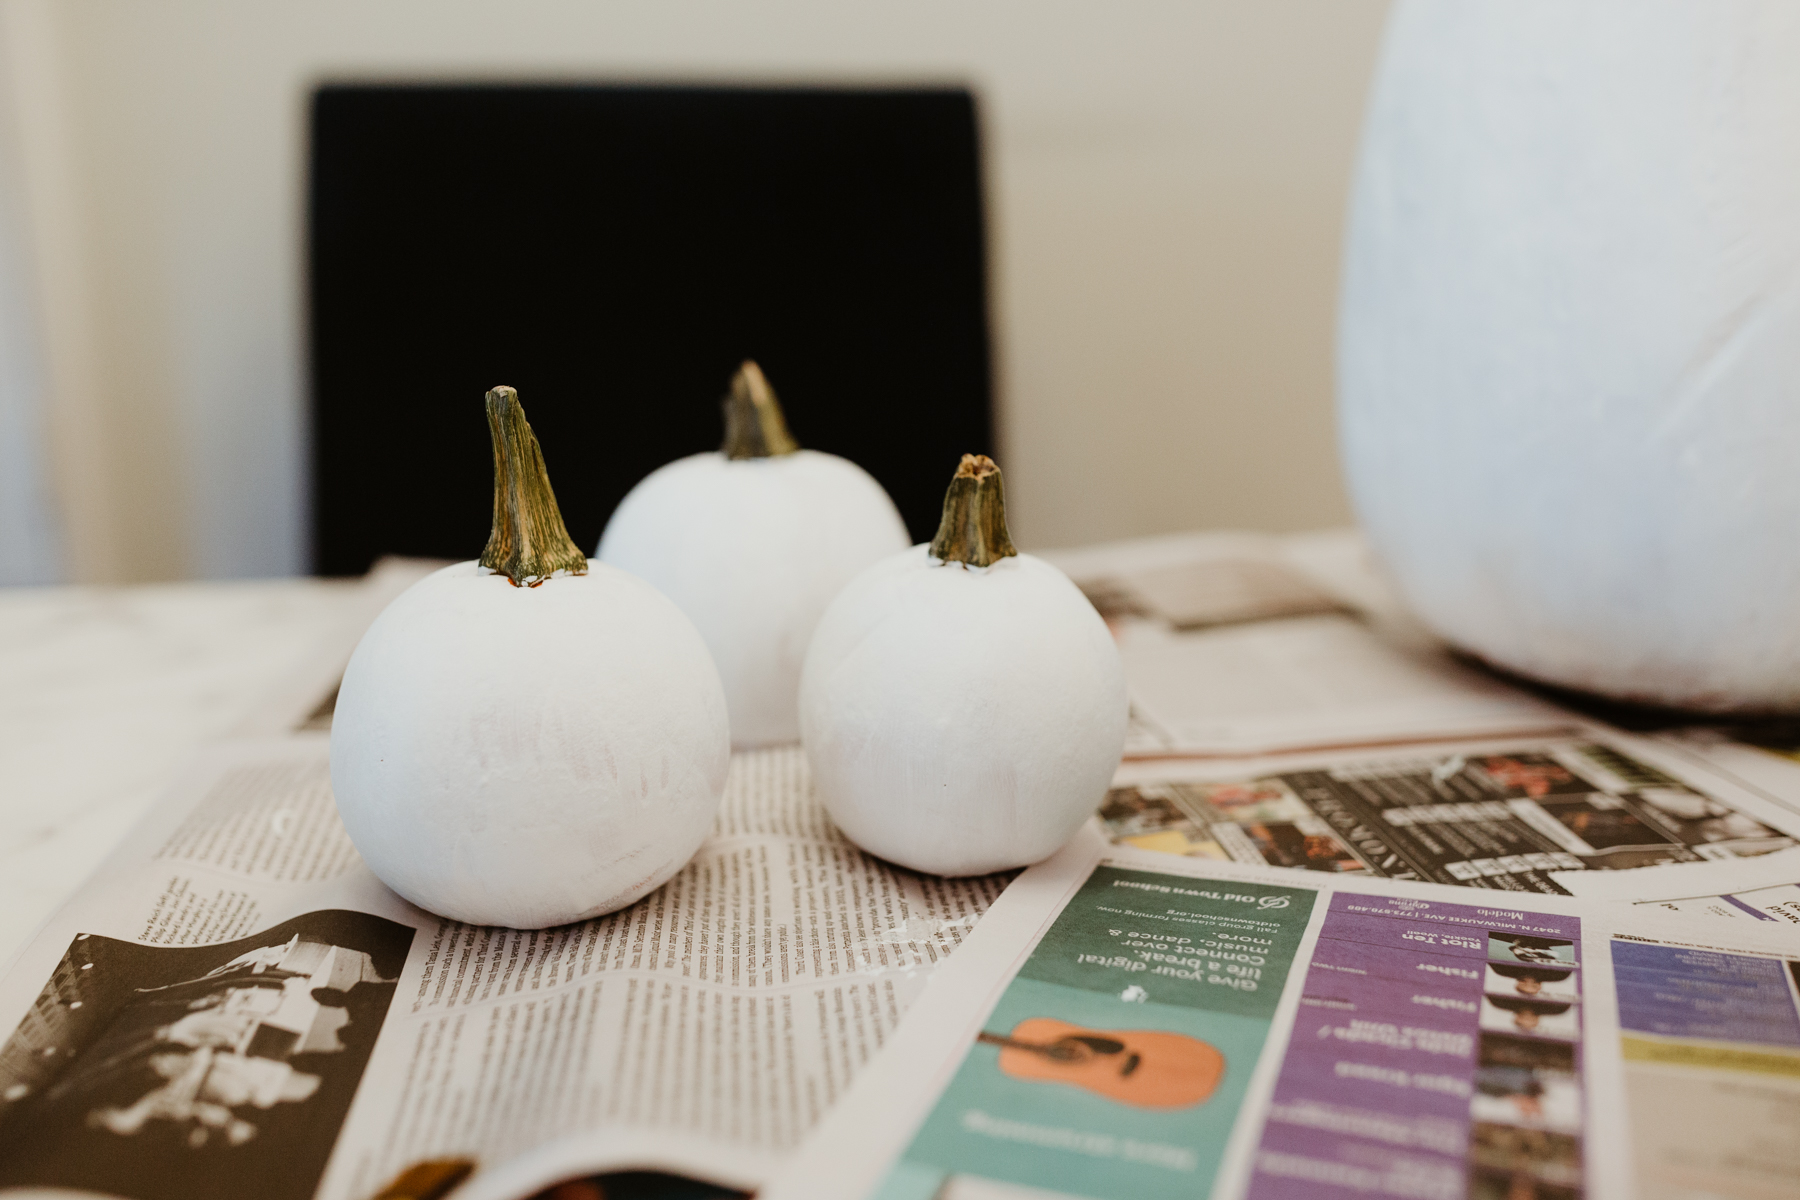
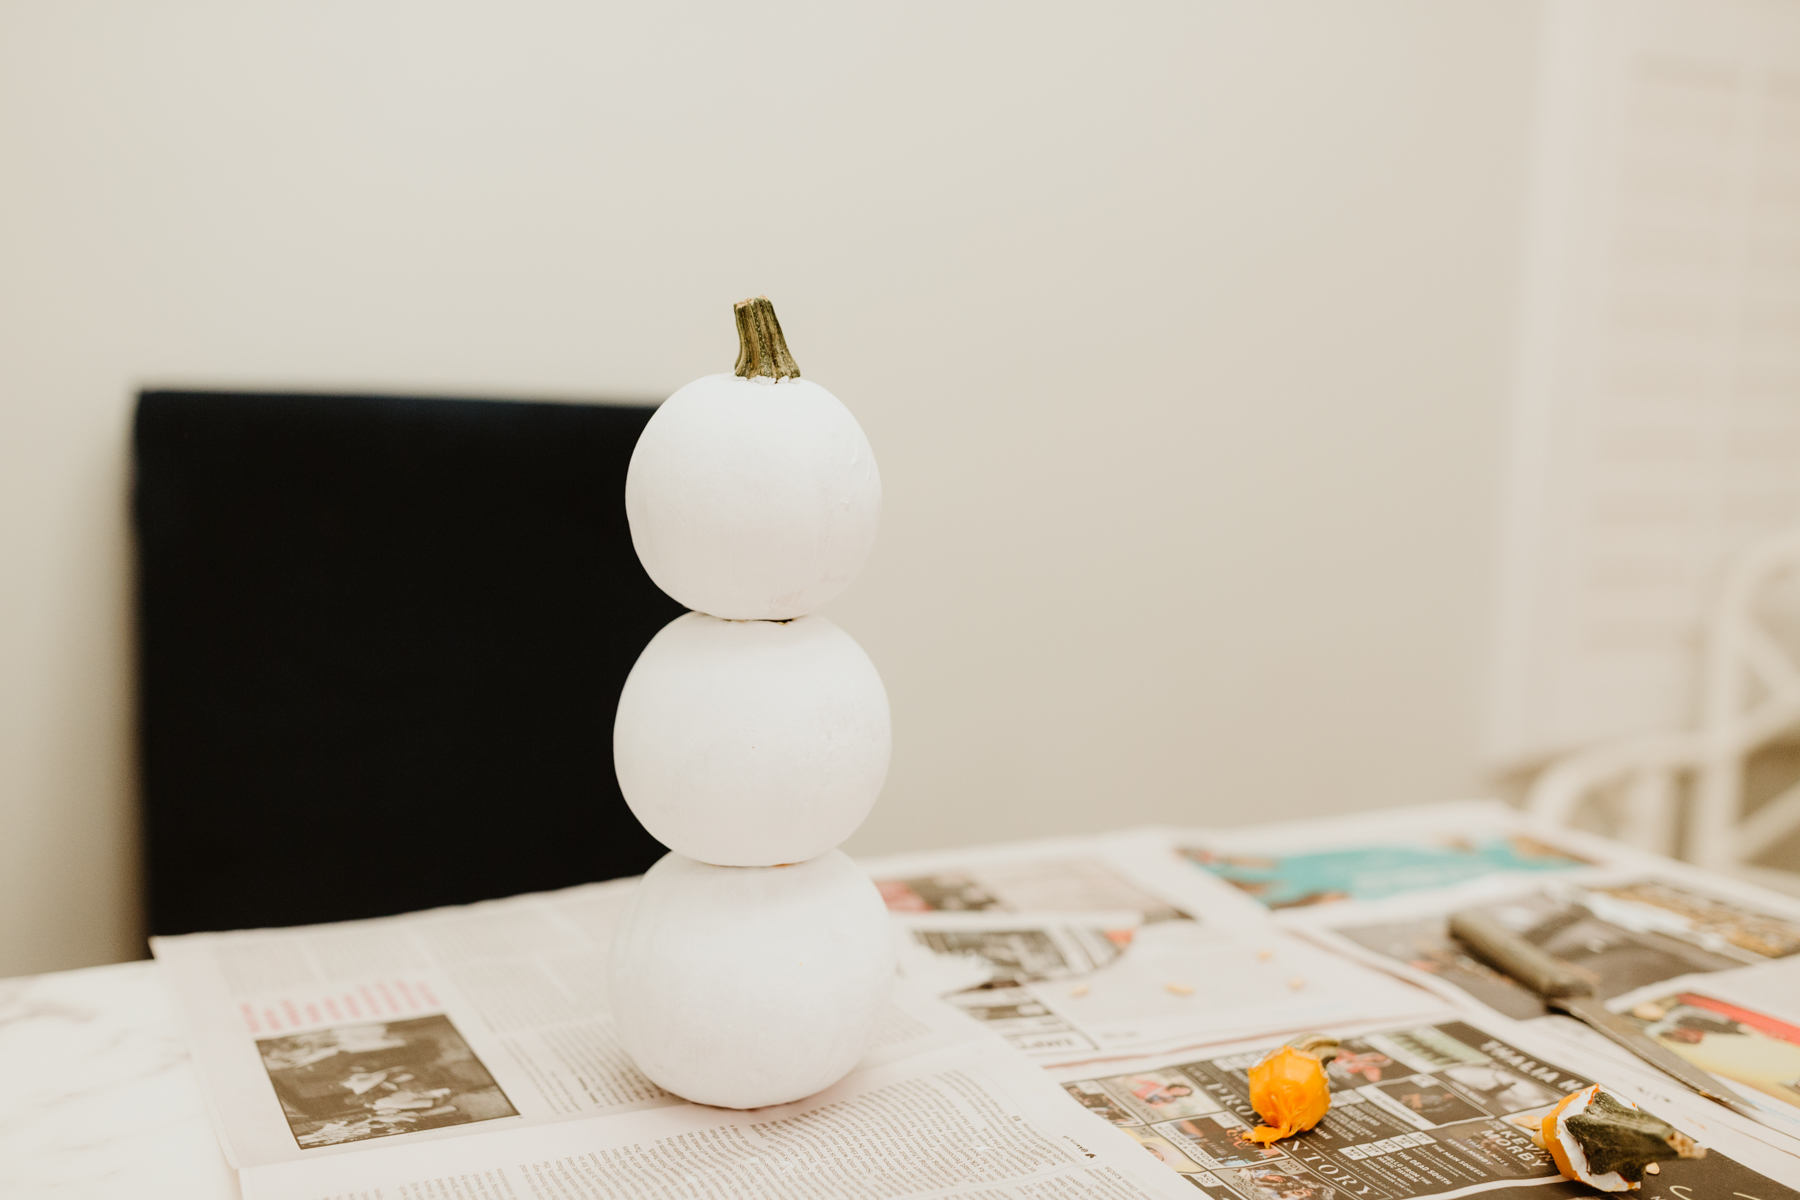
- Pumpkins (Three should be stackable: ideally one smaller than the next, but we used three that were the same size because we had ’em laying around.)
- Buttons (You can also just use black paint.)
- Felt hat (We pulled it off a stuffed animal, but you can find them at your local craft store.)
- Orange construction paper (For snowman’s nose. You can also use orange paint.)
- Plaid scarf you’re okay with cutting up. (We used an Old Navy one. You can also use ribbon!)
Step One
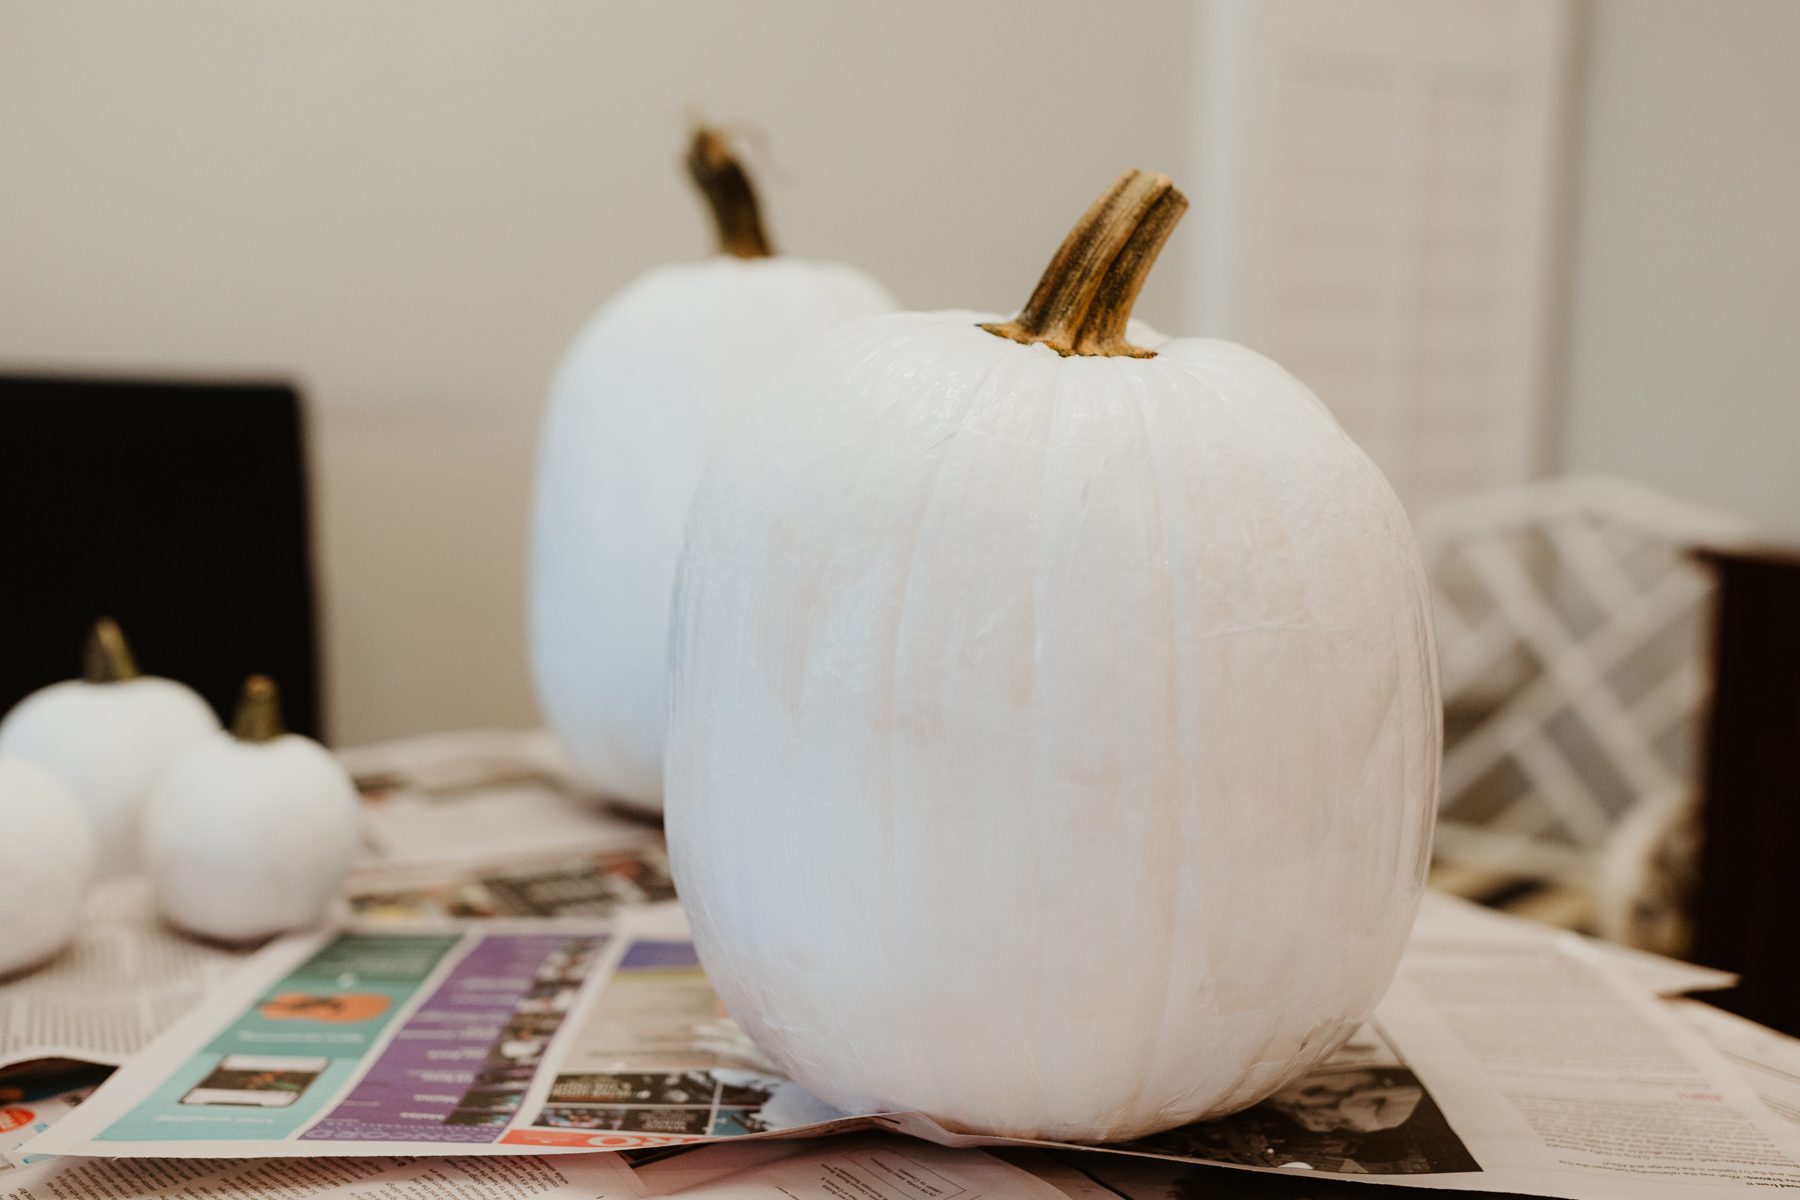
Buffalo plaid pumpkin: Start by painting the pumpkin white. We used acrylic paint we found on Amazon.
Snowman pumpkin: Do the same!
Step Two
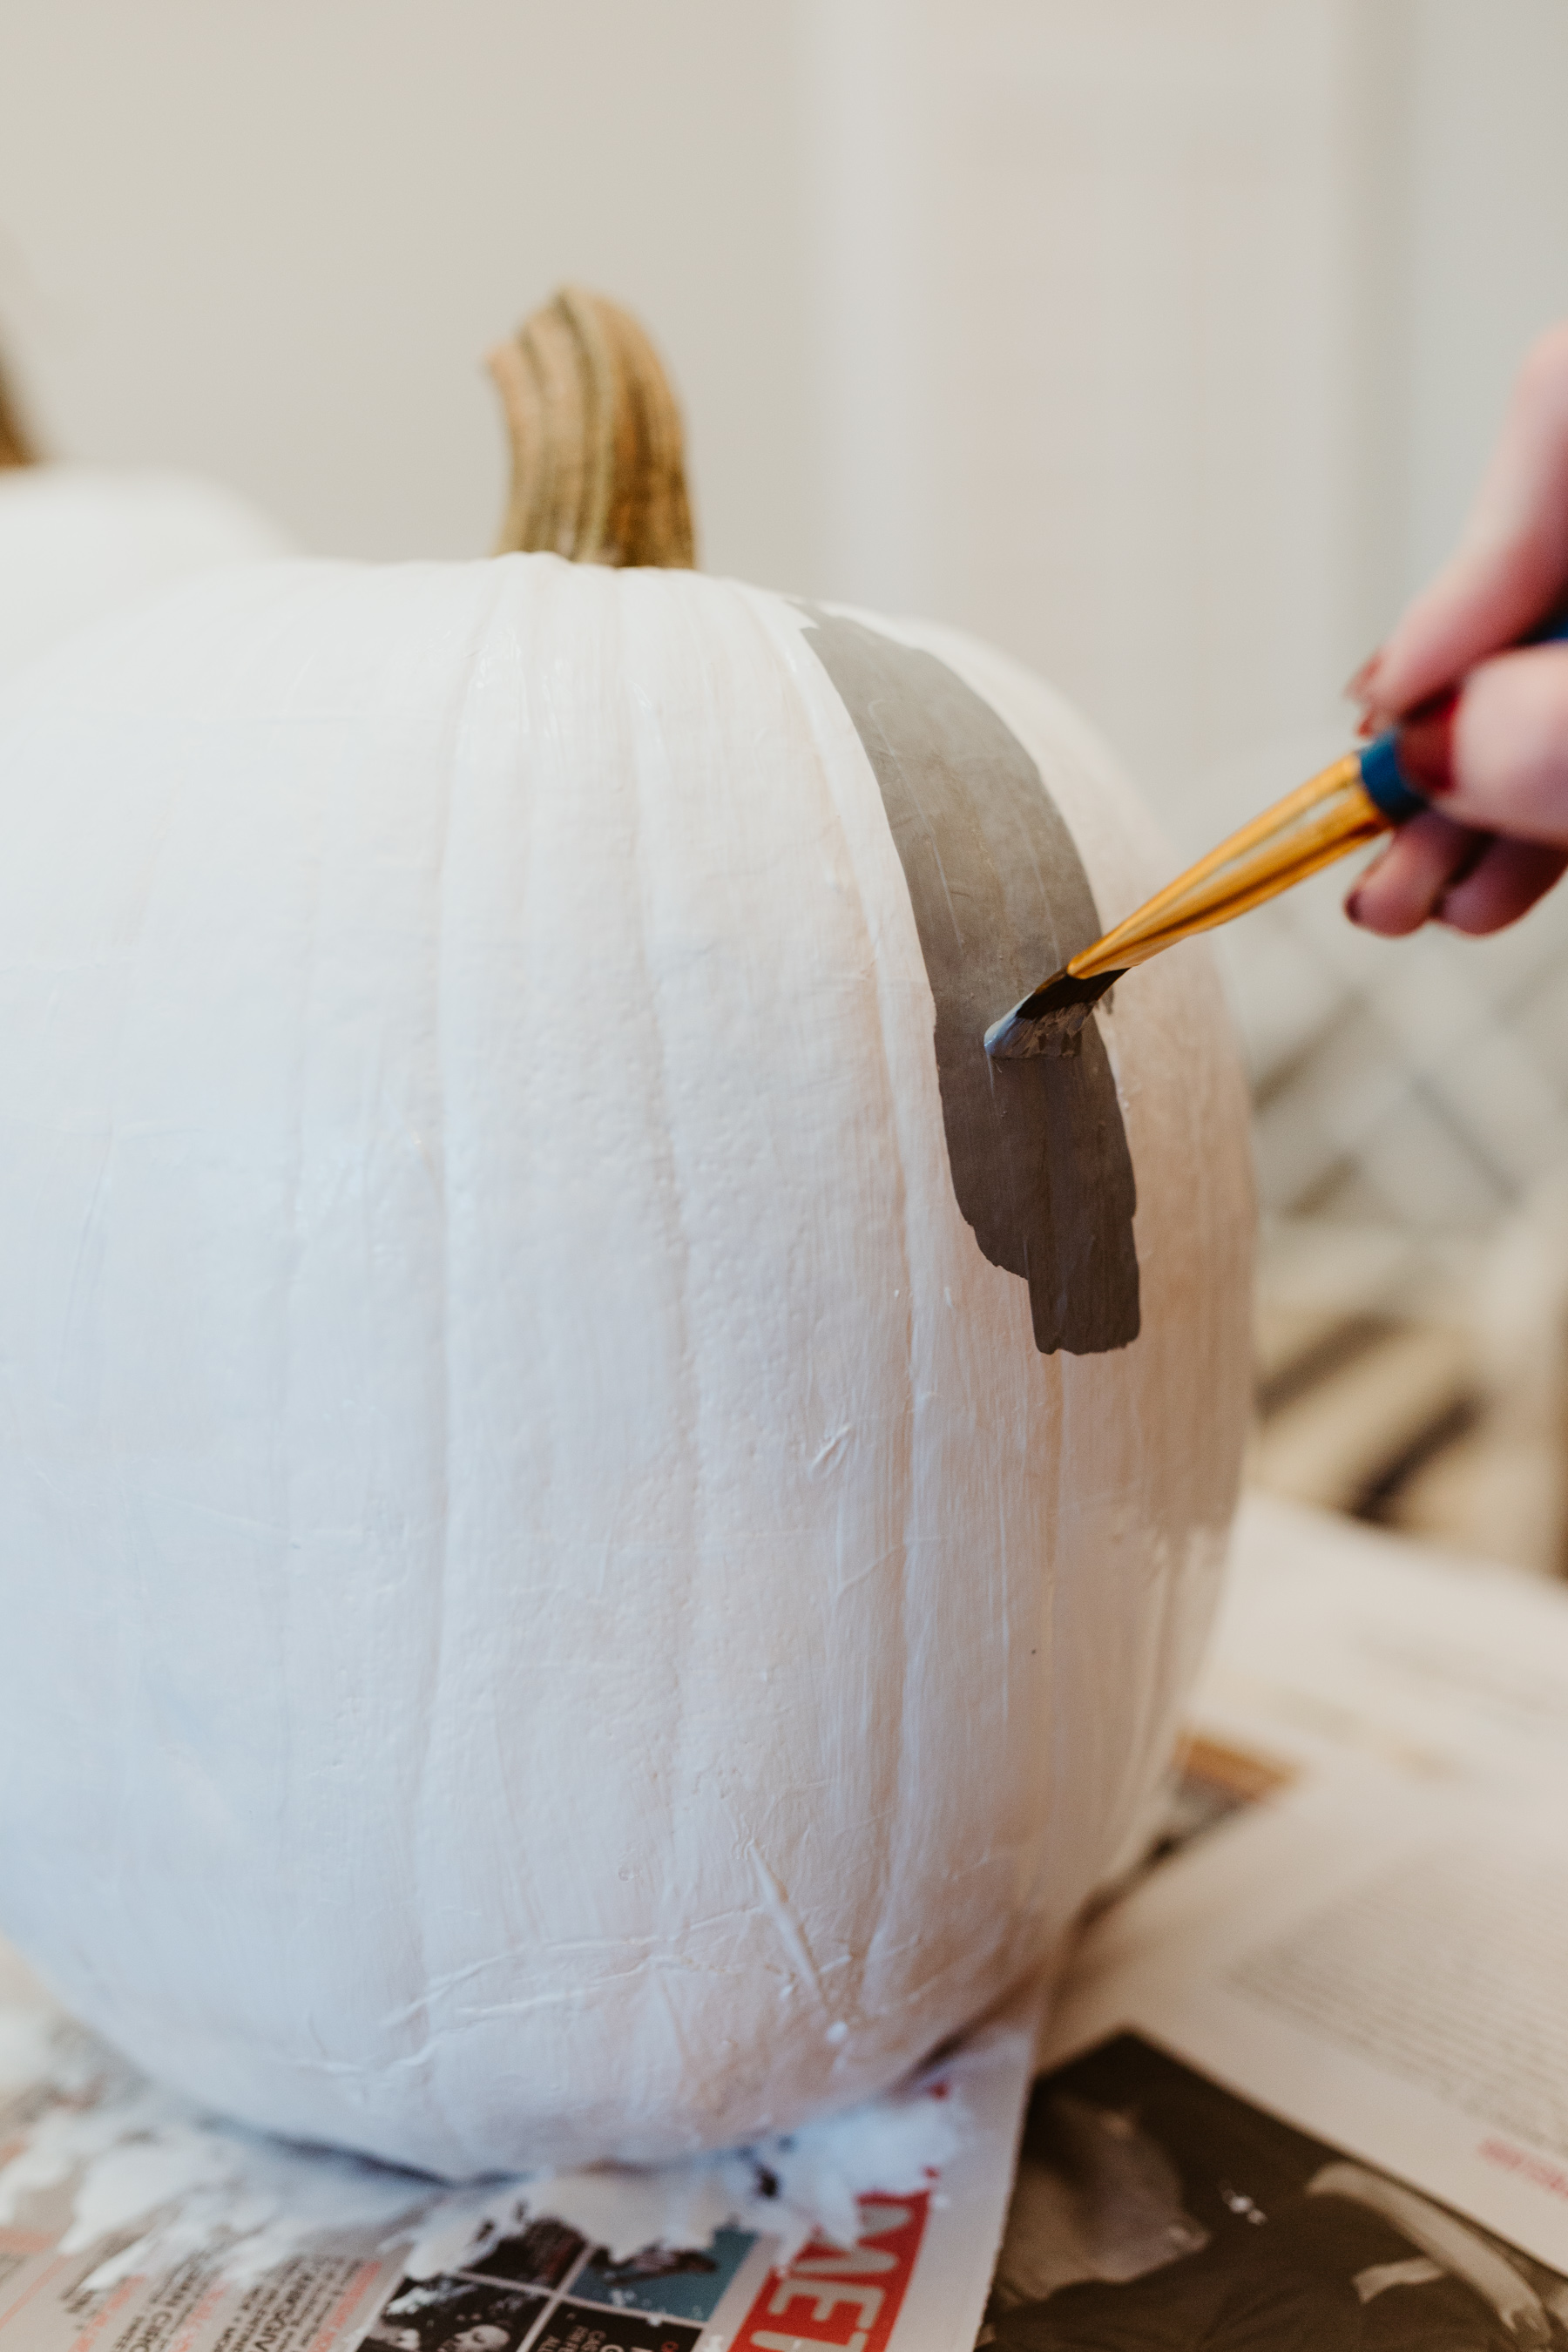
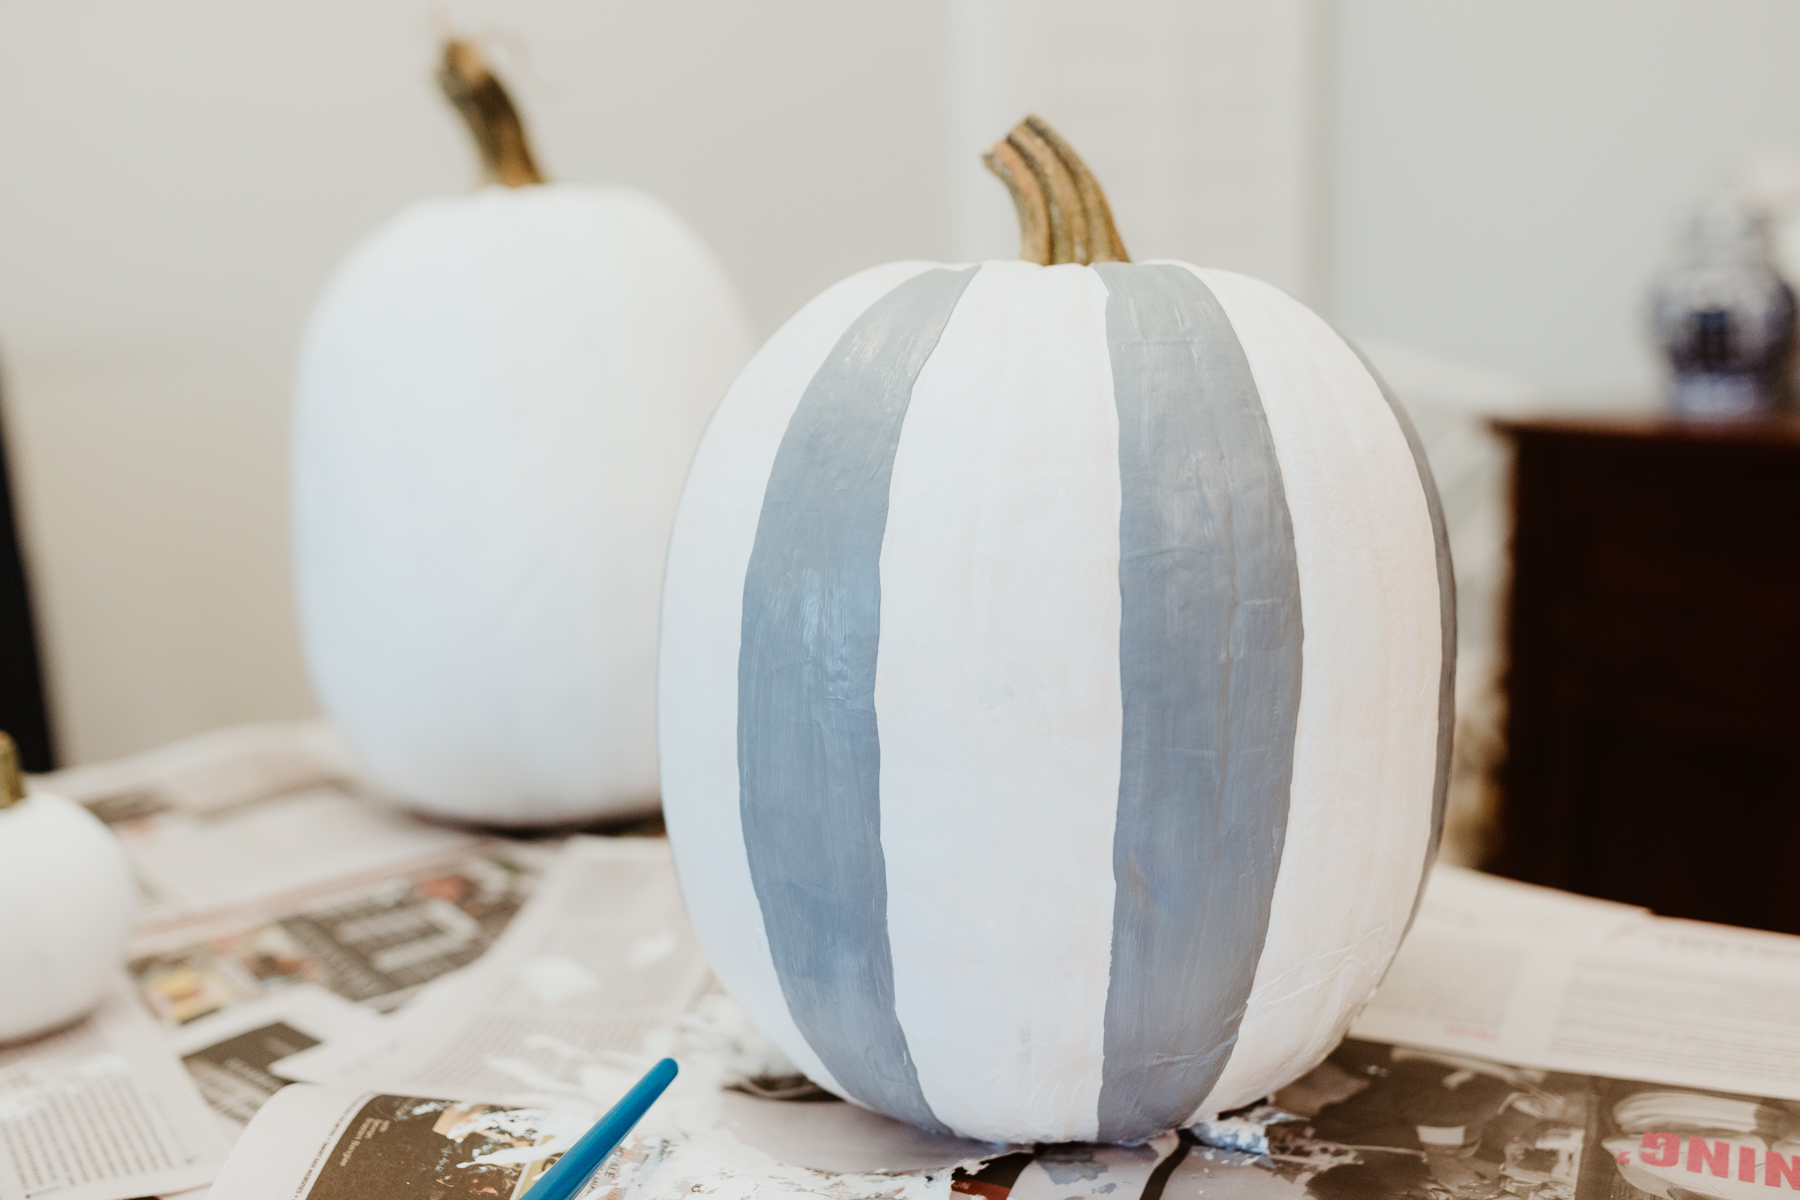
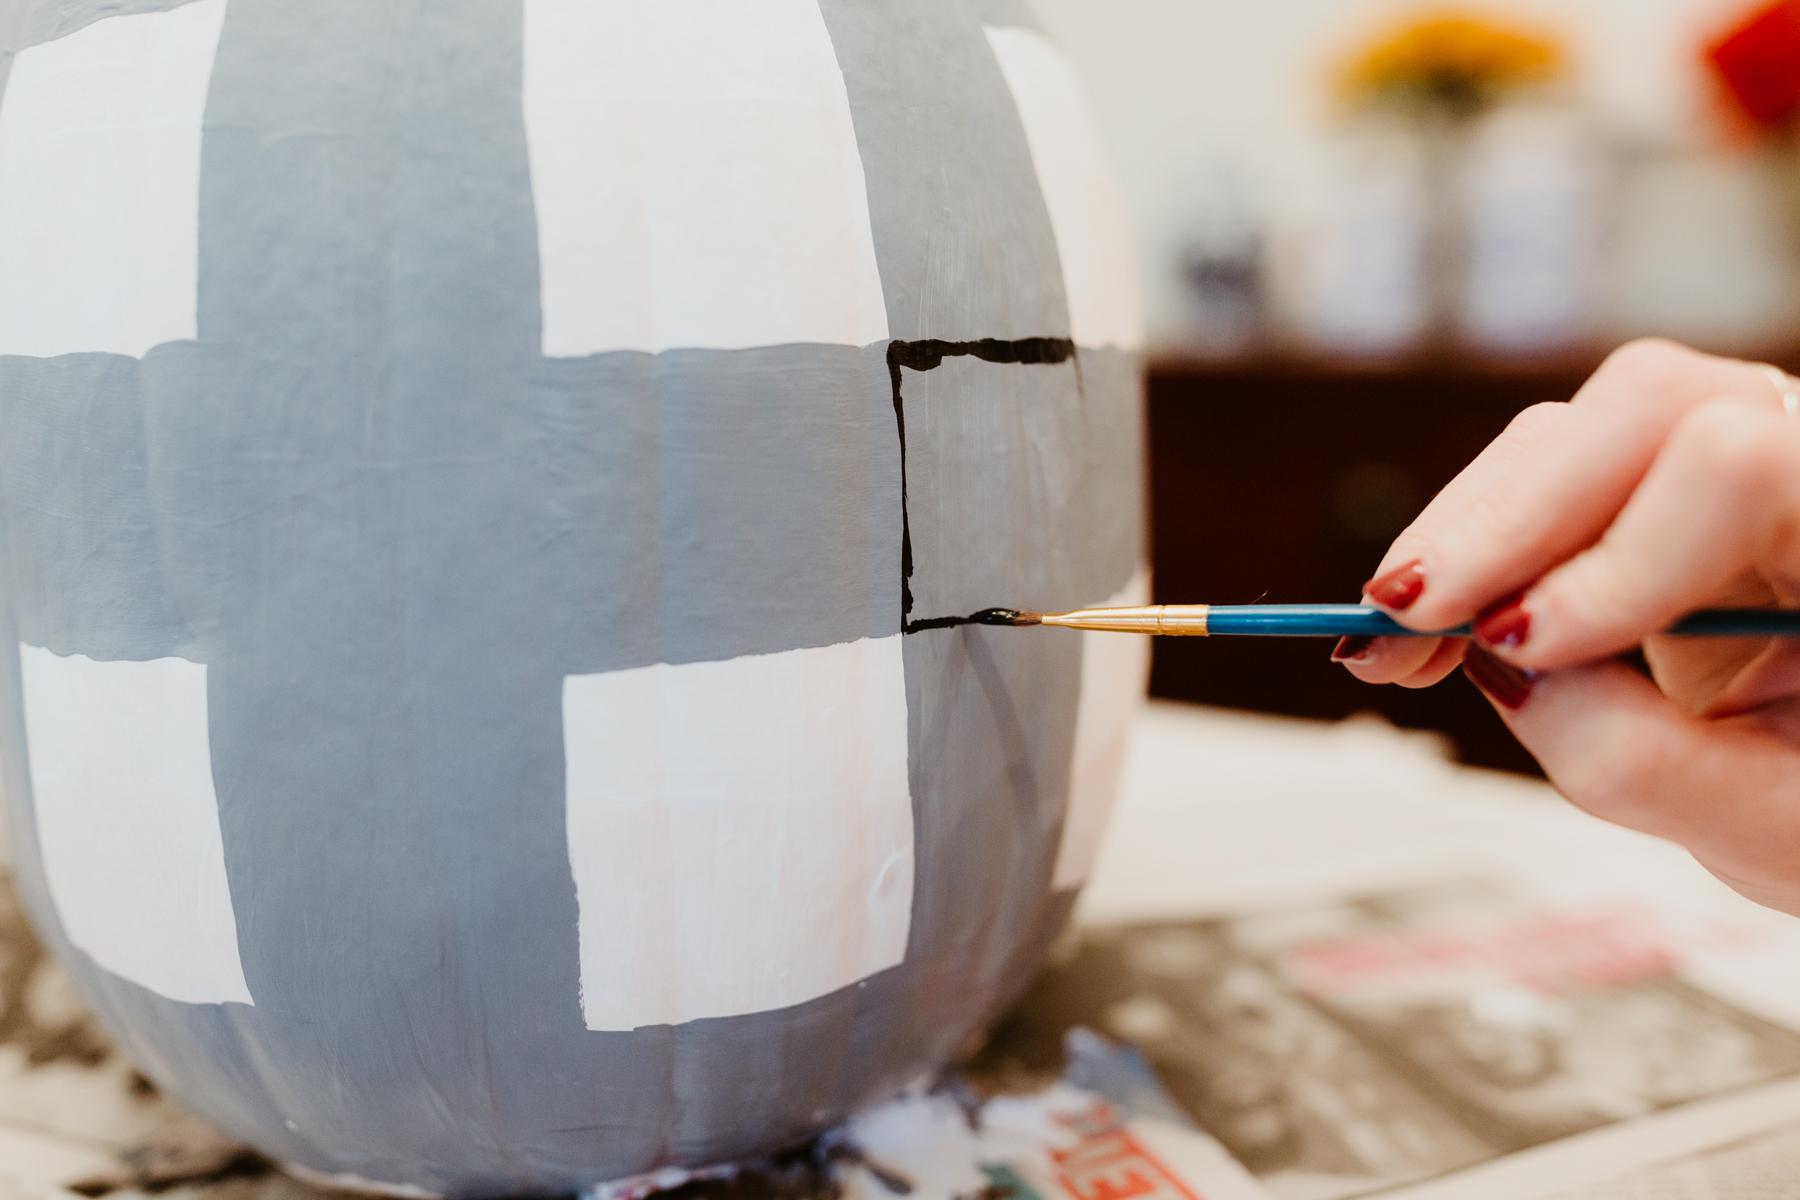
Buffalo plaid pumpkin: On a paper plate, mix the white and black paint to create your desired shade of gray. Then paint vertical stripes following the natural lines of the pumpkin. These lines aren’t spaced out perfectly, so don’t think of them as borders. Simply use them as guides!
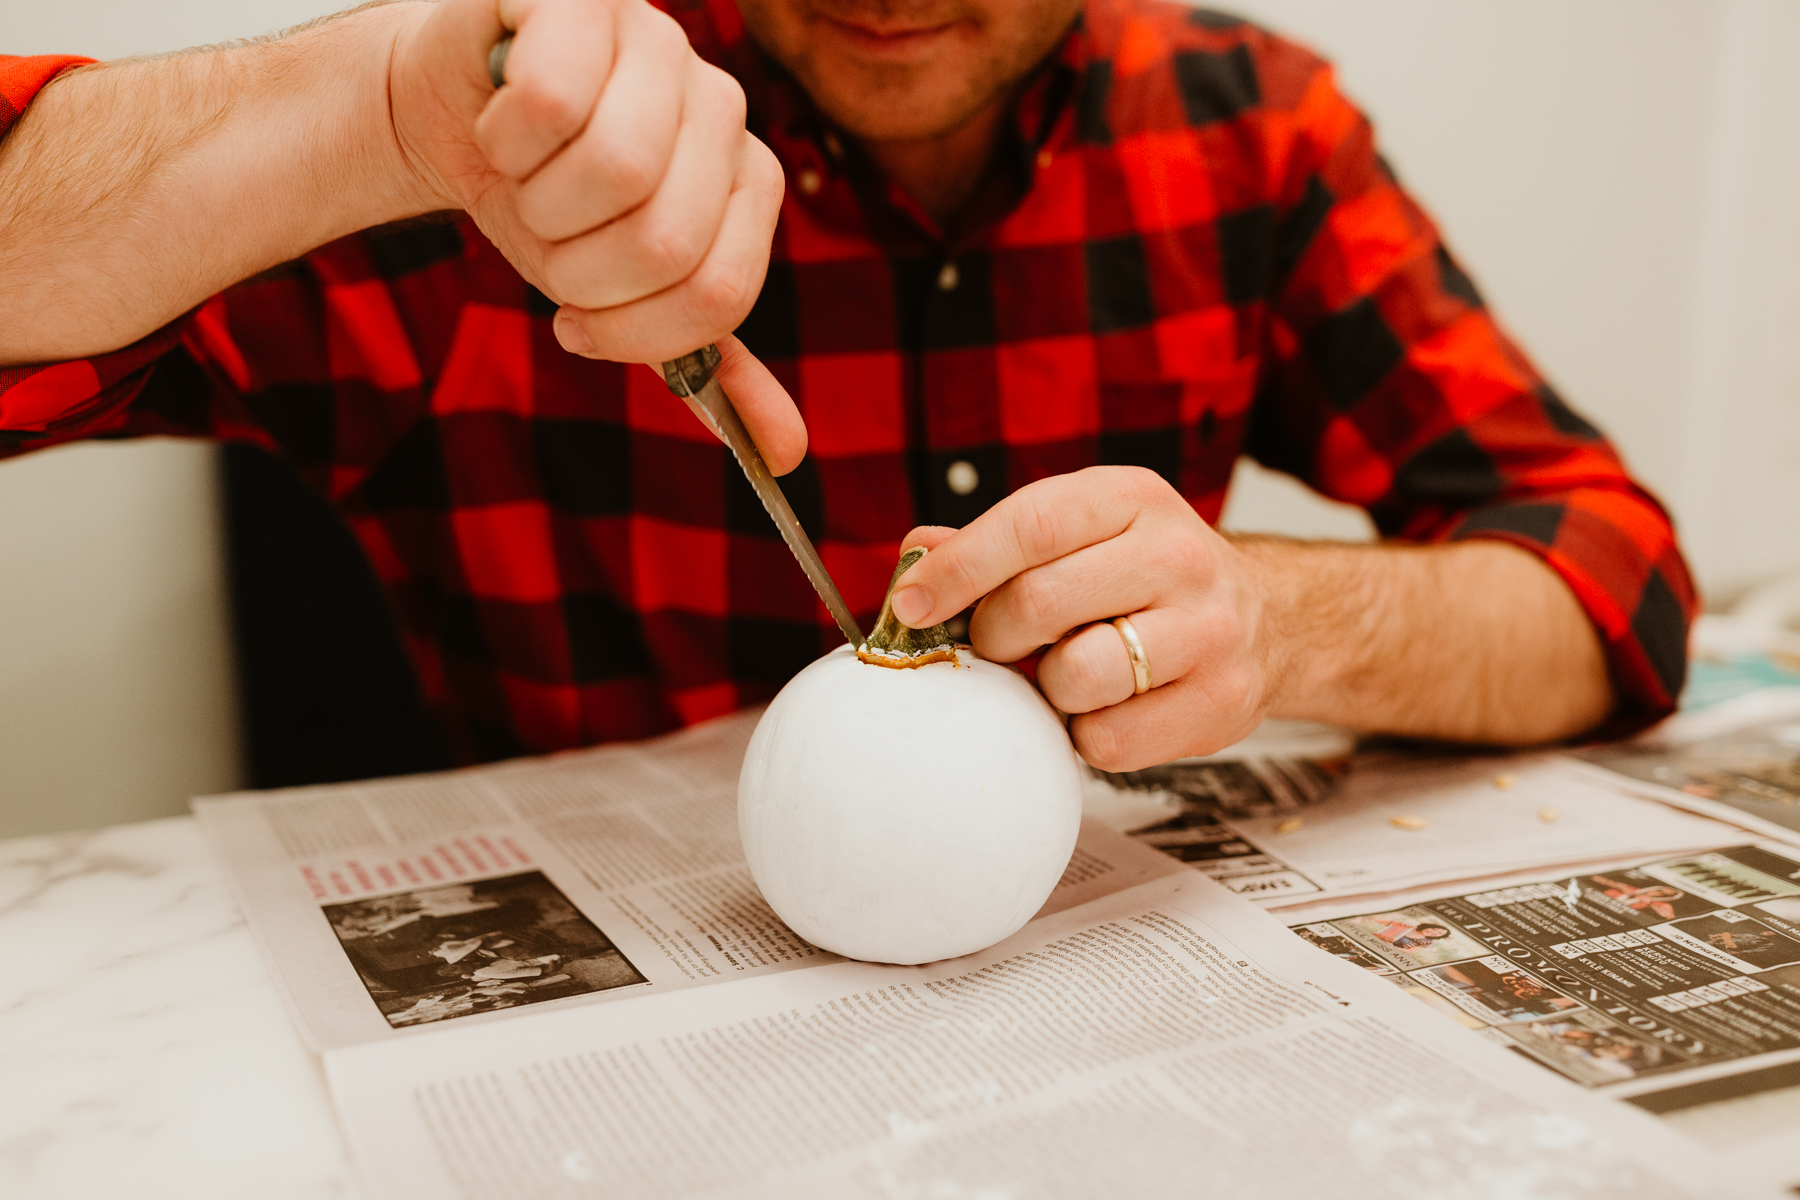
Snowman pumpkin: Remove the stem from two of the bottom pumpkins, and cut a hole in the bottoms of the middle and top pumpkins.
Step Three
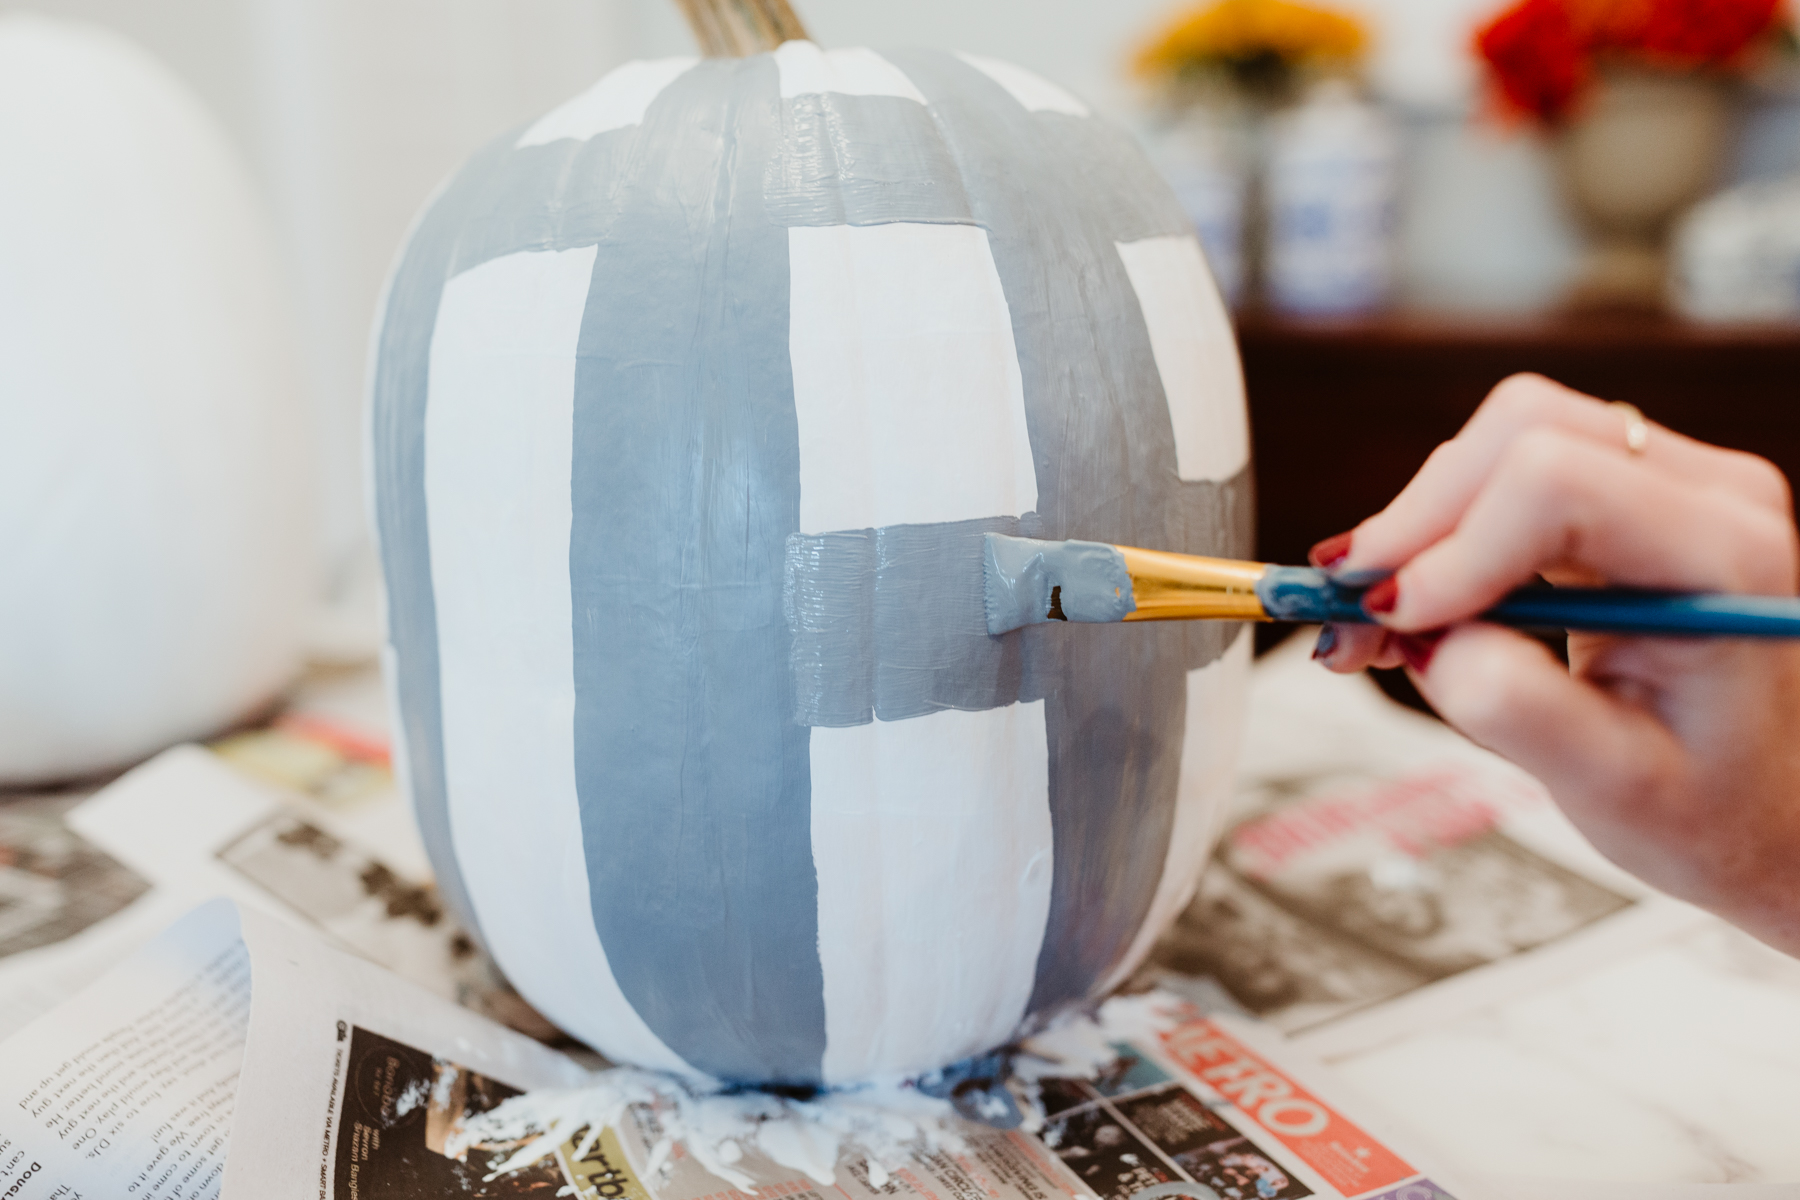
Buffalo plaid pumpkin: Paint horizontal stripes by filling in the gaps between the vertical lines. Some measurement may be required to keep the lines a consistent width.
Snowman pumpkin: Stack the pumpkins and glue them together.
Step Four
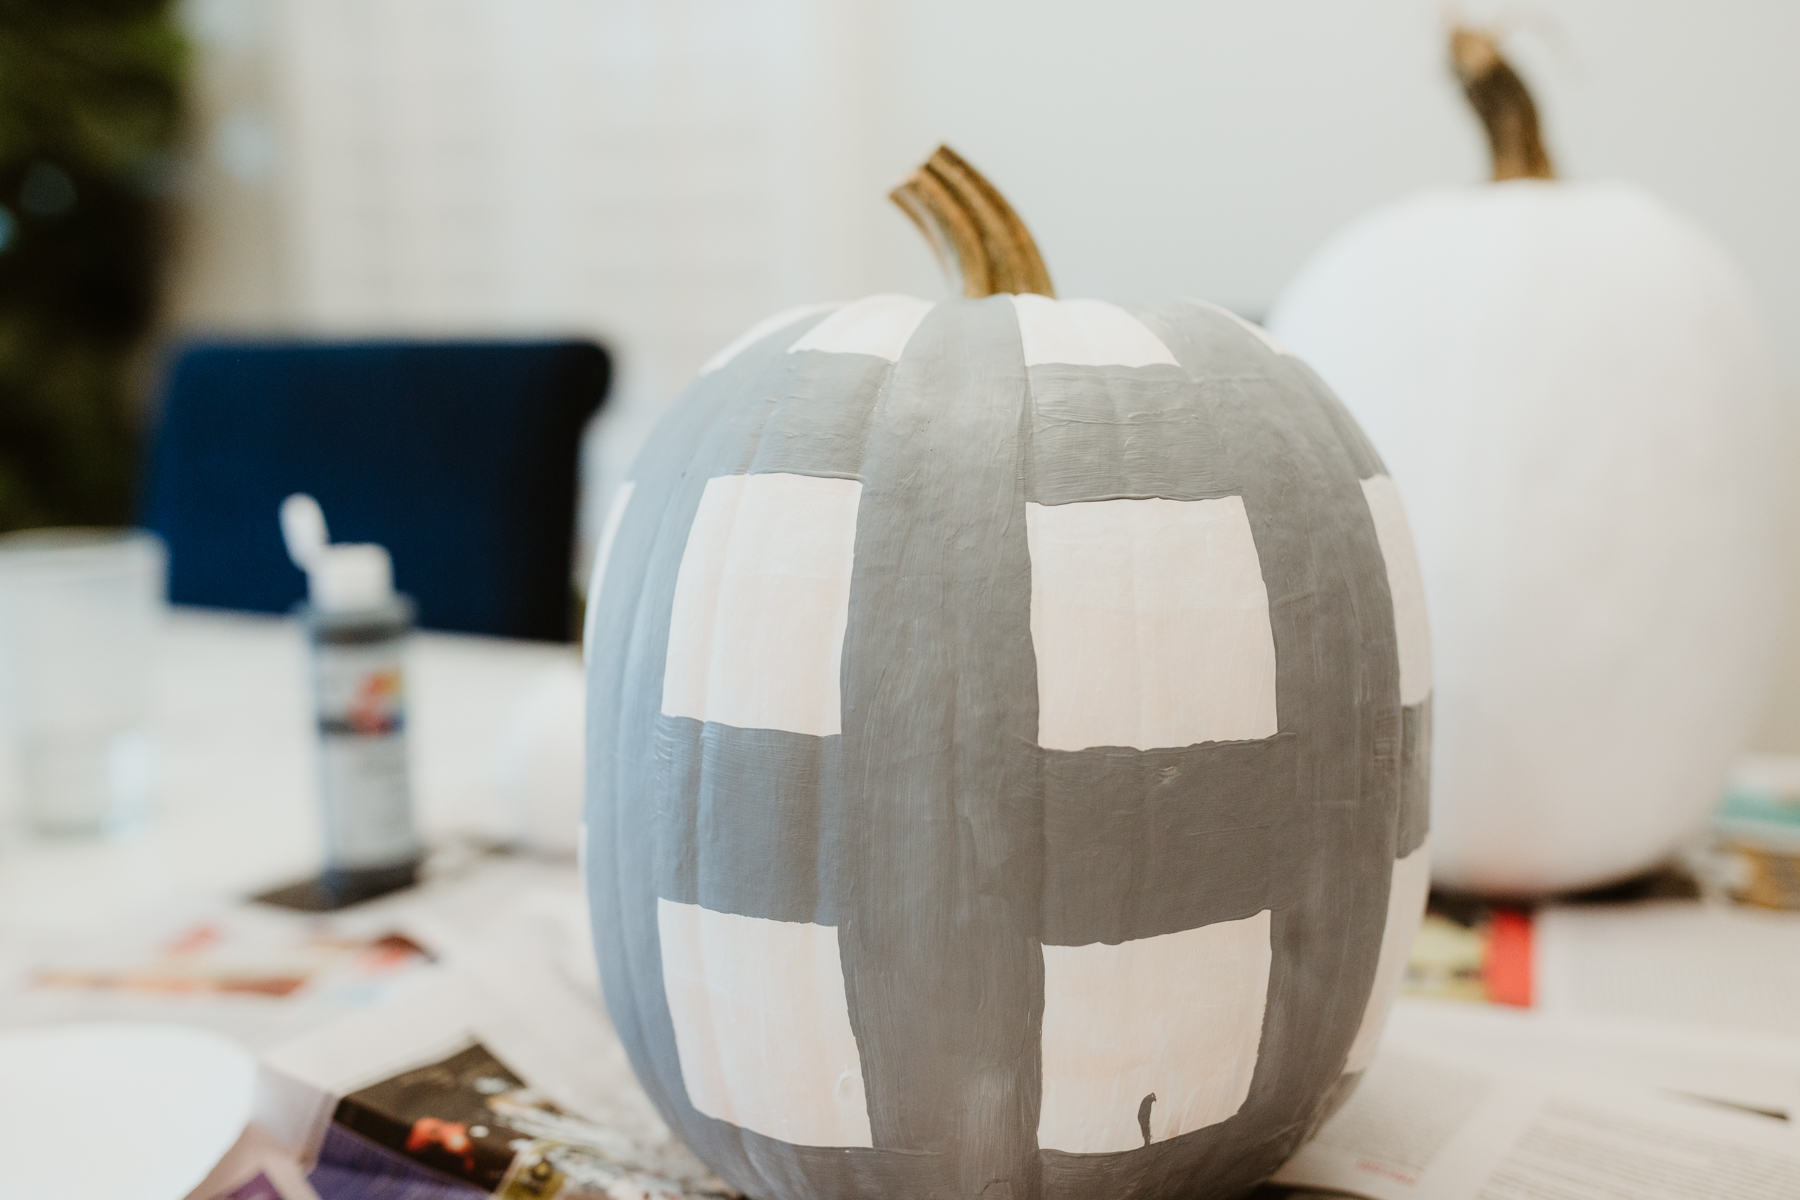
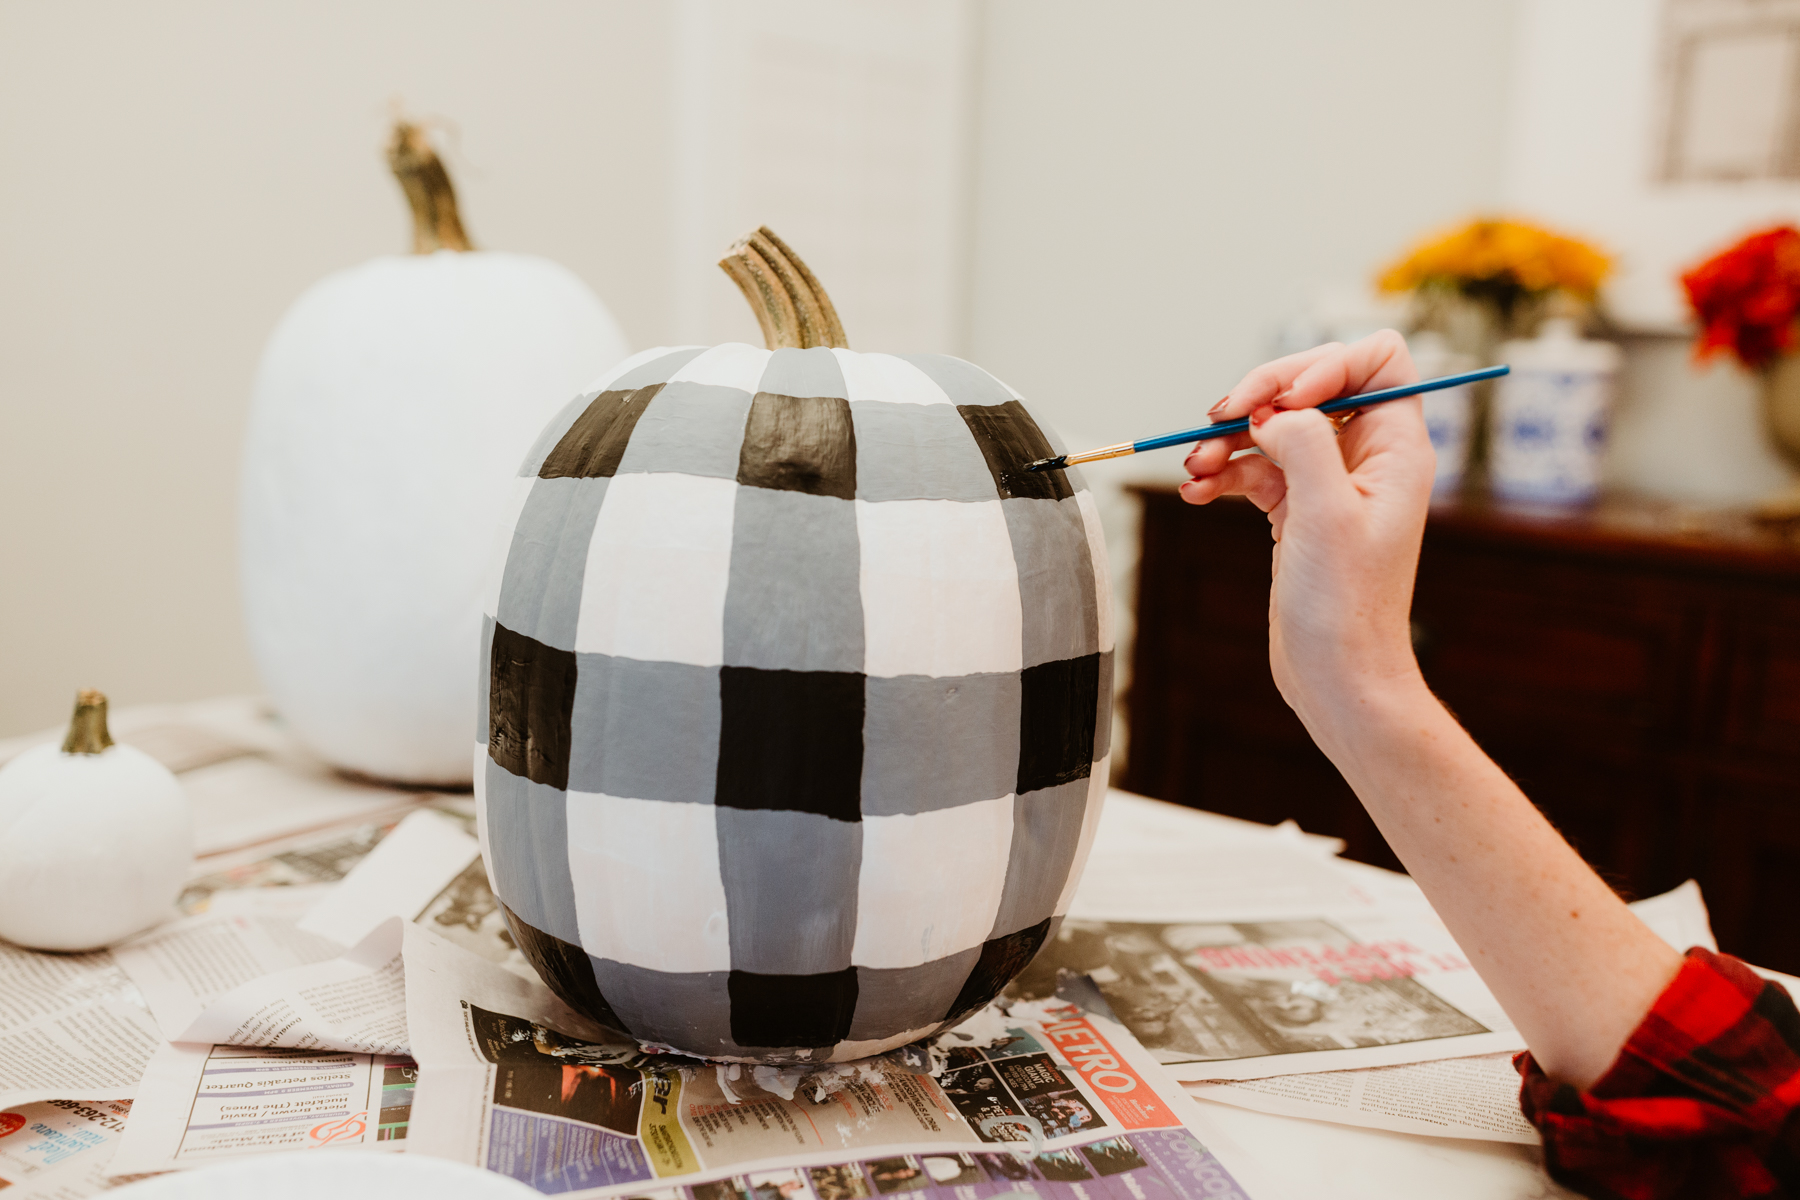
Buffalo plaid pumpkin: Darken the areas where the vertical and horizontal lines intersect.
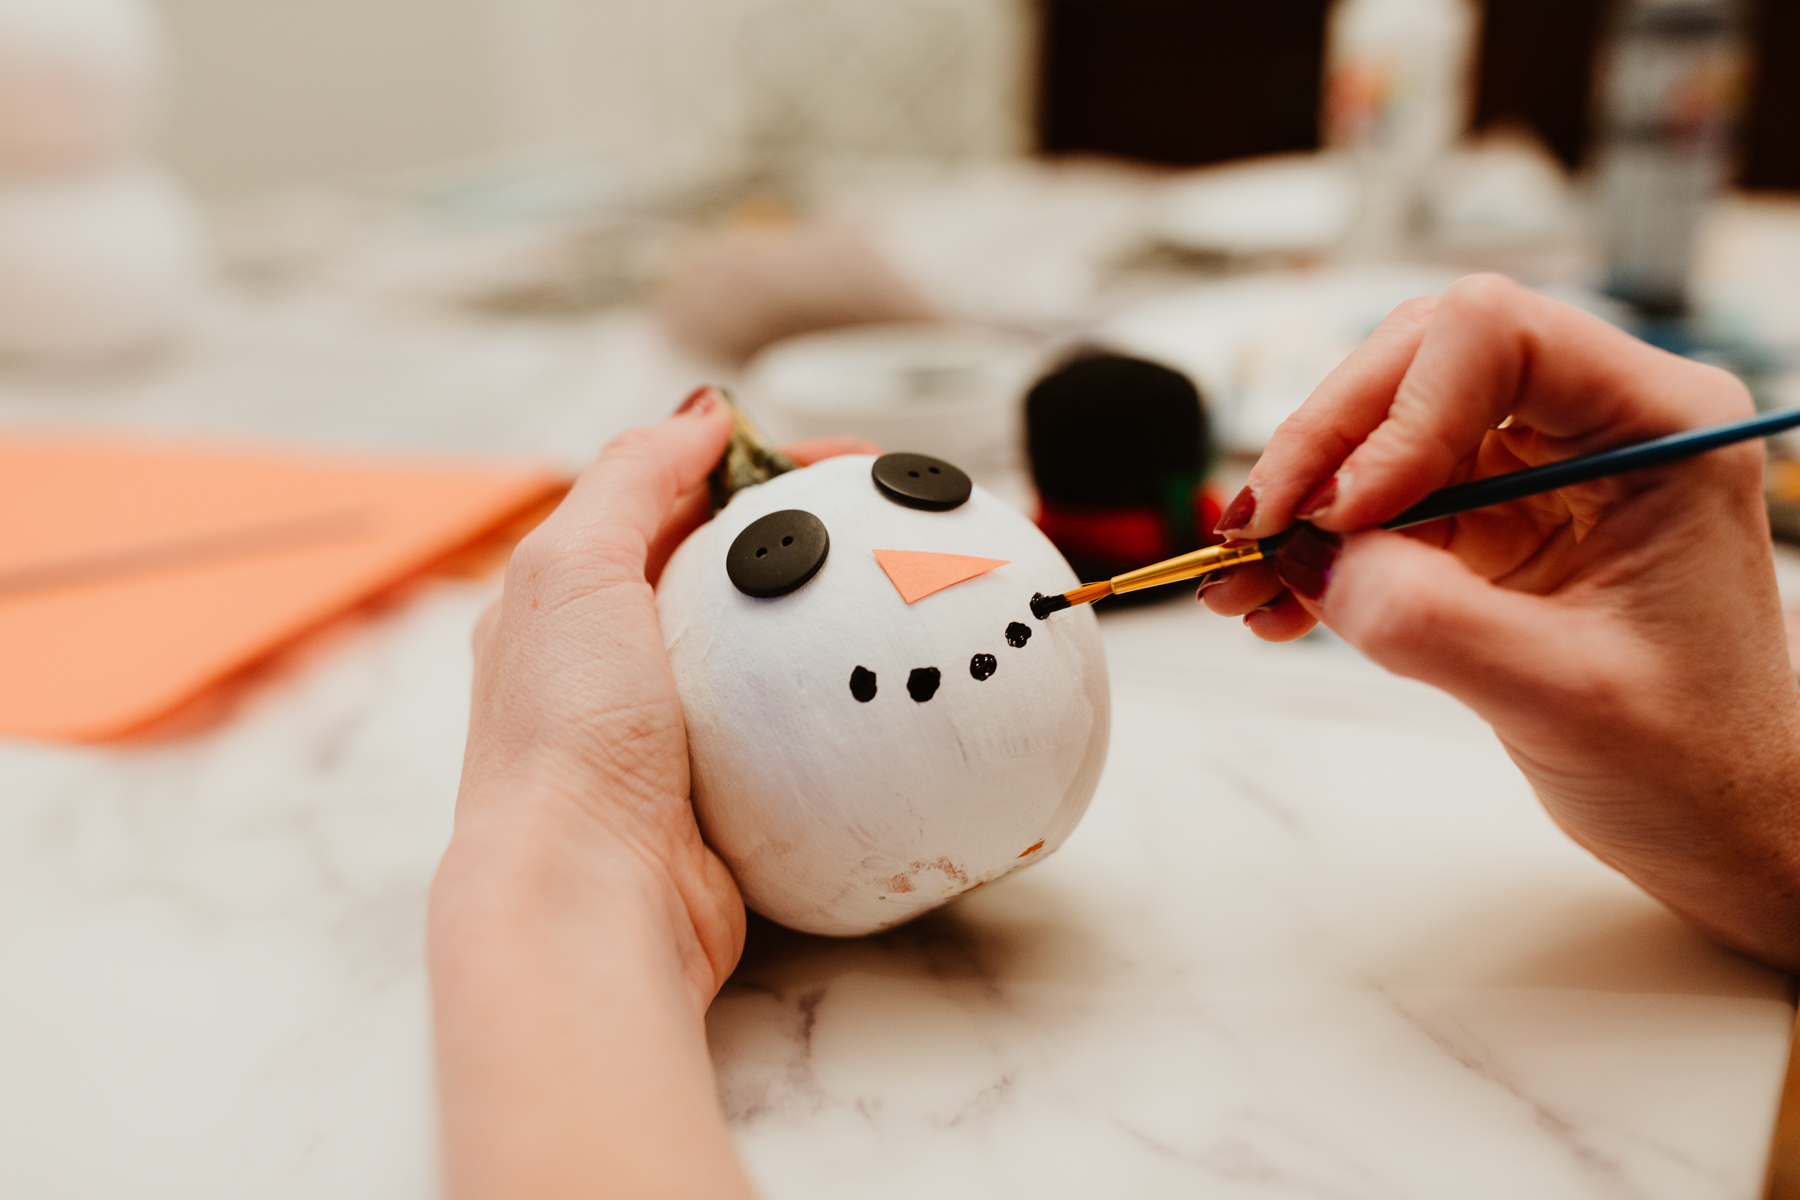
Snowman pumpkin: Glue on the buttons, construction paper nose and hat. Tie scarf and paint the mouth! (I removed the head for this stage since it was a bit easier to paint this way, haha.)
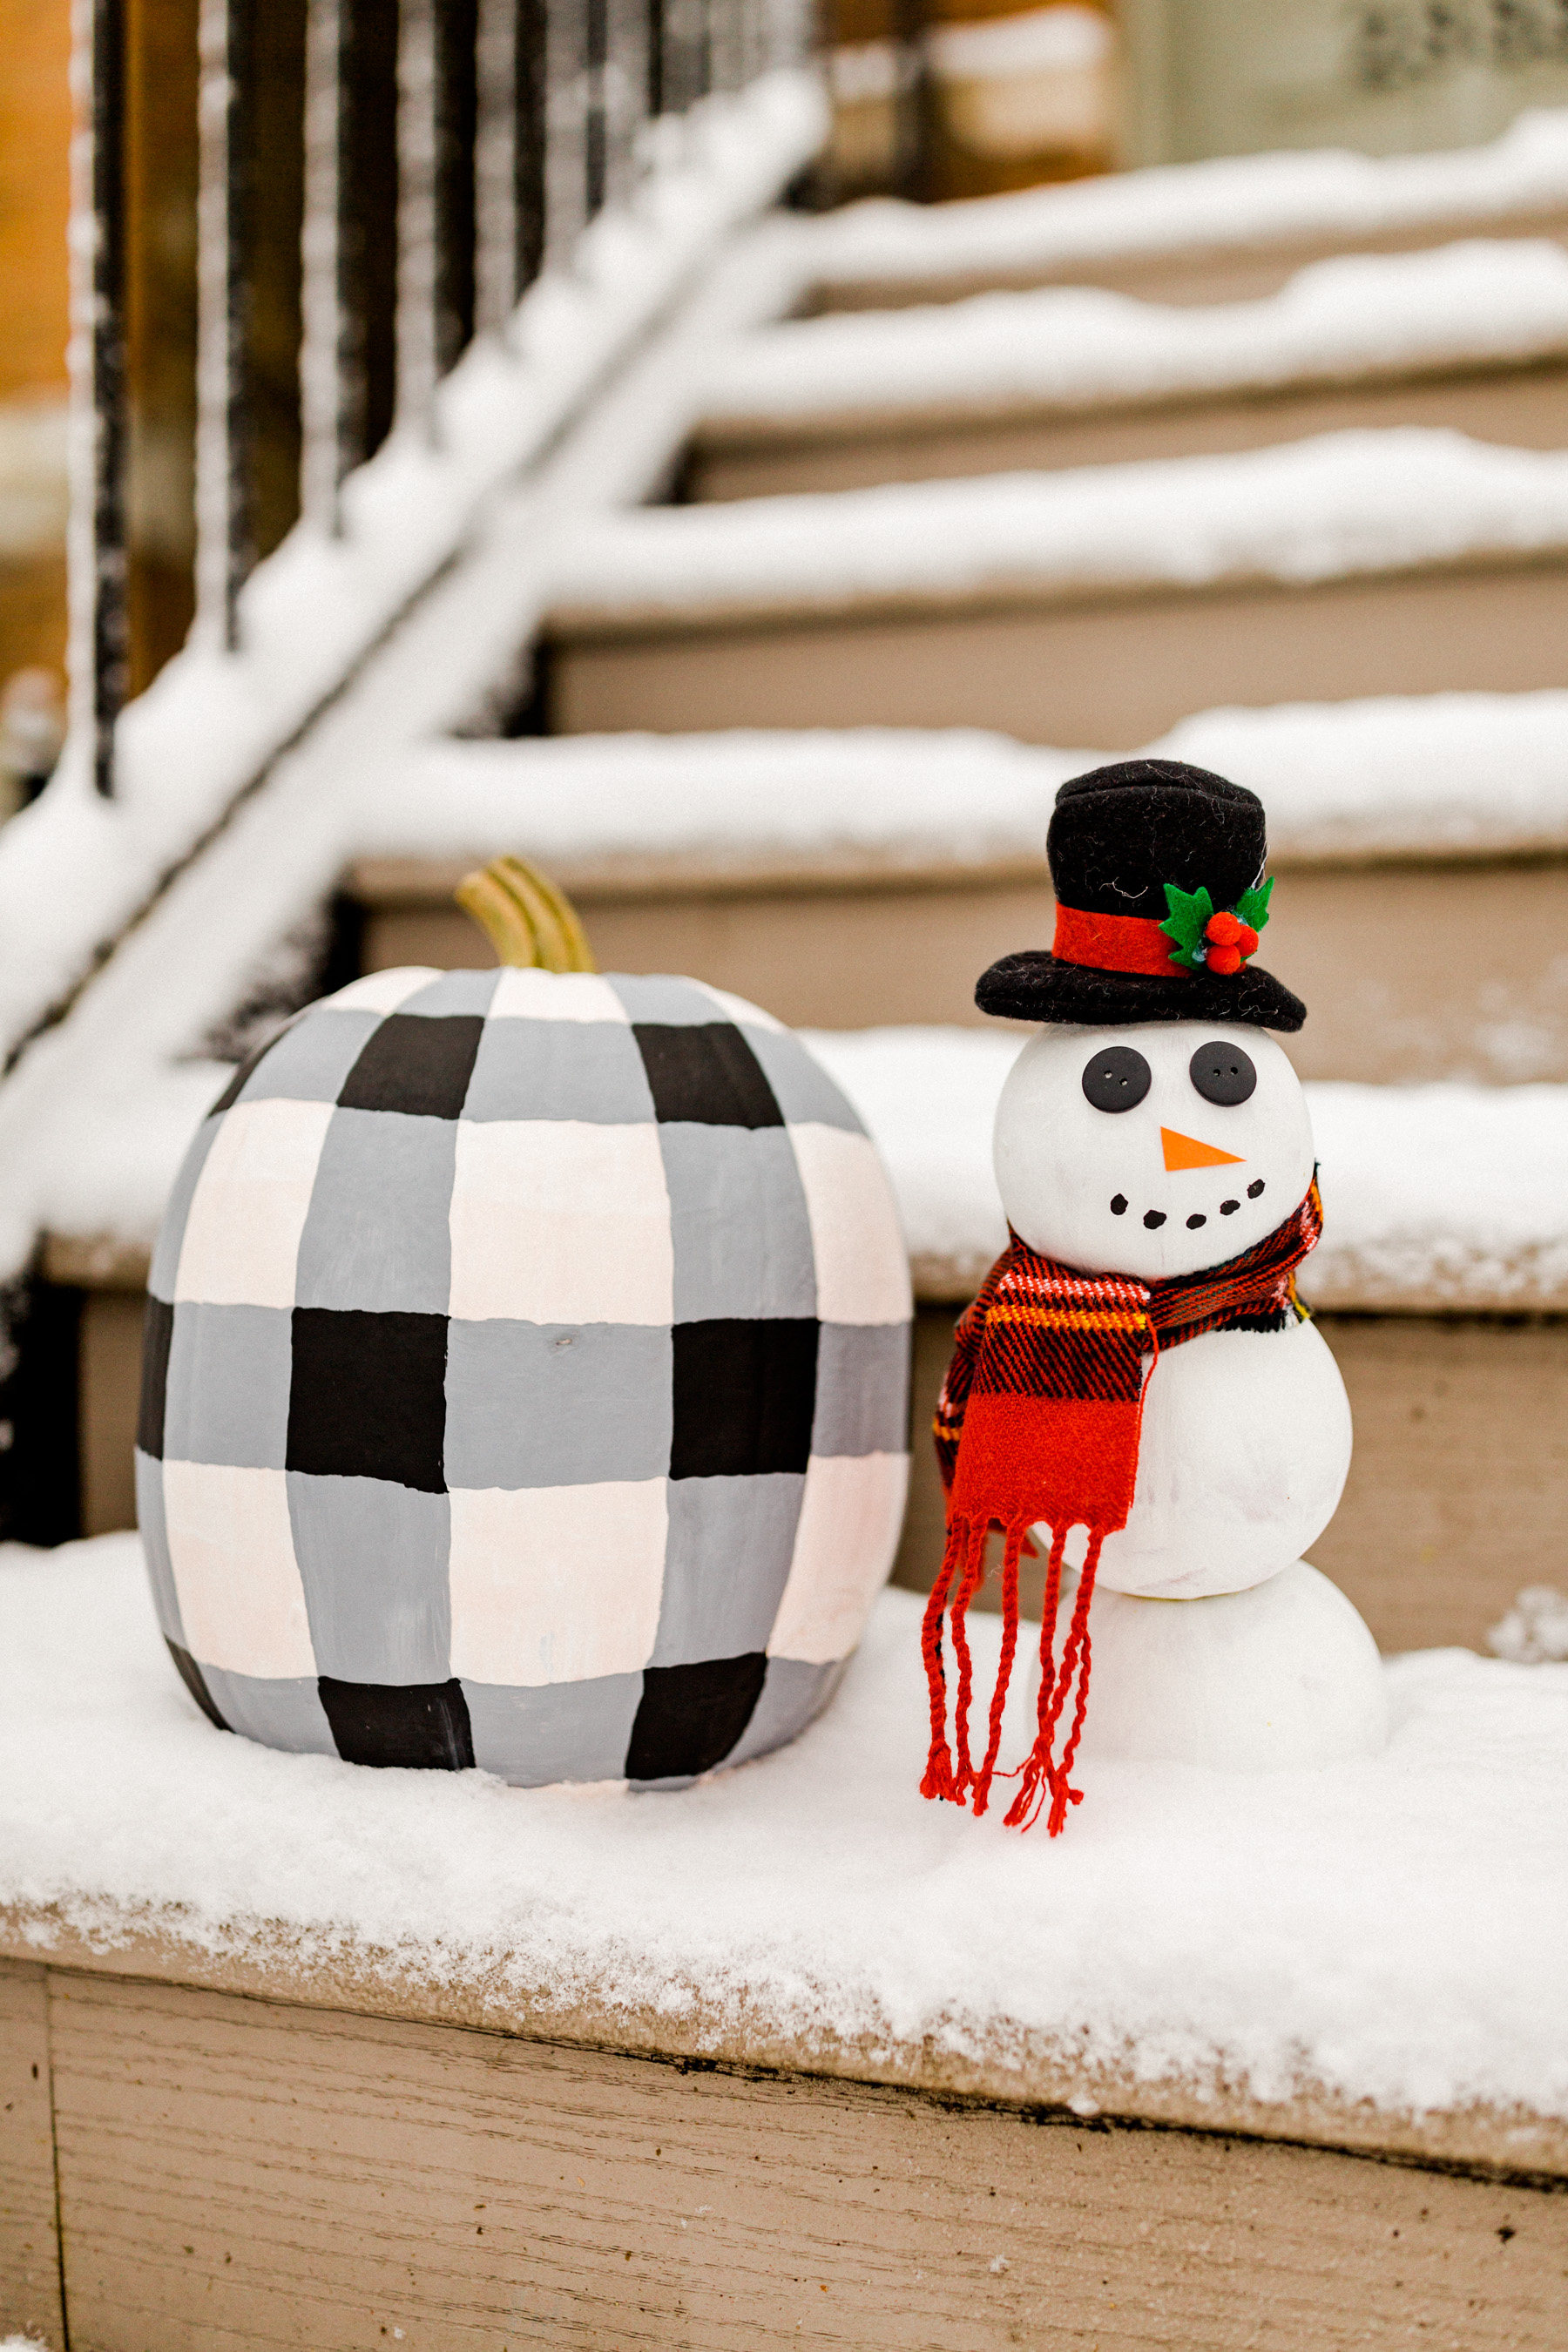
Step Five
Let dry and display!
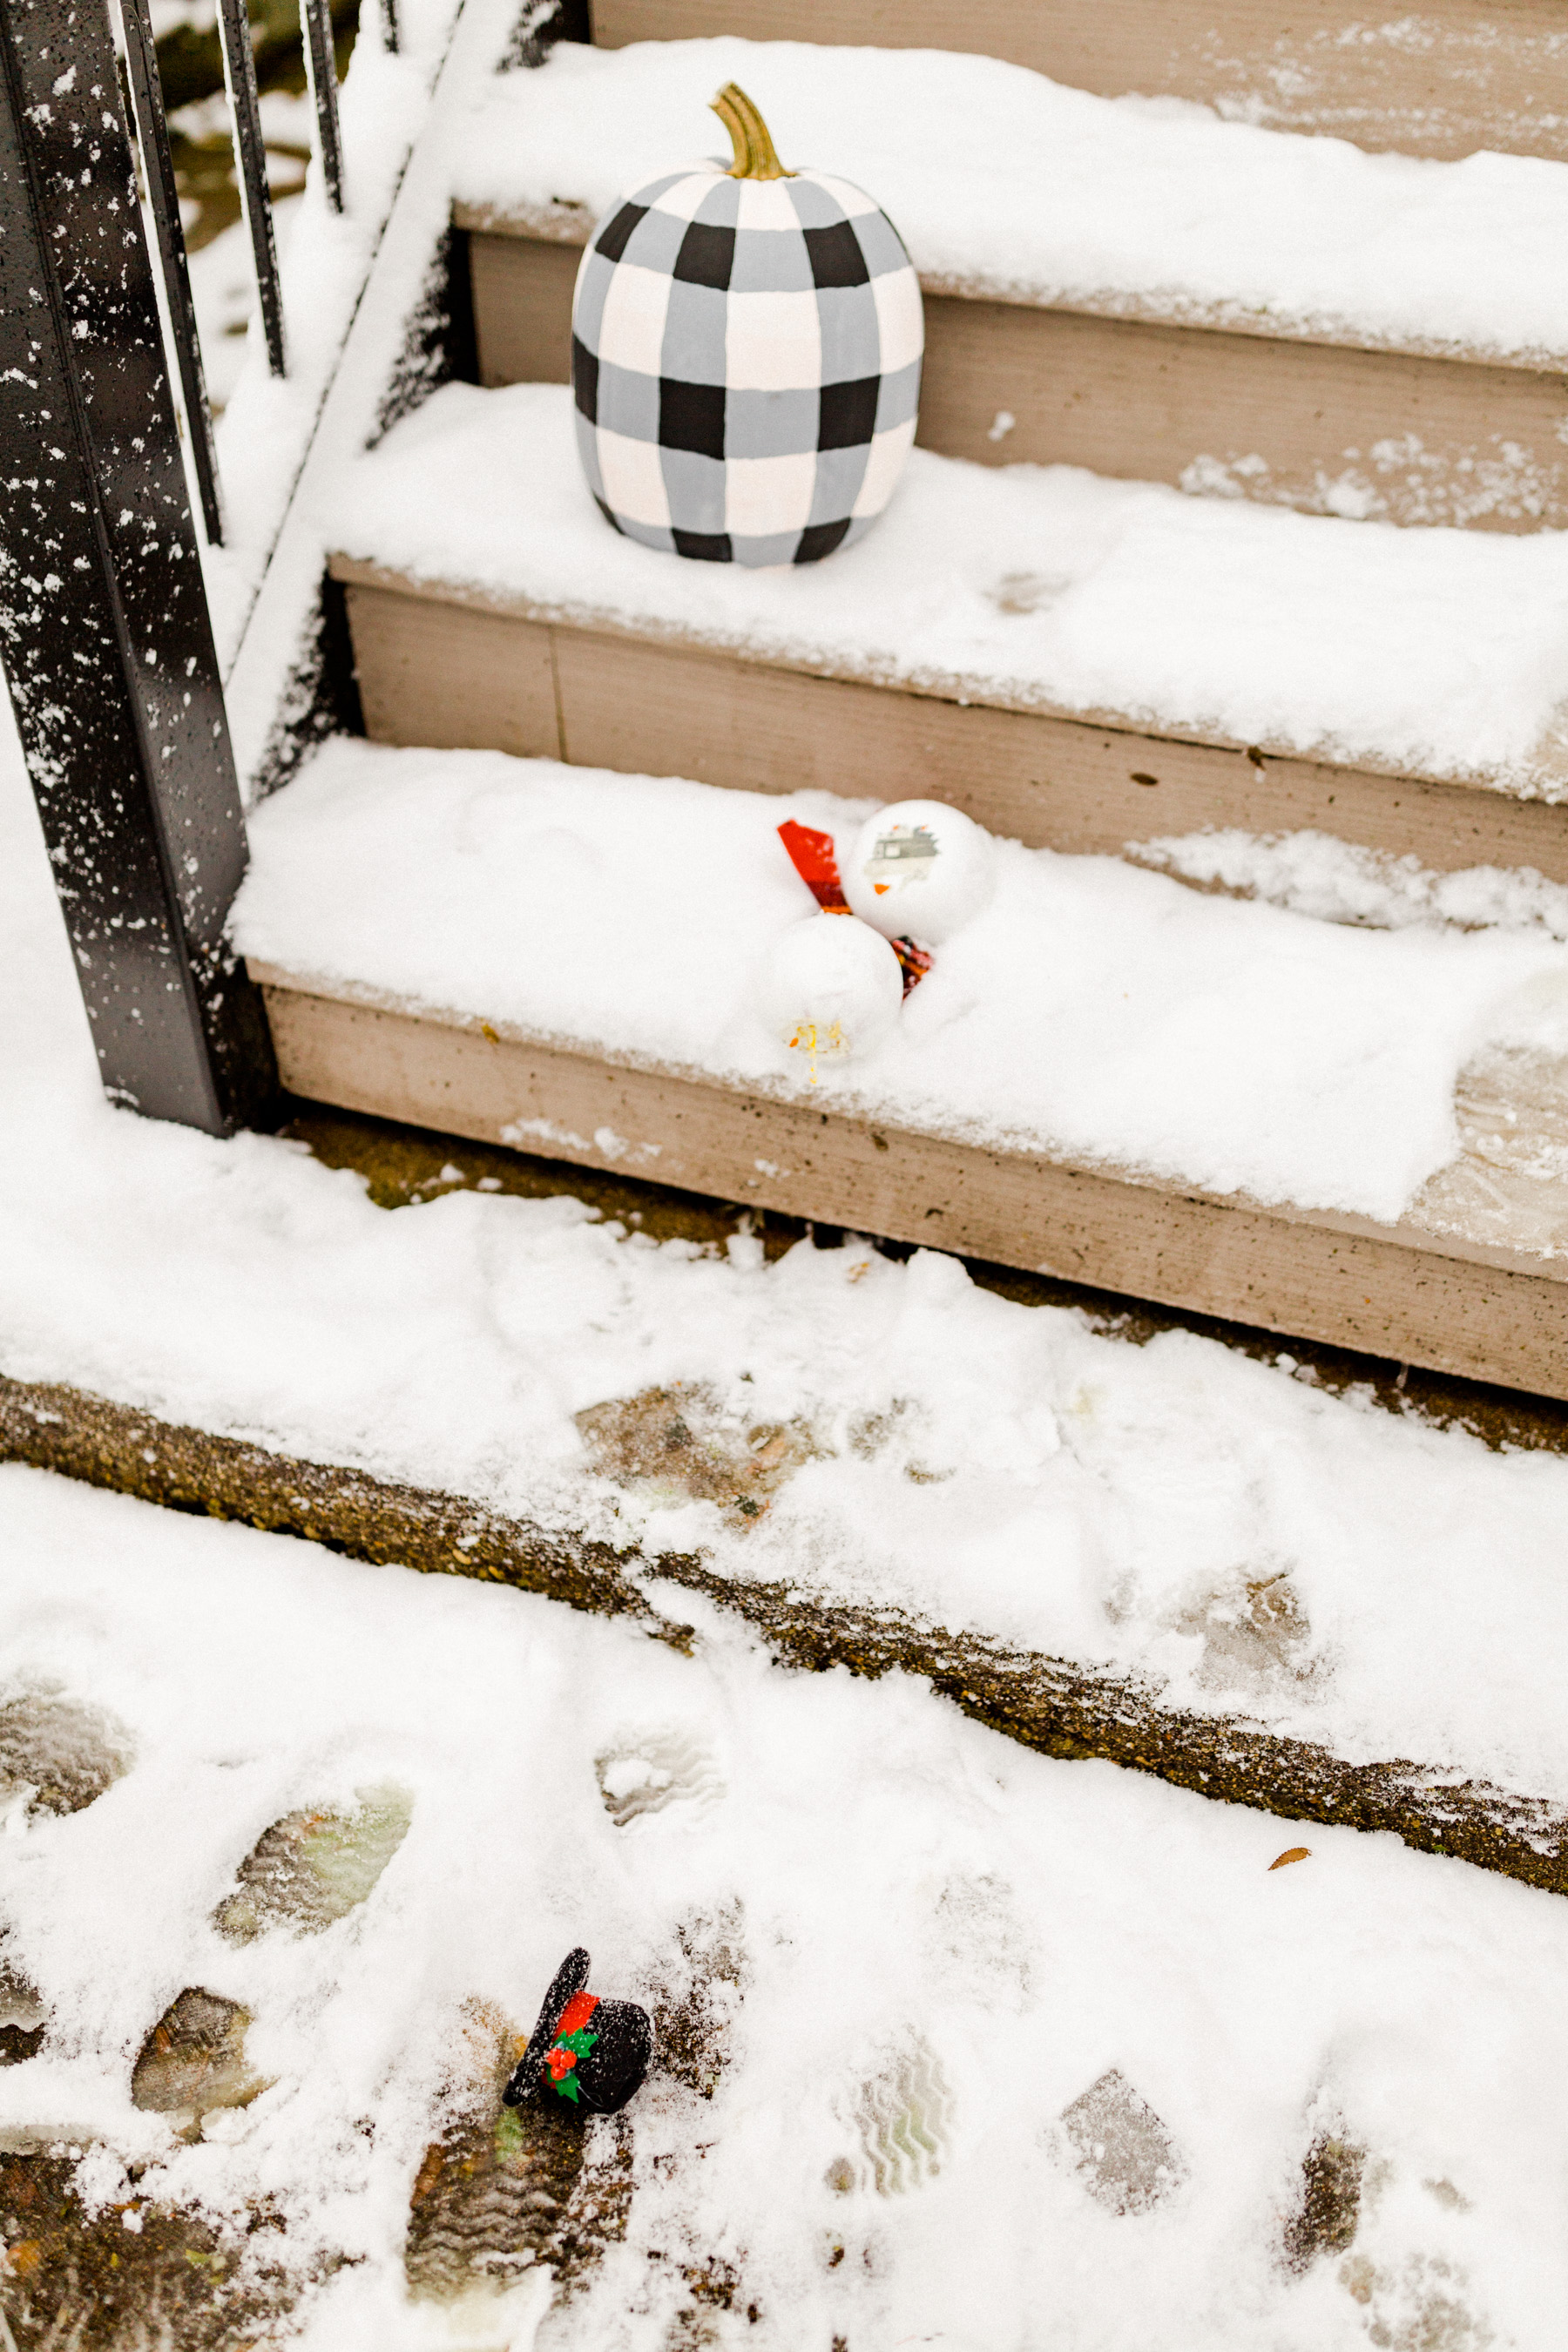
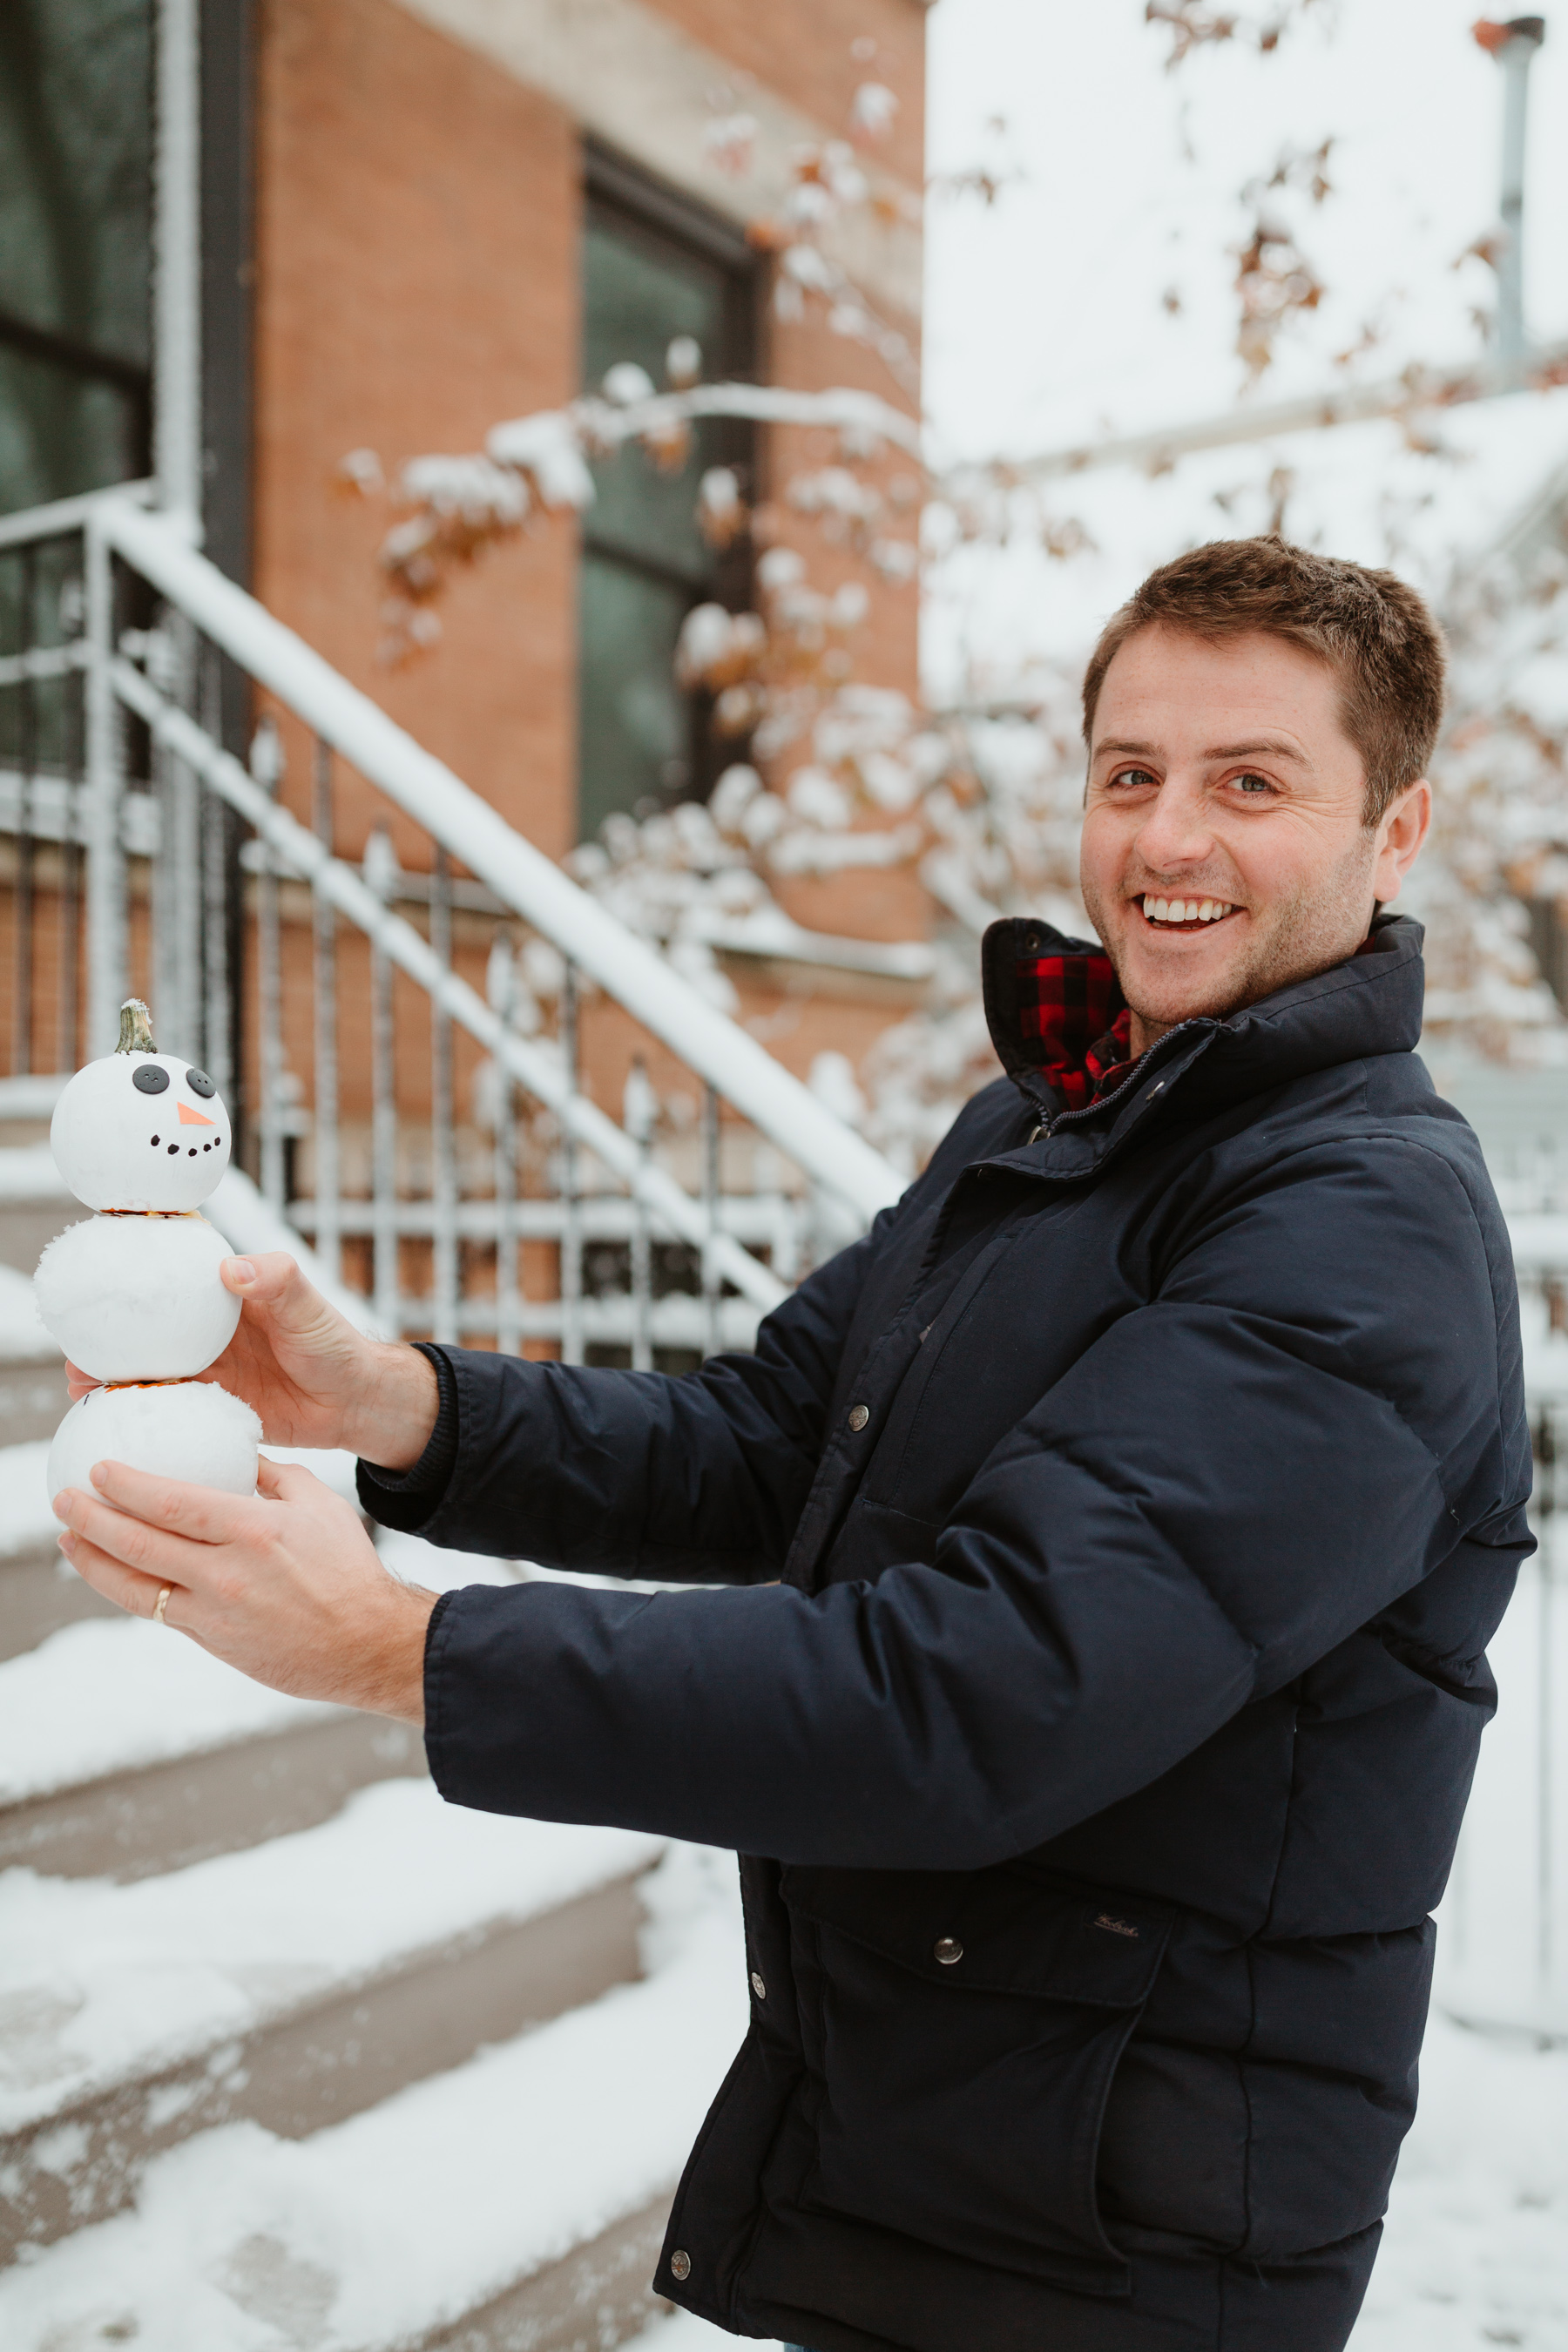
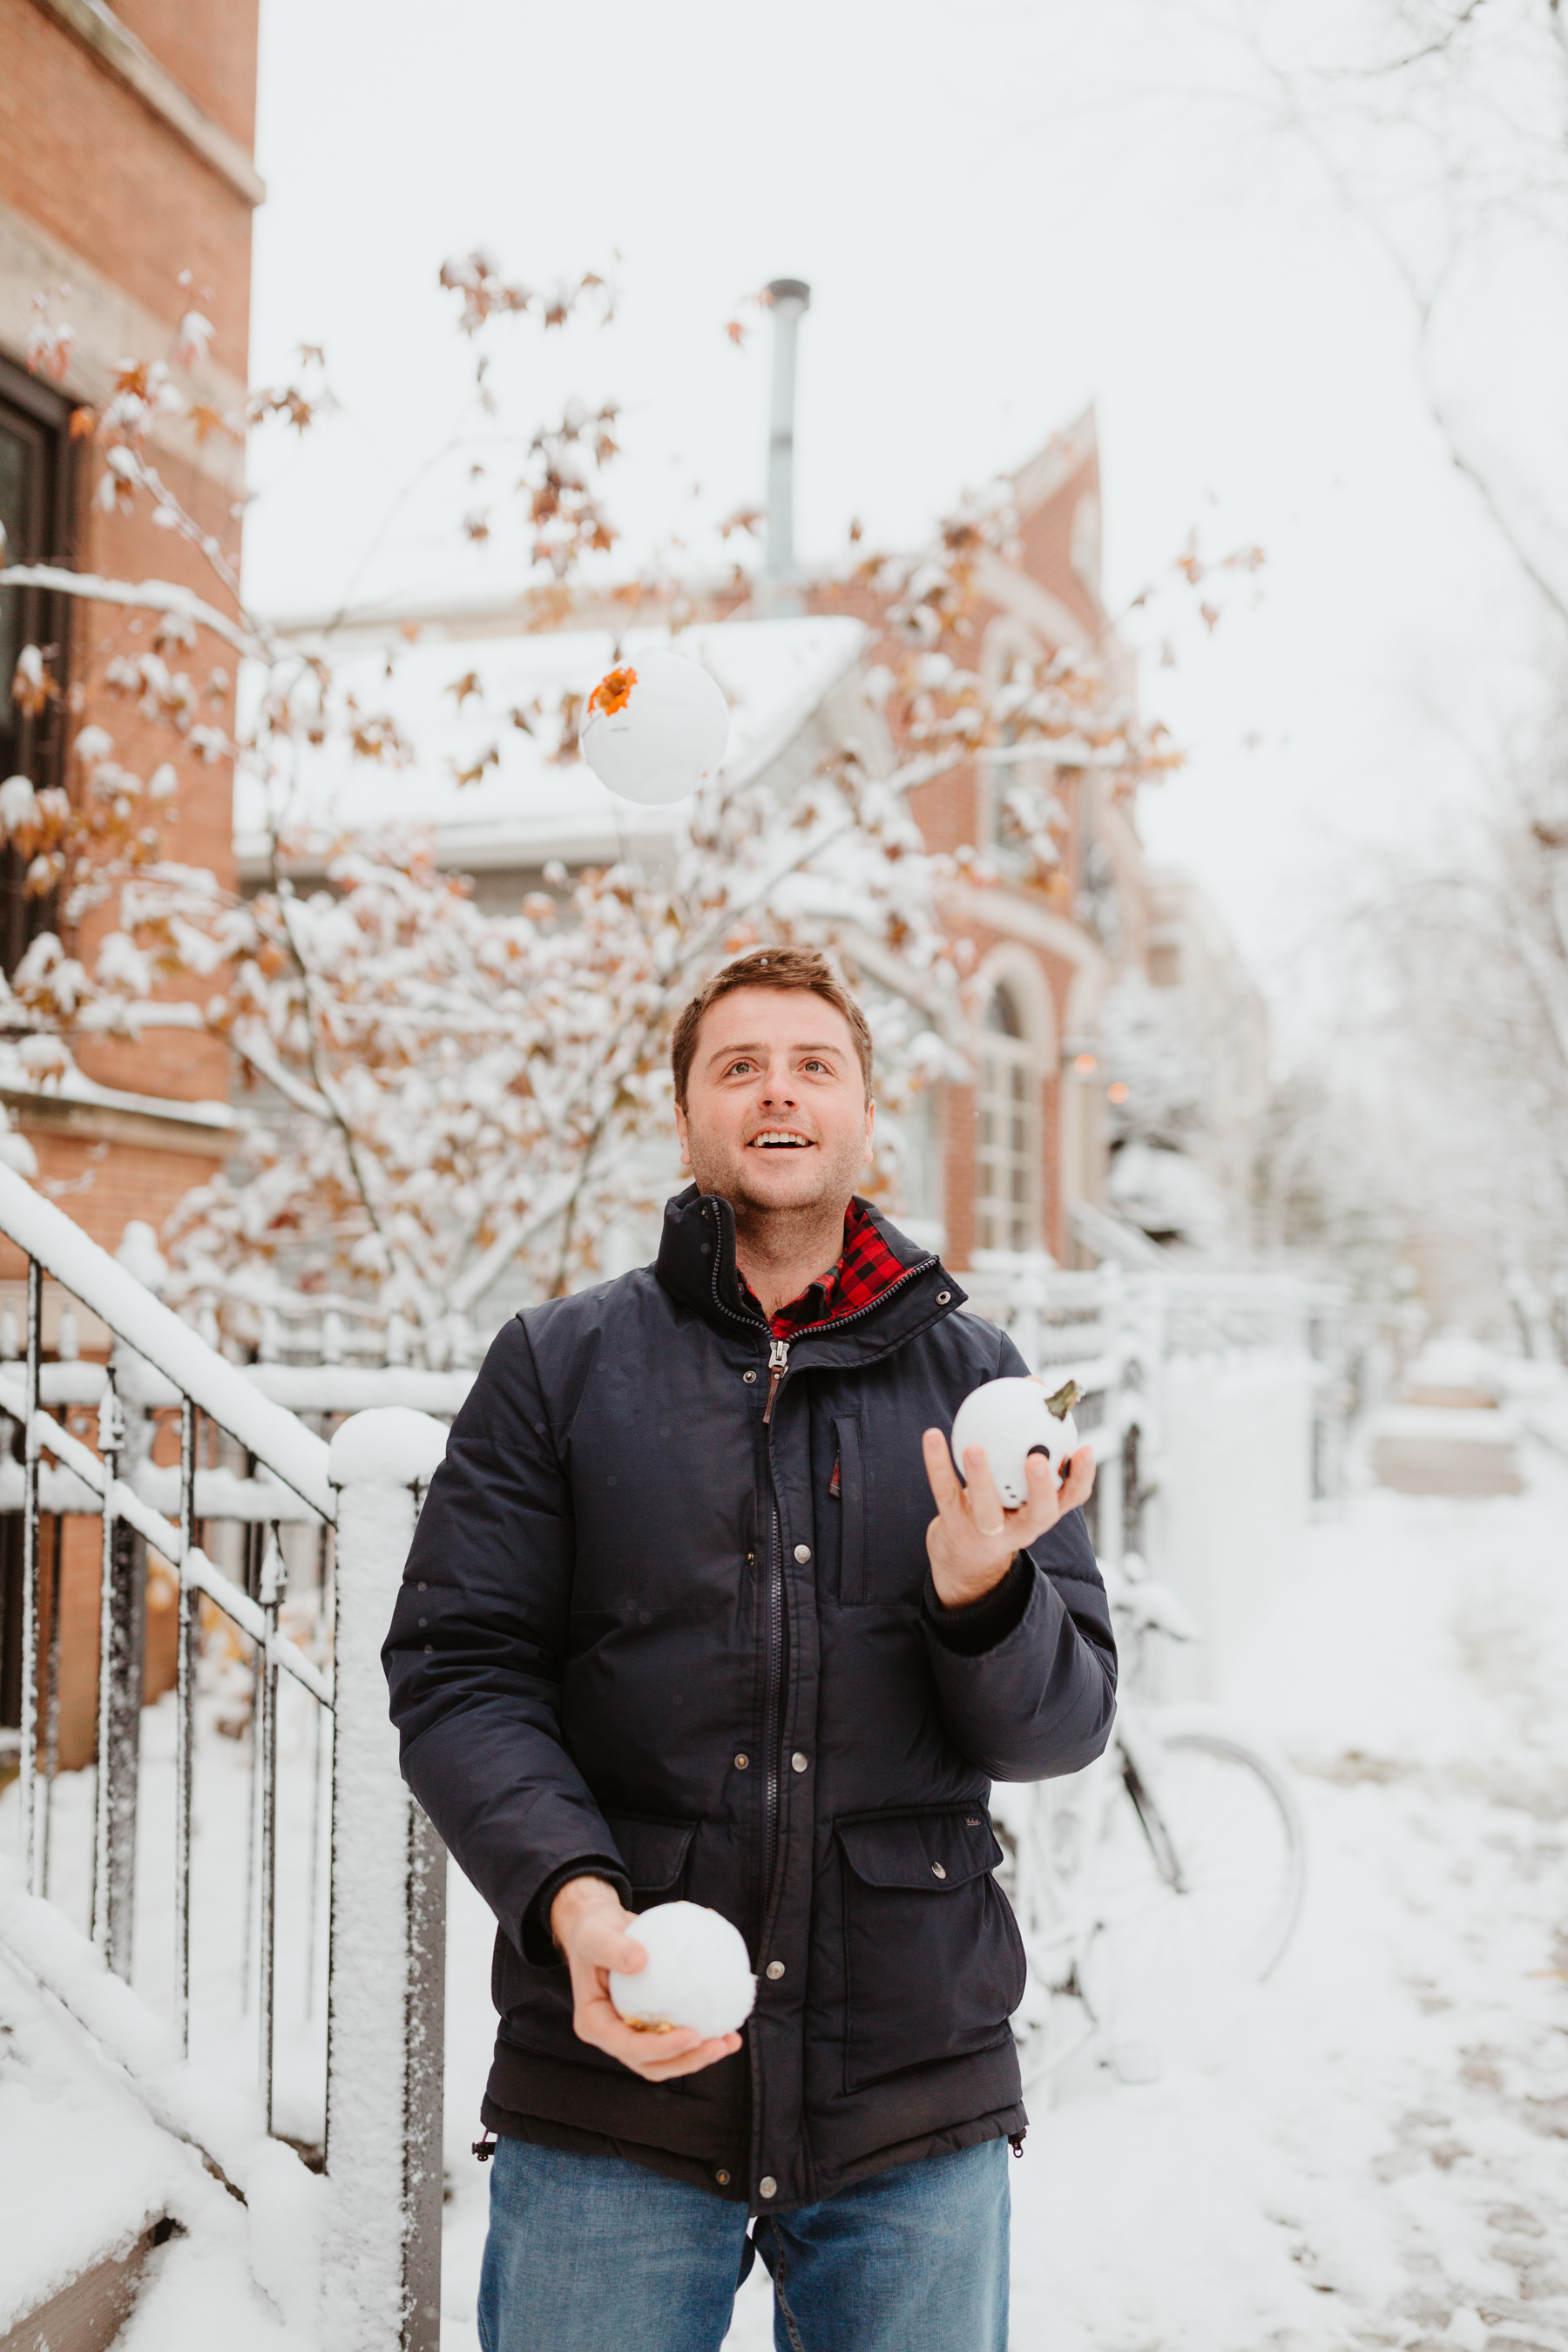

Pro Tip
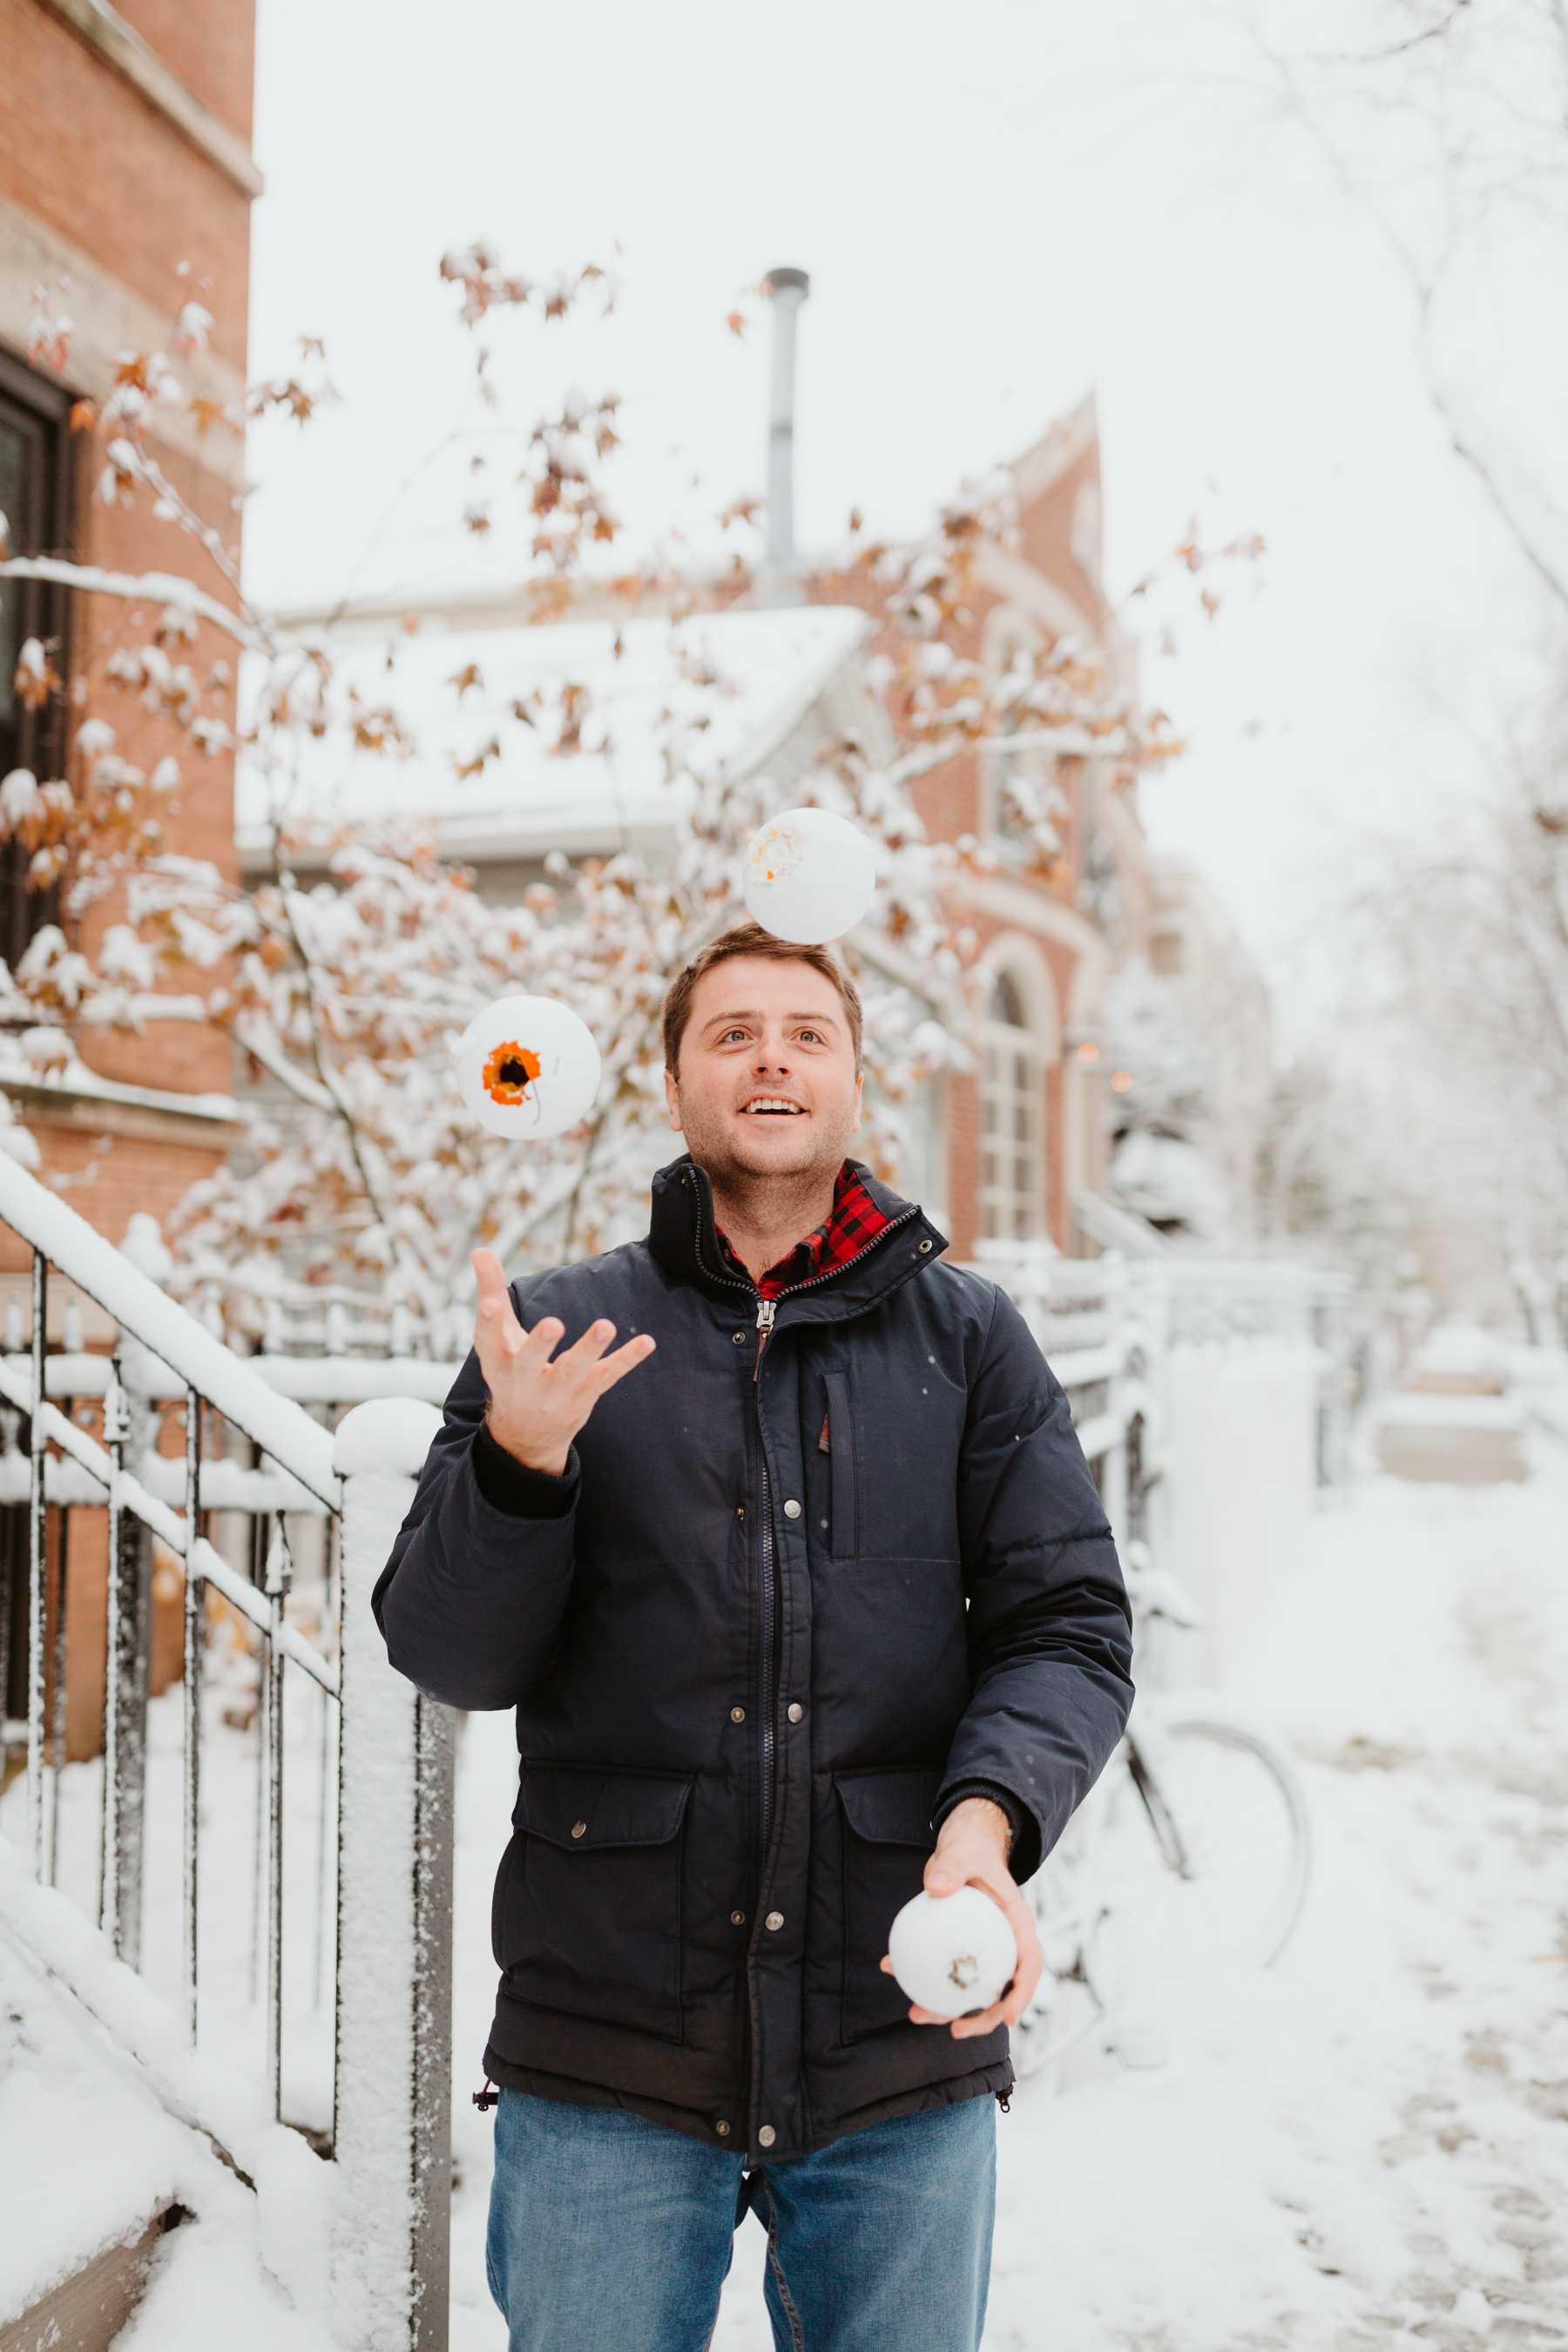
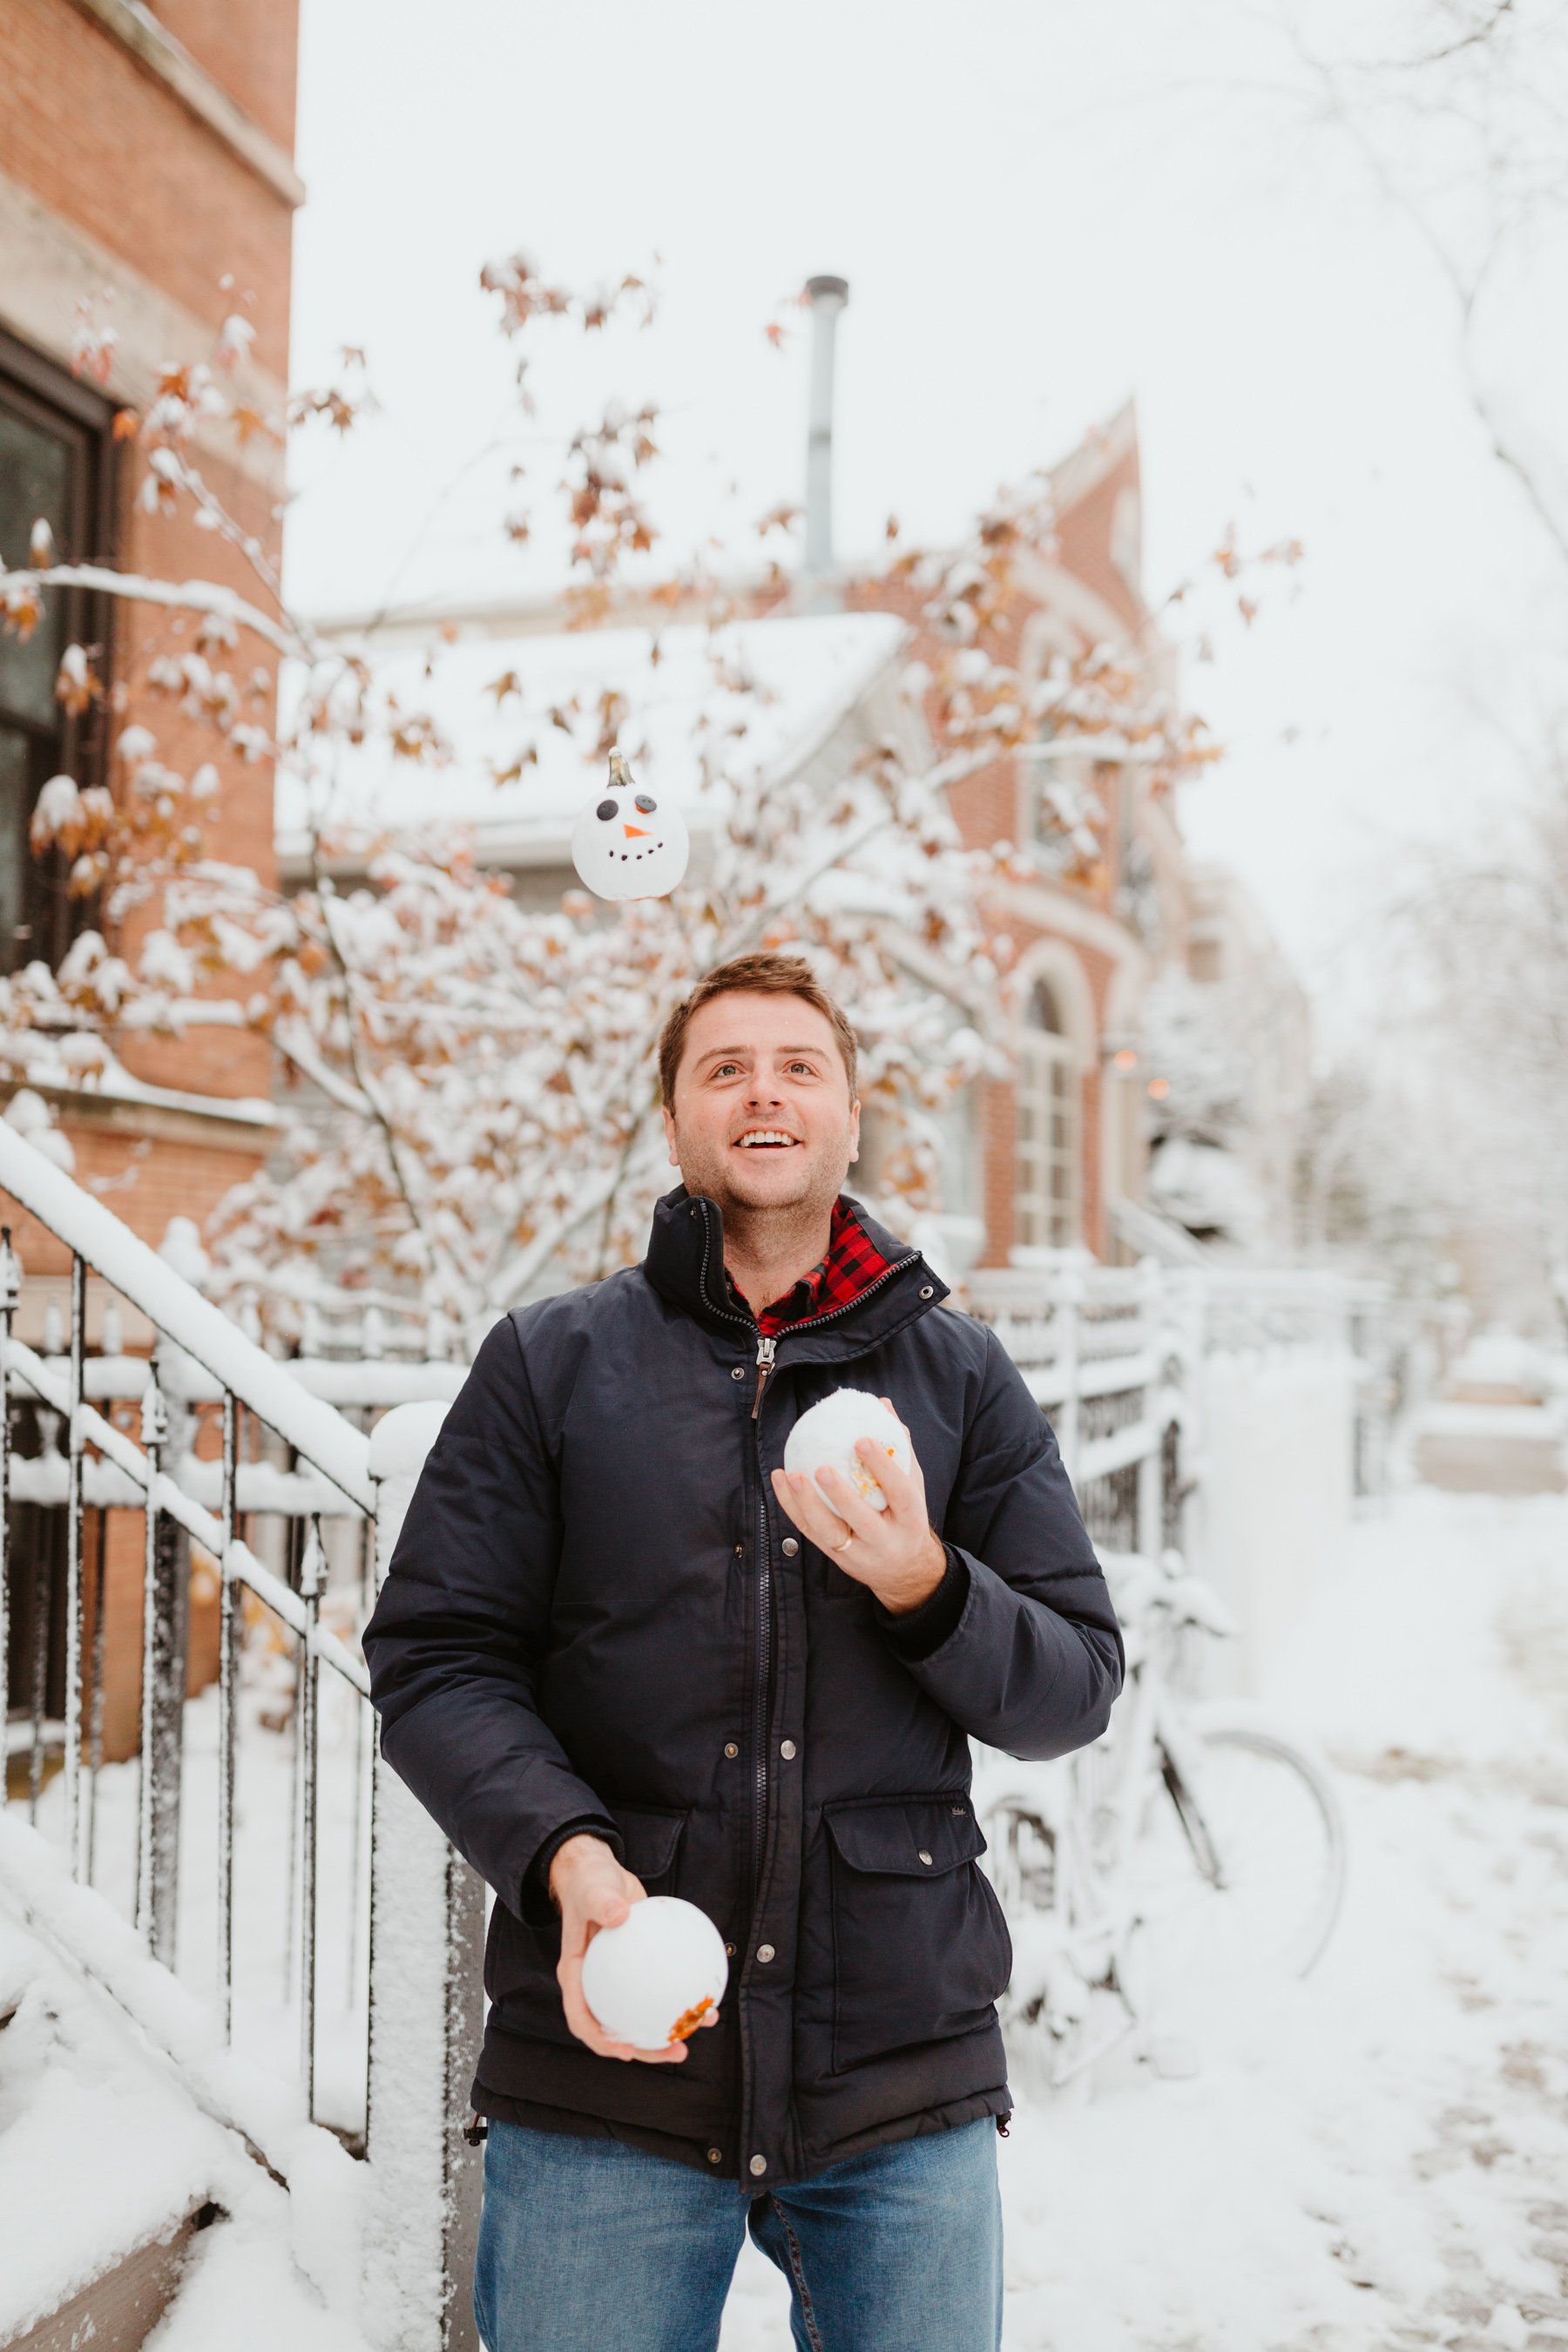
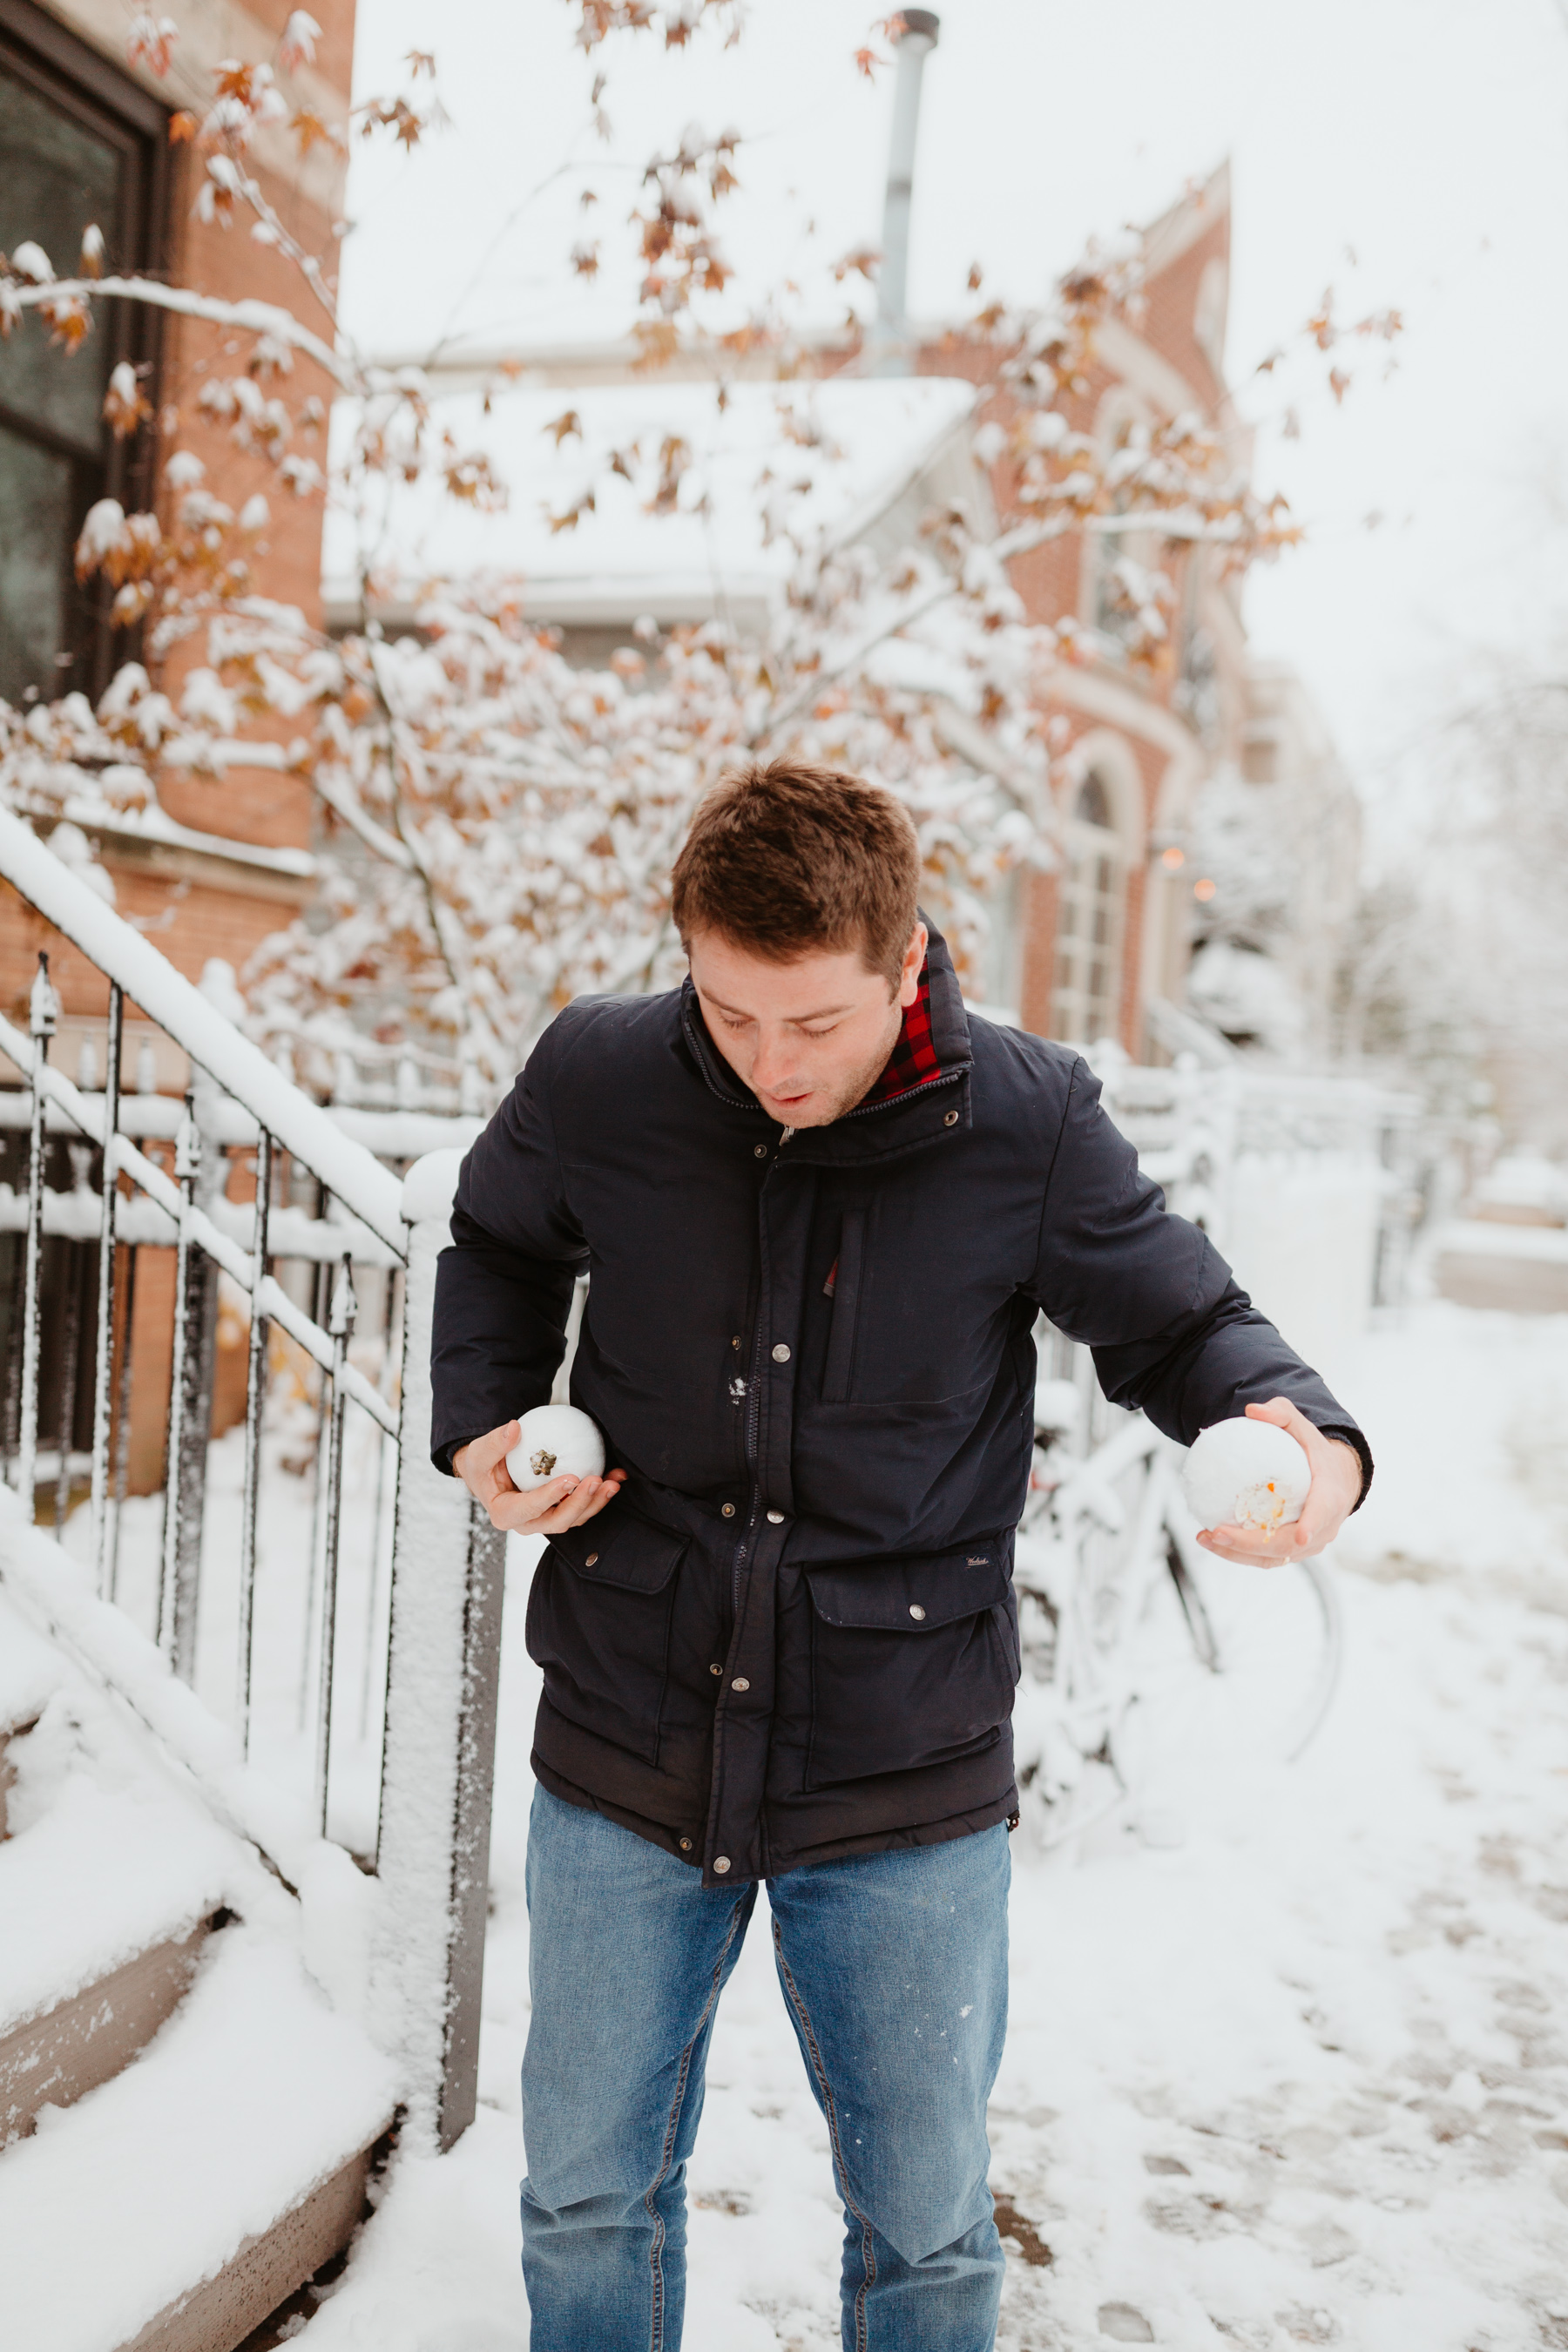
Don’t drop your snowman pumpkin and then juggle his body or he’ll end up like this.