


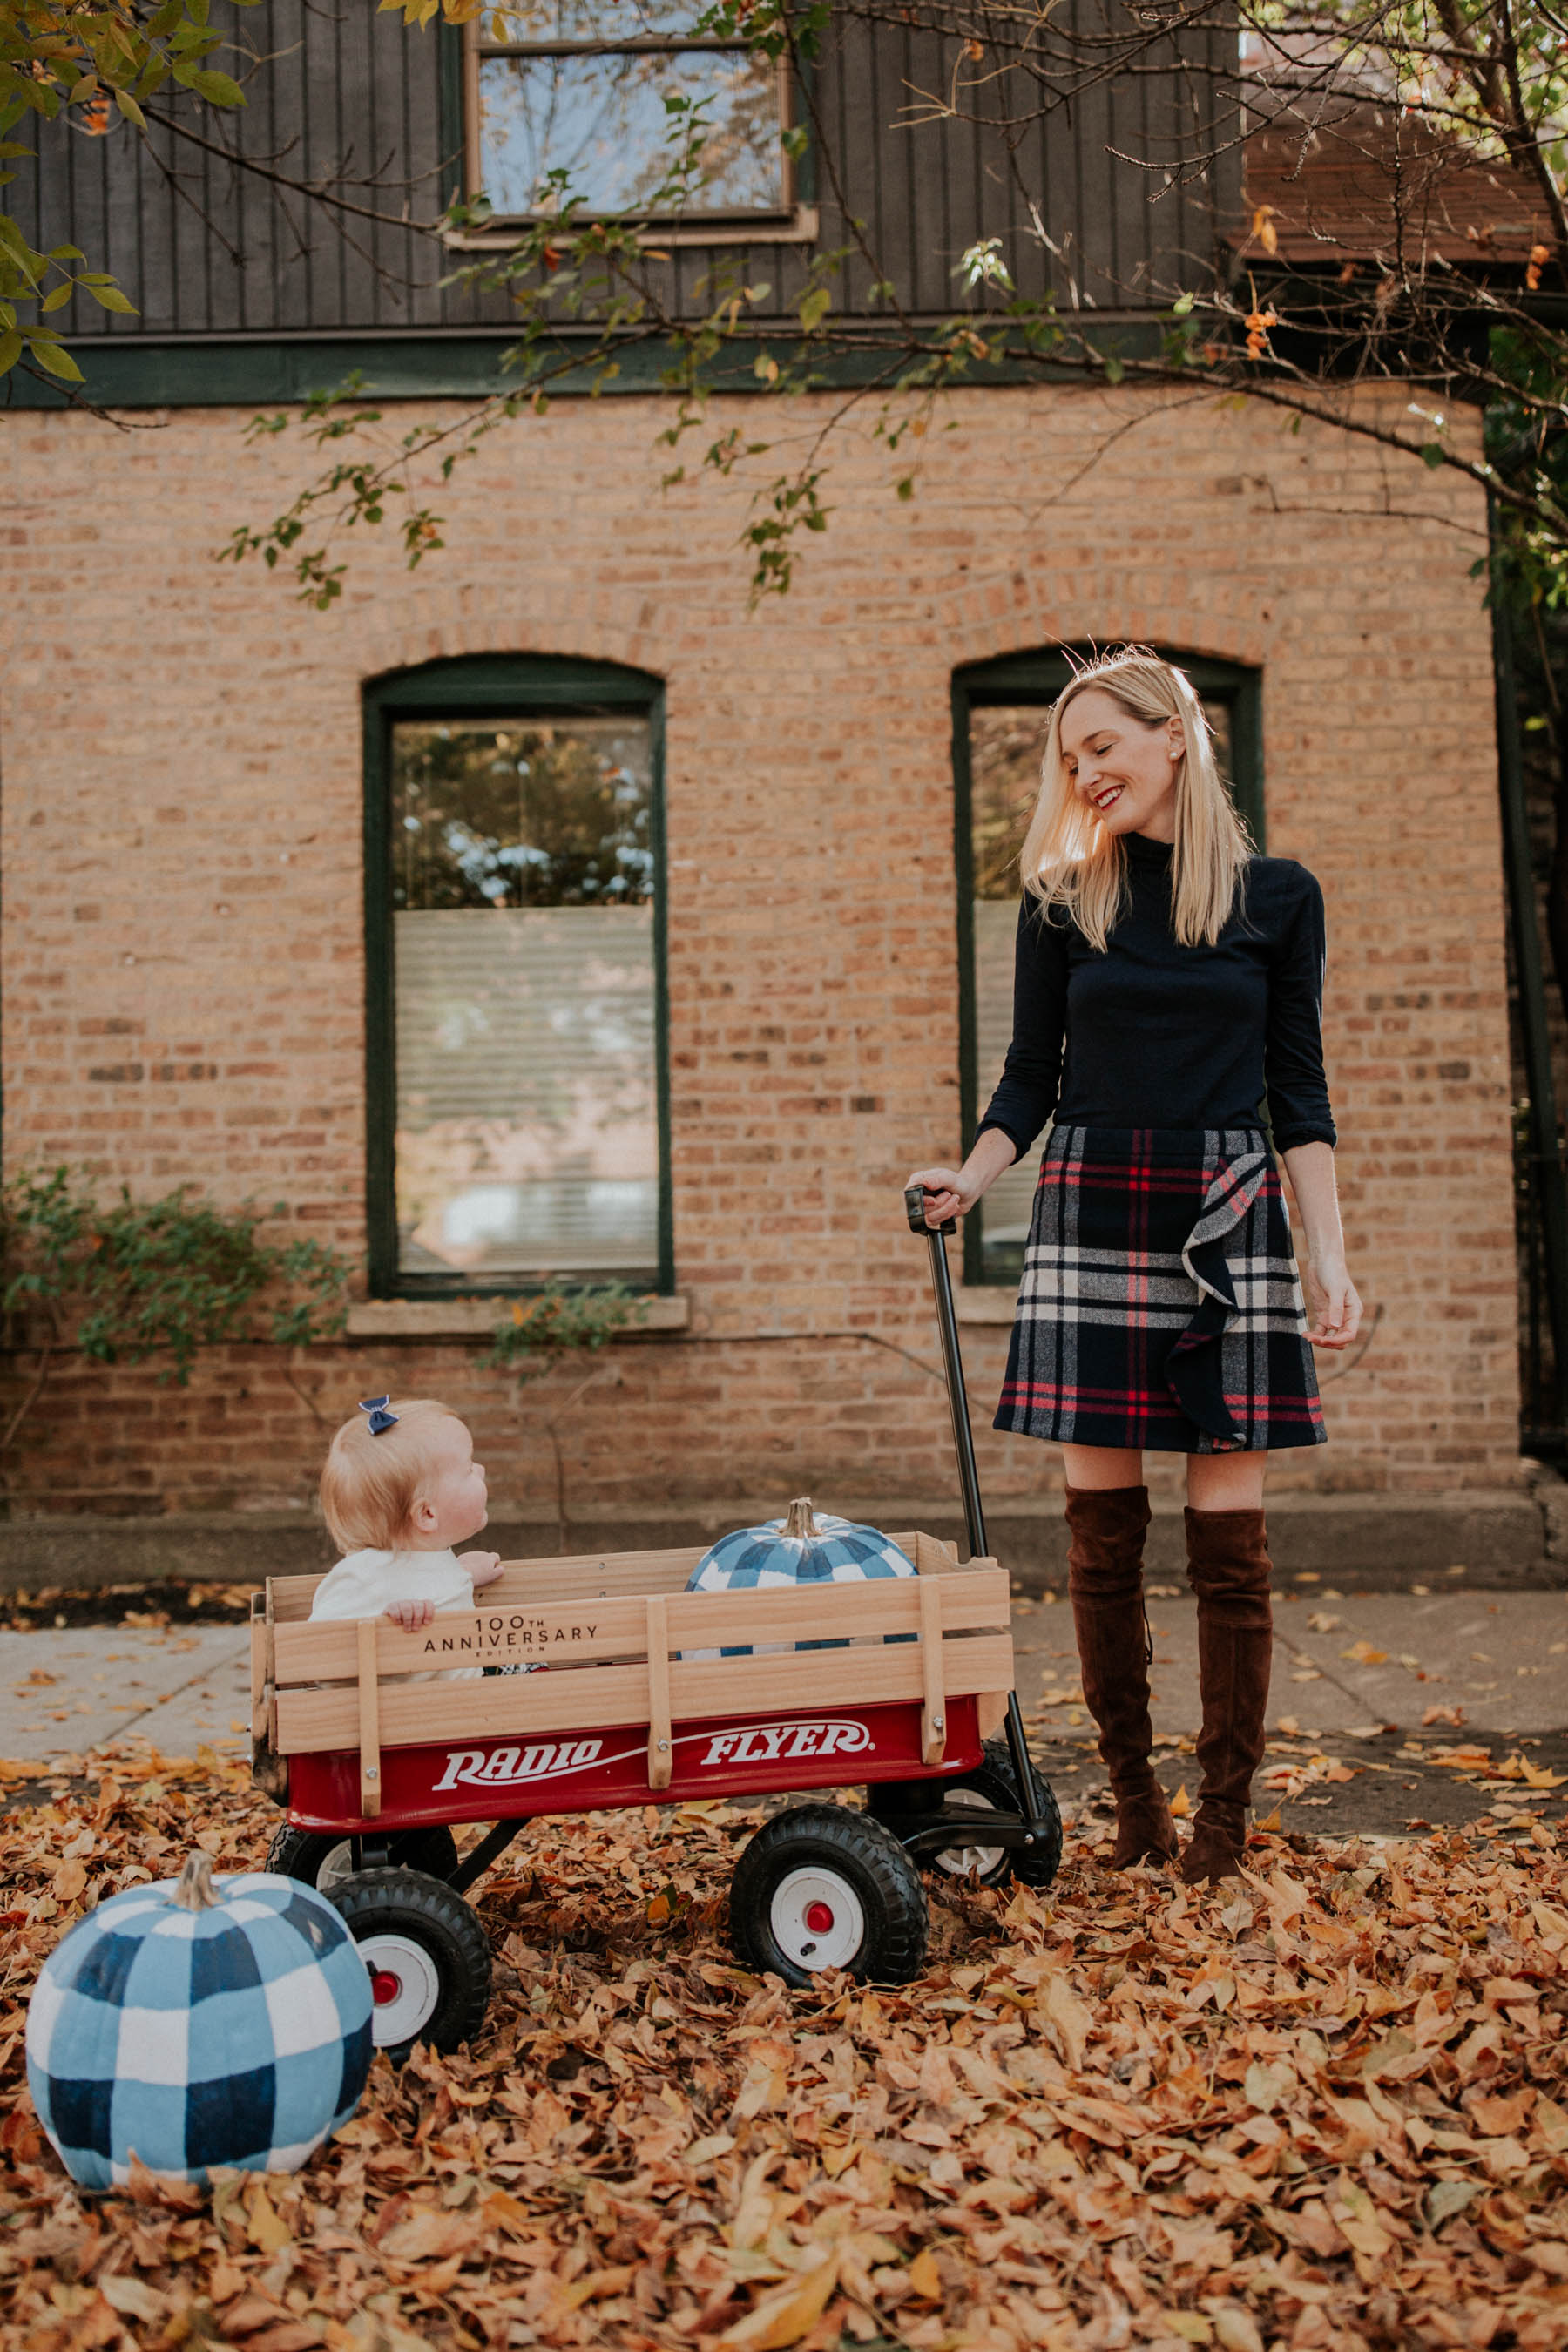
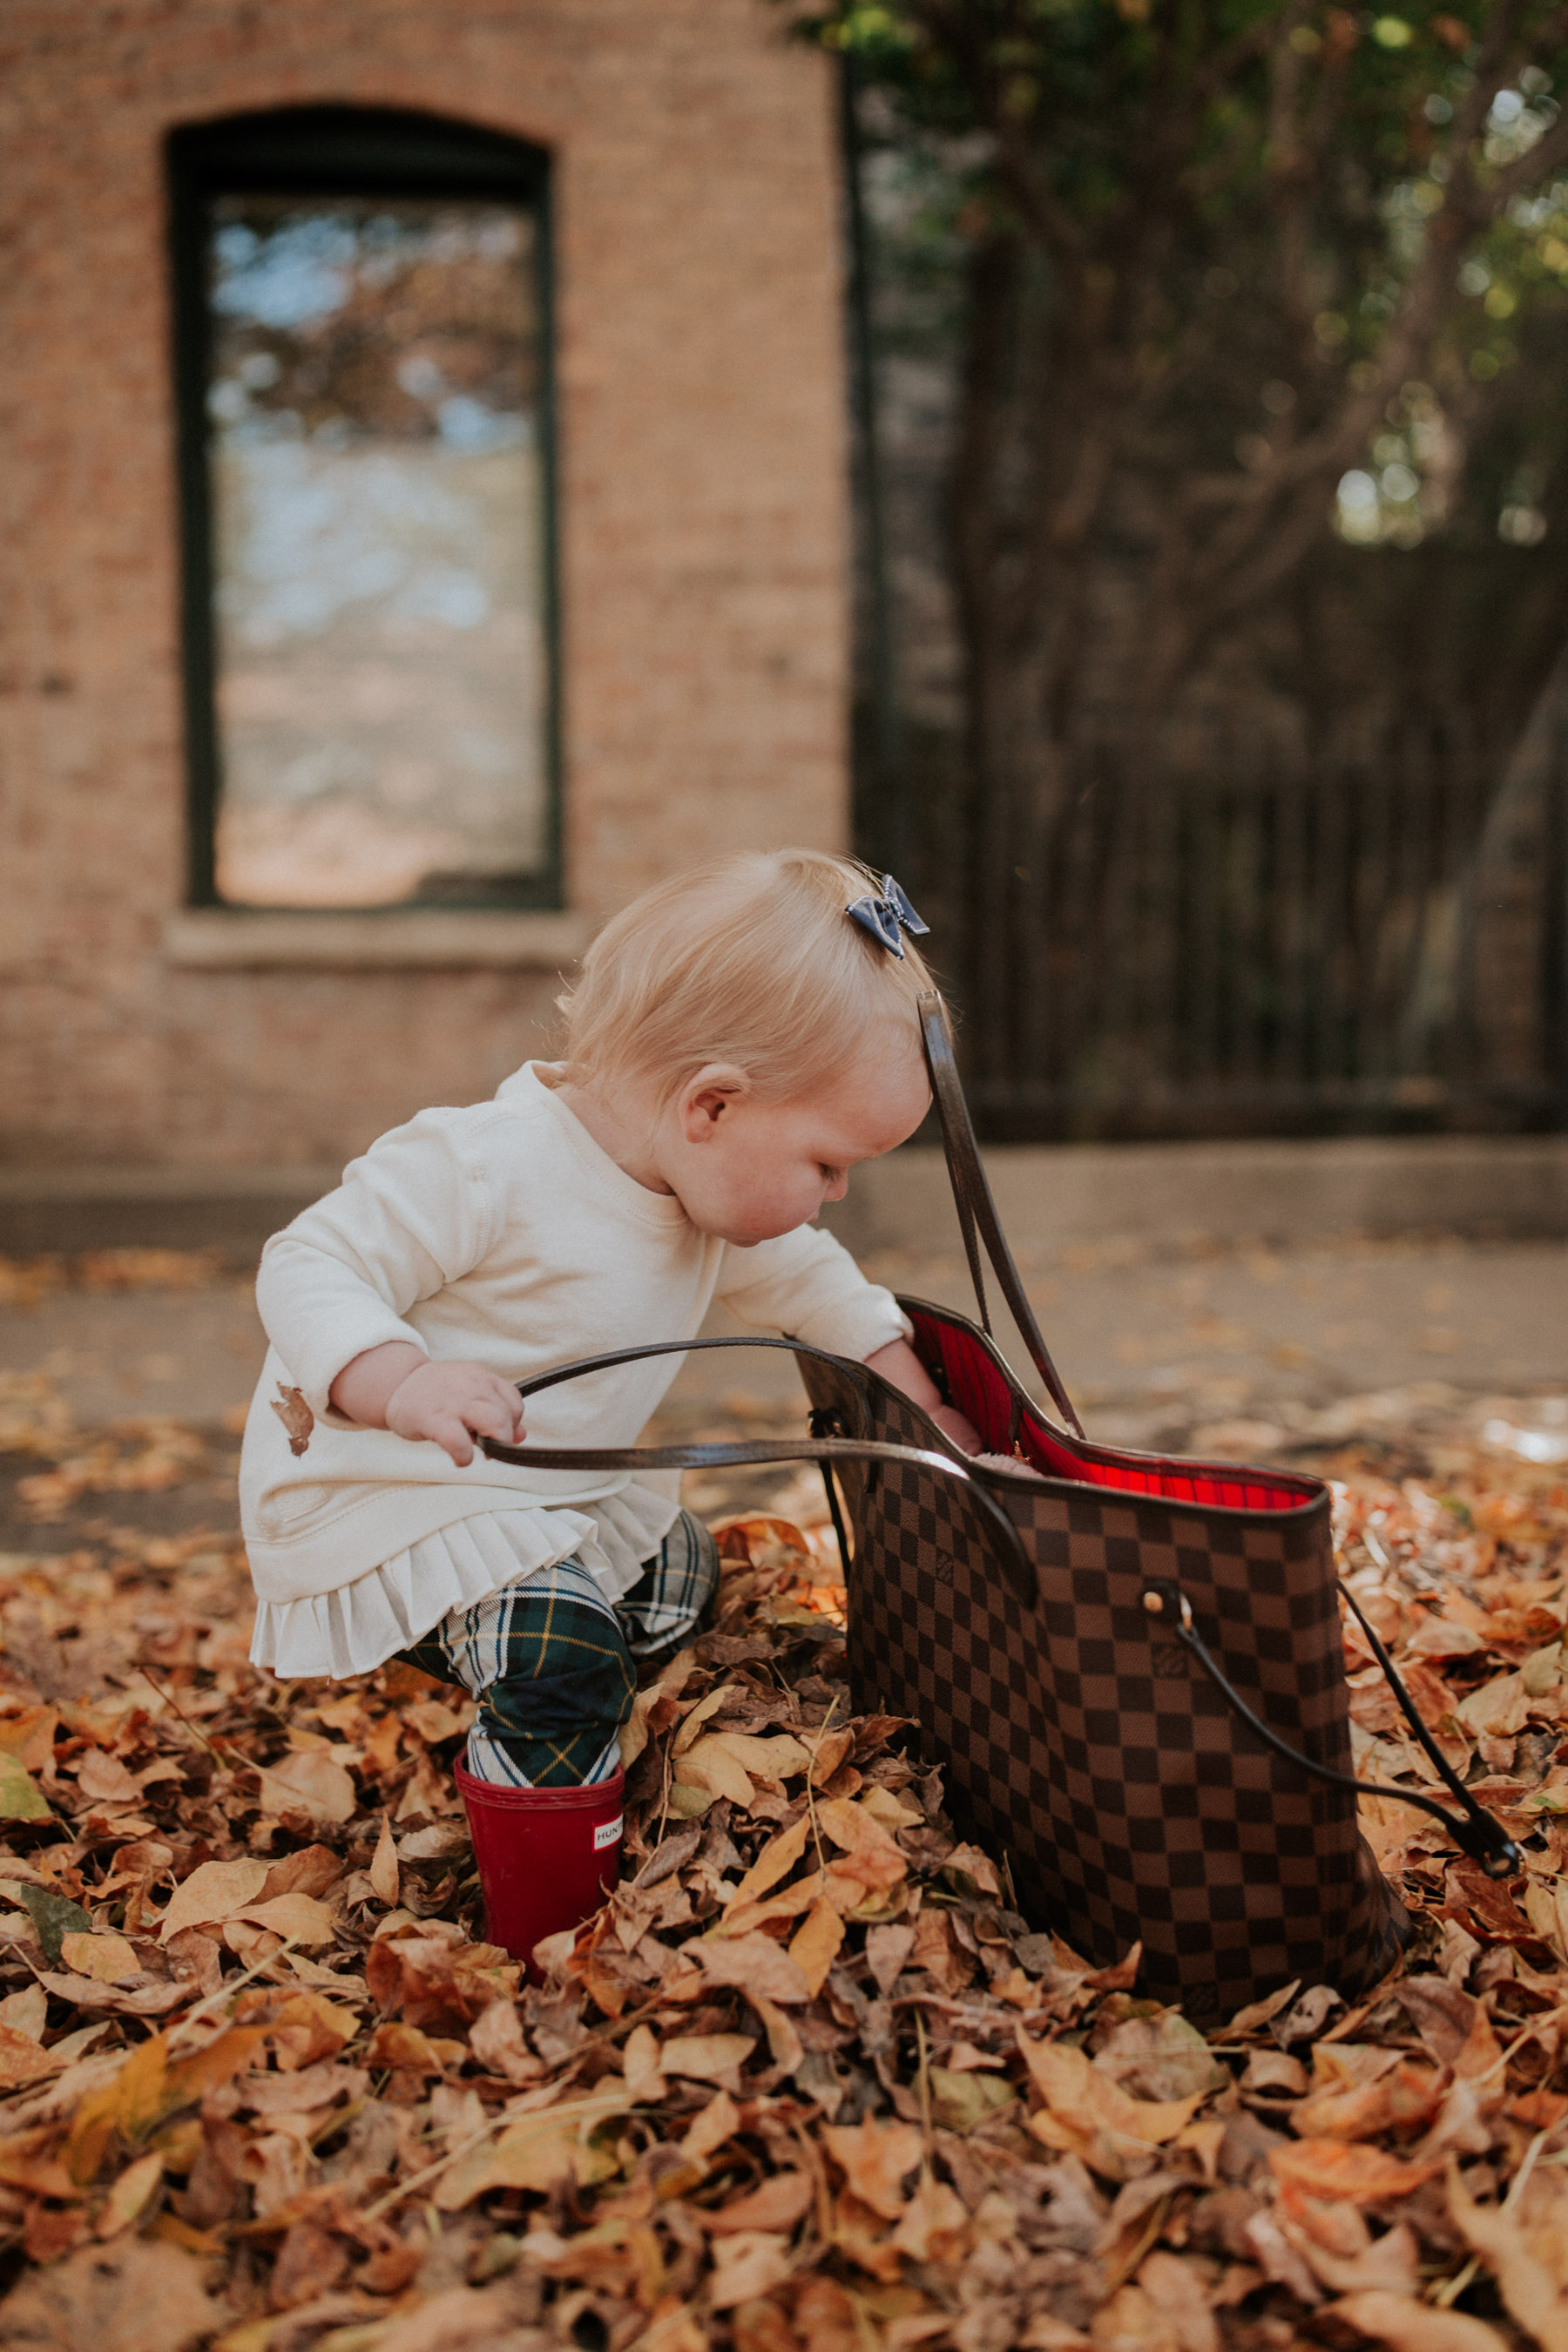
Plaid Skirt (Also adore this ruffled houndstooth skirt as well as this corduroy skirt.) / Sweater Blazer (Also love this version!) / Striped Tissue Turtleneck (Here’s the solid, polka dot and leopard-print versions.) / Stuart Weitzman Boots (But love this waterproof pair, this version with a heel, and this classic pair by Tory Burch.) / Louis Vuitton Tote Size MM (Available here, here and here. Looking for an affordable brown tote? I LOVE this one!) / Emma’s Plaid Leggings / Emma’s Hunter Boots (Non-glossy here. Adult version here.) / Emma’s Little Makes Big Hairbow
The gingham pumpkins we made last year seem to be circling the web right now, which has been really exciting for us! So we thought we’d re-post this little how-to tutorial.
Handing it over to Mitch!
Mitch here!
It’s decorative gourd season, and if you’re a big fan of naturally occurring harvest bric-à-brac, it’s time to get excited.
Pumpkins are appropriate harvest decor from September 1st until the day after Thanksgiving, or until the squirrels get to them, which–if my stoop is any indicator–can happen more quickly than you’d expect.
I love pumpkins. They’re right at the center of my experience as a human. (Kelly jumping in here. Mitch, what?! 😂) Pumpkins provide pumpkin seeds, my favorite healthy snack; pumpkin pie, my favorite dessert; and pumpkin spice, my favorite specialized coffee flavoring. Our first car, an orange Honda Element, was nicknamed “The Pumpkin.” And when you spend half your childhood in Central Illinois like I did, you spend your fall watching weekends pumpkin chunkin’ like these American heroes. And then, when you get to middle school, you start listening to the Smashing Pumpkins. (Pure coincidence, but seemed appropriate to include that here.)
Pumpkins make decorating for the fall season super simple:
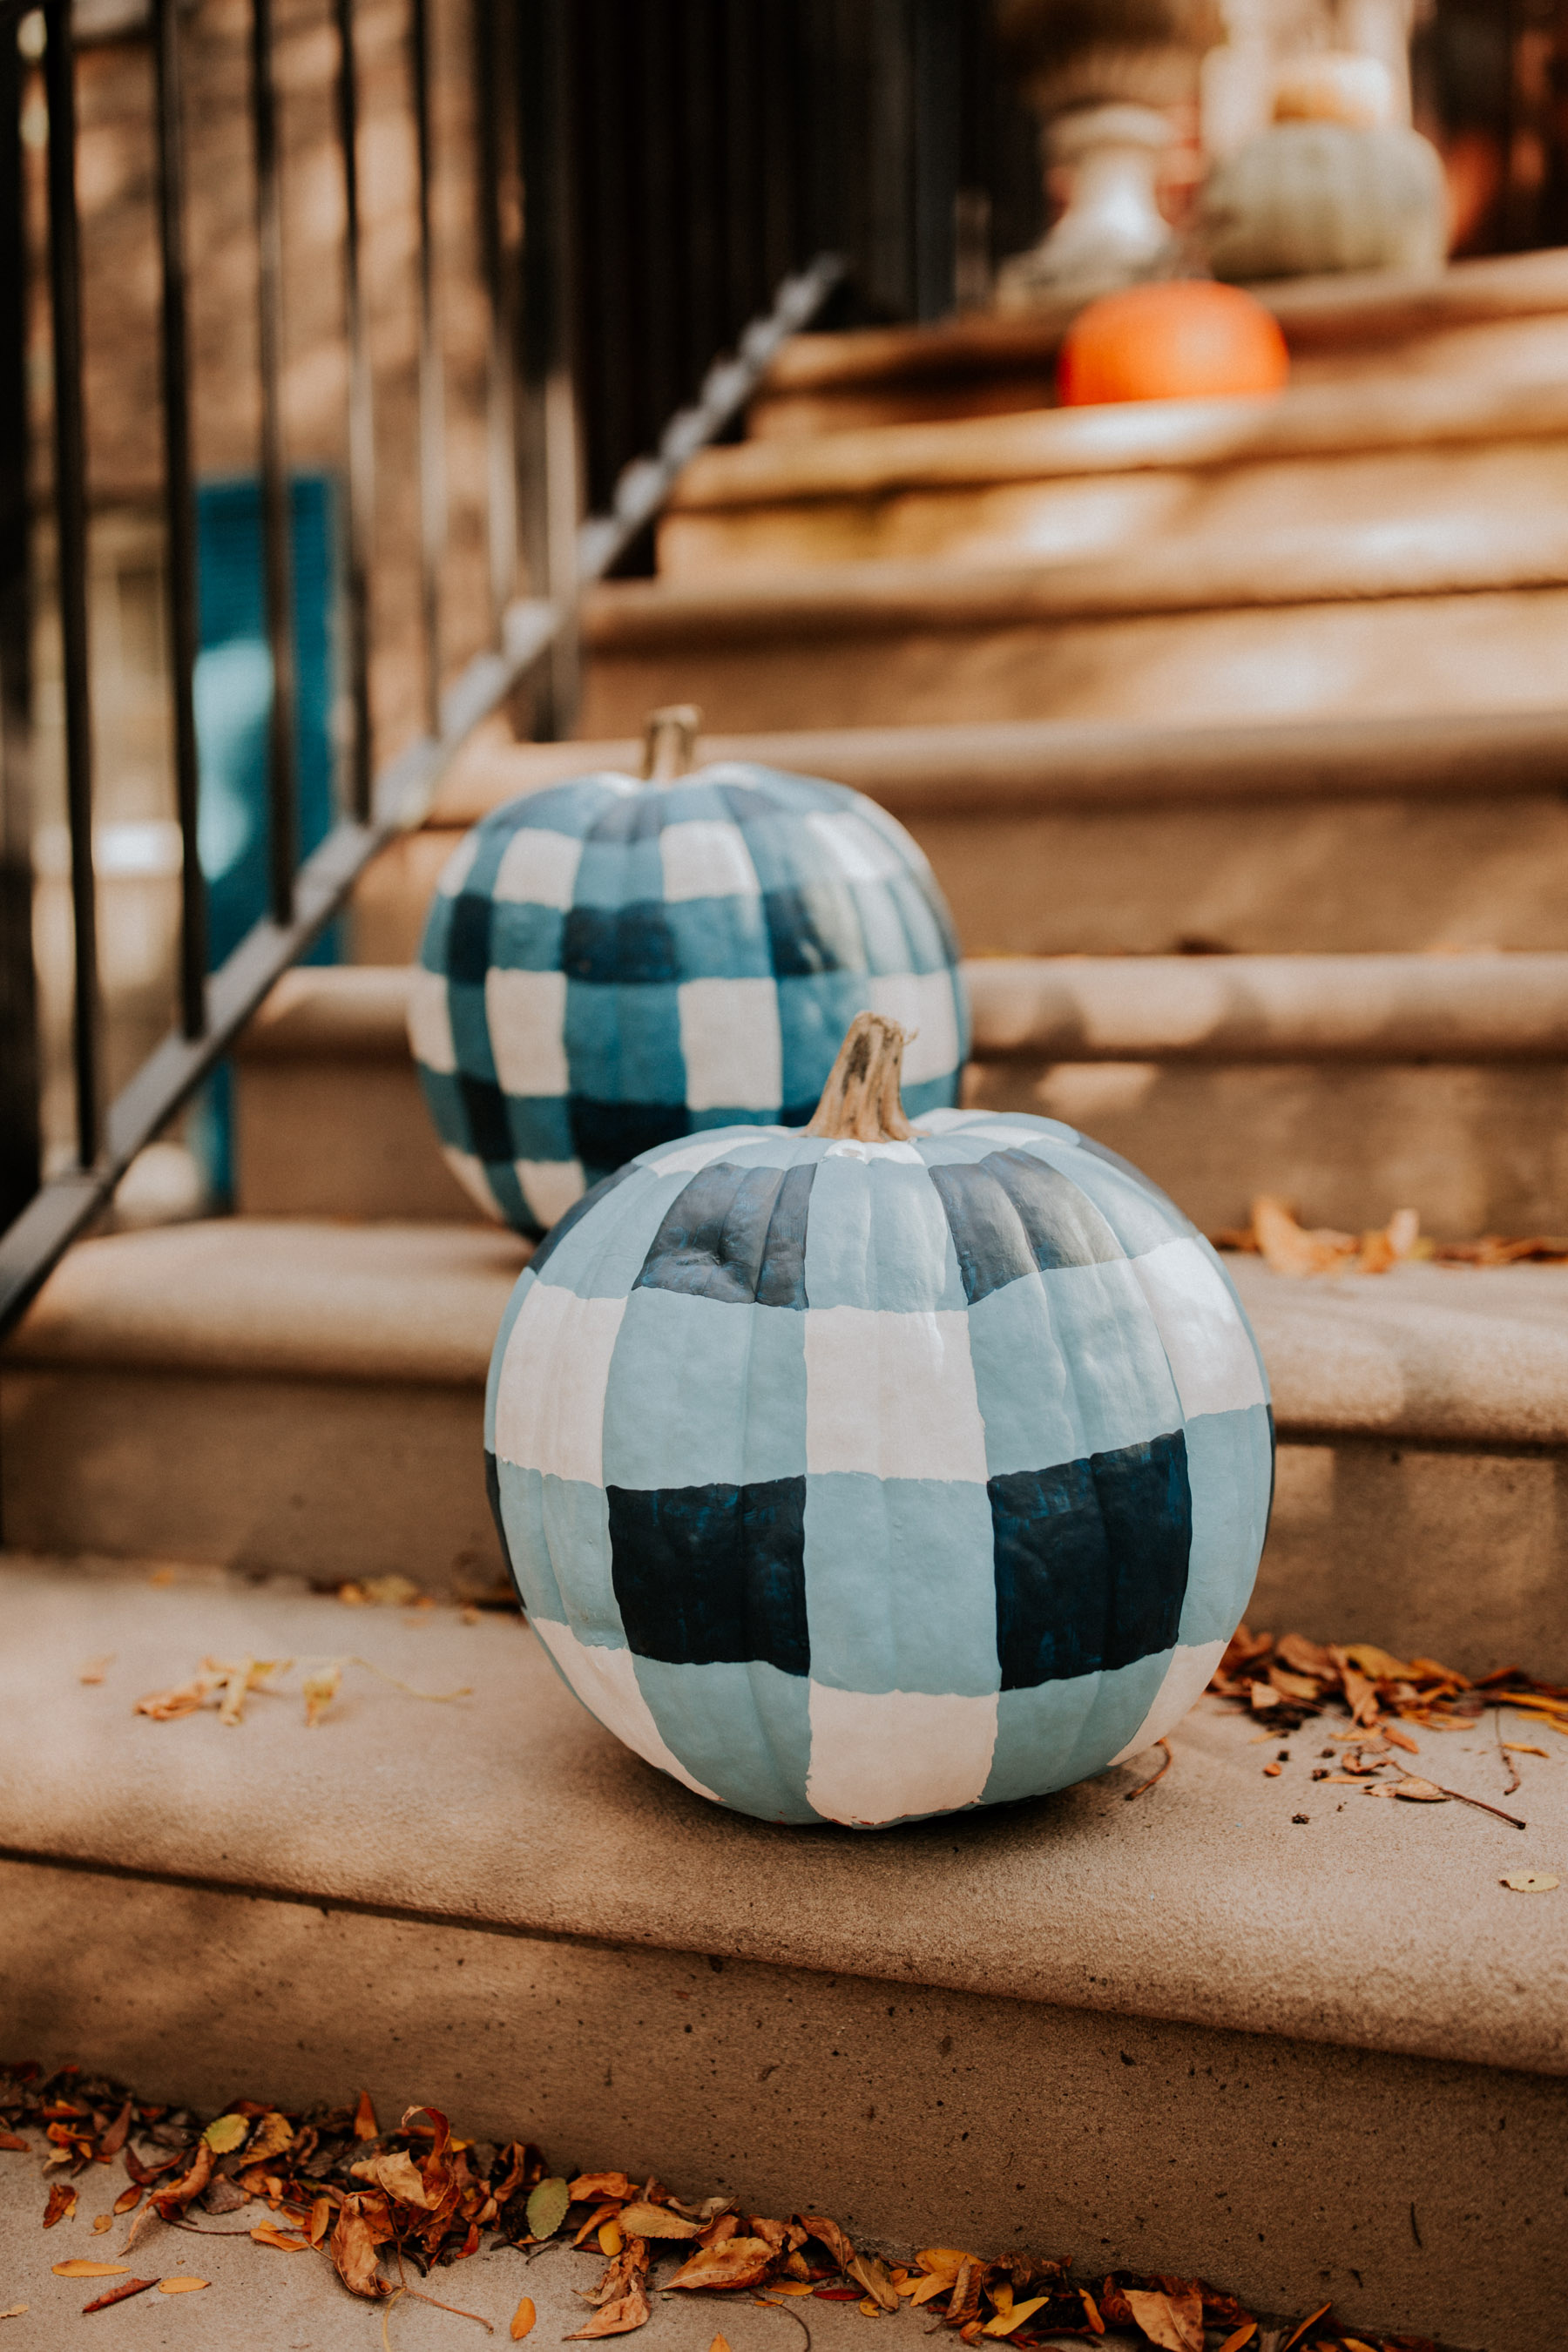
- Put pumpkins on your front stoop
- Enjoy your newfound status as a exterior decorator
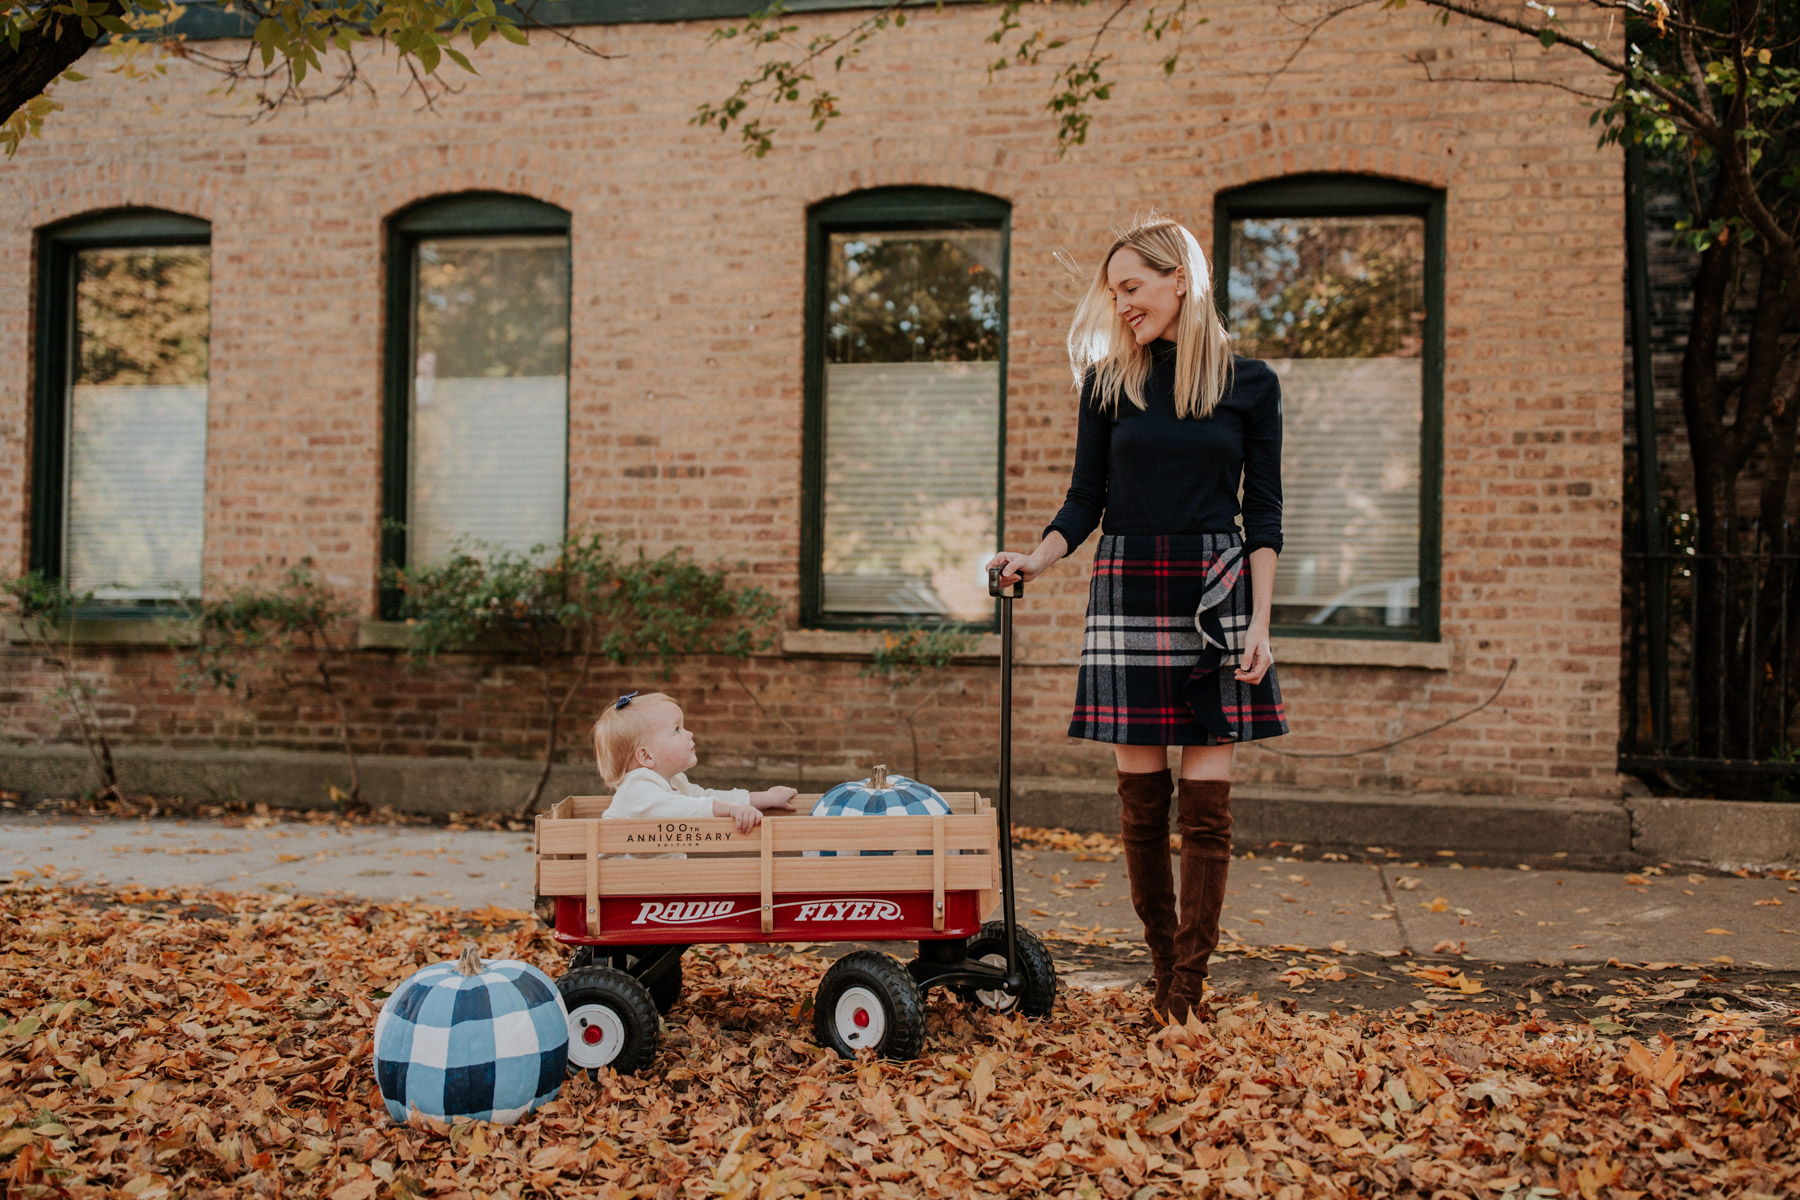
We typically follow societal norms and carve terrifying faces into our pumpkins in case small children come over in the night to blackmail us for candy, but because my daughter can’t quite wield a knife and because I’m married to Kelly Larkin, we decided to go another direction.
As I’ve repeatedly reported in post after post on this blog, and as evidenced by our outfits, bookshelves, socks, pillows, shoes, bedding, scarves, cell phone cases and rugs: Kelly Larkin loves gingham. If given unbridled freedom, she’d make sure we were walking on gingham floors, closing gingham doors, cleaning gingham countertops, and shutting windows blacked out with gingham wallpaper and then covered by gingham drapery. If they sold gingham cars, we’d have a fleet… and if someone described Kelly to a police sketch artist, a roughly drawn gingham pattern would likely emerge.
In short, Kelly isn’t limited in her gingham acquisition by any sense of good taste, but instead by the market’s inability to produce gingham curios at a fast enough rate.
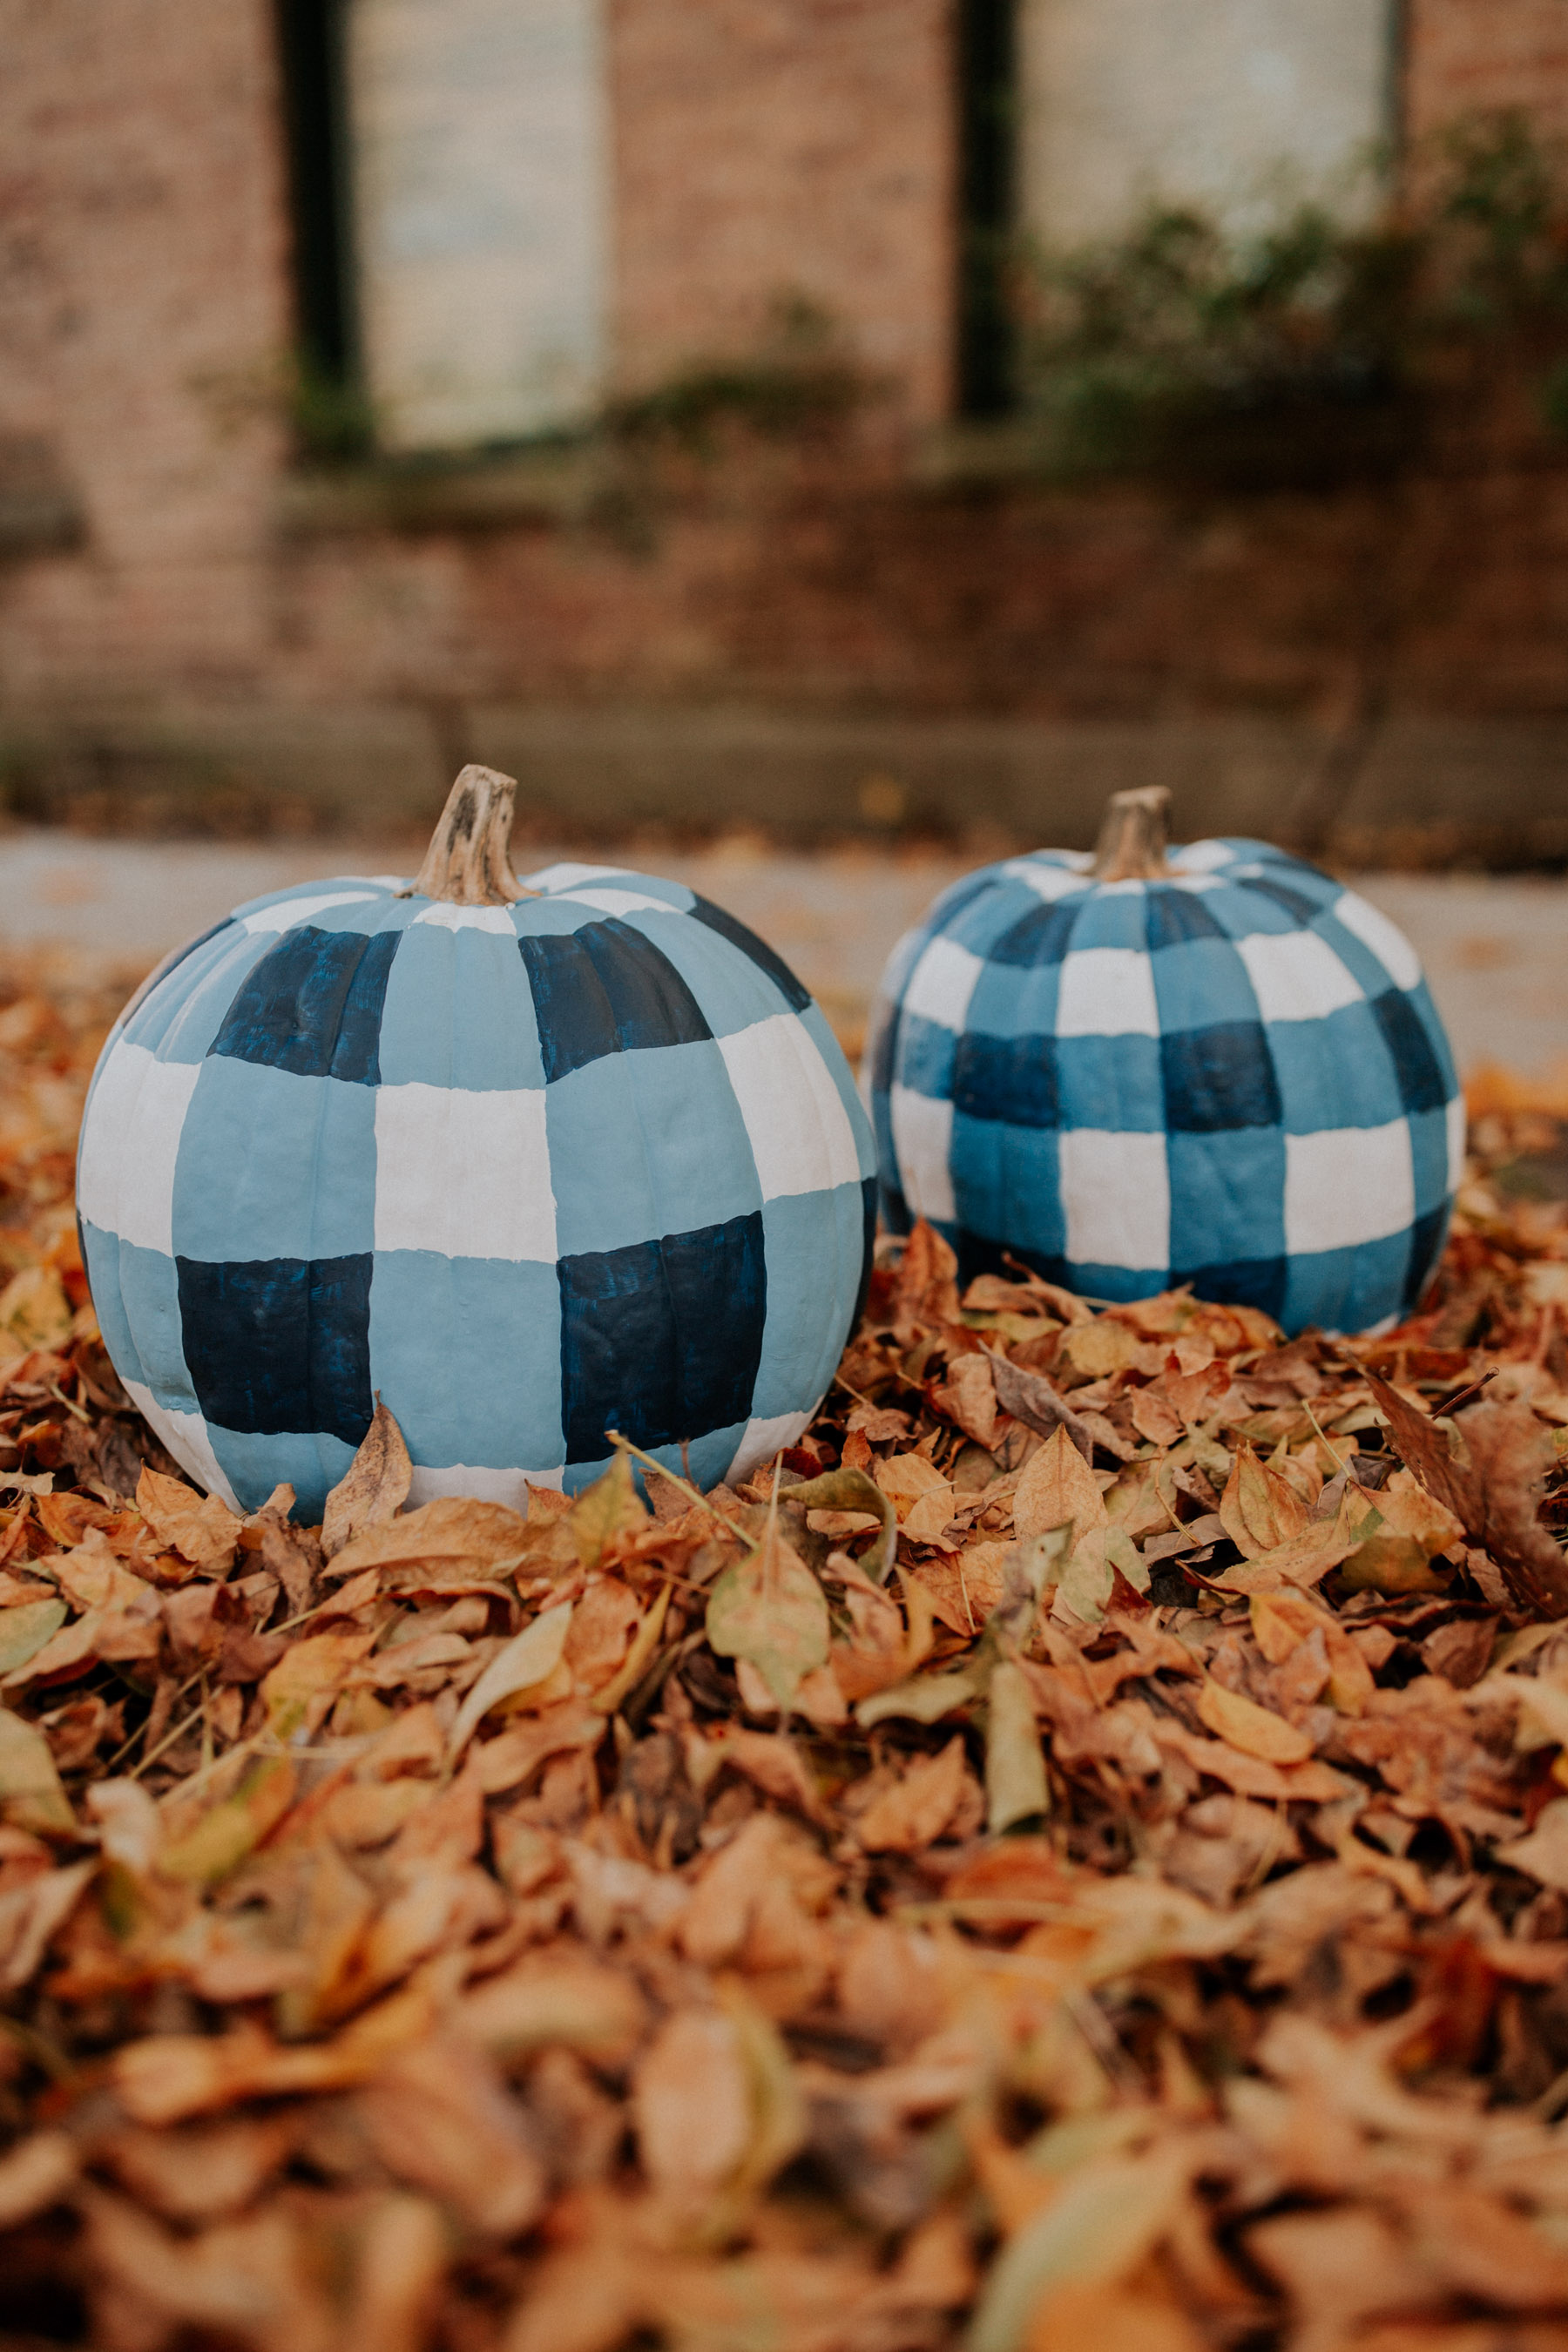
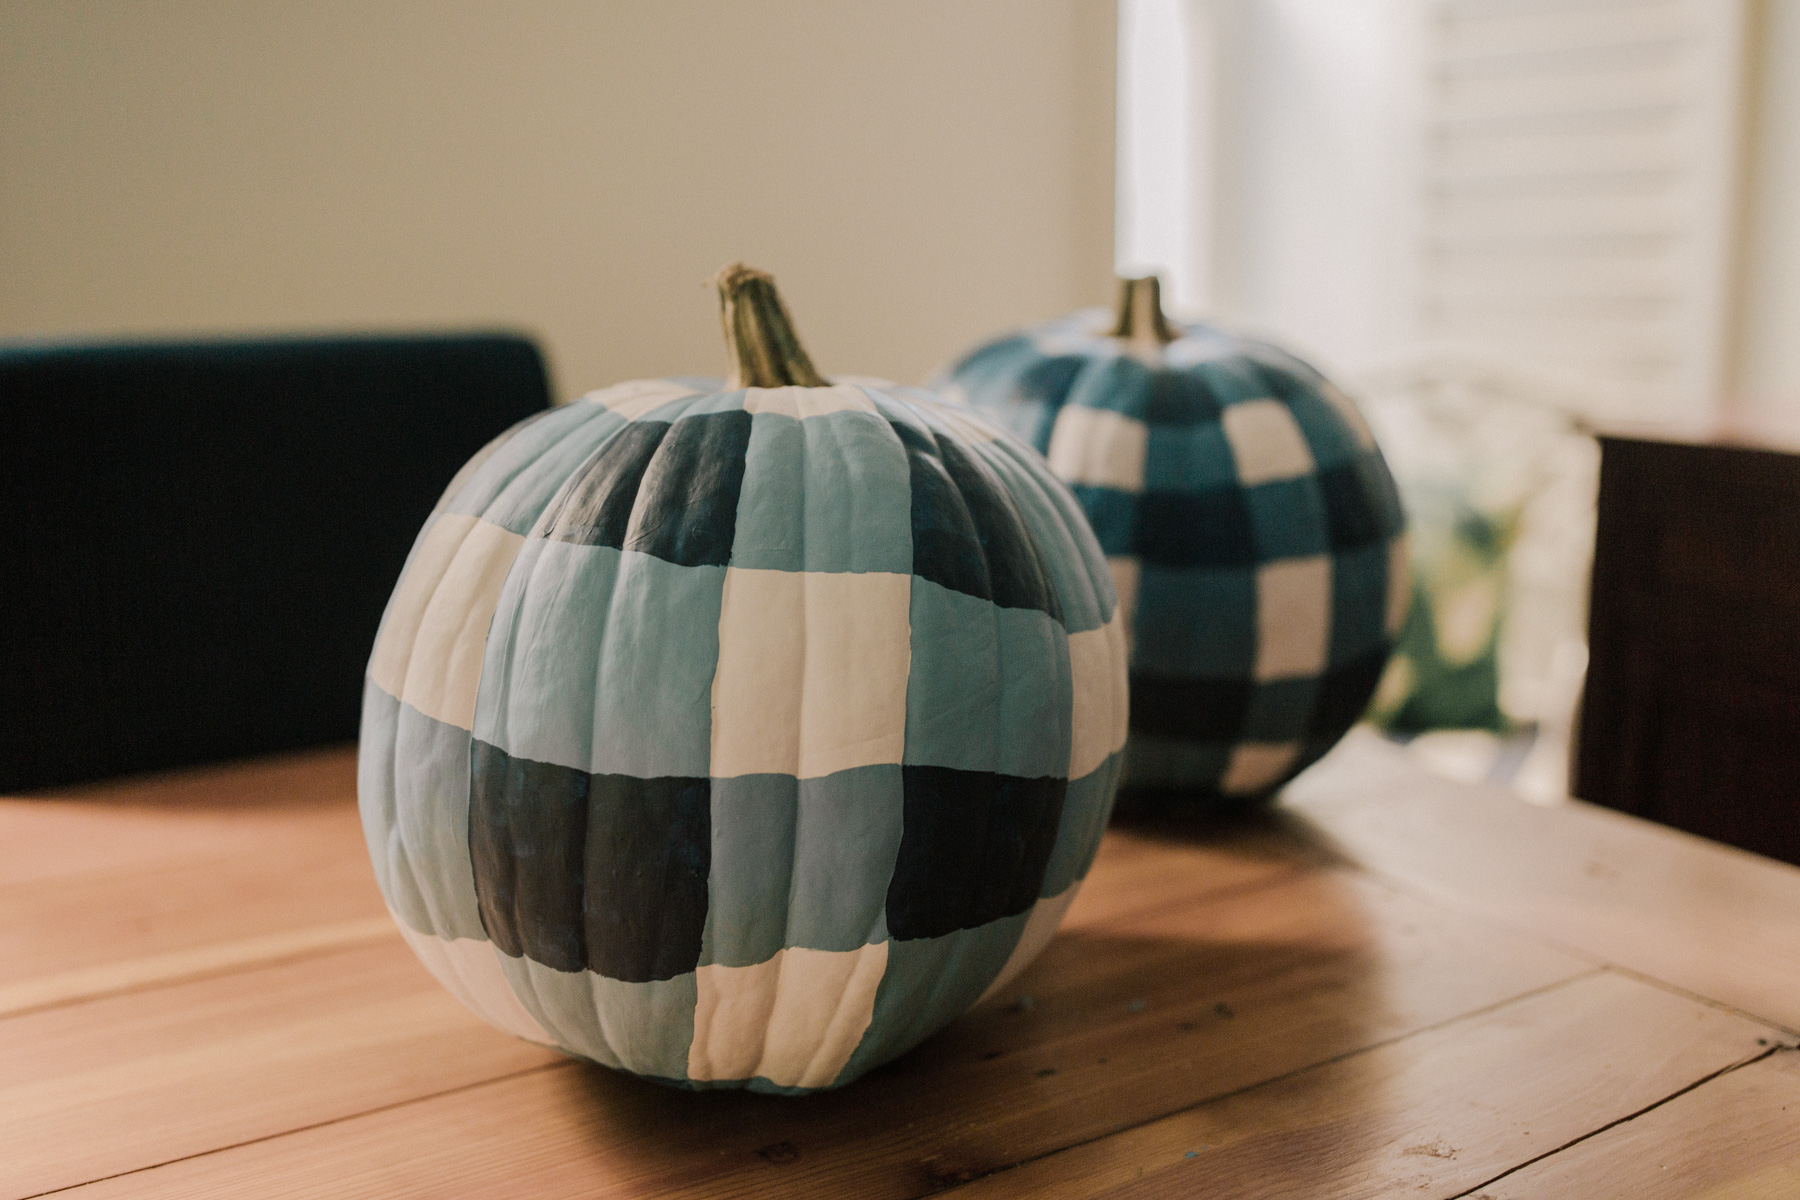
DIY Gingham Pumpkins Tutorial
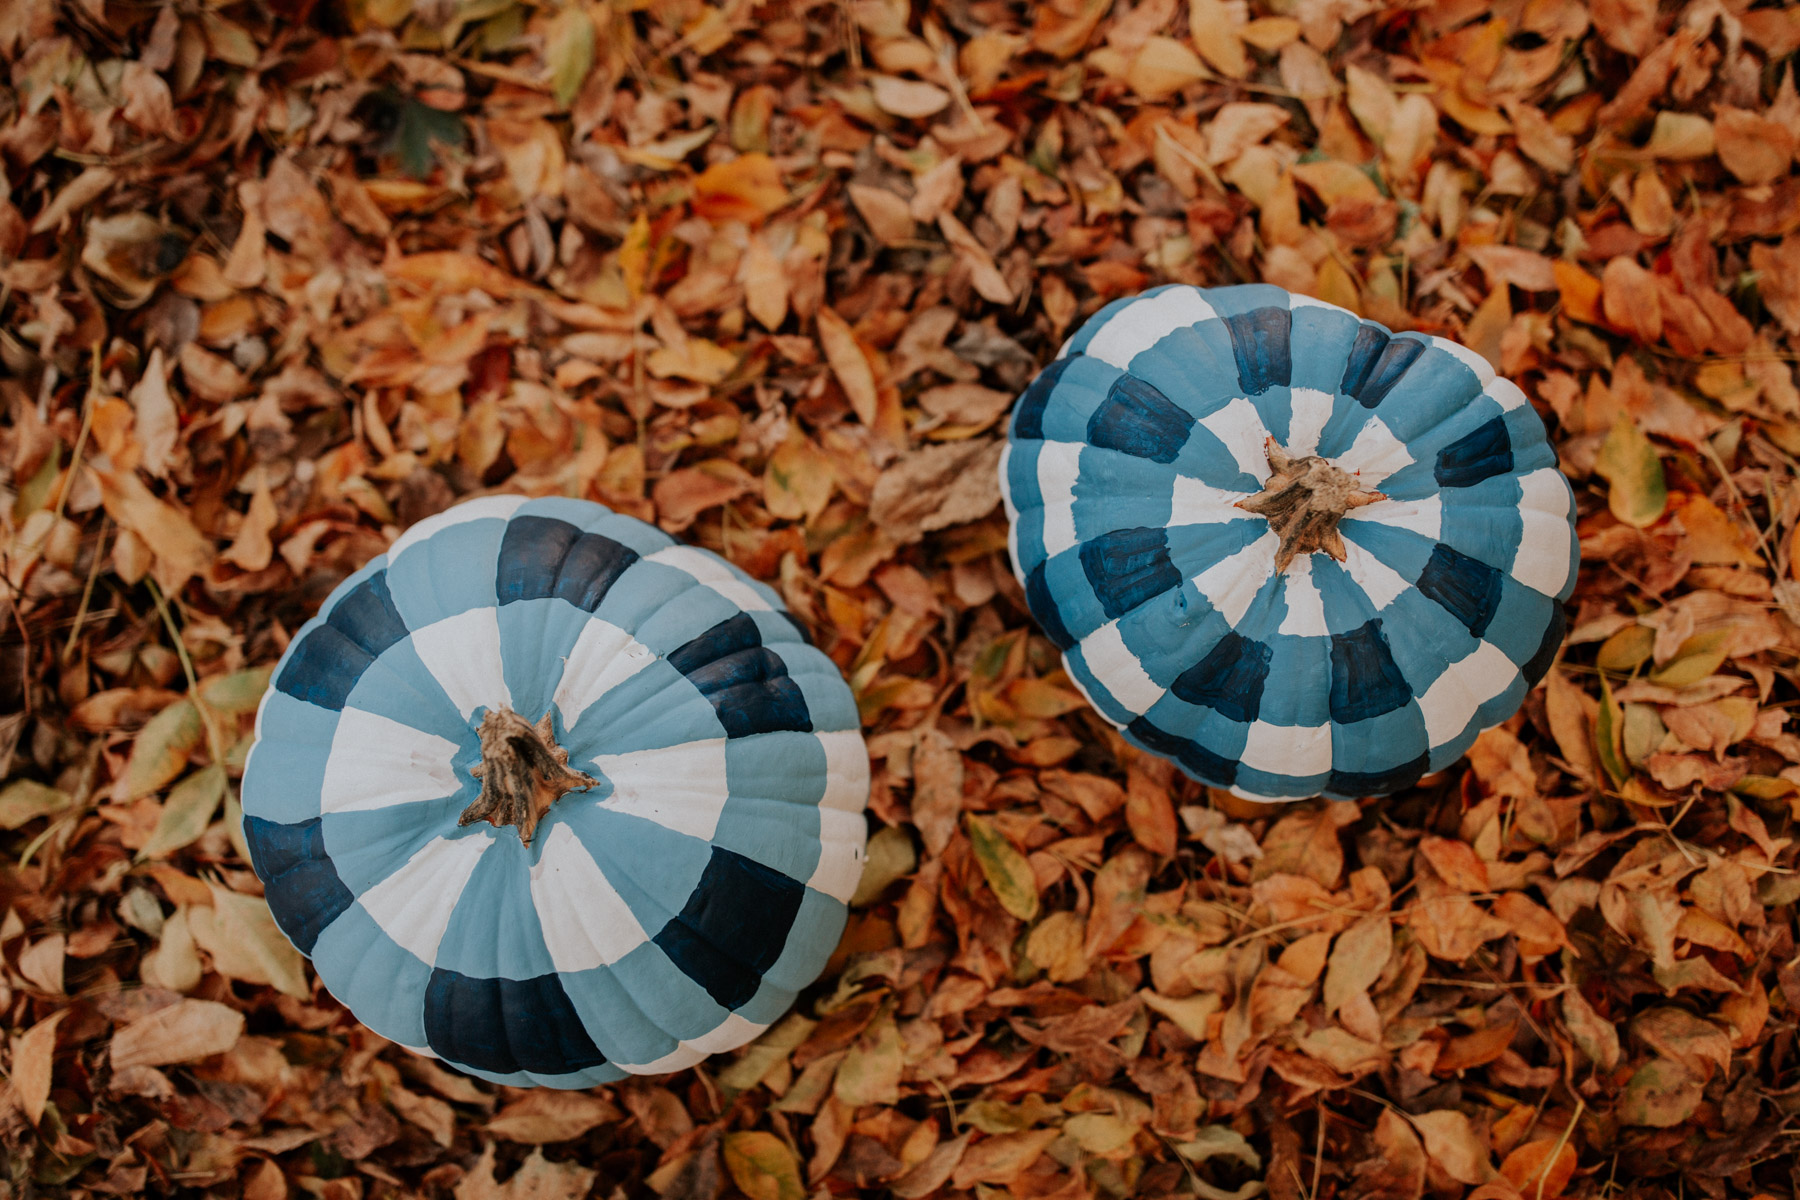
It’s this passion for gingham that led our family to skip the jack-o-lantern carving tradition this year and opt to paint our pumpkins in a gingham pattern. We also ditched the more traditional orange-and-black Halloween theme in favor of, you guessed it: navy and white. So here we go! Keep reading to learn how to create these beauties in five easy steps.
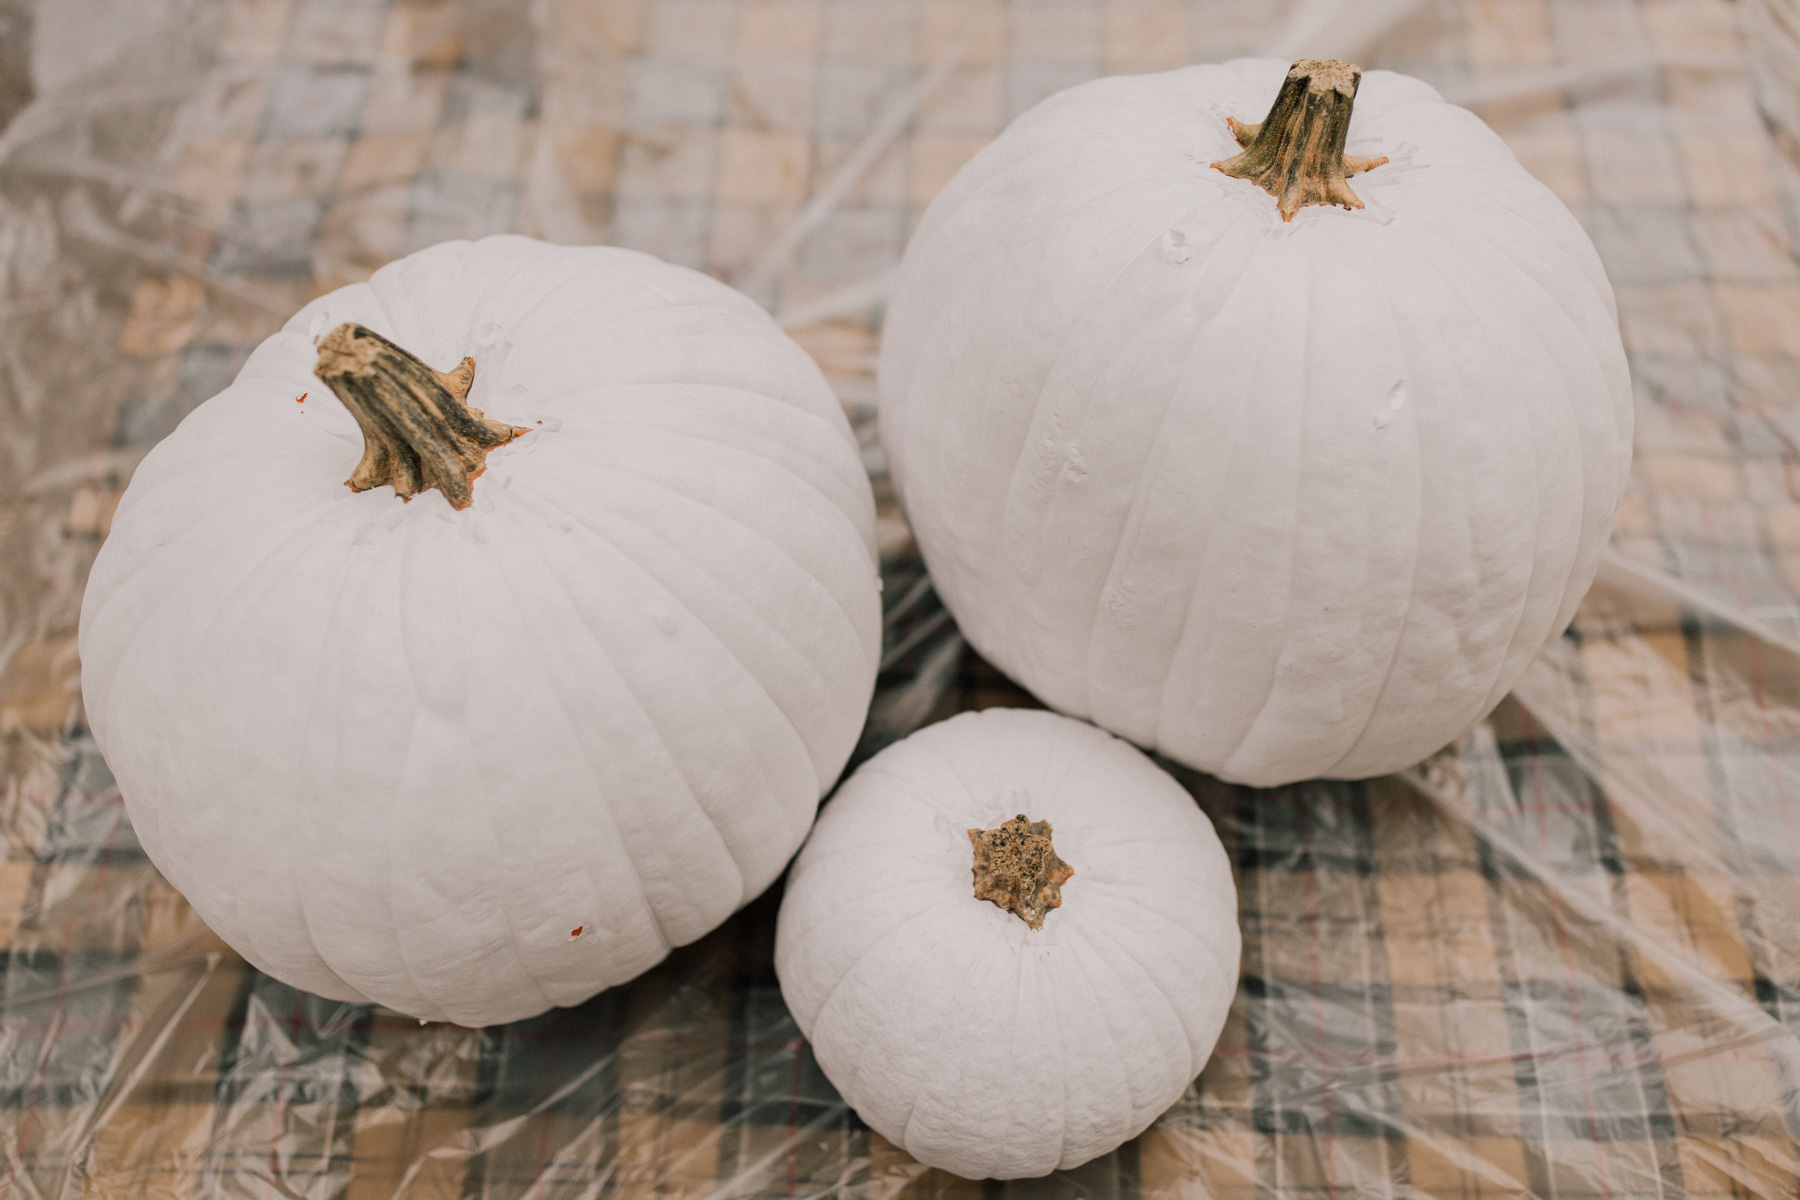
Step One
Start by painting the pumpkin white. We used Behr paint only because we happened to have it in our back room. (Worked great.) Our pumpkins took two coats.
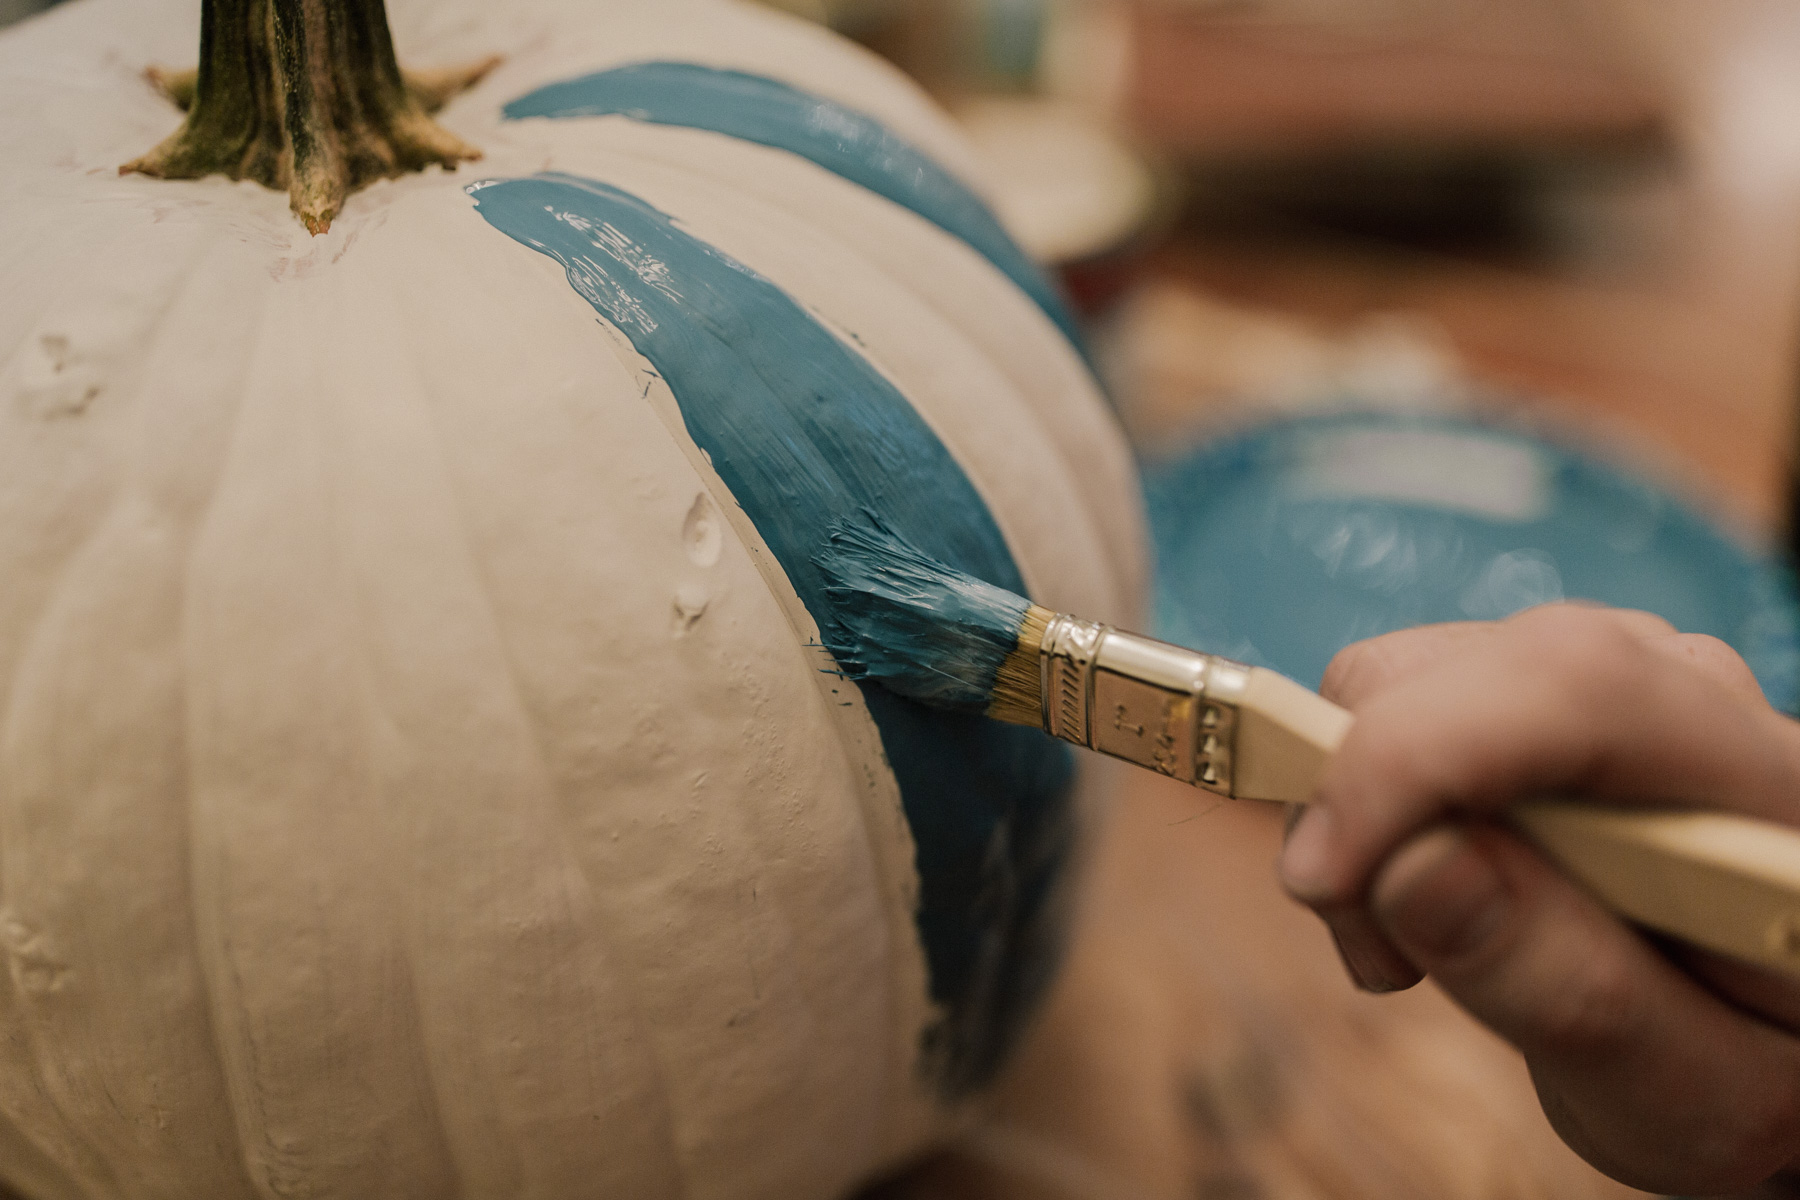
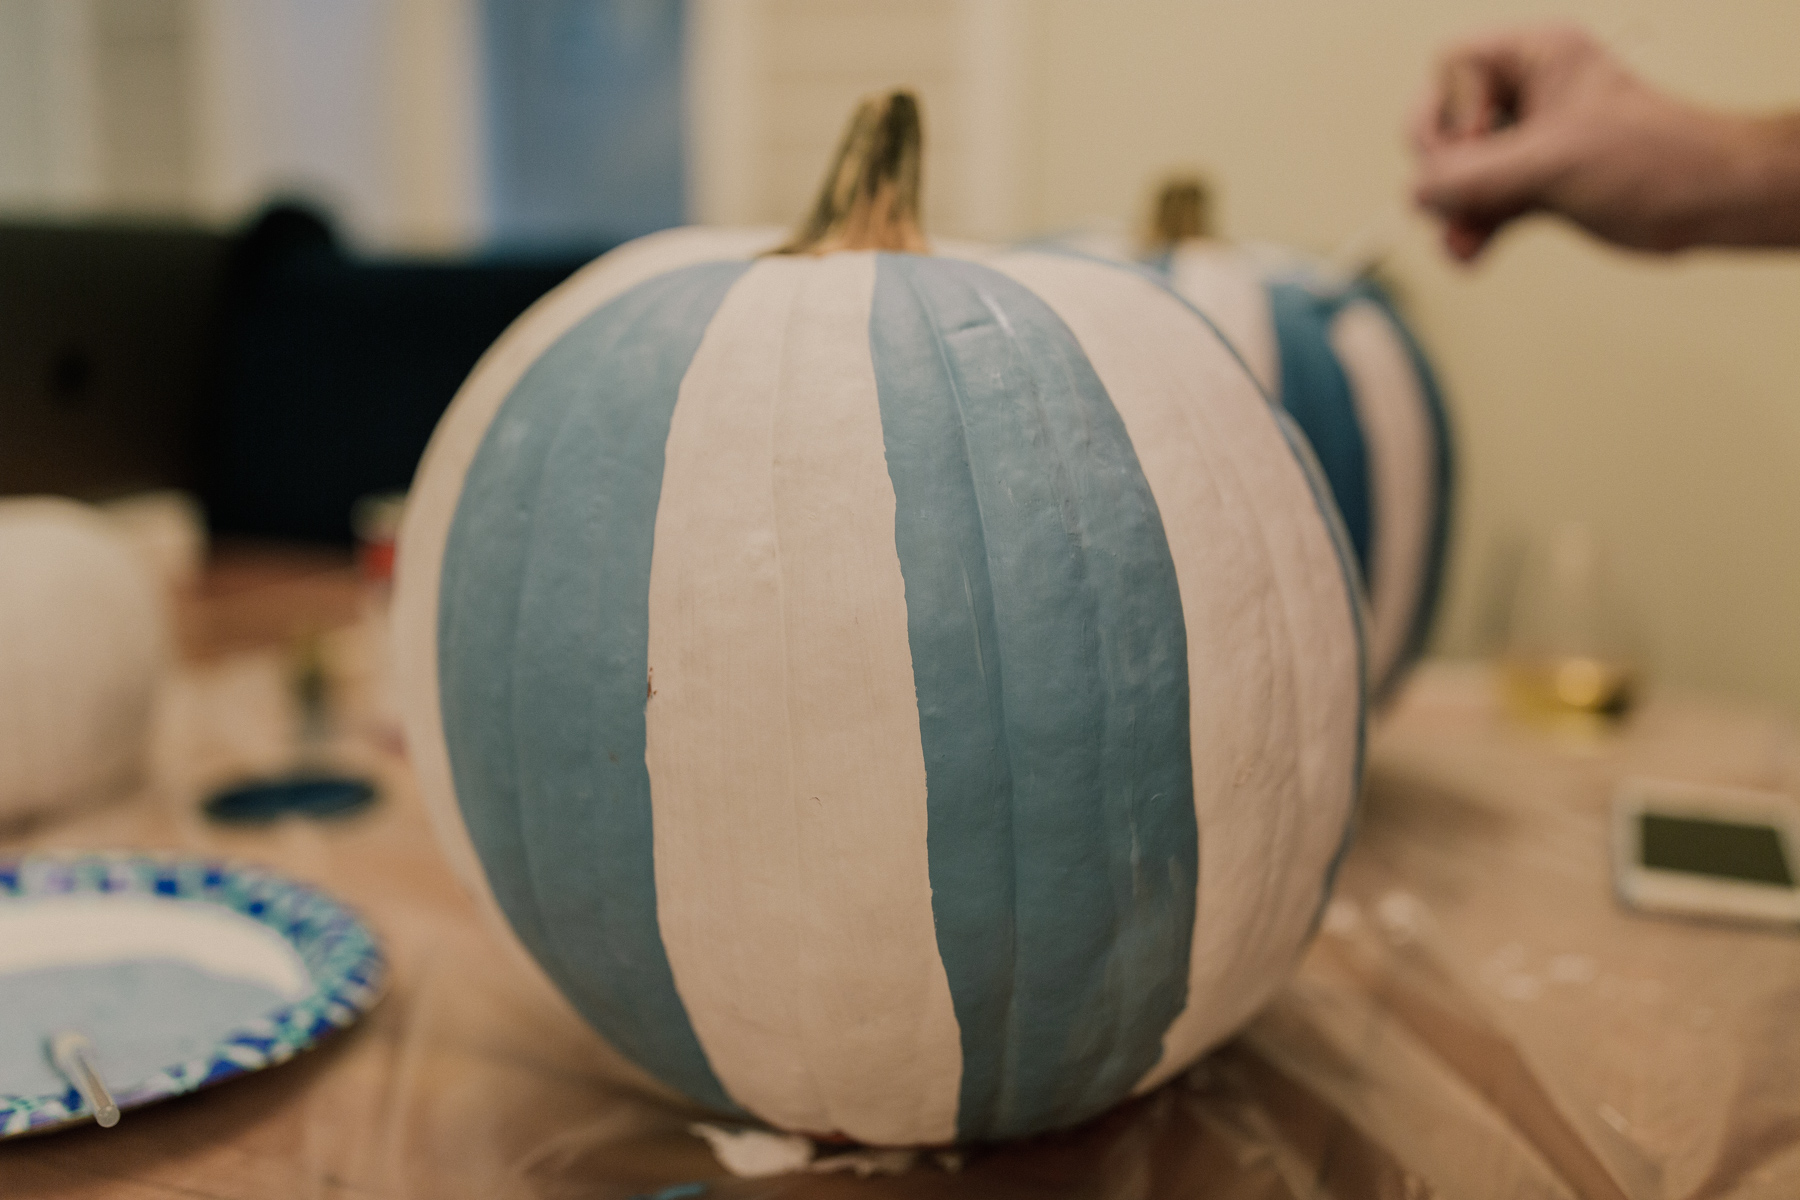
Step Two
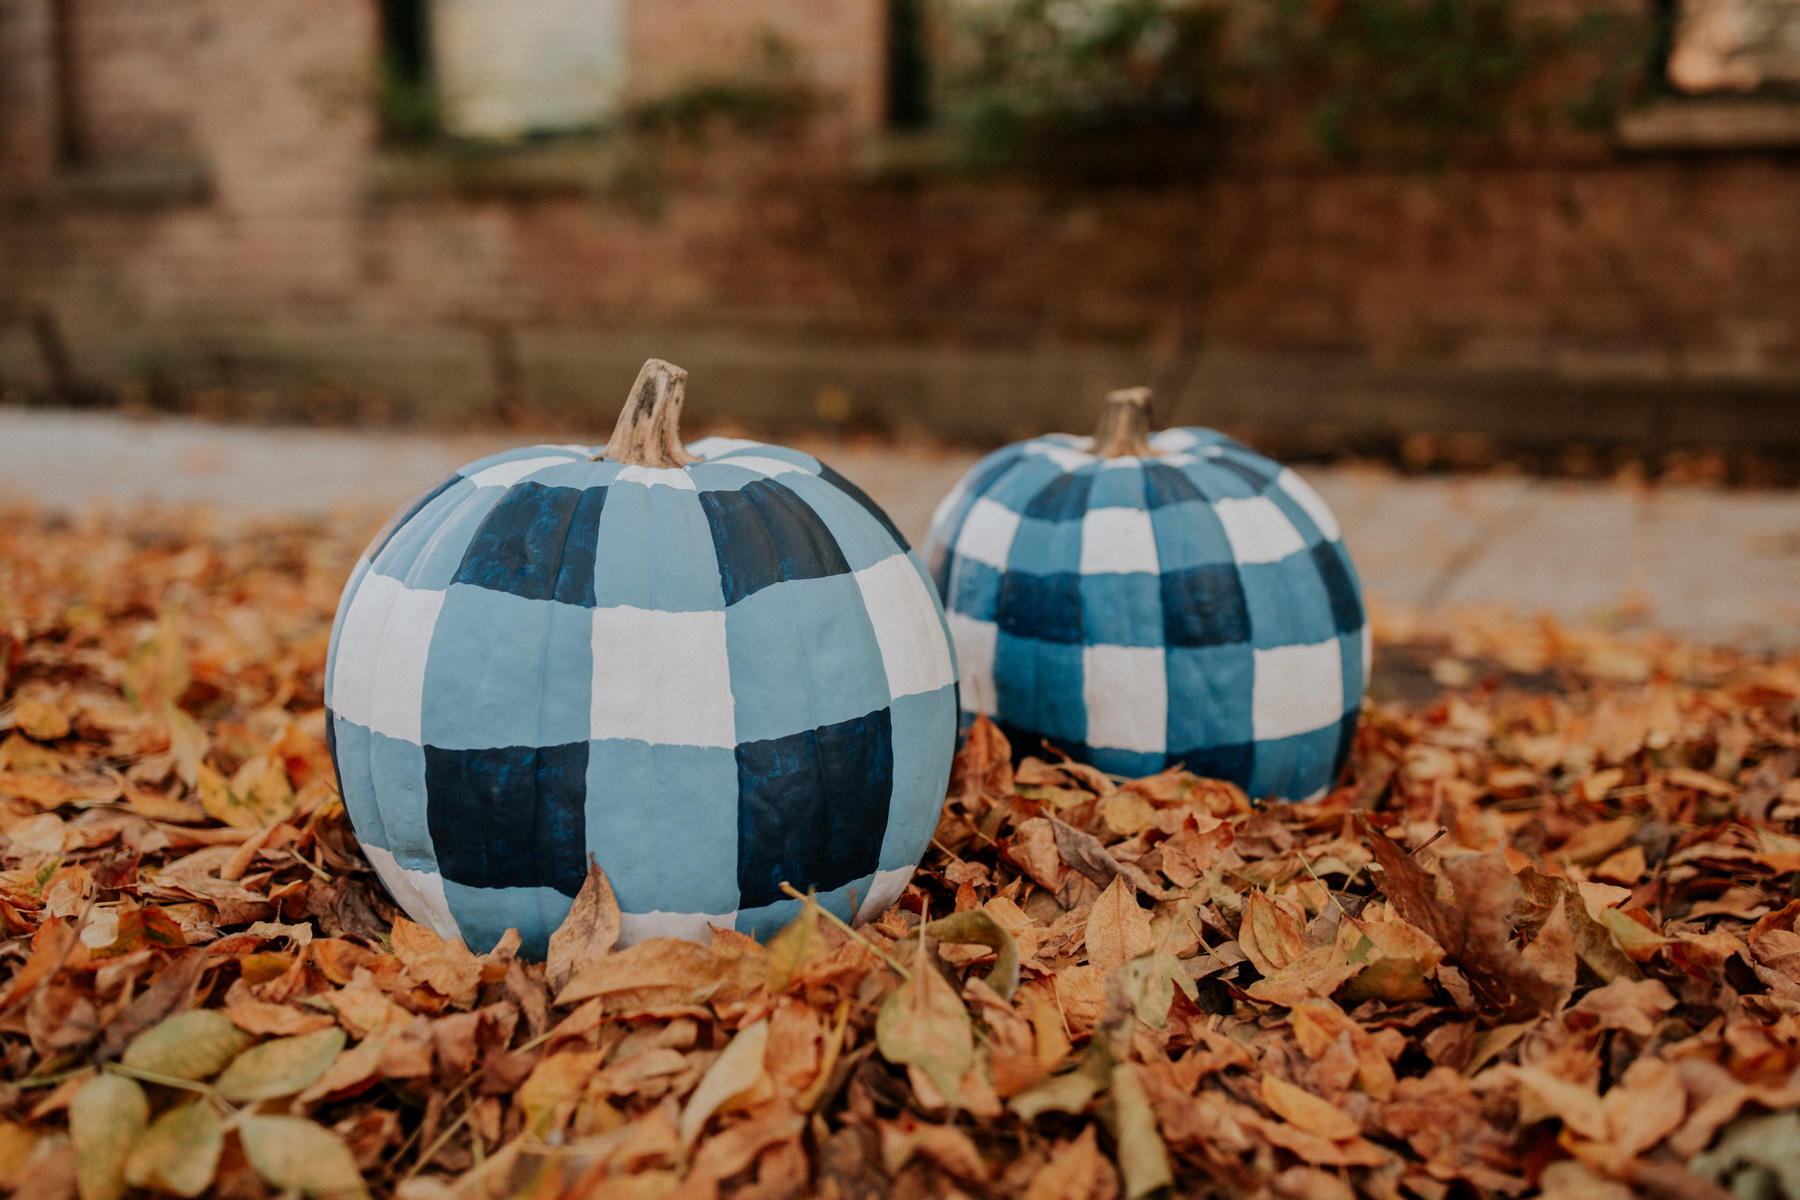
On a palette or paper plate, mix the white and navy paint to to create your desired light blue shade. Then paint vertical stripes following the natural lines of the pumpkin. These lines are narrowest at the top and widest in the middle.
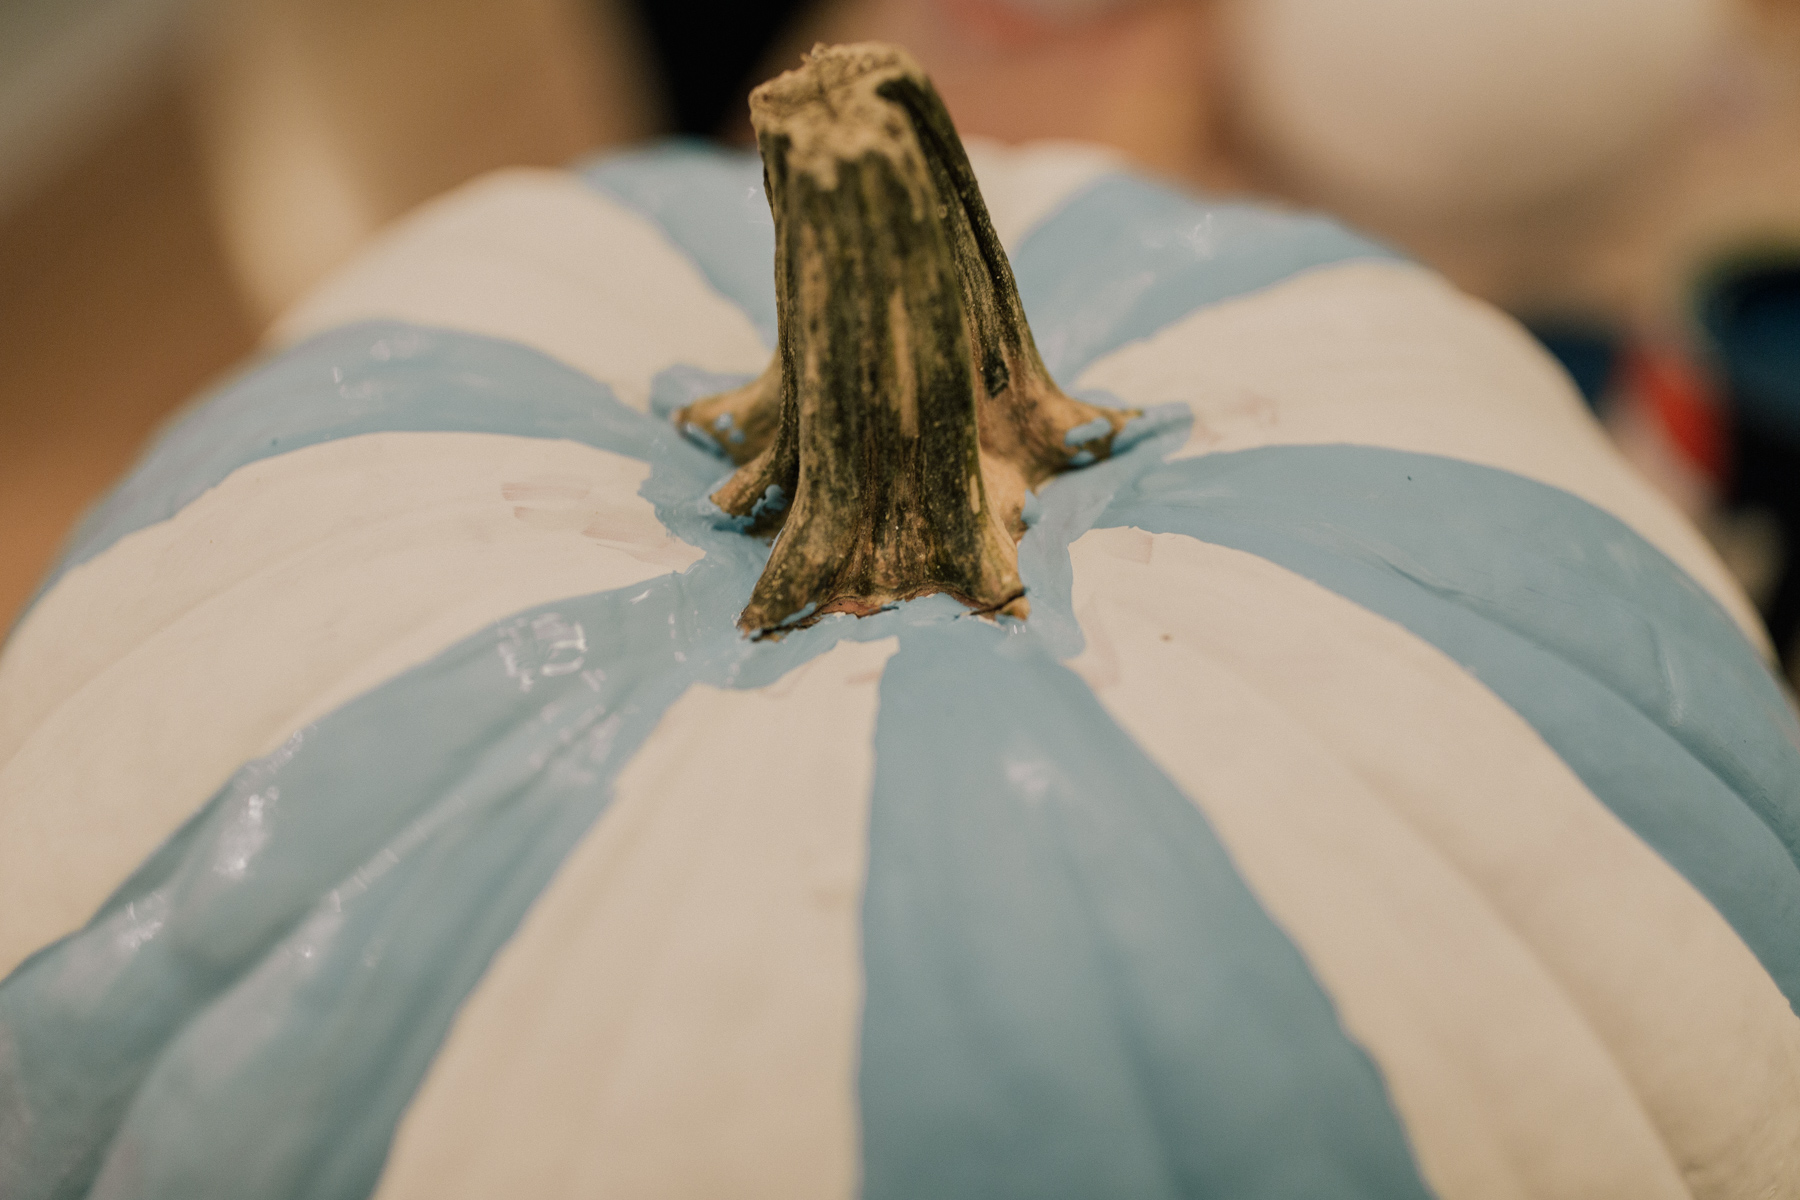
Step Three
Paint a small border around the jagged areas around the stem.

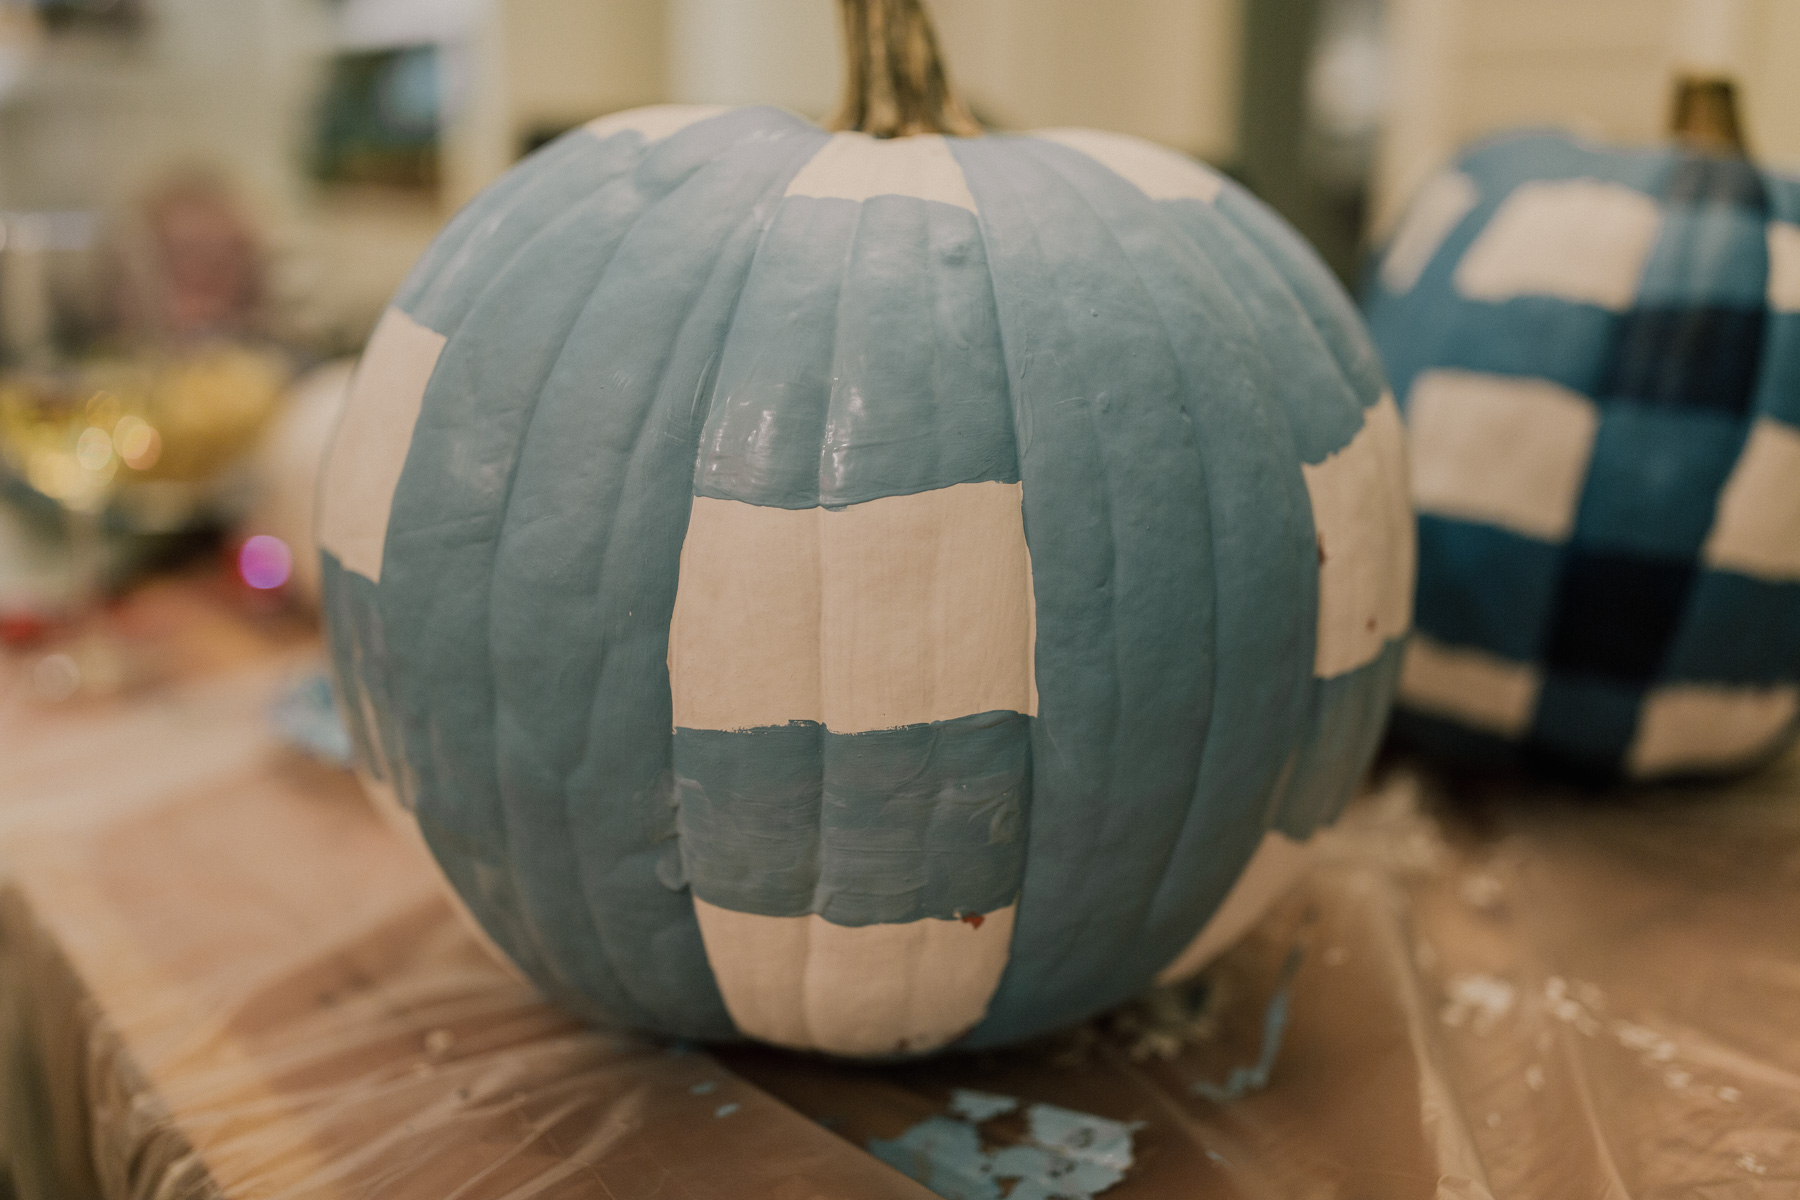
Step Four
Paint horizontal stripes by filling in the gaps between the vertical lines. Some measurement may be required to keep the lines a consistent width.
Step Five
Darken the areas where the vertical and horizontal lines intersect.
Step Six
This isn’t exactly a step, but whatever. Put that sucker on the front stoop and enjoy the adulation of your friends and neighbors.
Mitch out!


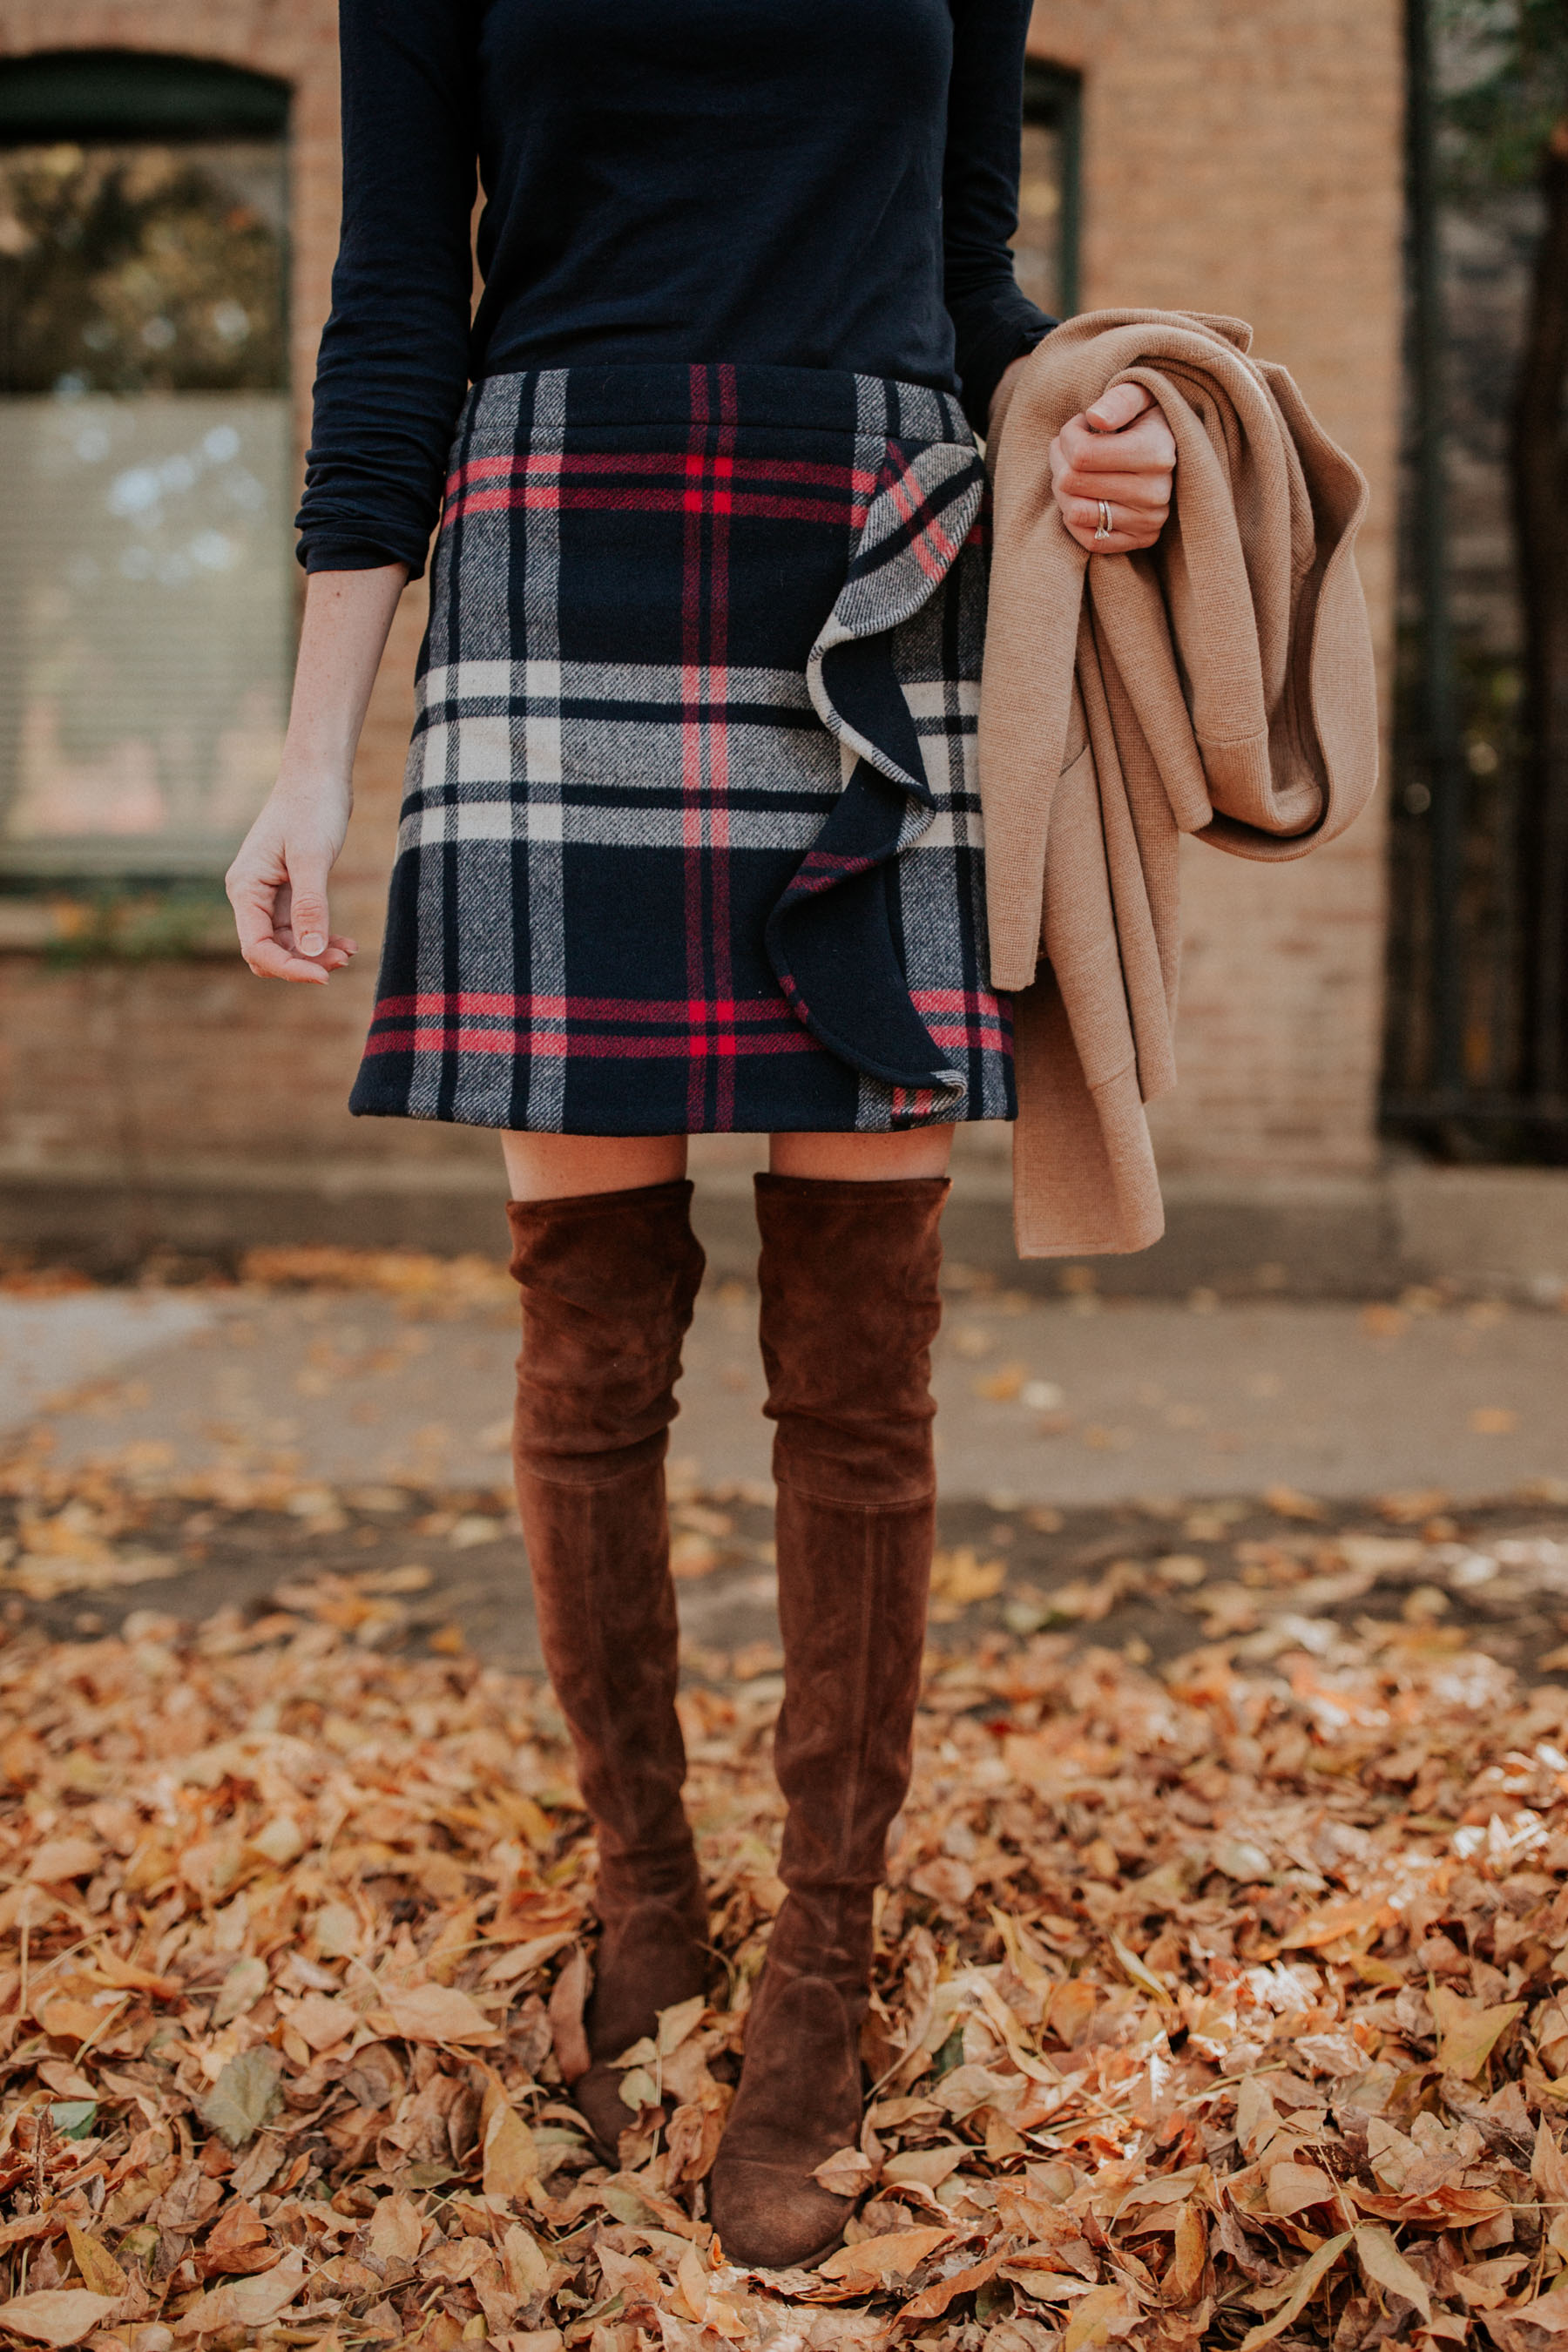


Shop the post:
Plaid Skirt (Also adore this ruffled houndstooth skirt as well as this corduroy skirt.) / Sweater Blazer (Also love this version!) / Striped Tissue Turtleneck (Here’s the solid, polka dot and leopard-print versions.) / Stuart Weitzman Boots (But love this waterproof pair, this version with a heel, and this classic pair by Tory Burch.) / Louis Vuitton Tote Size MM (Available here, here and here. Looking for an affordable brown tote? I LOVE this one!) / Emma’s Plaid Leggings / Emma’s Hunter Boots (Non-glossy here. Adult version here.) / Emma’s Little Makes Big Hairbow