


Chef Mitch here!
Kelly’s diet never really developed beyond the first grade. Just like she was when she was six, she’s still into bologna sandwiches, mac ‘n cheese, crackers and grape juice. (In her case, fermented.) I’ve even caught her making lunch trades with Emma!
She just doesn’t like good food. Maybe a better name for this column would have been “Tricking Kelly into Eating with Mitch.” I’ve tried it all! The typical Larkin meal planning session goes down like this:

- I suggest an incredible recipe for dinner.
- Kelly feigns interest.
- I grocery shop, prep, cook and serve a mind-blowing culinary experience.
- Kelly eats crackers instead and loves it.
- I eat the whole meal myself and then roll around on the floor, grabbing my stomach and complaining.
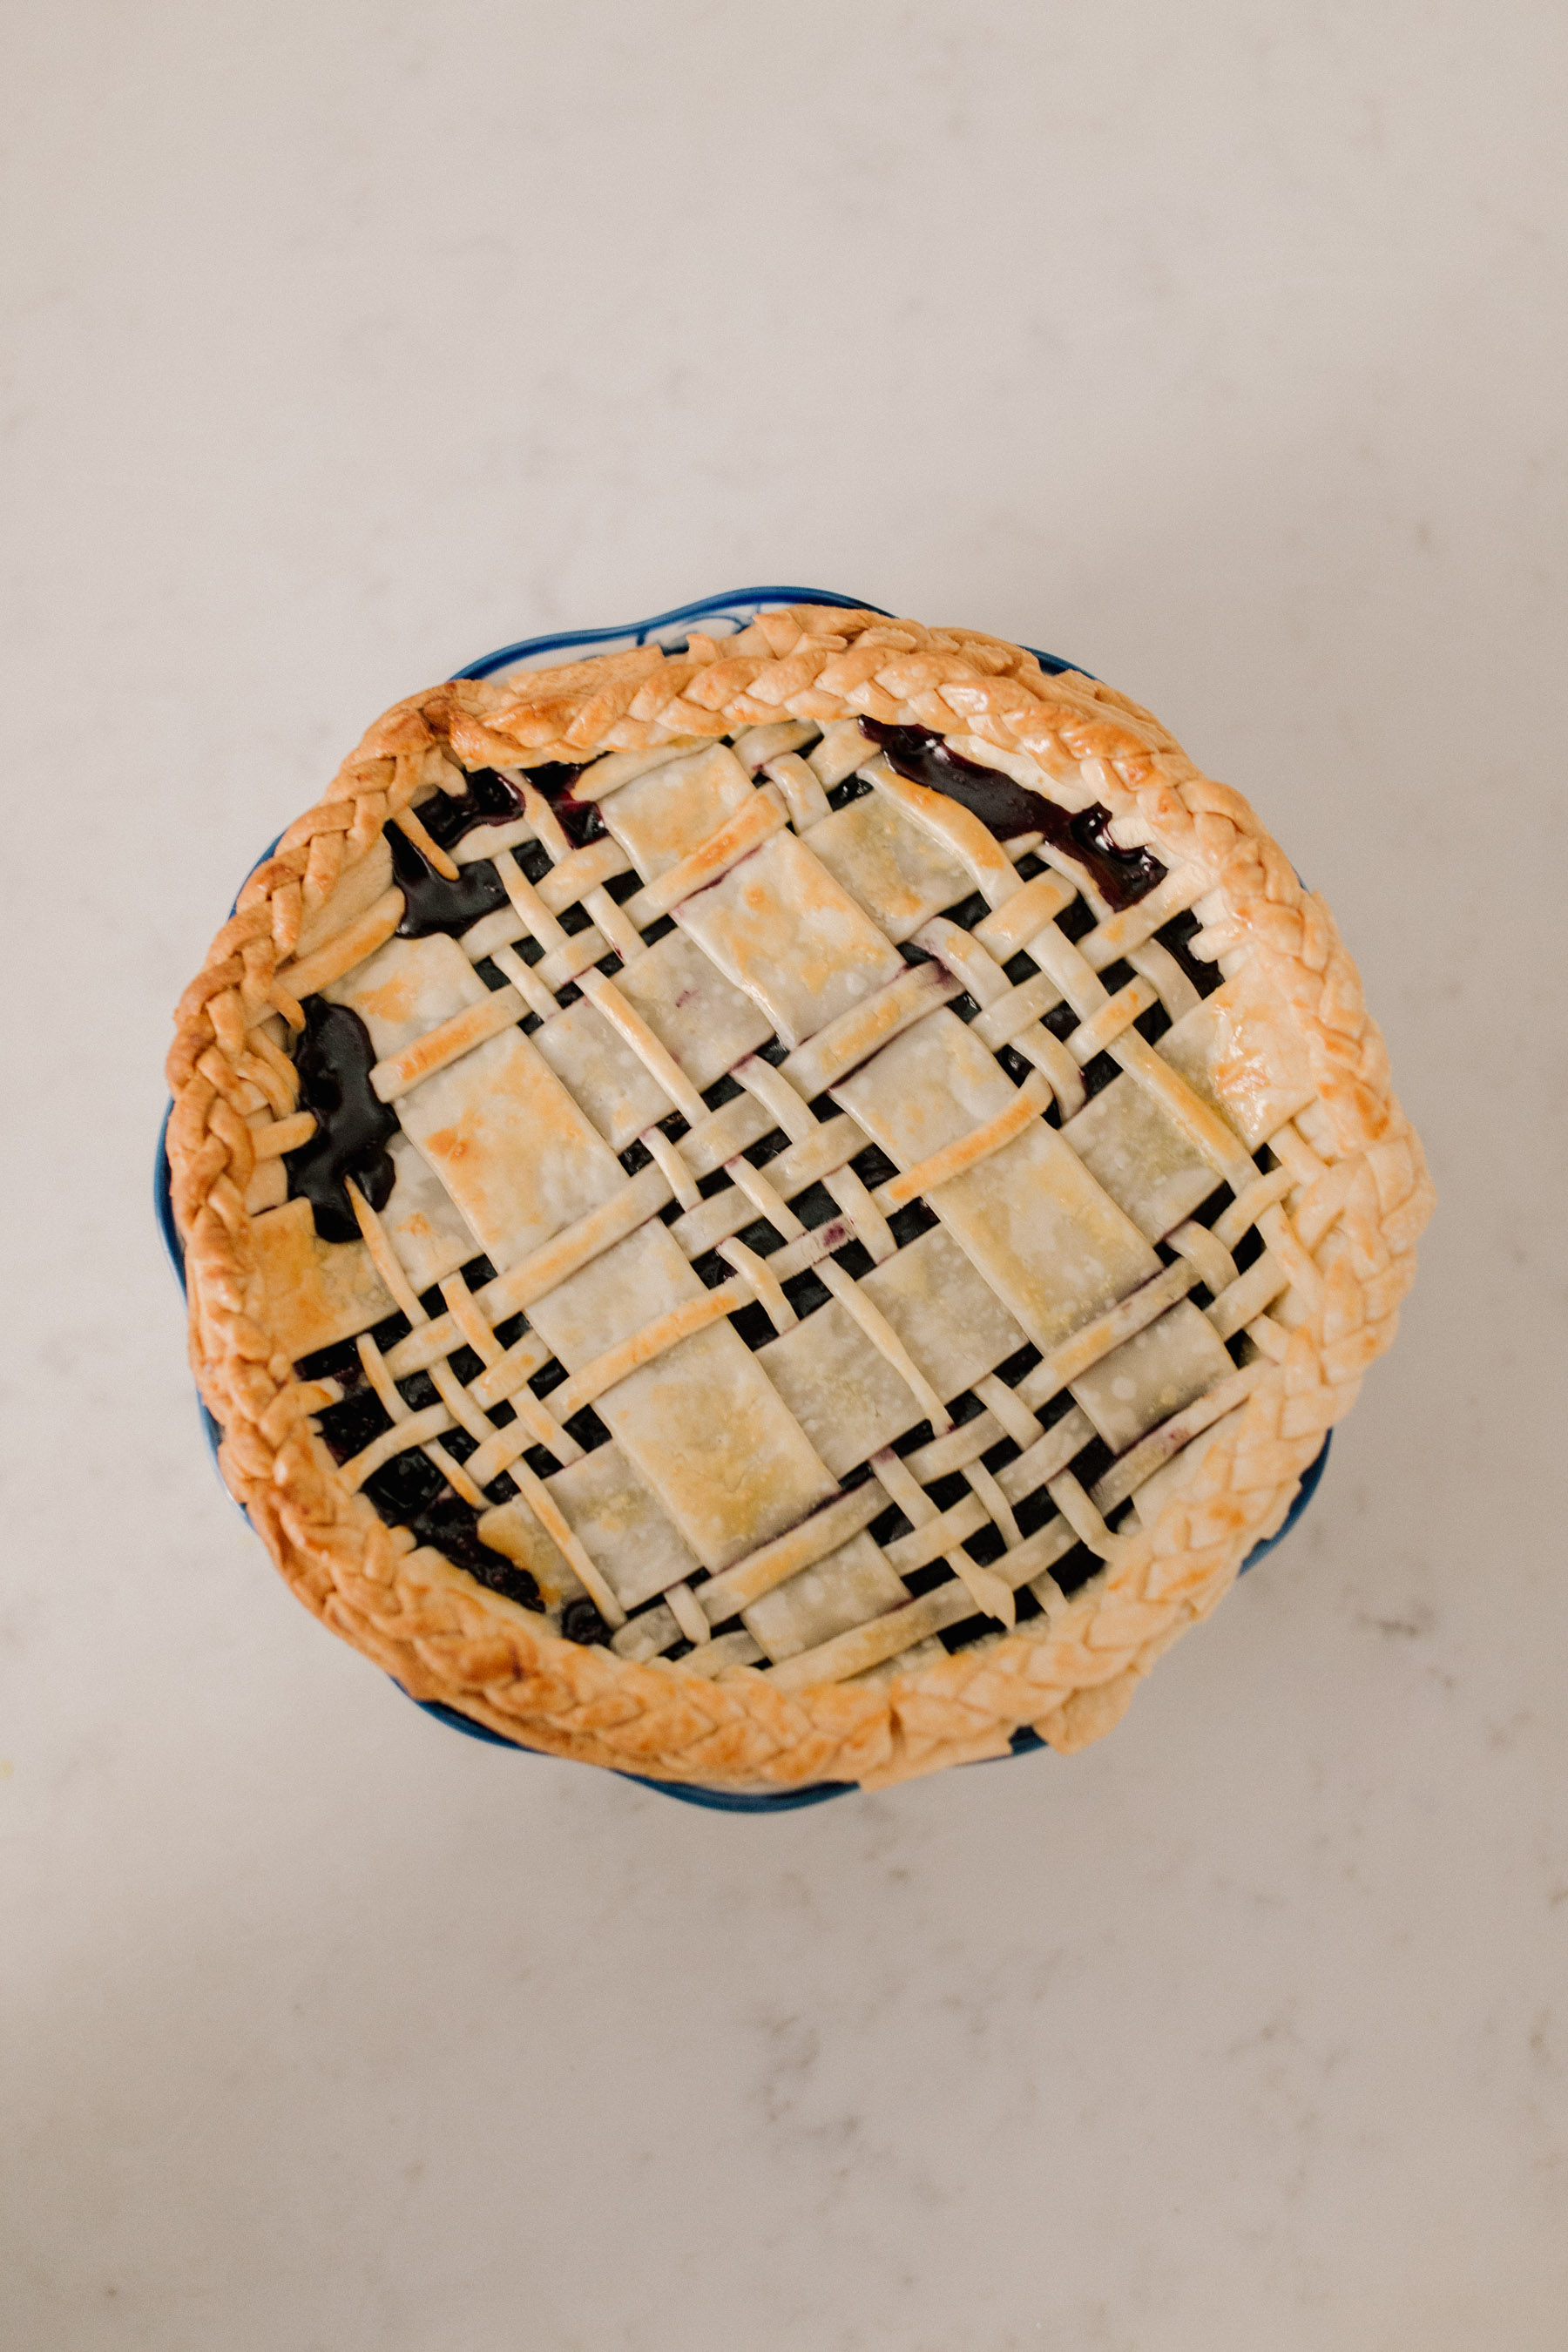
But not today! Chef Mitch is drawing a spatula line in the sand with what could be the most perfectly crafted Kelly Larkin recipe of all time. It’s preppy, it’s sweet, it’s blue–and best of all–it’s plaid!
Cough, cough. I was clearly affected by #30daysofplaid.
Note: a special thanks goes out to Abt for providing our family with new appliances! We’re SO excited to reveal our kitchen renovation–designed by the incredible Kira David Design–next week, but in the meantime, this shall serve as a sneak peek. ;)
Preppy plaid blueberry pie
While not technically a meal, blueberry pie does contain fruit, which was all the excuse I needed. It also contains sugar, oil and a few sticks of butter, which was all the excuse Kelly needed.
Shout out to Style Me Pretty for inspiring today’s post, btw.
I come from a long line of pie lovers. My dad is the pie king. He’ll even eat pies without plaid decoration on top. My dad’s dream dessert is a perfectly reheated slice of pie (10 seconds in the microwave) and as much ice cream as you can fit in the bowl. He’s even convinced us that leftover pie is acceptable as a breakfast food.
Fruit filling? Flaky crust? Practically a pastry!
What I needed was a pie recipe that would turn Kelly from an innocent pie-stander to a pie-lover. Listen, as a former middle school math teacher with Pi Day on the horizon, I’ve got about a dozen more pi puns to occu-pie this post.
#cantstopwontstop
Peapod
Without Peapod, this recipe would never have happened, and I wouldn’t have just eaten most of a blueberry pie. Think of Peapod as a giant grocery store in the sky. It turns your phone into a full-on delivery device.
Before Peapod, I never realized how much I HATED going to the grocery shopping. I’d often disappear into the store for hours only to come out with a full beard, tattered jeans, a vacant expression and an empty grocery cart. Peapod solves all that, as typing and tapping is far easier than driving, parking, perusing, waiting in line and bagging. Go figure!
If you’re ultra strapped for time, Peapod will even analyze your previous orders and autofill your cart. Good luck getting that kind of service at your local grocery store. Peapod also offers bundles of savings and even doubles manufacturer coupons. I’m telling you: it’s the best.
But let’s get to the recipe!
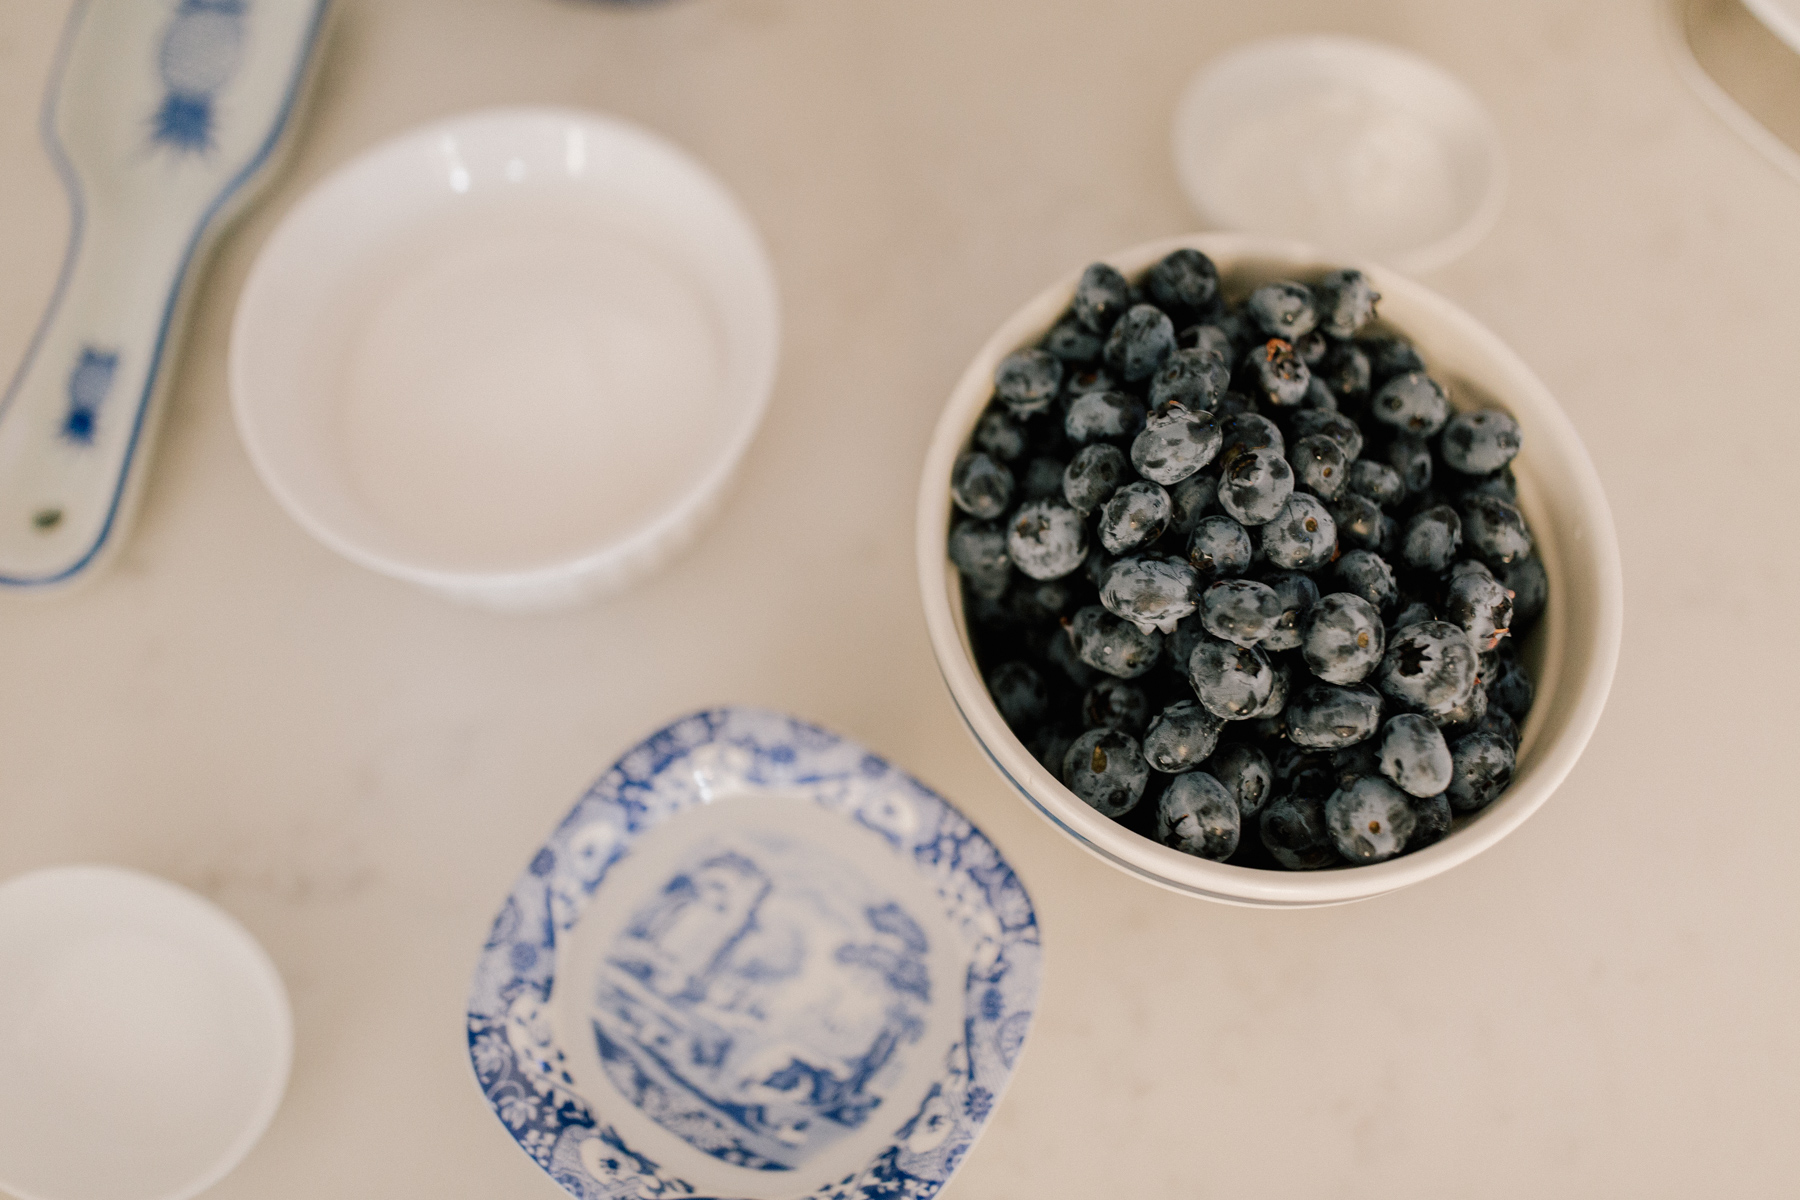
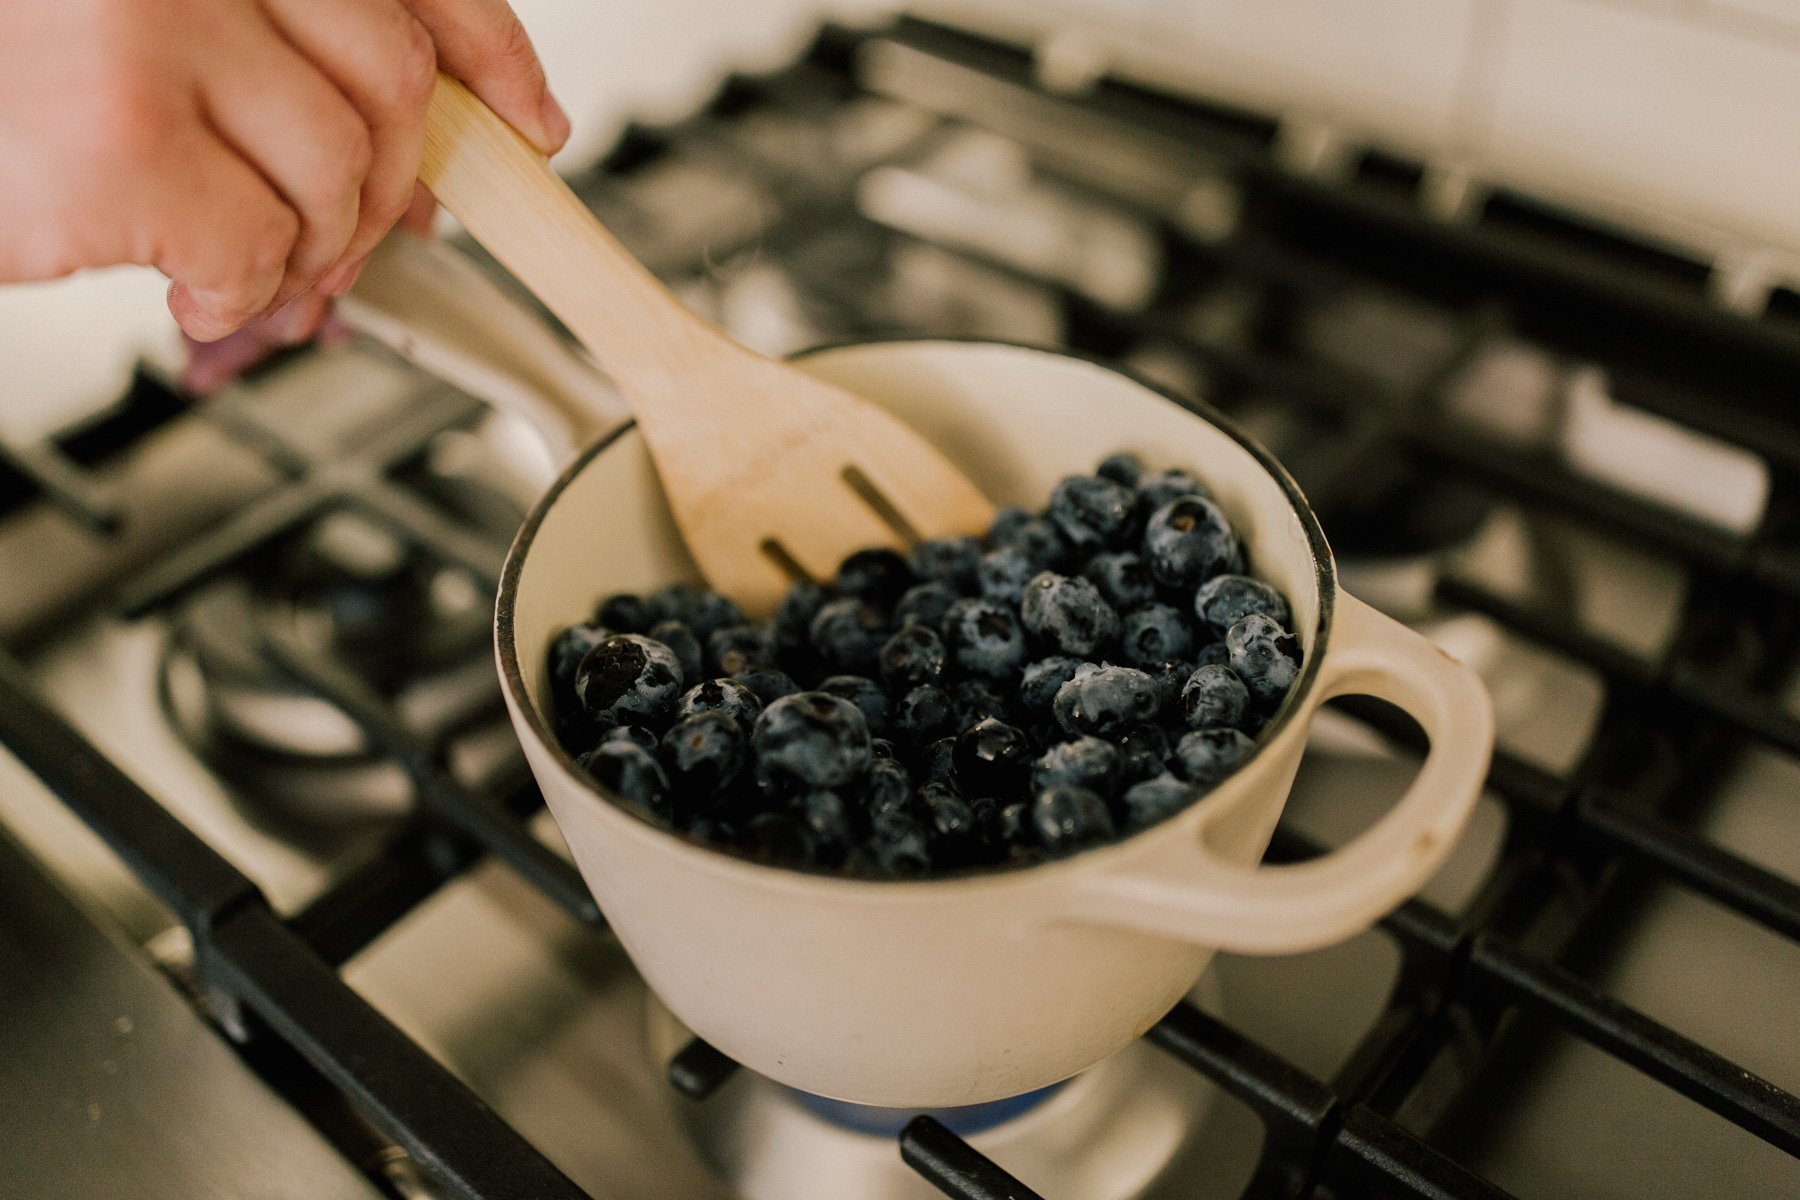
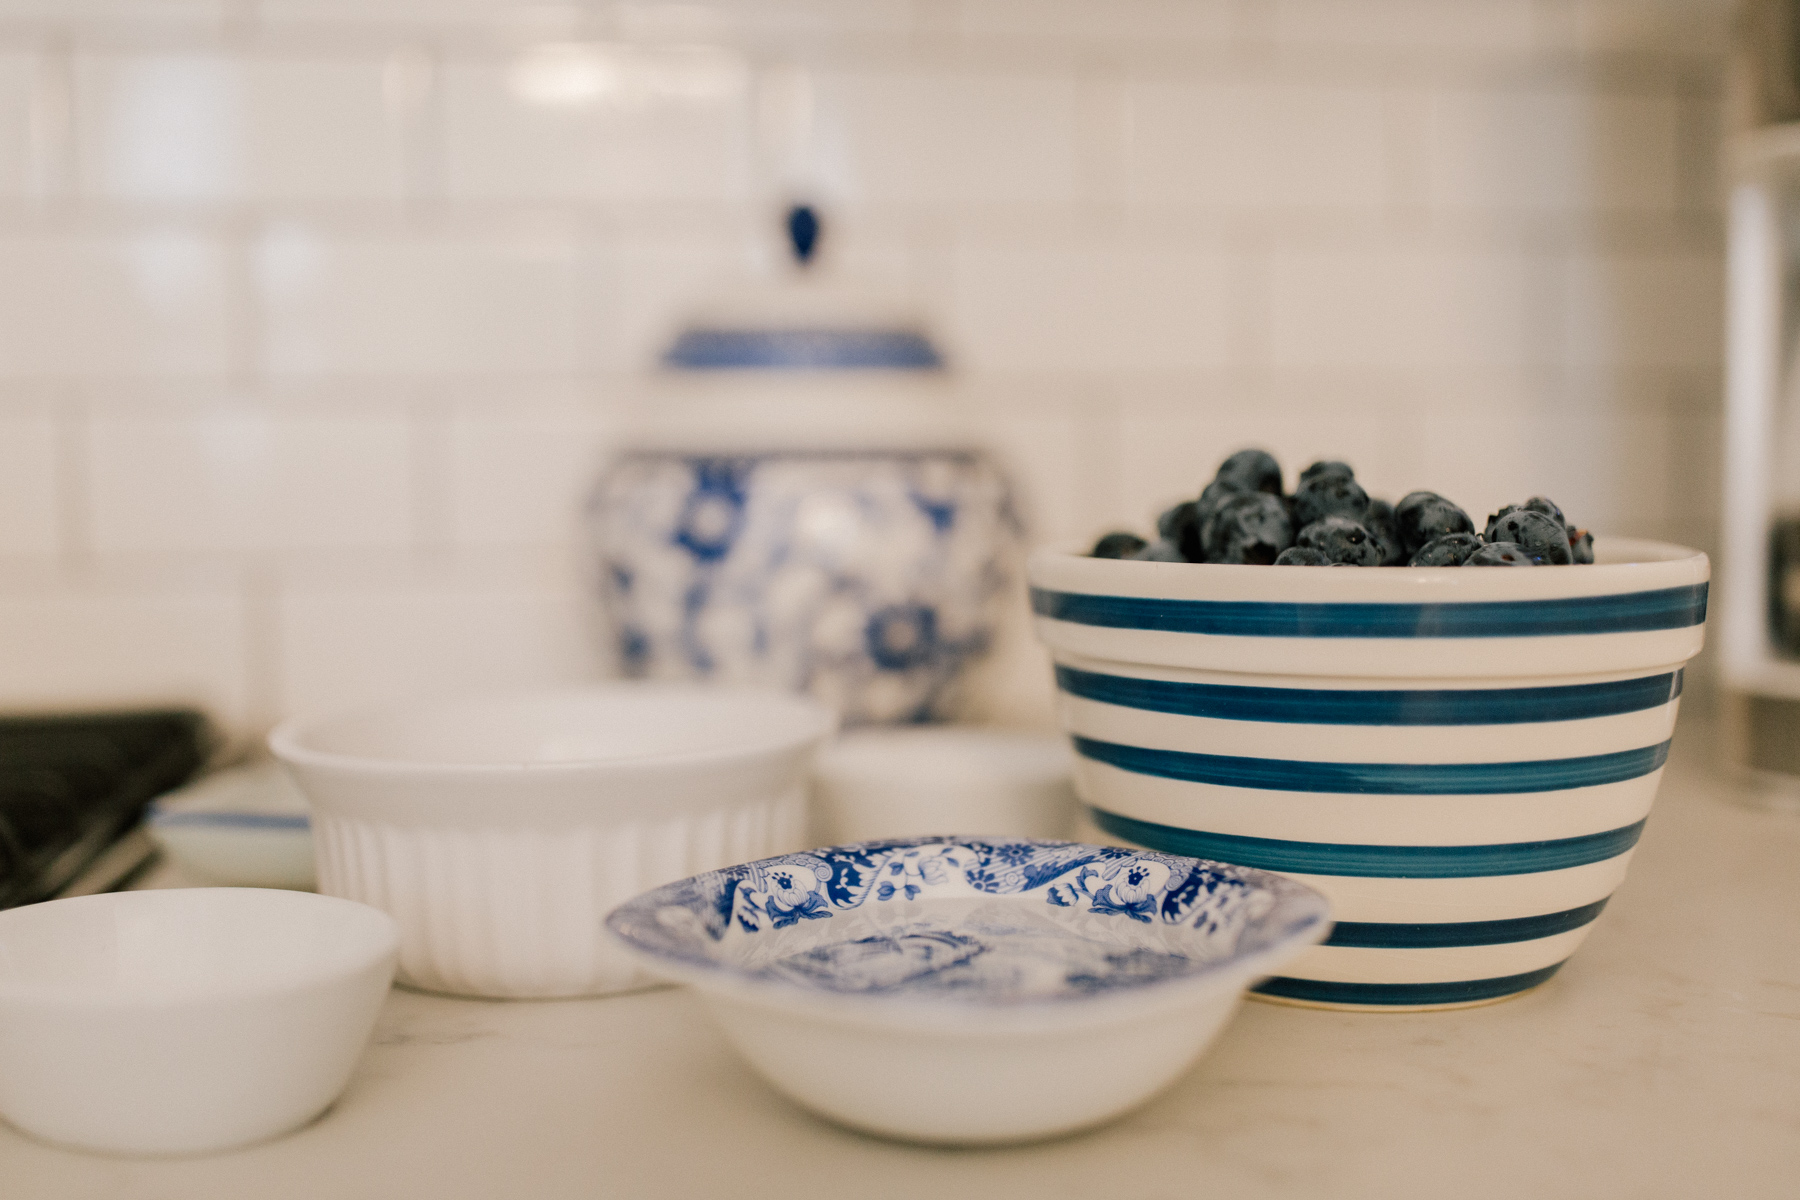
Filling
Filling: I’m not going to lie. I bought canned pie filling just in case this didn’t work. But the filling was really easy, with only four ingredients and simple instructions: “Put stuff in pot; mash up until it boils.” Another added bonus of making the filling yourself is watching the miracle that is corn starch as your sizzling pot of sugared blueberries turns thick and syrupy. Be careful! This stuff will stain your countertop. I don’t care how plaid your pie is, your wife will actually kill you if you stain that countertop. “Gettin’ Murdered with Mitch” would not make a good blog post. Good luck.
I’m taking suggestions of what to do with the canned backup filling. Coffee flavoring? Blueberry waffles this weekend? Leave it in the back of the cabinet for a few years? I’m all ears!
Ingredients
- 2/3 cup sugar
- 3 tablespoons cornstarch
- 1/2 cup of water
- 1/4 teaspoon salt
- 2 pints blueberries
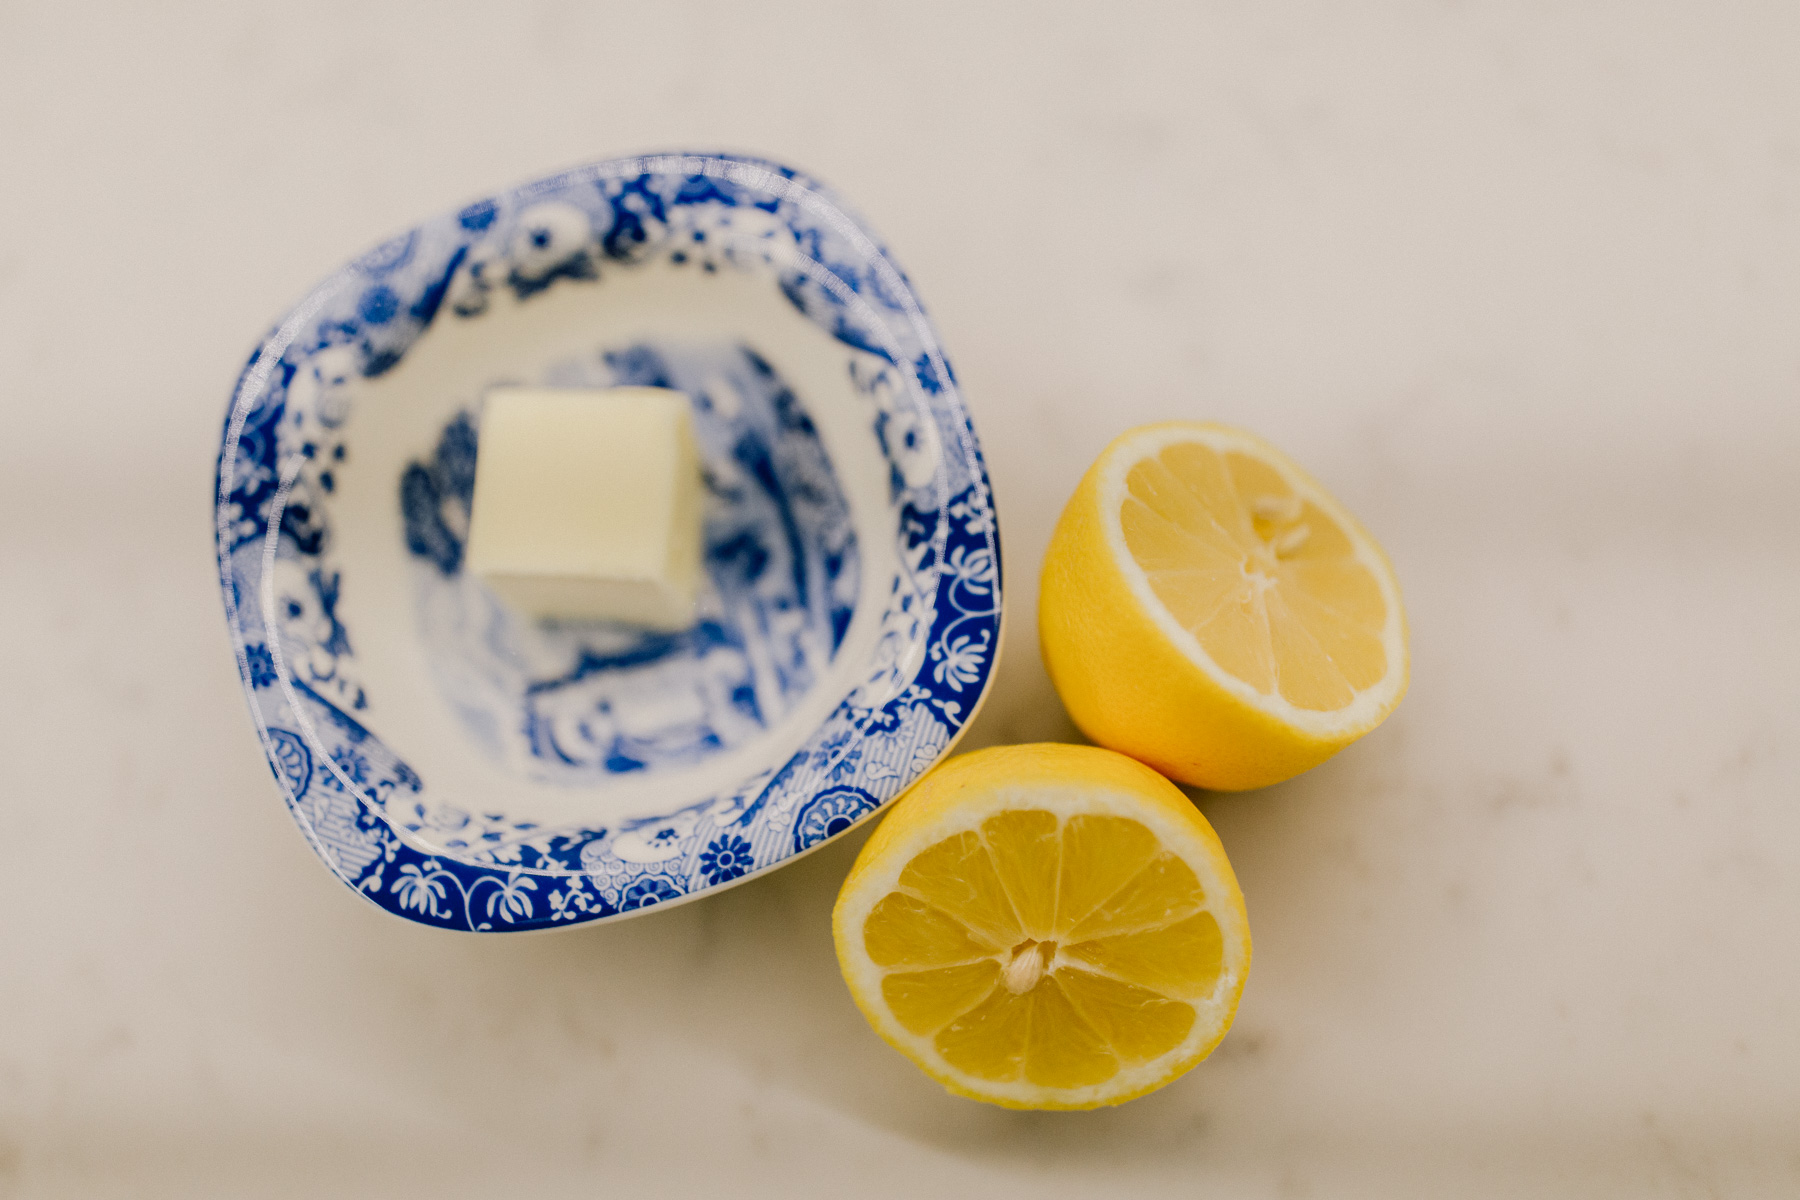
- 1 tablespoon of butter
- juice from 1 lemon
- Or, you know, just buy the canned stuff
Instructions
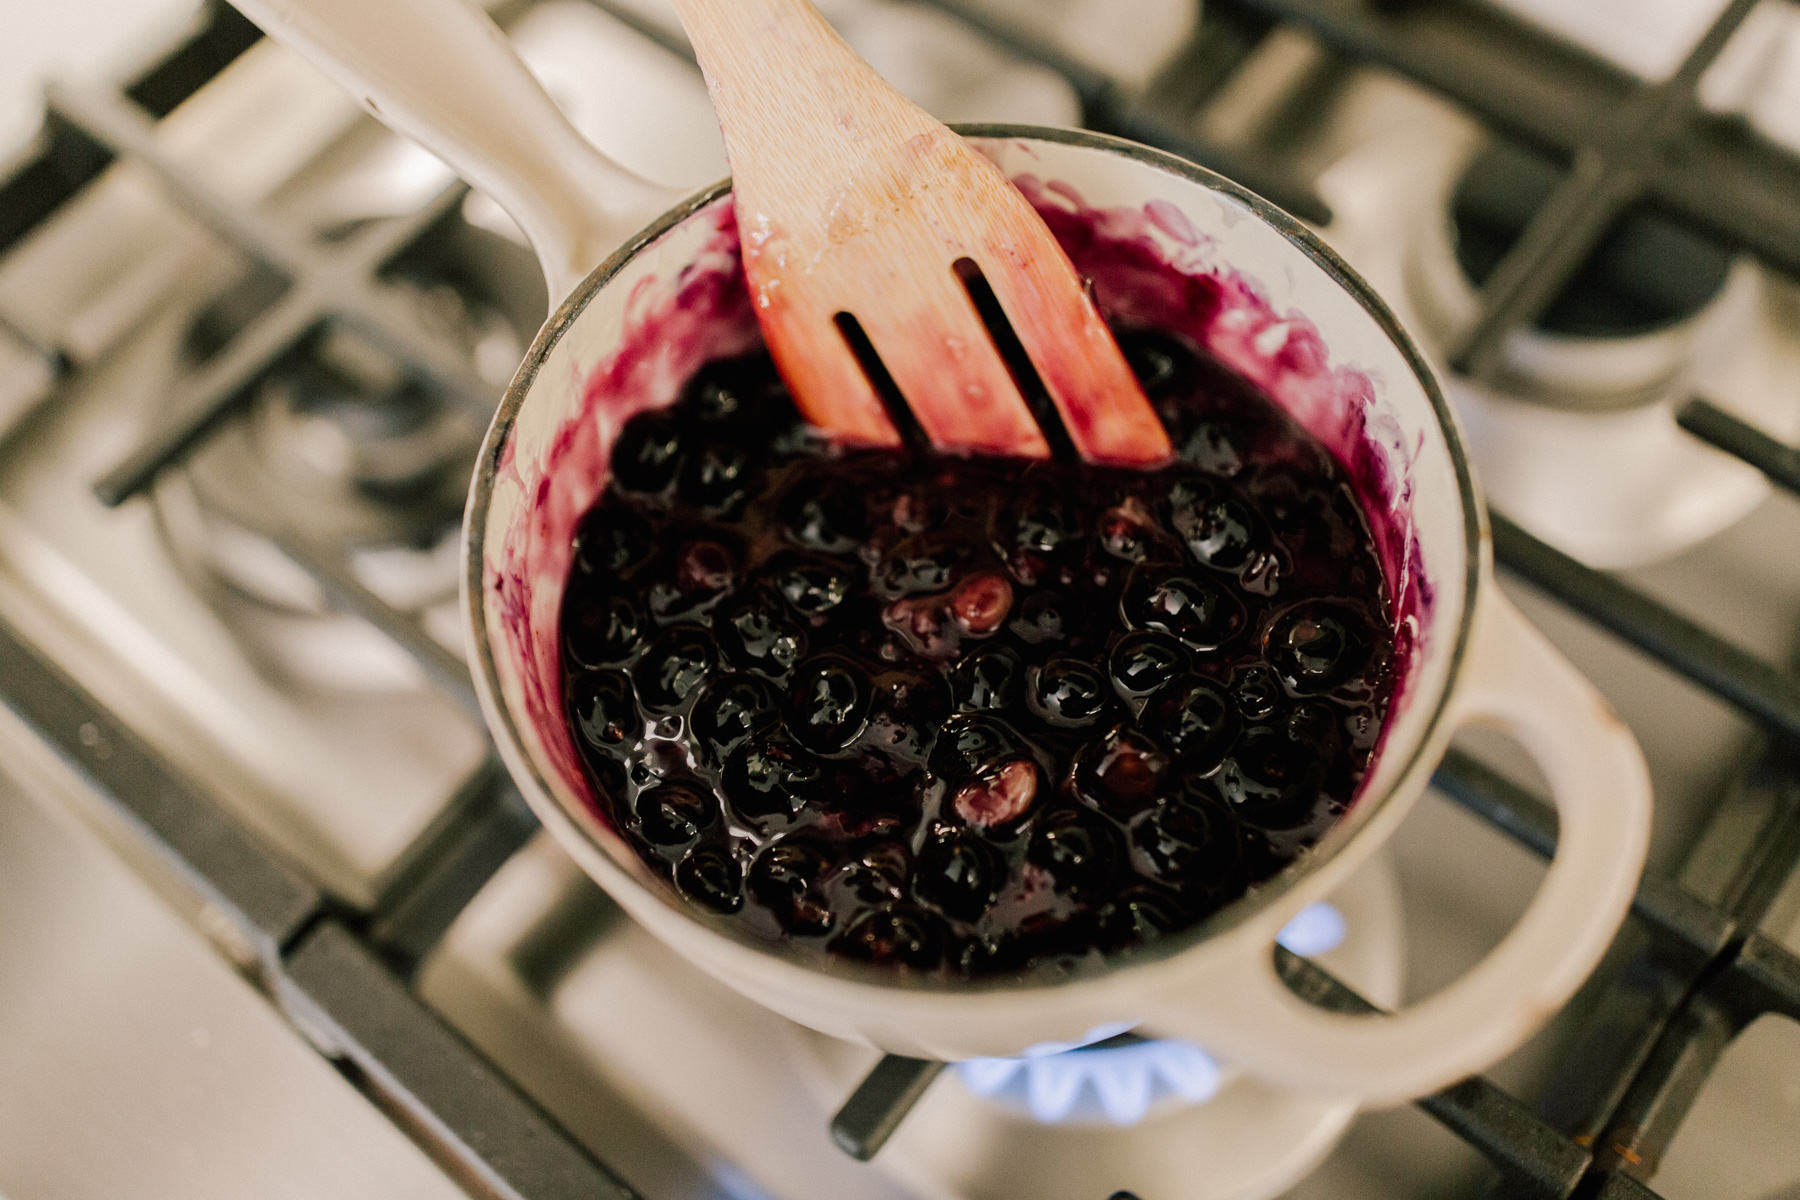
- Heat water, sugar, cornstarch and salt in a saucepan over low-medium heat.
- Add blueberries, stir smash and boil for about 2 minutes until filling is desired consistency.
- Fold in butter and lemon juice.
- Remove from heat and let cool.


Crust
I’m all about honesty today, I guess so I might as well admit that I bought five boxes of frozen dough just in case I repeatedly screwed this pie up over and over and over again. I’m happy to report that I only screwed the pie up once and that it was really Emma’s fault so I get a pass.
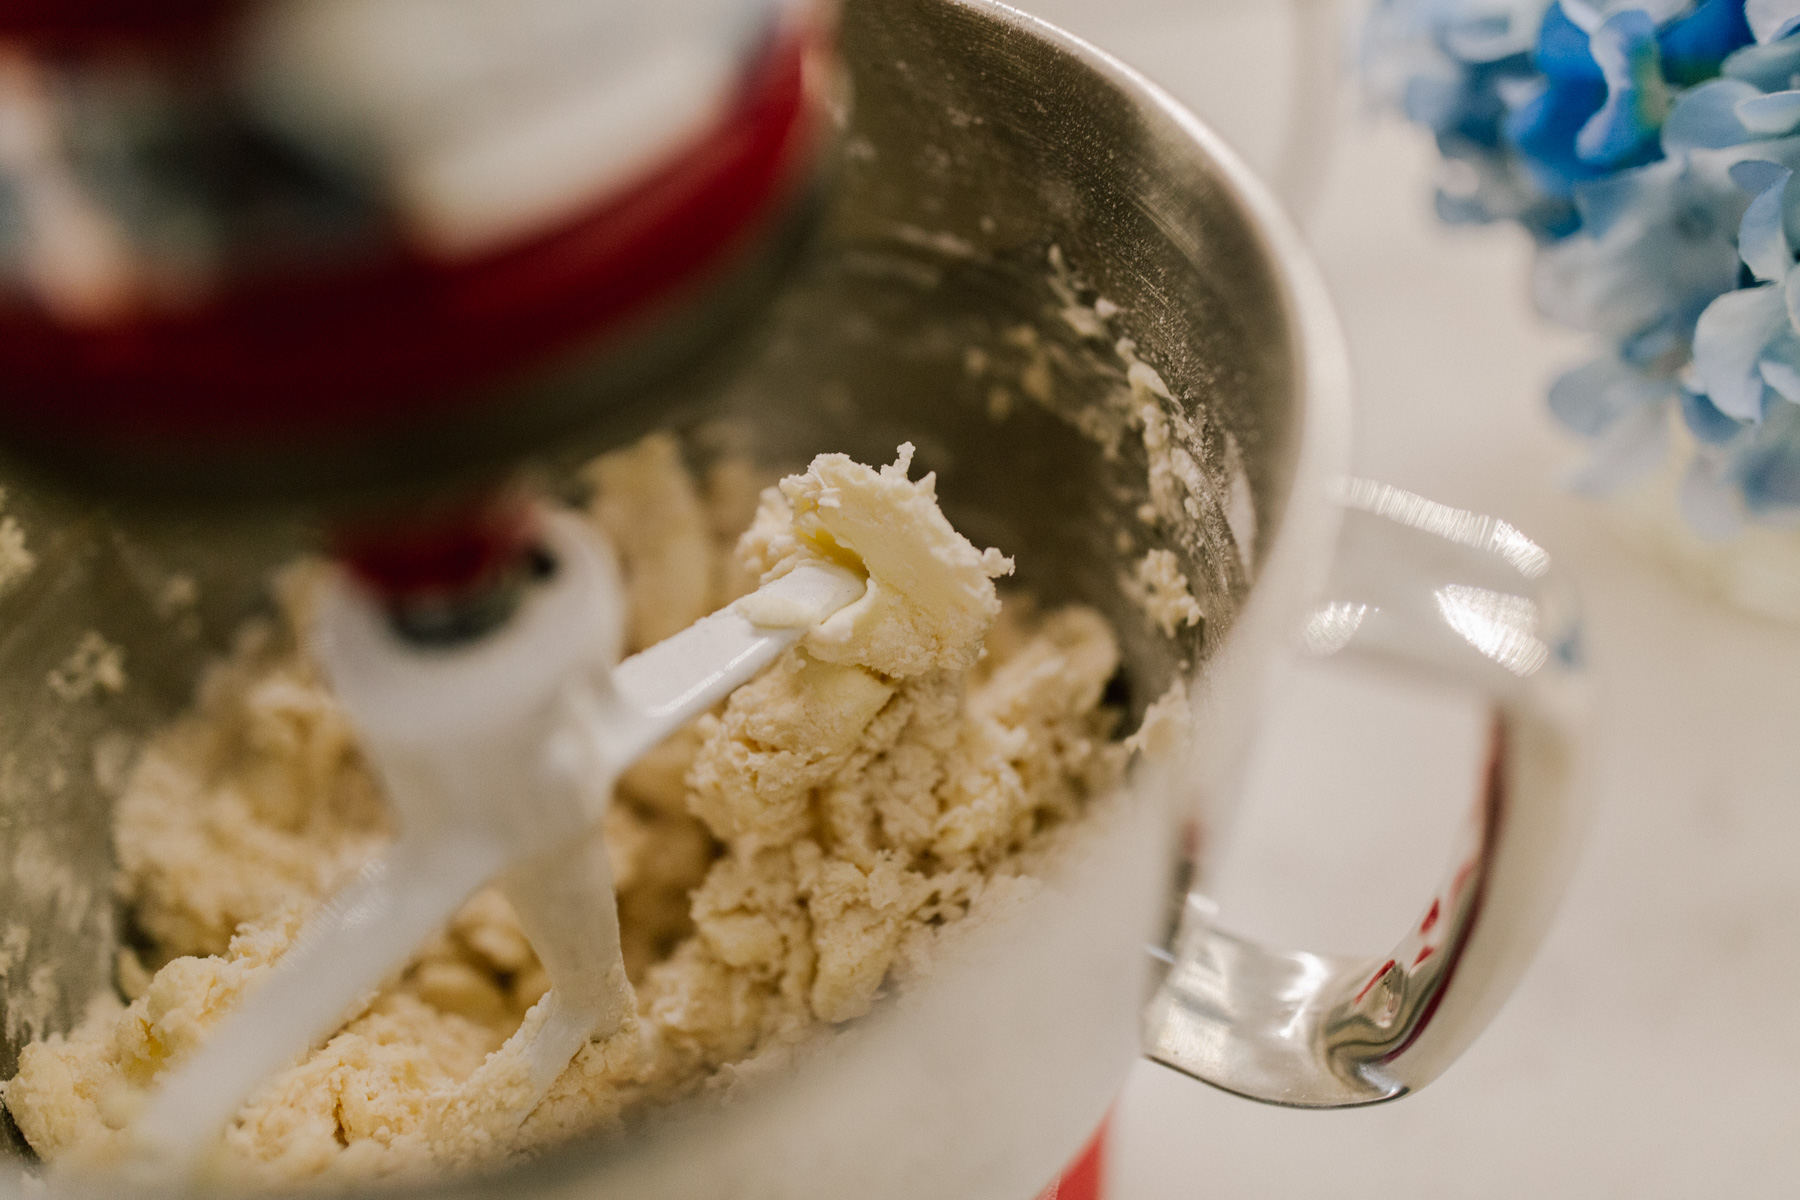
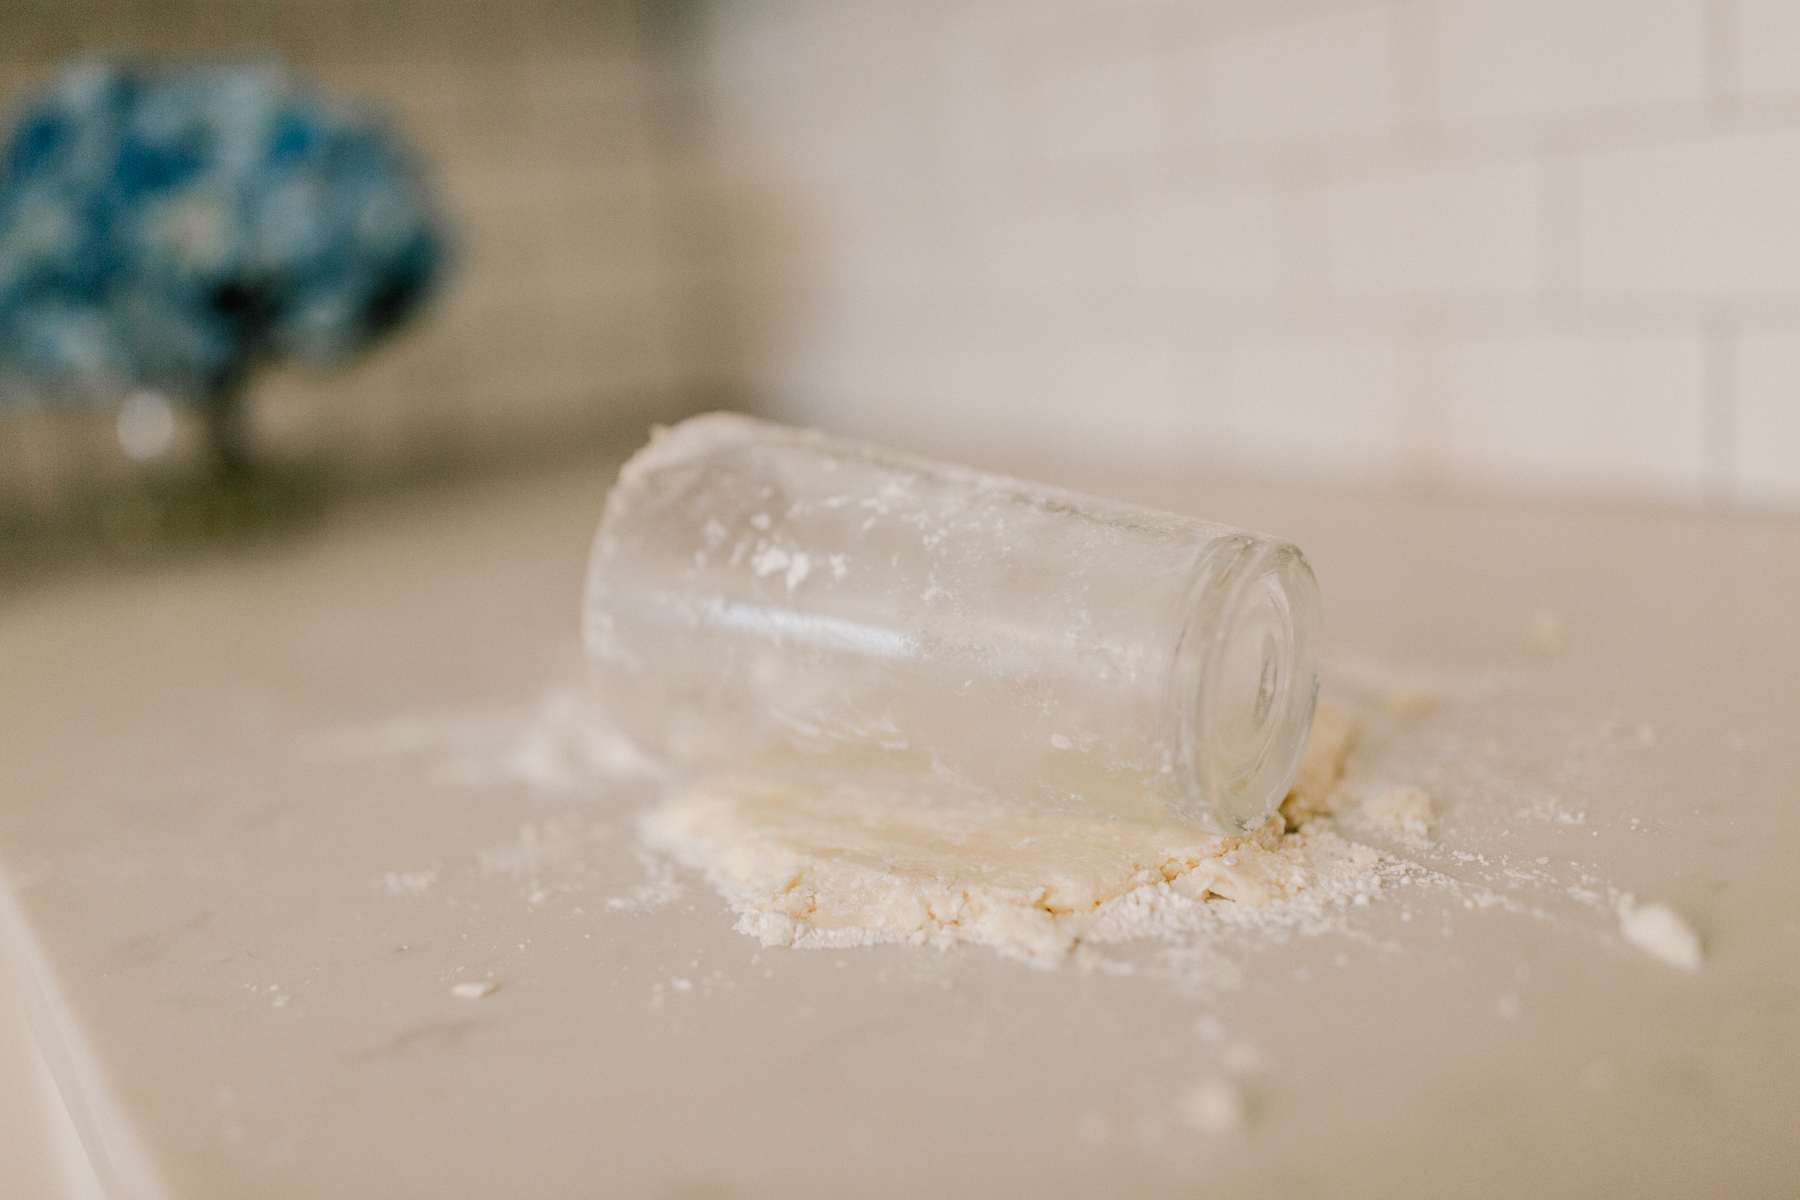
This (REAL!) pie crust was my first experience with a Kitchenaid Mixer, and let me tell you: that thing can mix. It can’t roll dough, though, and apparently neither can I. I feel like the universe is playing a practical joke on me when I’m rolling dough. I don’t even have a rolling pin, and I tried to flour a pint glass but the flour didn’t stick so I added too much extra flour and the dough/flour ratio got all out of whack and why did I even volunteer to make pies today in the first place?!
(Long story short, Kelly took over and made it look pretty.)
Ingredients
- 2 cups of flour
- 1 teaspoon of salt
- 1 1/2 sticks of butter (3/4 cup)
- 1/3 cup water
- 5 packs of frozen dough in case you screw up
Instructions
- Preheat oven to 375 degrees.
- Add flour, cold butter, salt and water to mixing bowl.
- Mix.
- Roll dough using rolling pin. (Not a pint glass.)
- Place evenly rolled dough into pie dish cutting off excess. Make sure to have enough excess for your plaid design.
- Add cool pie filling to dough-filled dish.

Plaid
Plaid: Okay. The whole point of this post is to somehow make food “preppy,” which isn’t as easy as it sounds. Striped bass? Nope. Ging-Ham? Not even real. Pie-drangeas?
And you thought the pie puns were done?!
Spending an afternoon weaving a plaid dough pattern onto a pie really puts one’s life decisions into perspective. Especially when the woman I’ve chosen to spend my life with criticized my first attempt, resulting in a garbage can full of pie crust. 😉 And while it isn’t perfect, I stand by this second plaid pie. As far as I can tell, there are no mistaken “ups” which should have been “downs.” Because, as you can probably guess, this would’ve ruined the entire project.
Don’t mess this up, Readers!
Ingredients
- Excess pie dough.
- Beaten egg wash.
Instructions:
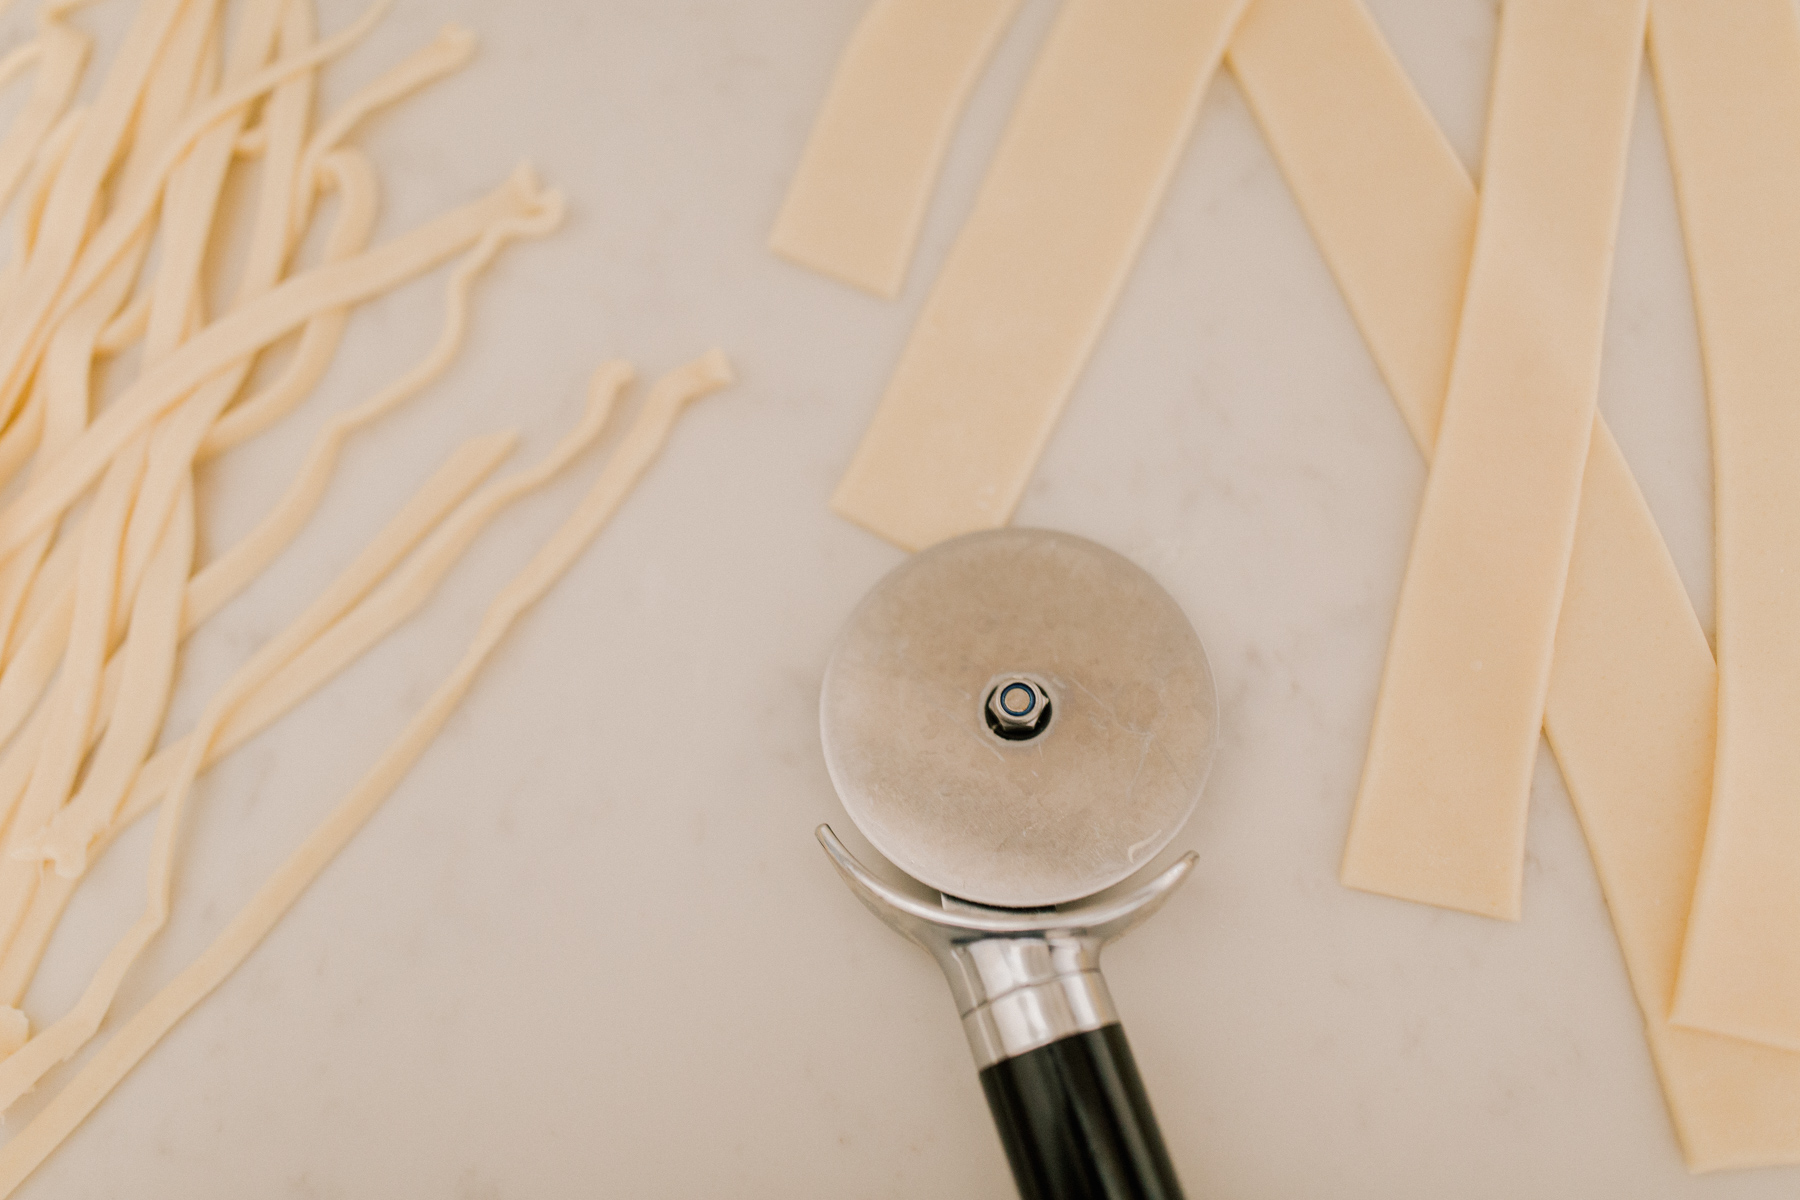
- Roll excess pie dough back out even long flat.
- Slice ribbons of dough to match desired plaid pattern. We chose a wide and narrow strip pattern for simplicity’s sake.
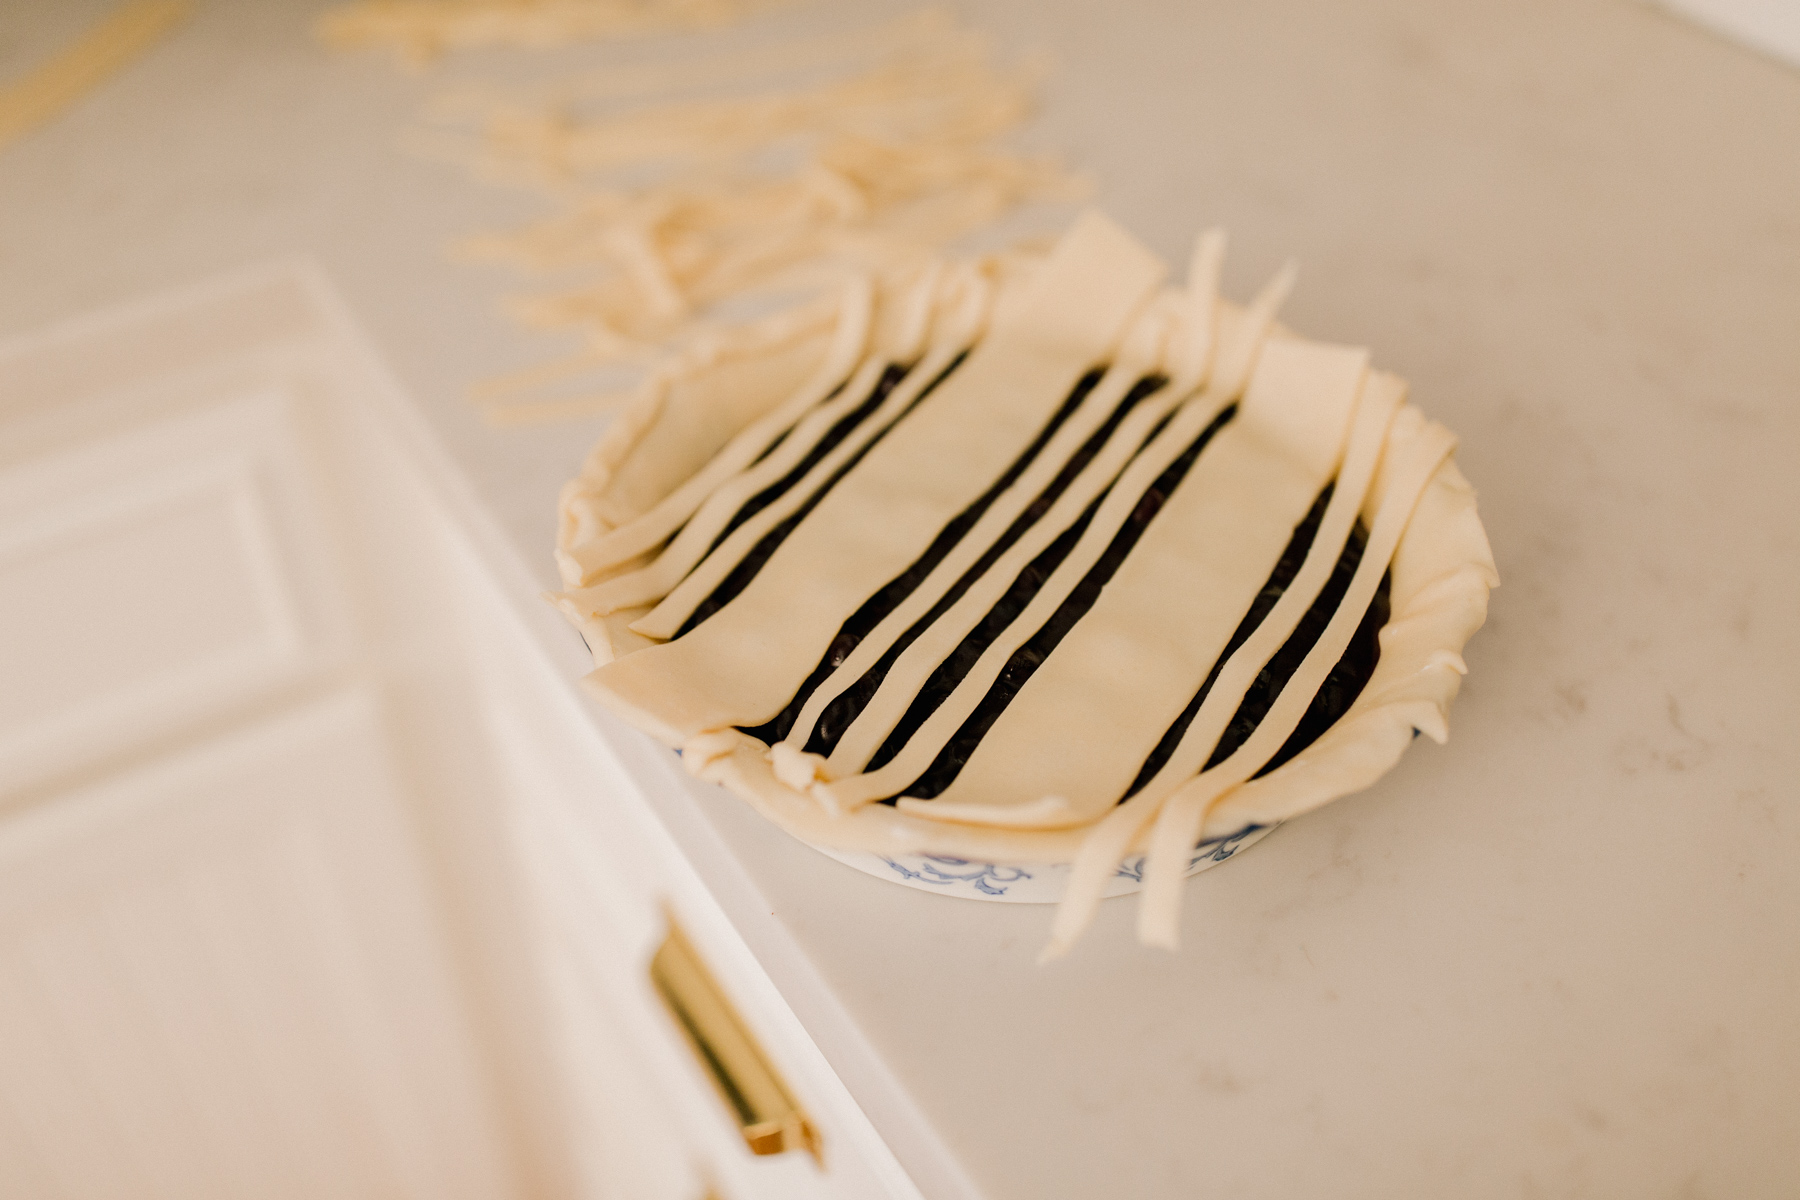
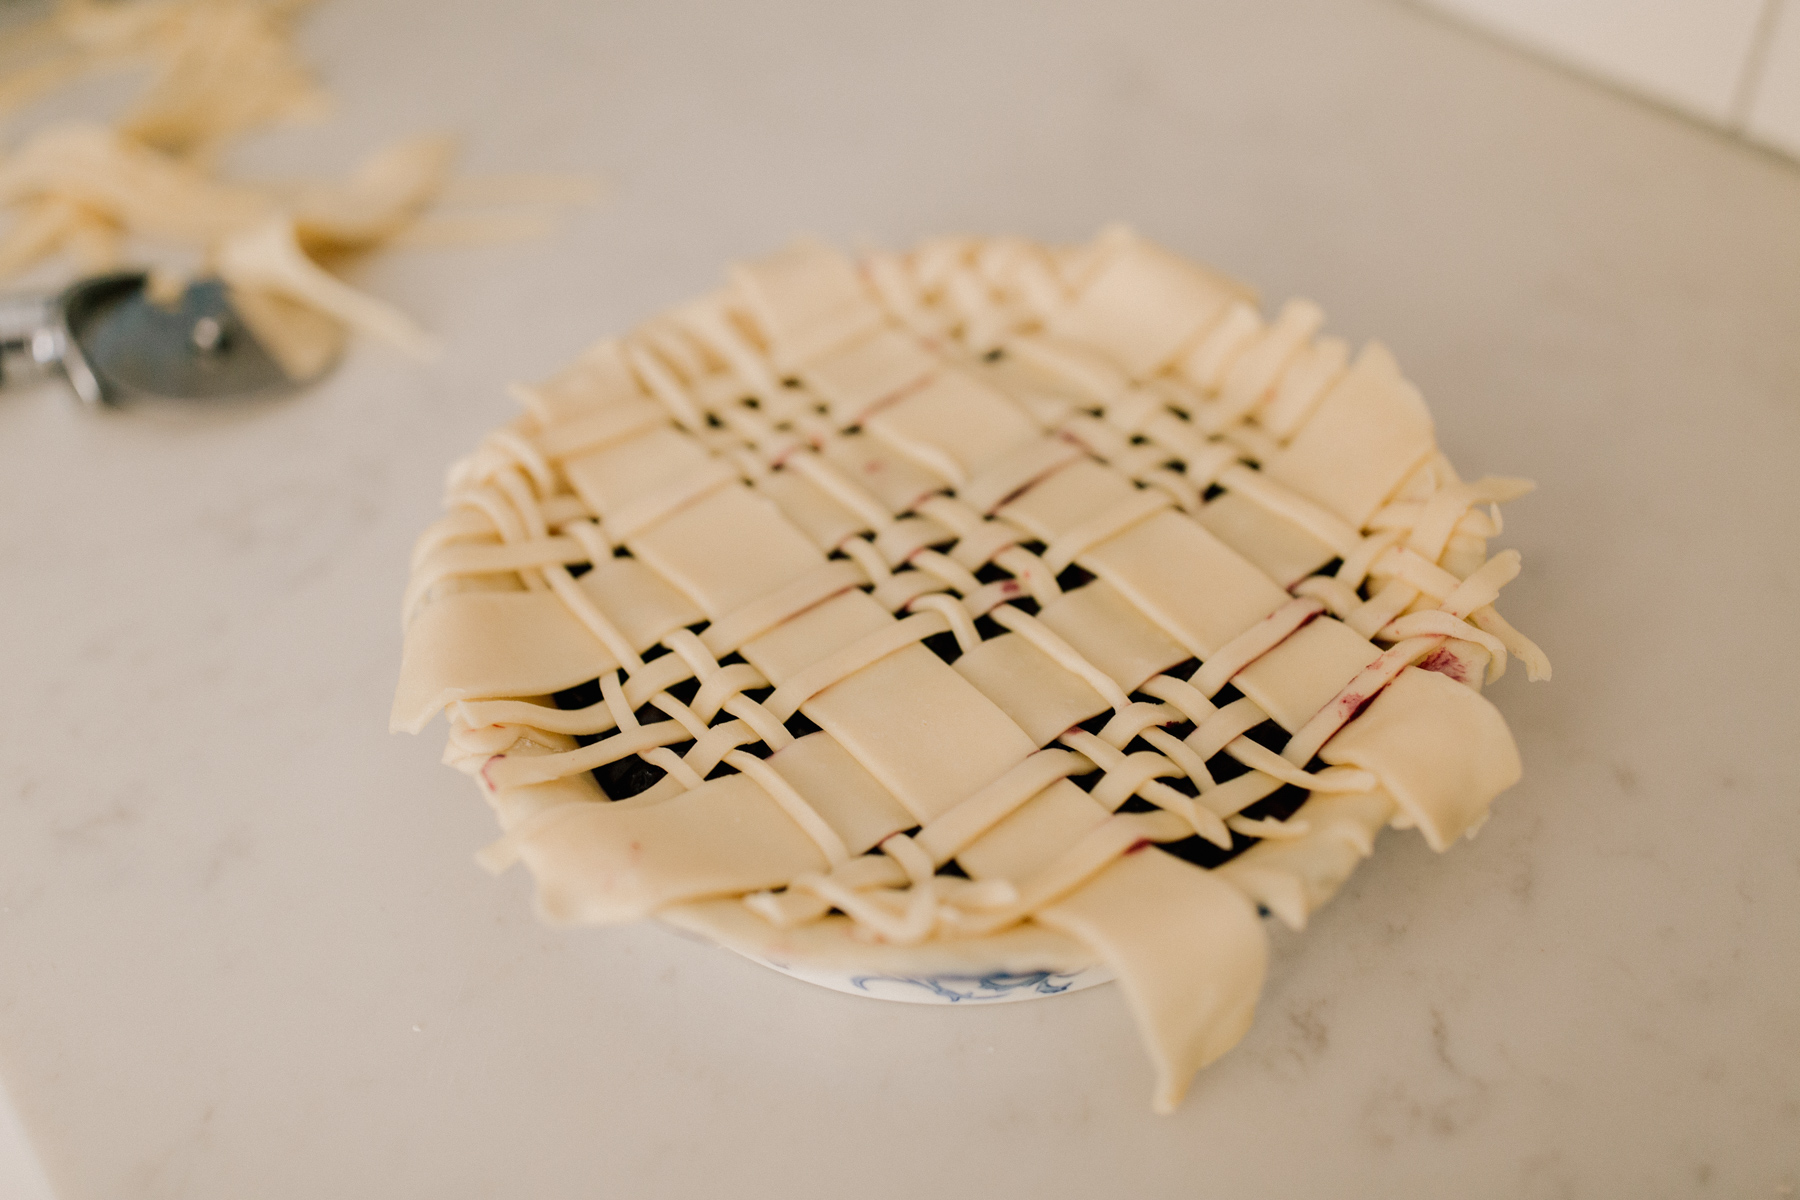
- Place all vertically oriented strips ensuring proper spacing between rows.
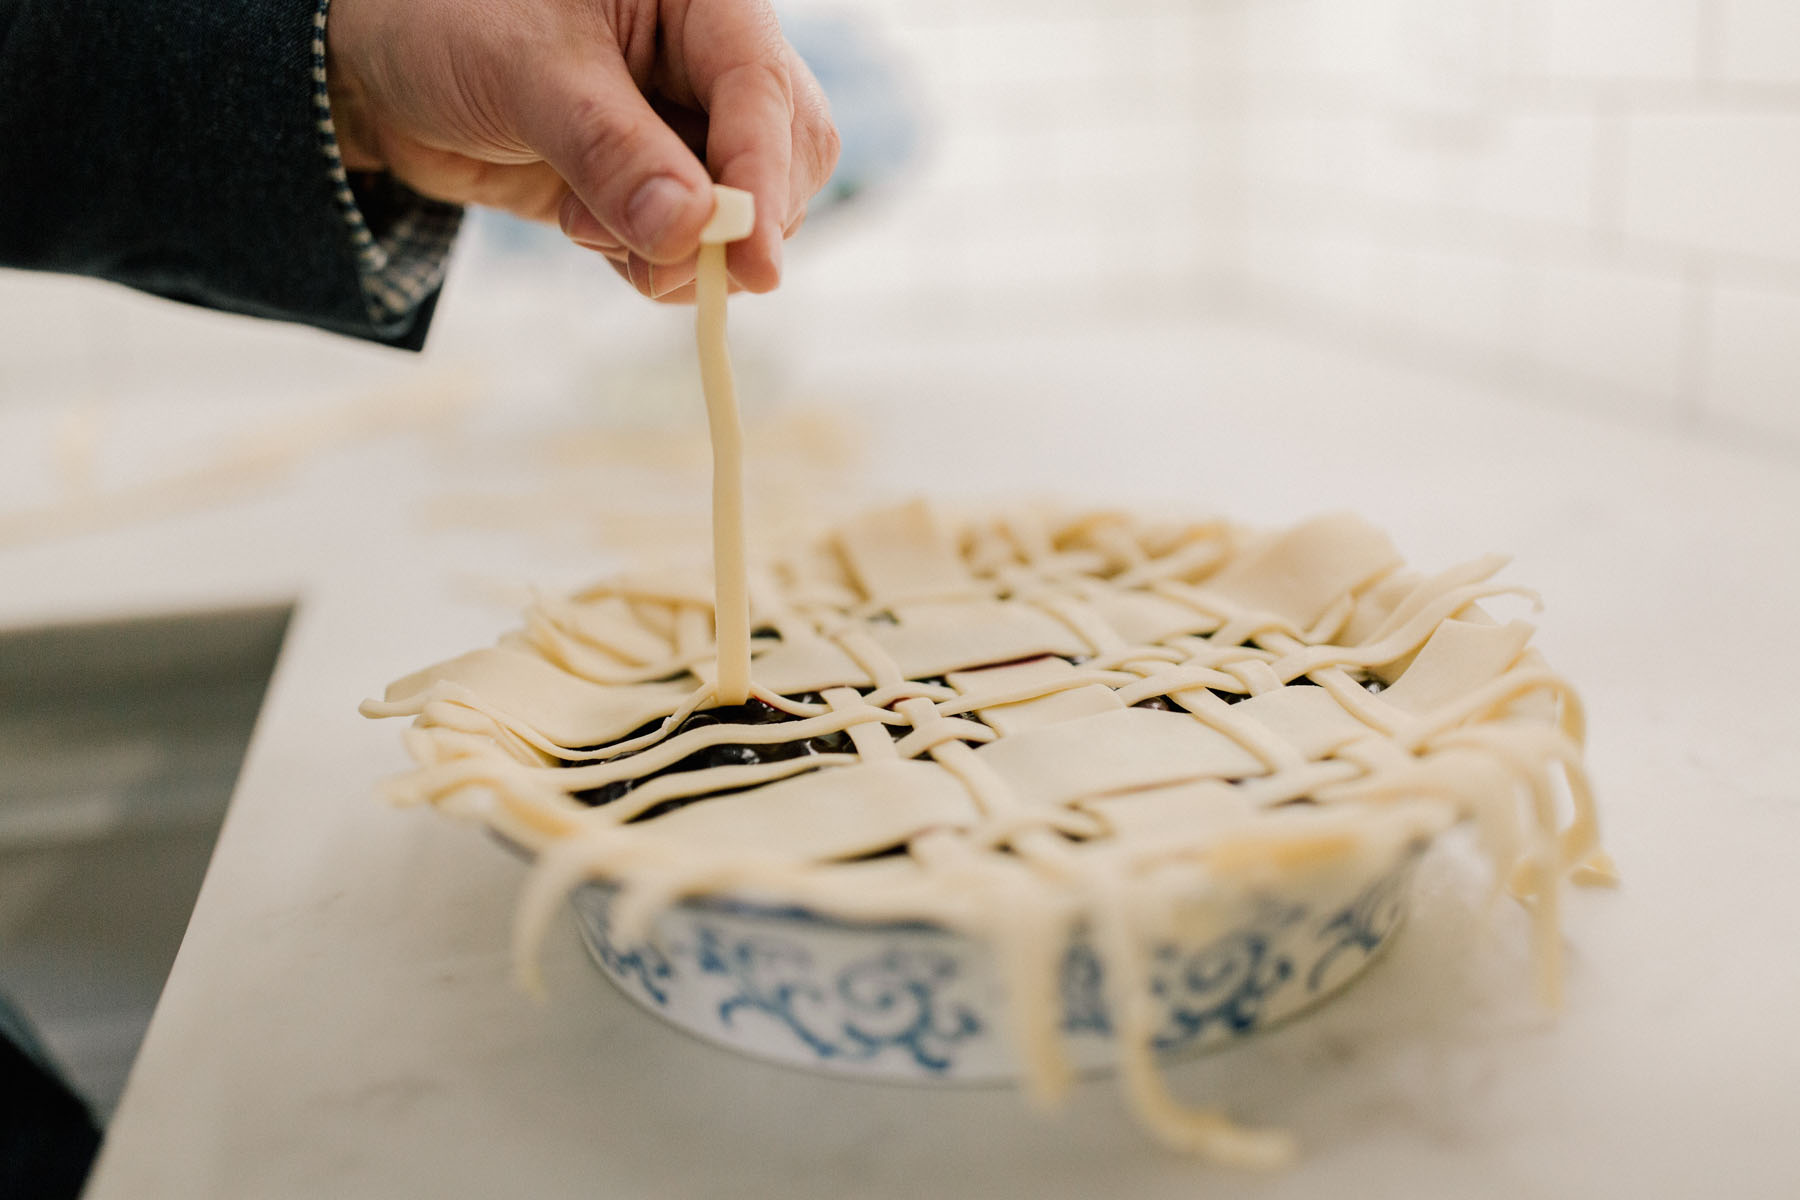
- Weave horizontal strips over and vertical strips. Spacing is key here, as an errant piece could ruin the whole project, as mentioned previously.
- Cut off excess dough around edge of pan.
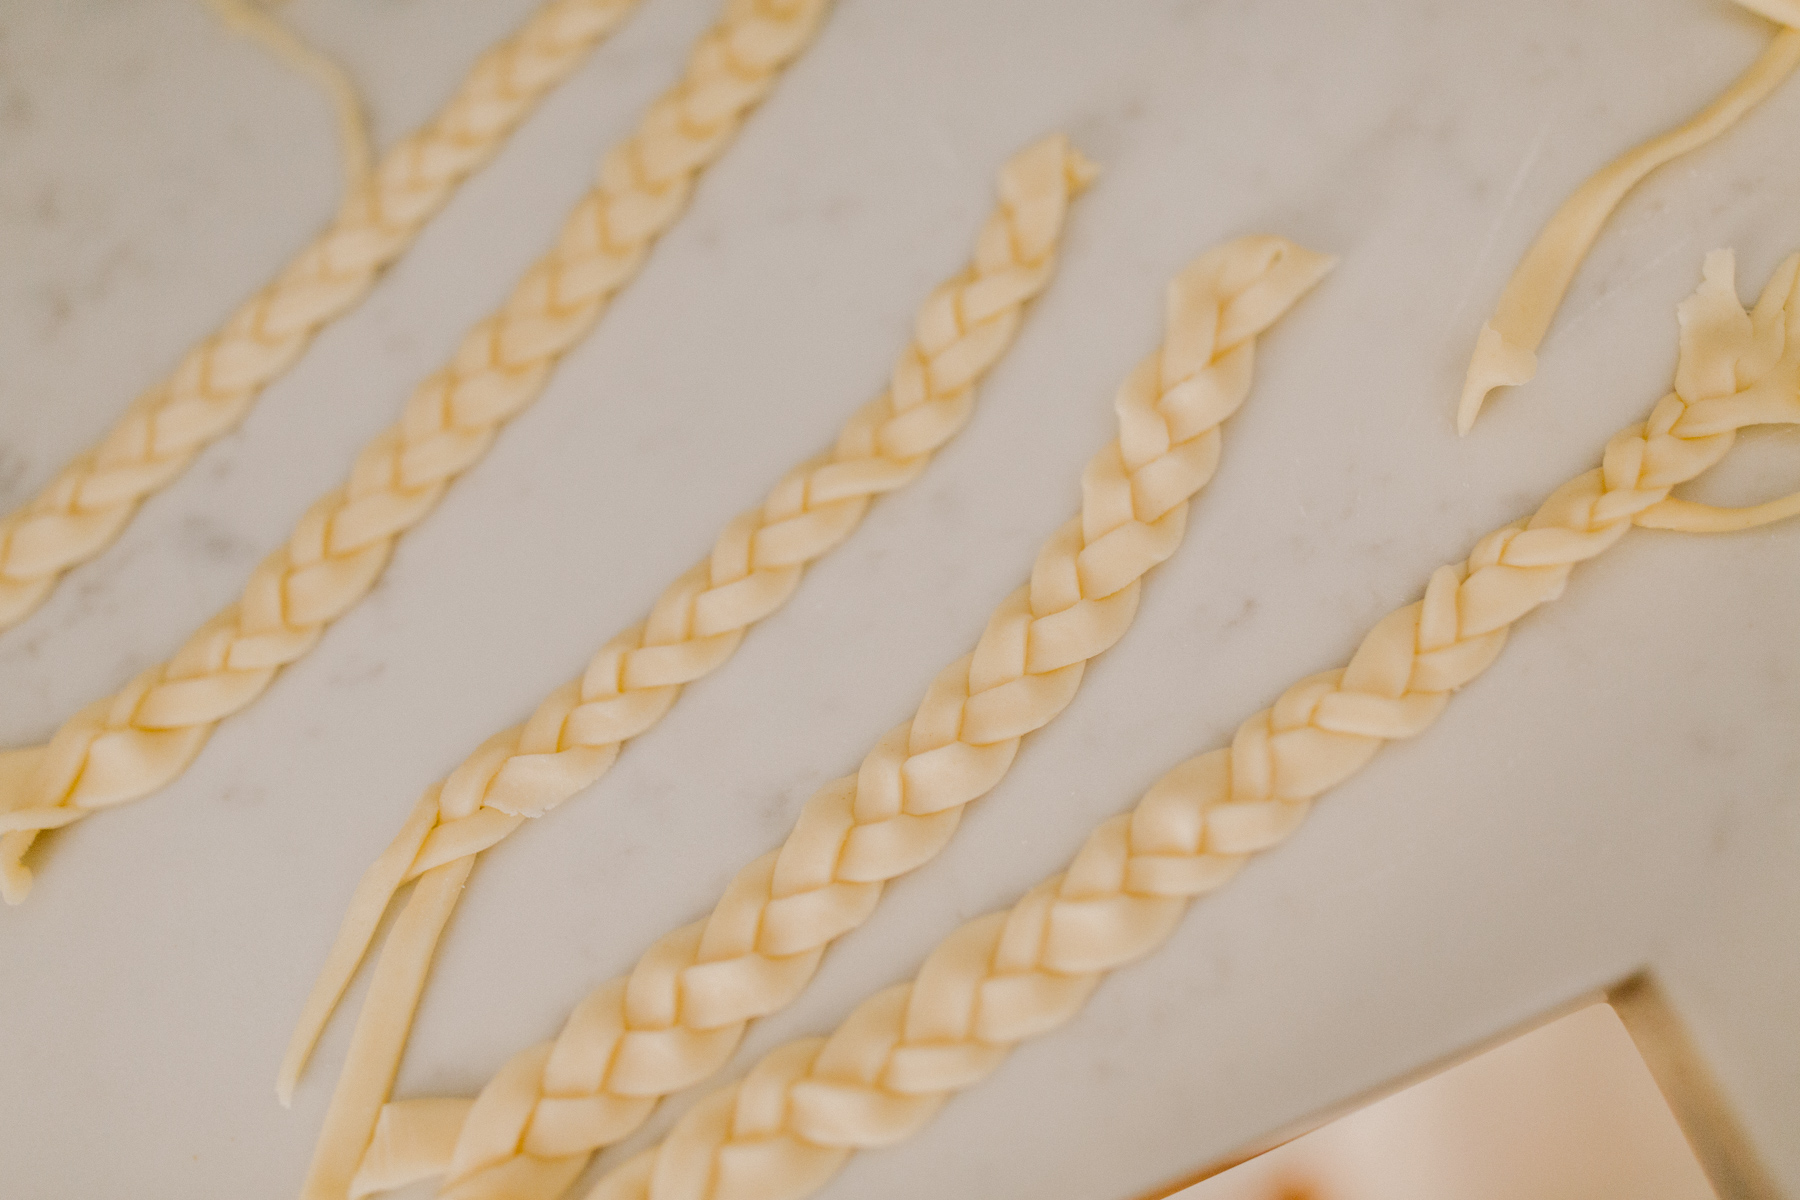
- Cover up loose ends with a braided loop of dough.
- Brush egg wash across the plaid dough while pushing.
- Bake pie for 35 minutes at 375 degrees. It might be necessary to cover the outer crust with foil for a more even browning.
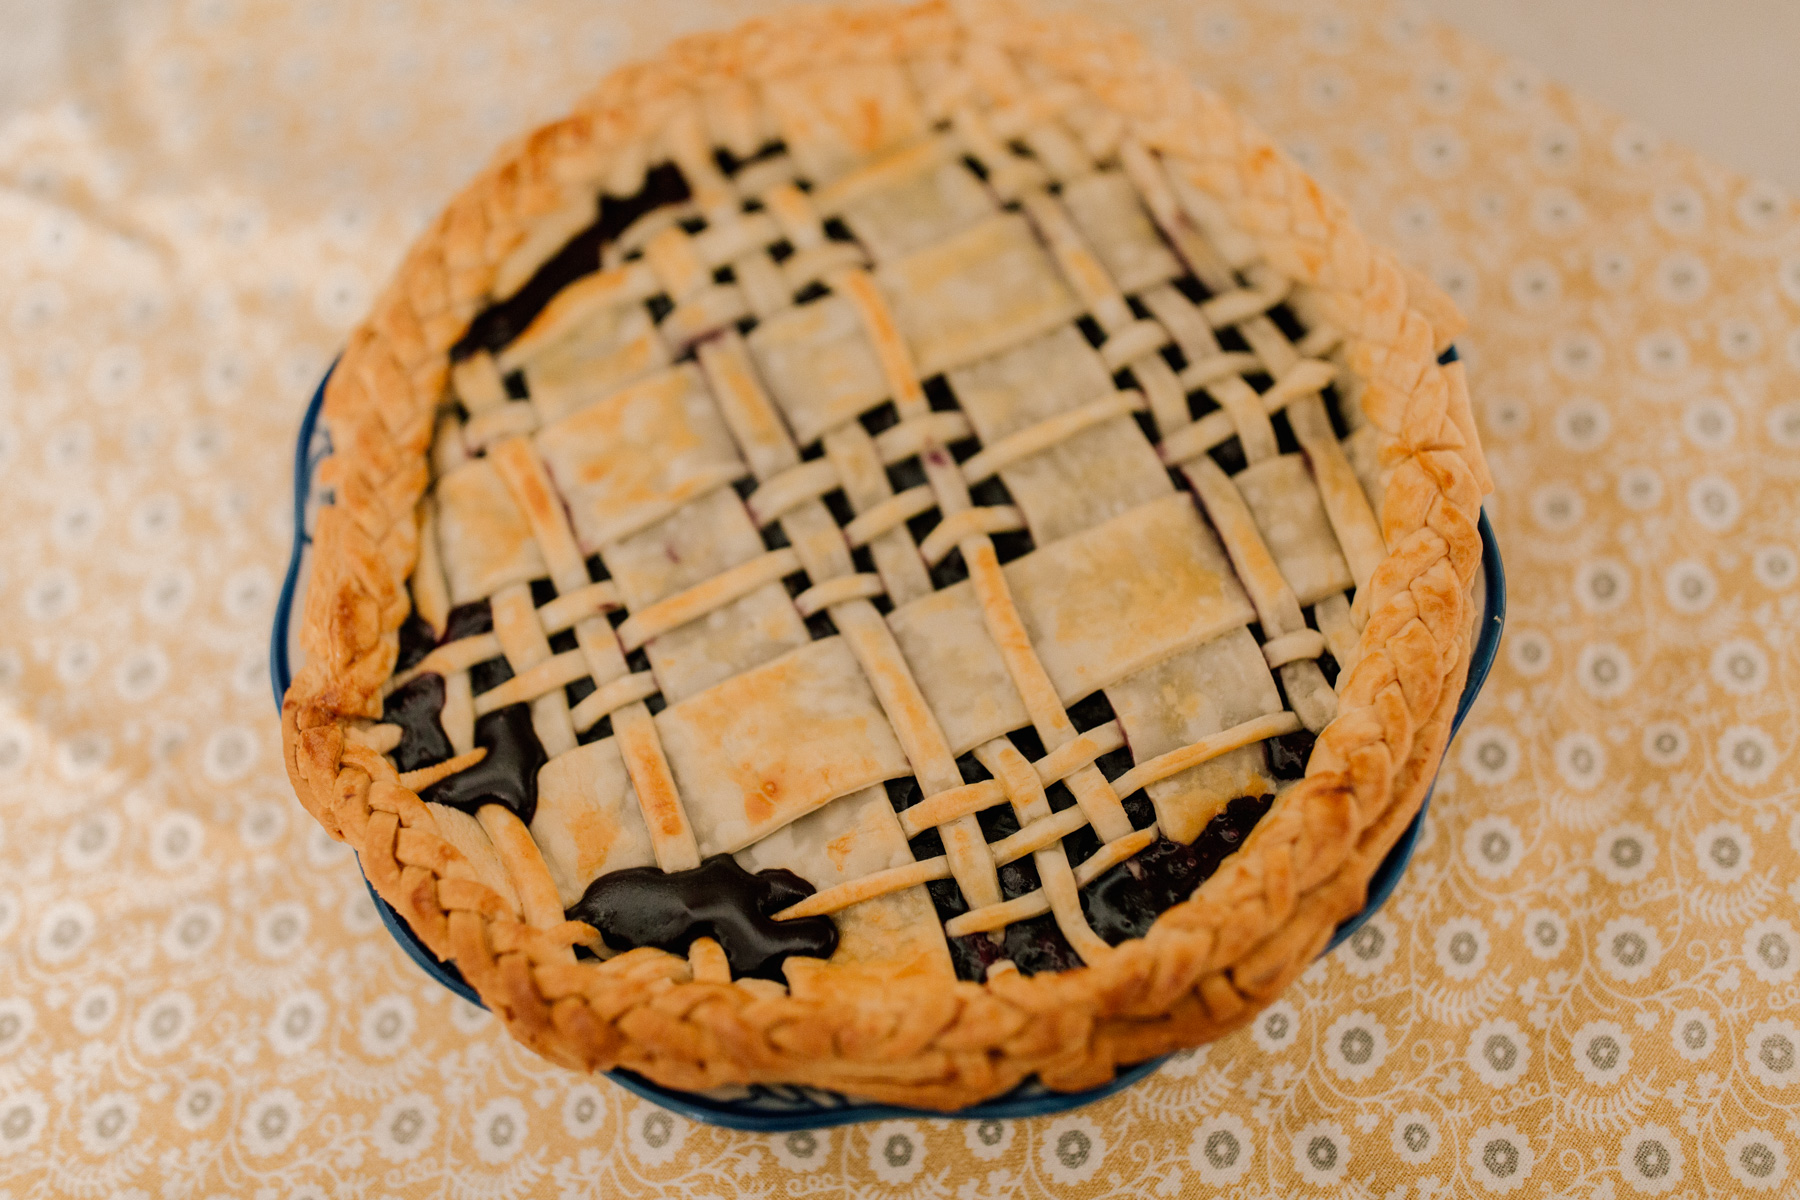
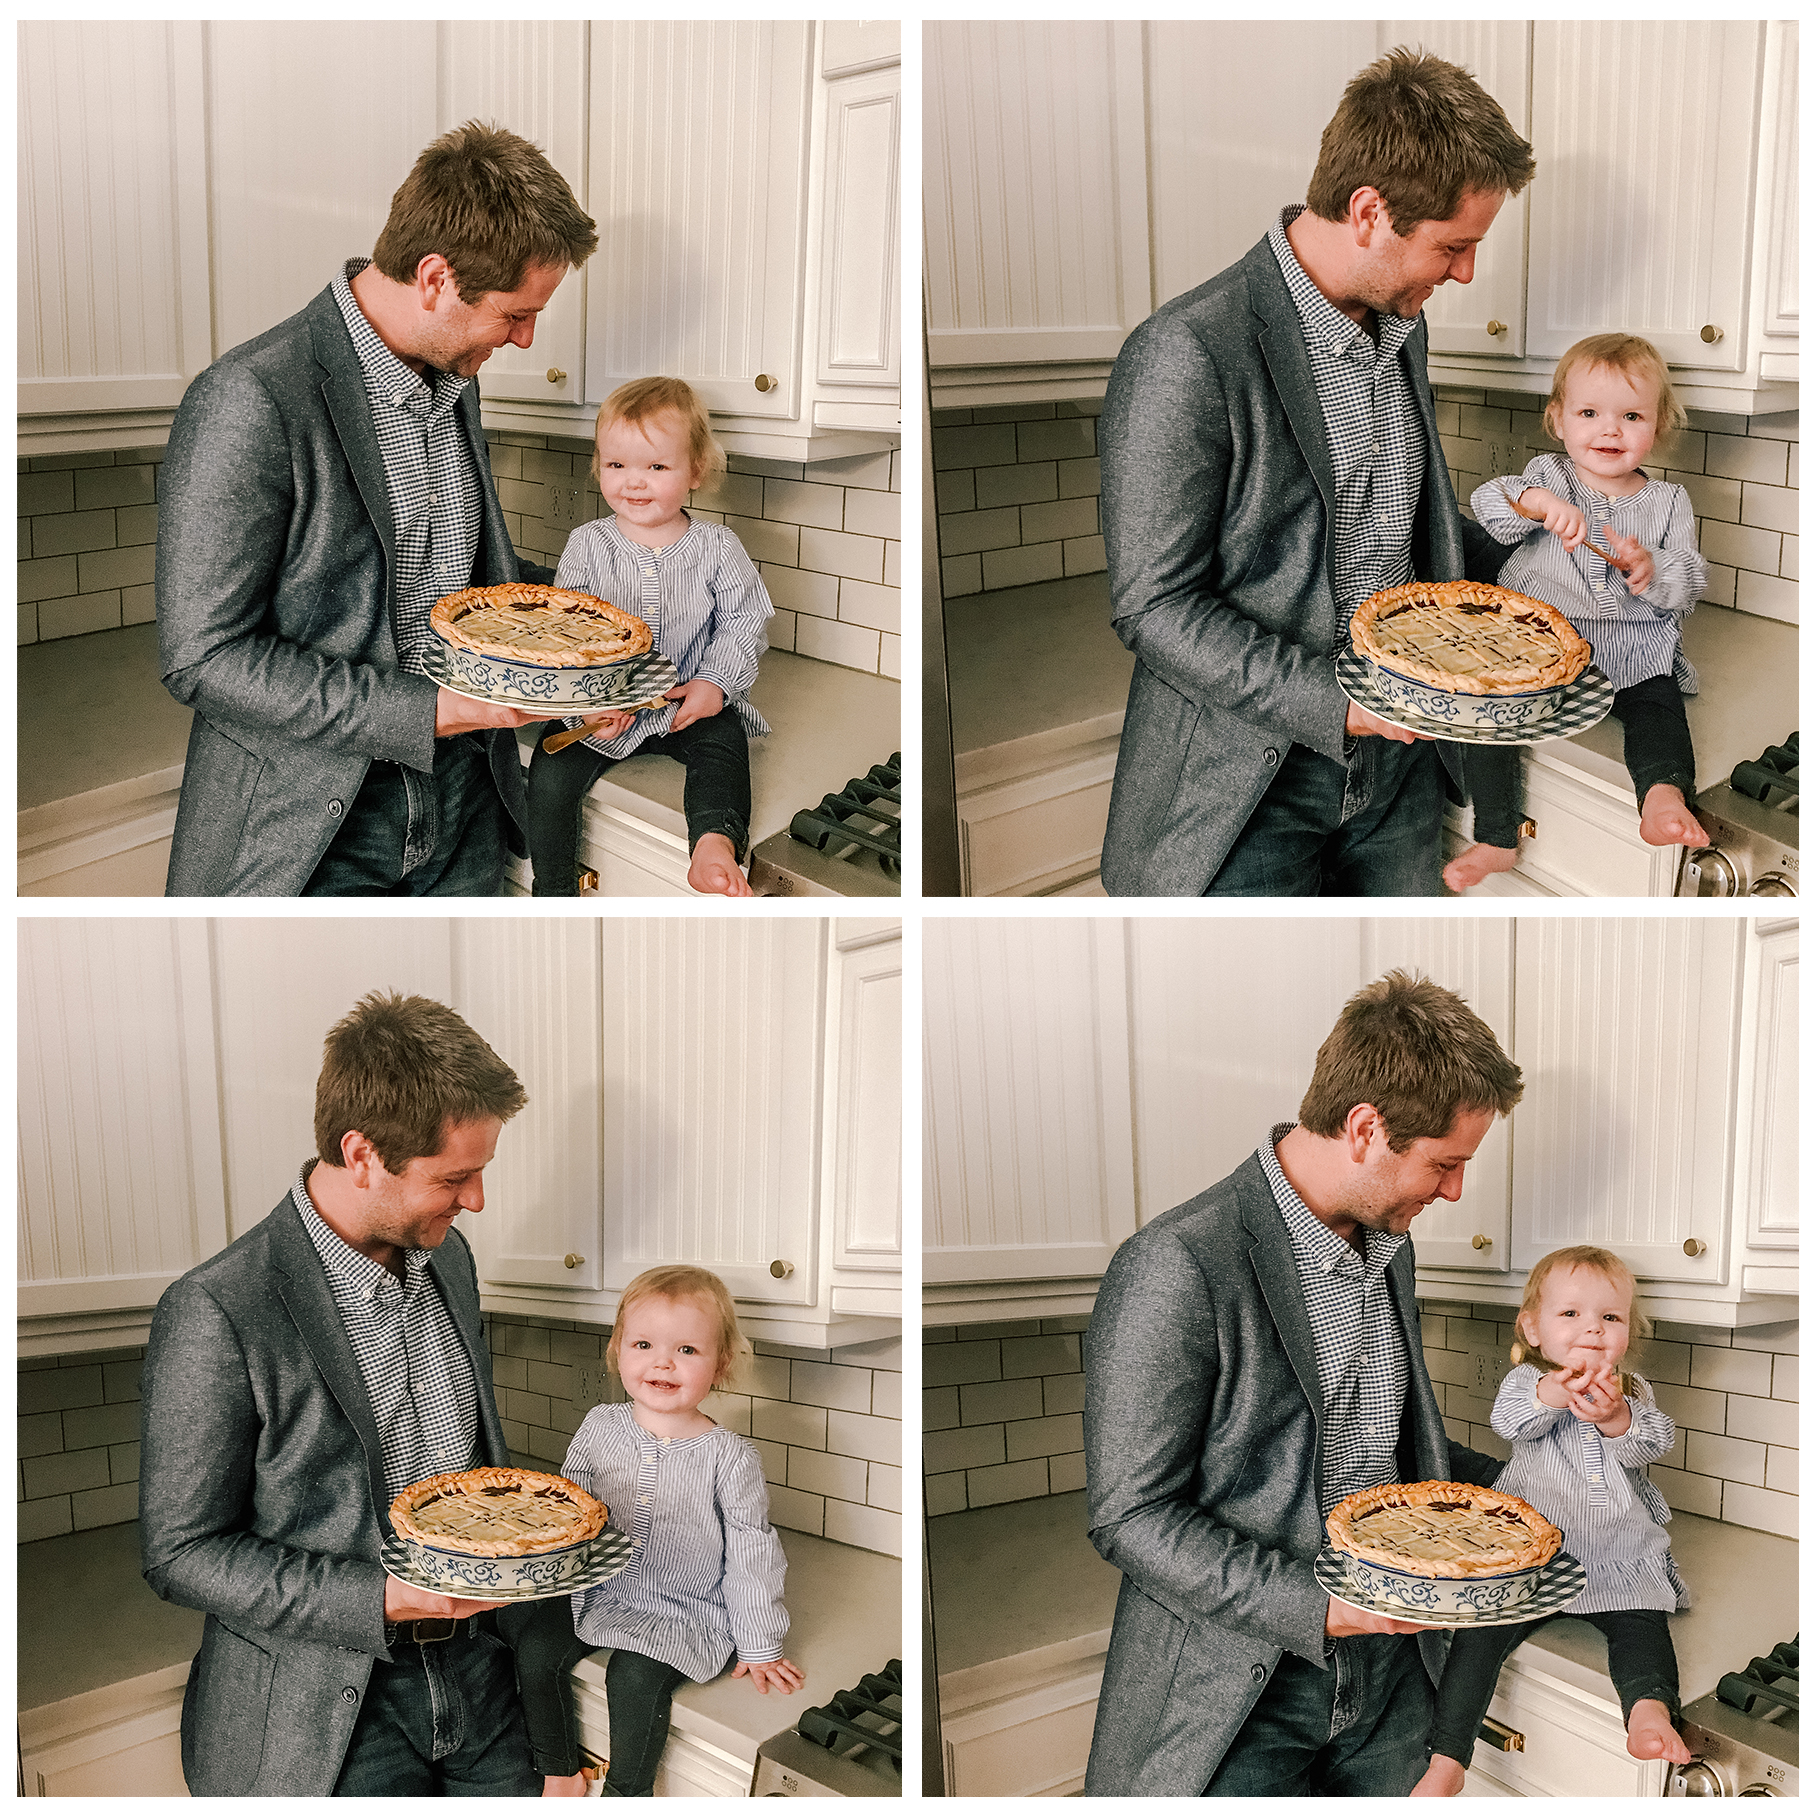
Ta-da! What do you think?!
Mitch. Out.
This post was sponsored by Peapod, but all opinions are our own. As always, thank you so much for supporting the partnerships that keep Kelly in the City up and running!