I’m going all out for Christmas this year. Not in the “Pinterest sense”; I really just want to look on the bright side and appreciate this year’s slower-paced holiday. I want to make a concerted effort to be in the spirit, revel in our time as a little family, and center our activities around the season. Make it special. I learned last year that it’s not about “doing all the things.” It’s about doing a few things, and having a really fun time with them. :)
One of the things is sugar cookies. Every December growing up, I remember jumping off the school bus and coming inside to find my mother huddled over a tray of them, painstakingly decorating each one, making sure to get the details just right. A little red cinnamon ball for Rudolf’s nose; a sprinkle of white sugar for the Christmas tree to make it look like a snow dusting. It marked the beginning of the magic, and the warmth and coziness of it all is something I’m now trying to emulate in my own home for my own children. Thanks, Mom.
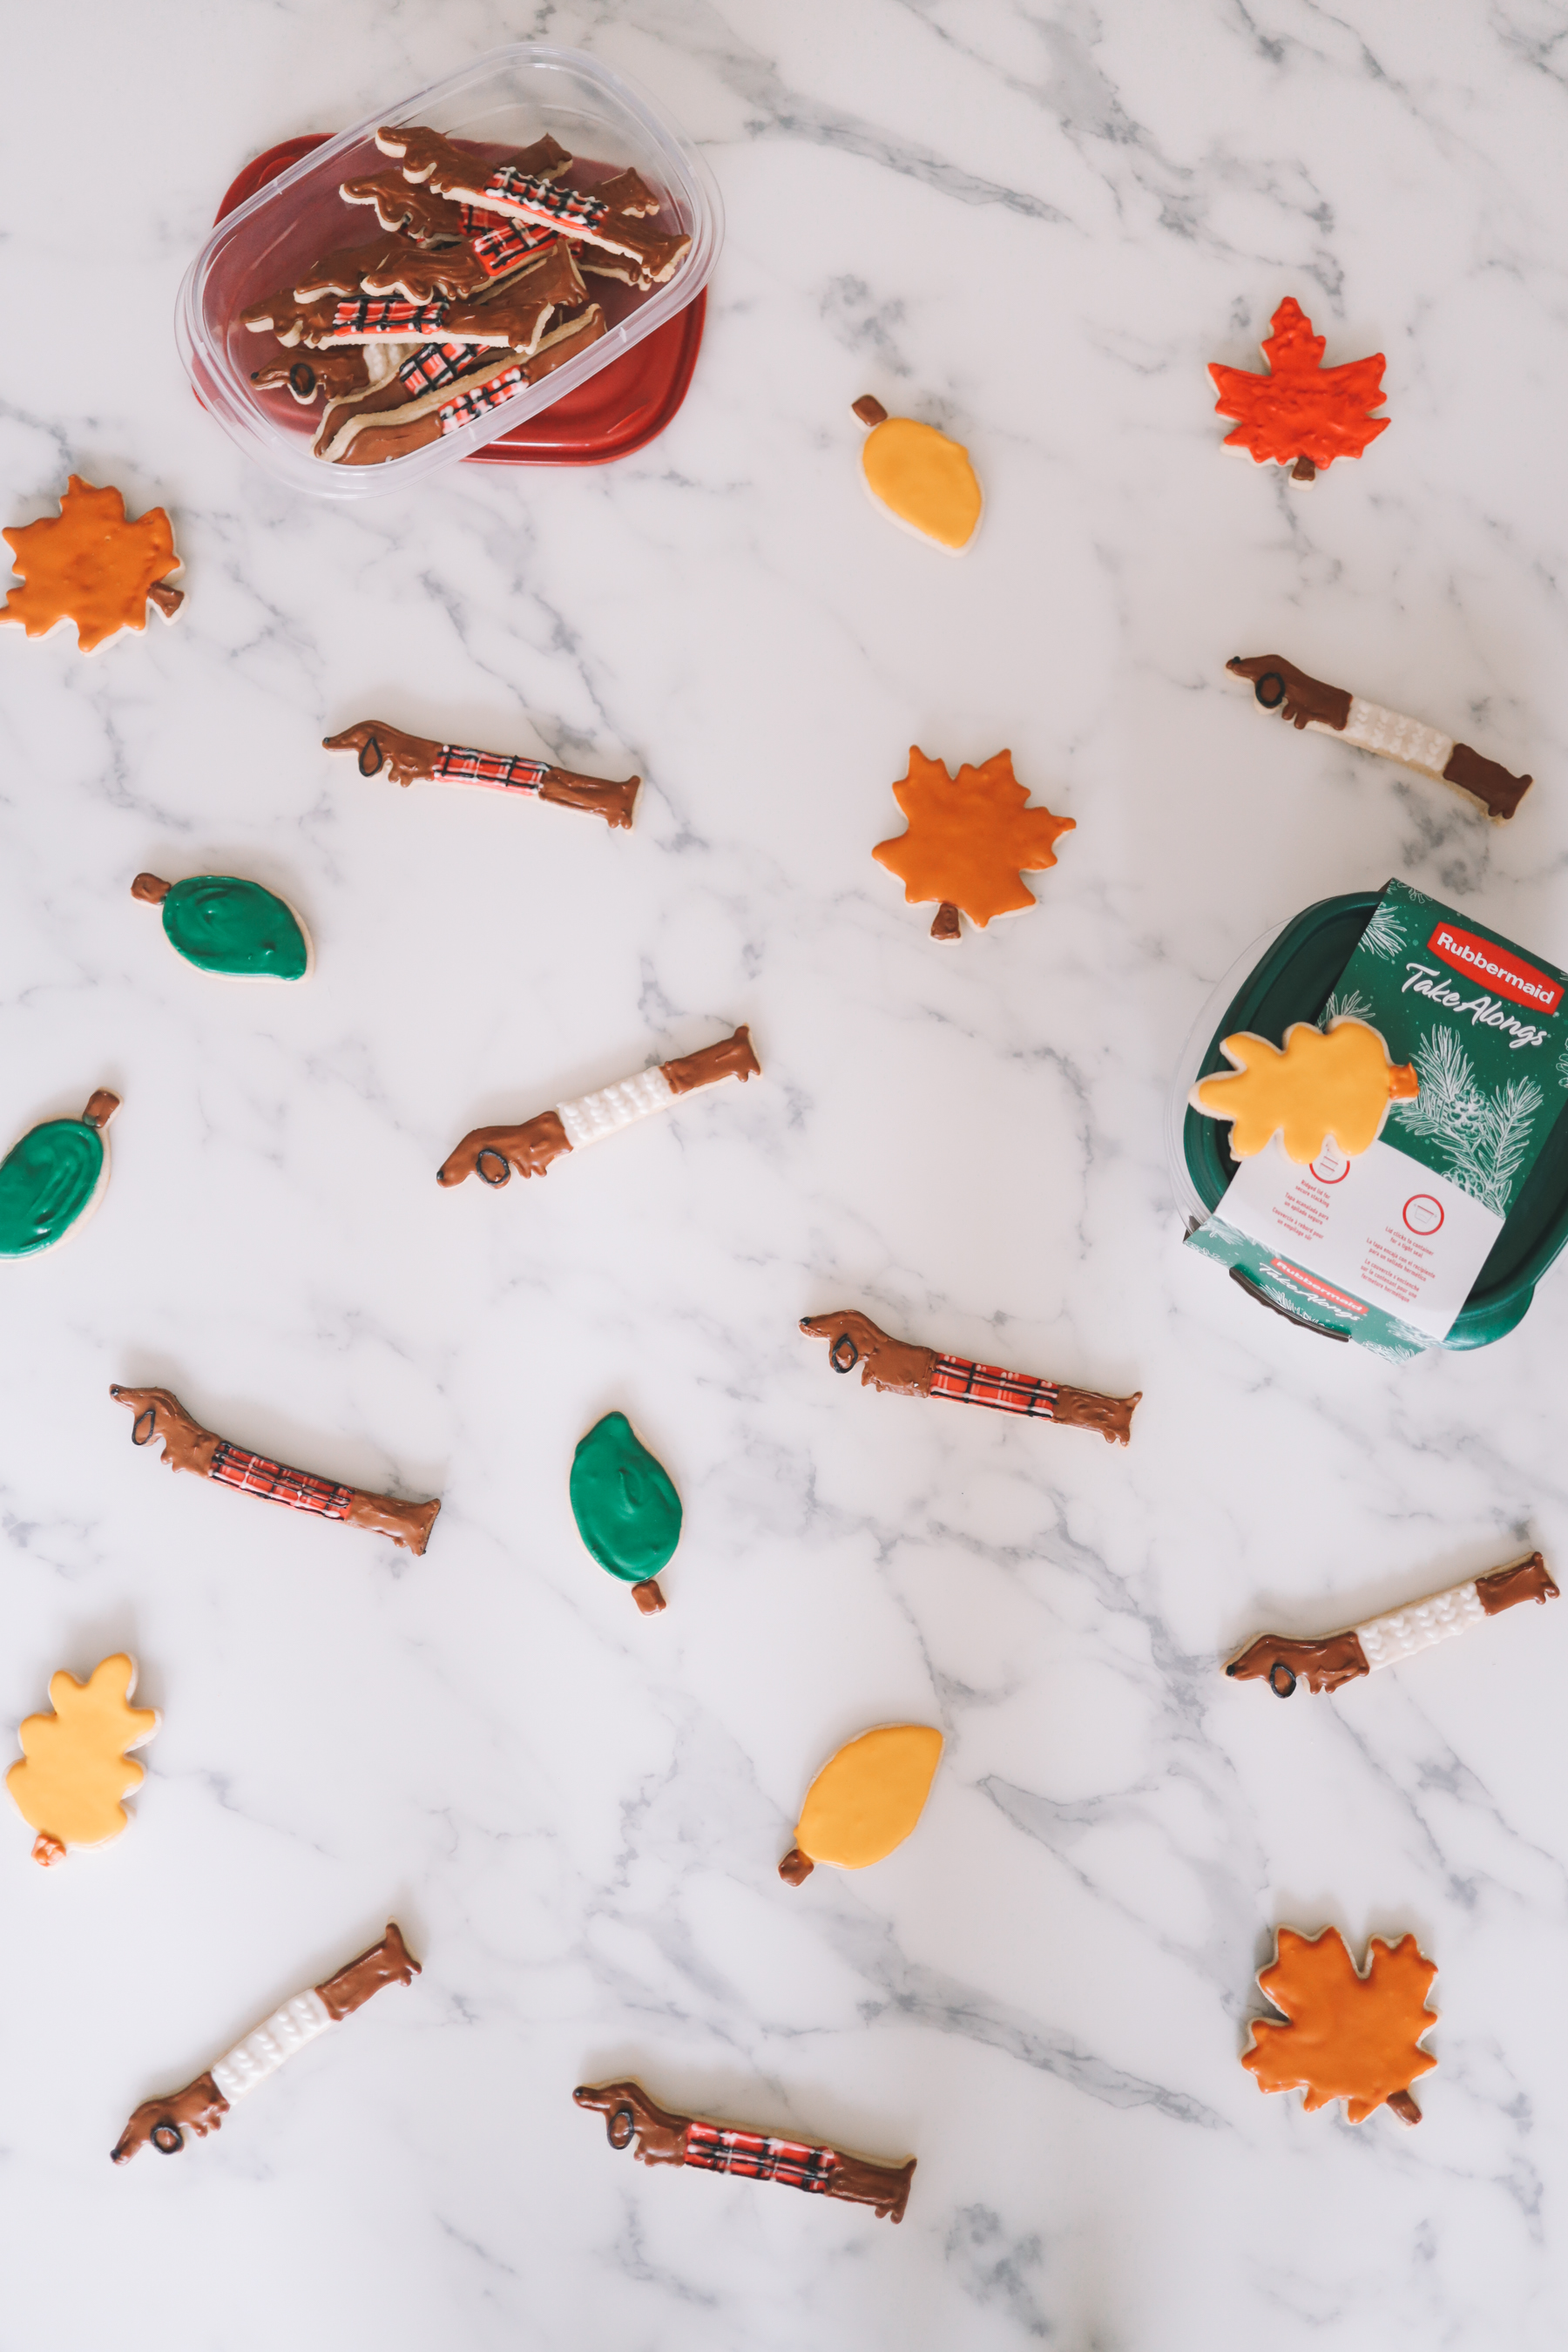
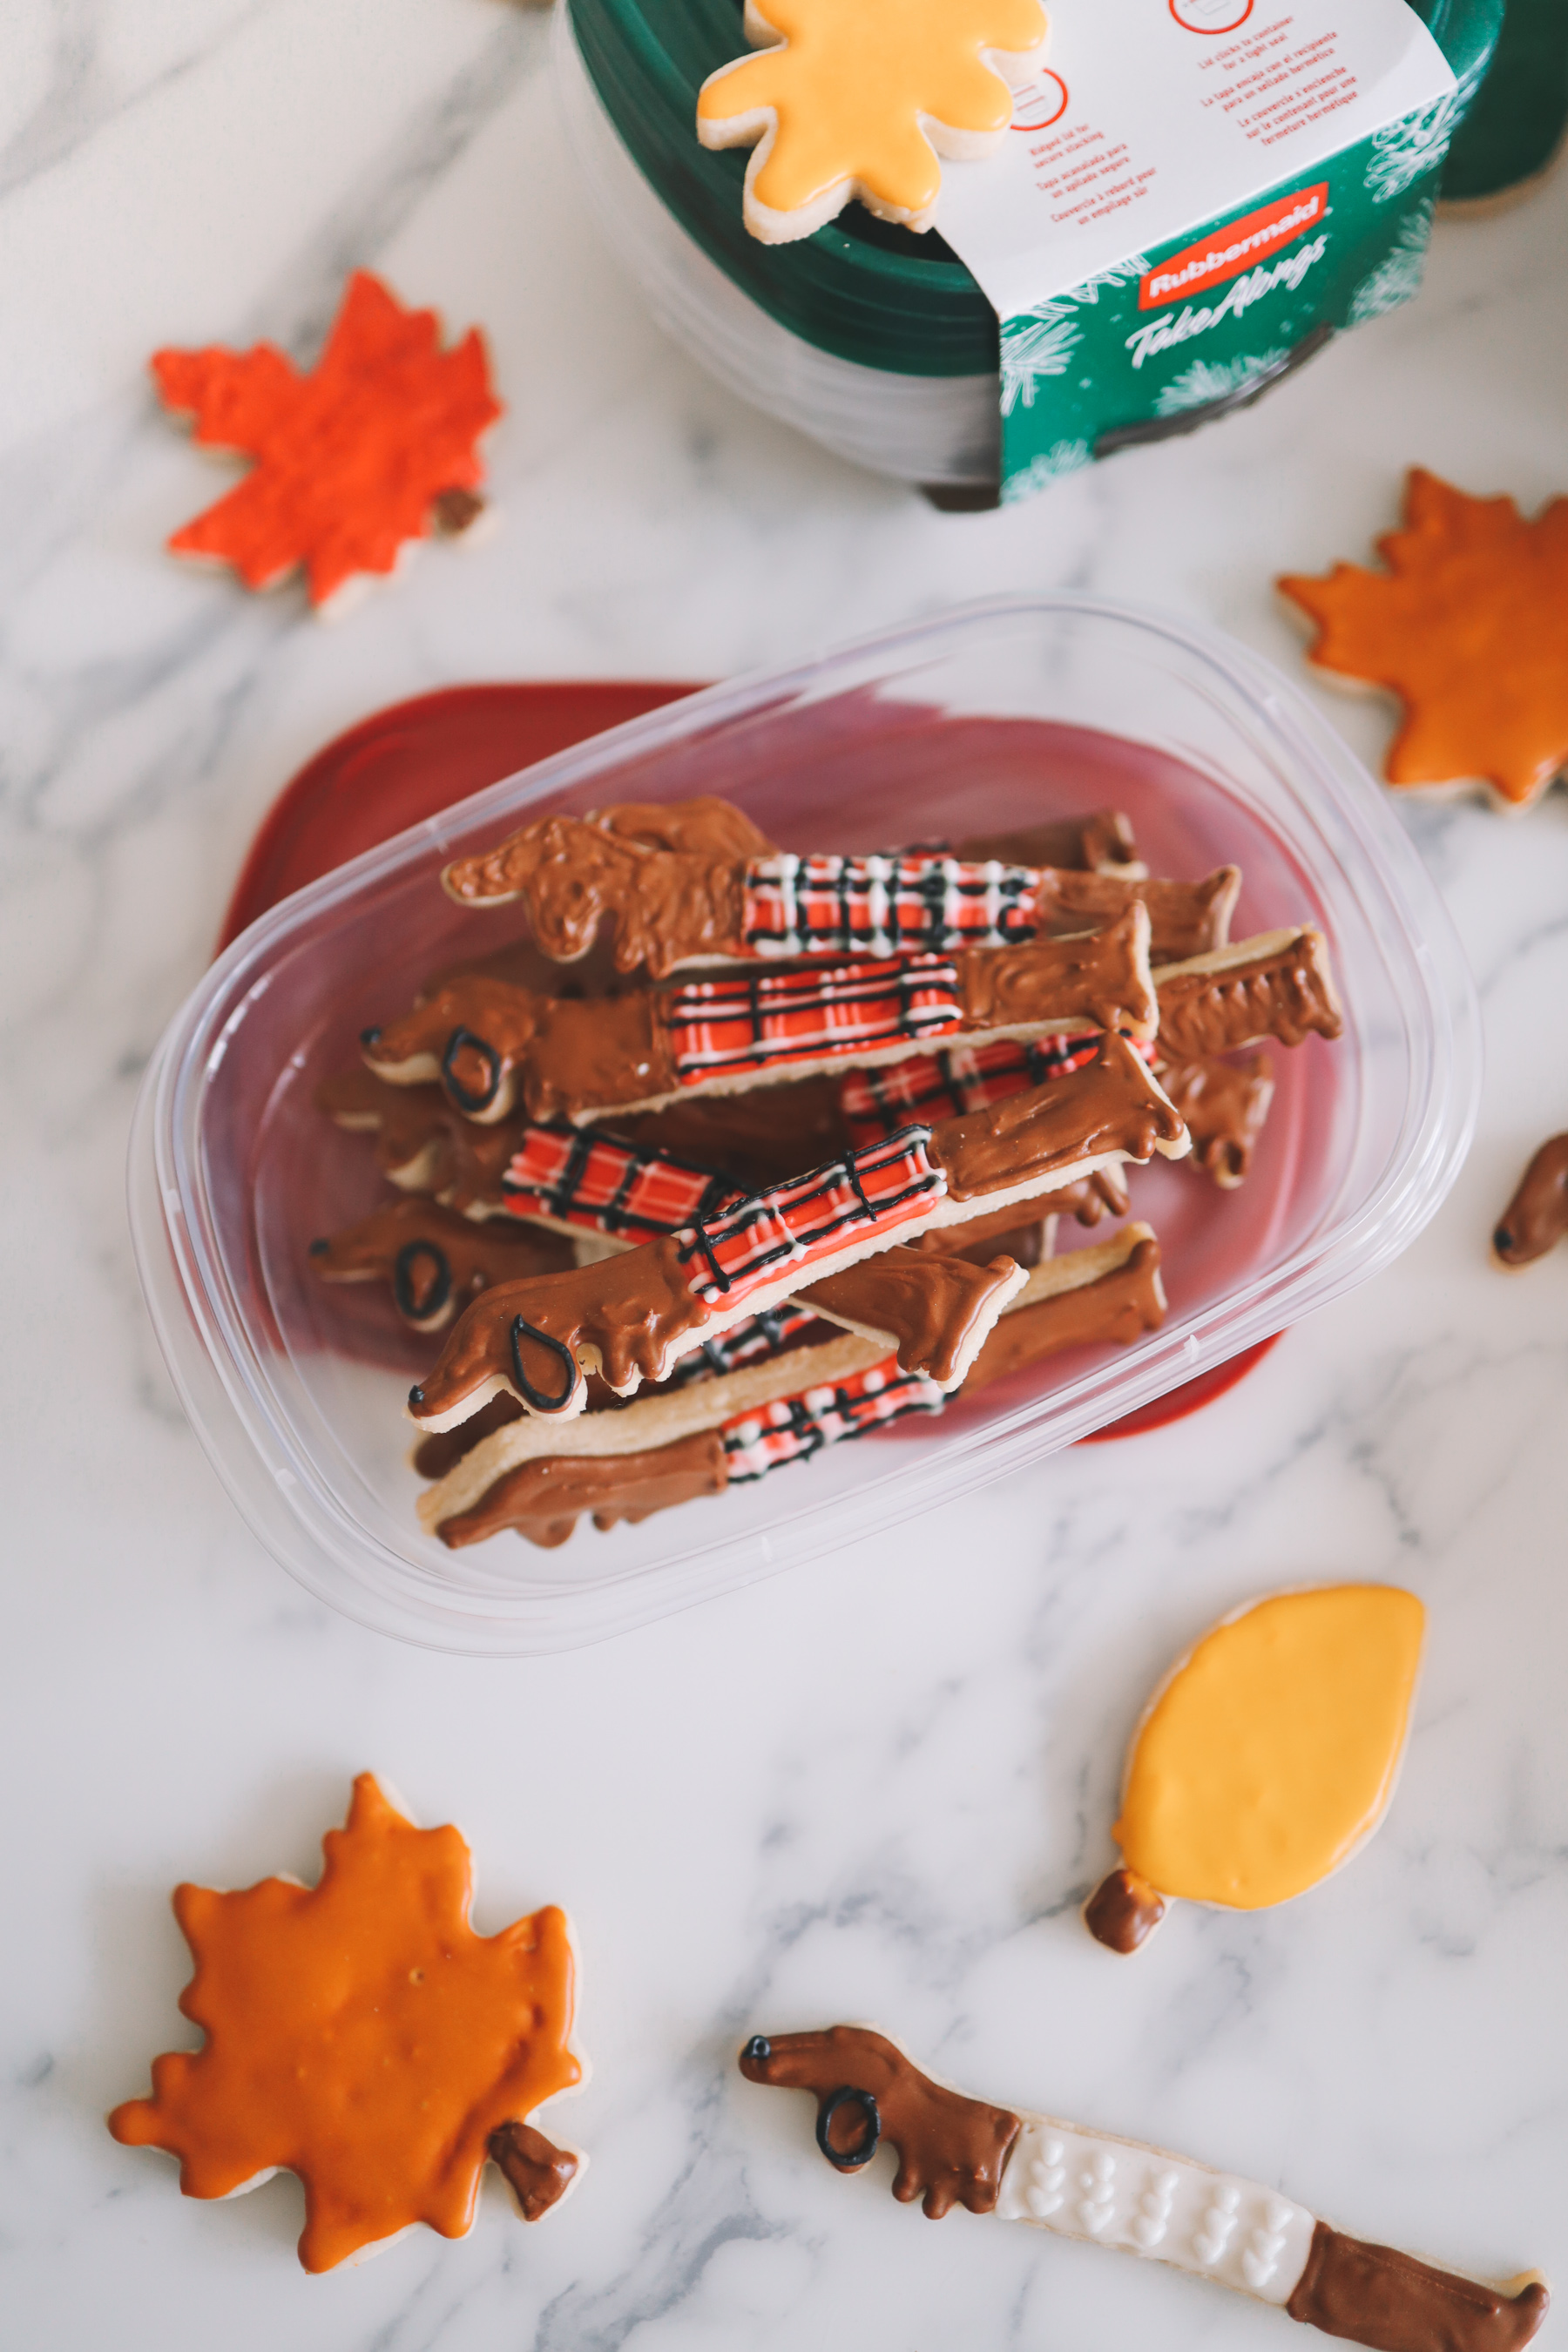
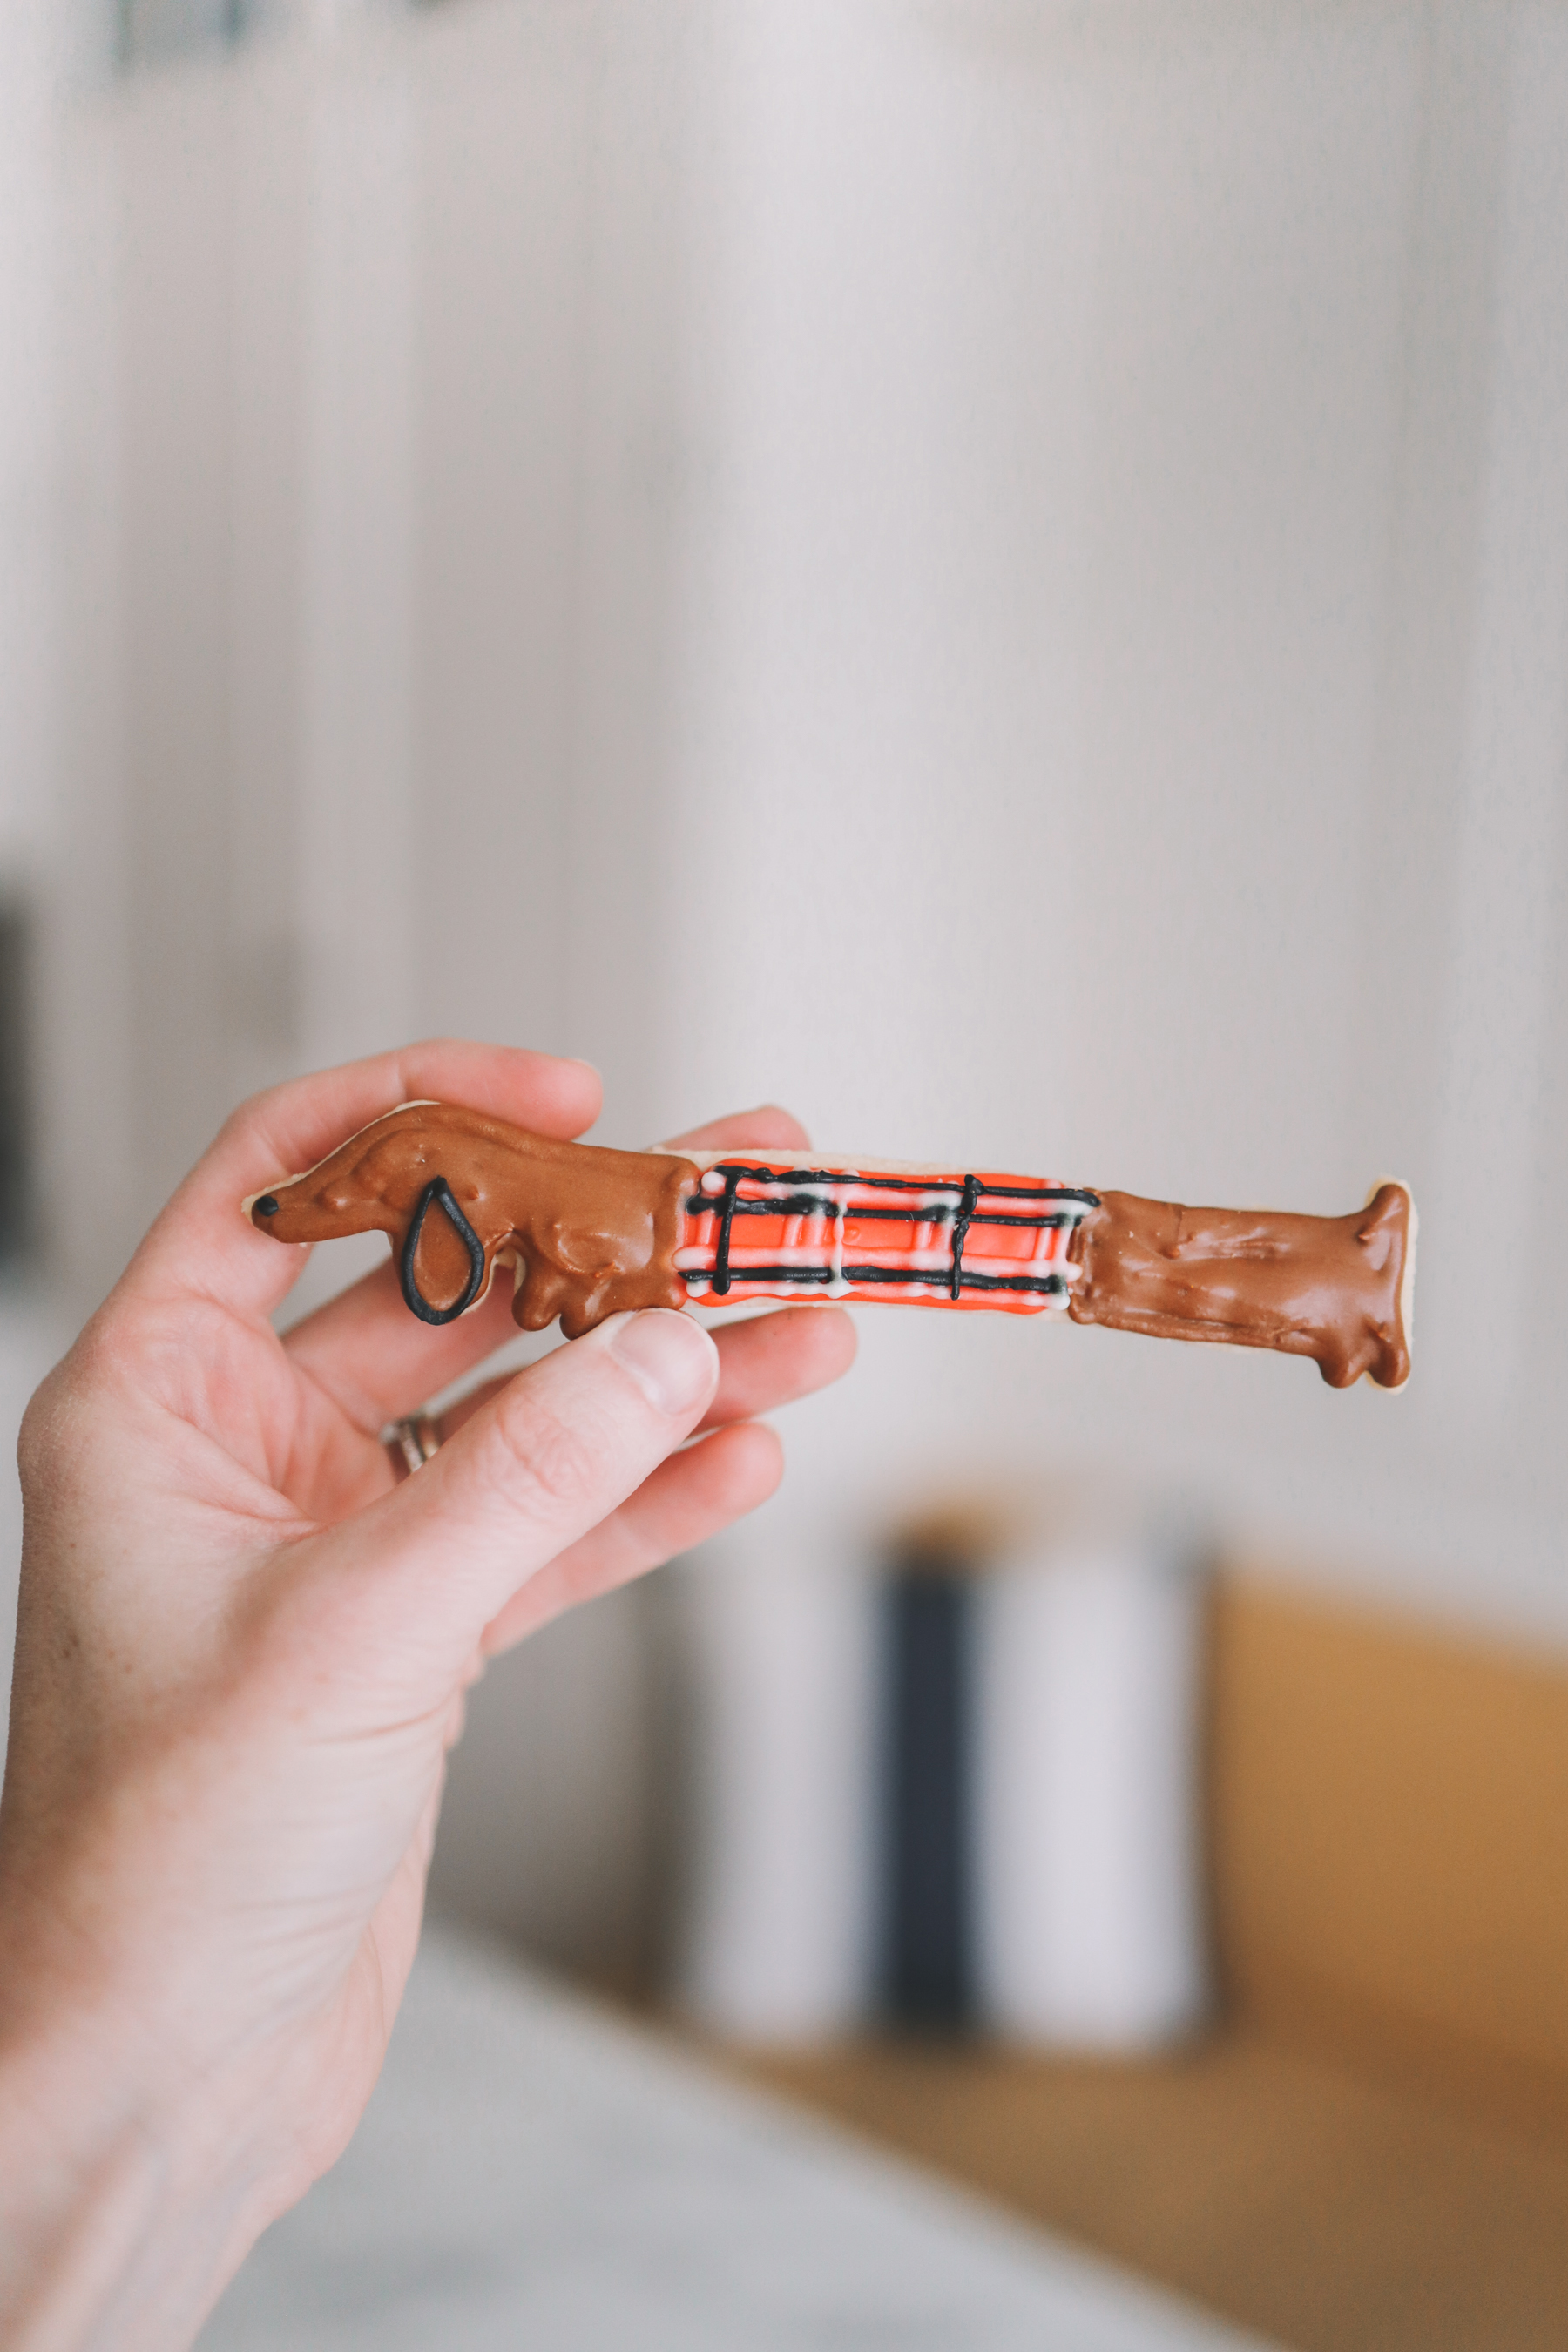
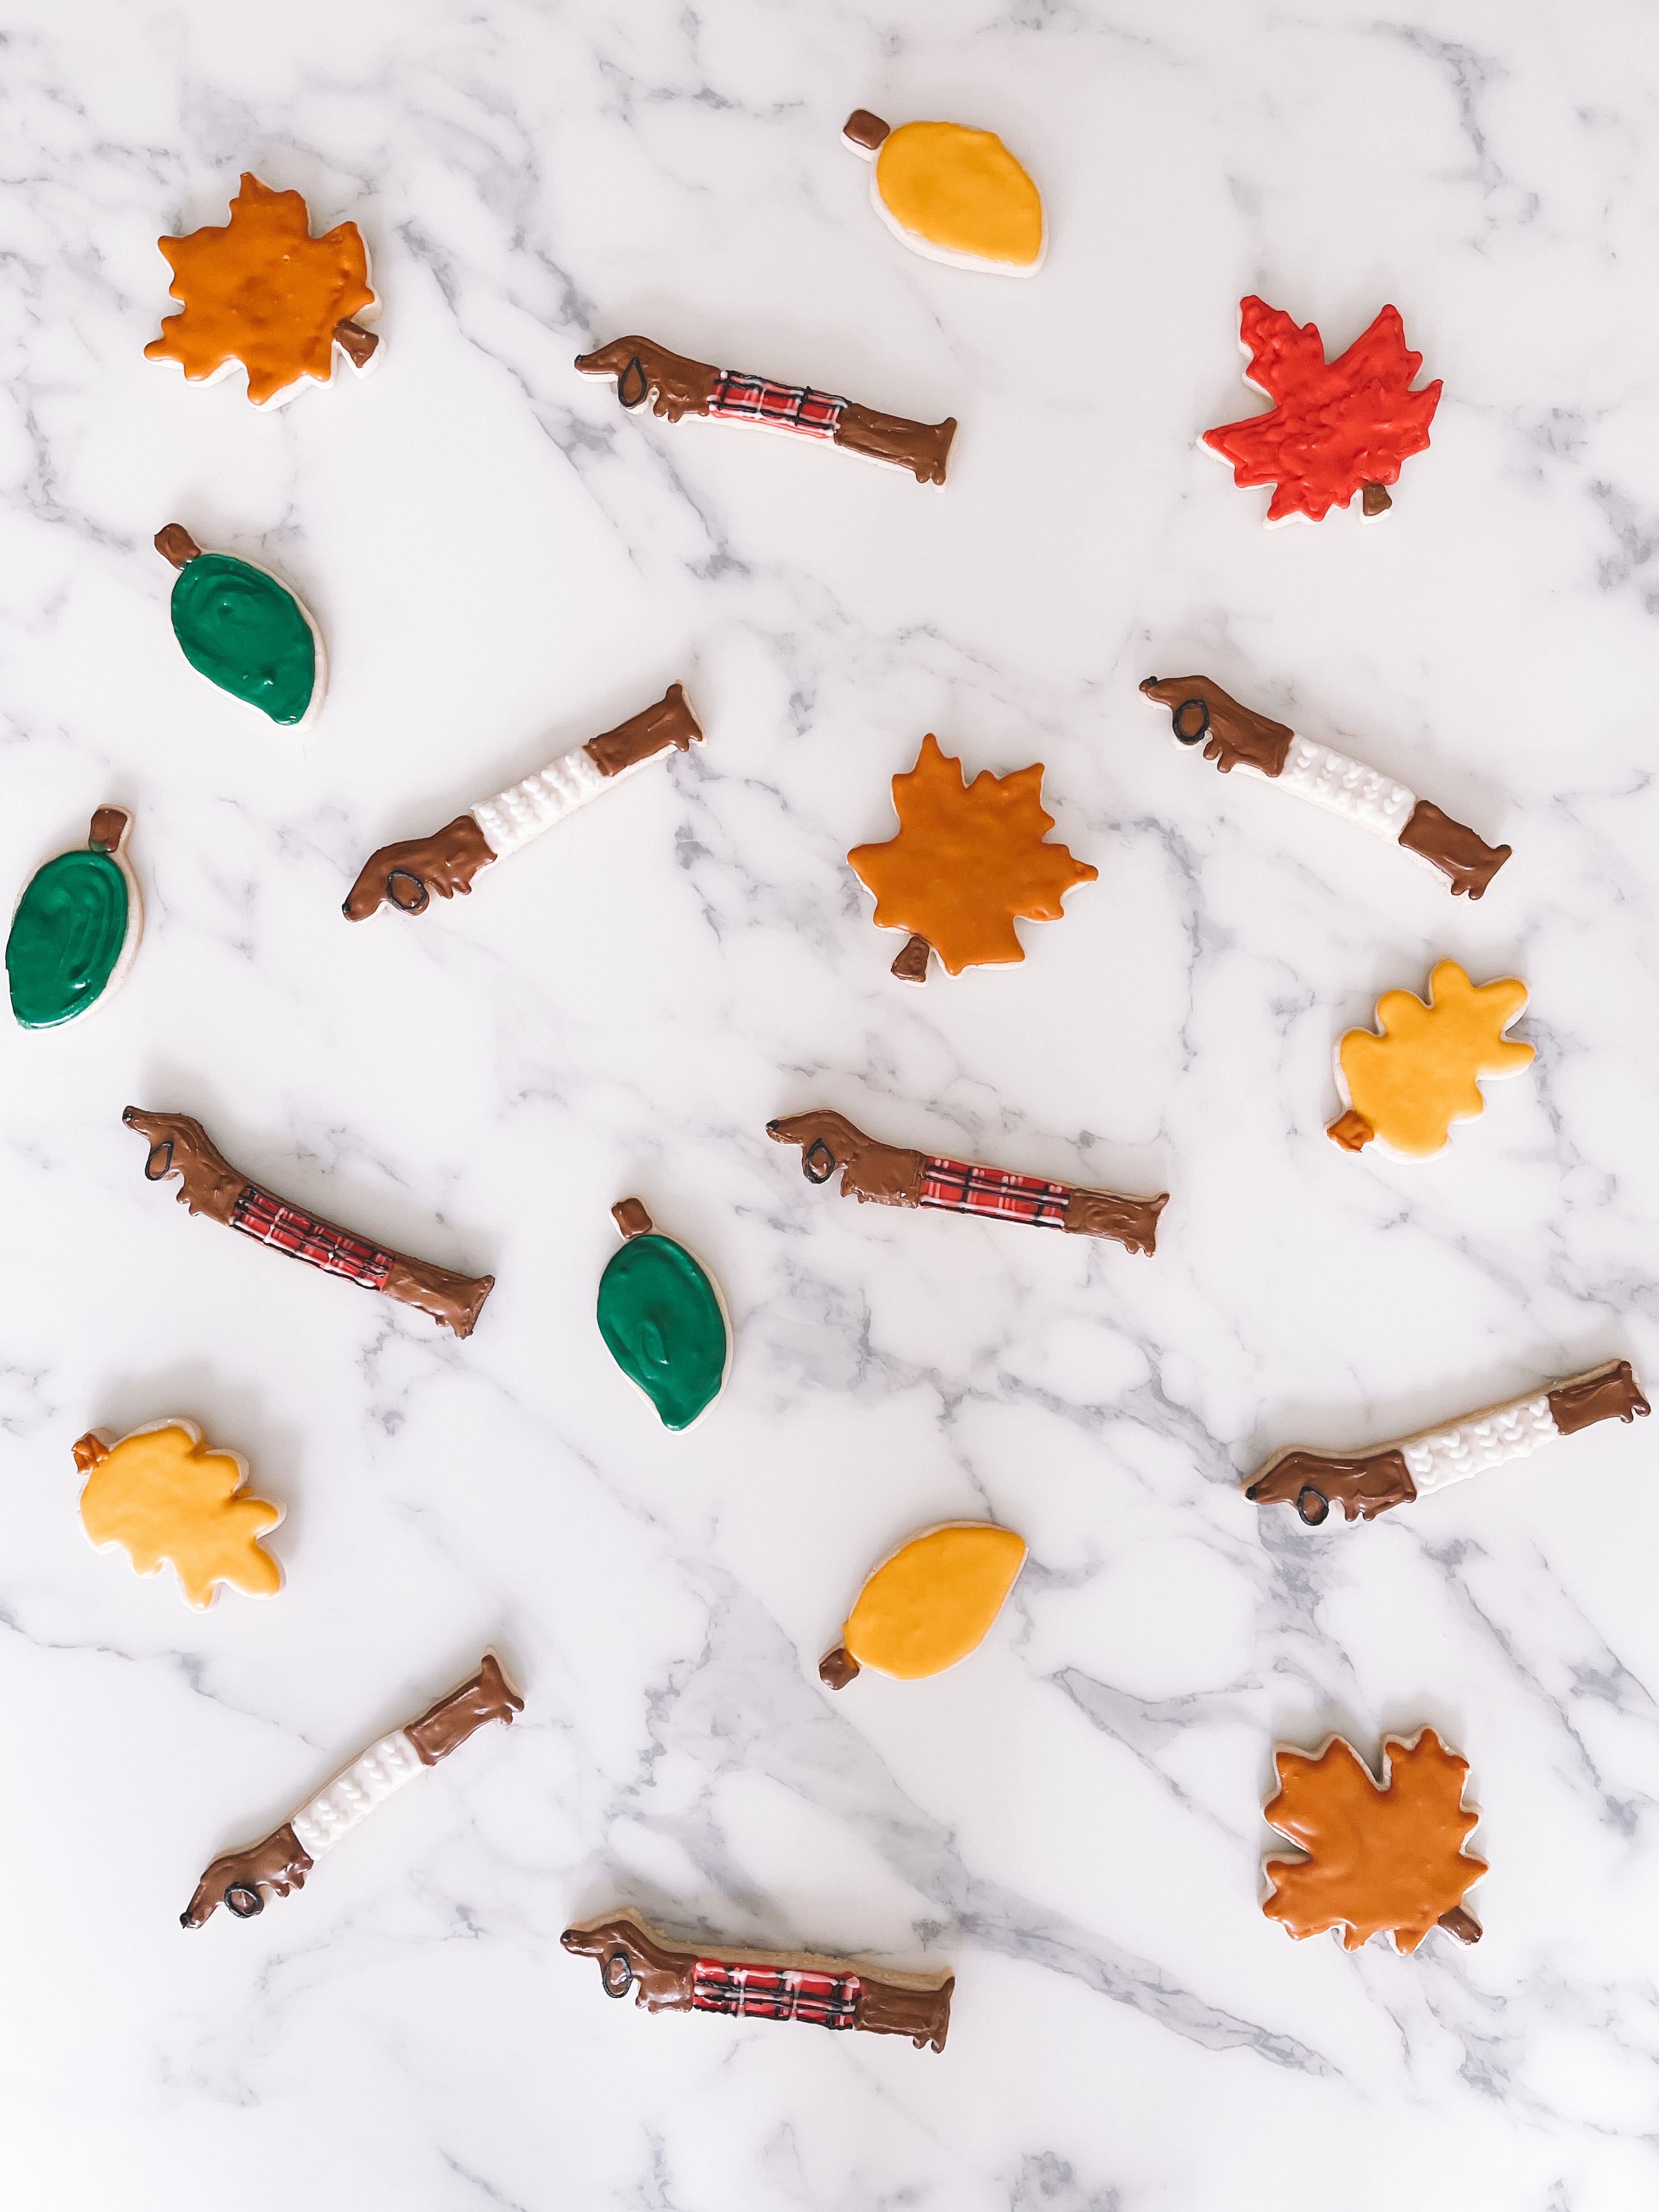
When Rubbermaid® (the maker of my beloved pantry organizational system) asked about doing a holiday collaboration together for their Holiday TakeAlongs® containers, I knew exactly what I’d be doing: fall Noodle cookies as a Christmas cookie trial run. I’ll admit that this makes me sound a little 🤪, but sugar cookies are an art! Personally, I almost always mess up the first batch, as I’m rusty and out of practice. But that second or third batch? I start honing my skills and BOOM: I get to thinking that I should probably open my own bakery. (HAH. 😂) Anyway, in the name of #60daysofplaid, I decided to make Noodles in plaid and fisherman sweaters surrounded by leaves, haha. (With this dachshund cookie cutter and some leaf cookie cutters.)
Would you like some cookies?! Simply drop a comment below if you’d like a care package or know someone who could use a little pick-me-up. We’ll be shipping them out, complete with handmade cards from Emma, shortly! ♥️
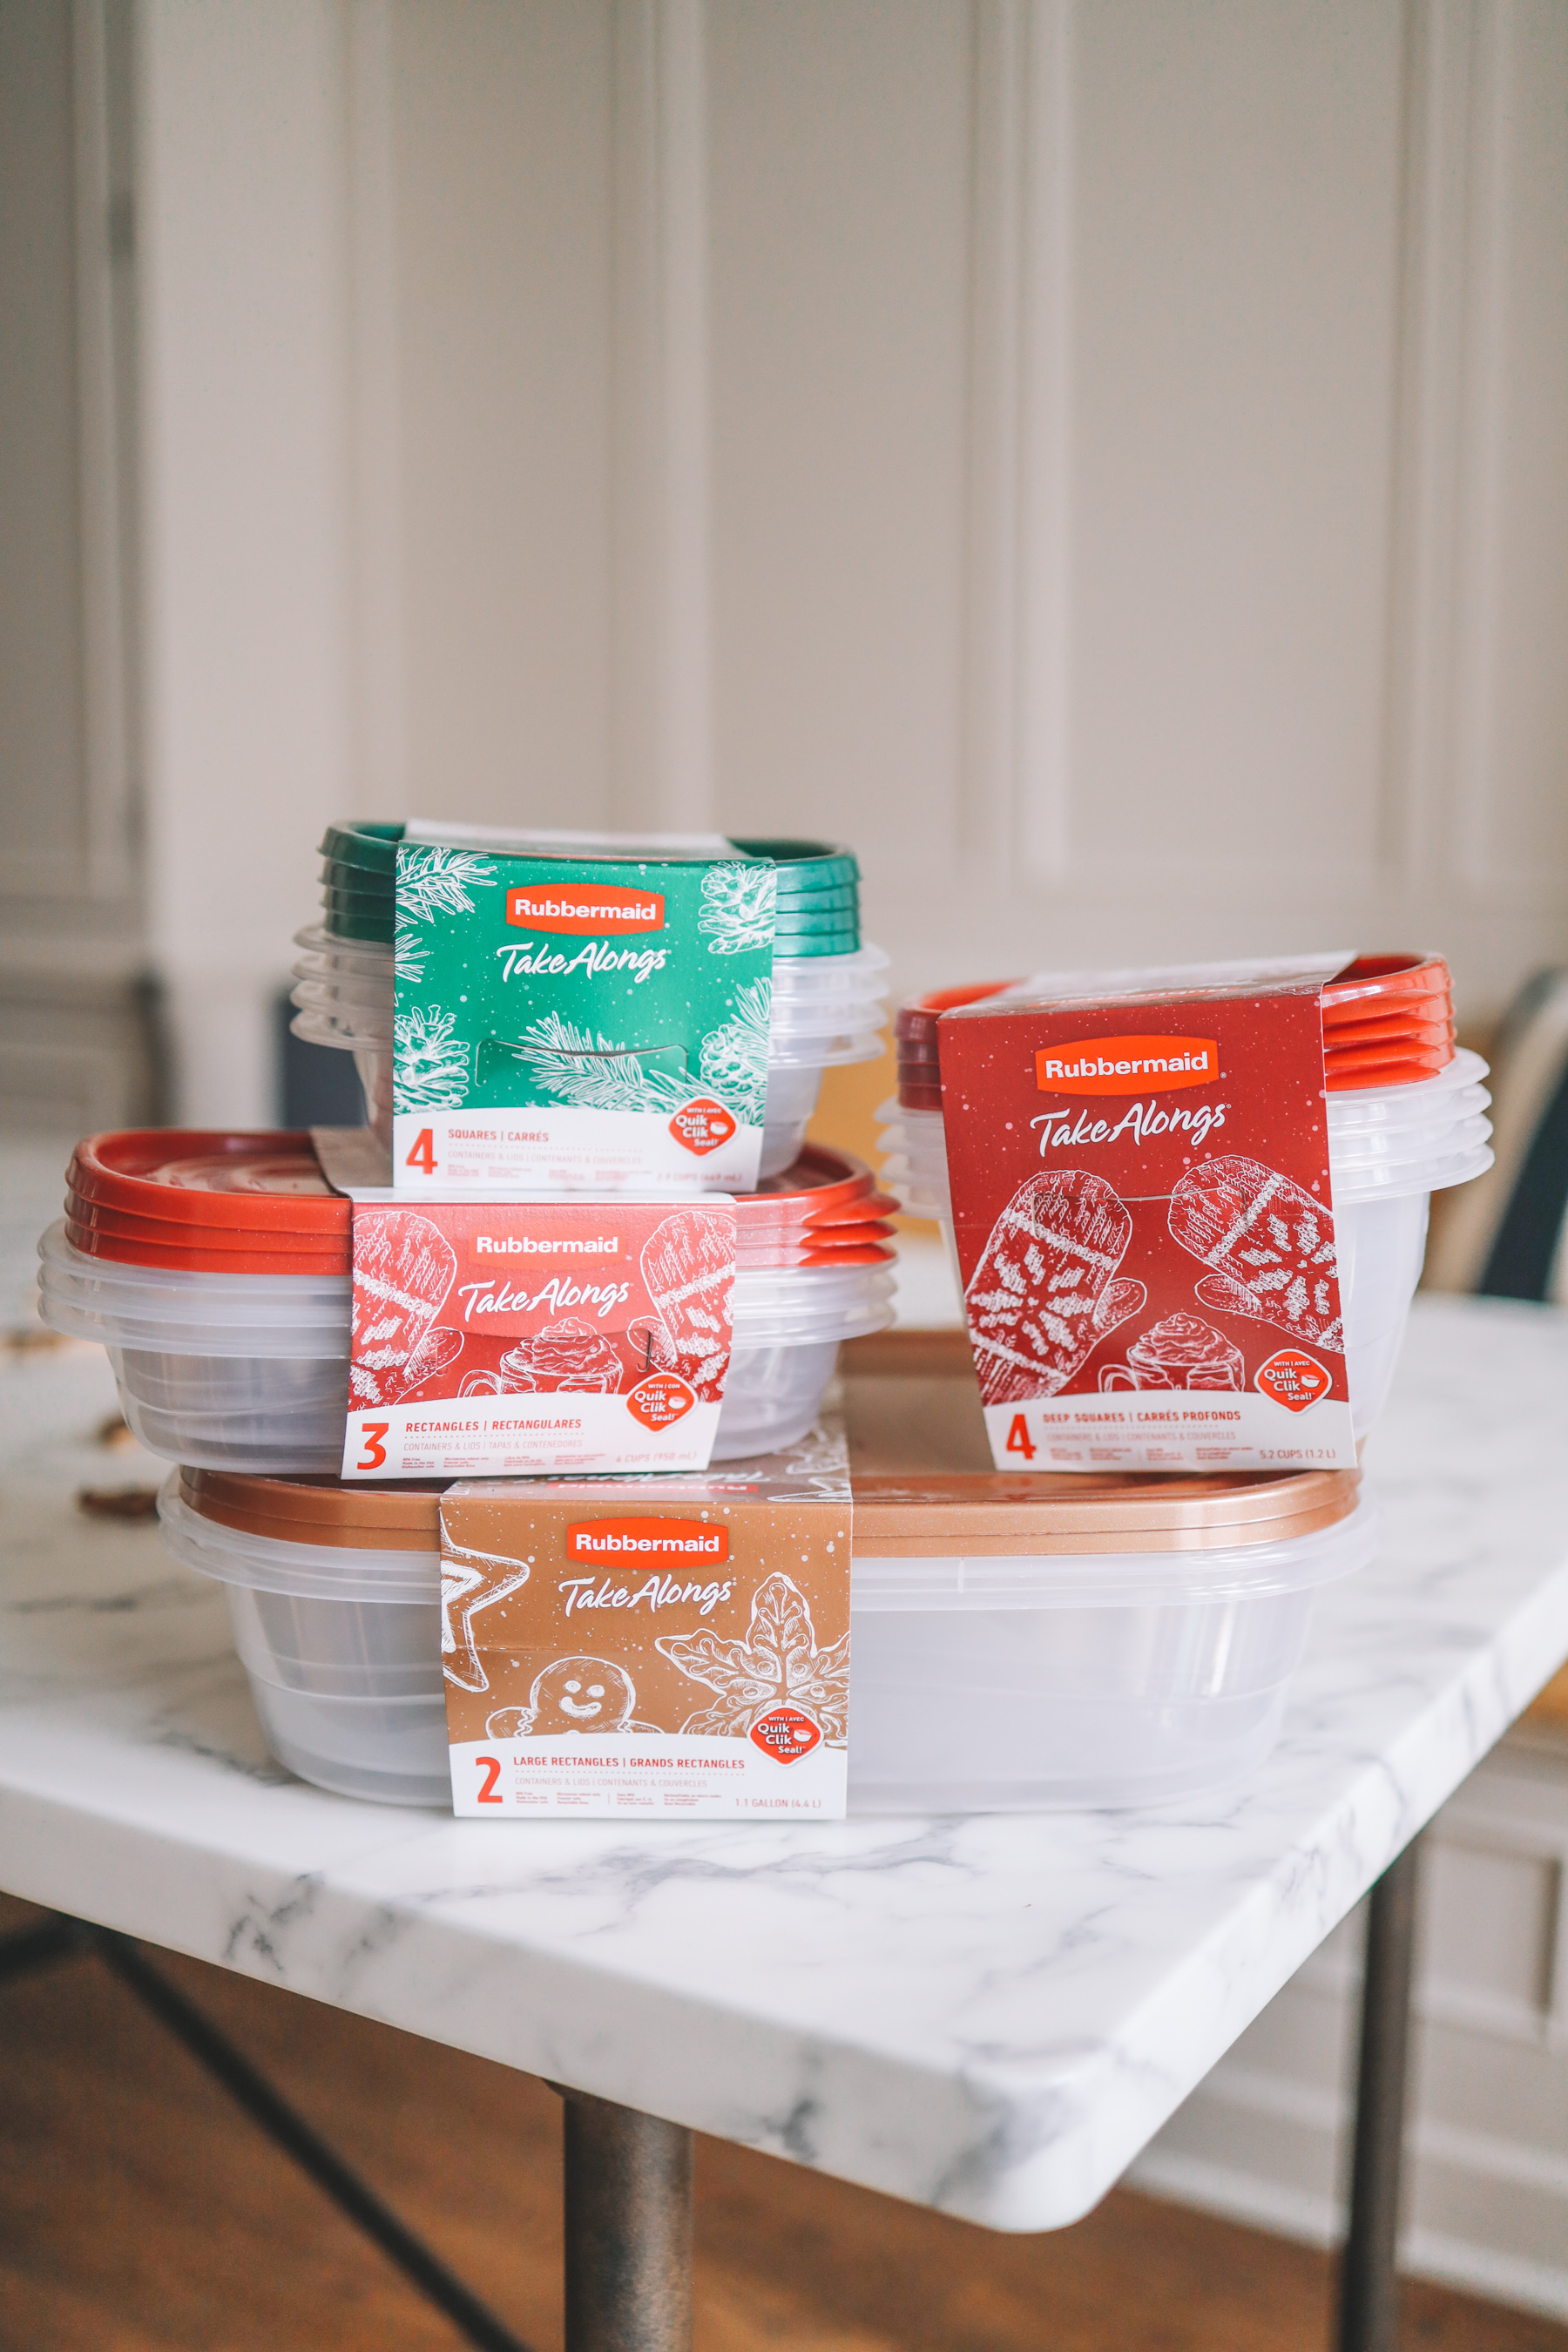
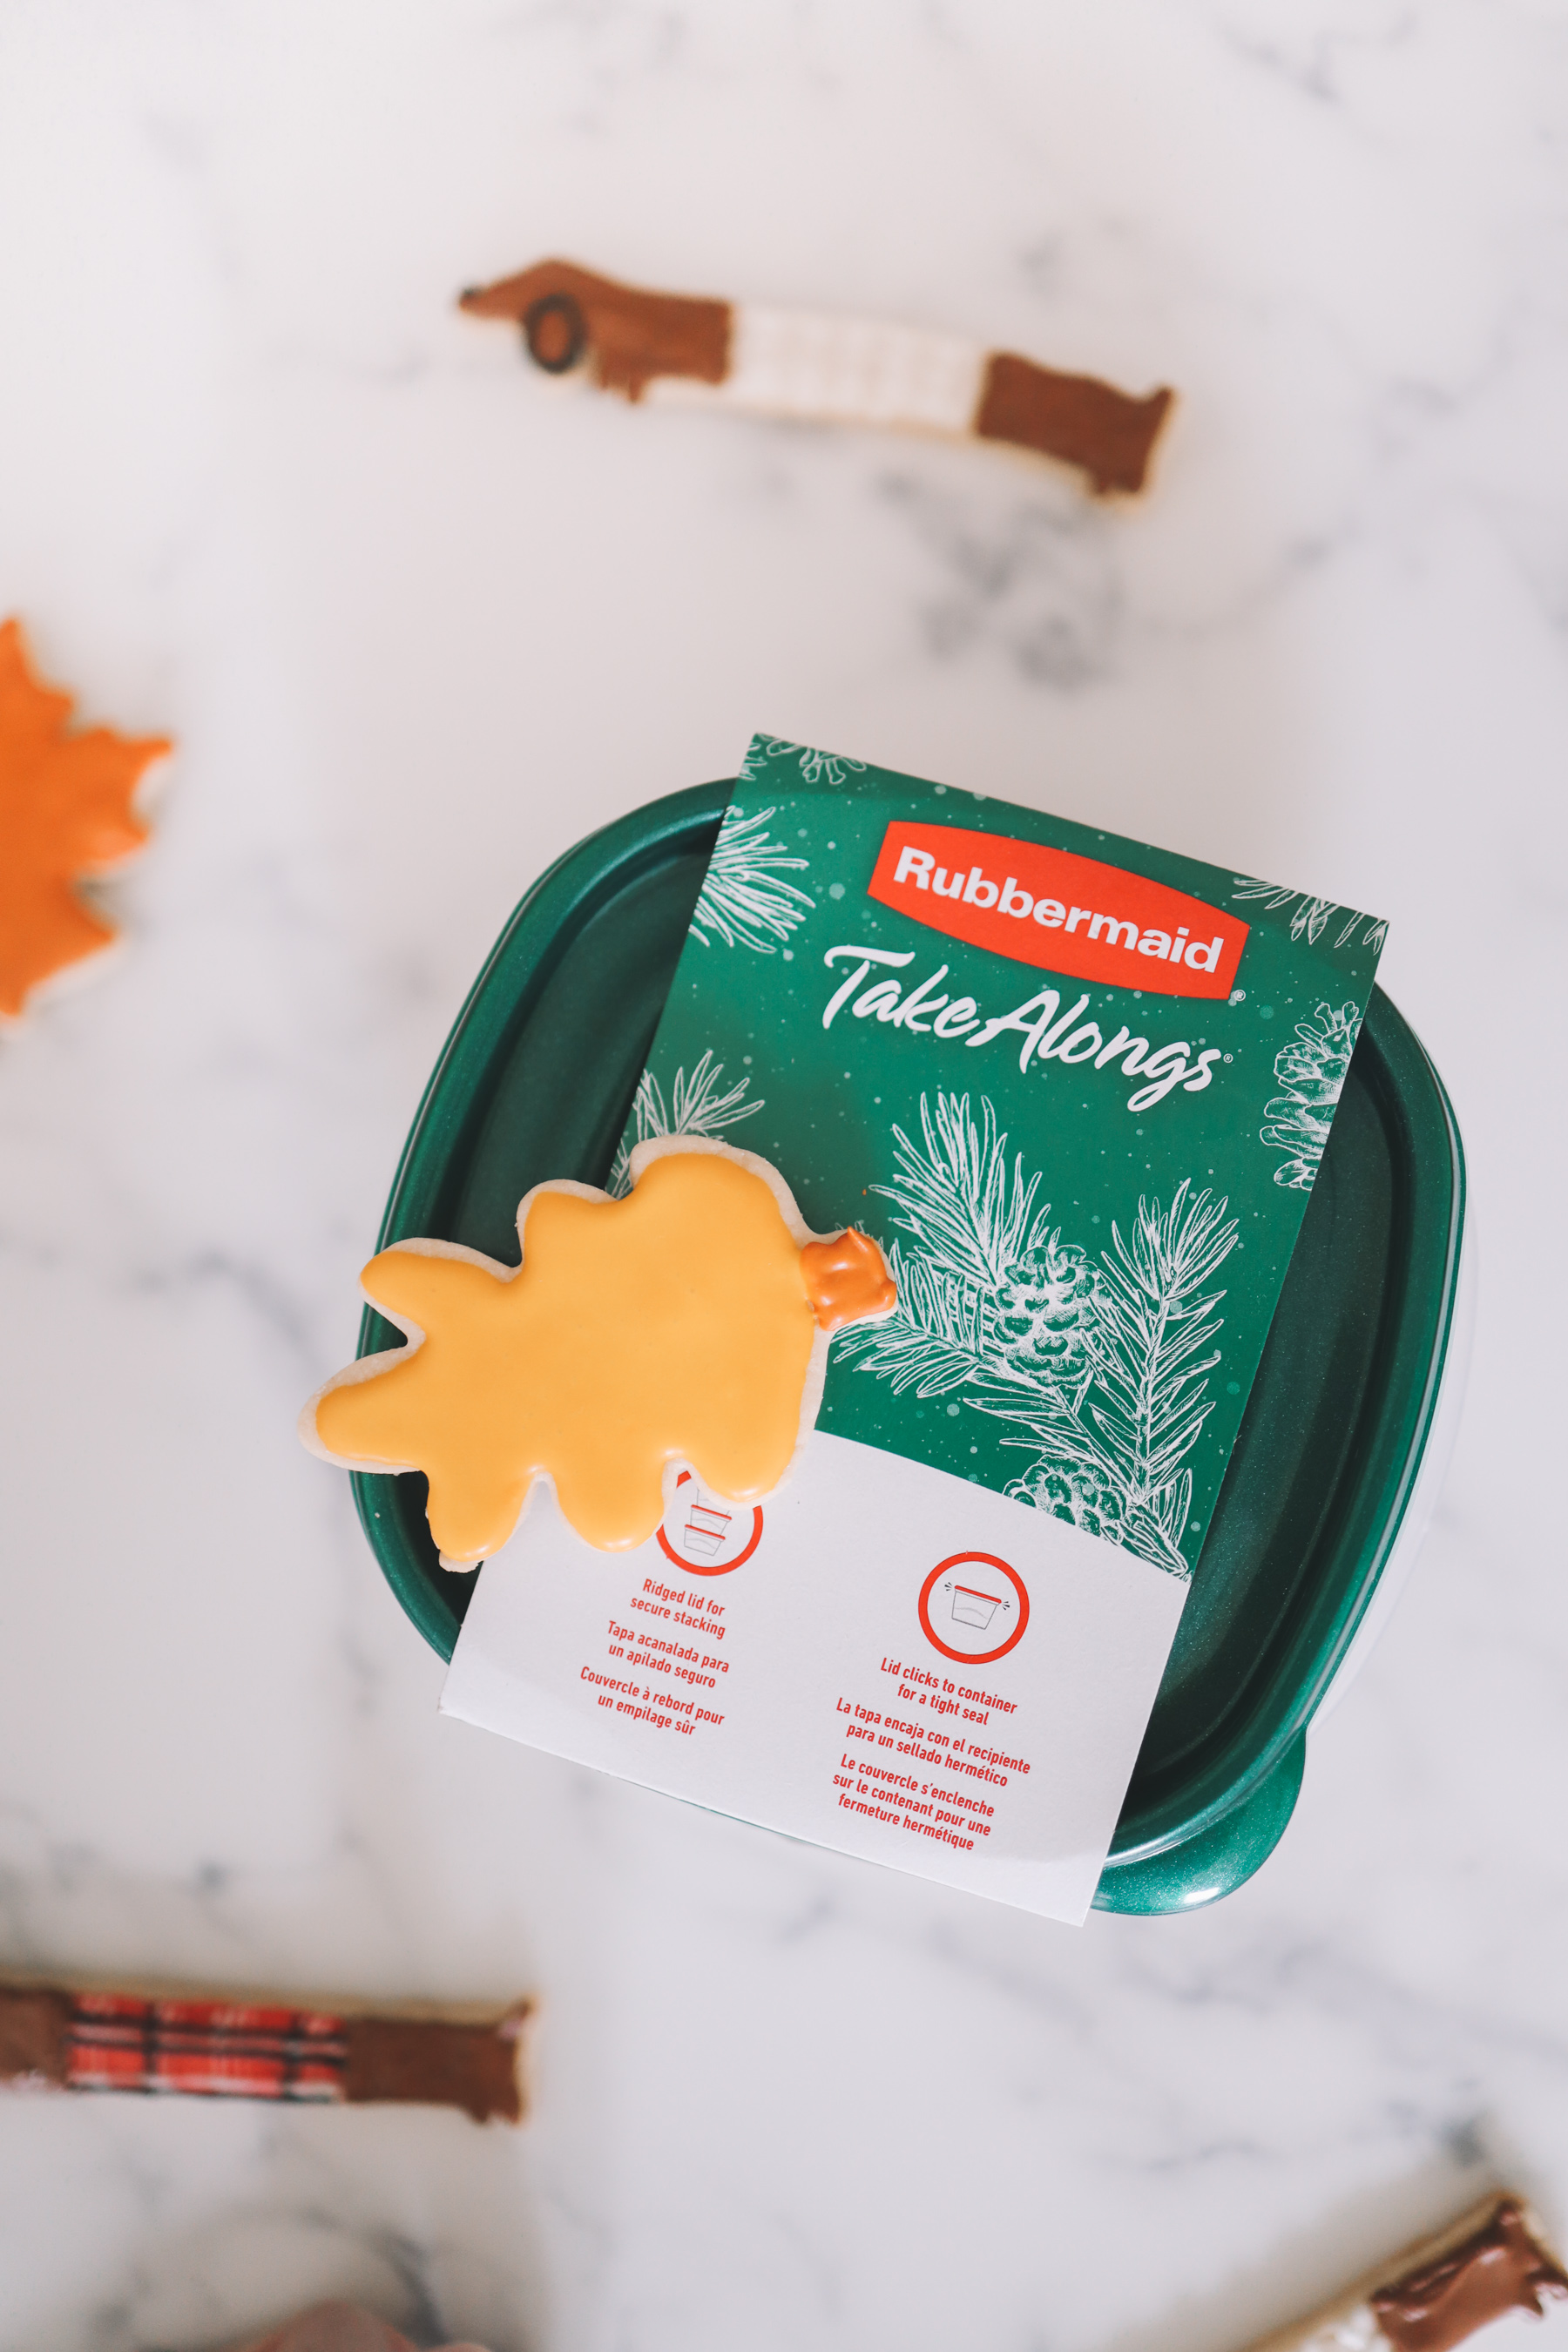
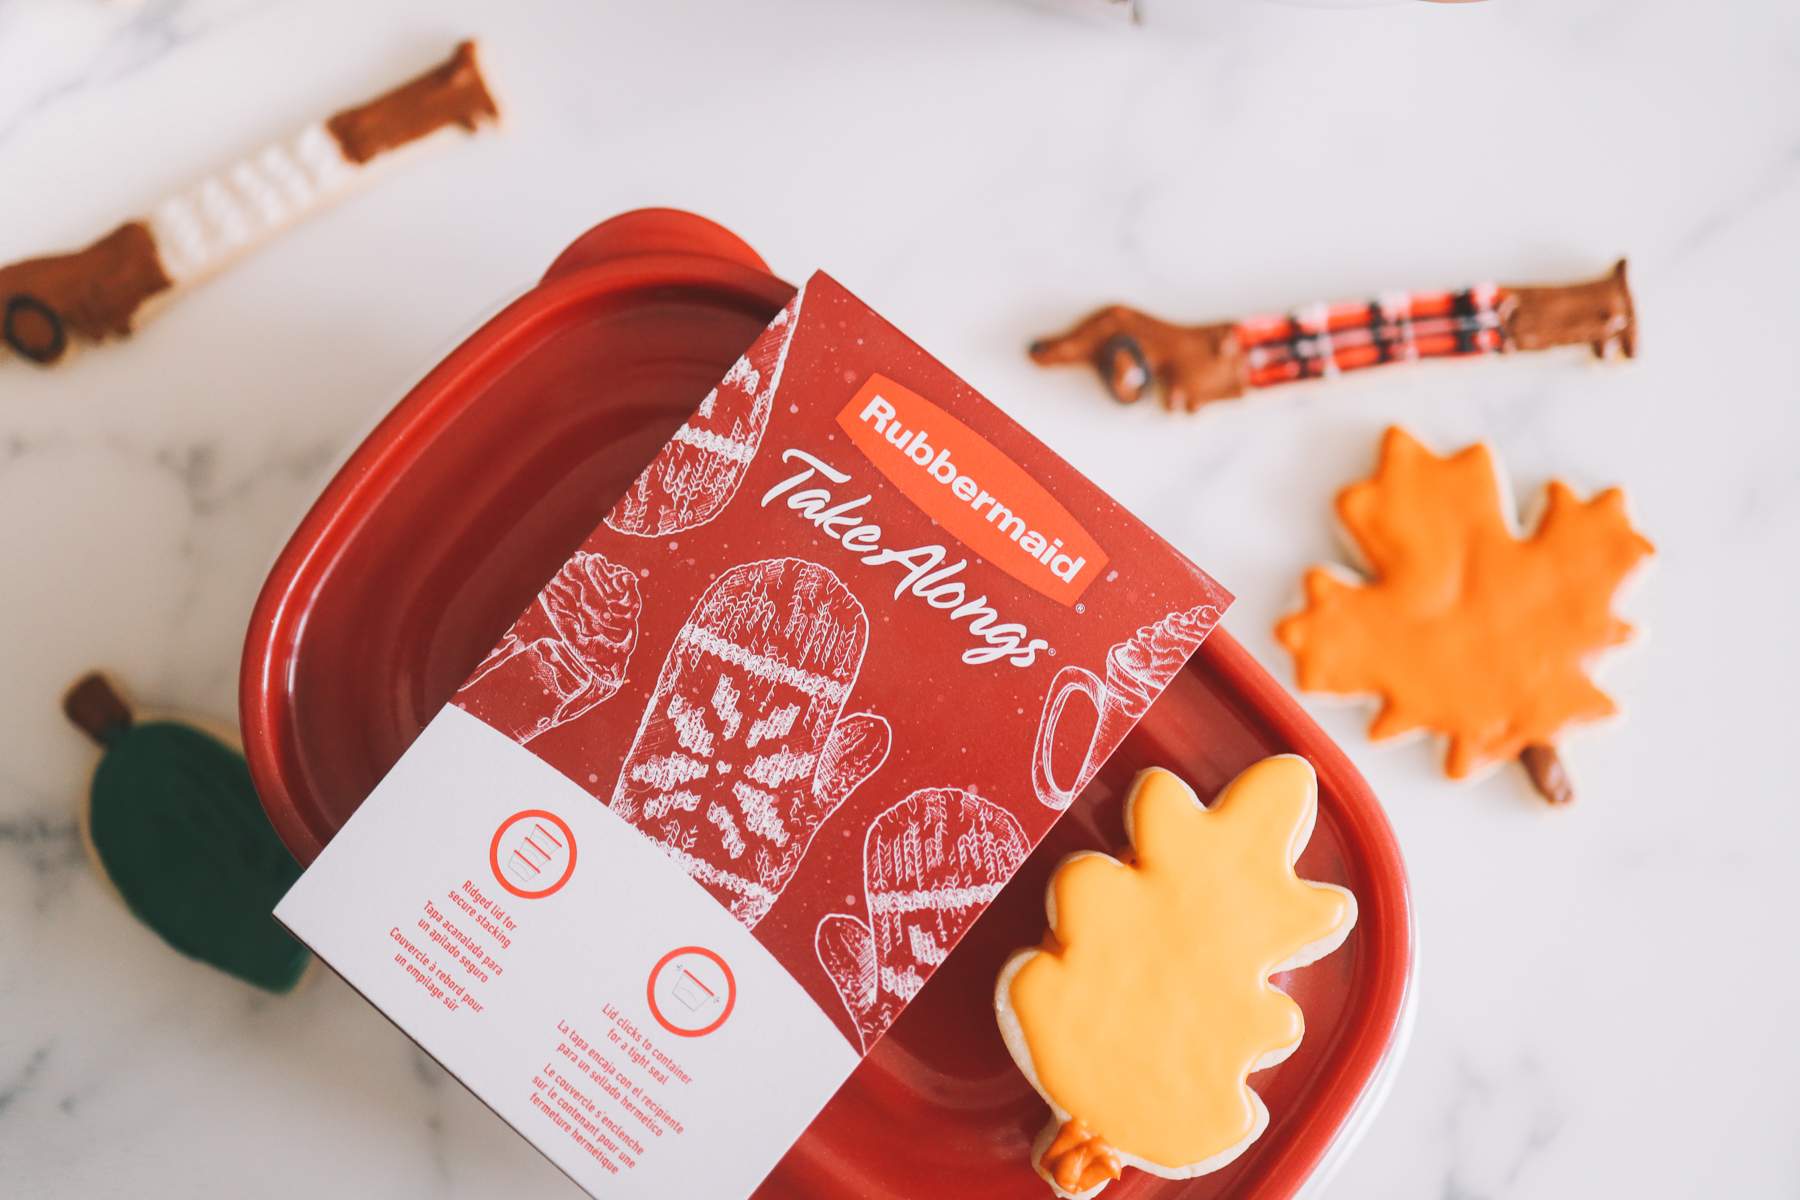
Rubbermaid® Holiday TakeAlongs®, available at Walmart, are AMAZING. (Note that they’re available for in-person shopping or pickup. They’re on endcaps in Walmart so you can quickly grab and go!) They help to organize and reduce clutter during the holidays, and they have a “Quik Clik™ Seal,” which means that their lids click into place so there’s no question that your contents are secure. They also come in three festive colors: red, green and gold. Finally—and this is the big one—they’re microwave-safe (for reheating), dishwasher-safe (on the top rack), and freezer-safe. Game-changer!
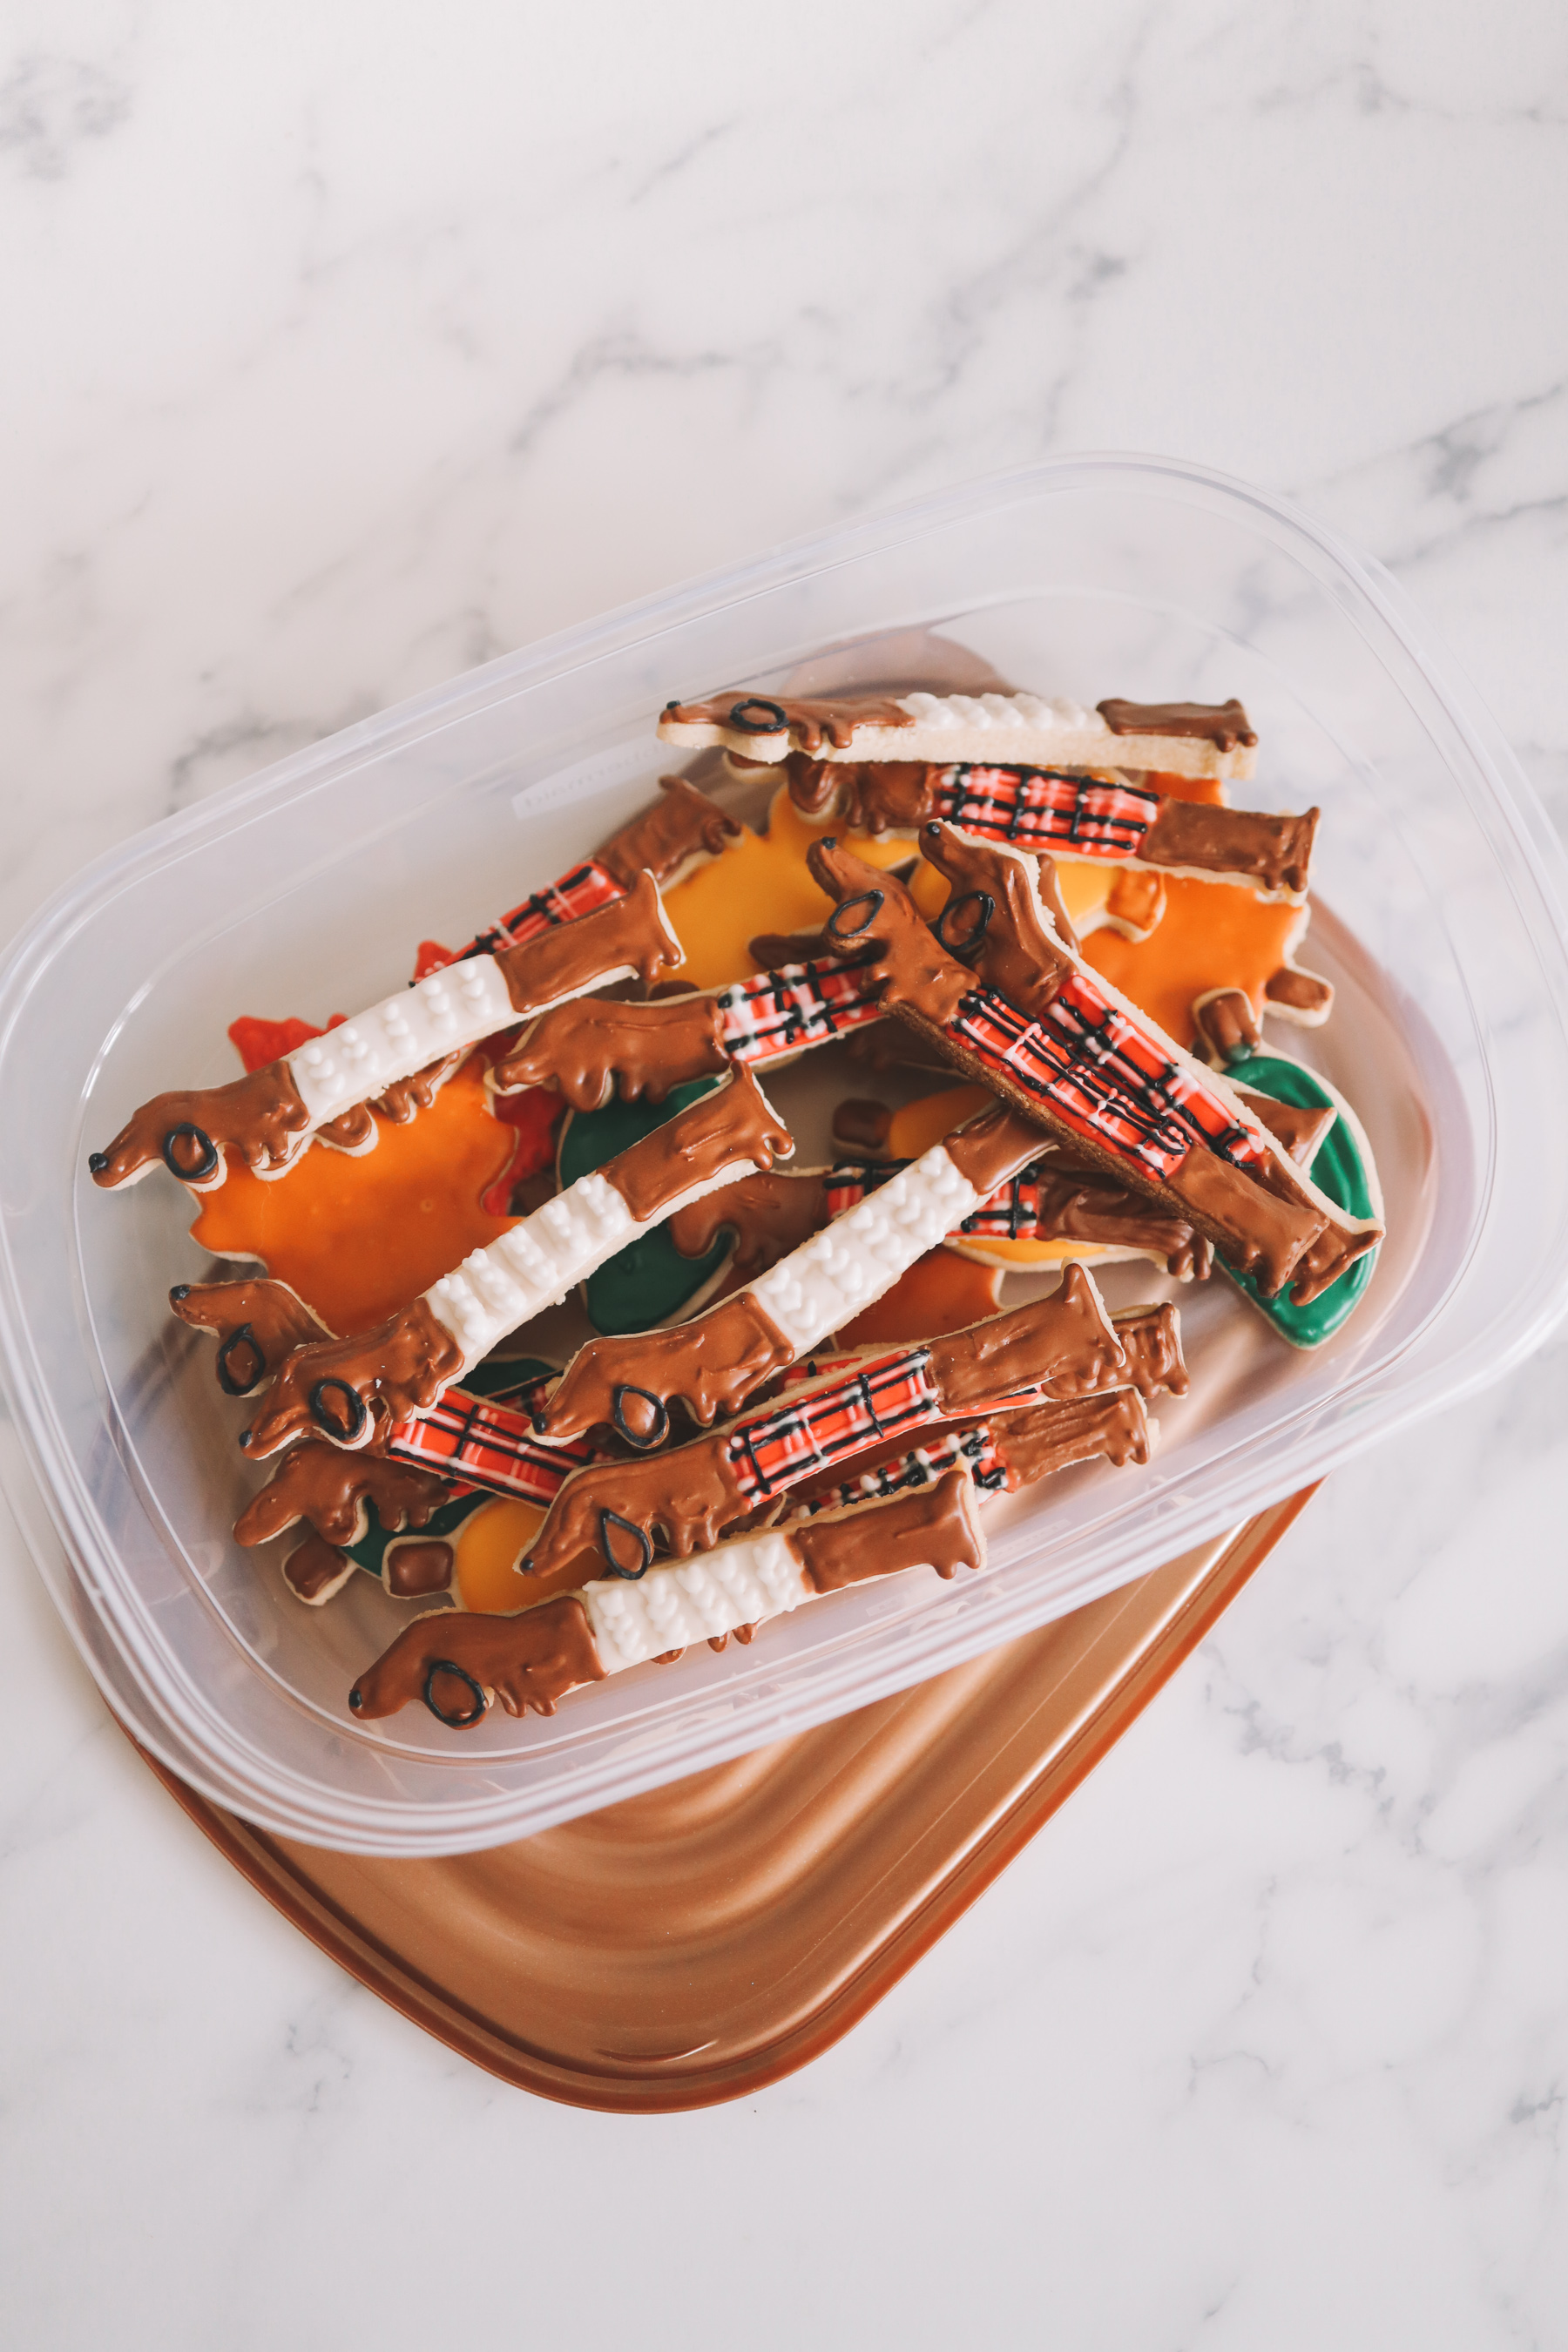
This month, we’re going to be using our Holiday TakeAlongs® food storage containers to package up our fall cookies and drop on friends’ doorsteps and ship them out to you guys, which is another fun family activity in and of itself. I can’t wait!
Below, you’ll find the recipes for the sugar cookies and royal icing. Happy baking!
The cookie recipe
I followed this recipe featured by my neighbor and friend “Allie and the Oven.” The idea is that you’ll need to make sugar cookies that keep their shape don’t spread, and this worked flawlessly. I was so impressed! I was also pleasantly surprised that the ingredients were pretty basic.
Ingredients:
- 32 Tablespoons of cool unsalted butter
- 2 Cups granulated sugar
- 1 Teaspoon salt
- 2 Cold eggs
- 1 Tablespoon vanilla bean paste or extract
- 6 Cups all purpose flour (scooped and leveled)
Instructions:
- Preheat oven to 325 F degrees and line a baking sheet with parchment paper and set aside.
- Place butter, sugar and salt in a mixer with a paddle attachment and mix on the lowest speed until just mixed together. Scrape the sides and bottom of bowl as needed.
- Add the 2 cold eggs and vanilla. Mix again on low until just incorporated. It is okay if it looks curdled. Scrape the sides and bottom of the bowl as needed.
- Add the flour in 3 batches to the mixer. Mix on low just until the dough begins to pull away from the sides of the bowl. Knead in any extra scraps at the bottom by hand.
- Dump dough onto a piece of parchment paper and top with another piece of parchment paper. Roll to your desired thickness.
- Cut out desired shape of cookie. Transfer to prepared baking sheet.
- Bake 10 – 14 minutes (14 is MAX. You don’t want any color on the cookies.)
- Cool cookies for 3 minutes on the cookie sheet and then transfer to a cooling rack.
Recipe adapted by Allie and the Oven from 6 Cakes & More.
Royal icing recipe
This initially freaked me out but it was actually a cinch! I followed Alton Brown’s easy recipe, and made the icing in about five minutes.
Ingredients + materials:
- Wilton Icing Colors: only use a tiny bit. It’s powerful!
- Piping Decorating Bags: Cut very fine hole in the tip. This will provide for better detailing.
- 3 ounces pasteurized egg whites
- 1 teaspoon vanilla extract
- 4 cups confectioners’ sugar
Instructions:
In the large bowl of a stand mixer, combine the egg whites and vanilla and beat until frothy. Add confectioners’ sugar gradually and mix on low speed until sugar is incorporated and mixture is shiny. Turn speed up to high and beat until mixture forms stiff, glossy peaks. This should take approximately 5 to 7 minutes. Add food coloring, if desired. For immediate use, transfer icing to pastry bag or heavy duty storage bag and pipe as desired. If using storage bag, clip corner. Store in airtight container in refrigerator for up to 3 days.
Recipe from Alton Brown via The Food Network.
Kelly’s royal icing tips:
- Purchase these Icing Colors, but only use a tiny bit. (I dipped a toothpick into the gel, and it was more than enough! It’s very powerful.)
- To get the light brown color, mix the brown with the red. (Note that you will not be able to replicate the exact color, so make a lot if you’re planning on icing a lot of cookies.)
- Put the icing into these Piping Decorating Bags, and then cut a VERY SMALL hole in the tip so you can achieve better details.
- Practice on any damaged cookies first. It took me somewhere around 10 tries before I got the hang of it!
- Outline the dachshund in brown first, and let it harden for a few seconds before filling the cookie in. This will help you avoid the icing from falling off the sides.
- Try using a toothpick for teeny details if necessary.
- Outline the ears in black. It’s really cute. ;)
Final thoughts
Again, it’s much easier than I originally thought it would be, but totally worth it! Can’t wait to (safely) drop off this season’s batch at local friends’ homes and drop them in the mail for you guys this week! Remember: Simply like this photo and drop a comment int he comment section below if you’d like some. We’ll be shipping them out shortly!
Enjoy!

In collaboration with Rubbermaid. All opinions are my own. As always, thank you so, so much for supporting the partnerships that keep Kelly in the City up and running!

