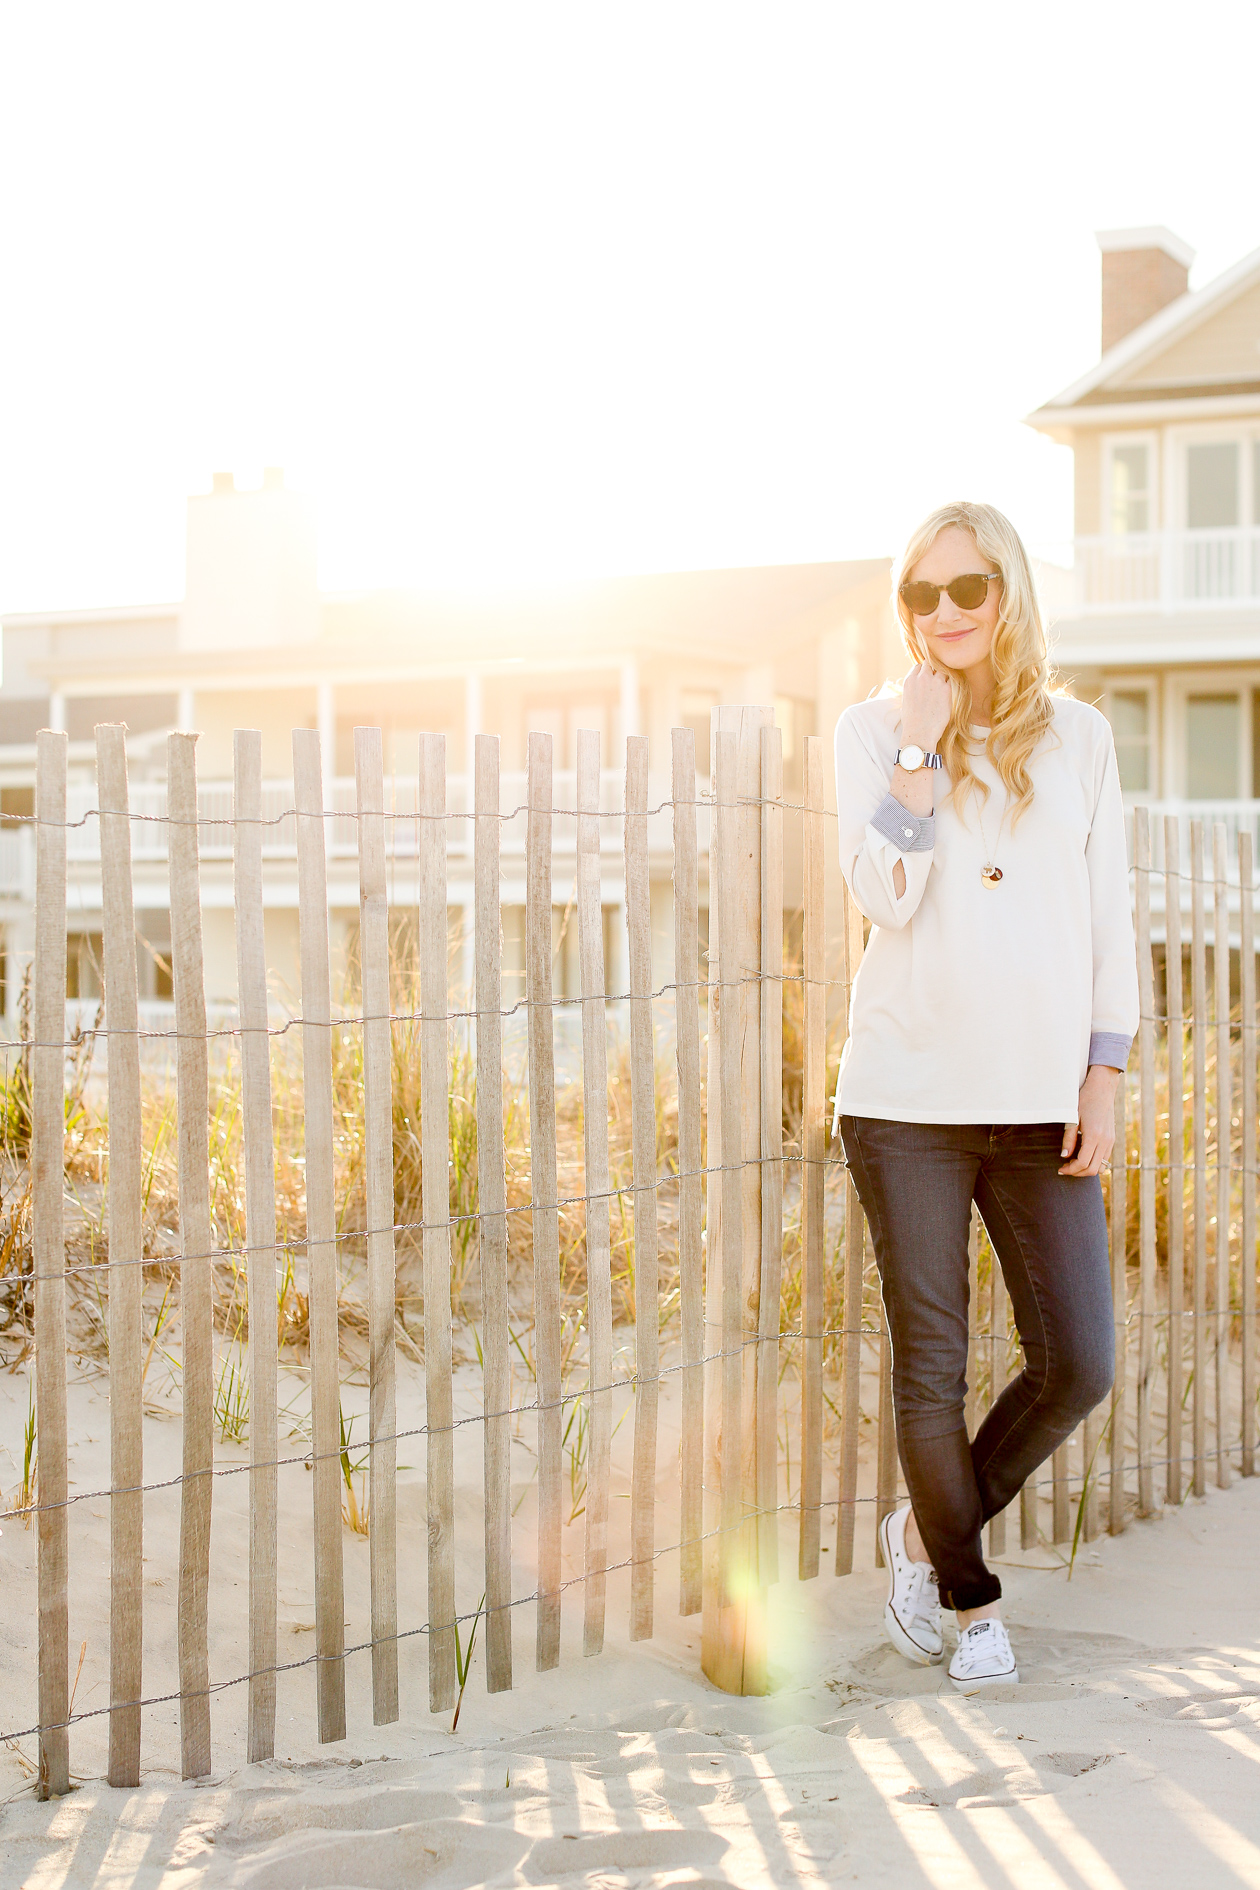
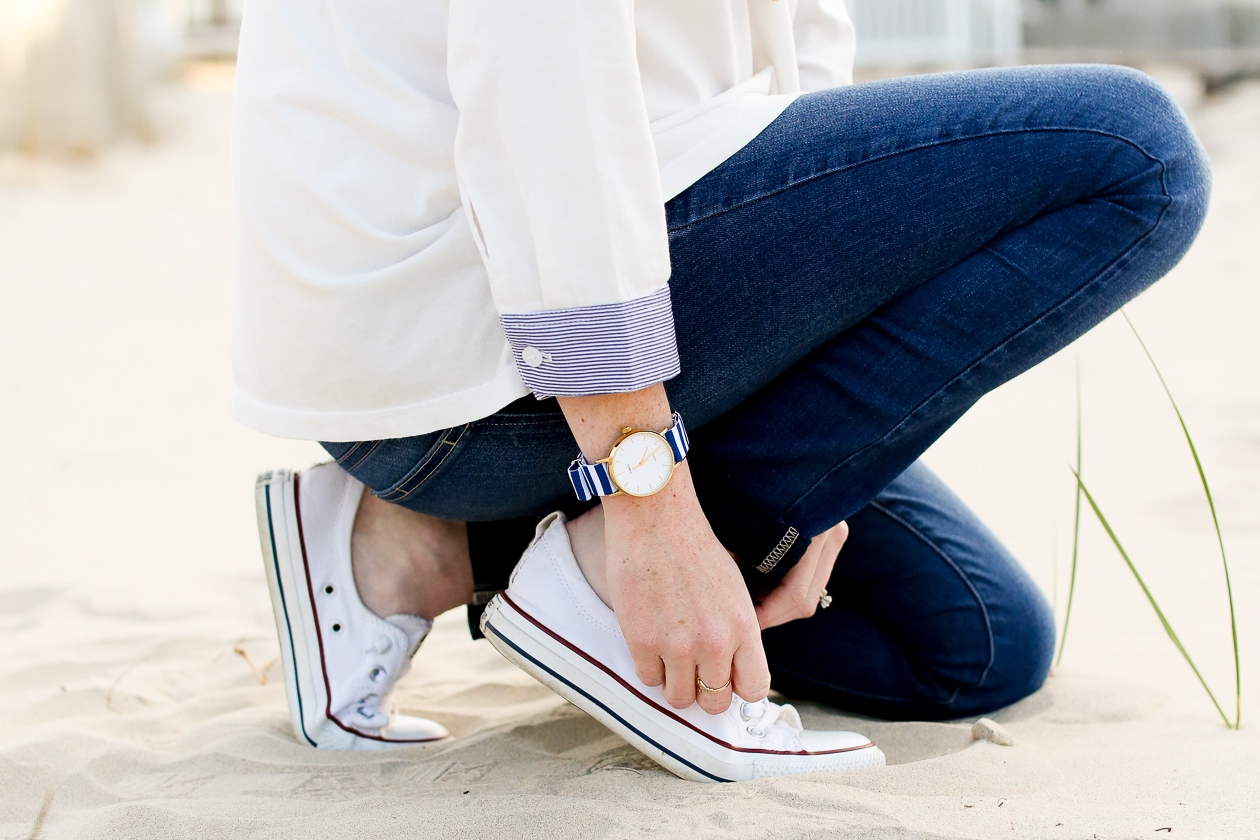
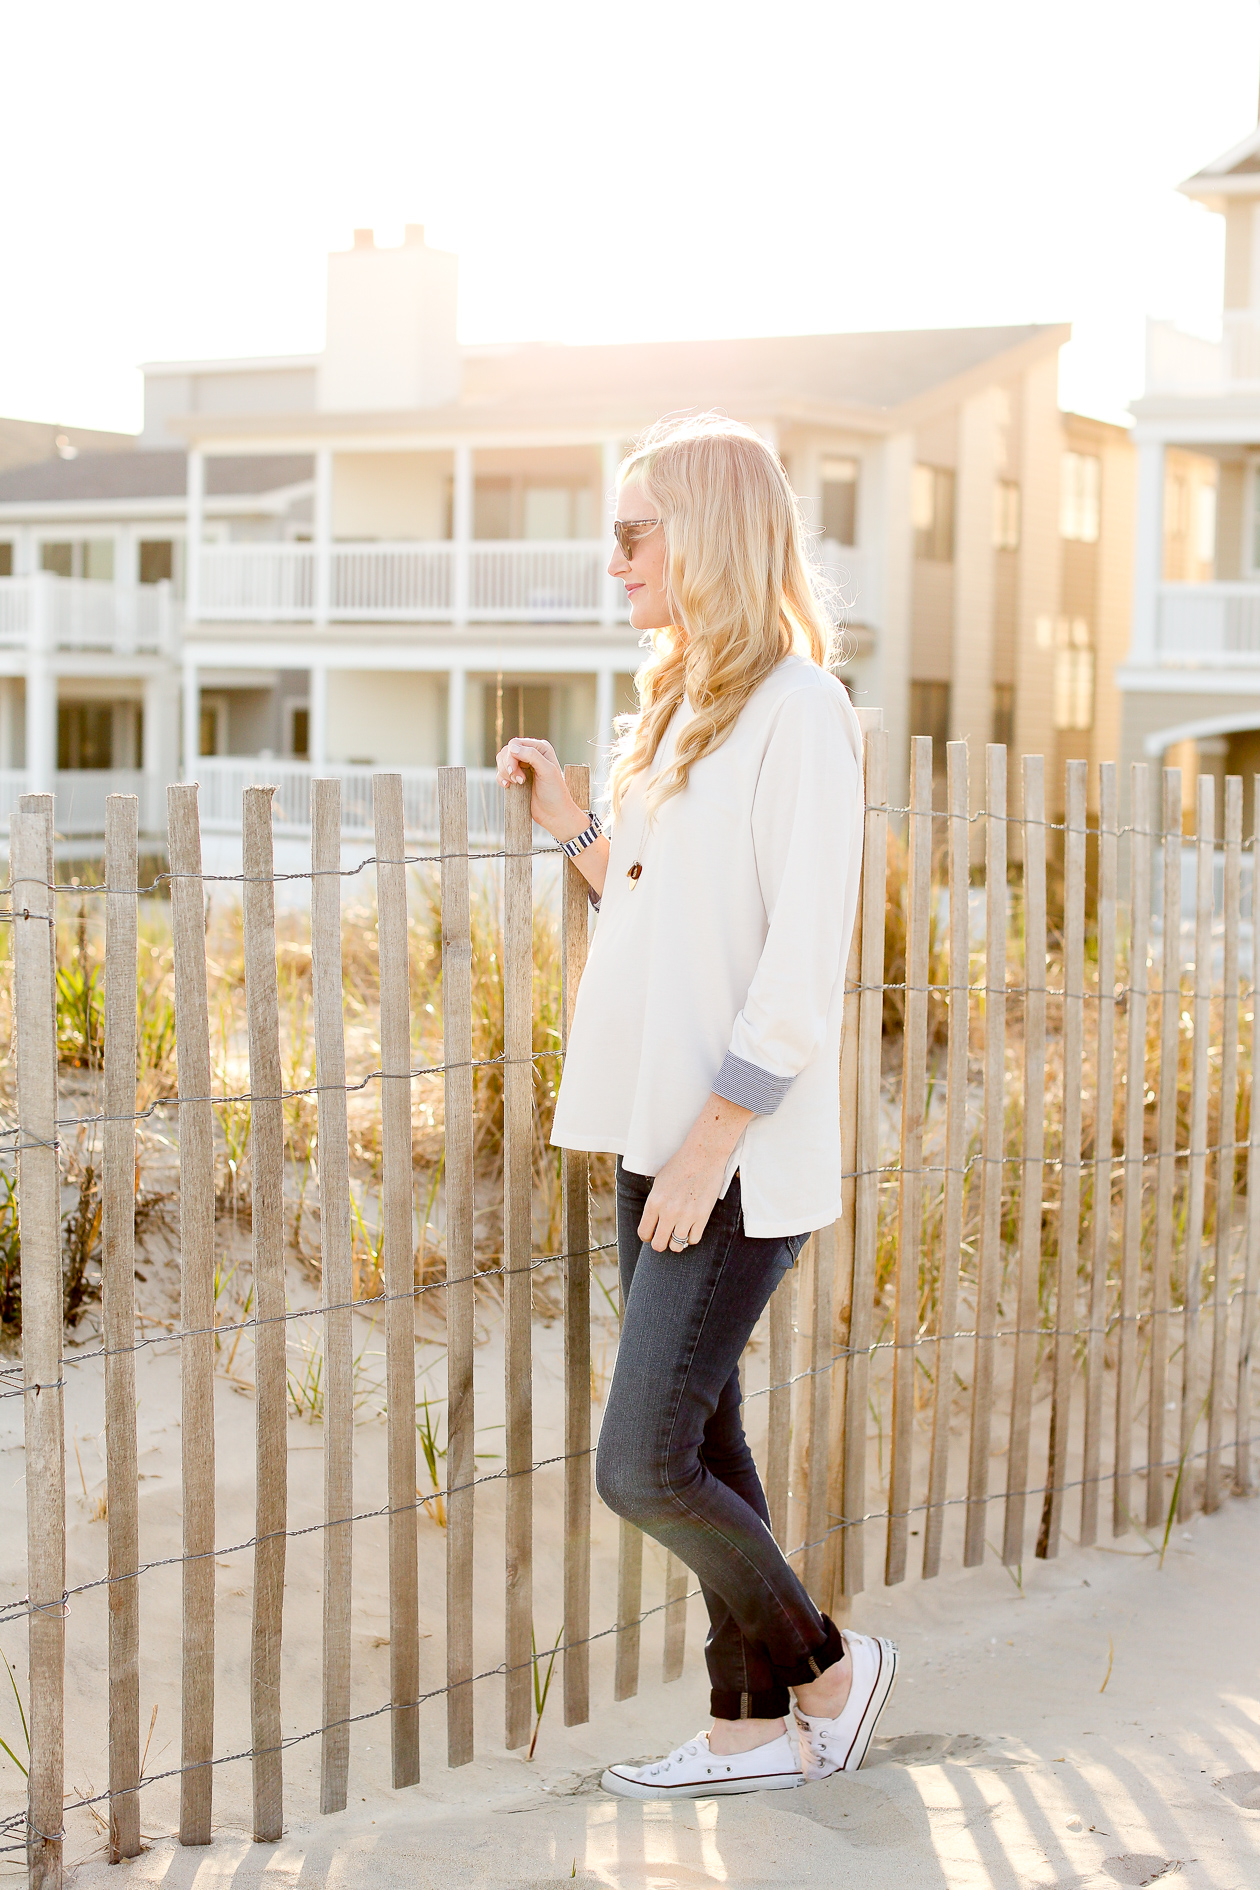
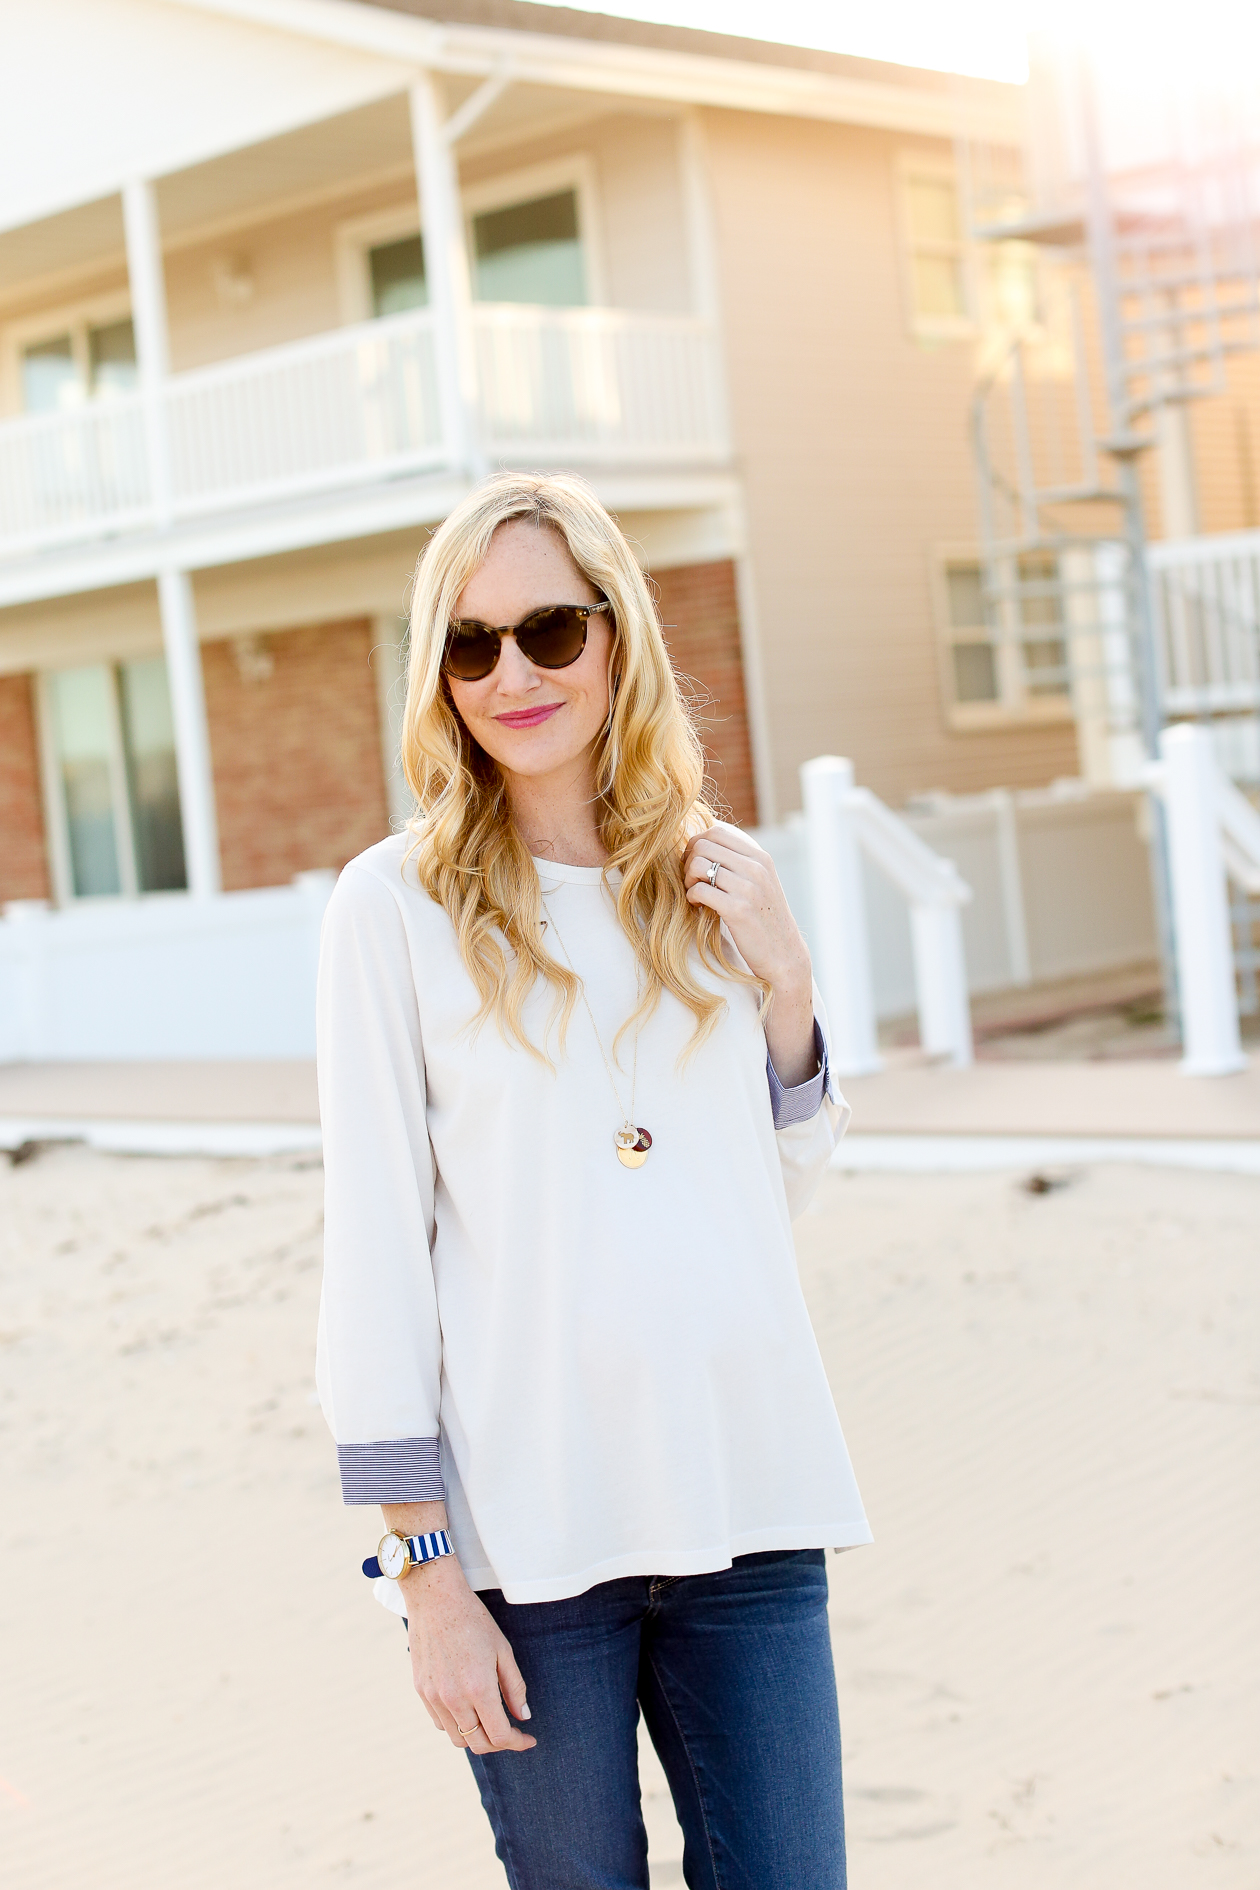
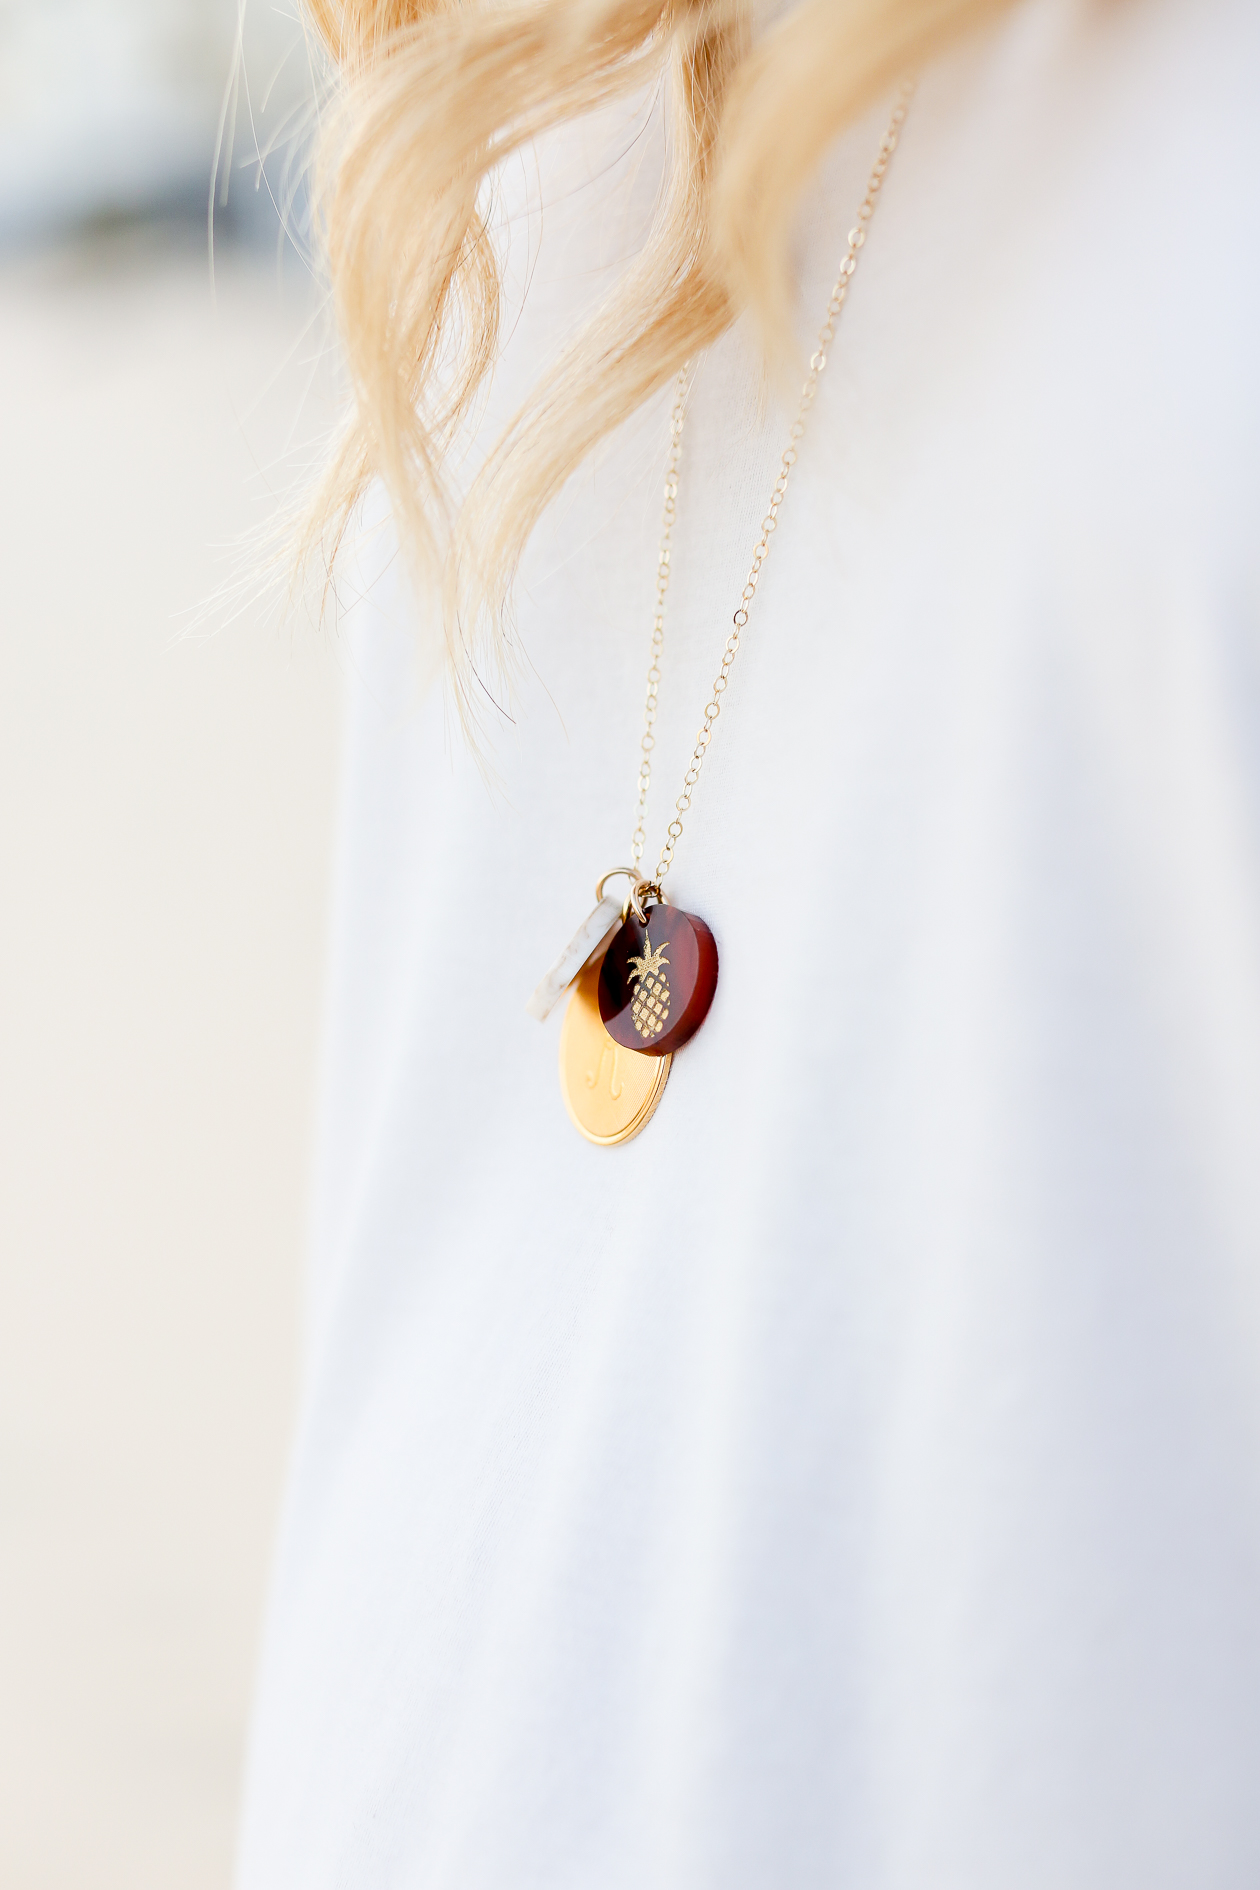
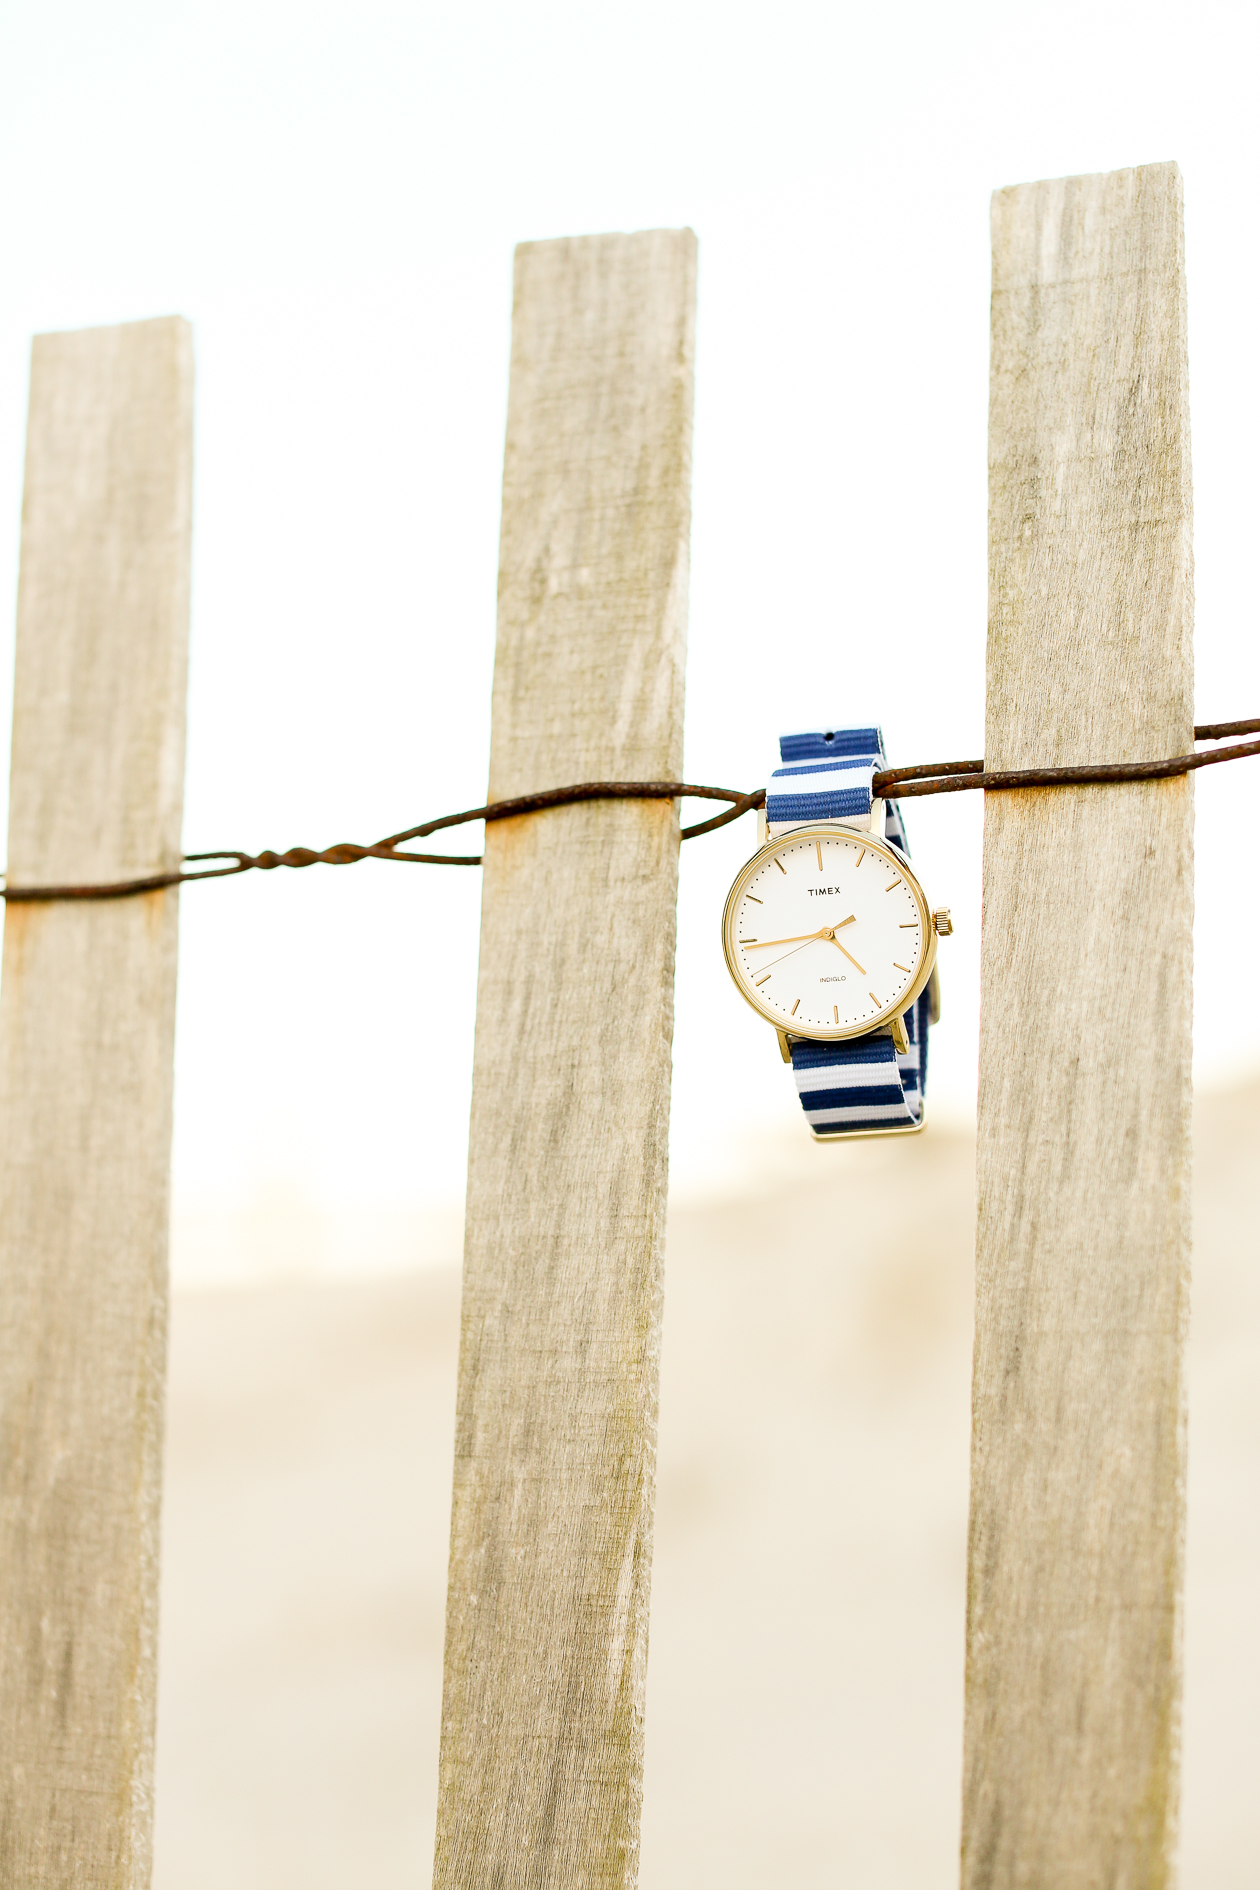
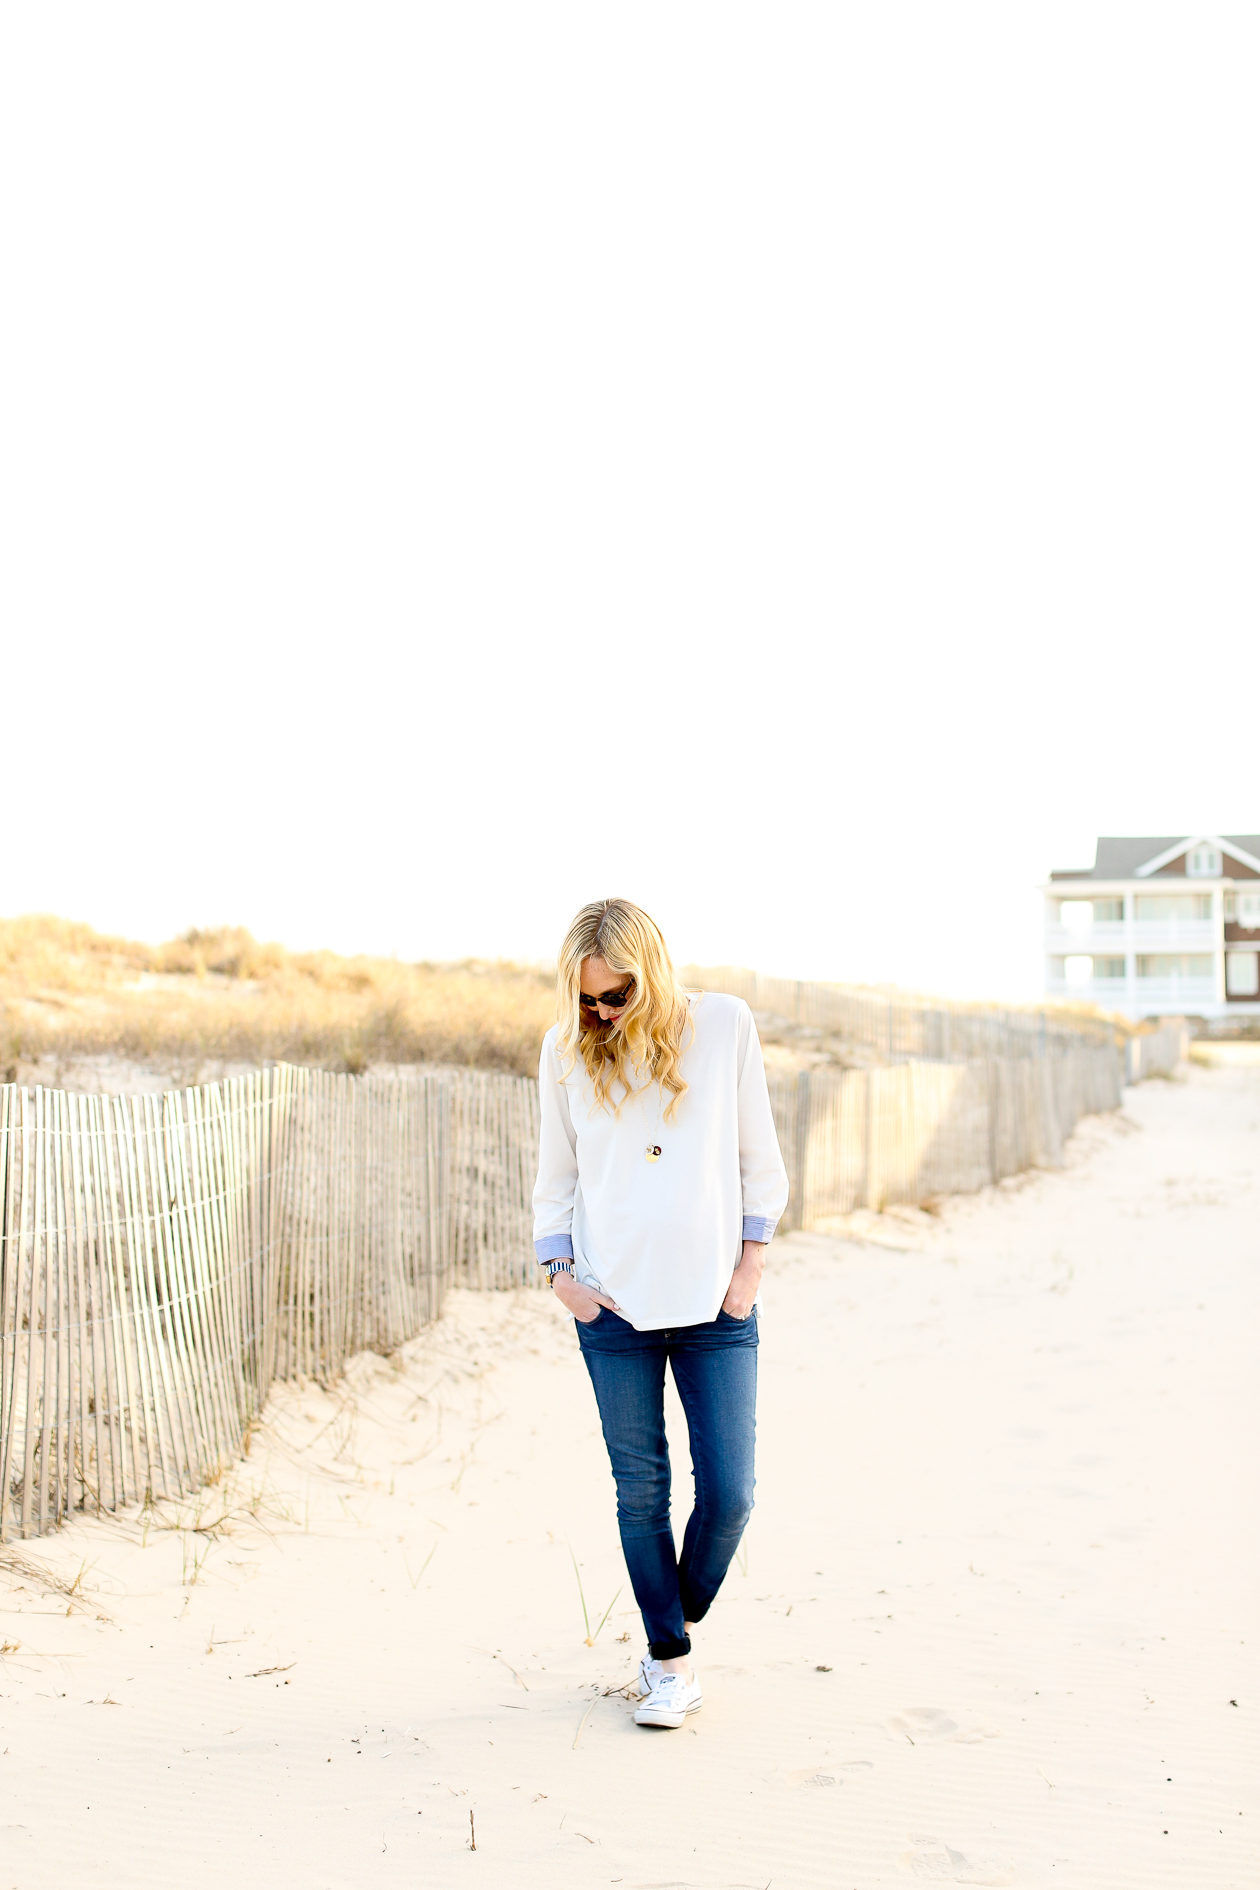
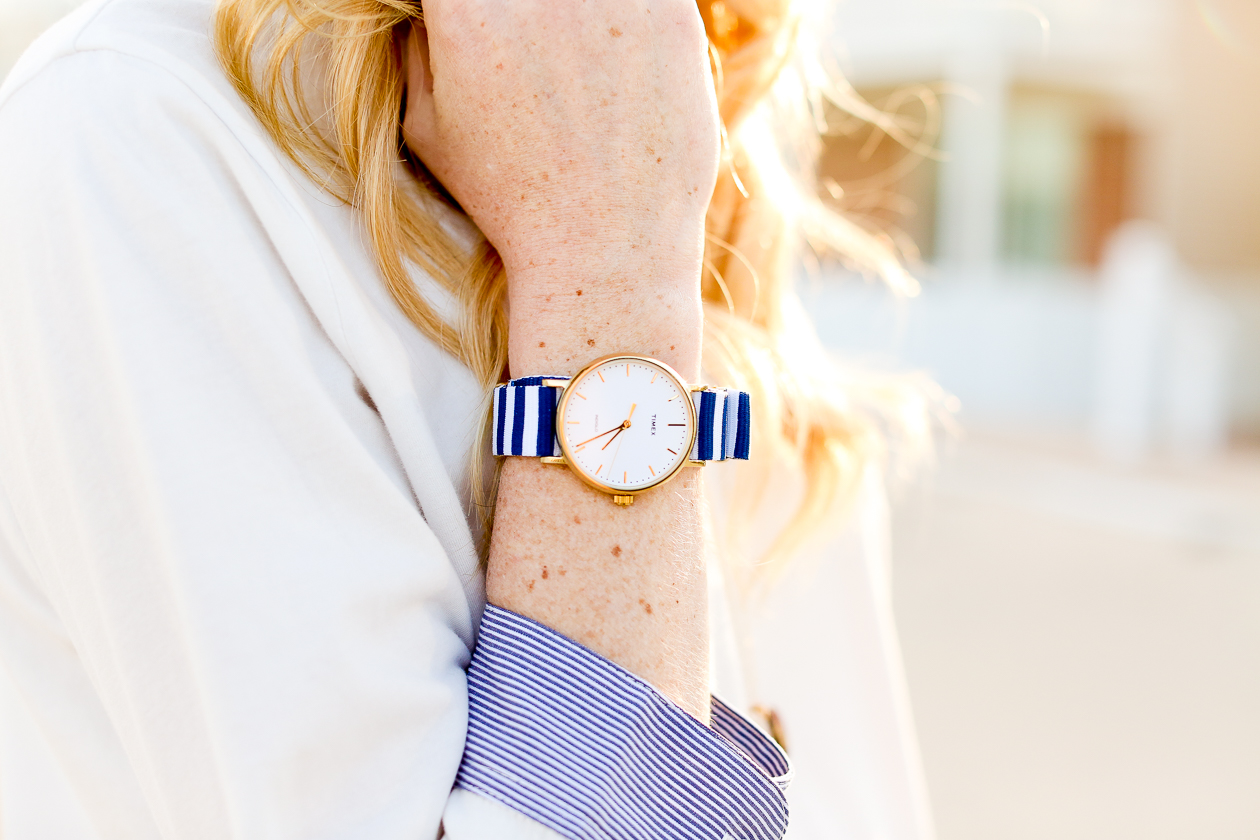
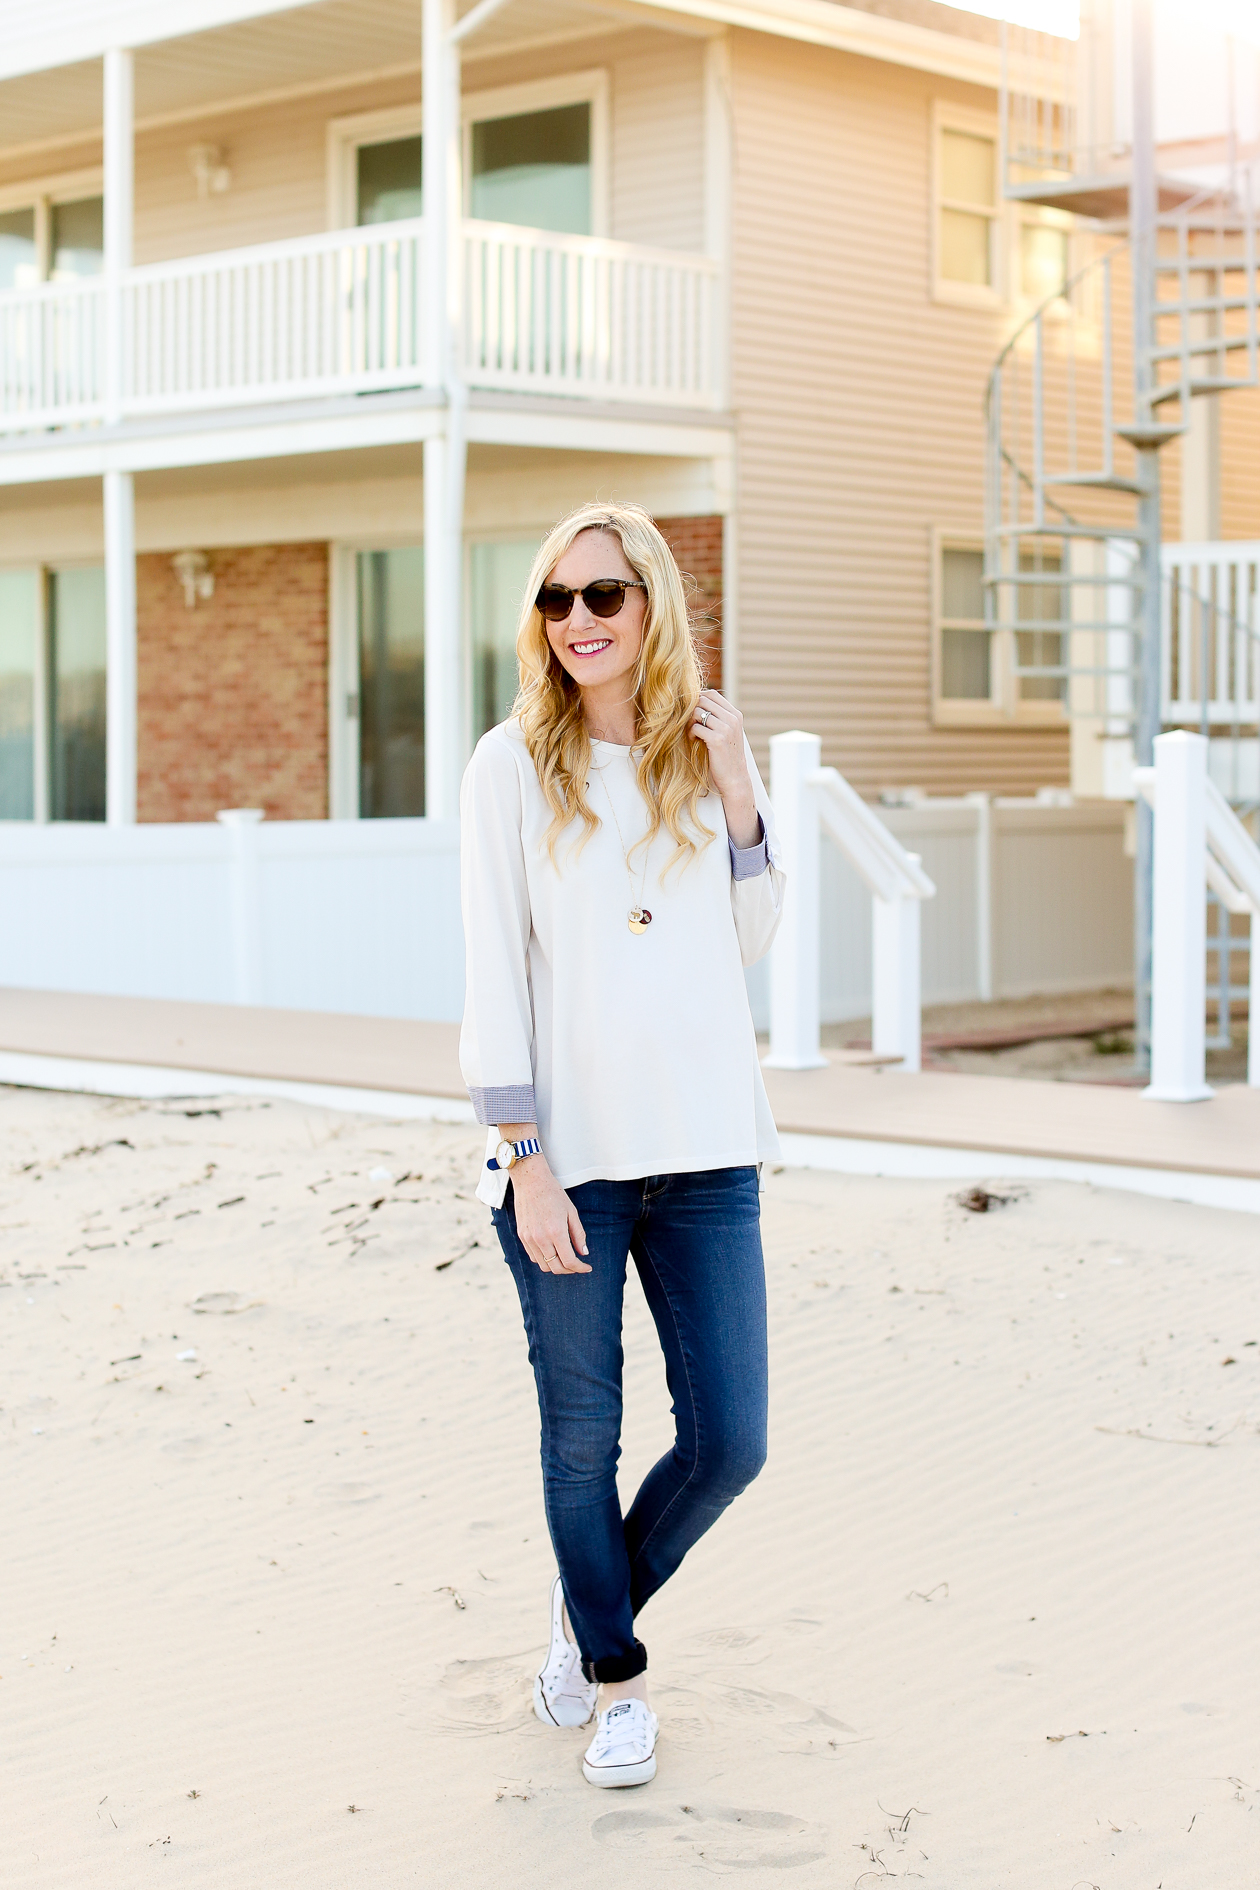
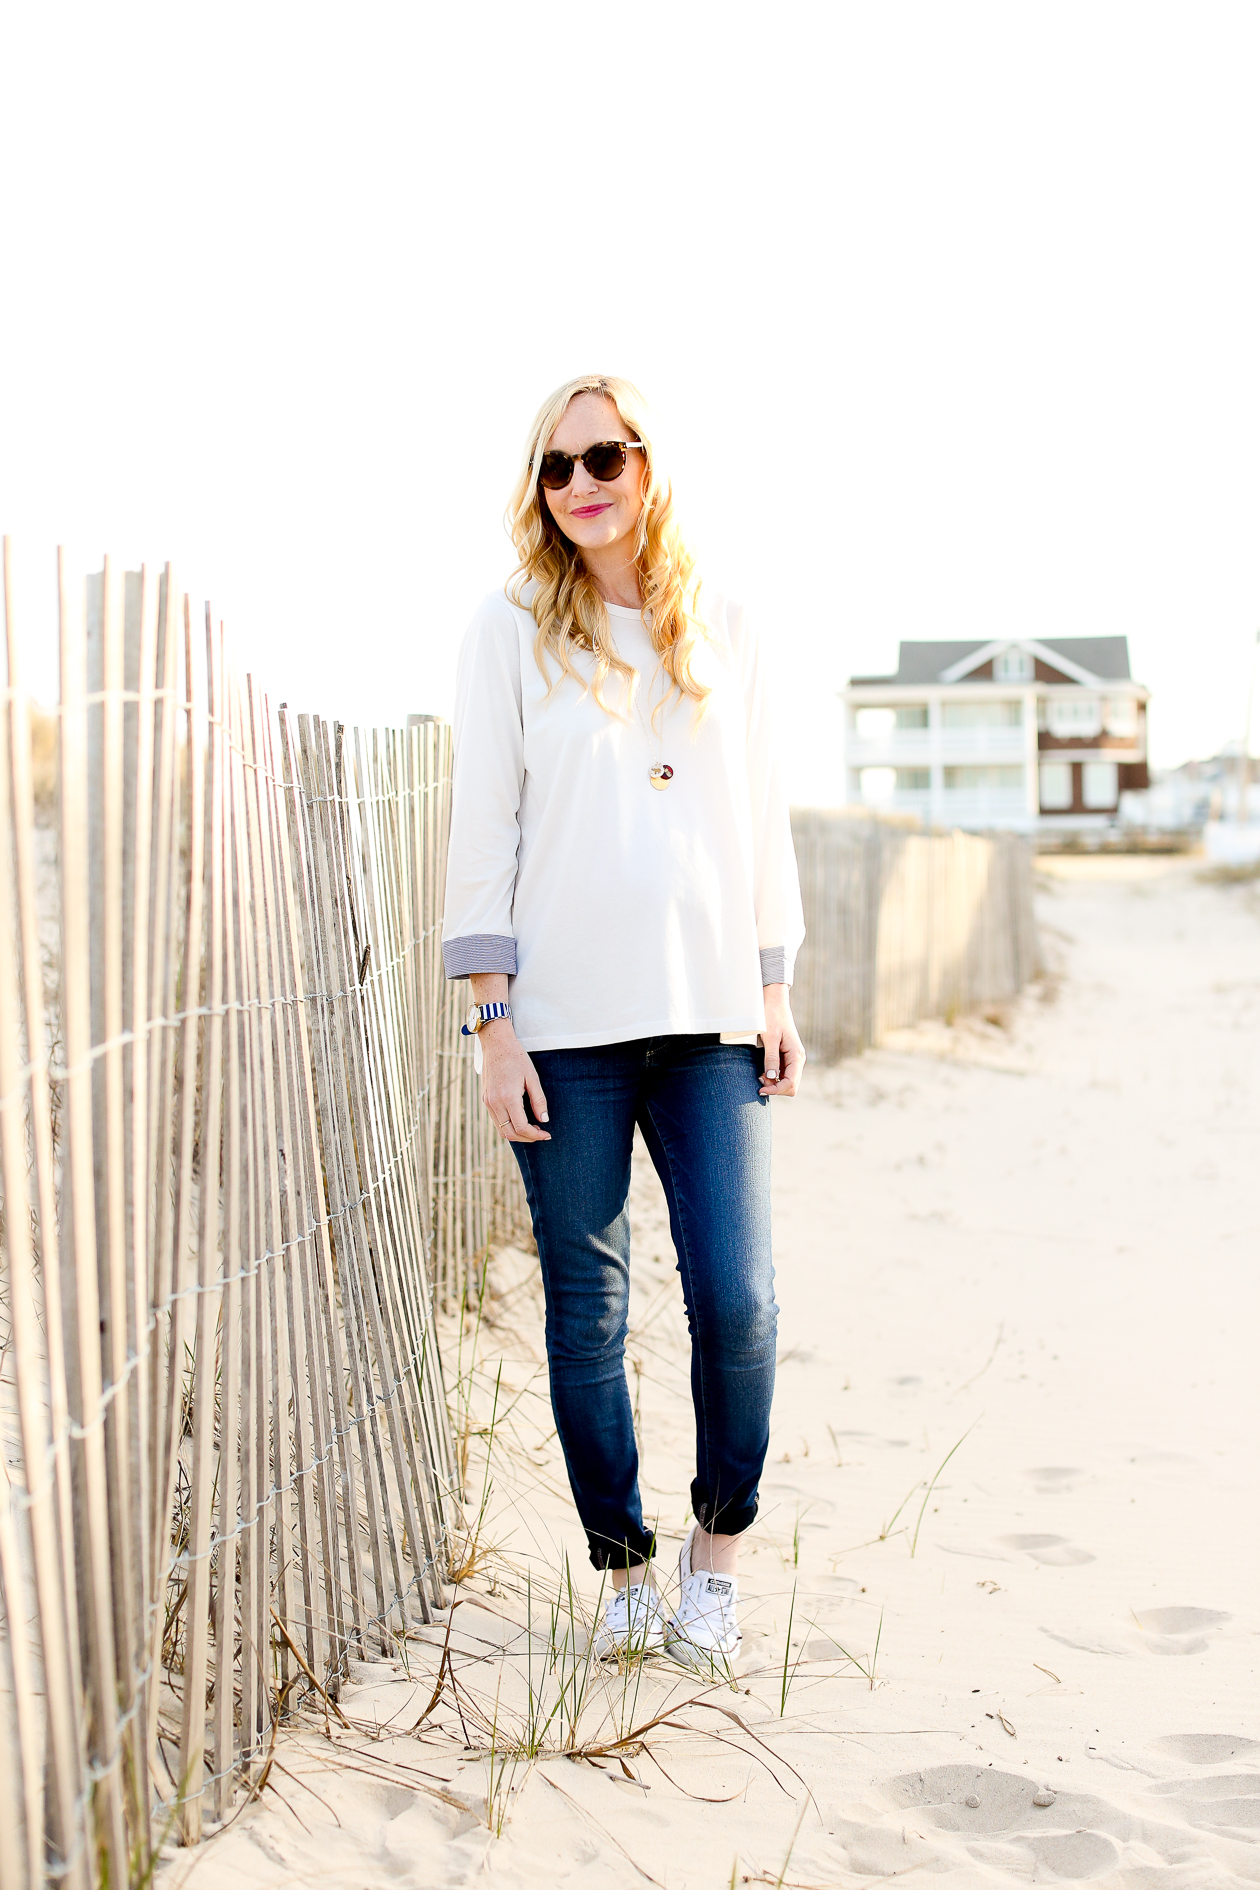
Timex “Fairfield” Watch c/o / CLU Top (A Shopbop sale find! Dying over this dress and this top. Someone who isn’t preggo, please wear, hehe.) / Converse Shoreline Sneakers c/o / Moon and Lola Necklace c/o — Elephant, pineapple and letter charms / Tory Burch Earrings / Similar Sunglasses (On sale!) / Paige Jeans (Mine are the maternity version)
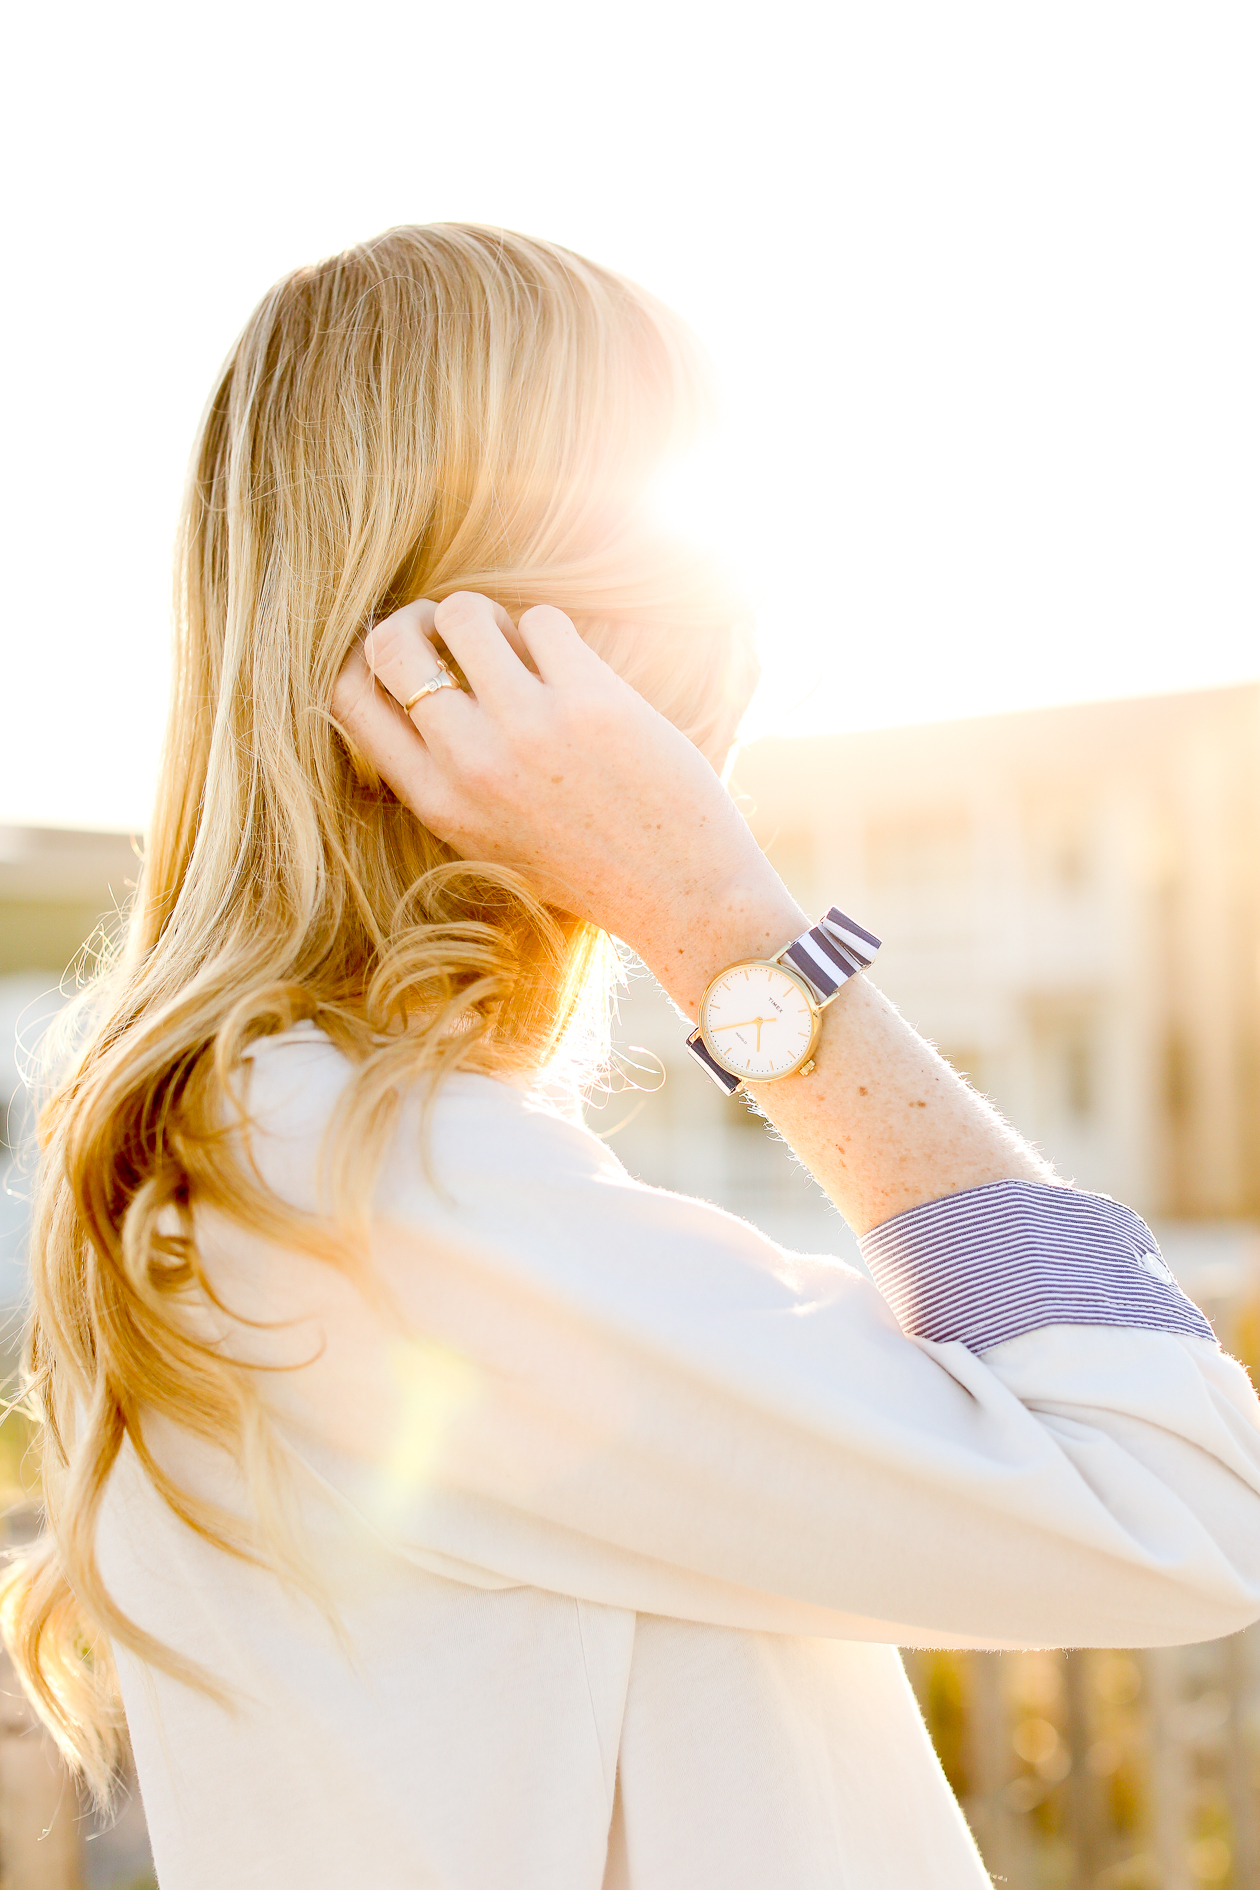
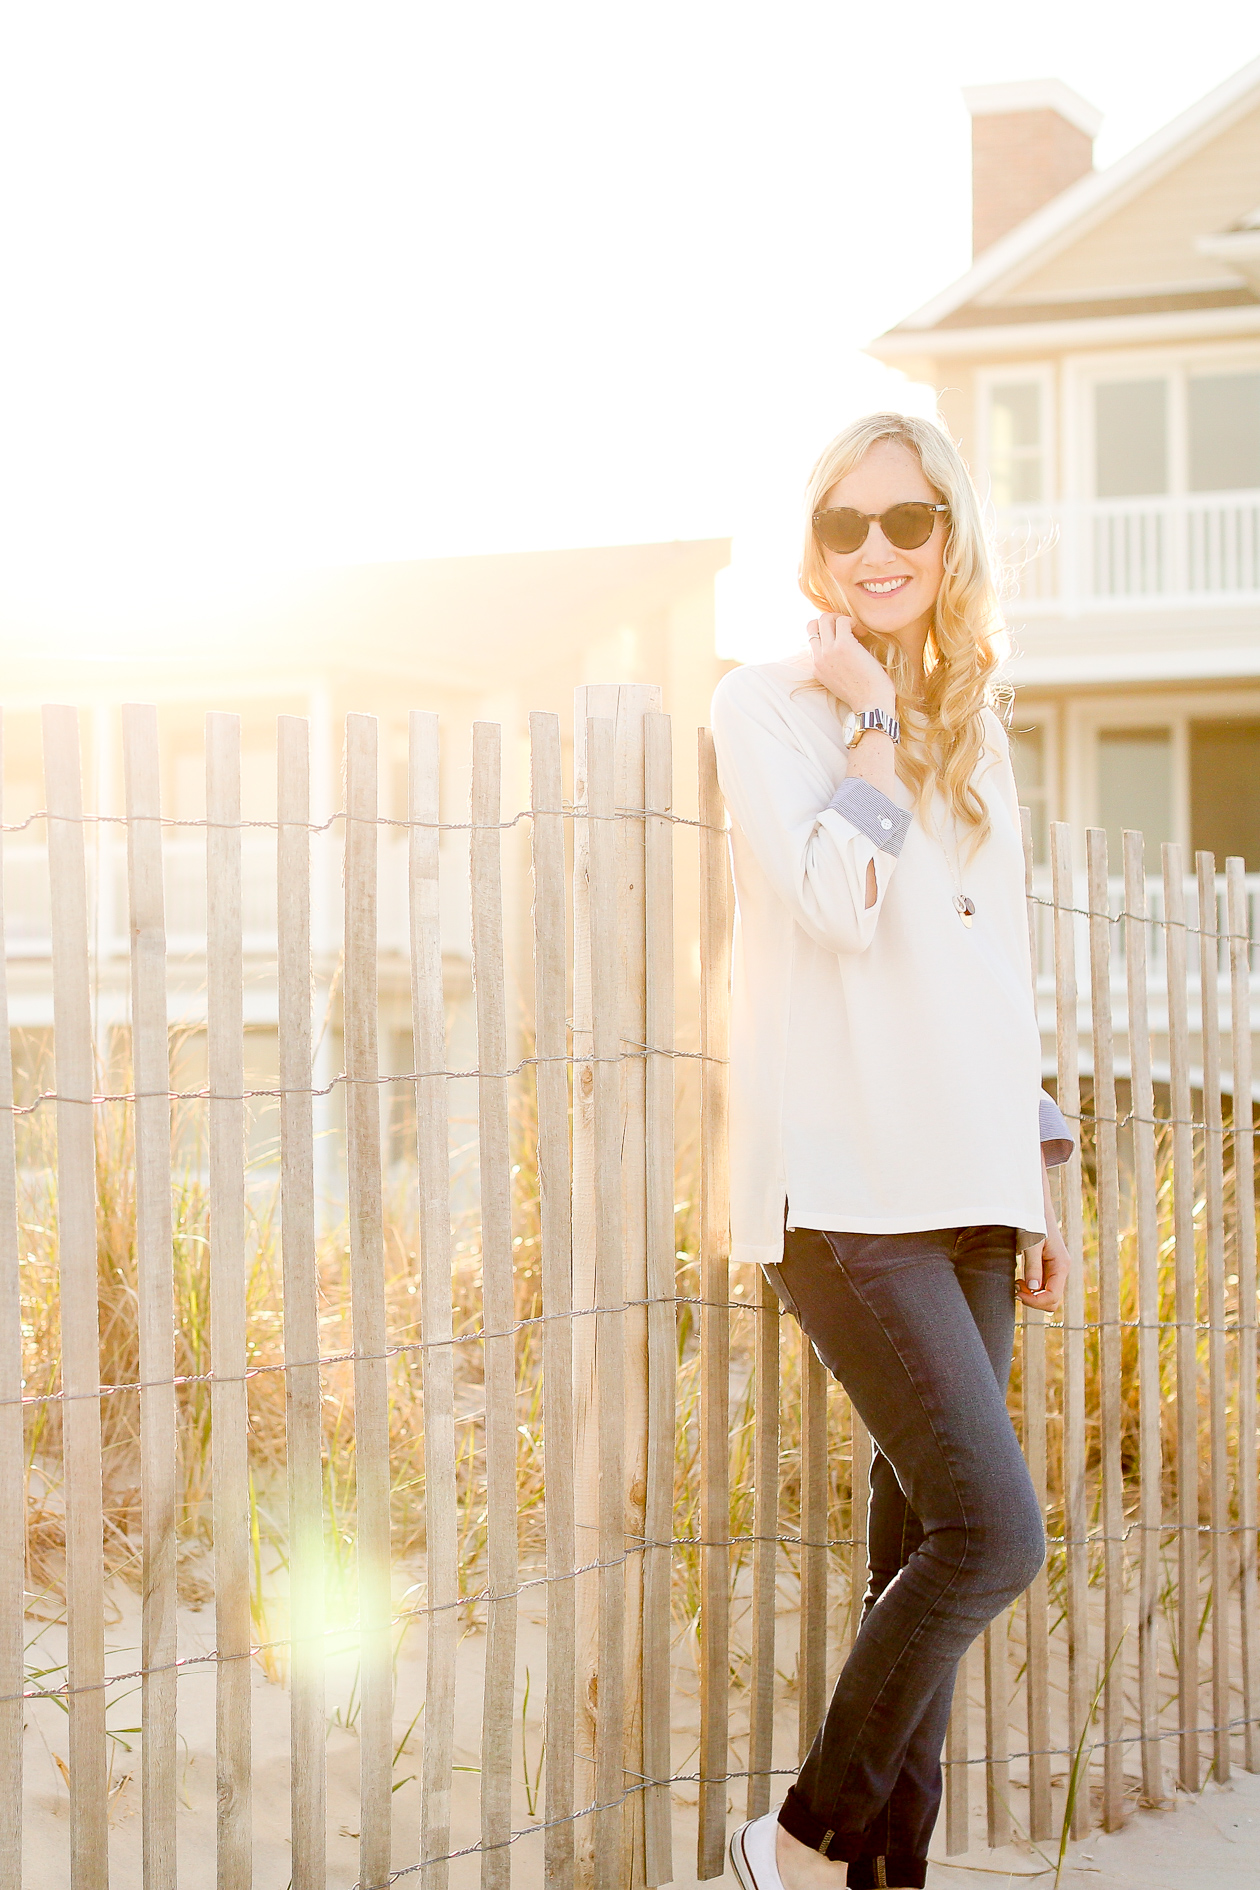
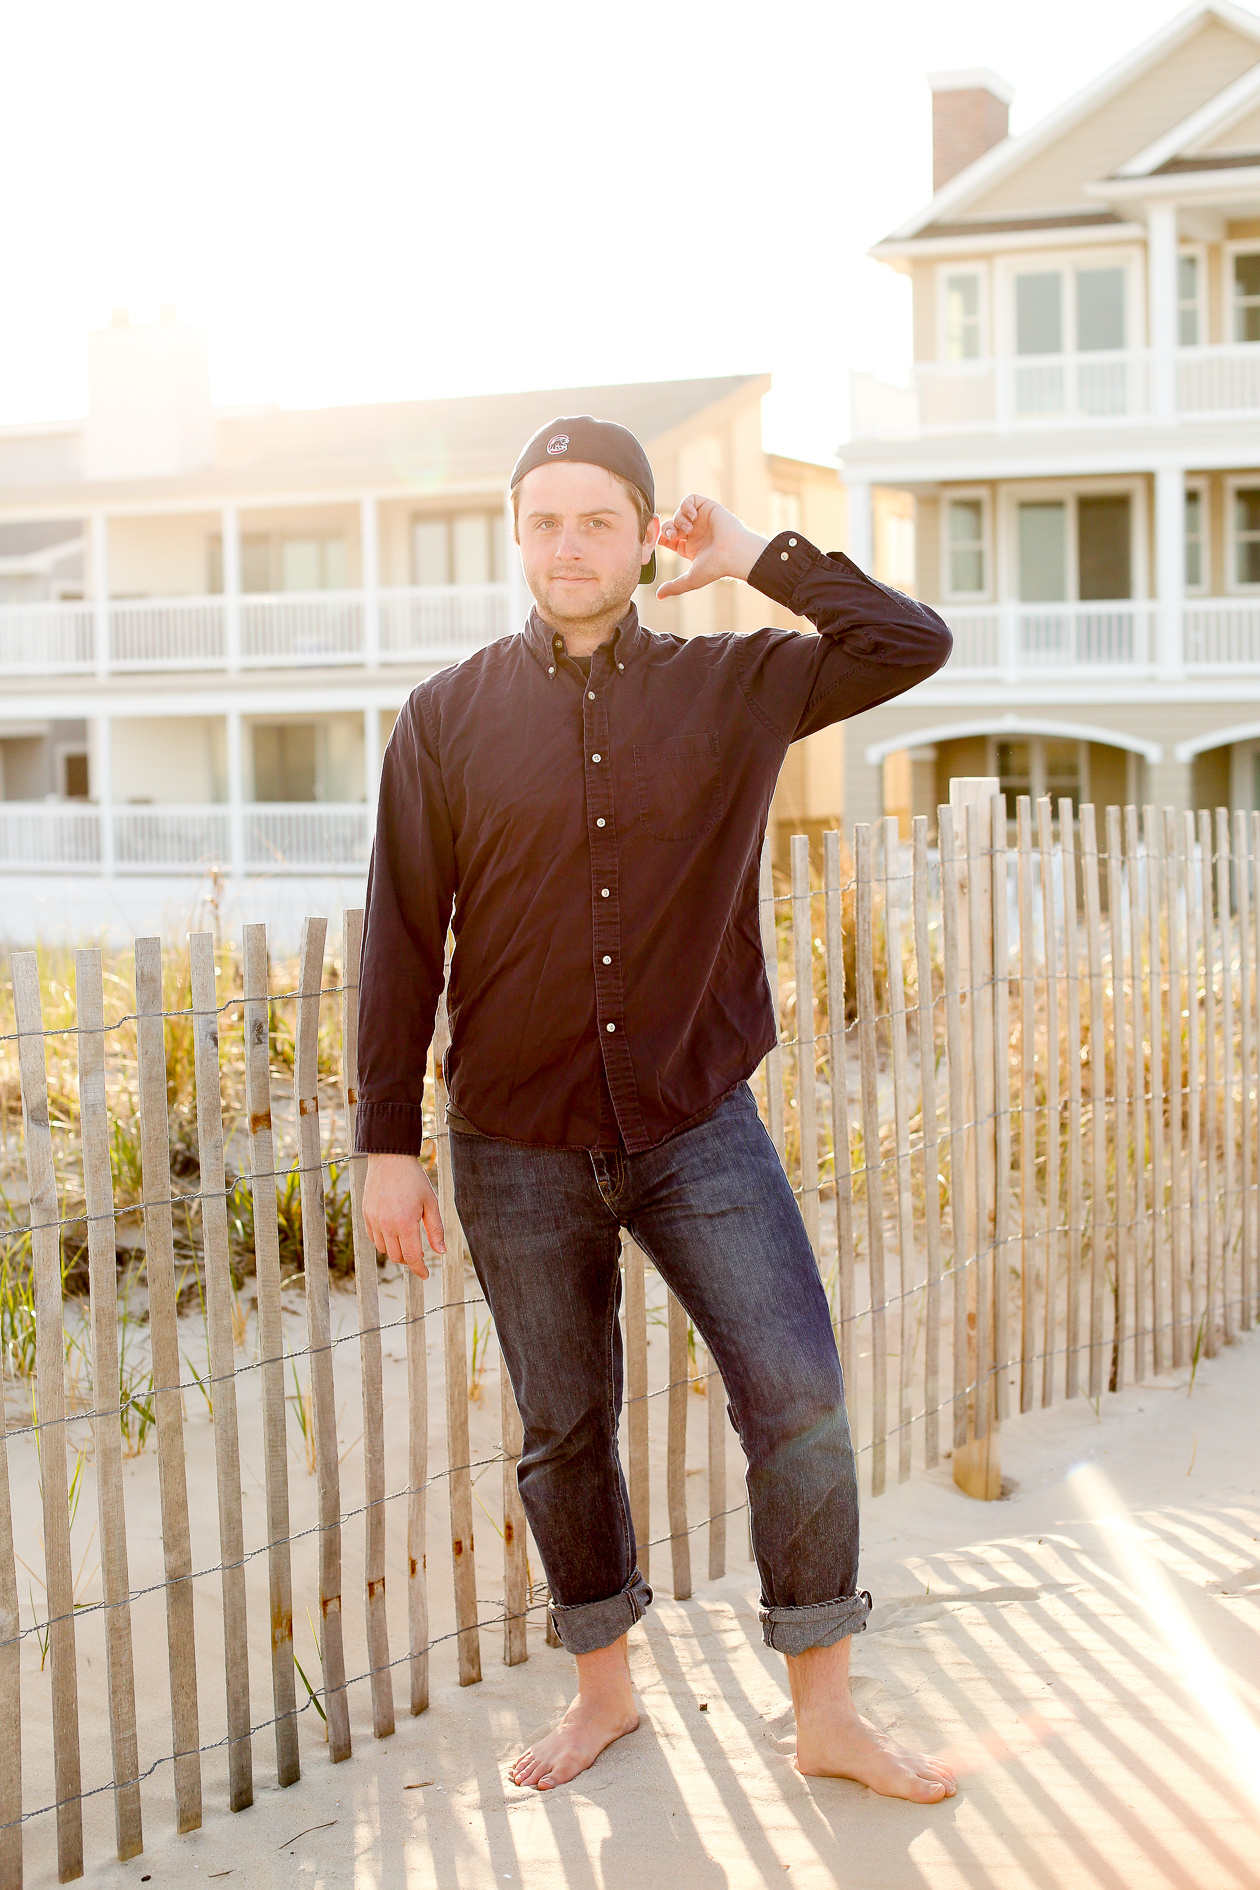
Shooting into direct sunlight is one of my absolute favorite photography techniques, but I don’t do it as often as I like since I typically miss the “Golden Hour” — when shadows are longer, the light is softer, and everything is “warmer.” While on vacation, though? We’re always available during it, and we have all the time in the world to fool around with lighting. SO FUN. (Also, my adorable navy-and-white striped Timex watch is set to Central Time, haha. So, in reality, it was almost 6 p.m. when these photos were taken.)
Wondering how to shoot directly into the sun without getting that overly backlit look?
Here’s how I do it:
As you can probably tell, the sun was beginning to set when these pics were snapped. I set my ISO to 500, my shutter speed to 1/3200, and my aperture to f/3.2. (FYI: I’m using 50mm lens. A 35mm lens is its equivalent when used on a consumer-grade camera! Super important to use a “prime” lens here.)
The main goal was achieving a relatively wide aperture to get that beloved bokeh effect (blurry background), and a fast shutter speed to avoid a completely blown-out photo. I definitely could have gone lower with the ISO (the camera’s sensitivity to light), but I think I’d previously set it to 500, and just quickly made up for it with a faster shutter speed. Truth: when you’re shooting with your husband, you often skip corners so as not to torture him. Also, I LOVE fast shutter speeds as they make everything look a lot crisper!
In terms of aperture, I typically like to go a bit wider when I’m shooting–somewhere in the f/2.5 to f/2.8 range for portraits and even wider for details–but when I’m asking others to take my photos, I like to make sharpness super attainable and easy. f/3.2 assures me that I’ll see great bokeh yet sharp and in-focus subjects.
When it was snapping time, I stood in a somewhat shaded area with the sun behind me, and Mitch took the photos. Finding shade takes some scouting, for sure. It isn’t 100-percent necessary, but it makes the job easier. Notice how in some of the photos, I’m not standing in the shade. Those shots are harsher or even slightly overexposed.
Because the sun was so strong and shining right at Mitch, depth was a little lost in the unprocessed photos. So, using Lightroom, I lowered the “blacks” to -75, sharpened the photo to +70, and upped the exposure a bit to make up for the “blacks.” And voilà! This is the result. It takes a little practice, but it’s super easy once you get the hang of it!
But back to vacation. My Timex watch tells me it’s time for another long walk on the beach with Mitch and Noodle. :)
Learn more: How I Edit Photos in Lightroom
Testing lighting on Mitch. But seriously: how awesome is this?! Mitchinthecity.com coming soon. ;) Kidding, kidding…
Shop the post:
Timex “Fairfield” Watch c/o / CLU Top (A Shopbop sale find! Dying over this dress and this top. Someone who isn’t preggo, please wear, hehe.) / Converse Shoreline Sneakers c/o / Moon and Lola Necklace c/o — Elephant, pineapple and letter charms / Tory Burch Earrings / Similar Sunglasses (On sale!) / Paige Jeans (Mine are the maternity version)

