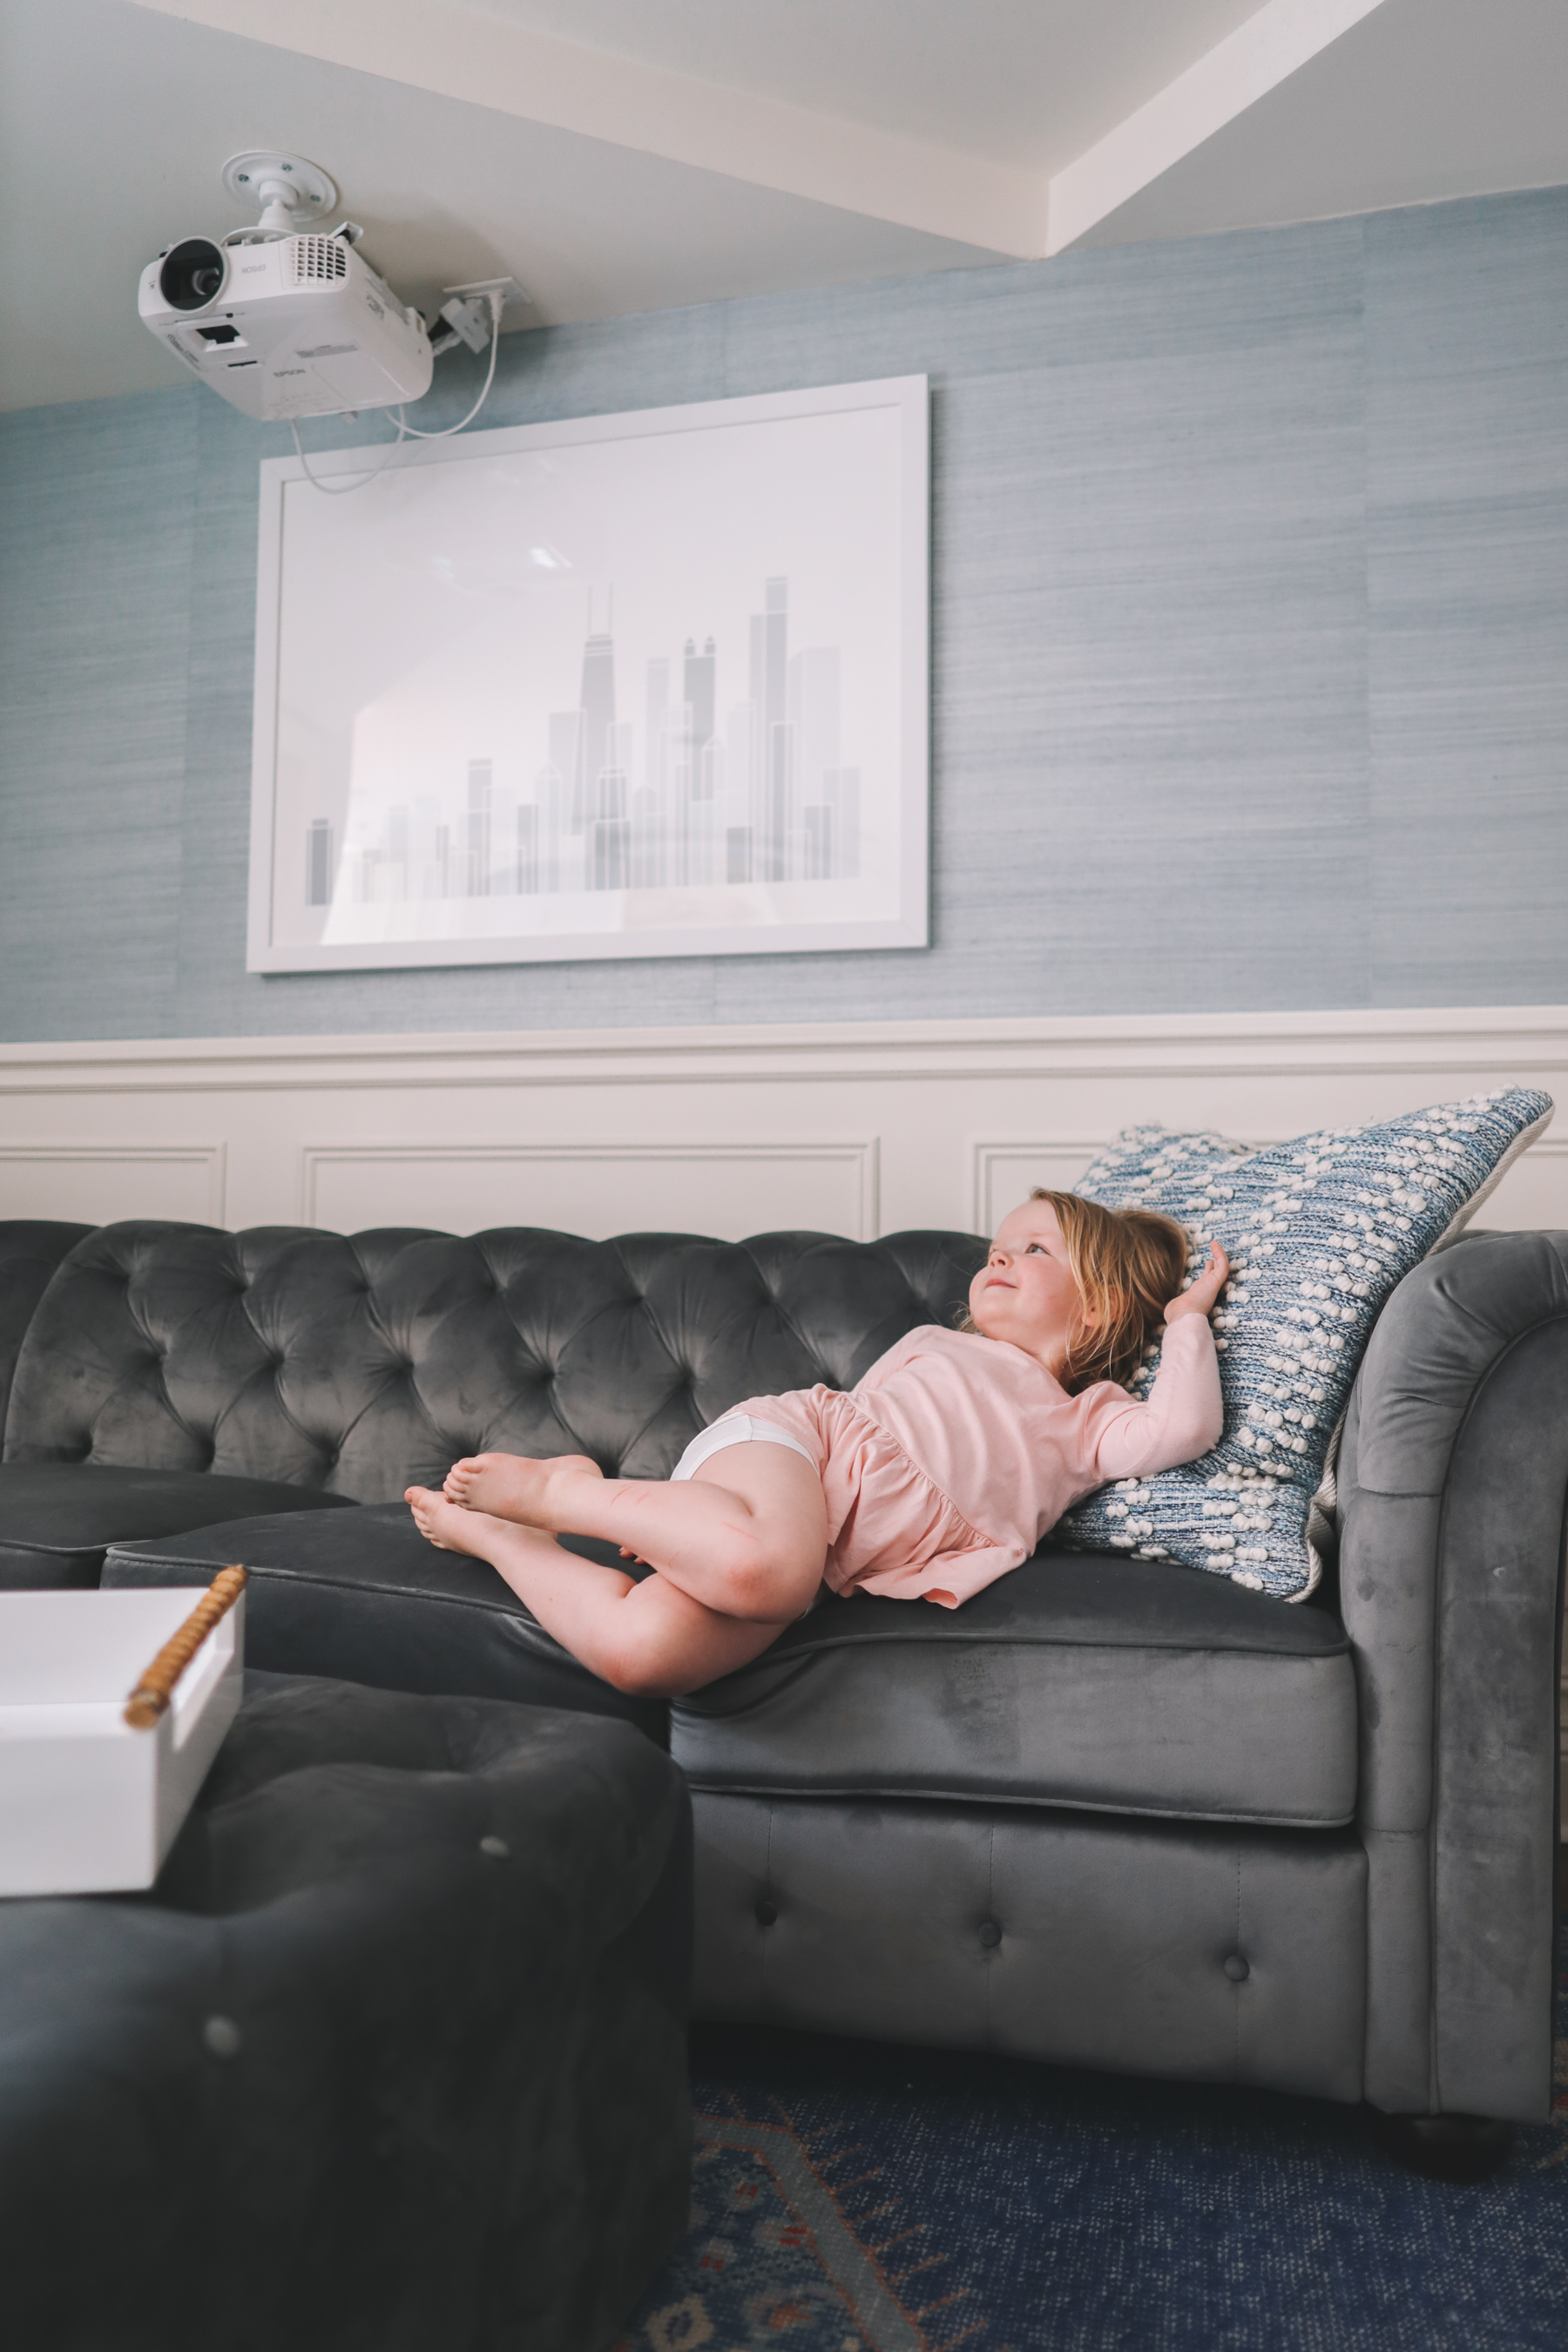
I’m so excited to share our basement renovation with you today, and approximately one zillion before-and-after pics. 😆 We finished the work and furnished the space back in early March, and we spent the last few months organizing it and making it as functional as possible for our family. The area serves a lot of different purposes, and we’re thrilled with how it turned out!
Note: The playroom is rarely this tidy. Just want to put that out there. I cleaned for an hour before taking these photos. As evidenced by Instagram Stories on the reg, we let the kids go crazy here and everyone is better for it! :)
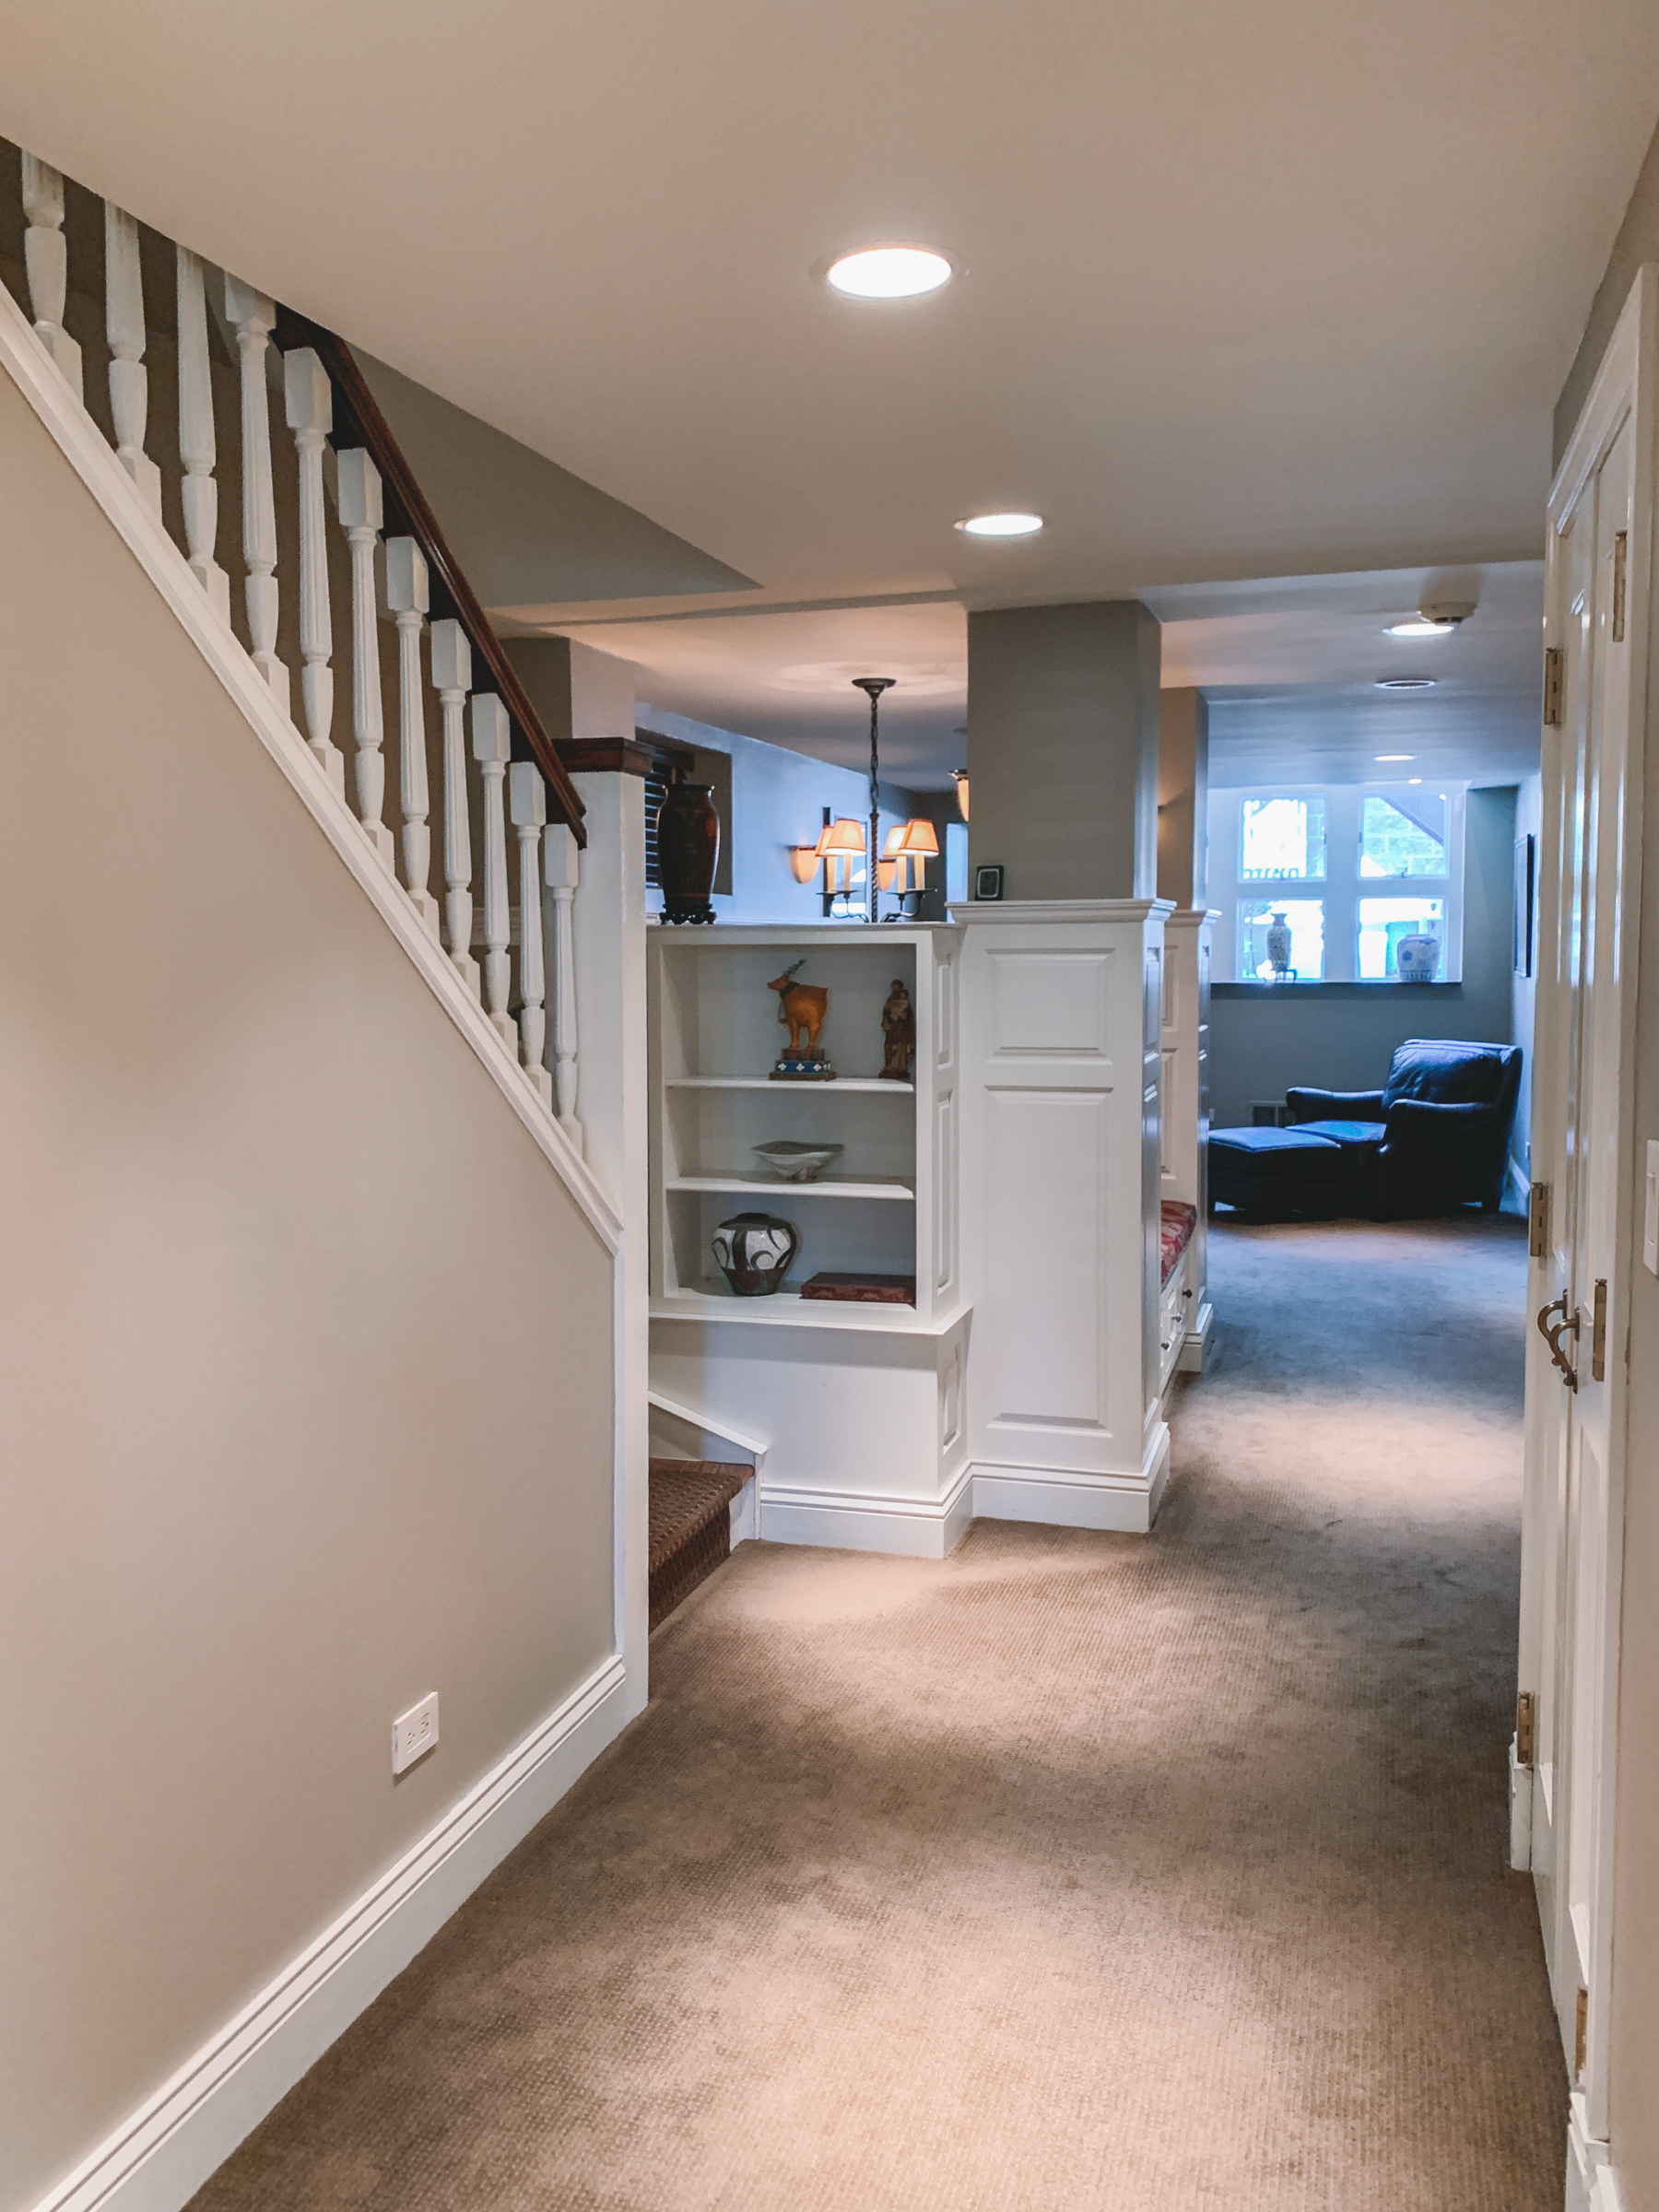
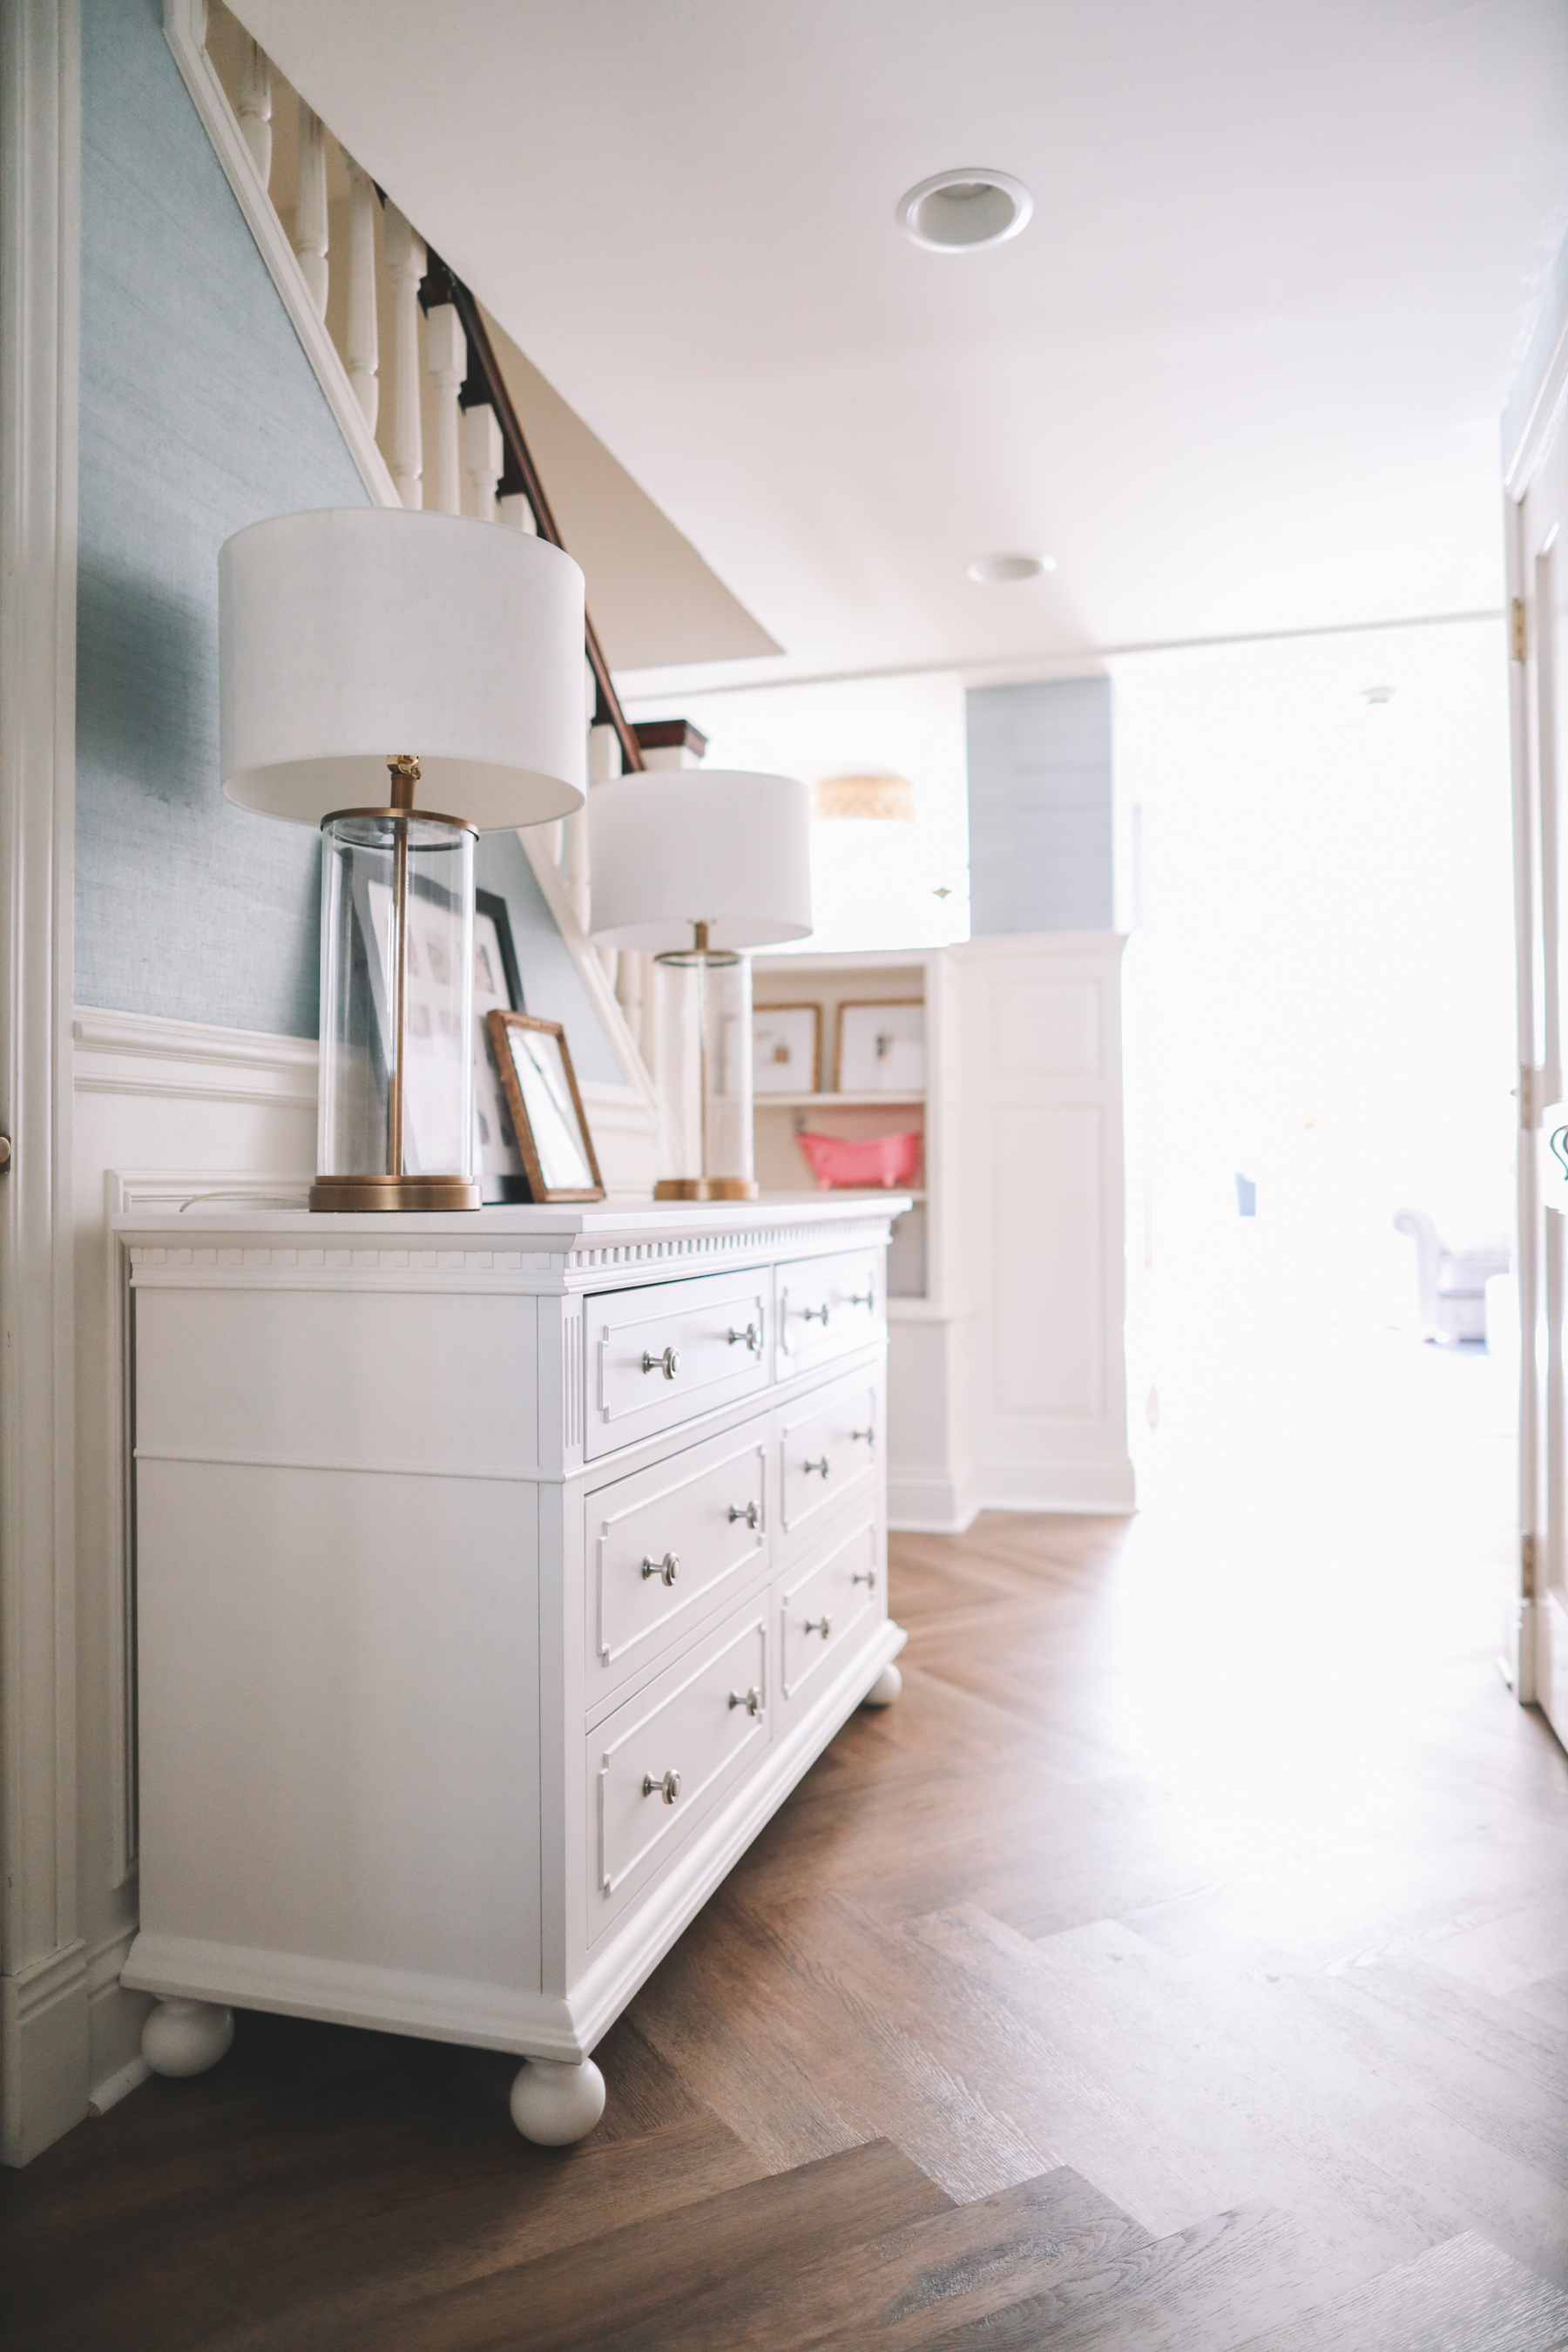
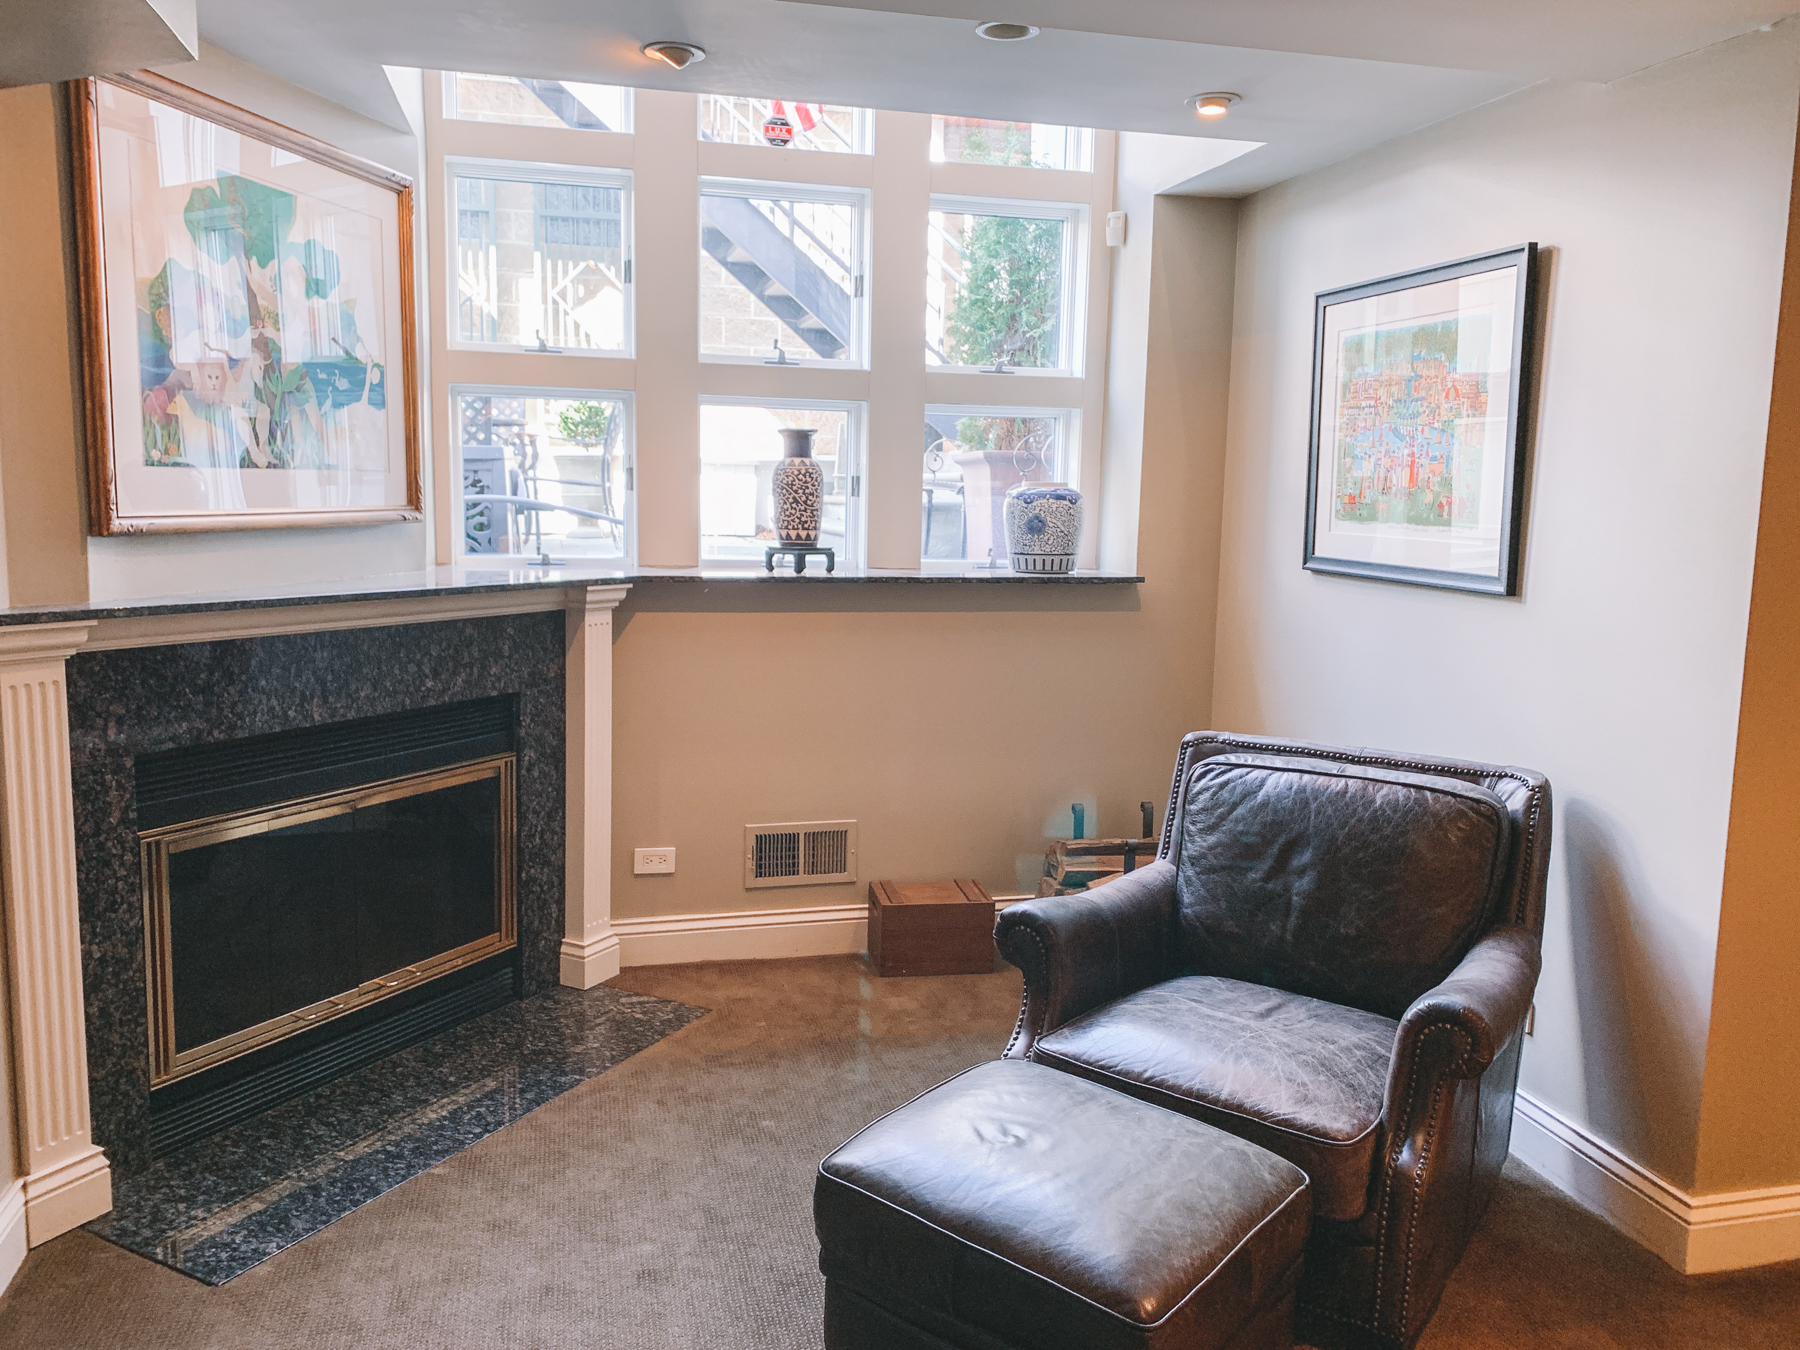
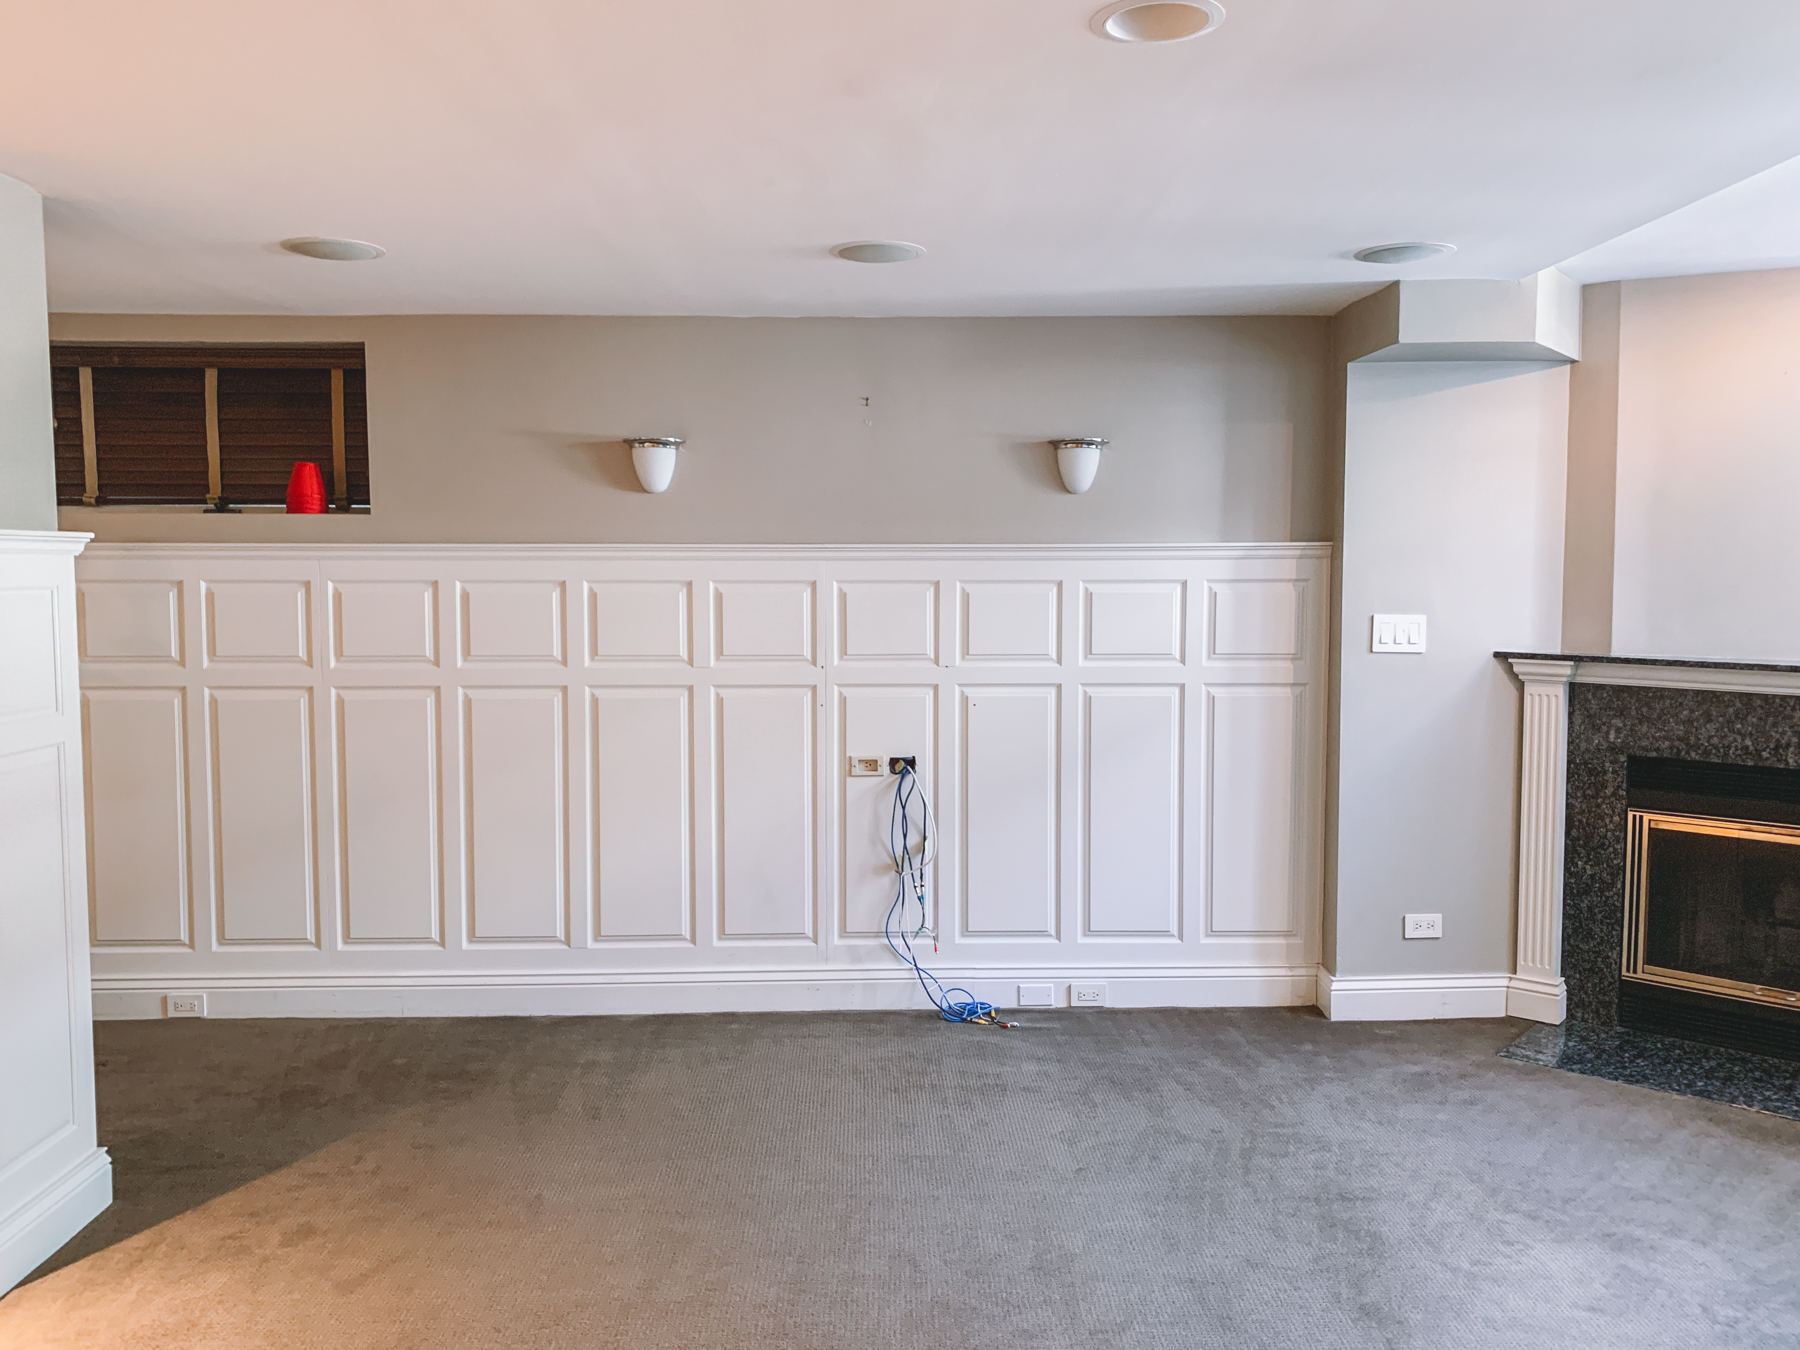
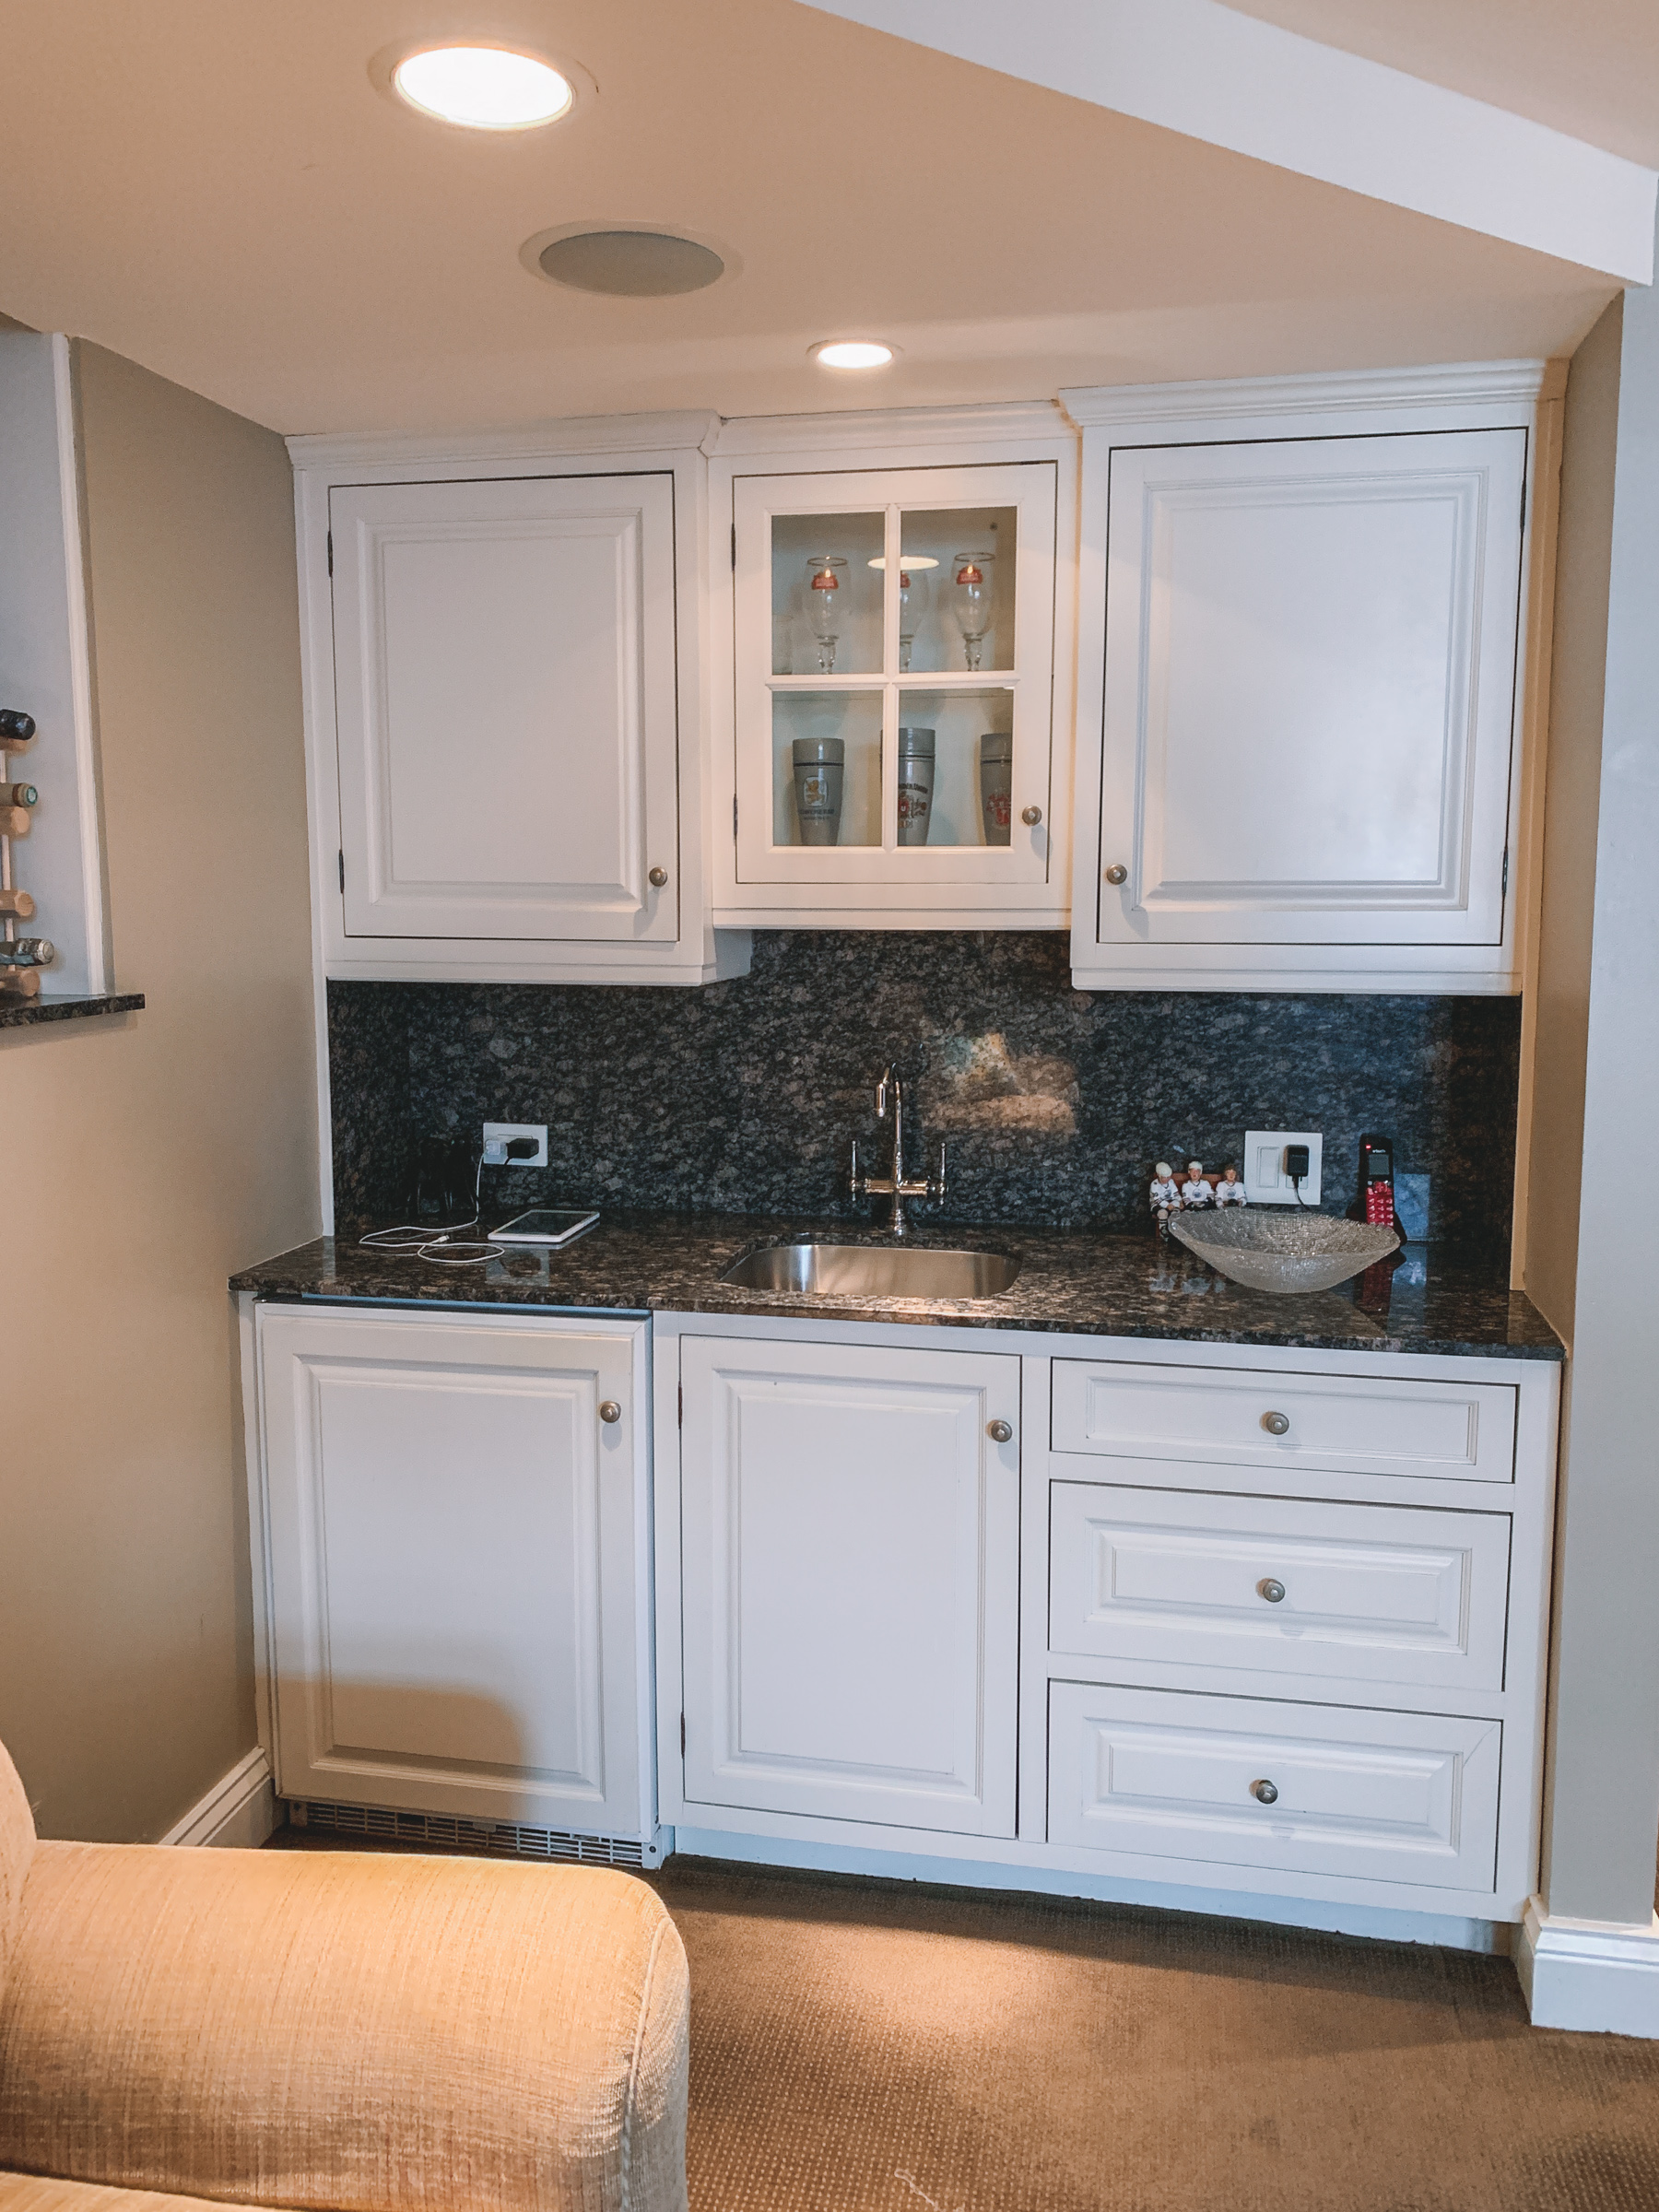
Before
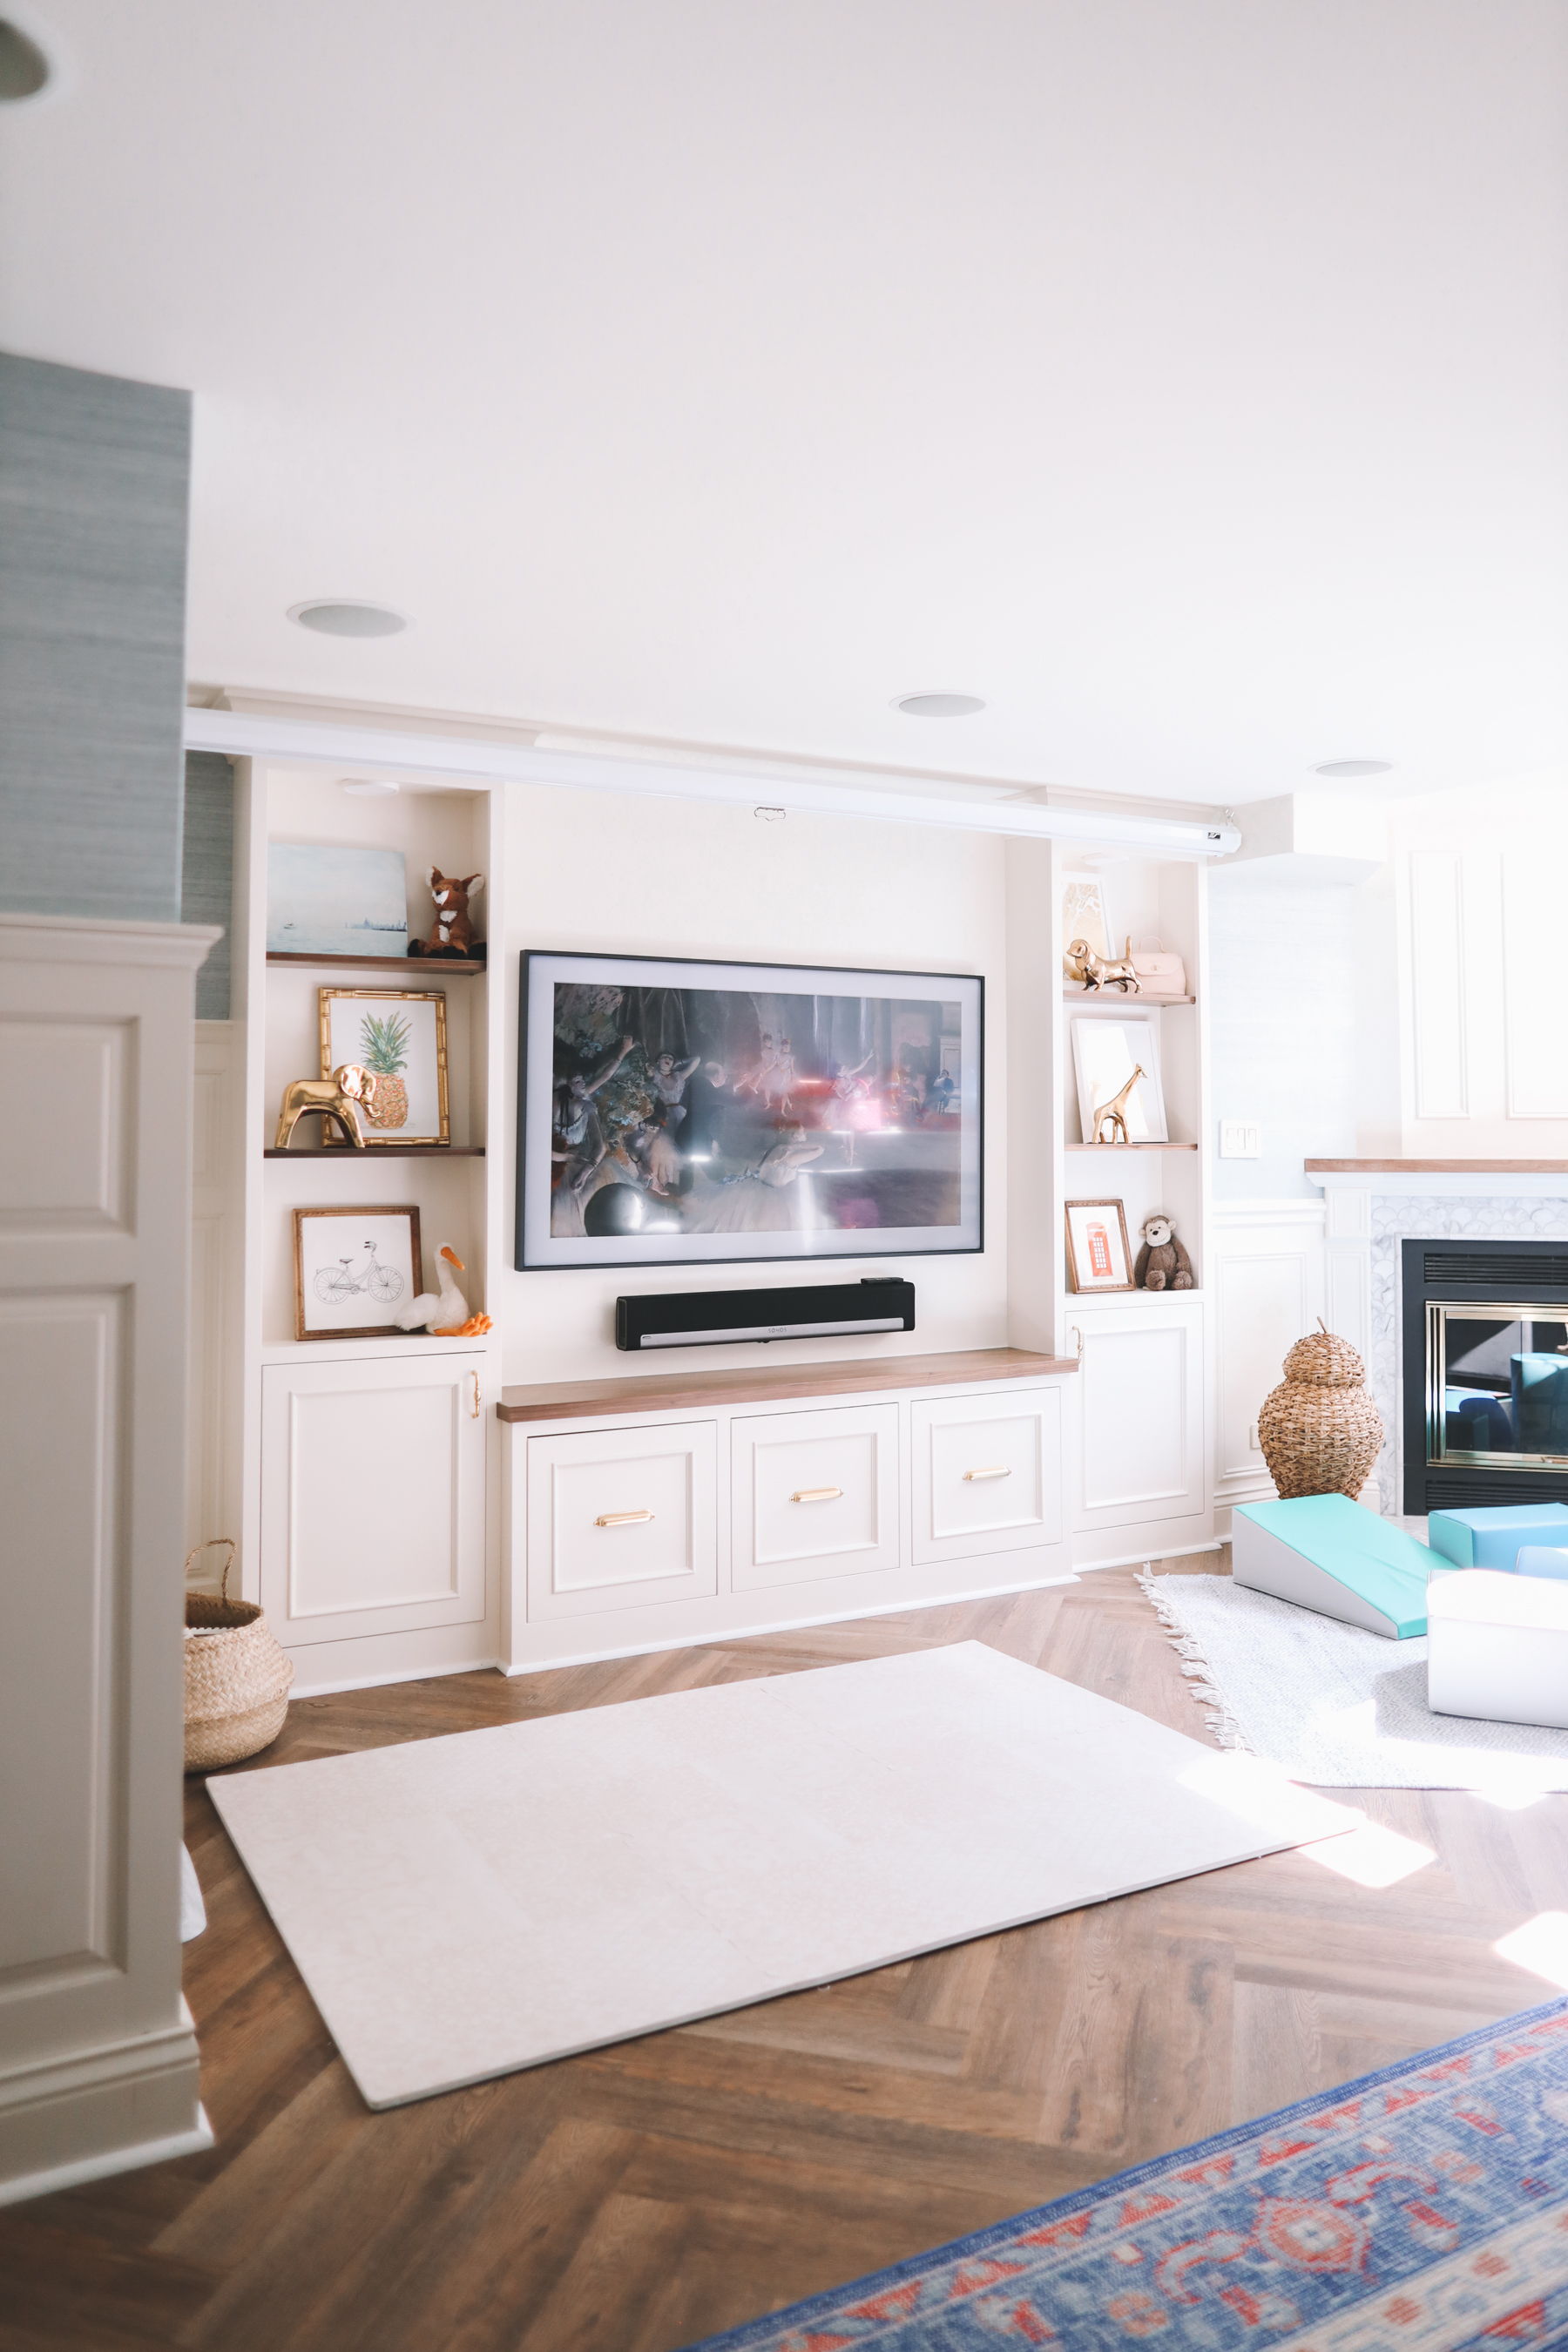
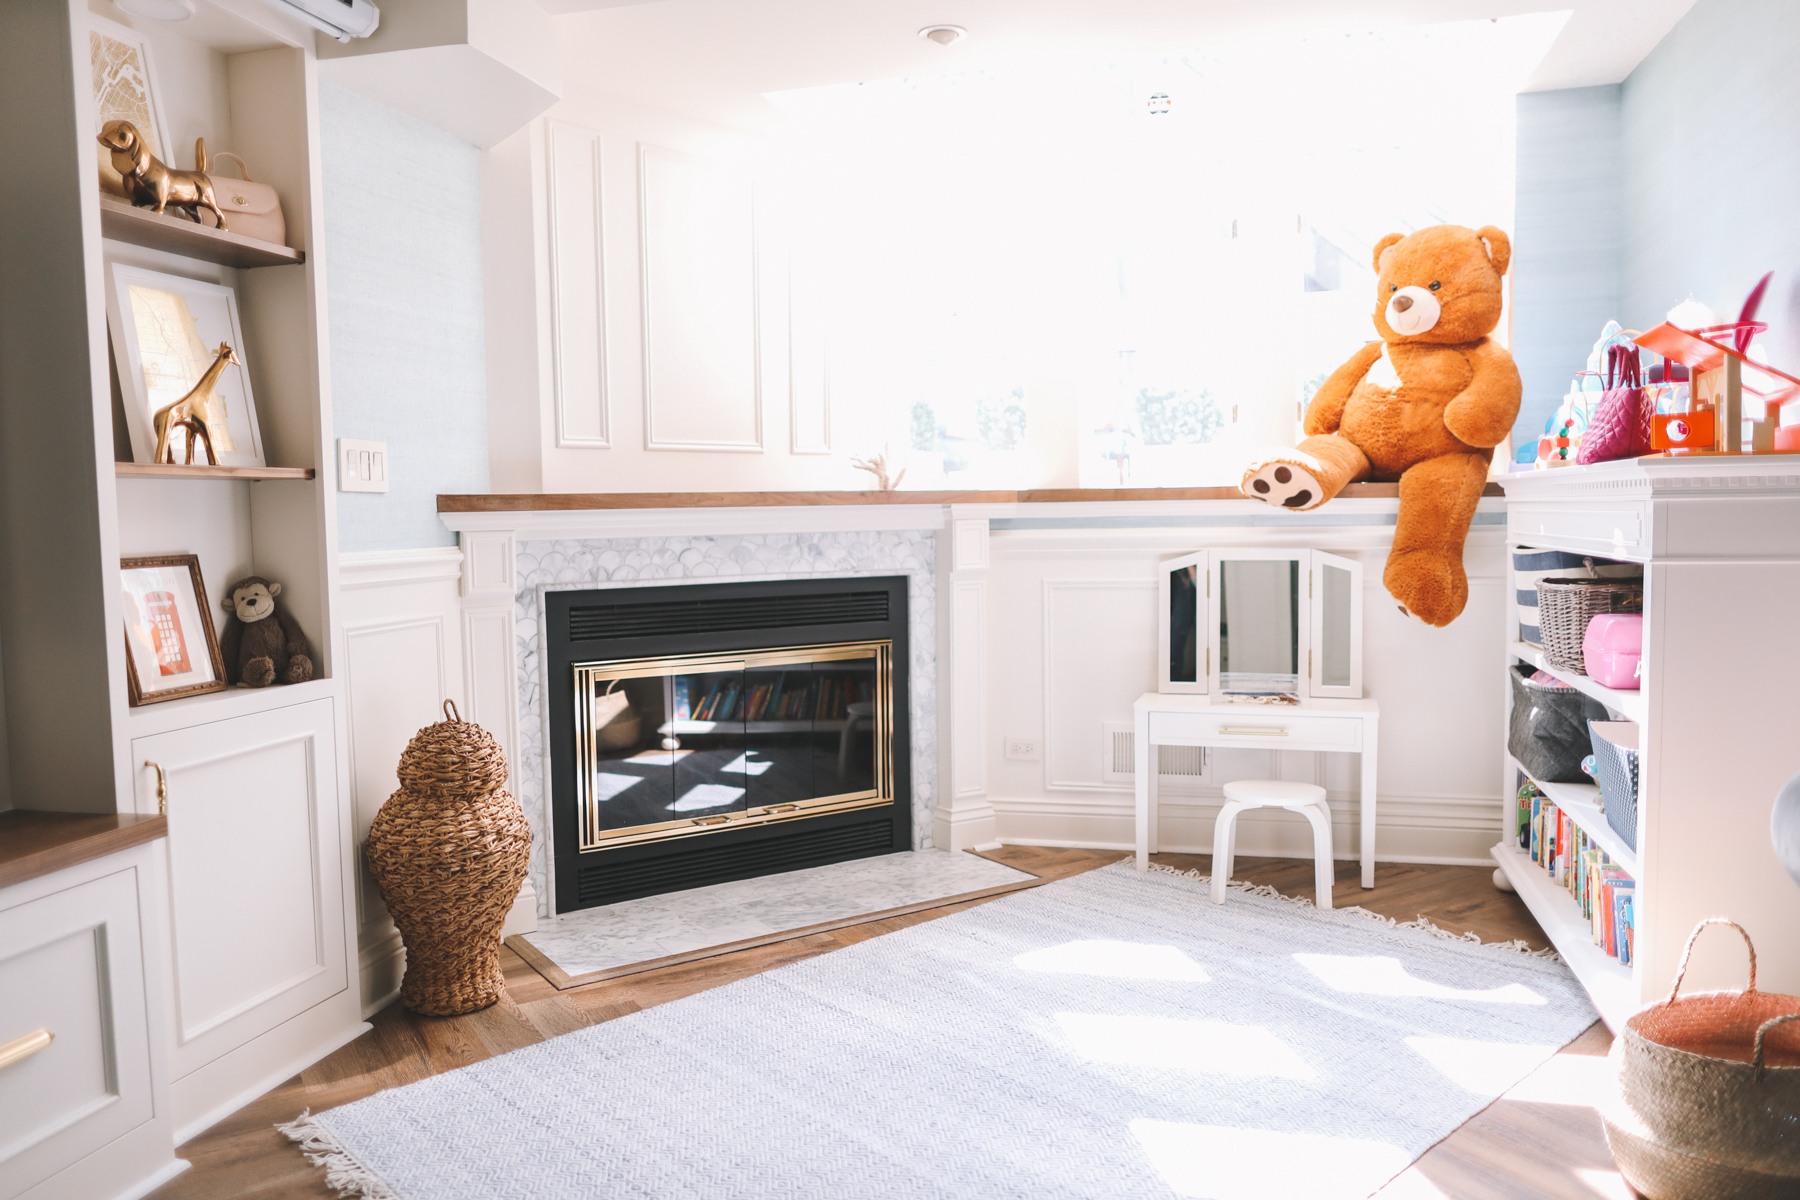
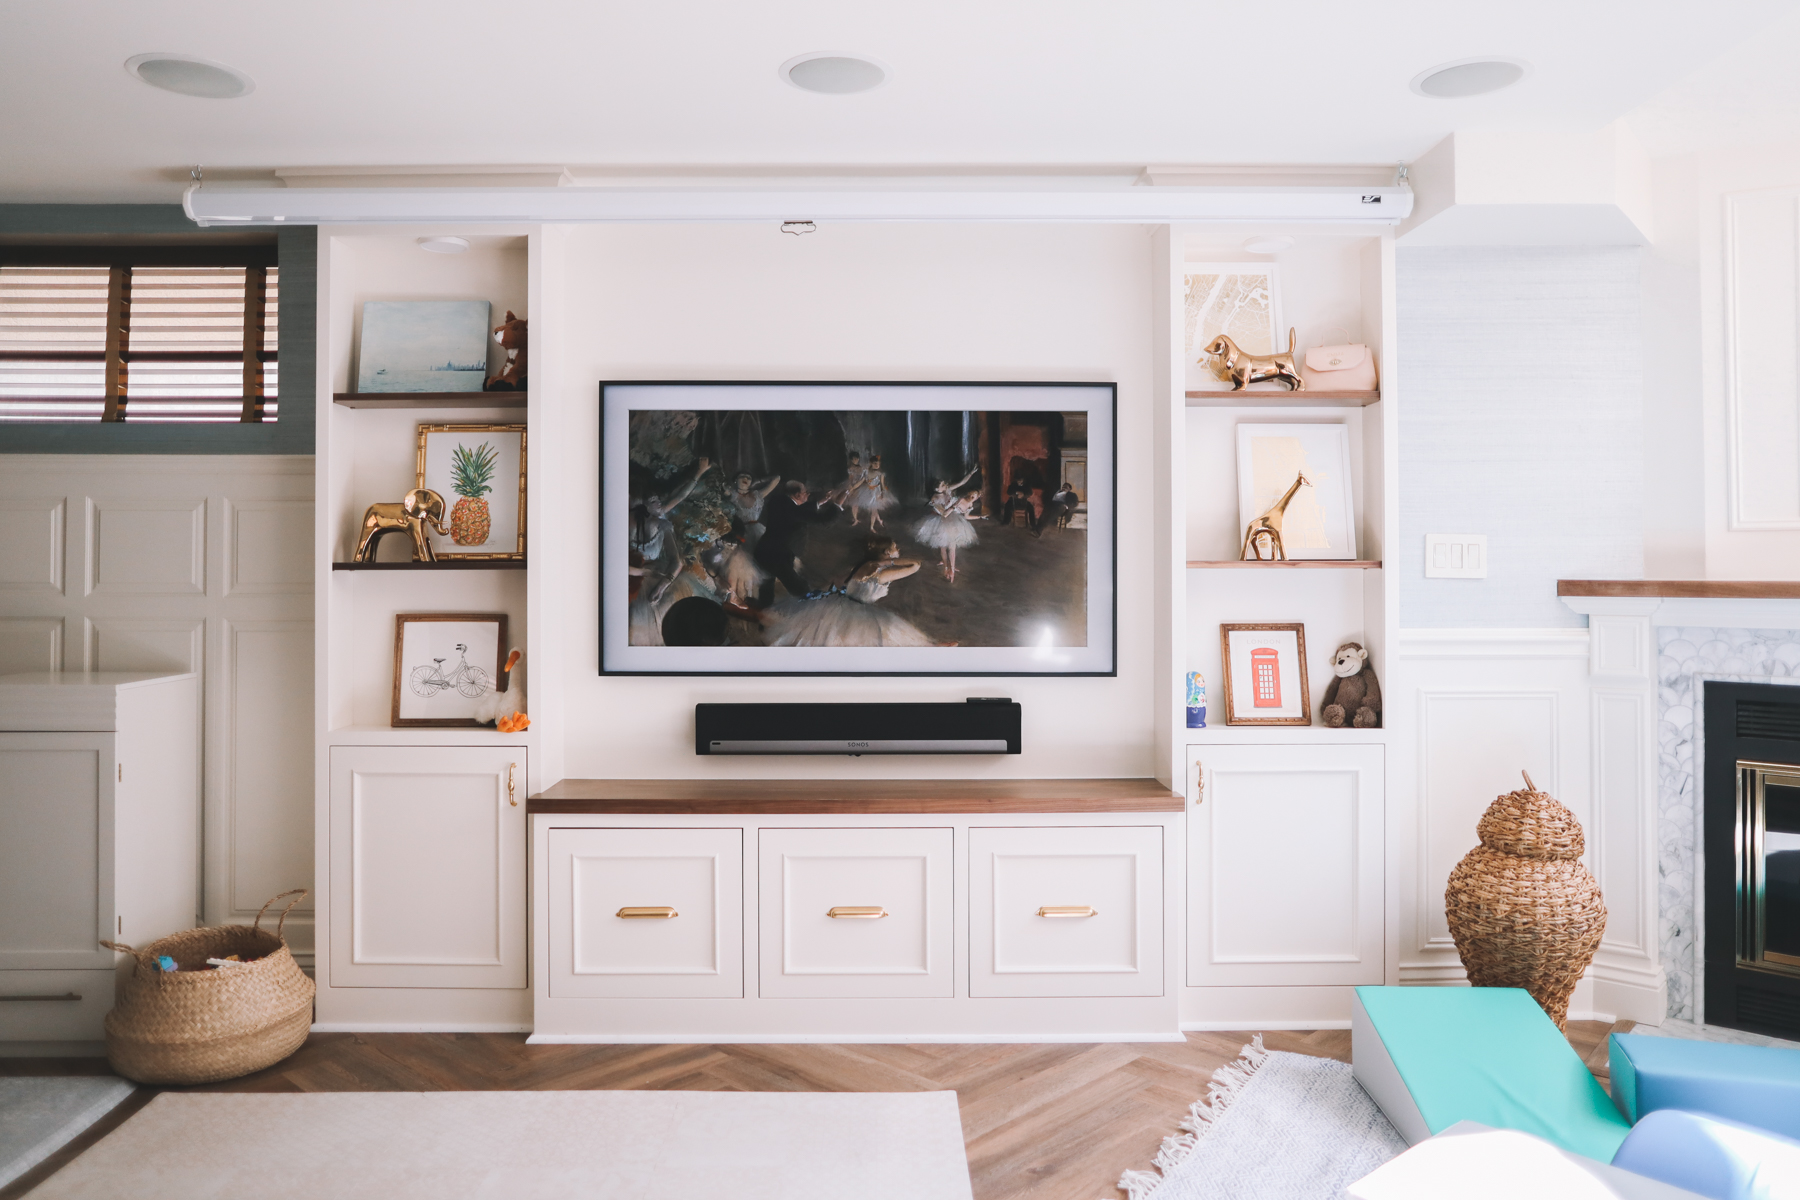
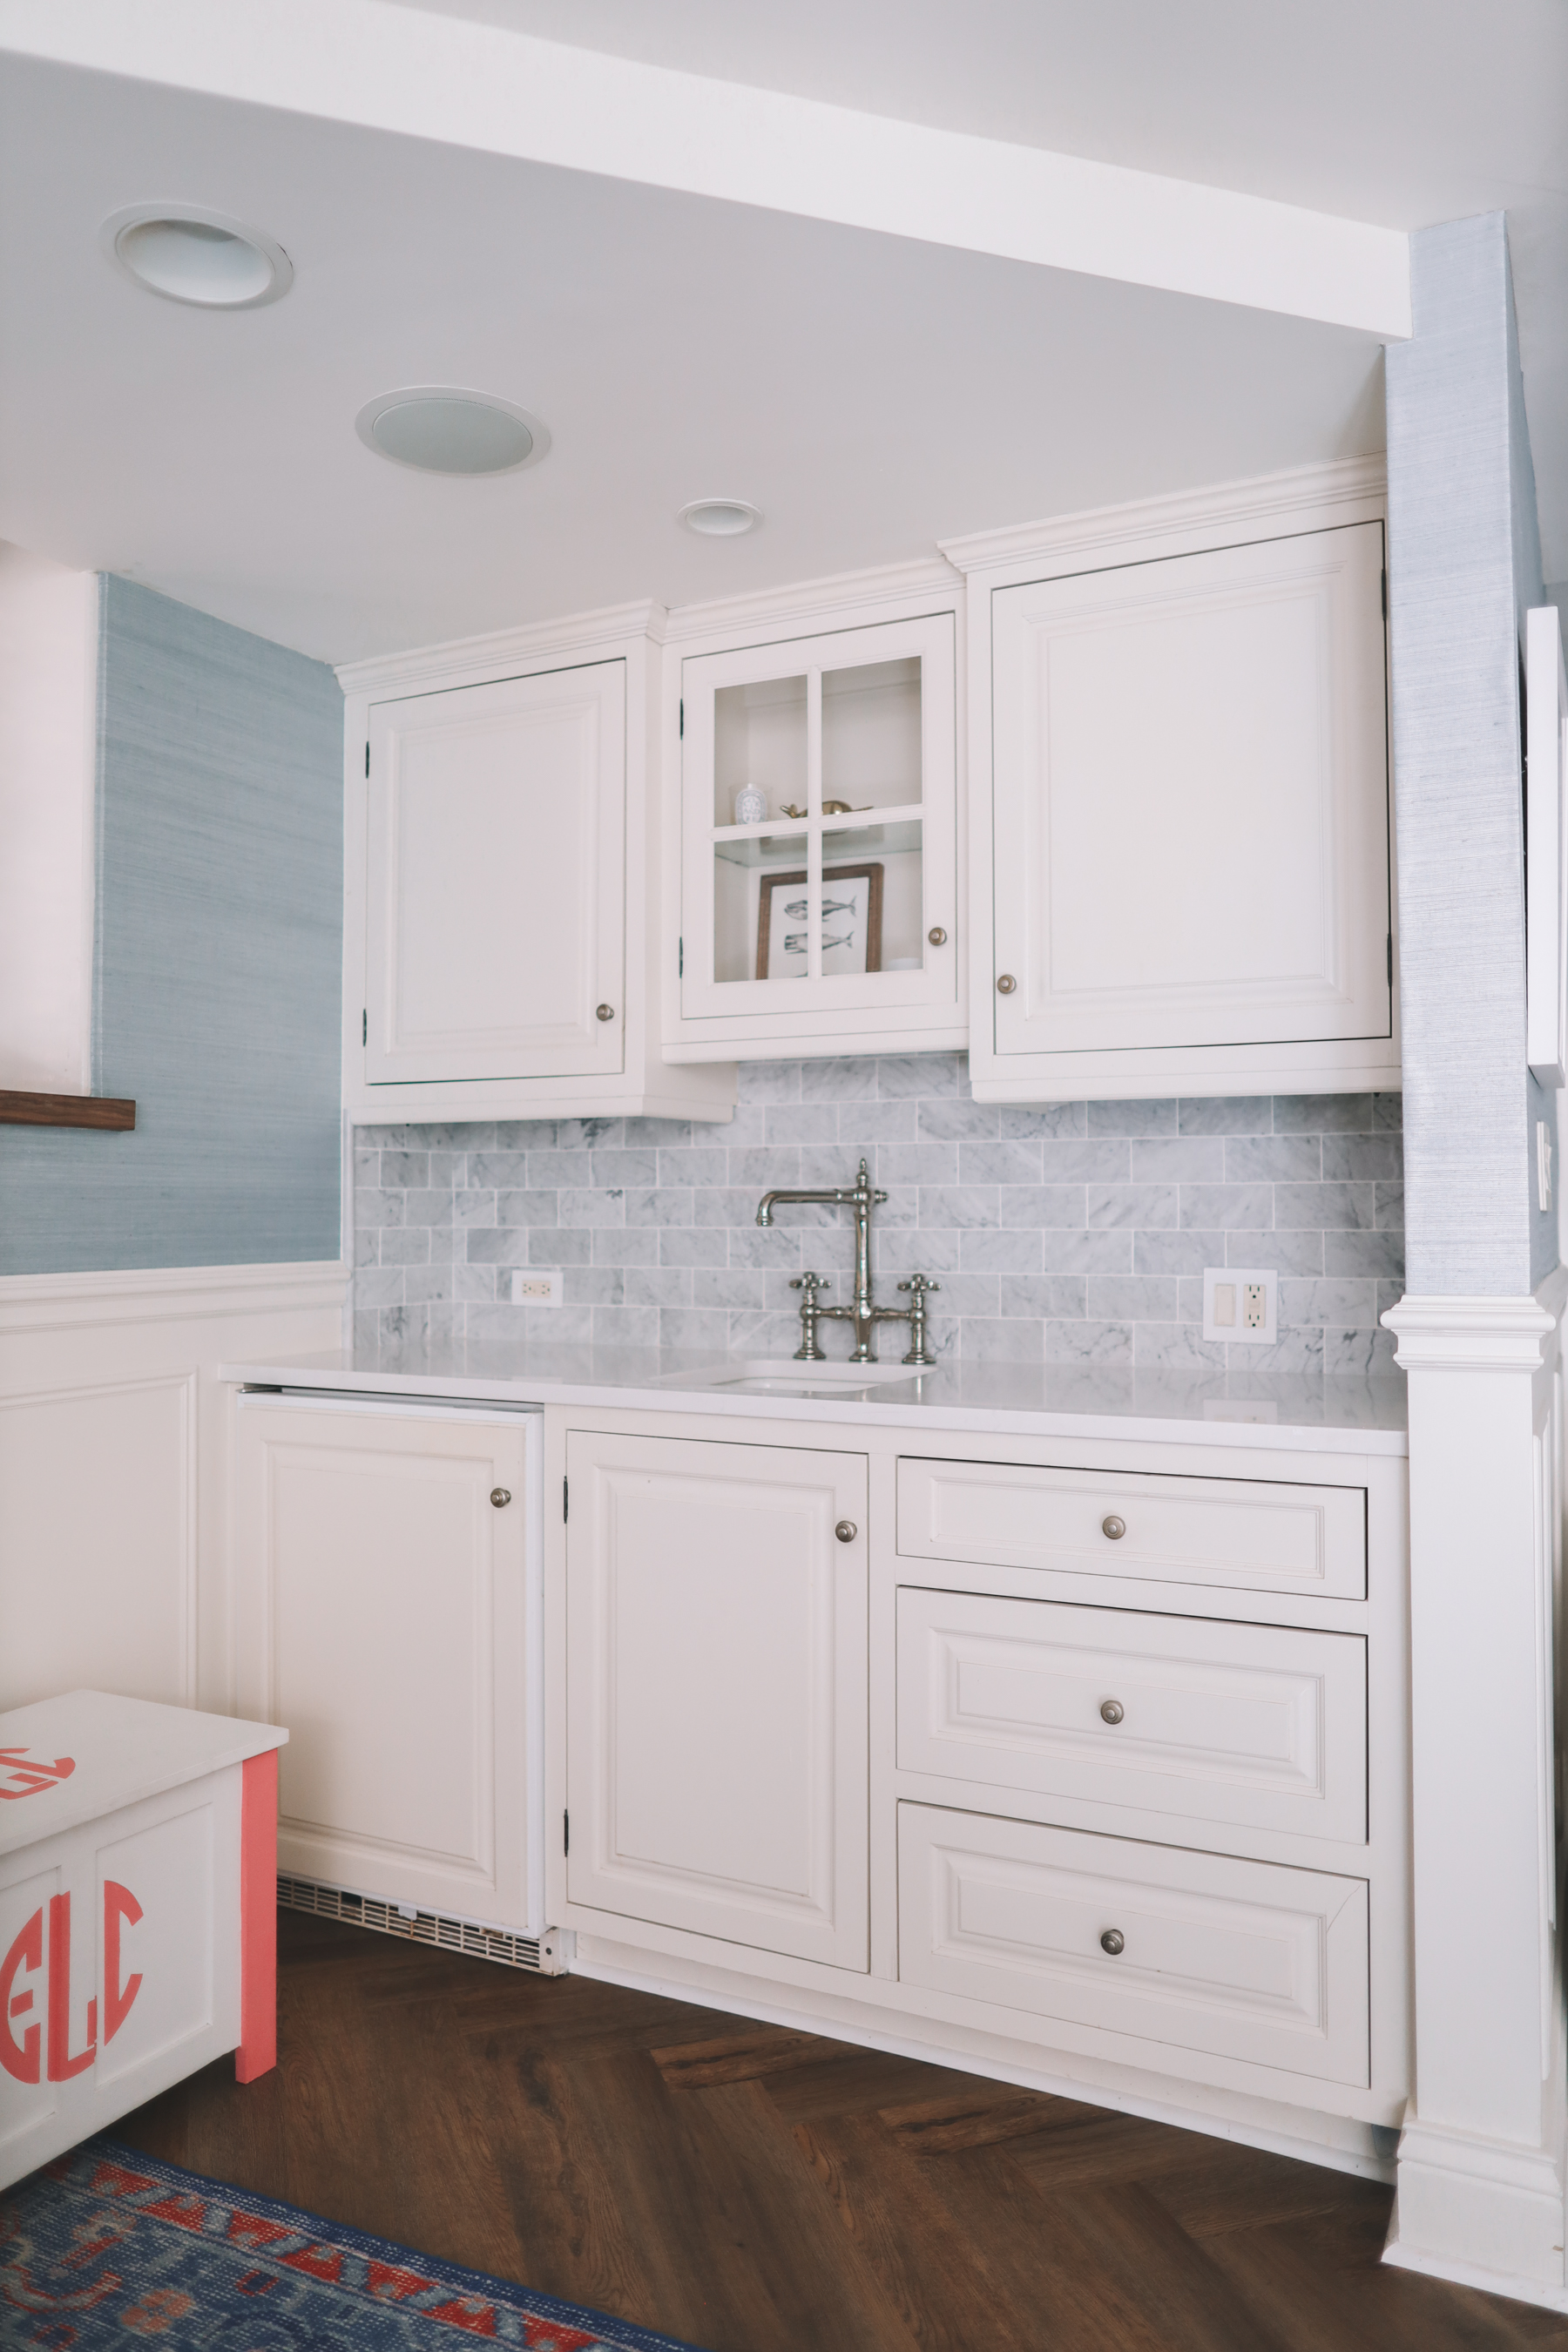
After
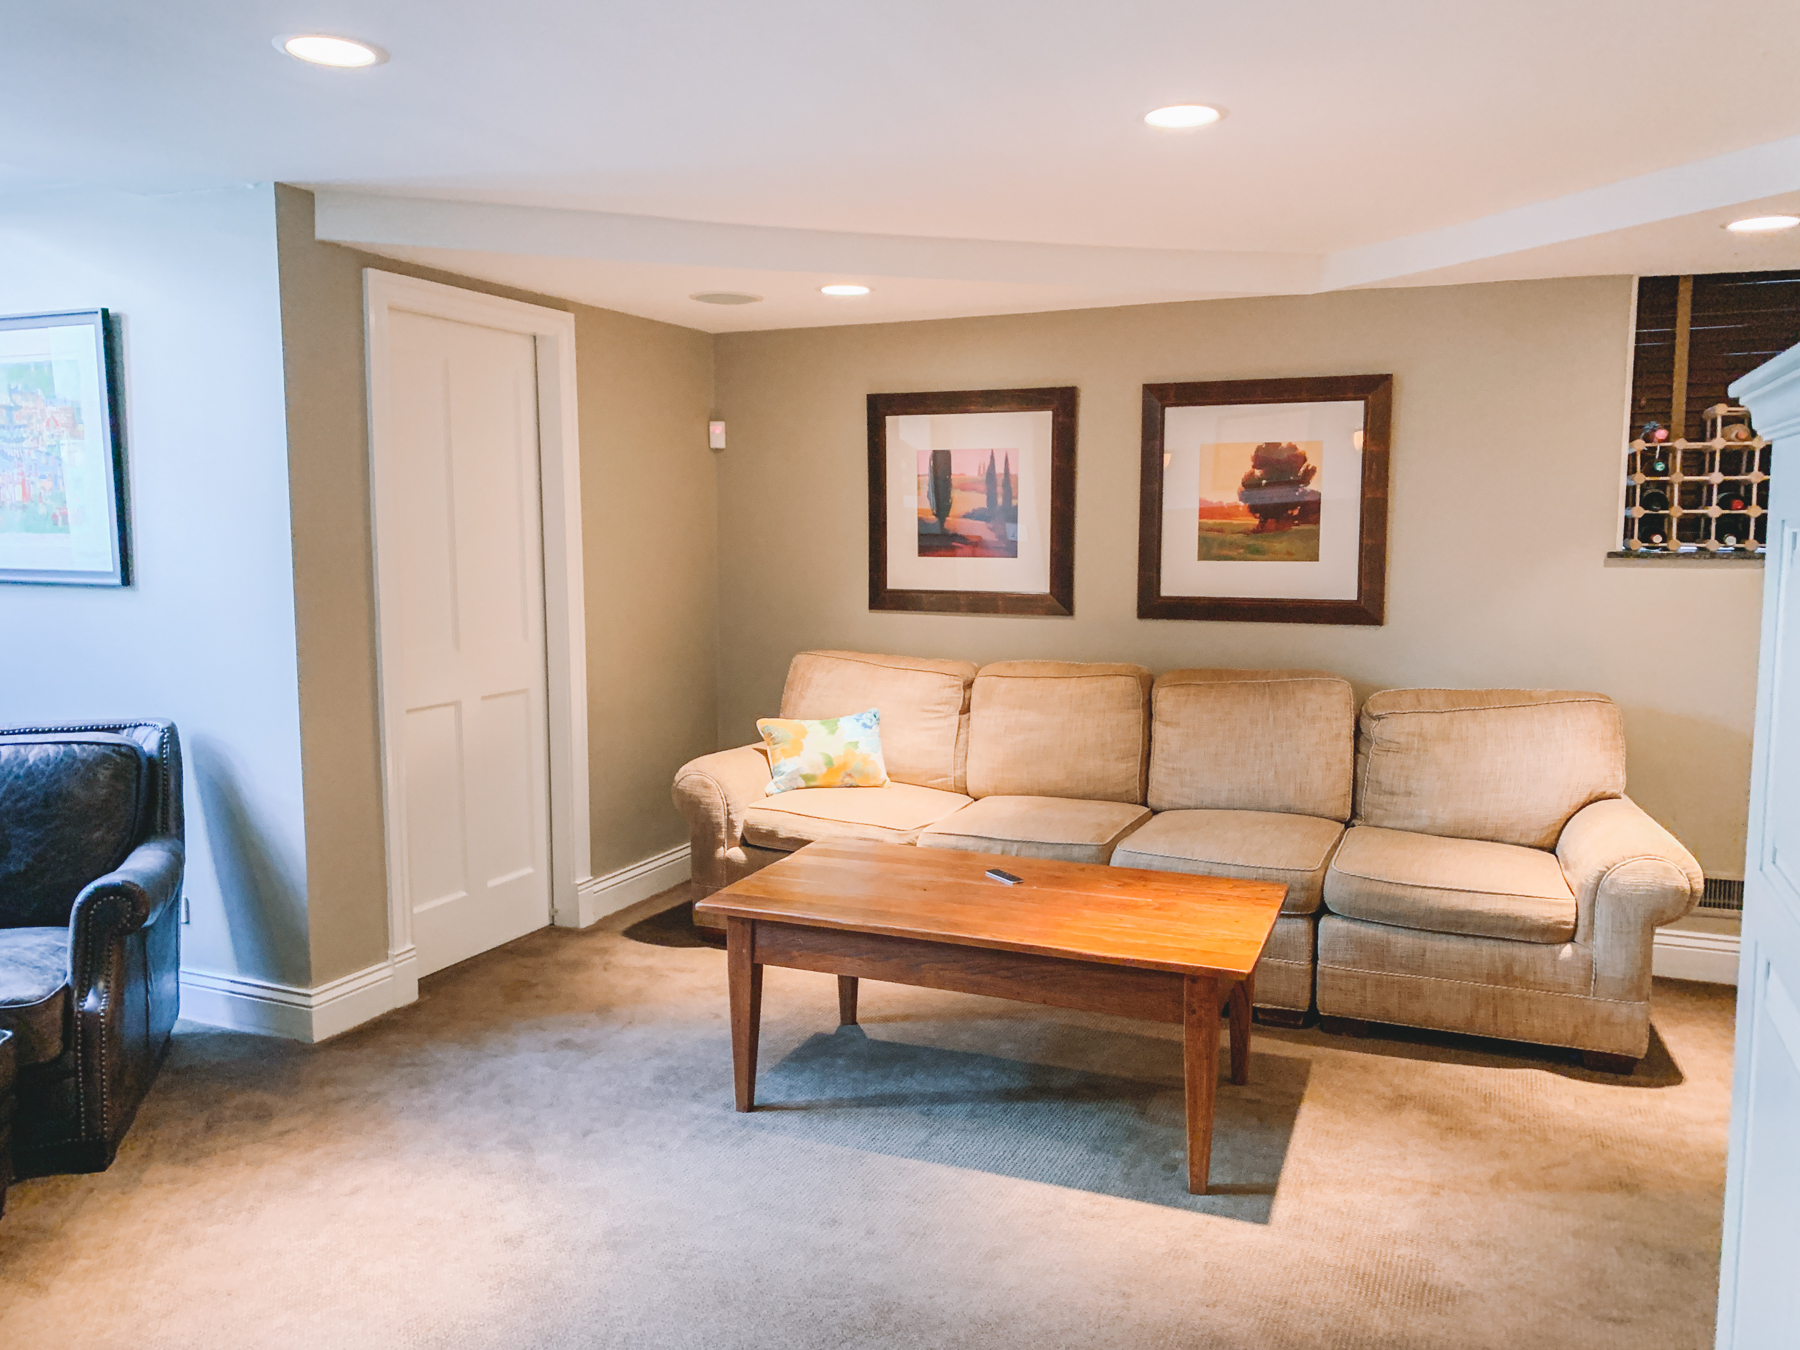
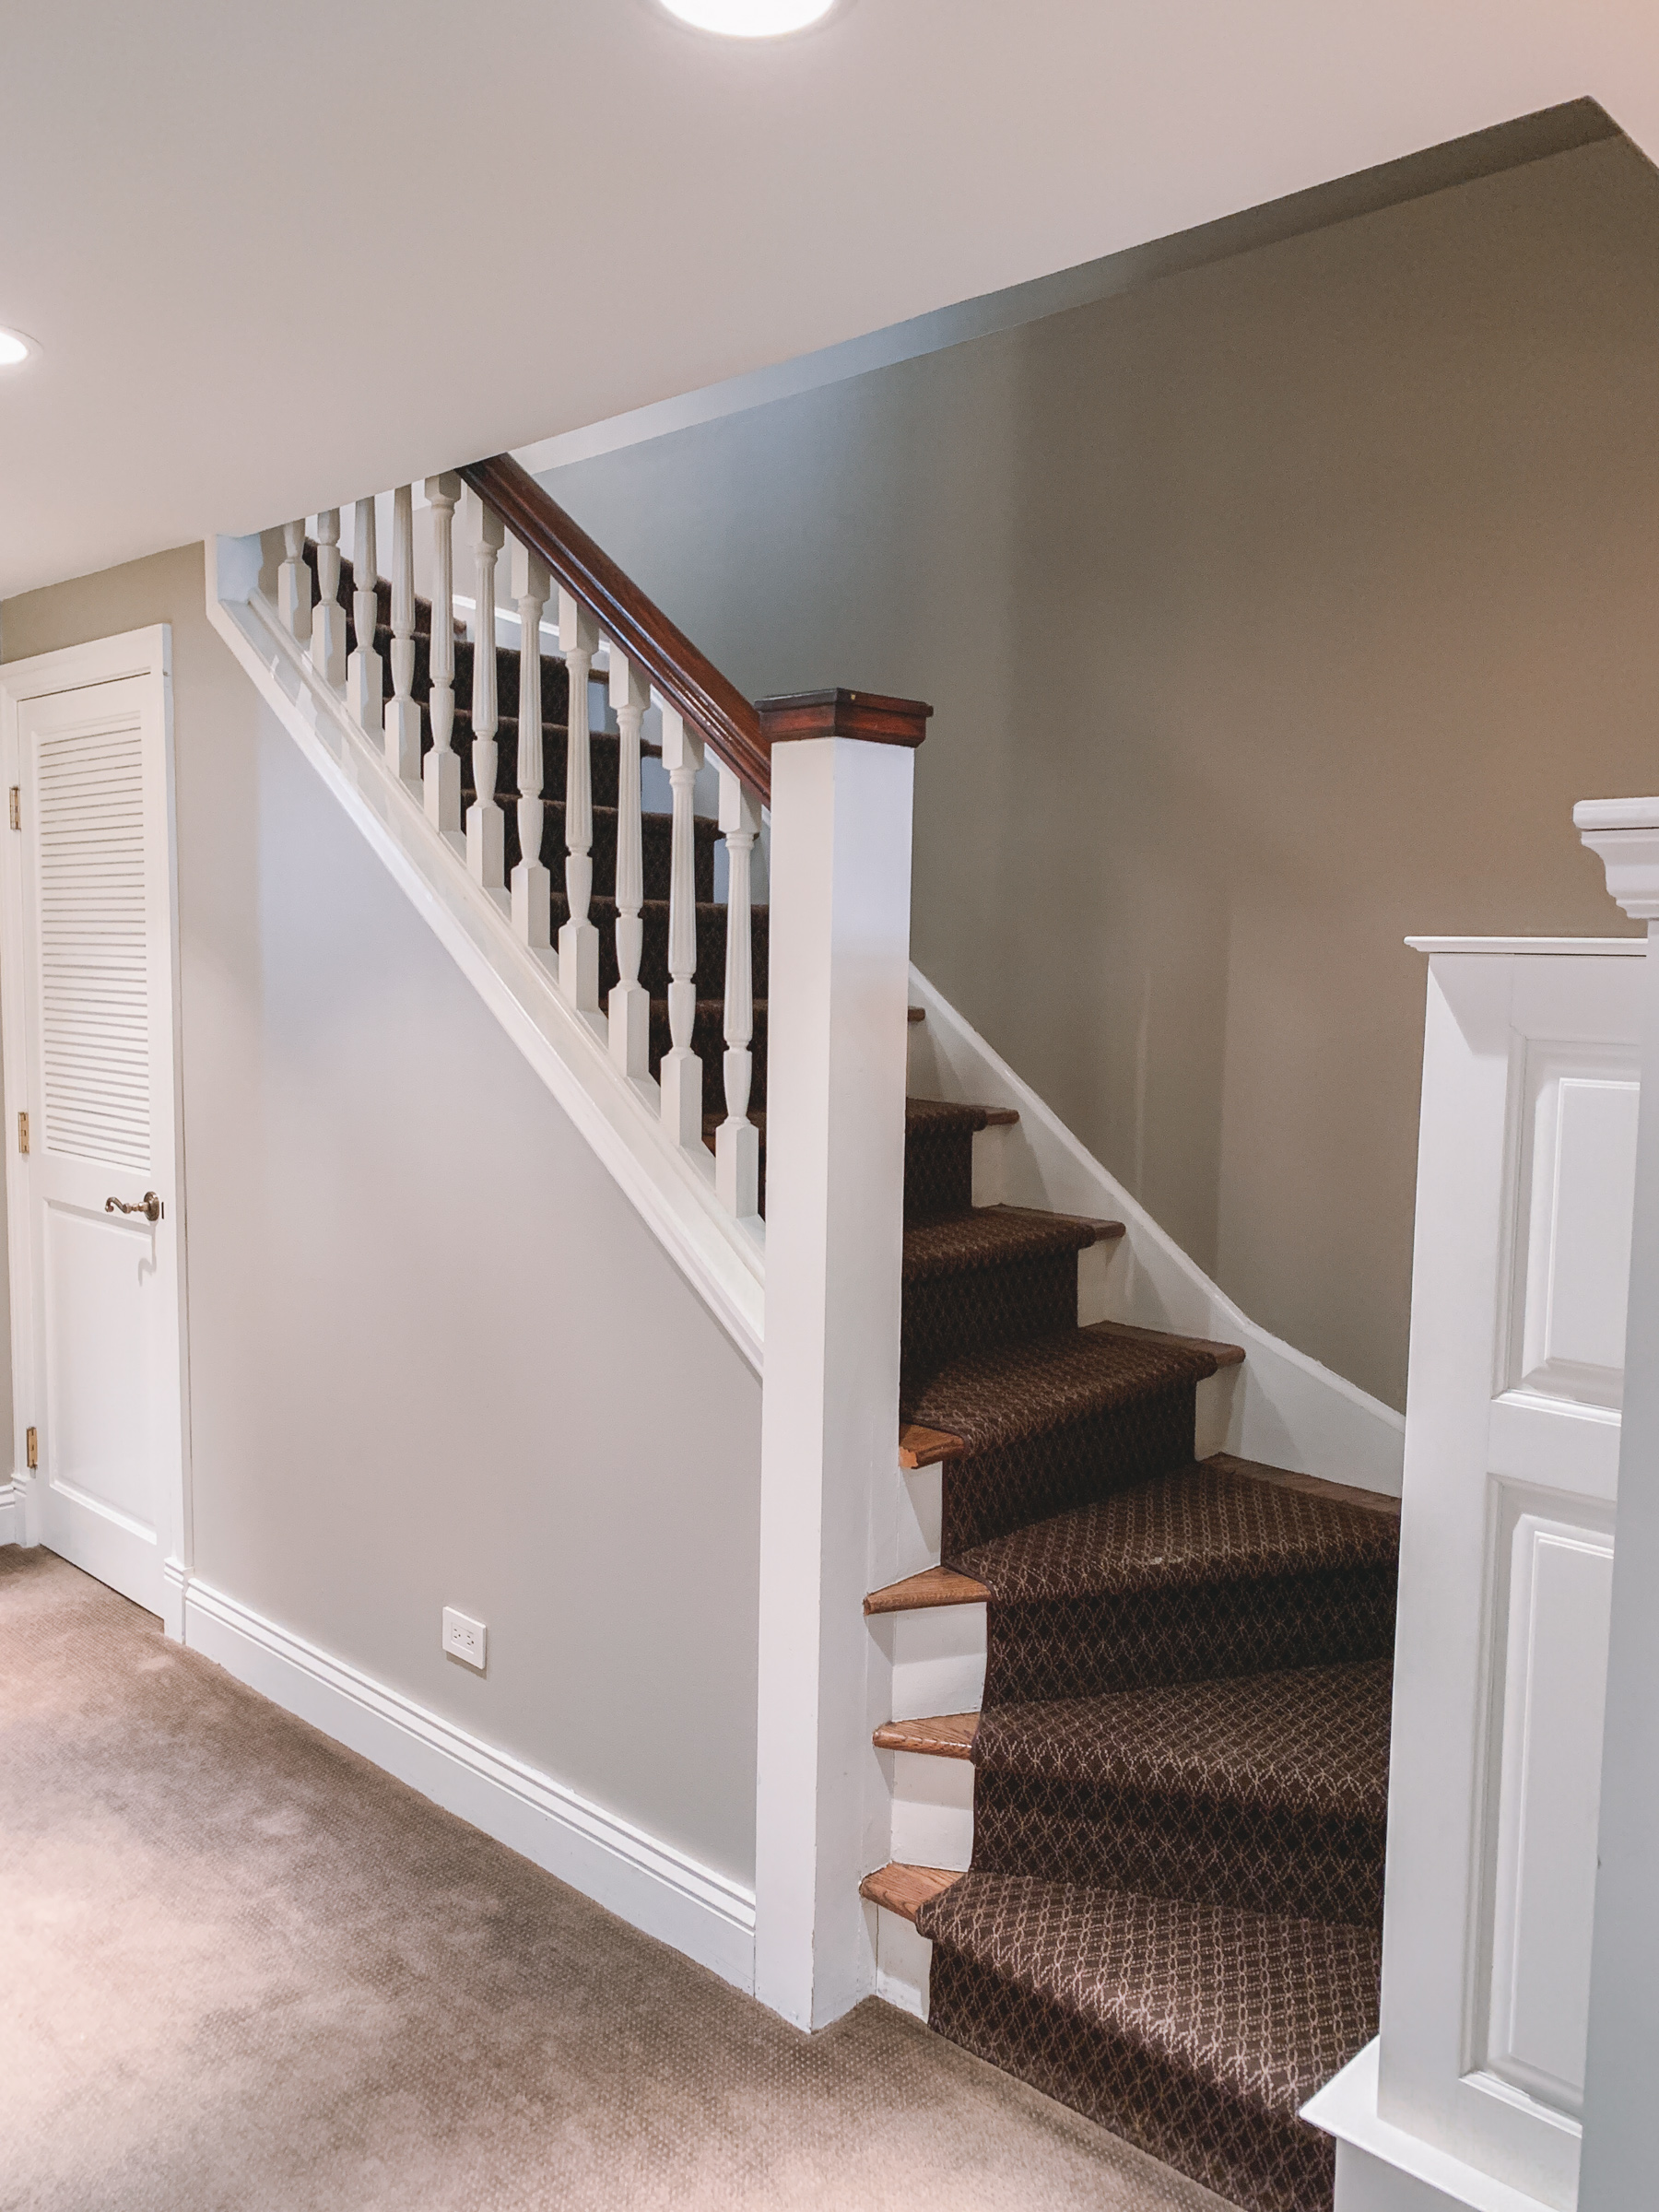
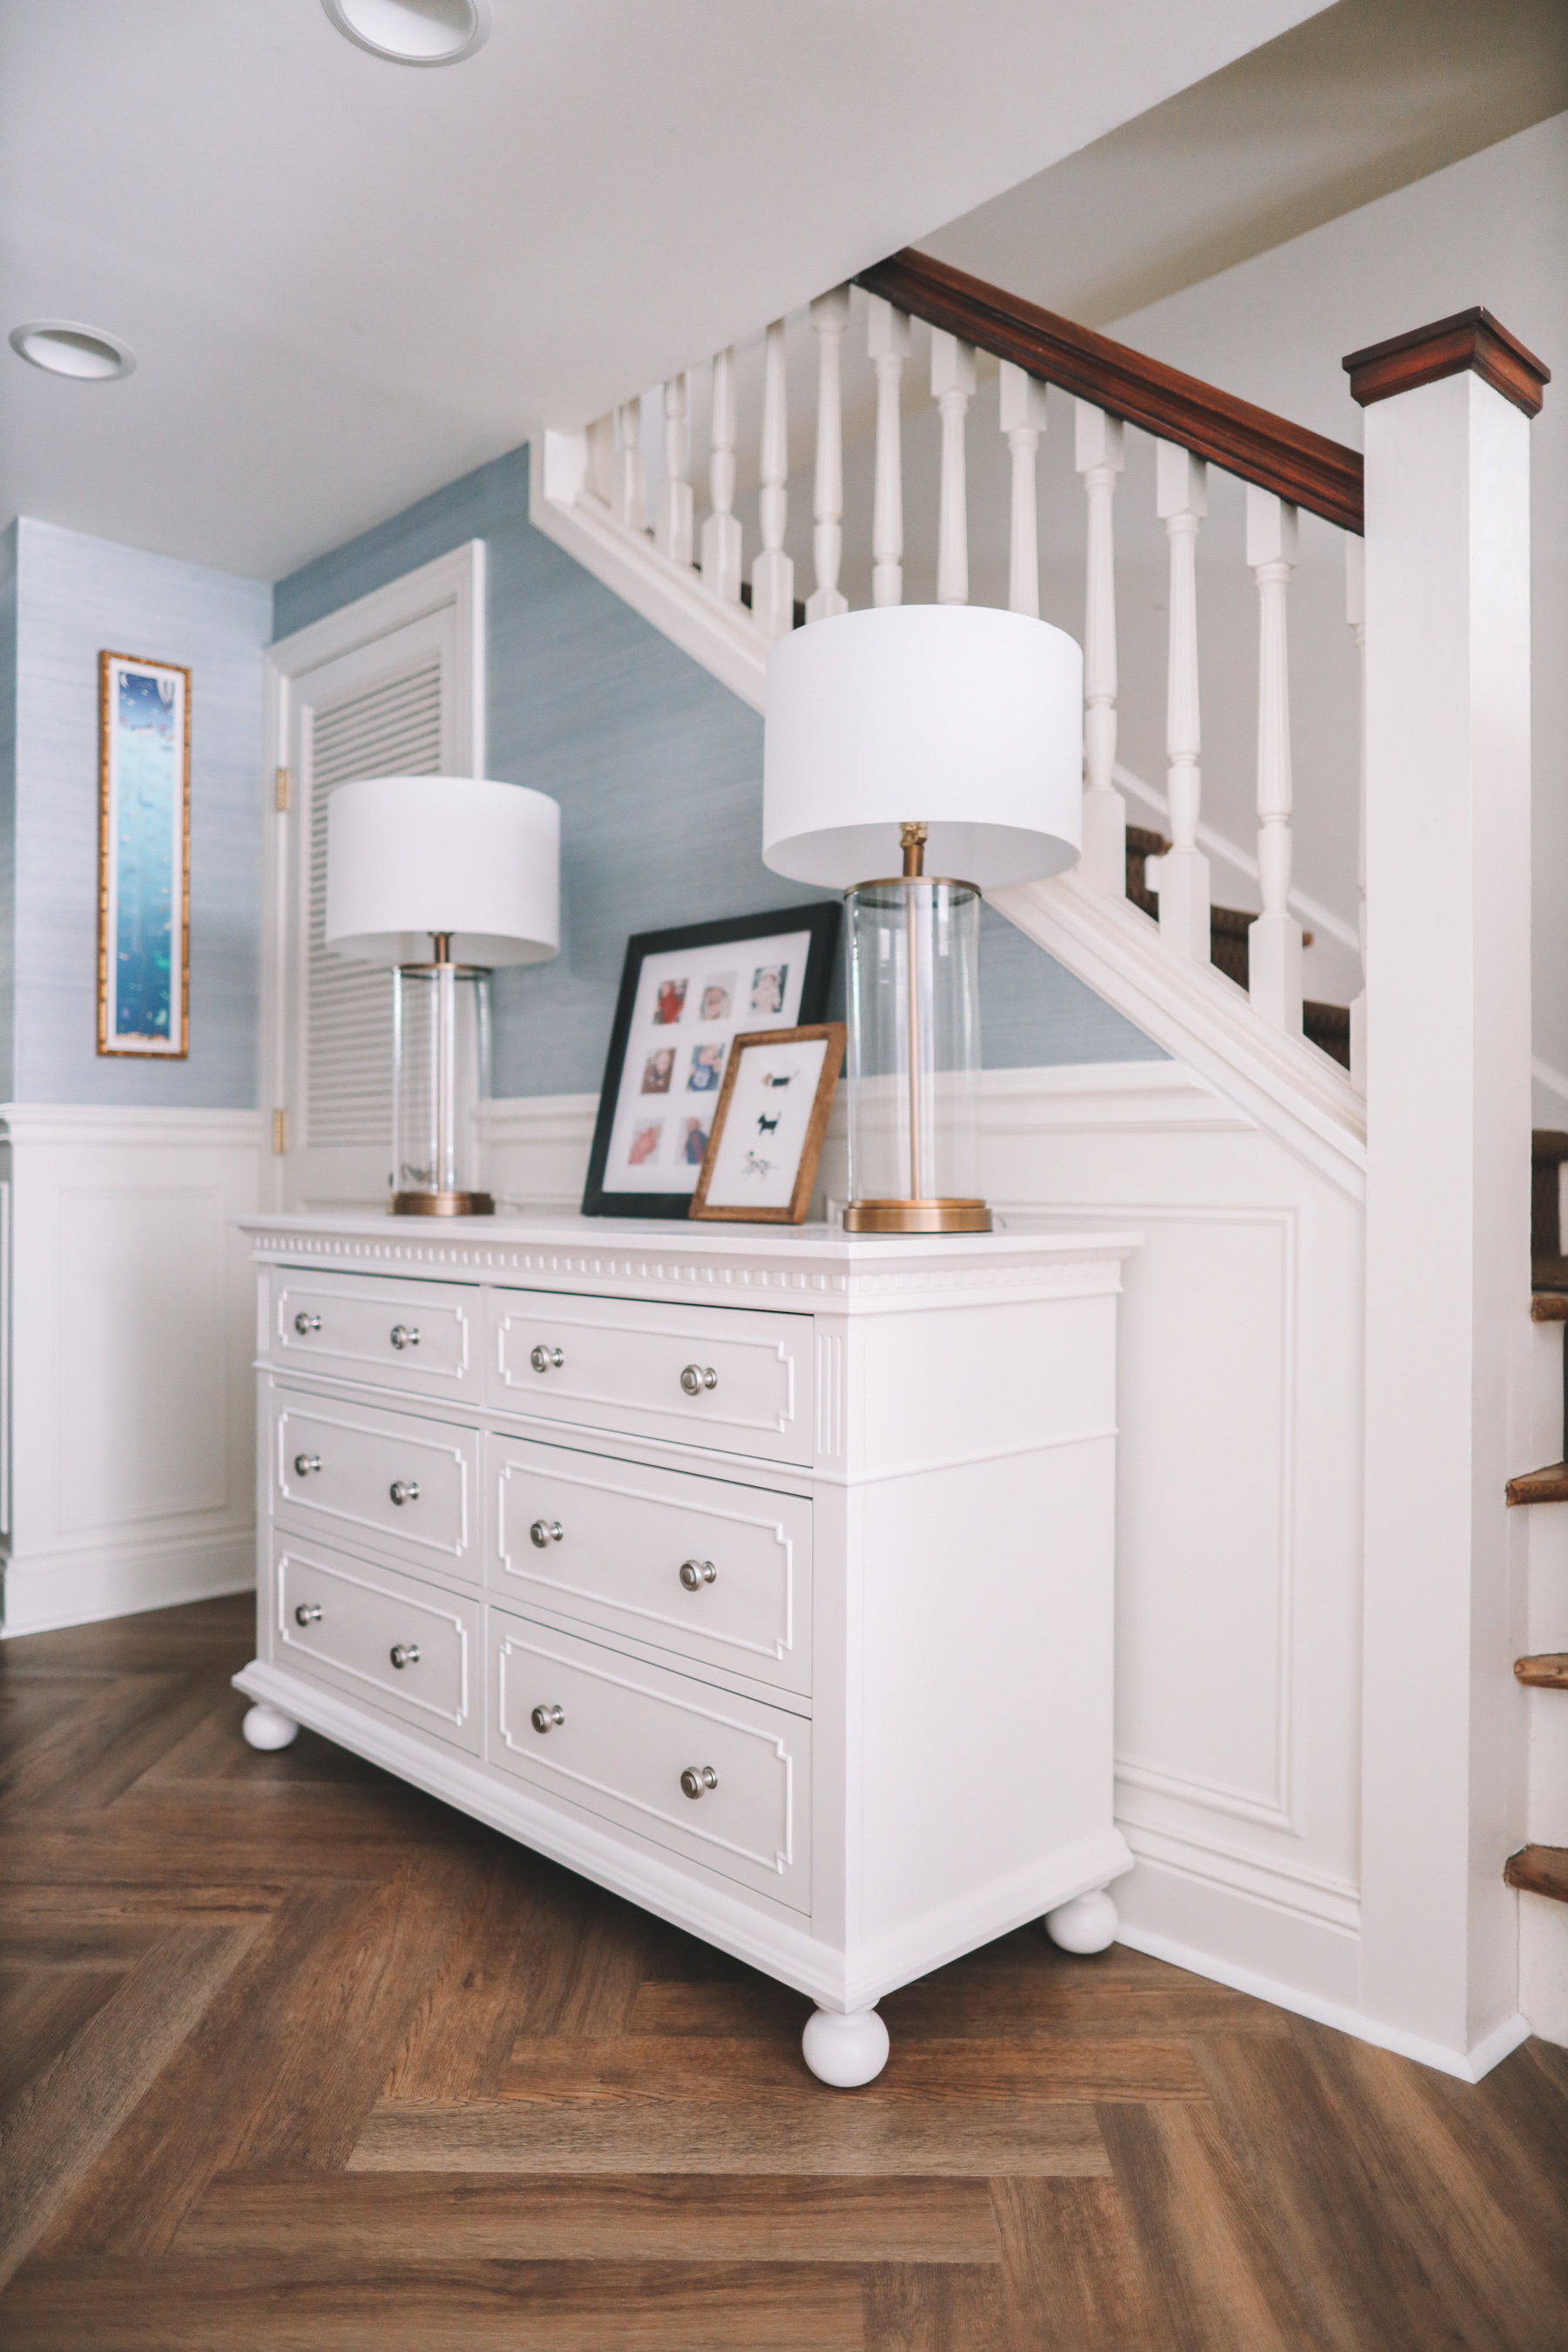
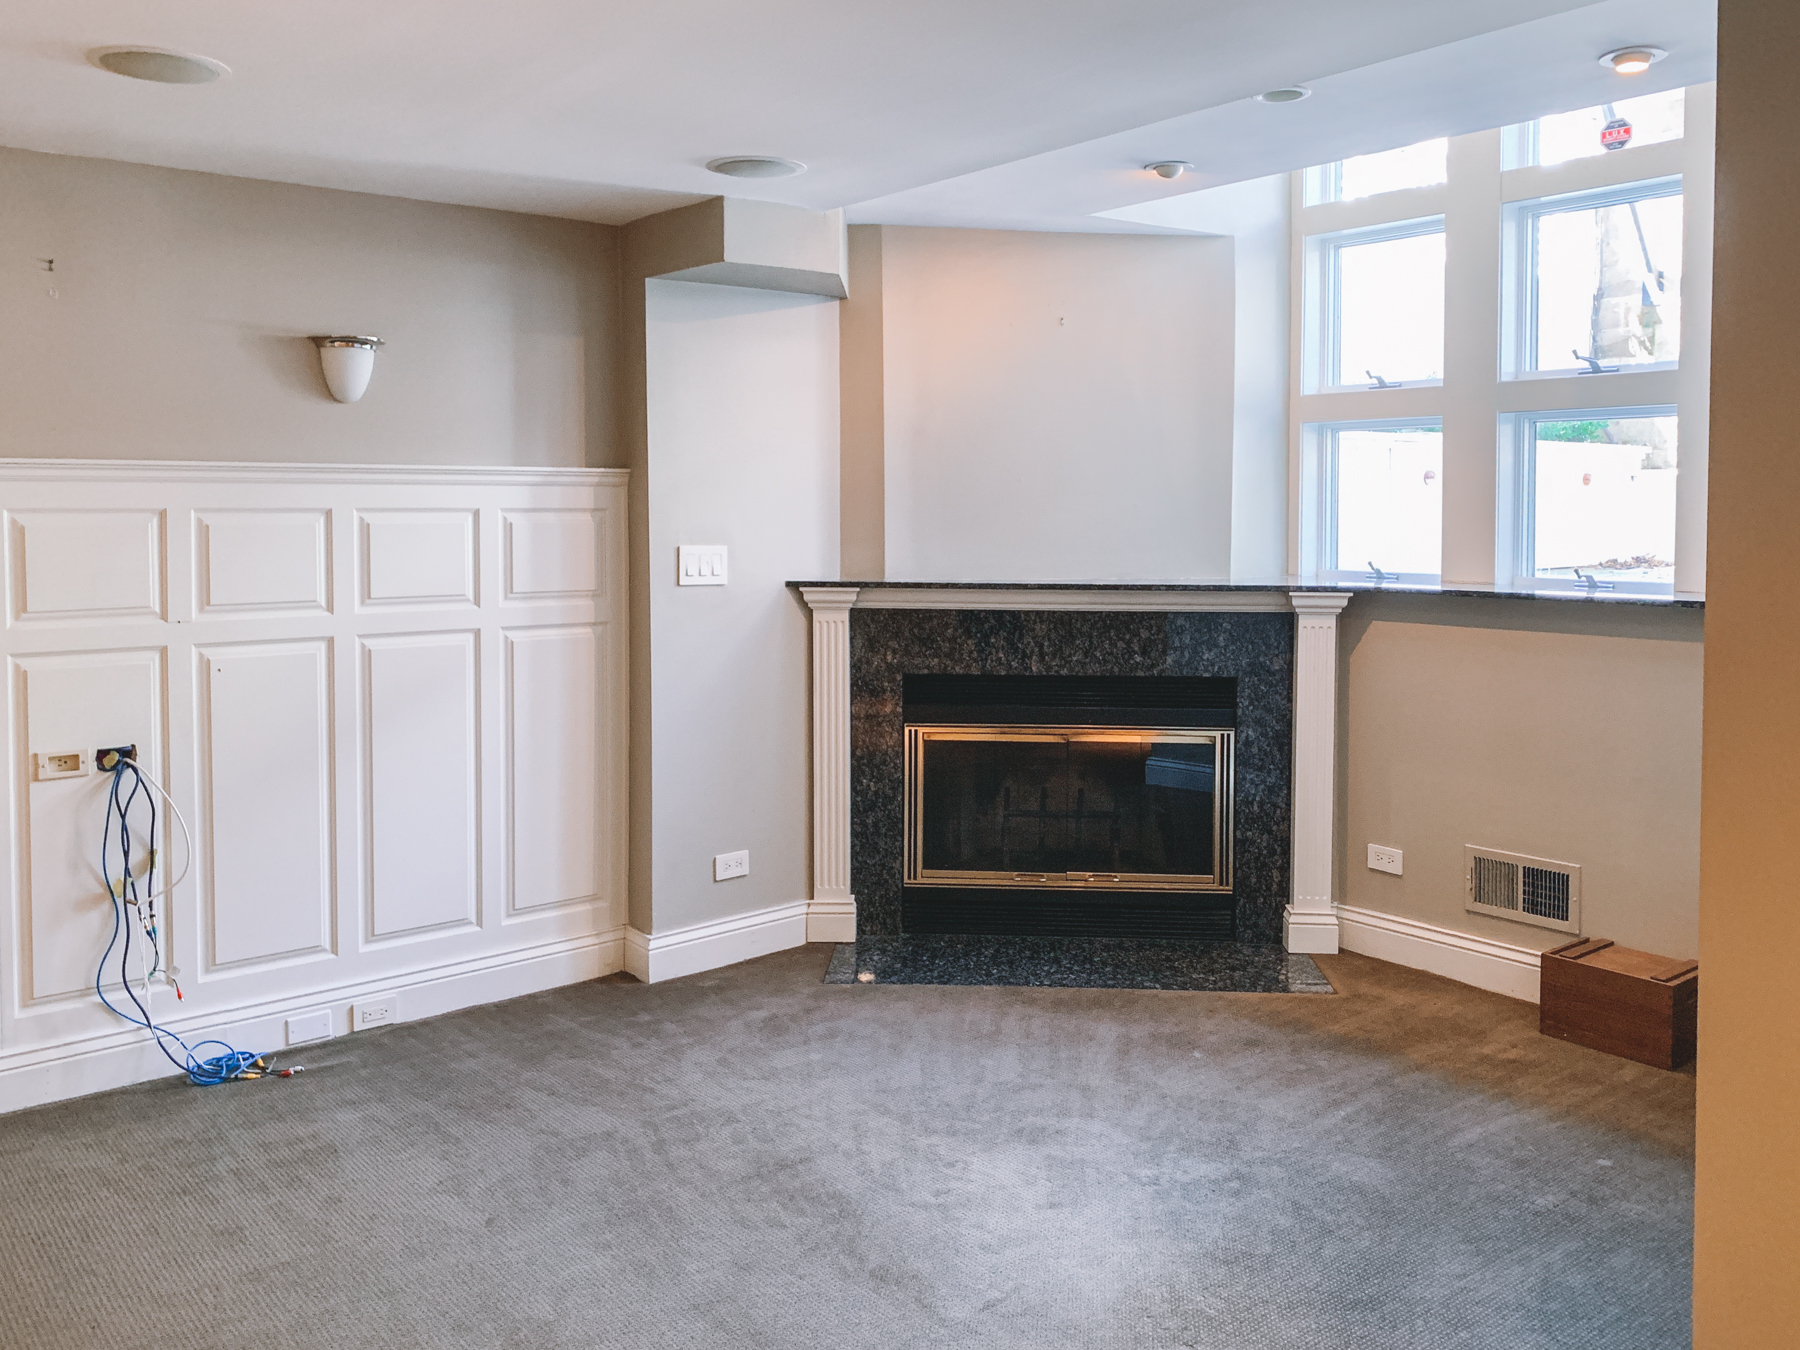
Before
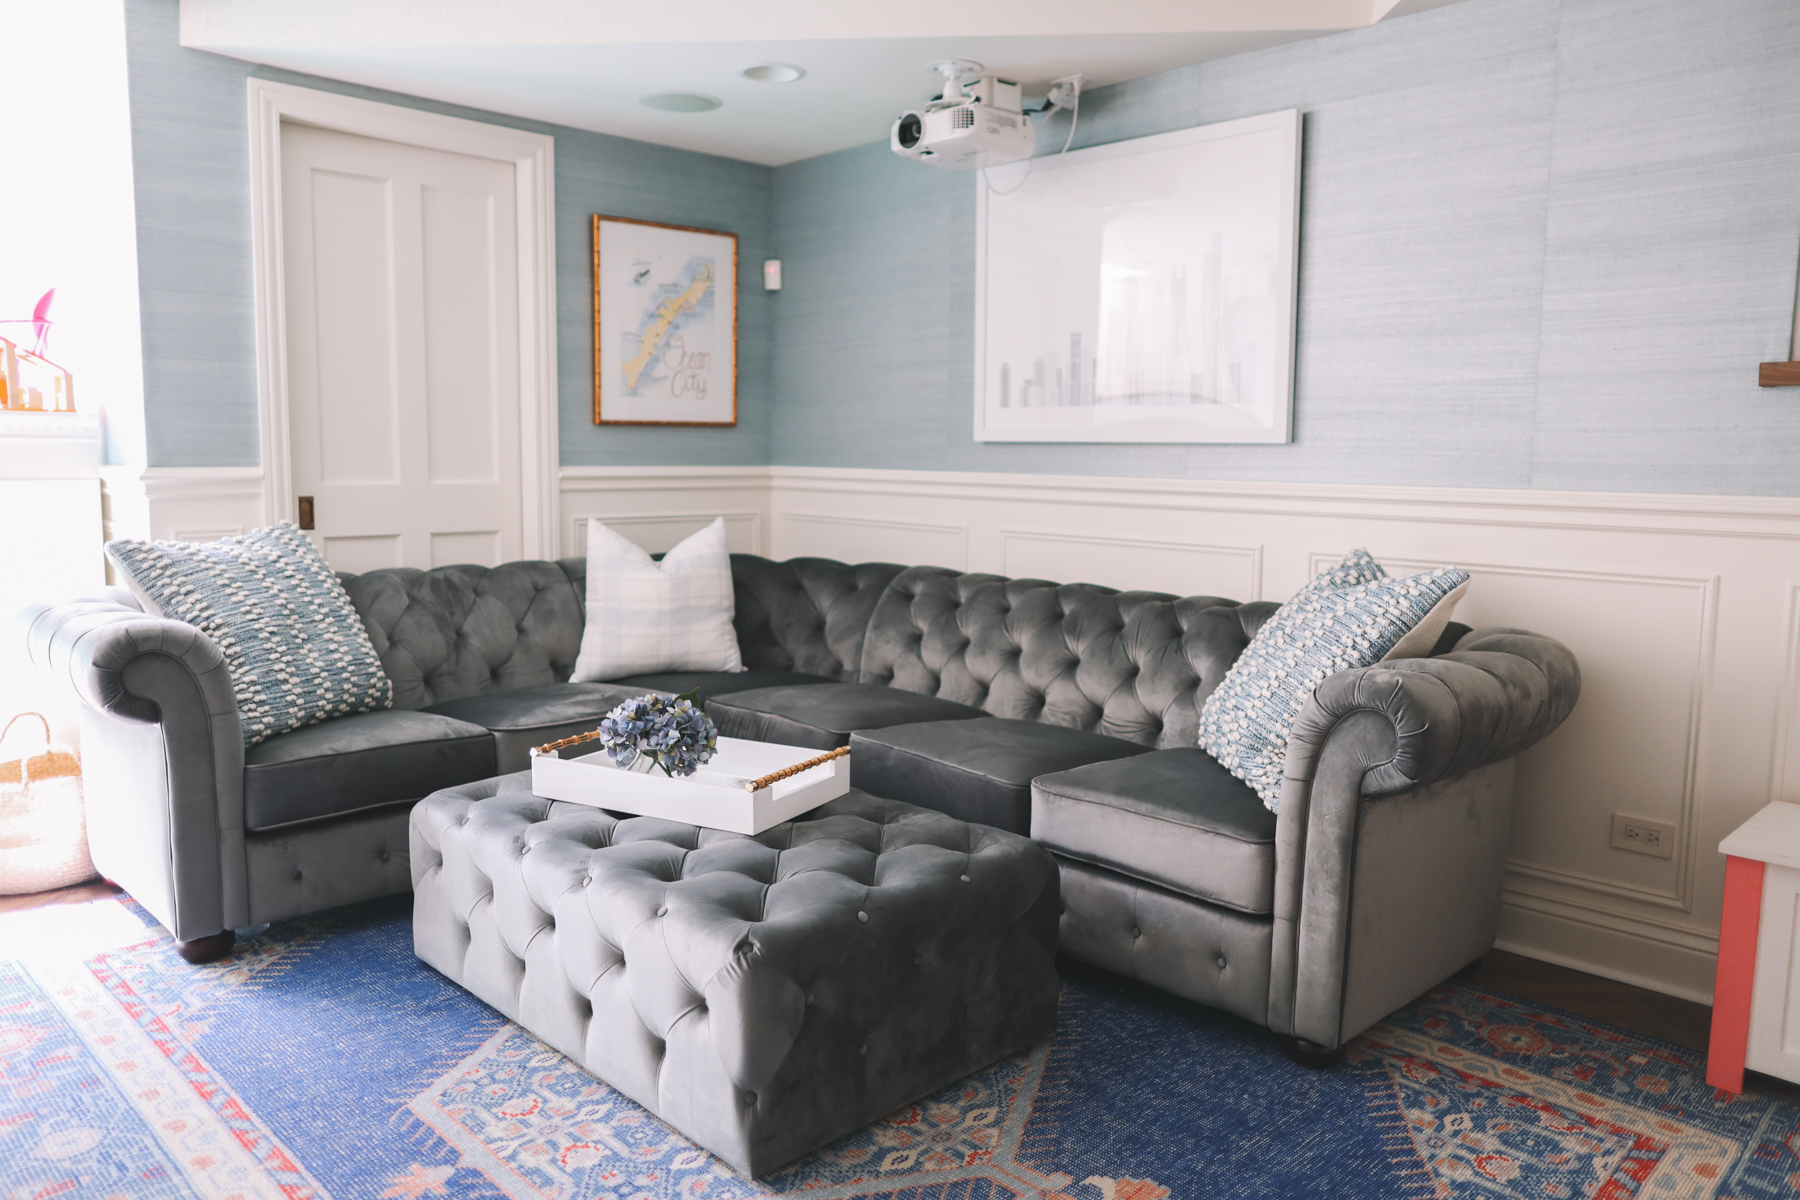
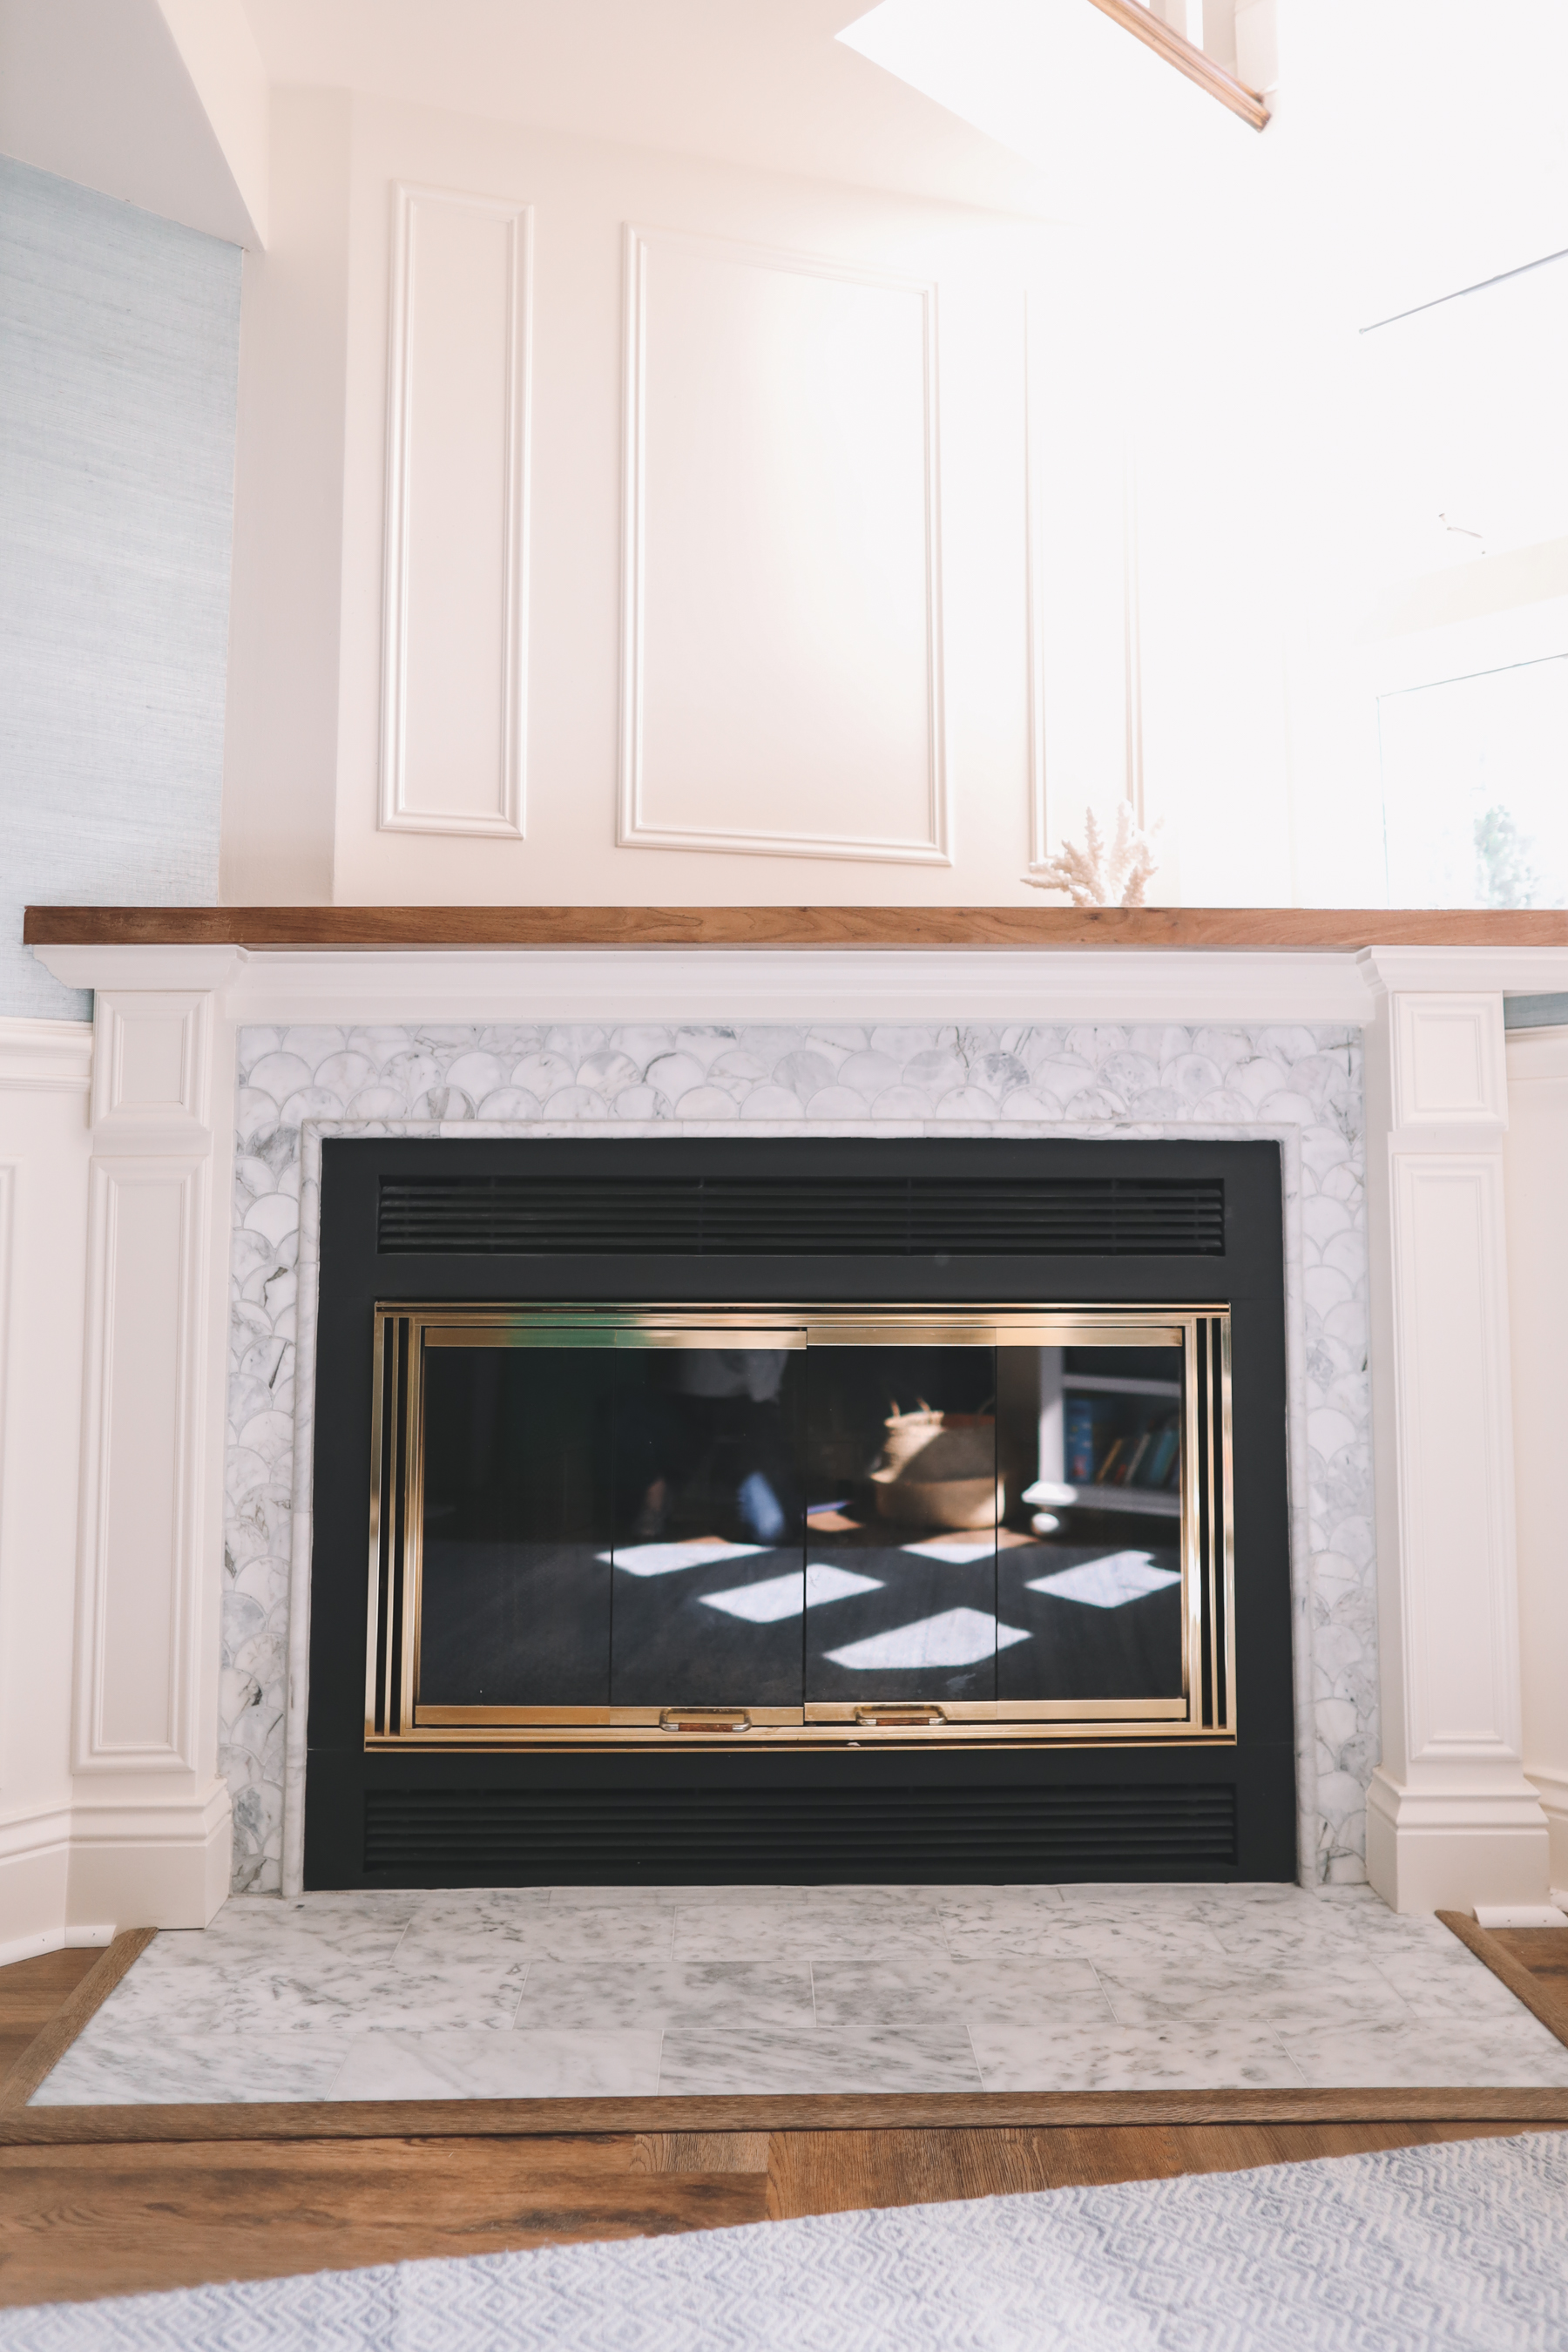
After
The background
During the big house hunt, we one of our “musts” was a playroom, as we were about to have another child. So we were extremely grateful that the home we ended up buying had a big basement that would work for just that.
We knew right off the bat that we’d eventually need to replace the carpeting with vinyl, laminate or tile because we’re hot messes and would destroy the carpeting within the first month. (Which we totally did. 😜) And we also knew that we wanted to install some sort of TV unit.
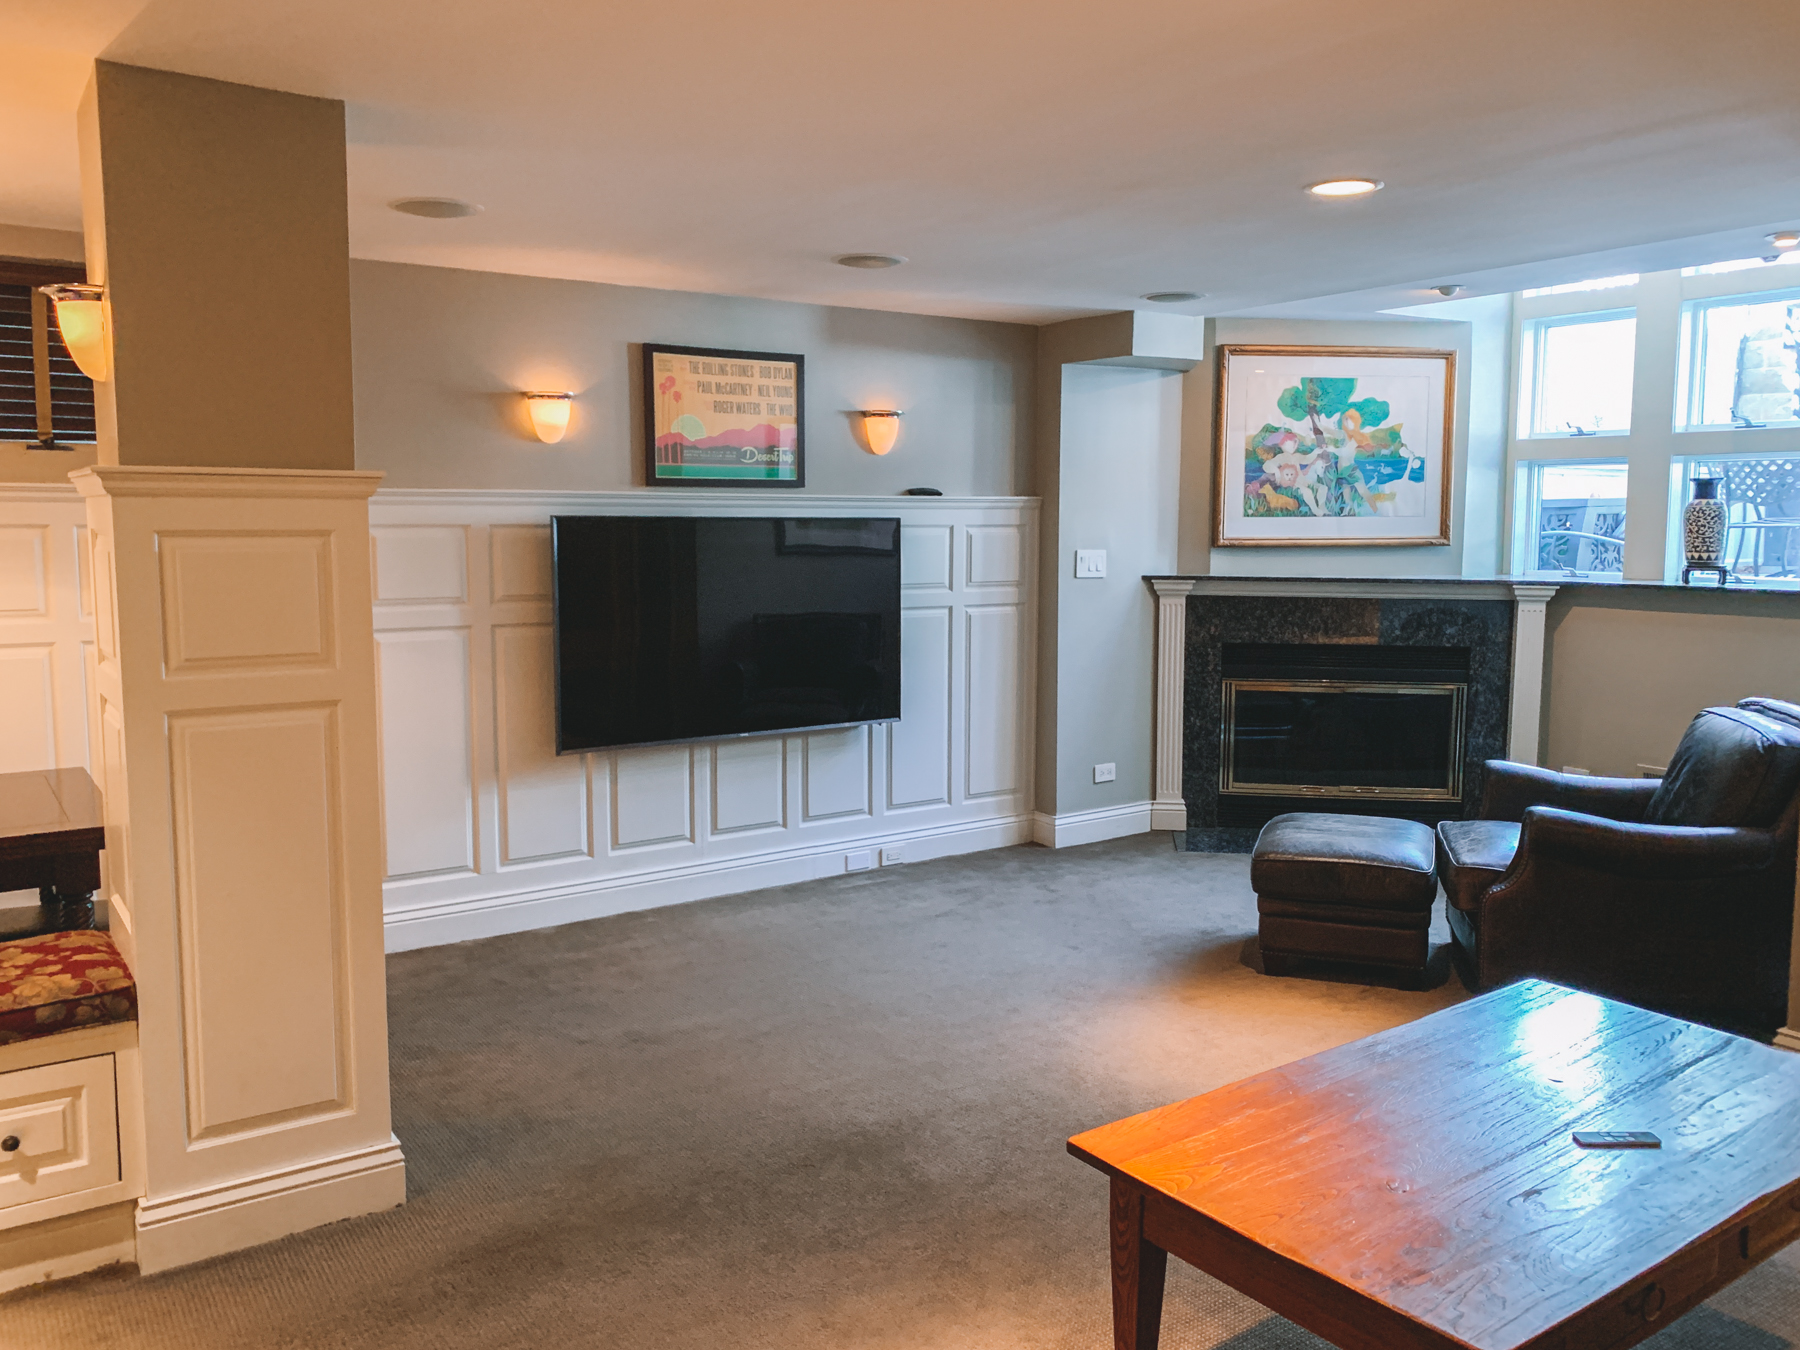
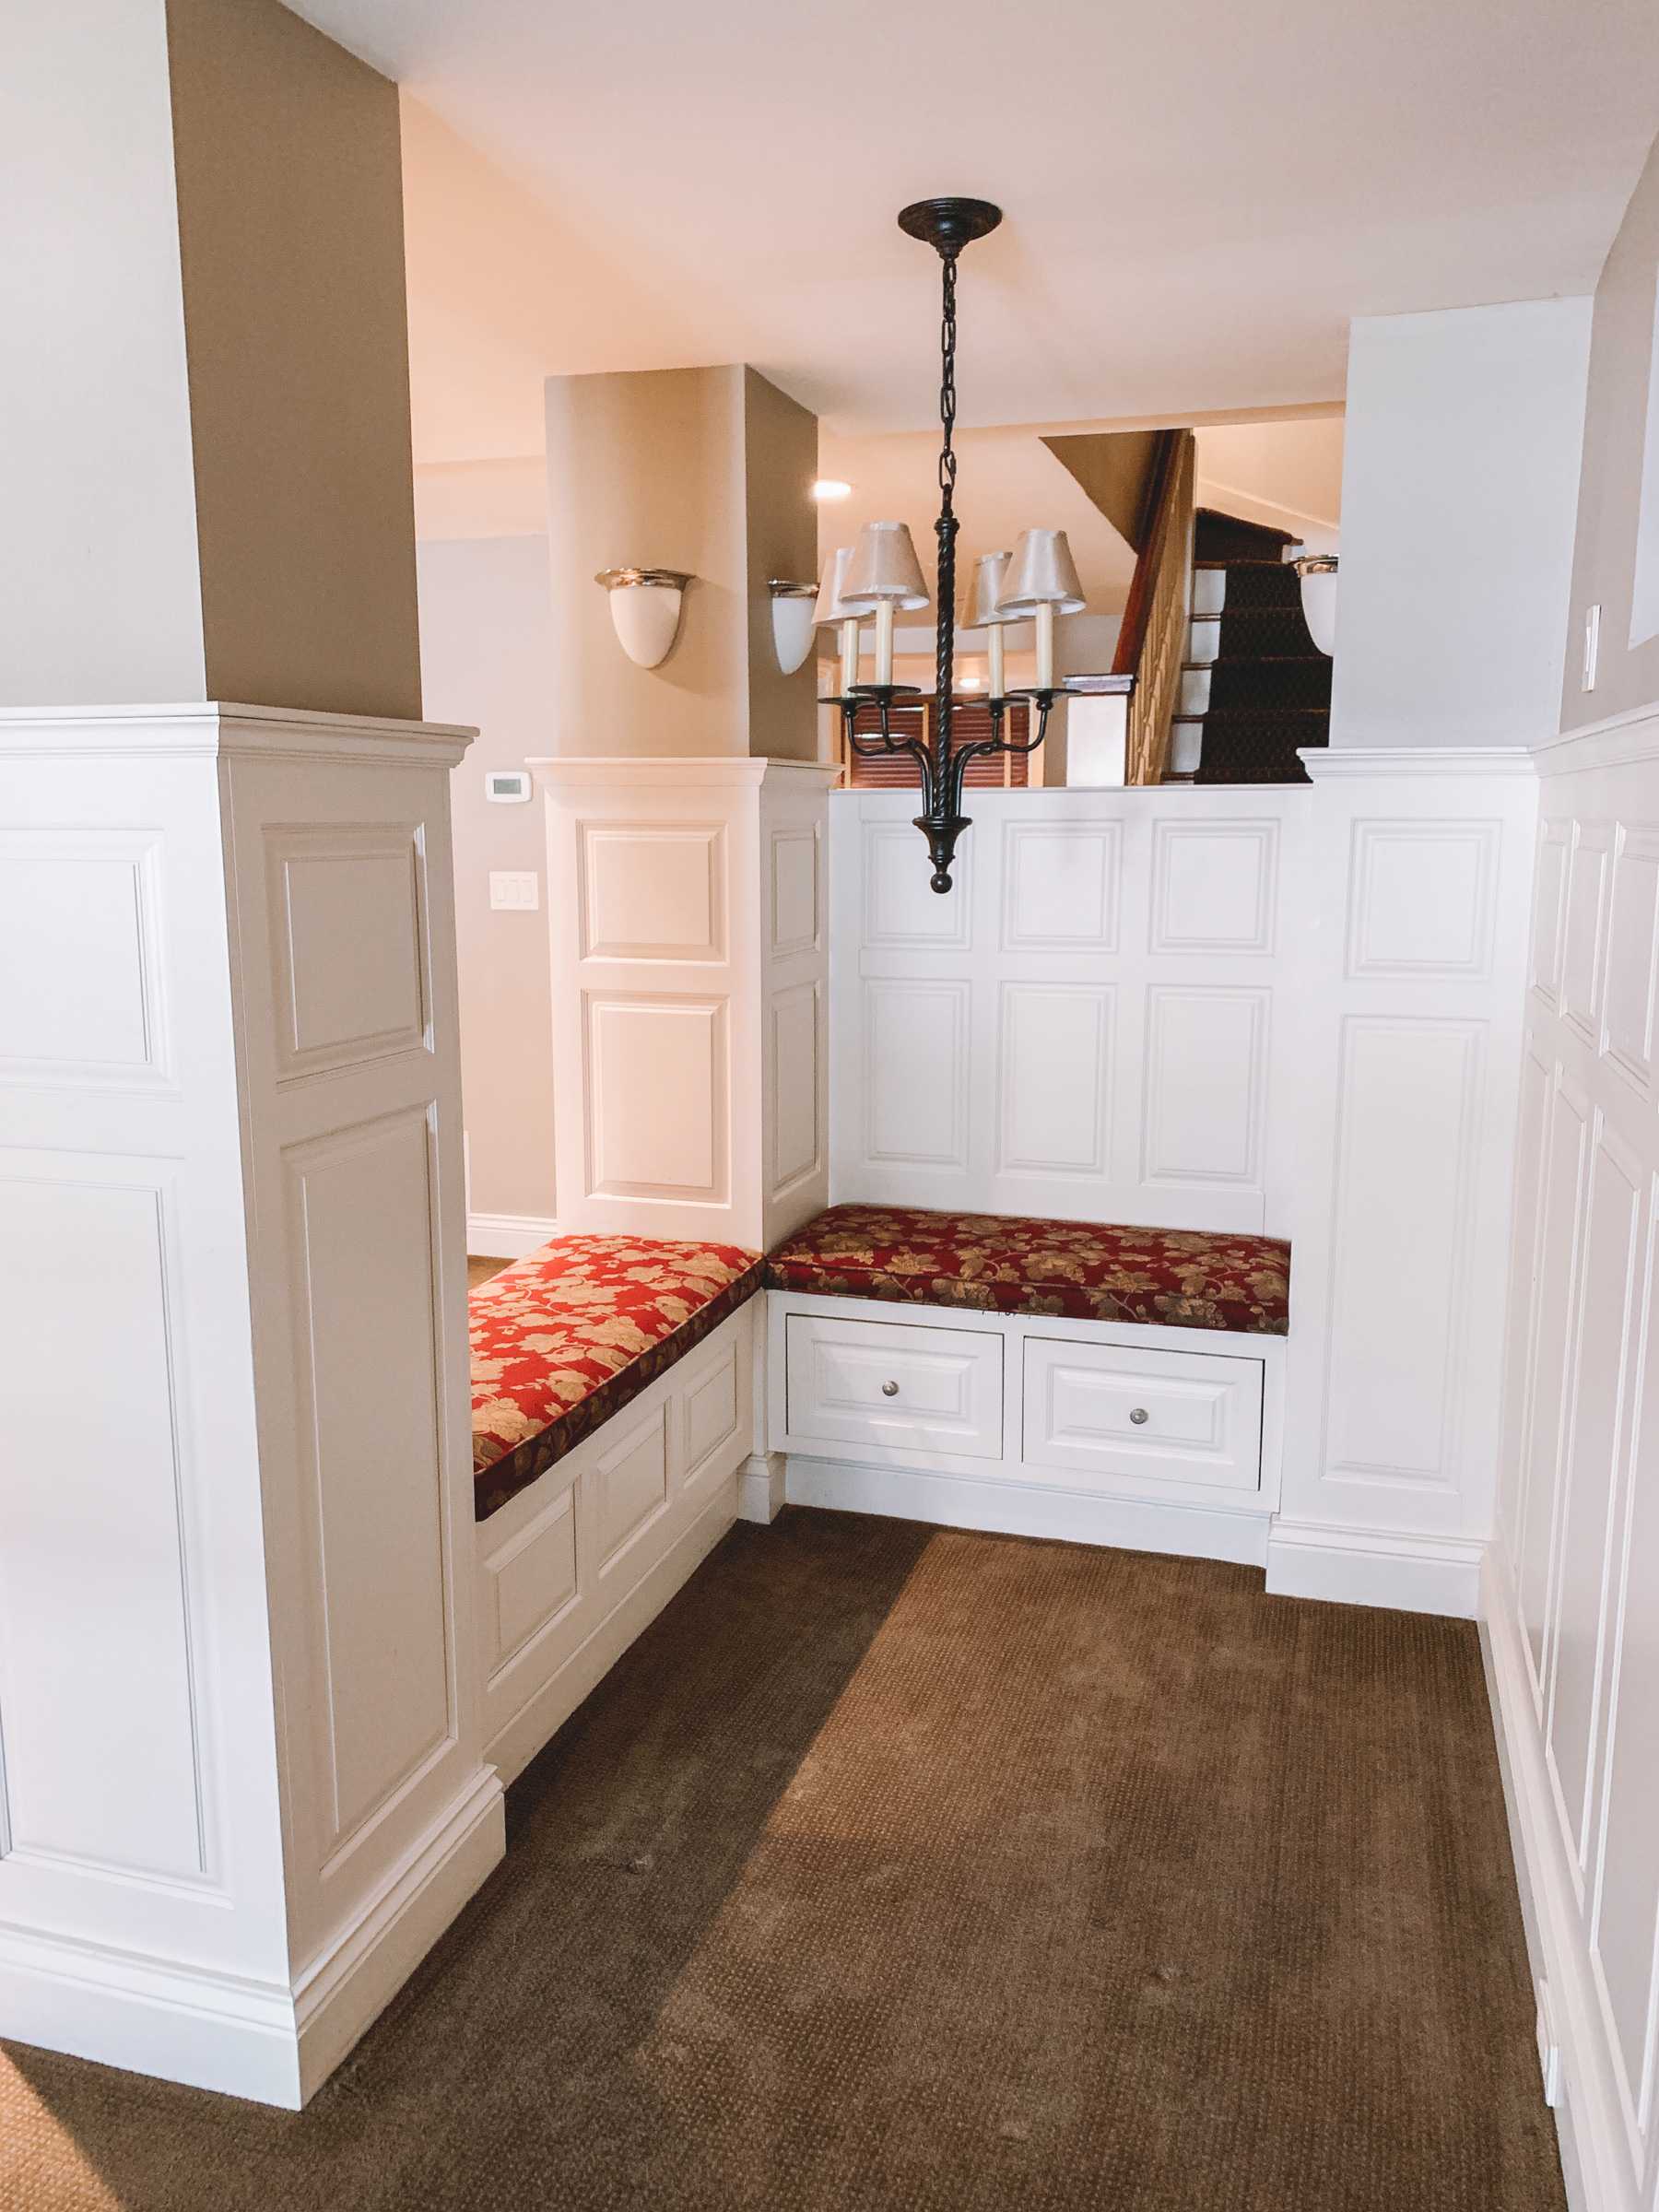
But the basement was already finished, and that was huge. And we loved the traditional style the previous owners had embraced! There were built-in shelves, upholstered storage benches, gorgeous paneling, a wet bar with white cabinetry, and even a wood-burning fireplace. A home run.
The updates
Originally, we’d planned on making updates the basement two or three years down the road. (We had an a toddler and an infant. Too much!) But when we were replacing our kitchen countertops, our Home Depot salesperson said that it wouldn’t be much more to add on the basement wet bar–and that hey! He could also have new floors quickly installed down there while they were at it.
And so Mitch and I looked and each other and silently agreed to take the bait. 😂 And then Kira, my best friend and the mastermind behind Kira David Design, similarly explained that there would be a considerable discount if we did the basement TV unit while doing the living room TV unit.
And so one thing led to another and… well, here we are, haha.
Why we love it
But it’s done! And I must say that I’m really glad we did it–especially now, considering the current situation we find ourselves in. It turned out better than we ever could have imagined, and we LOVE spending time down there. Excuse my French, but whenever sh*t hits the fan with parenting these days, we’re like, “Let’s go to the basement!” And nine times out of 10, it fixes everything. It’s a warm and inviting space, the girls’ toys are thoughtfully organized and displayed, and they’s an awesome lounging area for the parents to have coffee or cocktails depending on how dire things are. 😉
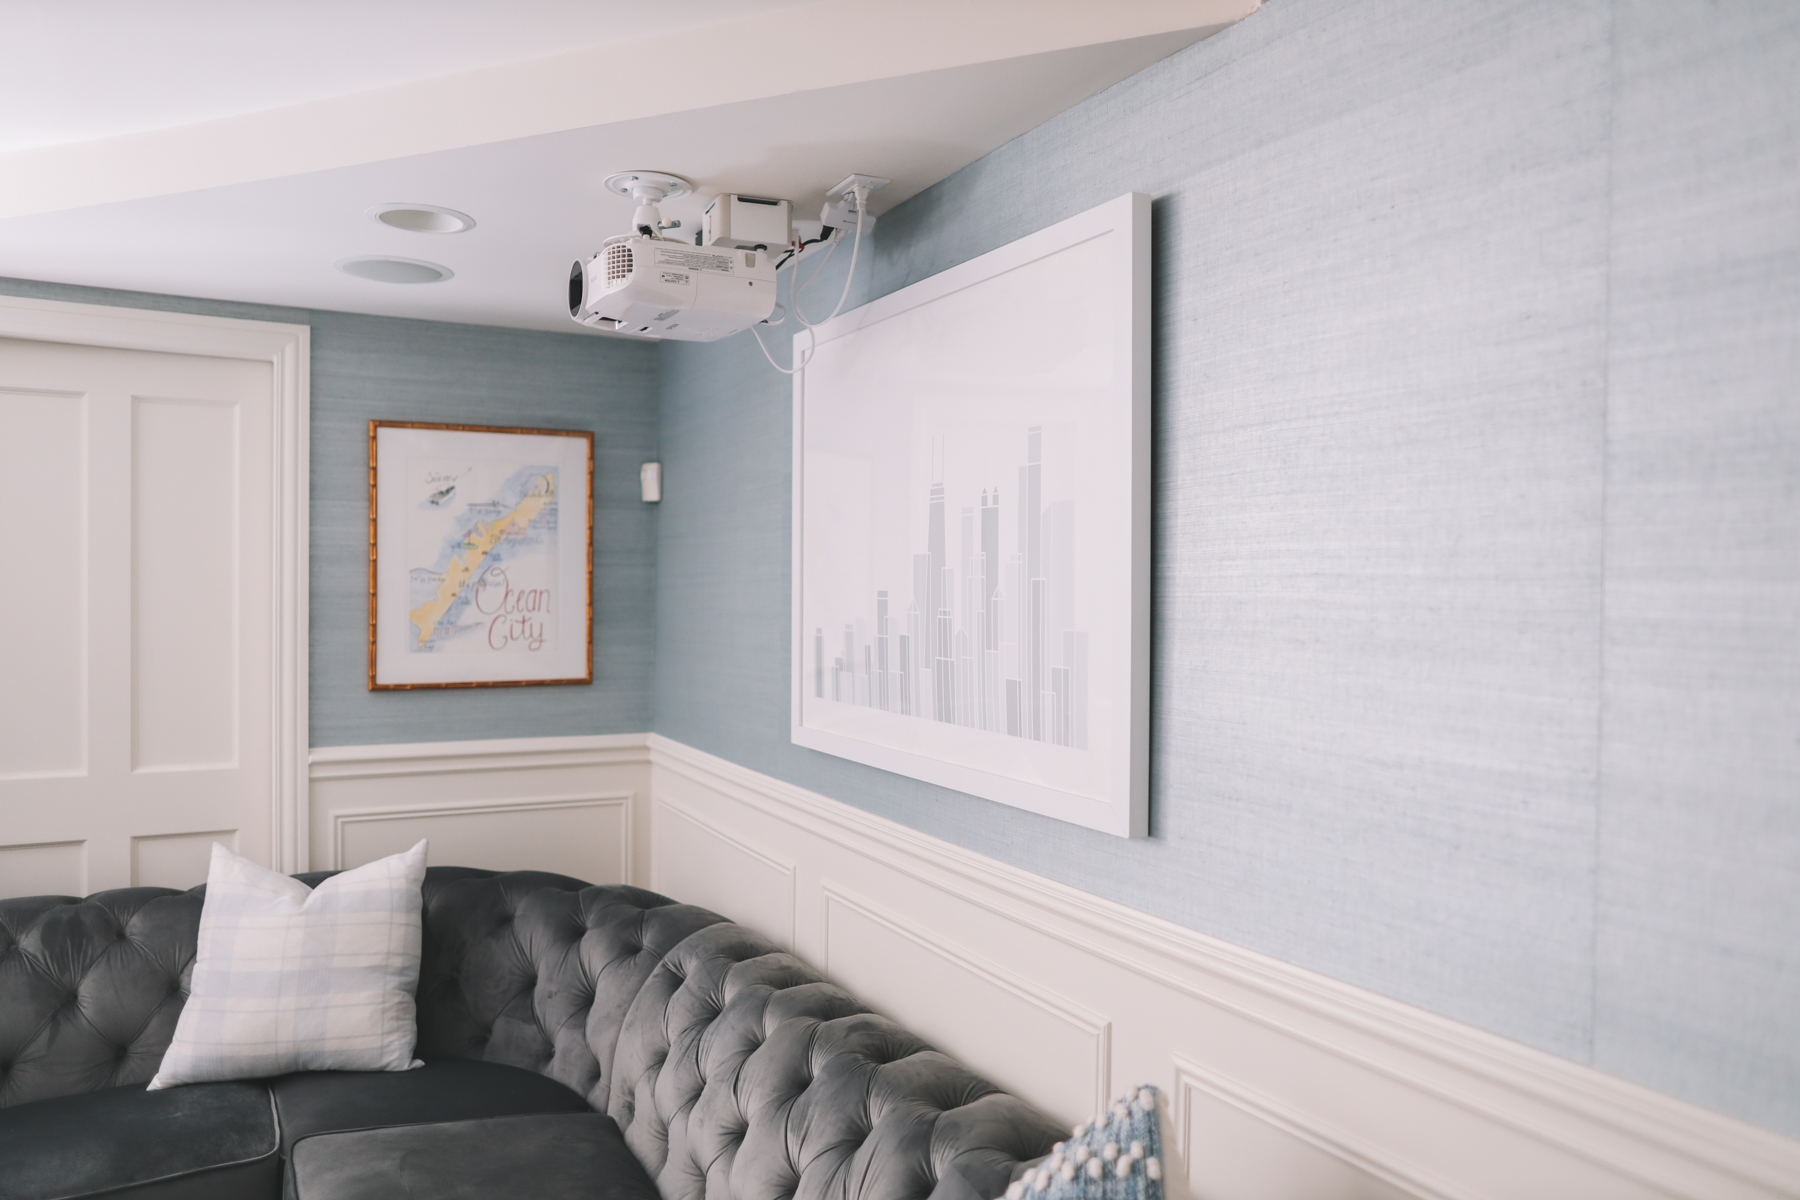
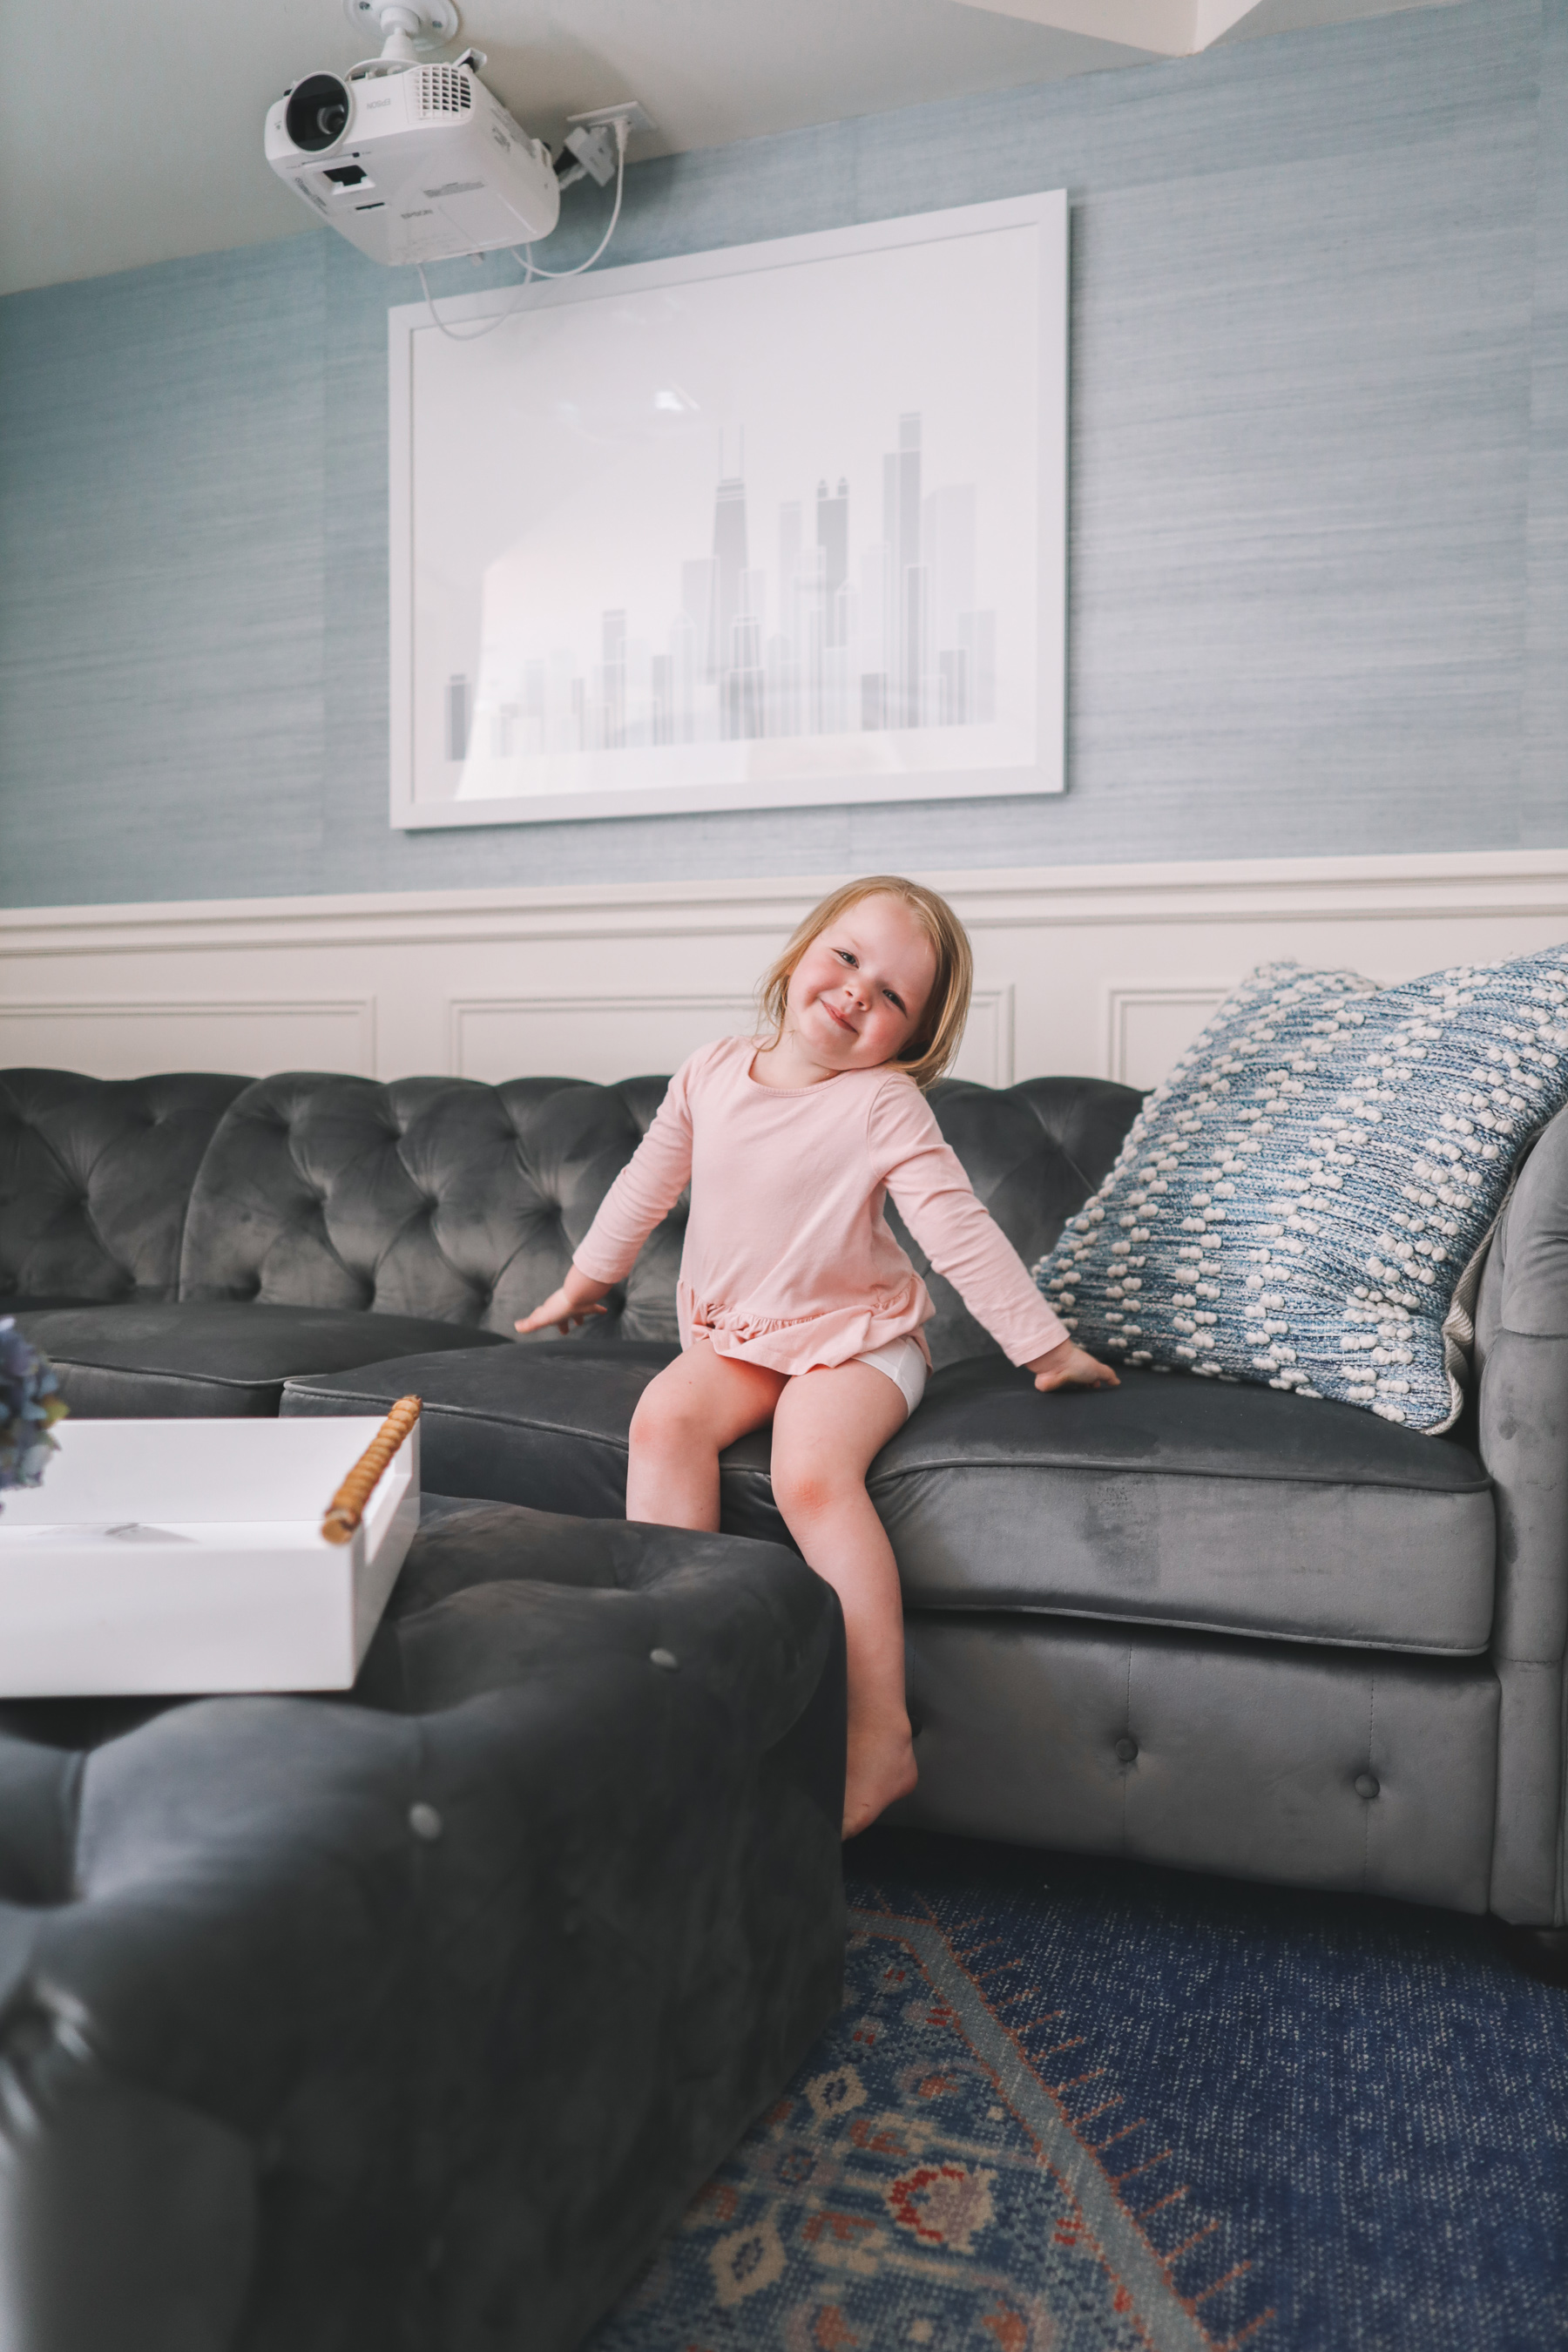
Mitch, a self-proclaimed tech nerd, also put his heart and soul into designing a projector setup. And while I initially resisted that idea, I now fully admit that I was wrong. It’s a really freakin’ awesome and relatively inexpensive way to have the best family movie nights ever. It’s been the source of some of my most cherished memories! So yeah. At this point in our lives, I’d say that it’s the most-used room in the house (behind the kitchen, of course), and it was all worth it.
Let’s get to the updates, though!
Wallpaper
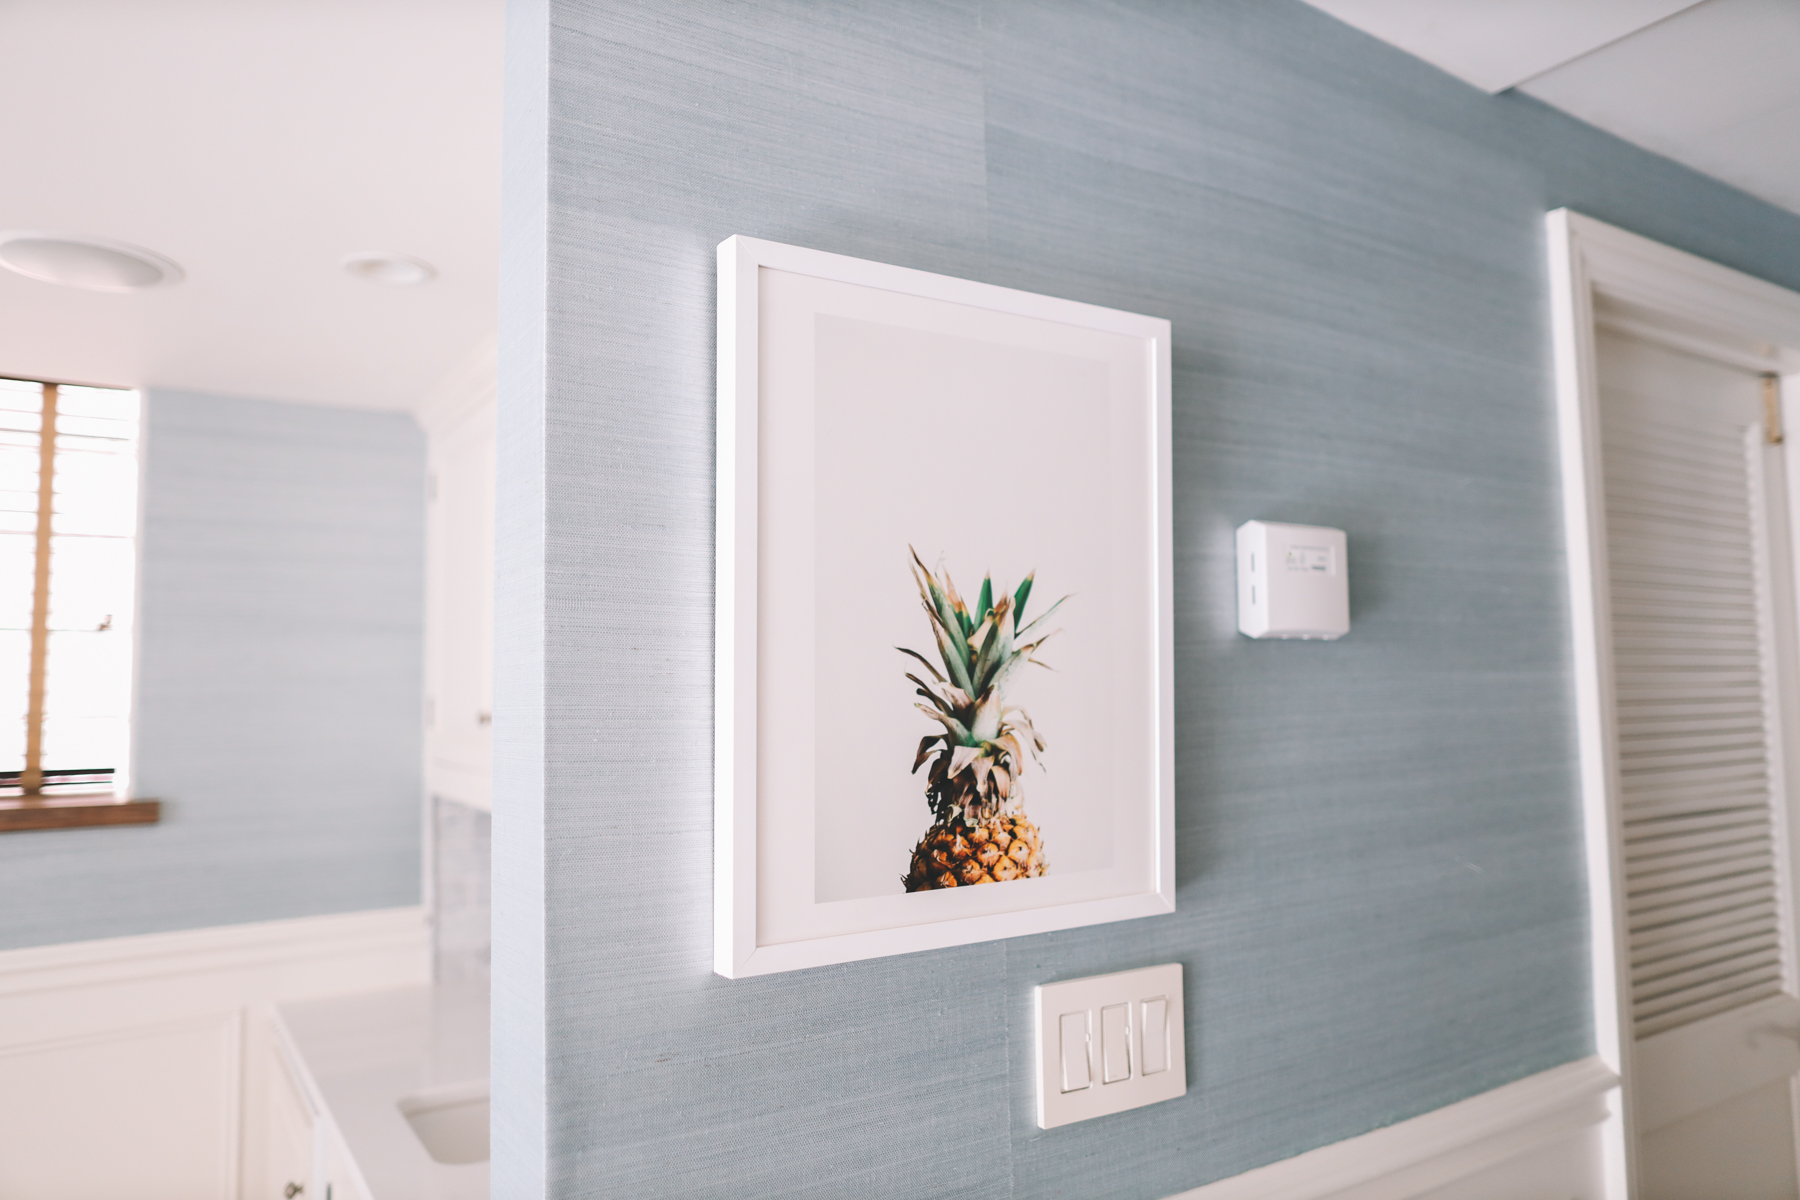
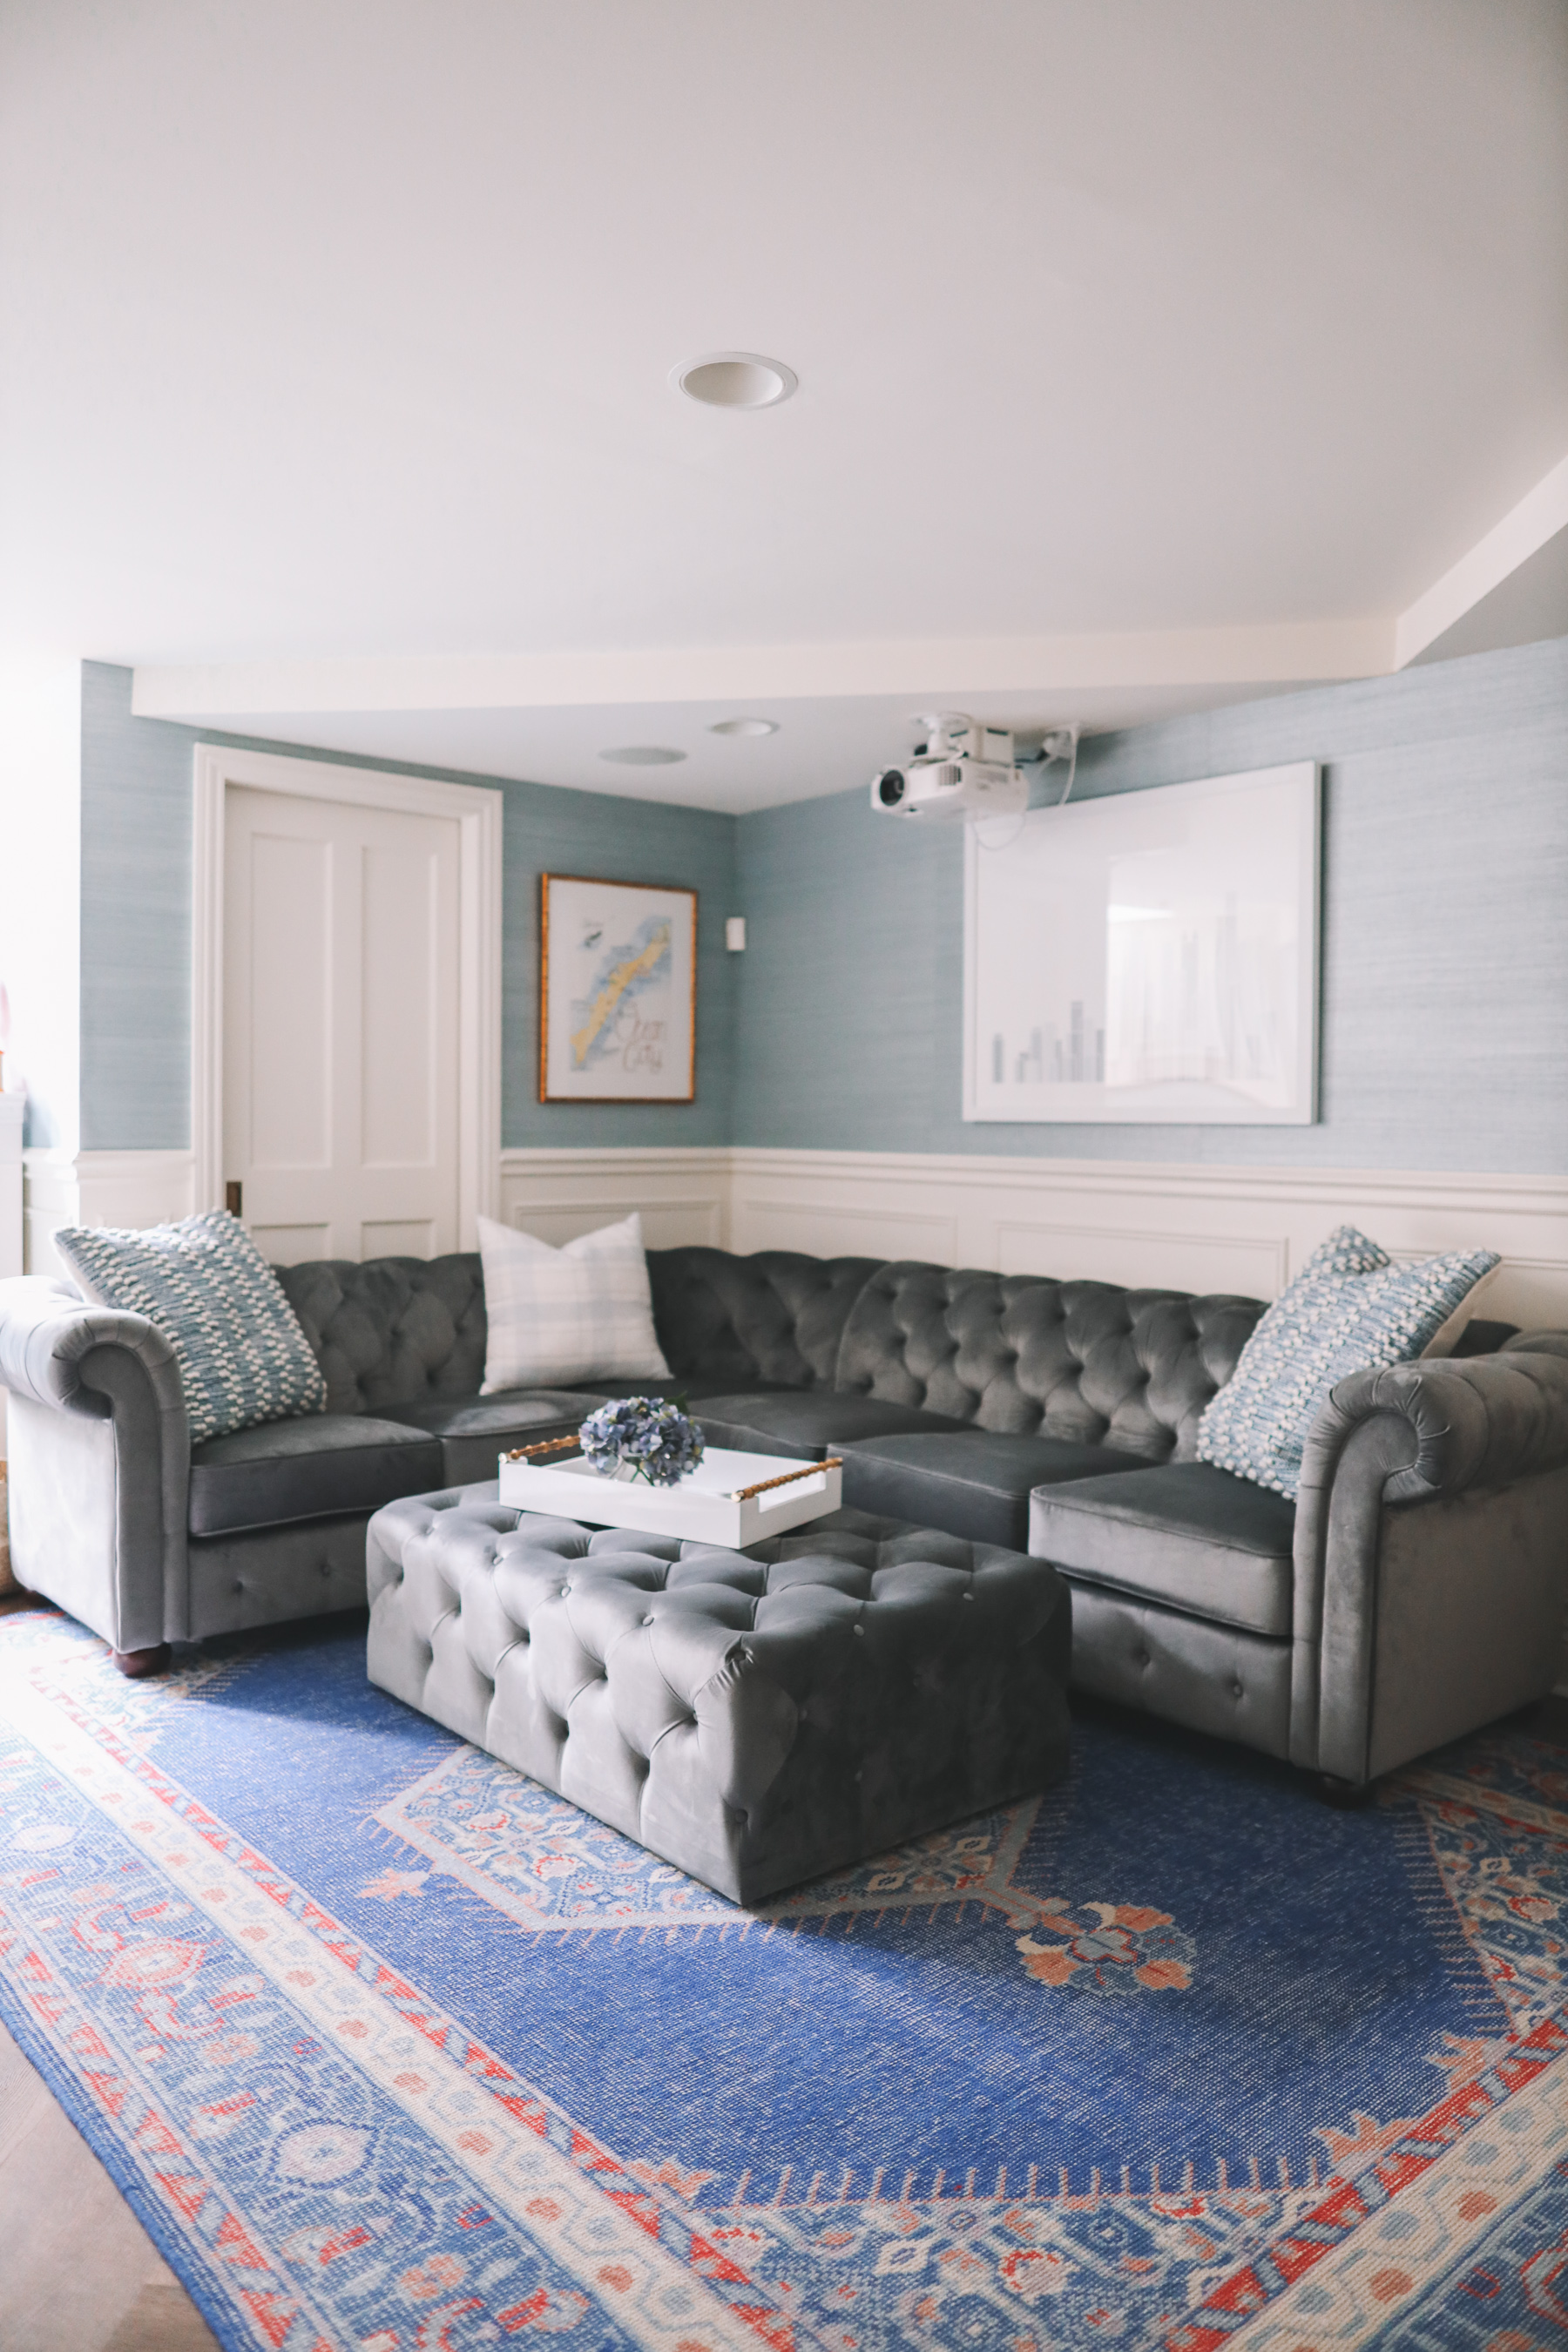
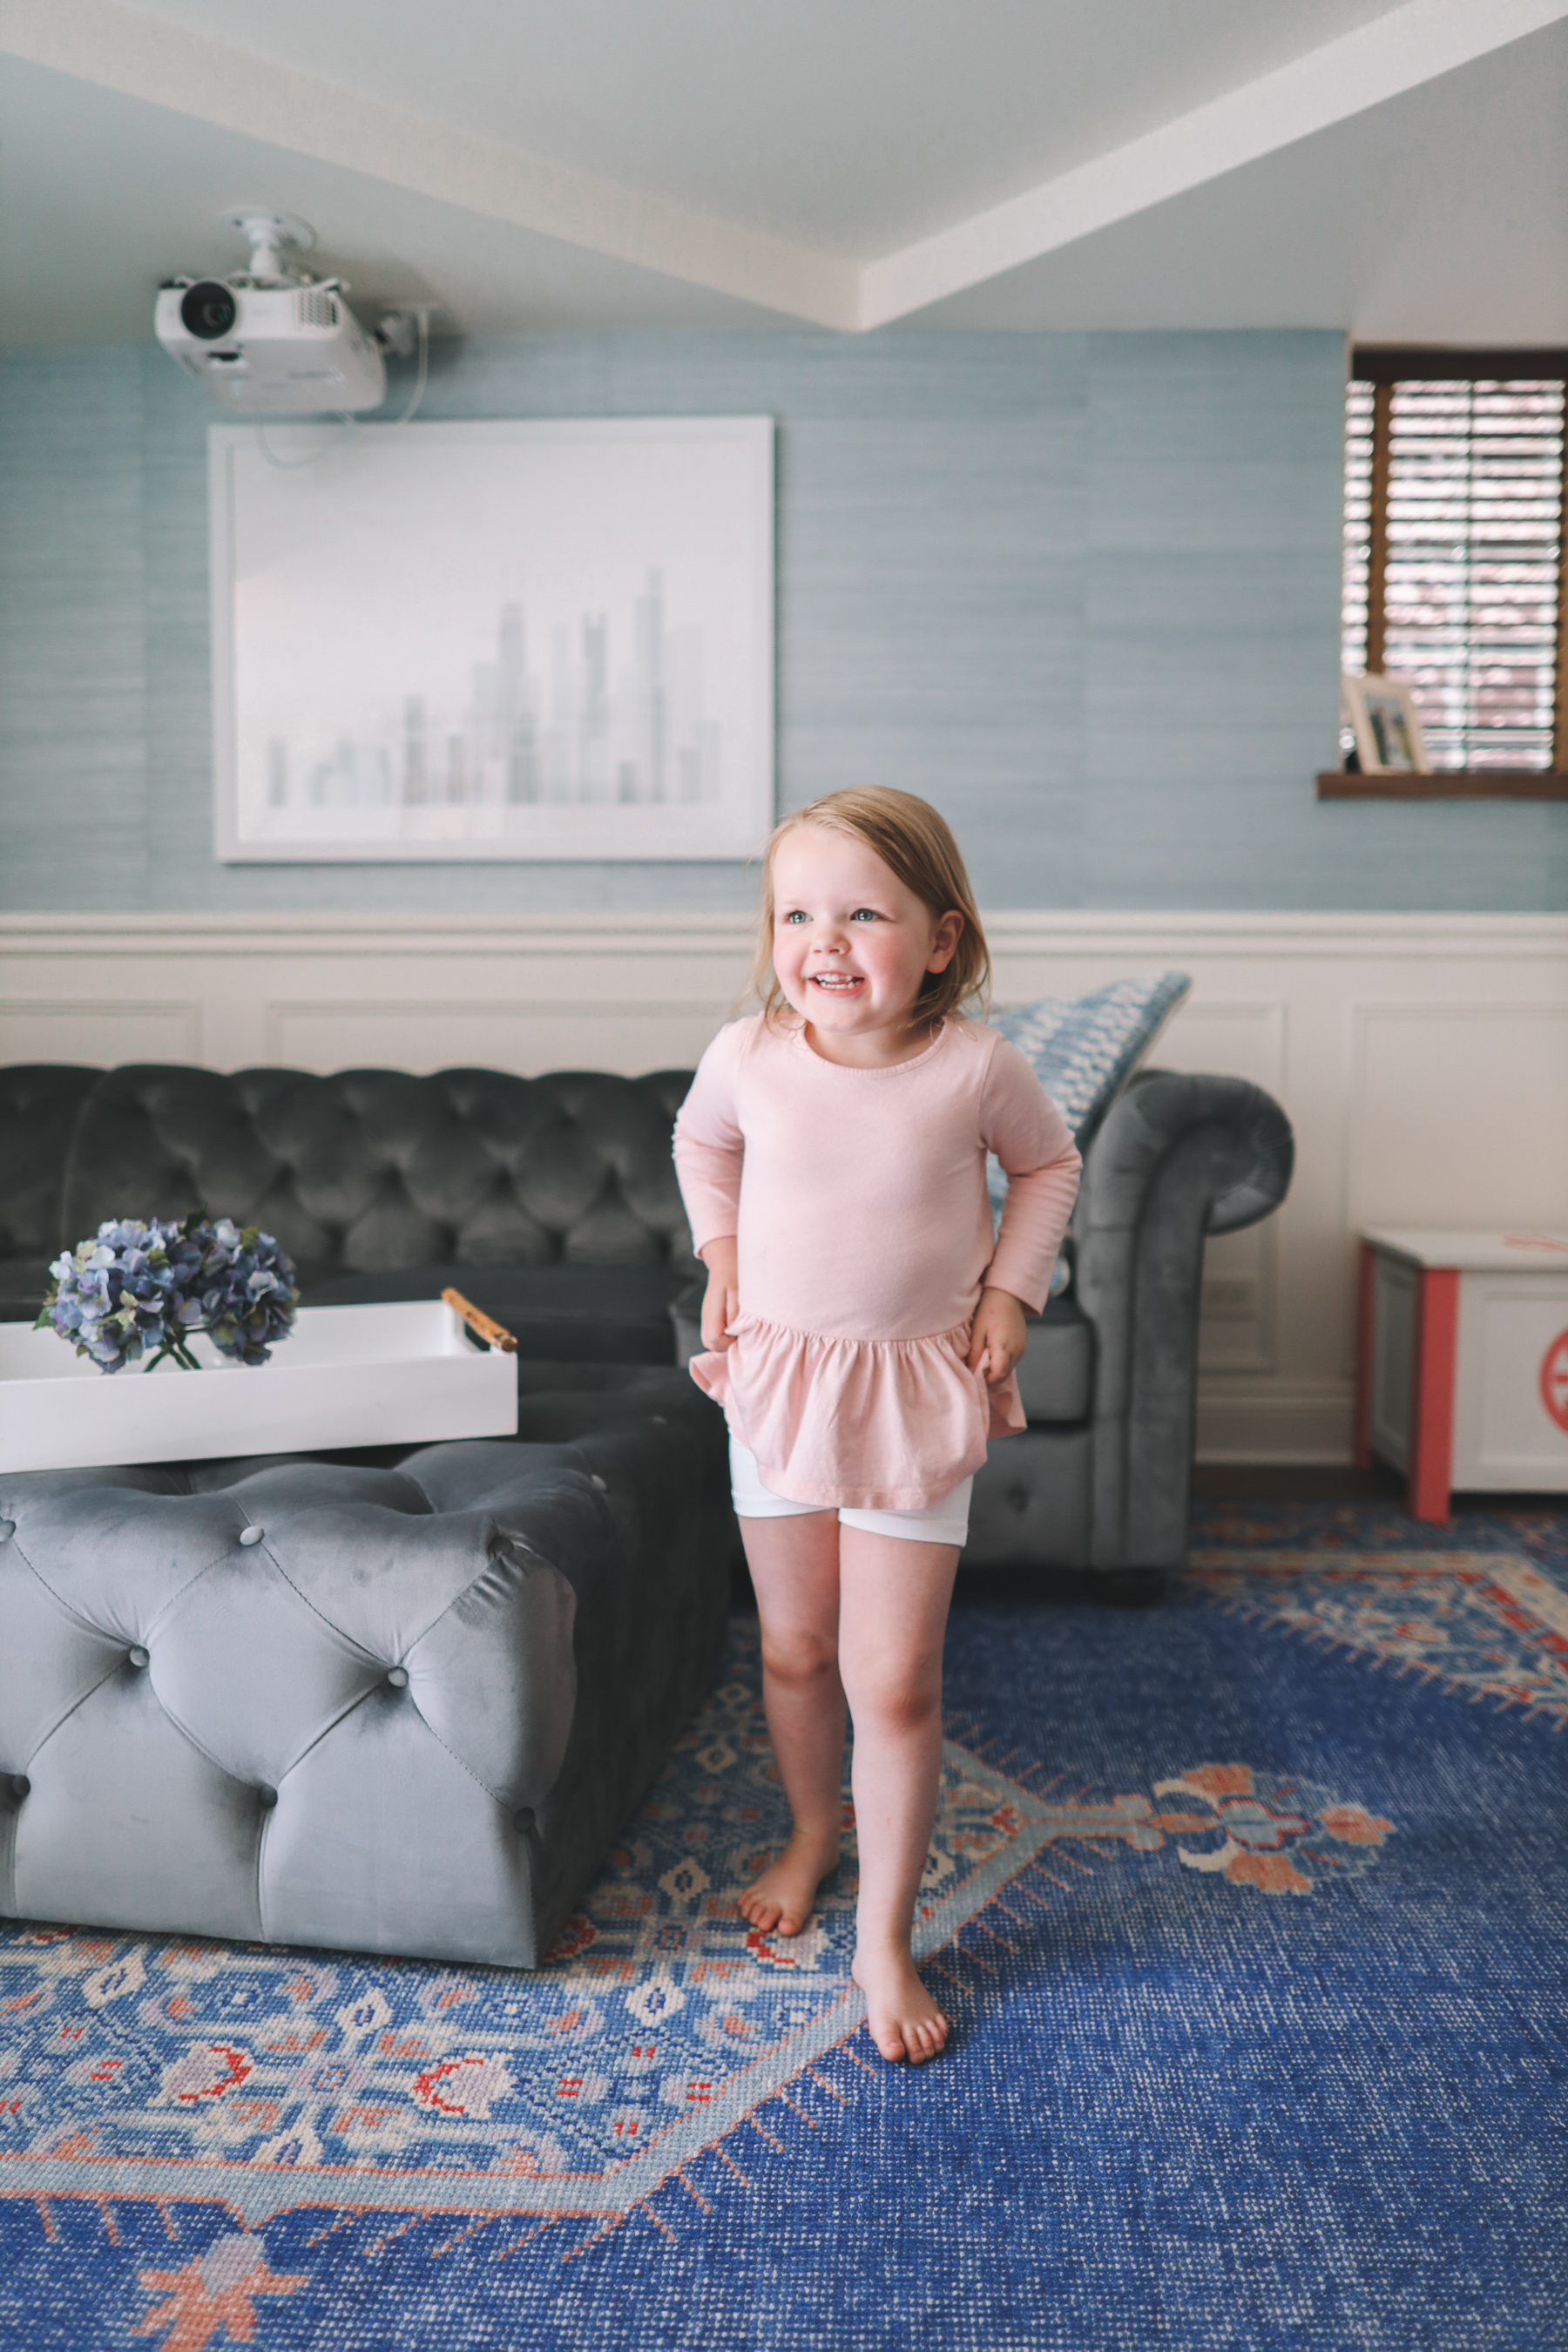
Many, many thanks to Annie Selke for the gorgeous grasscloth wallpaper. I LOVE it. I wouldn’t say that the basement was especially dark before because of the large back windows, but I’m astounded by how much brighter, happier and more welcoming the playroom is now. Emma jumped up and down when she saw it because she said it felt like she was in a cloud in the sky. ☺️
This was our first experience with grasscloth, and I’m a convert. You likely know that I love wallpaper; I’ve always felt that it makes a space feel warm and lived-in. But grasscloth takes it to another level because it’s far less limiting (style-wise) than prints are… yet it still provides that wonderful homey feeling and a whole lot of texture. I think the safest bet for most rooms would be a cream or sand-colored grasscloth, but the Periwinkle seemed like the perfect choice for a playroom. I love that all our art works with it, and that I’ll be able to switch out the art over the years as the girls grow and not have to replace the wallpaper.
Note: With grasscloth, you will always notice seams. There’s really nothing you can do about this, and you just have to embrace it! The reason we chose Annie Selke, though, is because the seams are very minimal. So happy with it!
Annie Selke is very well known for wallpaper, and I love browsing the company’s website for inspiration. I’m definitely going to do grasscloth in the living and dining rooms as well, and I love this wallpaper for our powder room.
Before
After
Before
After
Before
After
Before
After
Furniture, rug and lamps
I’ve already written and very in-depth review of our new furniture and rug, and it’s going to be published in the coming days. :) But it’s from The RoomPlace through an incredibly exciting partnership with the company, and everything is PHENOMENAL.
The short story is that we didn’t have any toy storage and as much as we loved them, our old leather living room couches unfortunately didn’t fit in the new space. (Too long for the left wall and the room was cut in half because of it. Looked terrible, haha. Ironic, considering the reason we bought them was because we thought they’d work in any future space, but whatever. 😂) So we moved the leather couches into Mitch’s office, and upgraded to a custom sectional… and got a super functional bookcase and dresser for some much-needed toy storage along with beautiful lamps and a classic yet playful rug.
Note: I ordered cute (matching) storage bins for the bookcase, but they didn’t come in time for these photos.
I don’t want to ruin the upcoming post so I’ll let the photos speak for themselves, but RoomPlace, WOW. You’re a gem!
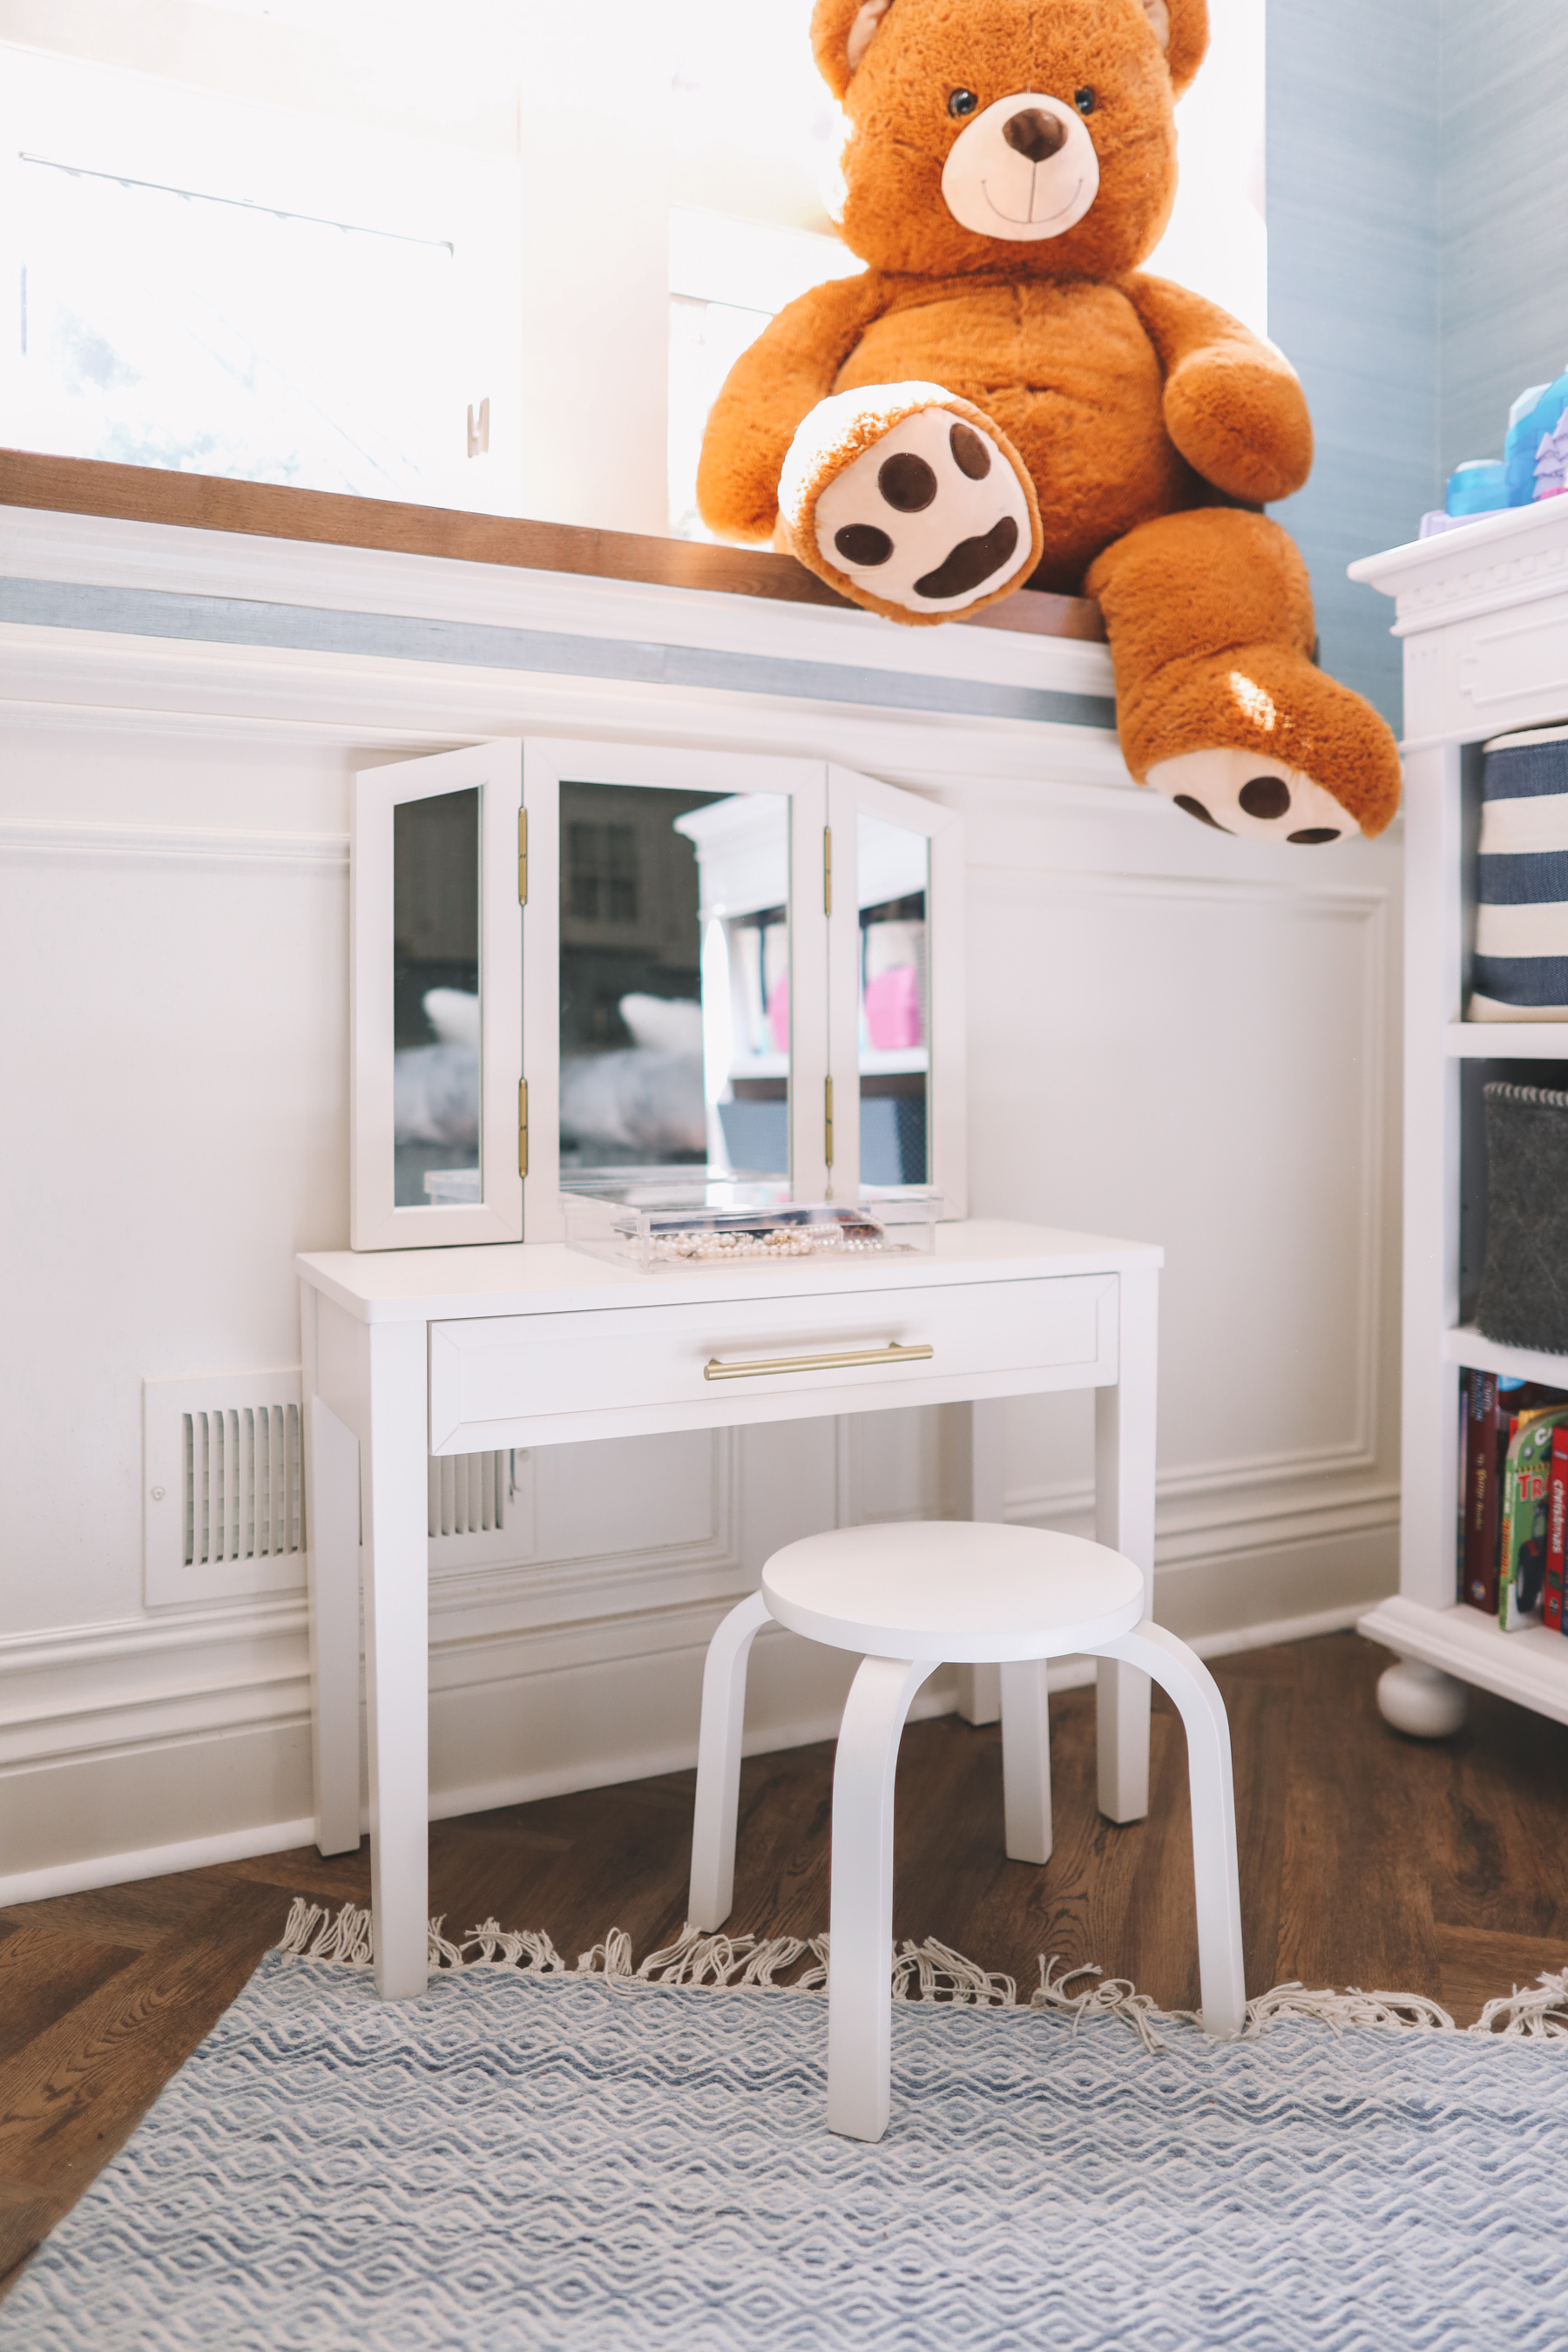
Btw: You can find Emma’s vanity here, and the light blue indoor/outdoor rug here.
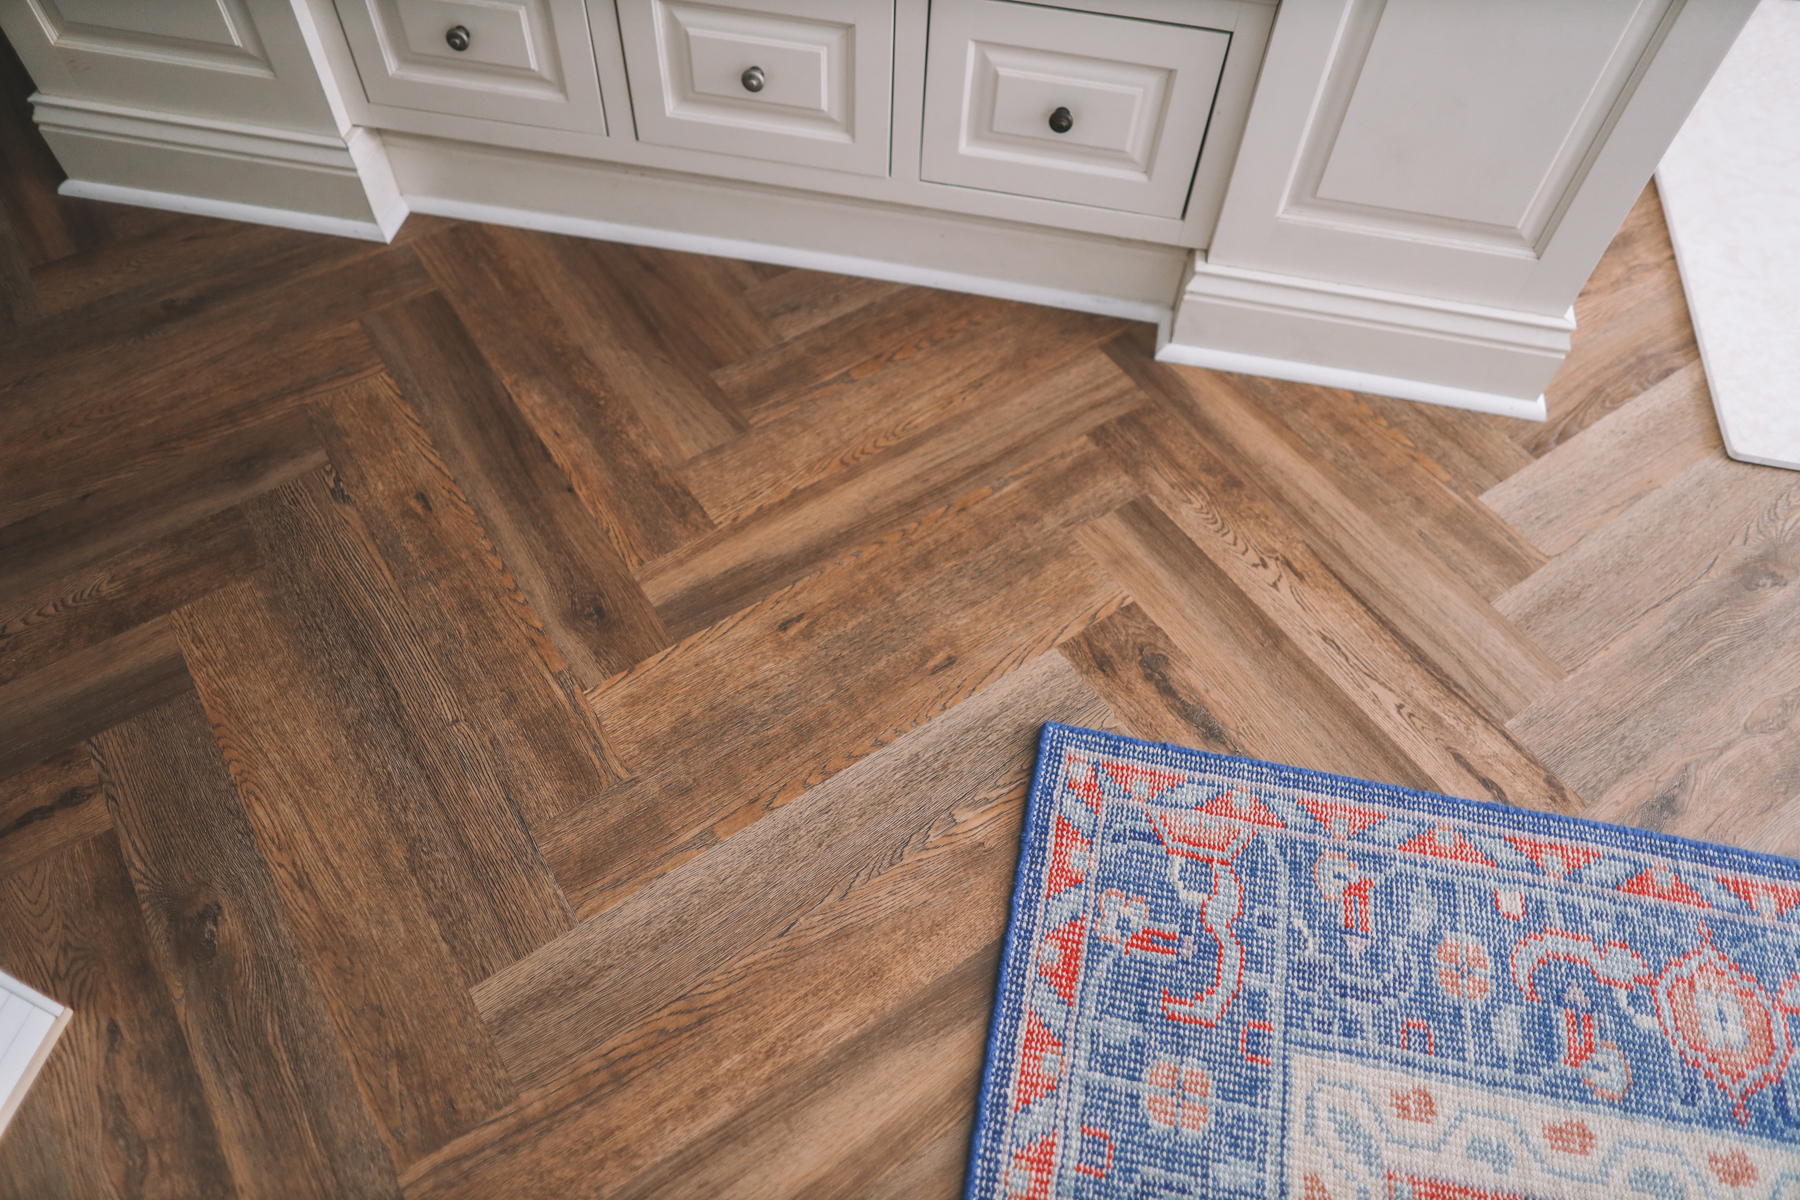
Herringbone vinyl plank flooring
YES TO THIS. In our old basement, we were forced to remove our old carpeting when we had a perimeter drain system installed, and we replaced it with waterproof tile that looked like wood. At the time, we were new homeowners and didn’t know that there were other waterproof basement flooring options that weren’t quite as cold as tile. But as it turns out, there are lots of laminates that are totally waterproof and provide a homier feel!
We came across this herringbone vinyl while in Home Depot for the kitchen countertops, and instantly fell in love. I’d always dreamed of herringbone wood floors somewhere in our home, but certainly wasn’t willing to pull up perfectly good flooring in order to have them. This, though, was such a fun surprise. And we were thrilled to learn that the vinyl had great reviews, too!
Home Depot installed the vinyl floors in 2.5 days. The guys were wonderfully nice and very funny, and we couldn’t get over how perfect their work was. OR how much the vinyl looked like real hardwood. Granted, we’ve only had the floors for about six months now. But thus far, zero problems. They’re far toastier than tile, they haven’t scratched (even with destructive small children), and they come with a lifetime warranty. Such the find!
(I’d honestly strongly consider putting them throughout the entirety of a home in another circumstance!)
Before
After
Built-ins + wainscoting
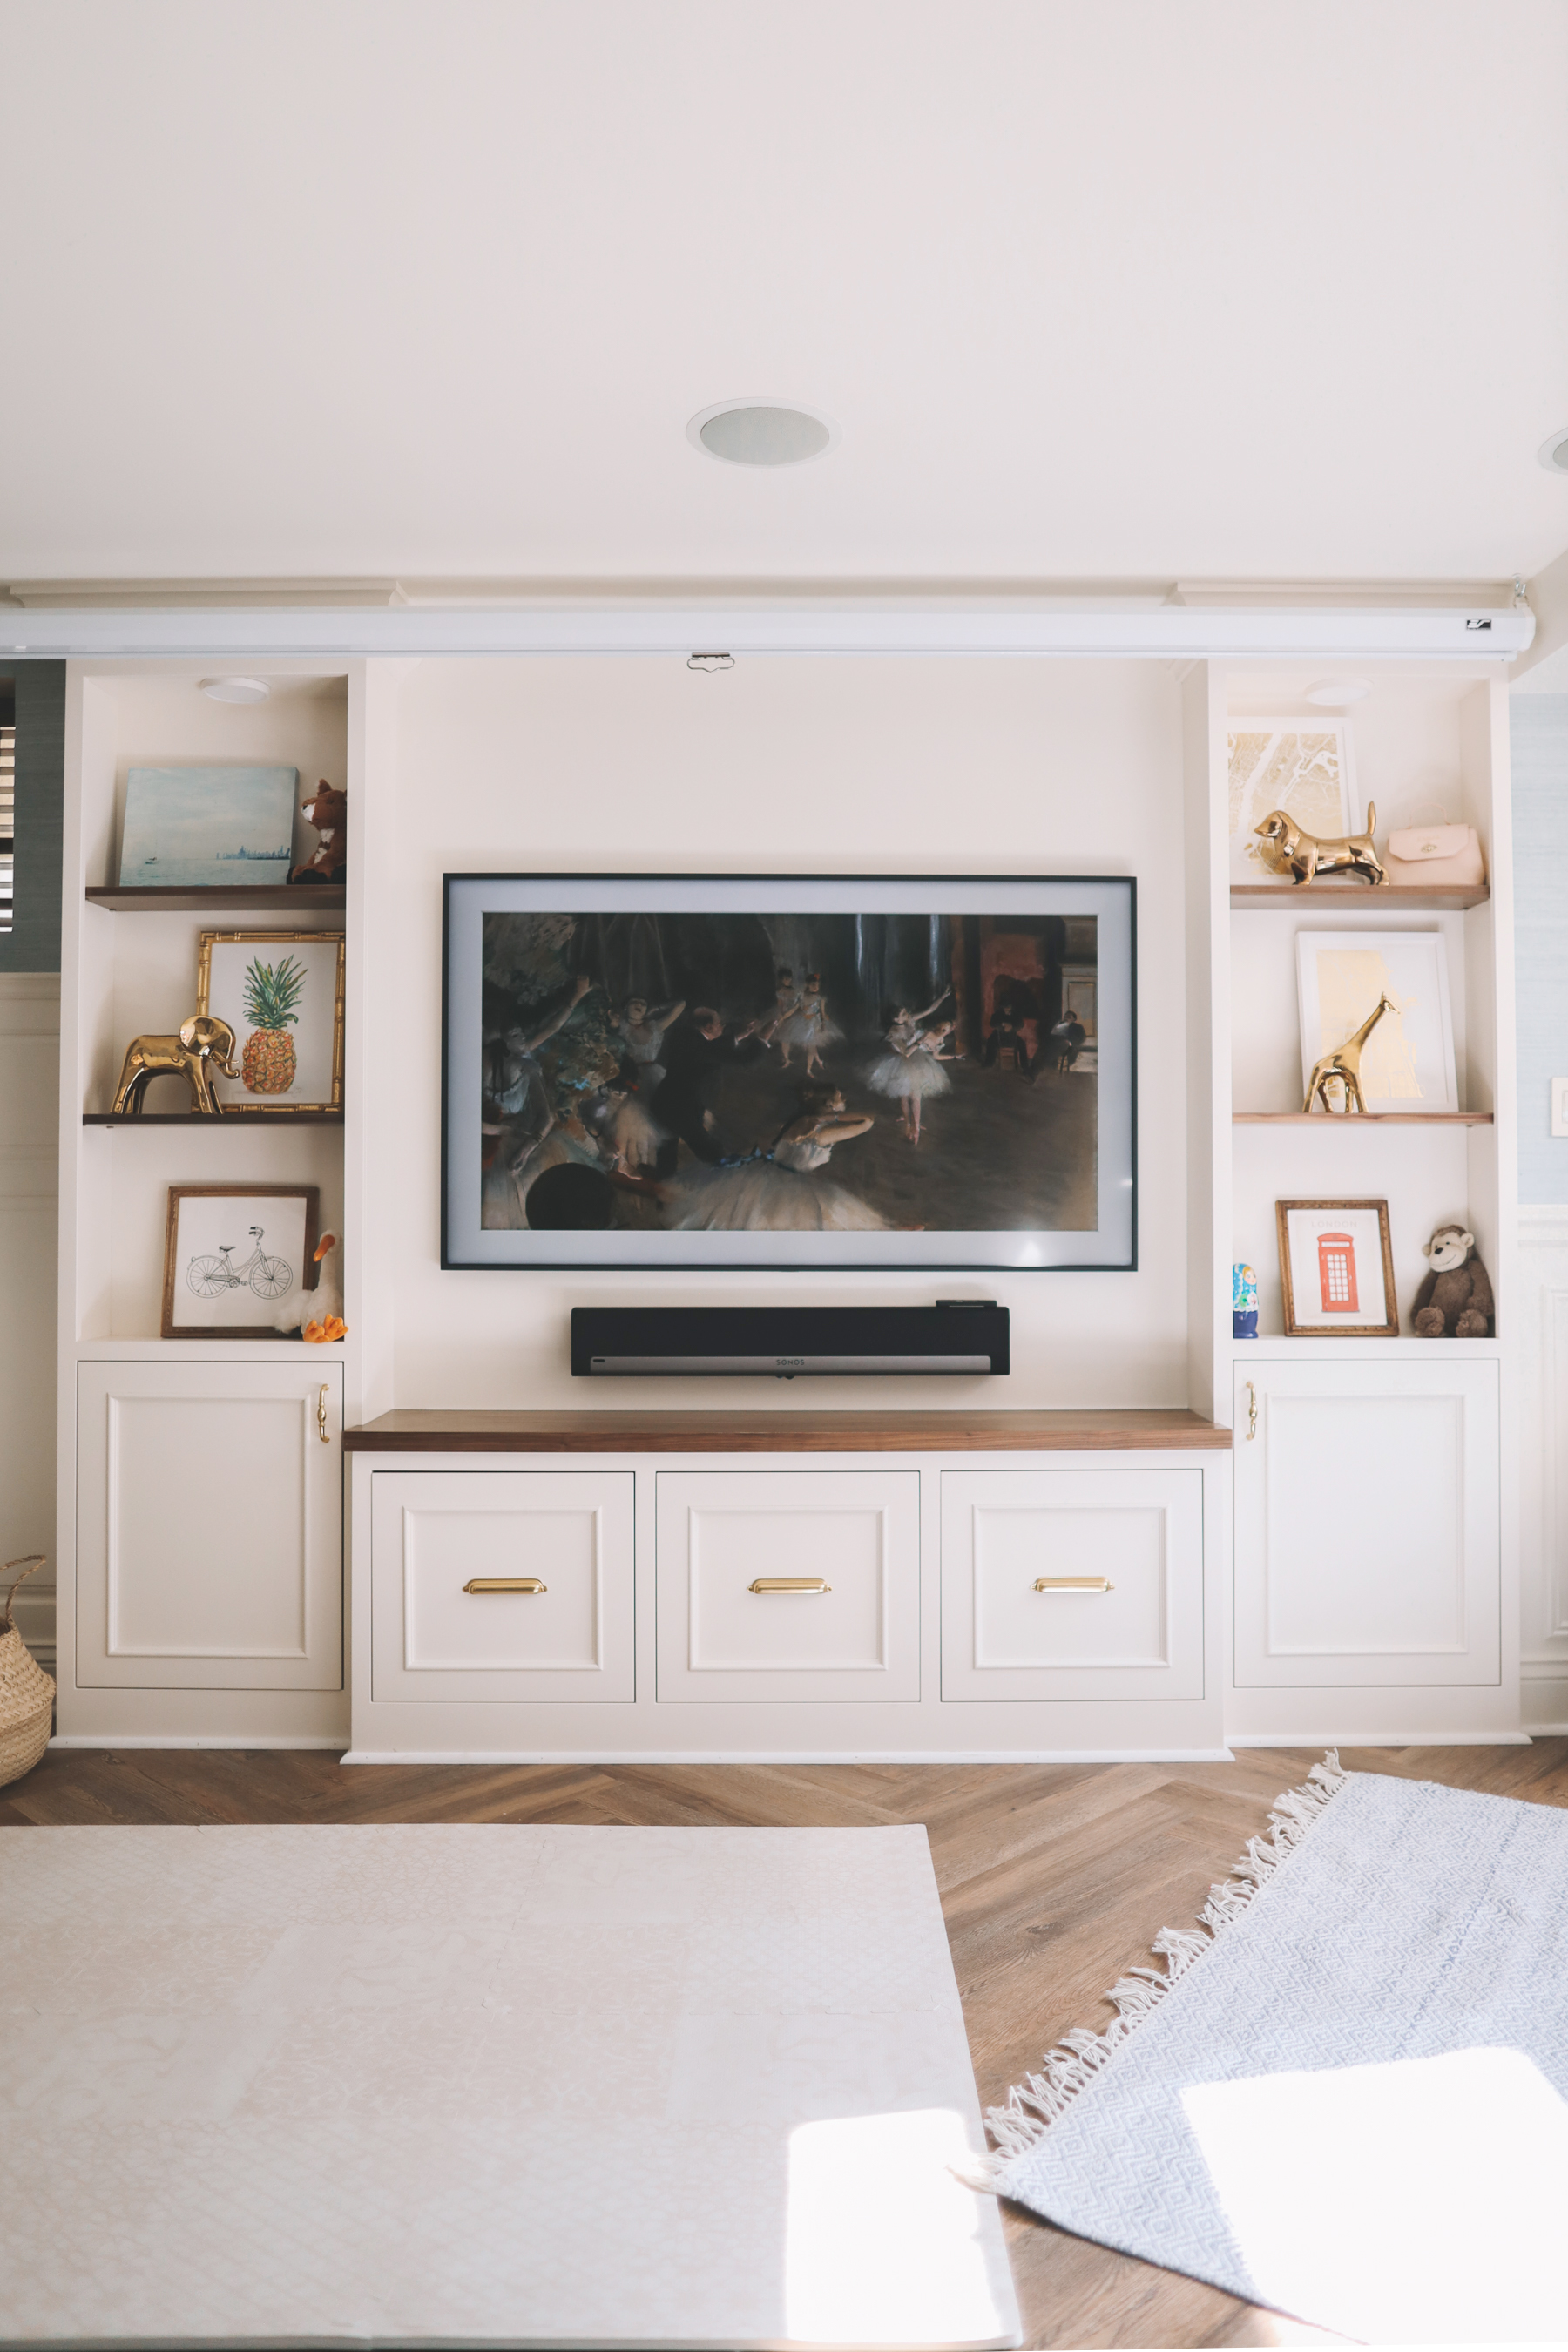
This is where Kira David Design really came to the rescue. In case you’re new here, Kira and her husband Tom are our best friends, and we hired KDD to help us with design a few years ago. Hiring her again with this house was a no-brainer, as we’d just had a baby and really needed the help. We showed her a Pinterest photo for inspiration for the built-in basement TV unit, and we told her we just wanted it to be in keeping with the previous owners’ style. And boom! She designed what you see above. We love how everything flows together and the fact that the unit looks like it’s been there all along. Old but new, if you will. :)
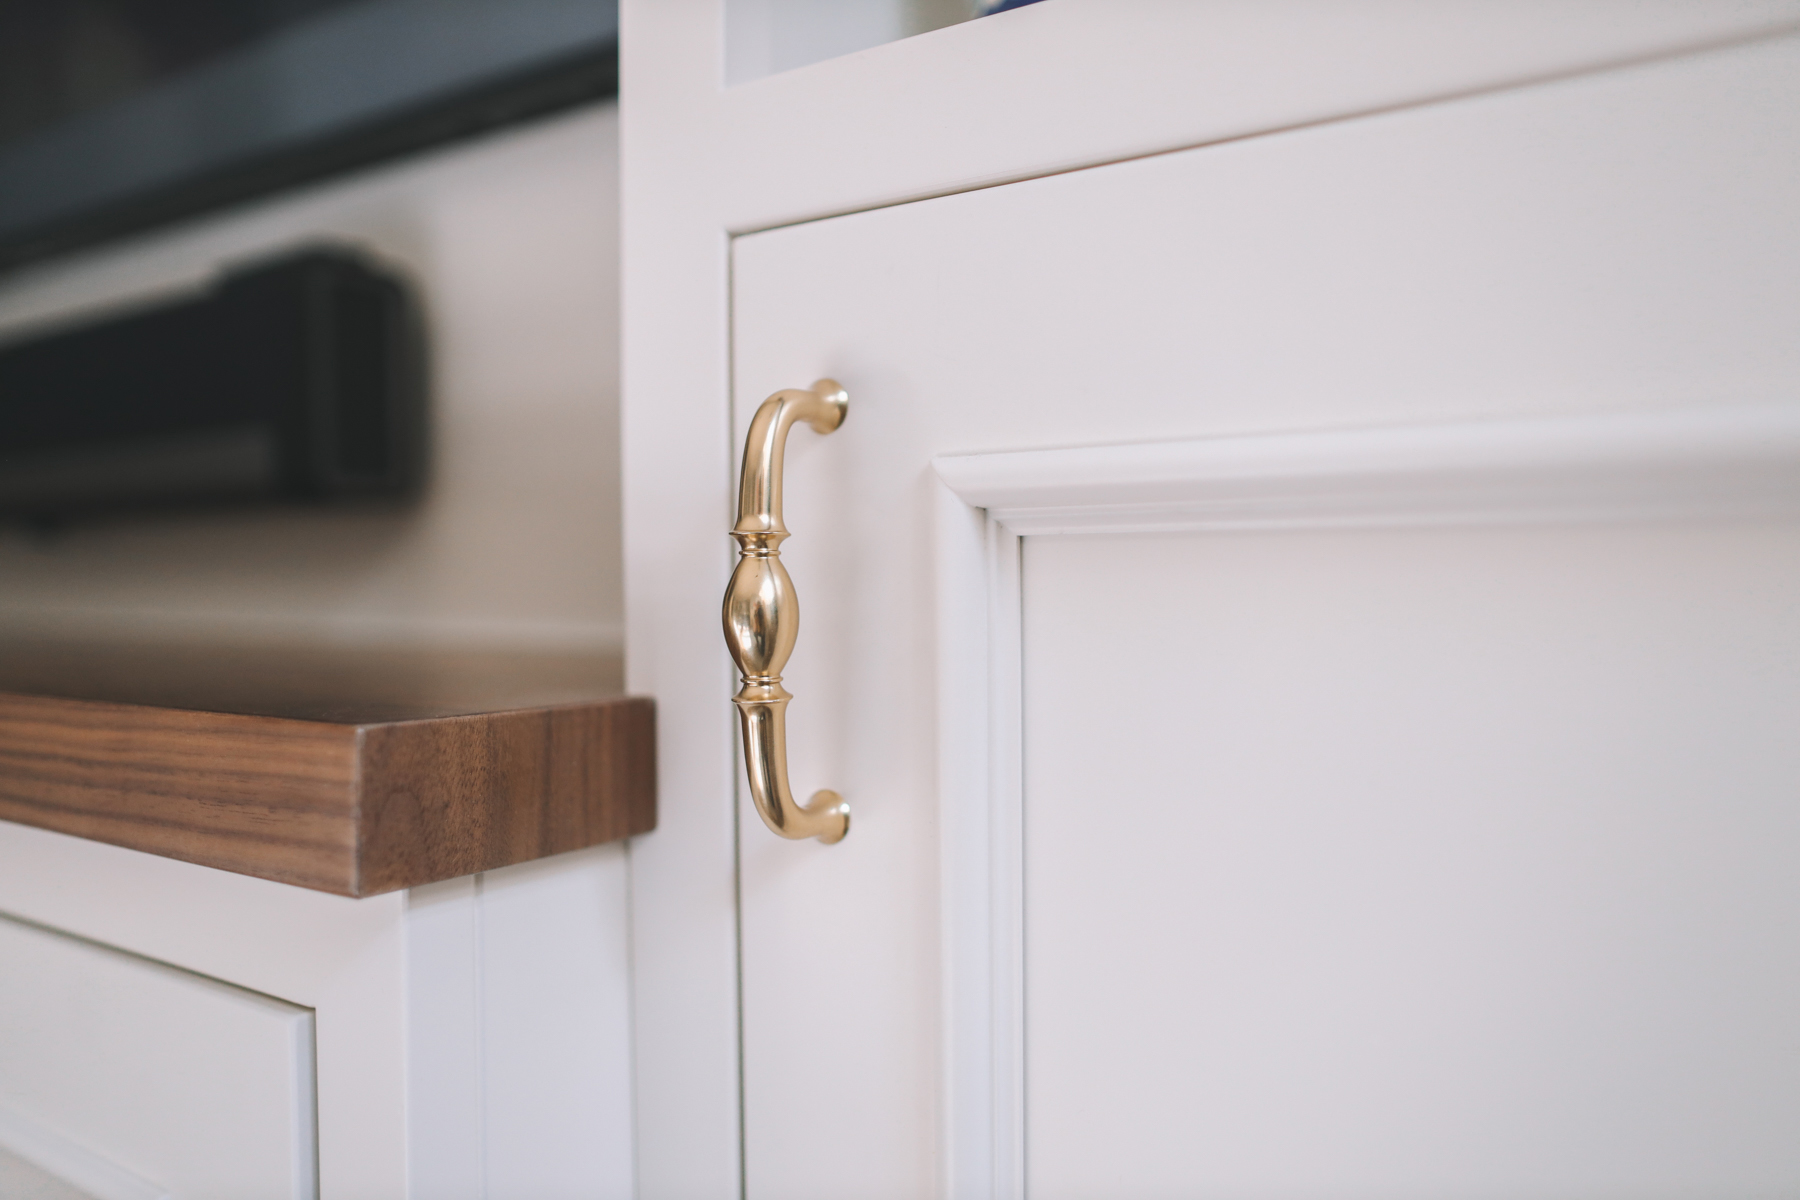
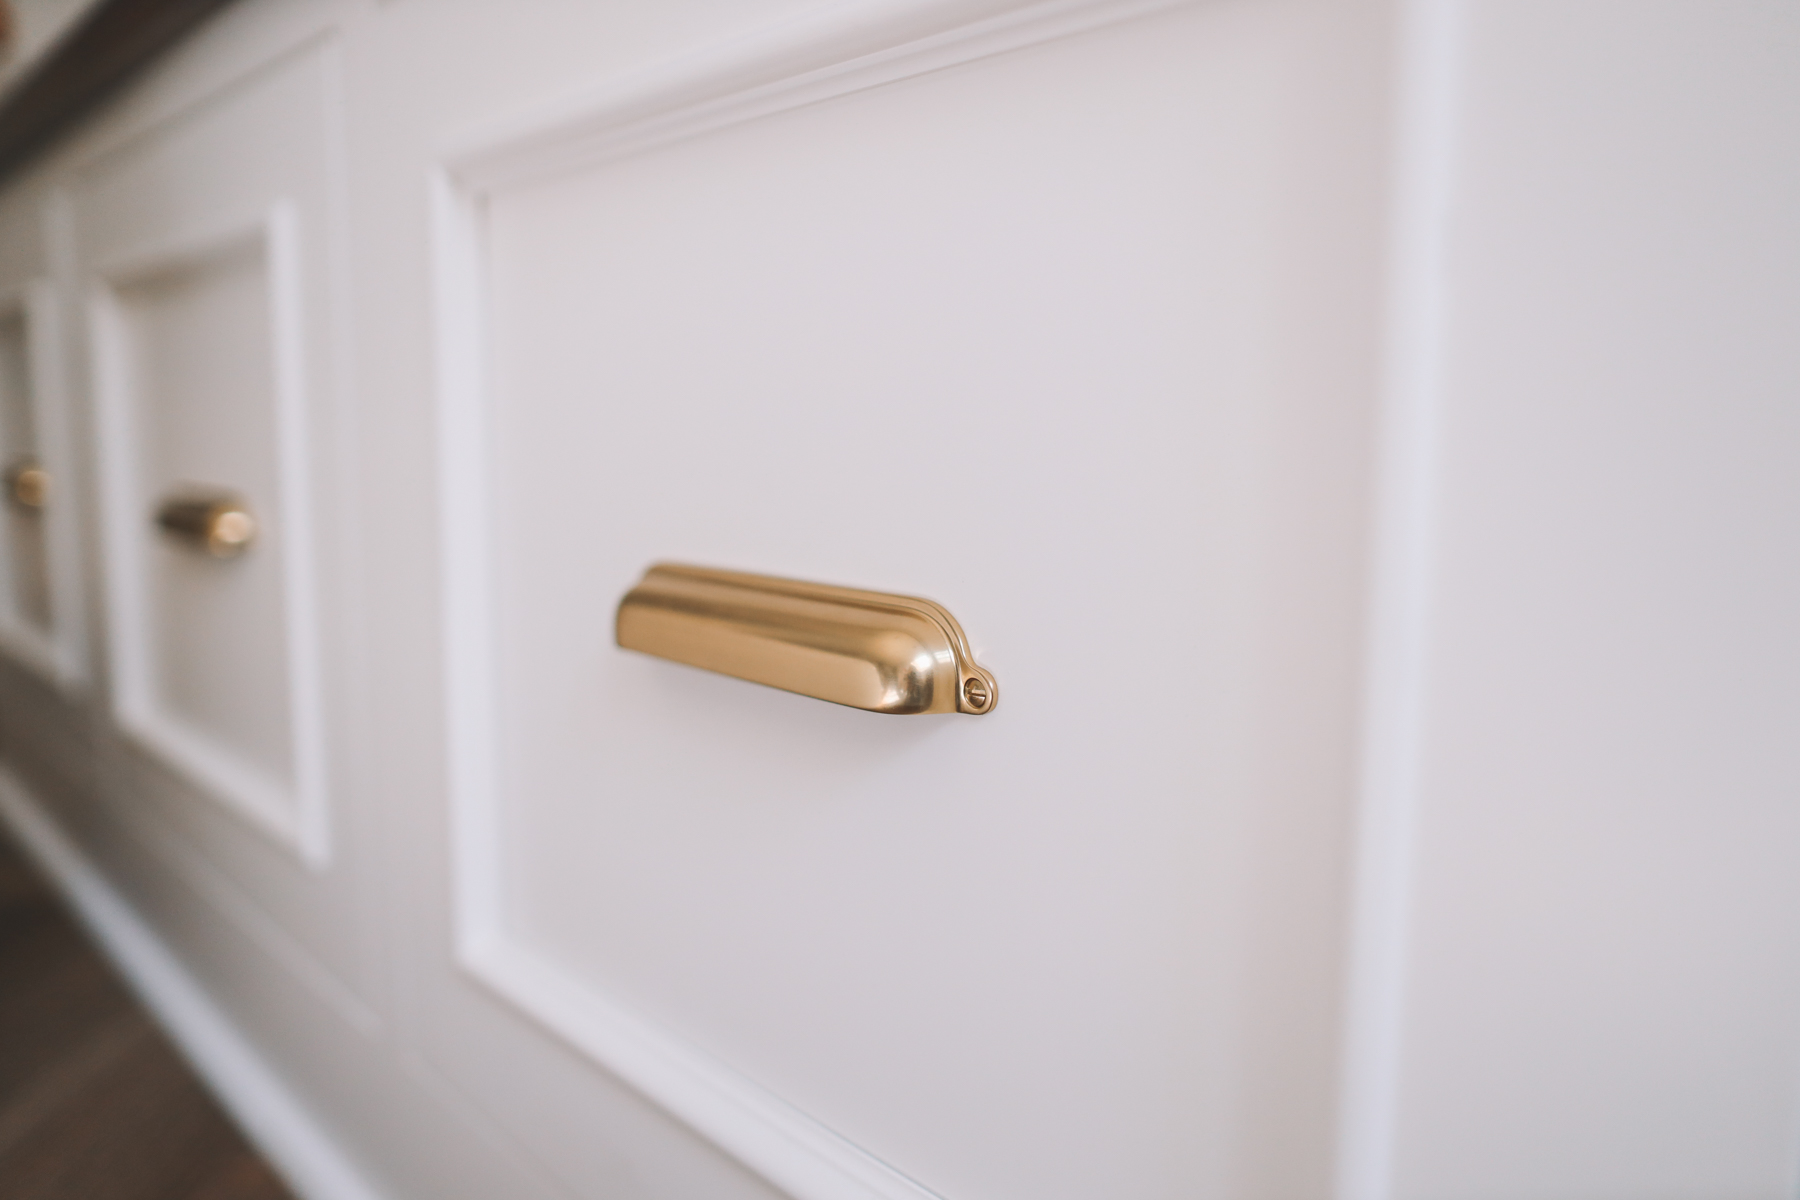
The hardware, I should note, is from Rejuvenation. (These are the drawer pulls and these are the cabinet pulls.)
As for the wainscoting, we love the look but we love its functionality even more. Our biggest goal with this house is to make it comfortable, inviting and usable for our children. Yes, I want to make it nice, but it’s not a museum. We learned in our last home that wainscoting is great for keeping walls clean; as long as you use a semi gloss finish, you can wash little handprints and other muck right off.
We all know that I’m a huge fan of wallpaper, so this has enabled me to wallpaper freely without worry, too. If the kids can’t reach it, there’s very little risk!
Before
After
Fireplace
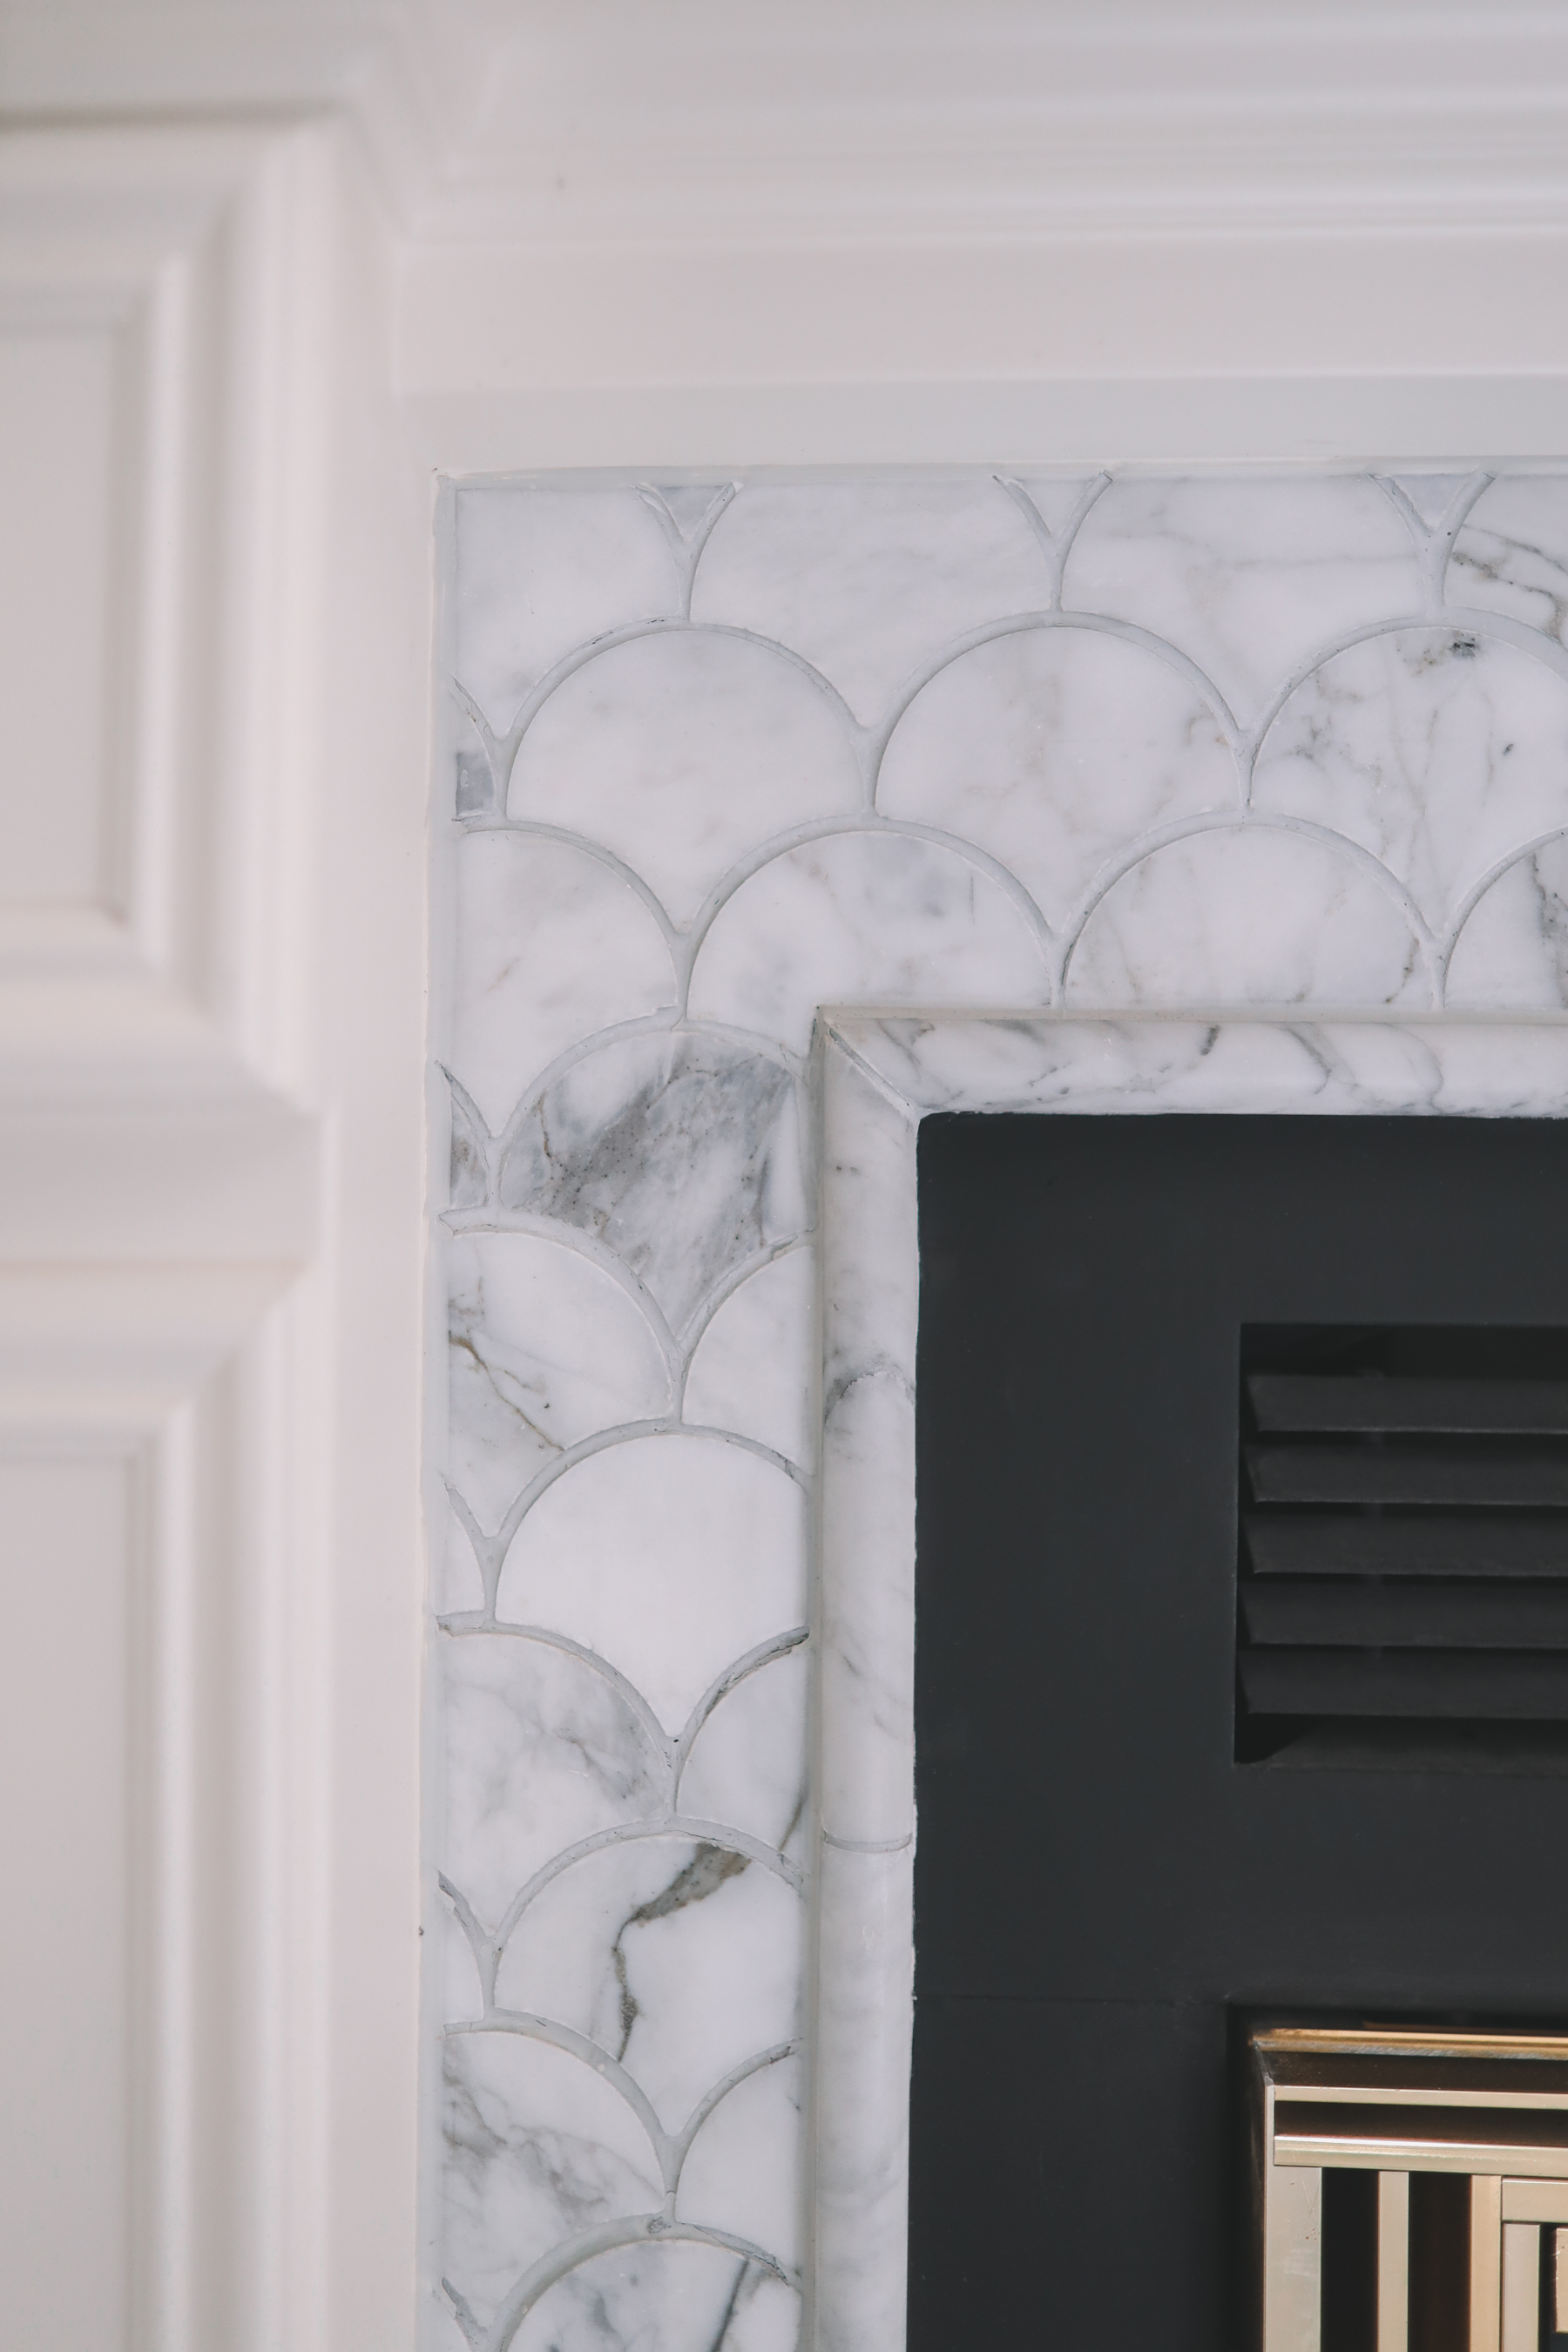
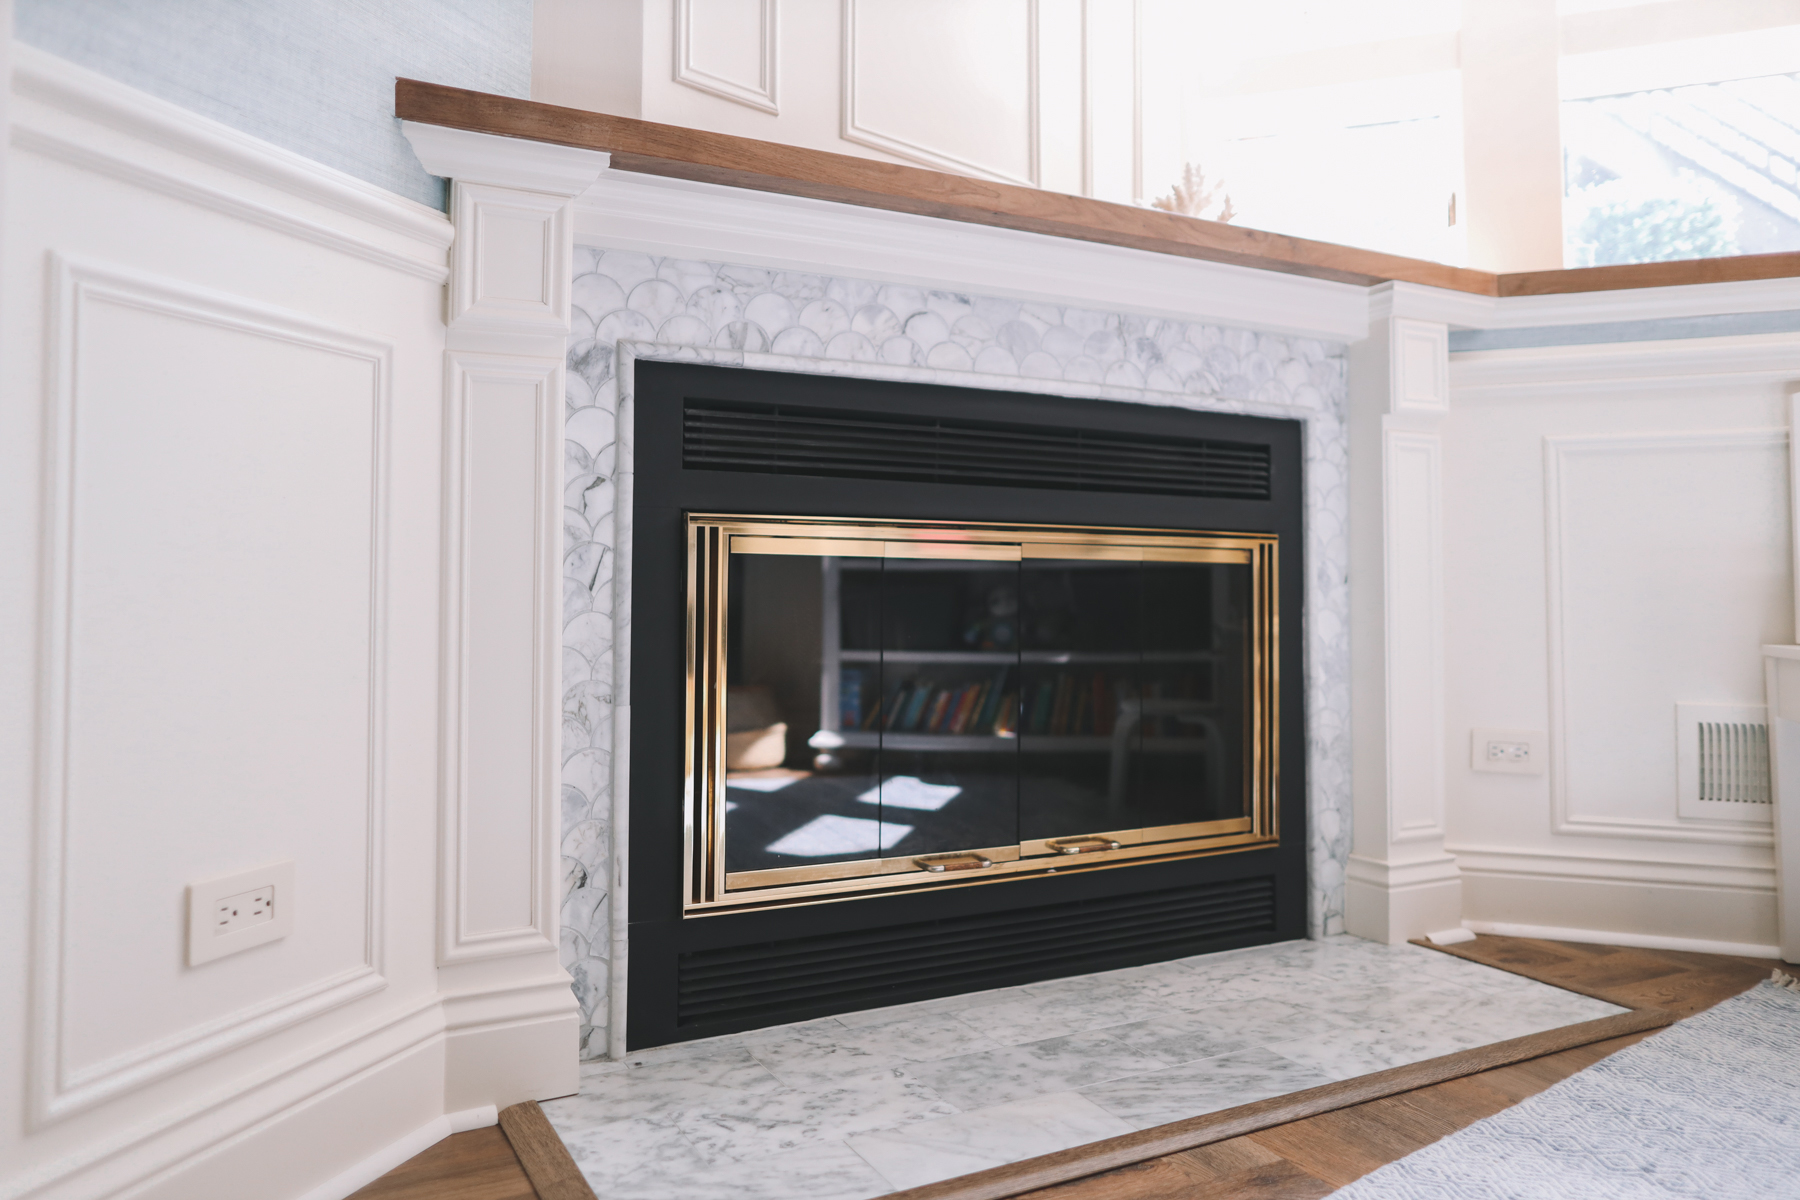
I love the scallop tile we chose for the fireplace surround. It’s very Kelly. 😜 It’s the same tile we used for the backsplash for the desk in our kitchen. A+ review from the Larkins. Classy and timeless yet really adorable when you look closely. ;)
As for the granite, Mitch and I didn’t mind it; I really like the look of white walls and cabinets against dark countertops and whatnot. But since we were simultaneously having a walnut mantel installed in the living room, we were nervous that we’d one day regret not installing the walnut in the basement as well. VERY glad we did that as it makes a big impact. (We also went ahead and installed it on the basement built-in TV unit, too.)
One thing we do regret? Not replacing the wood-burning fireplace with a gas one. I know, I know. Wood-burning is amazing. And I agree! But it takes work and maintenance, and with two small children, we usually don’t light fires because it’s such a hassle and very messy. Upstairs, though, we have a gas fireplace, and we use it every day. It’s the best. We were trying to save money, and we didn’t know how chilly the basement would get over the winter. But we’d have to totally destroy the current fireplace in order to get gas, and that sounds like a nightmare. So sweatshirts it is! 😉
Before
After
Wet bar
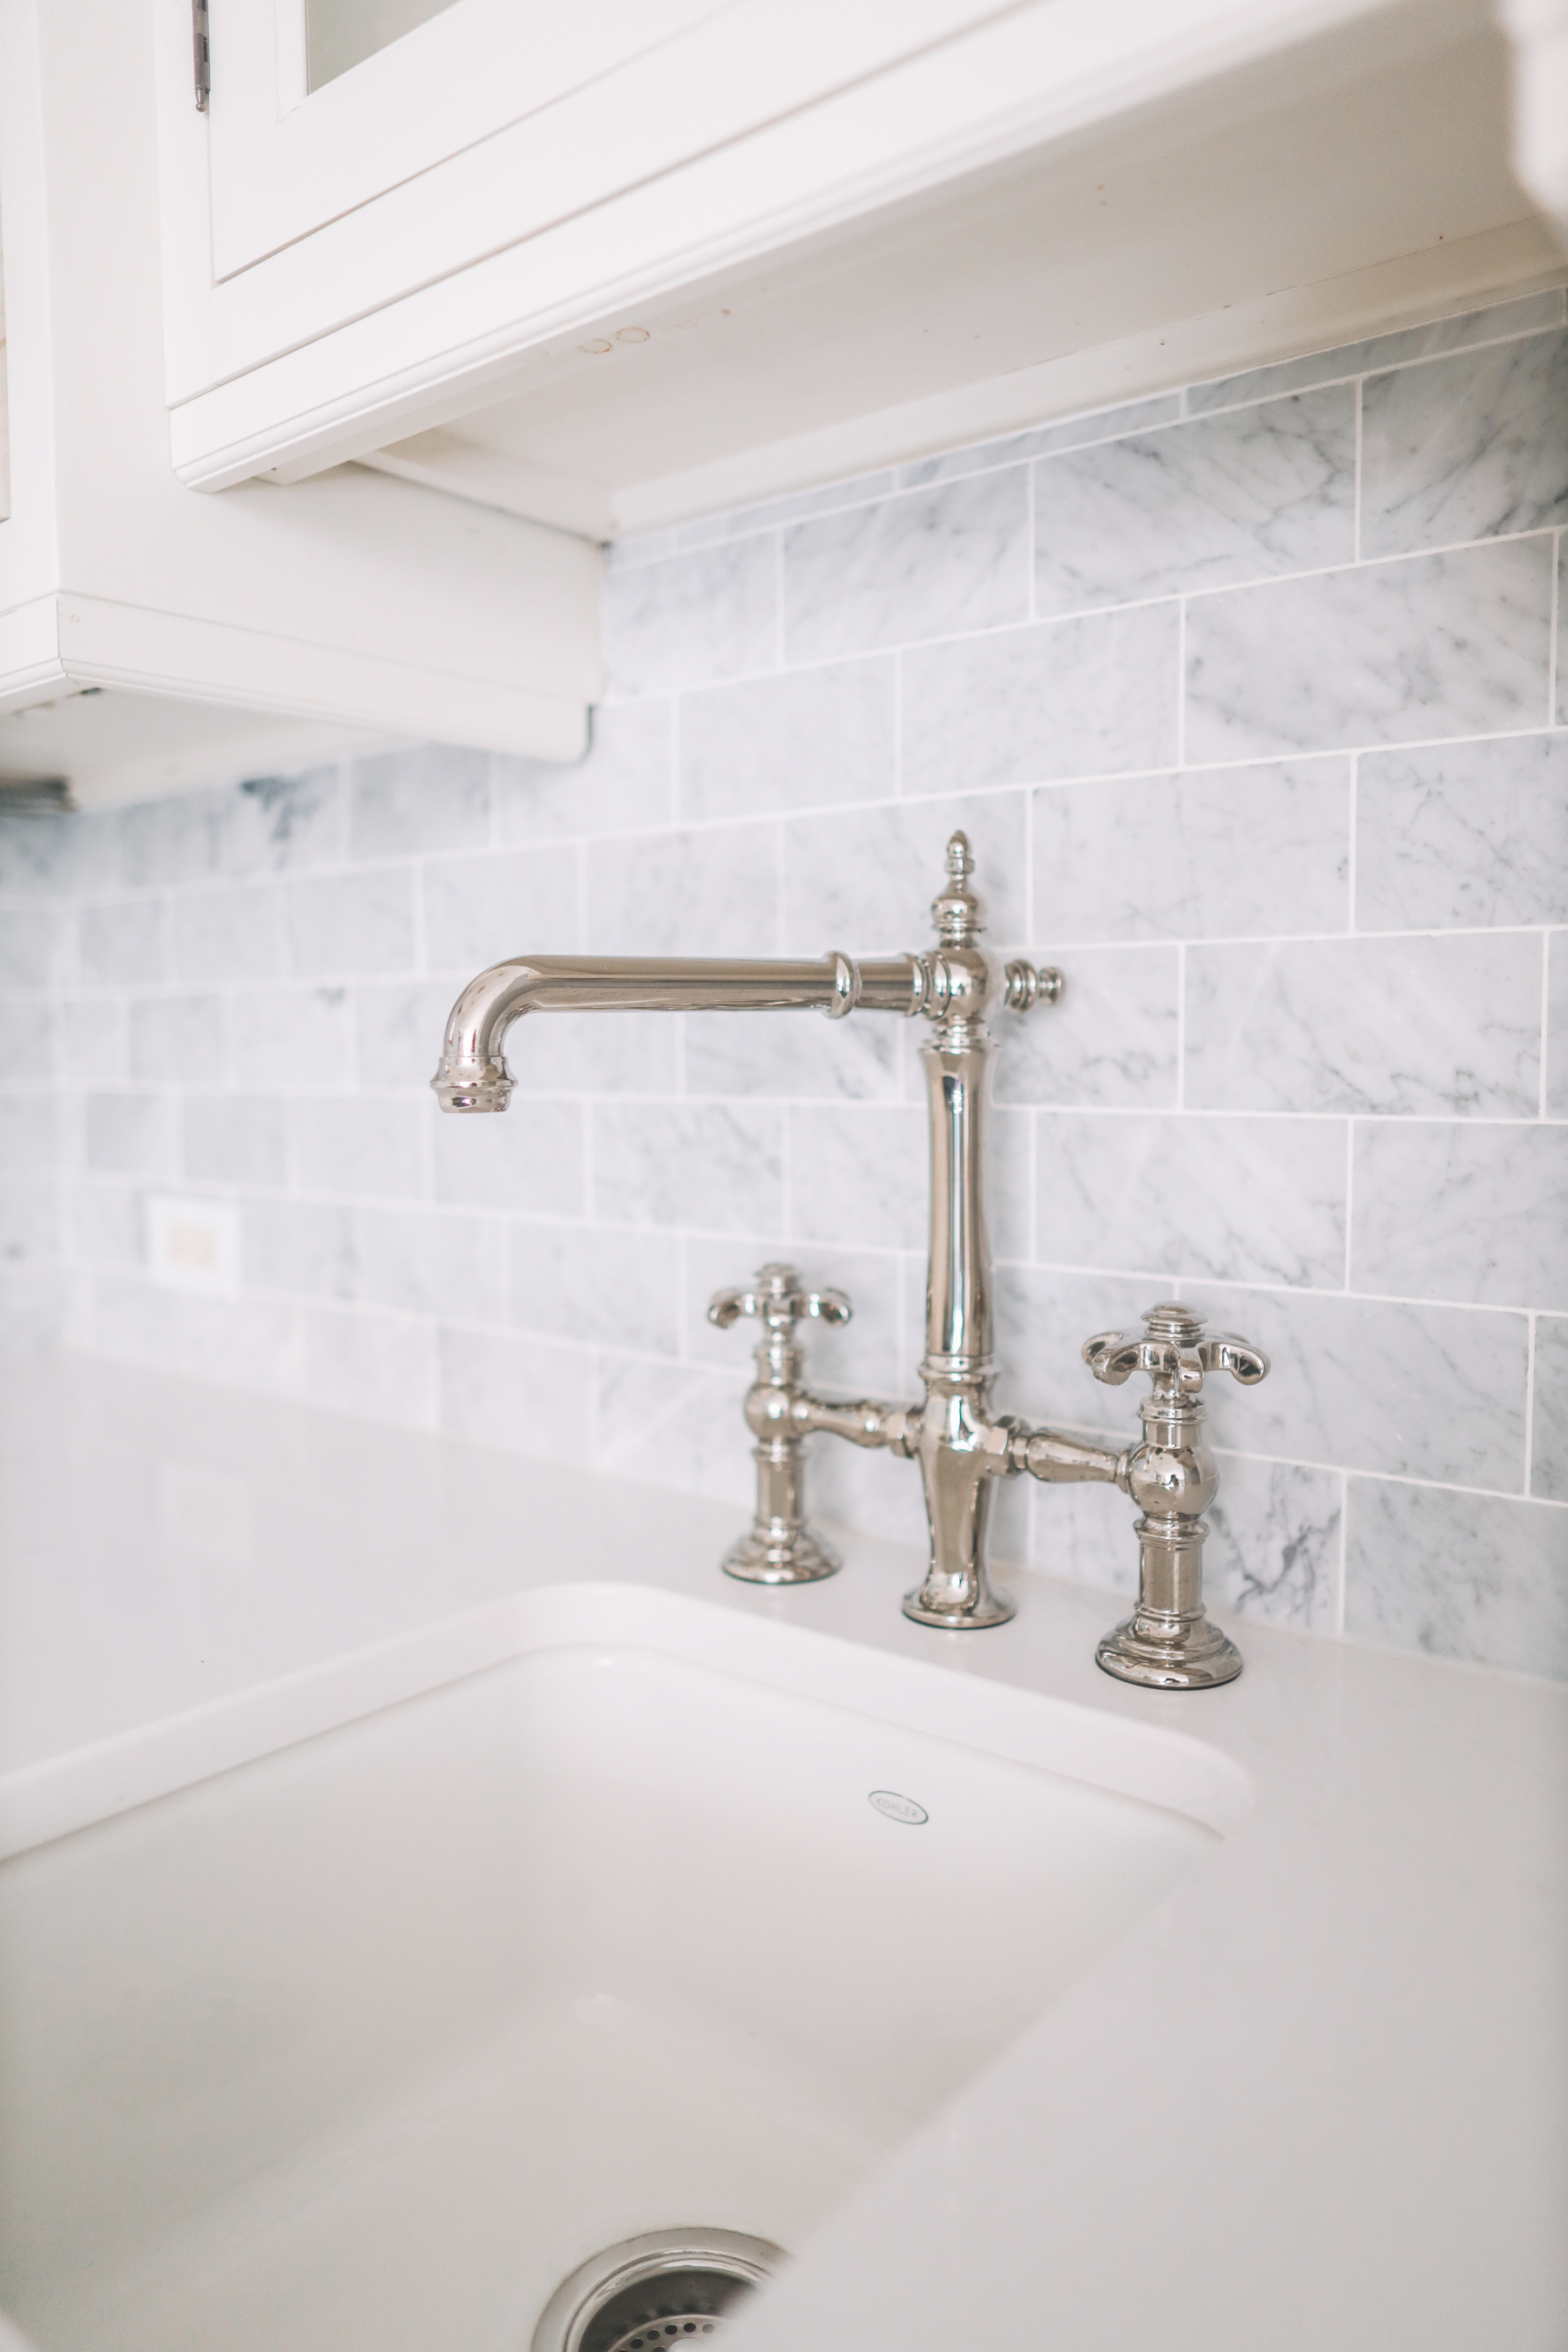
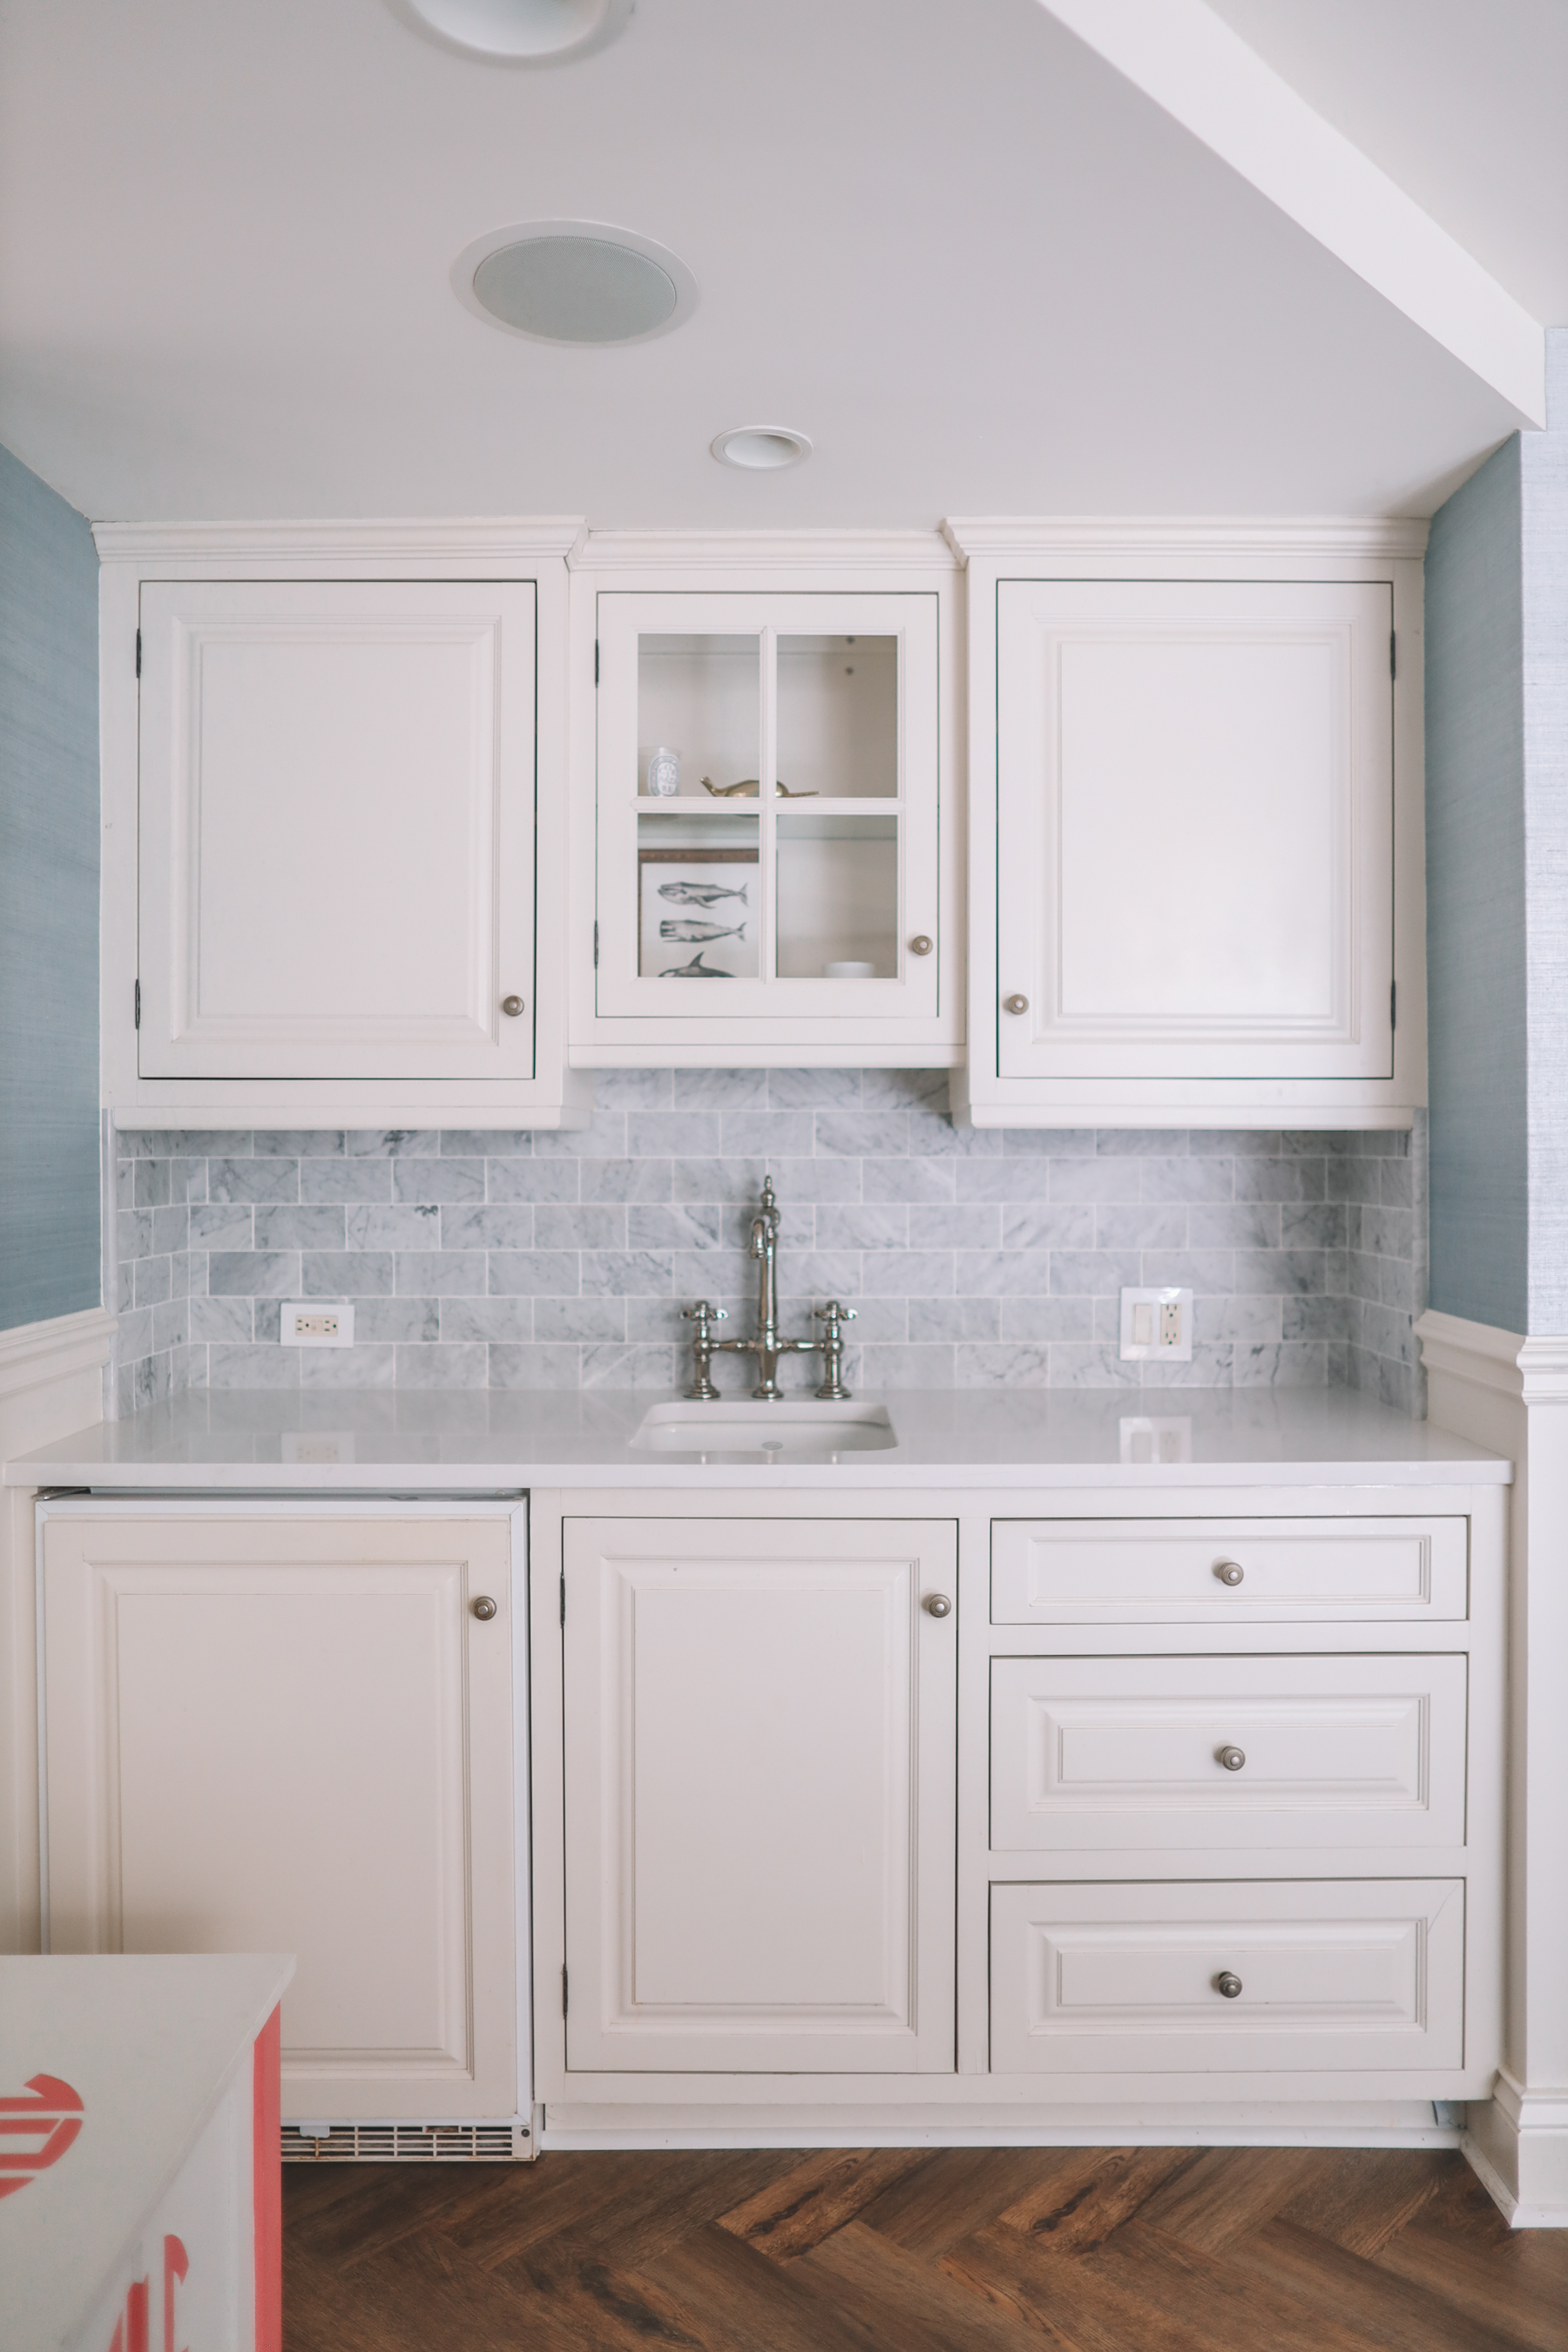
As I mentioned before, Home Depot quickly installed the same quartz countertop and marble backsplash in the wet bar as they did in our kitchen. I couldn’t believe how much it brightened things up!
Our friends at Kohler sent us the new faucet (along with the sink and lotion dispenser), too, which gave it an updated feel. (Isn’t it beautiful? Guys, this is 35. Ten years ago, I got excited about going to bars. And now here I am, getting excited about faucets, and I’m great with that, haha.)
We currently don’t use the wet bar for anything, but maybe that’ll change in the future and it’ll be good for guests or parties? (Though my parent have one and never use it either. 😜) Fridge is also broken, but since we don’t need a fridge down there, we use it as storage. Lots of warm wine in there. It’s pretty funny.

Art + decor
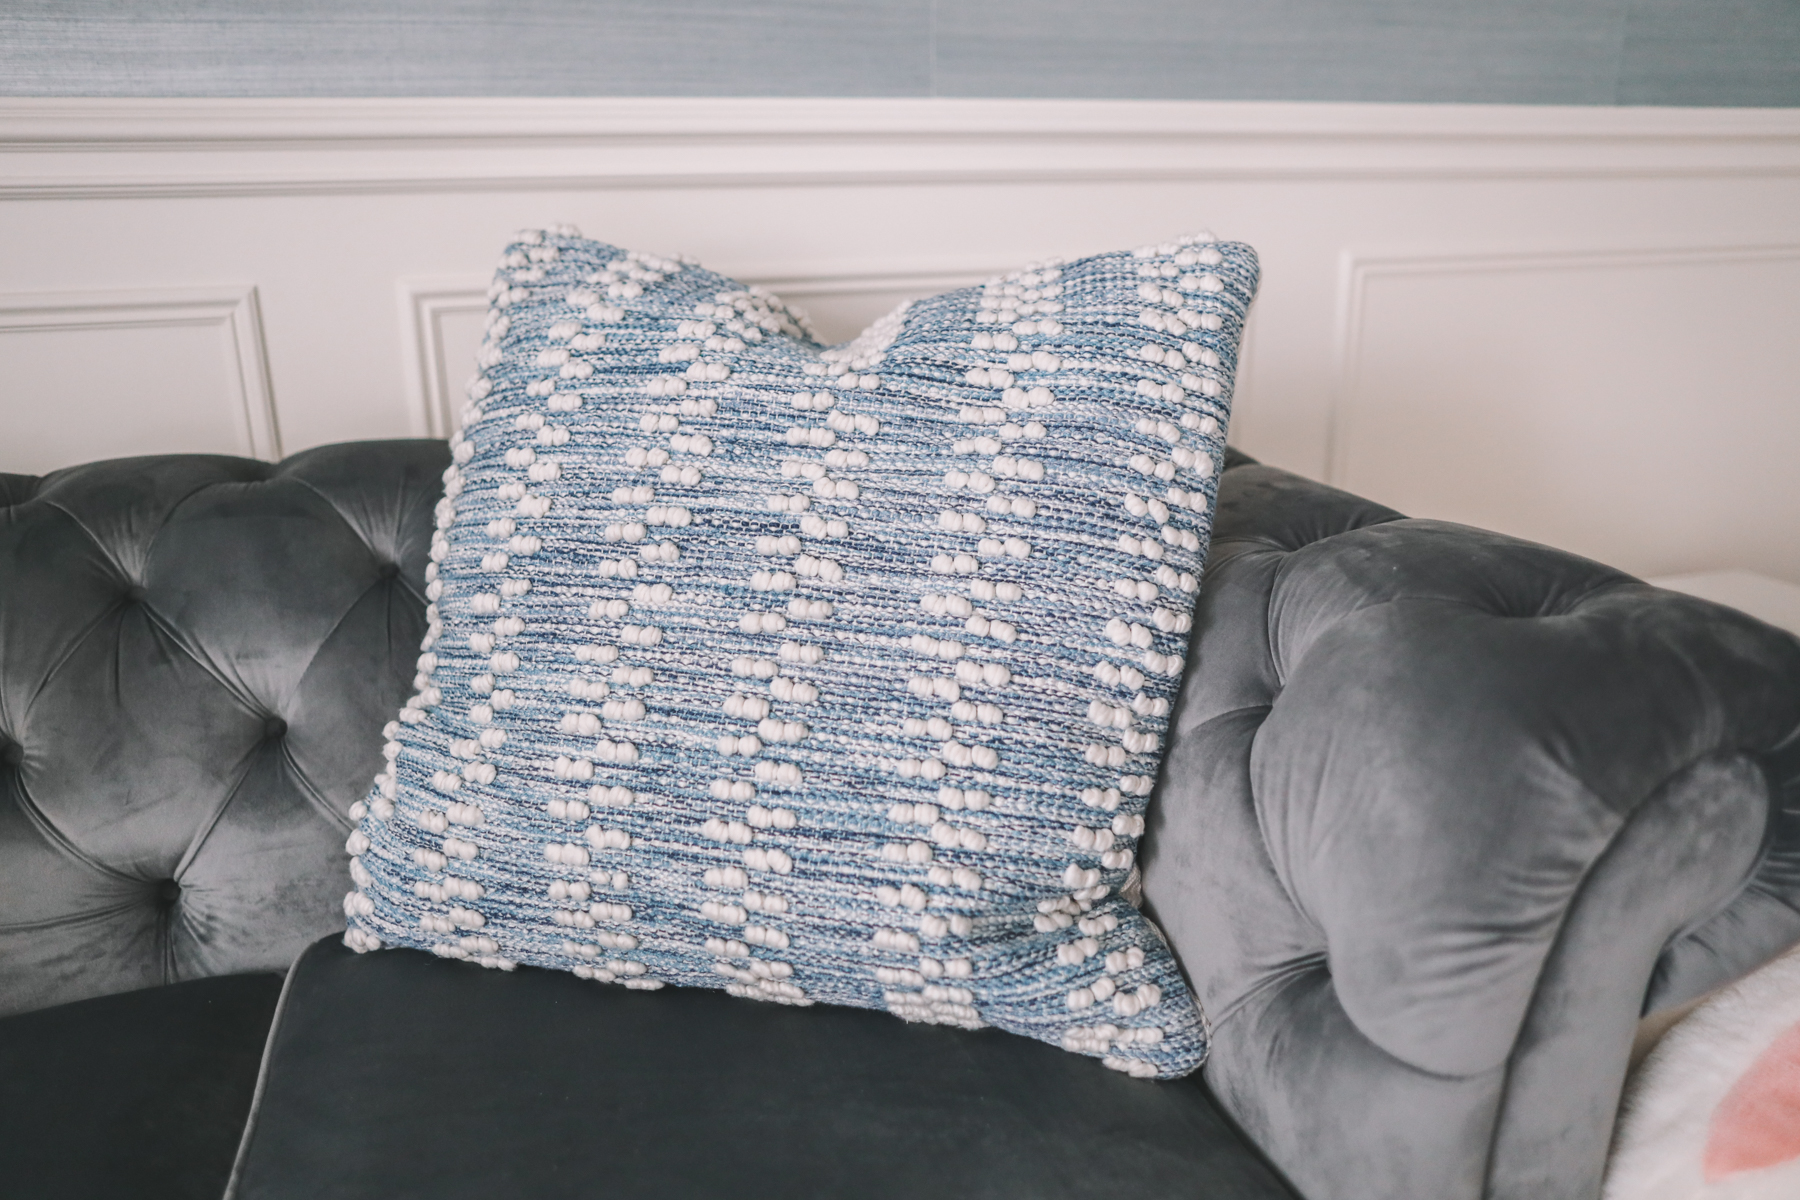
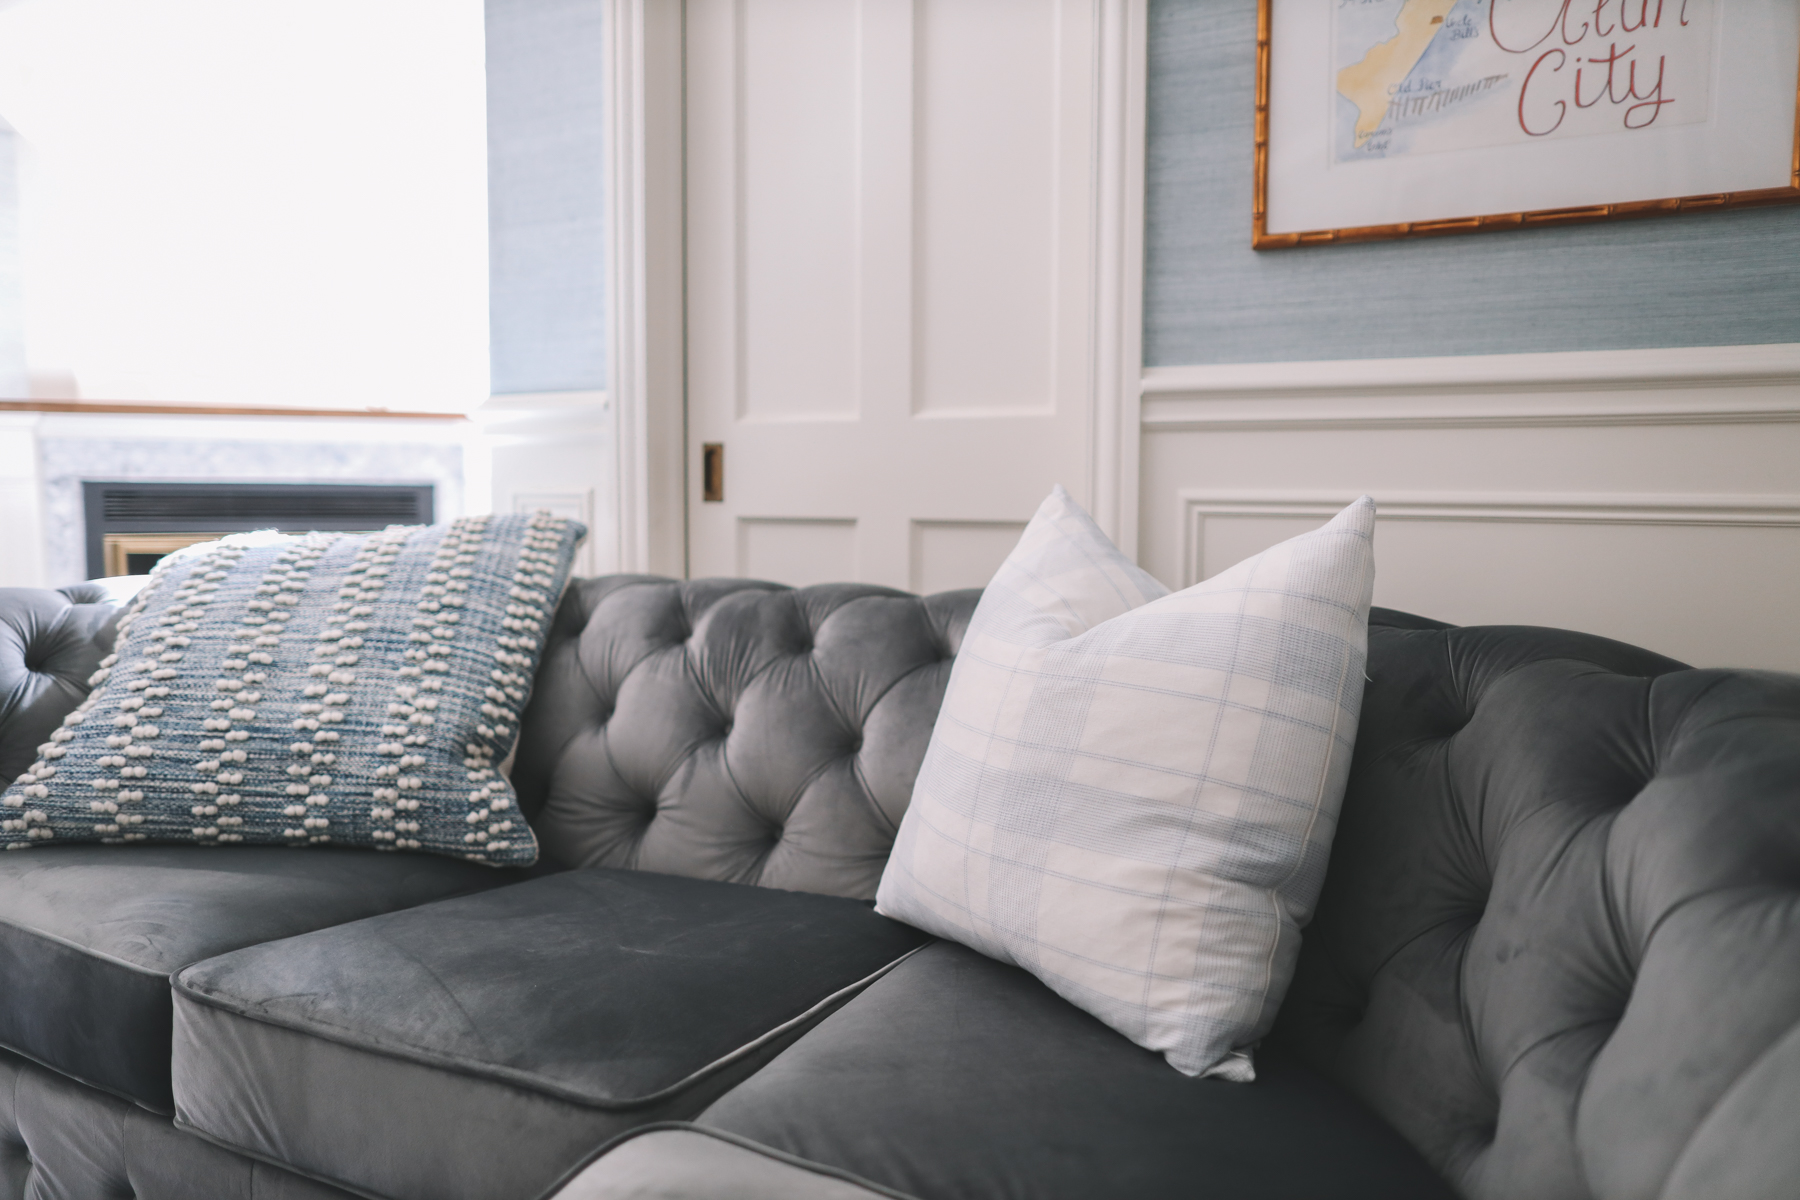
Oversized blue pillows: Annie Selke
Plaid pillow: Annie Selke
Branch coral: Annie Selke
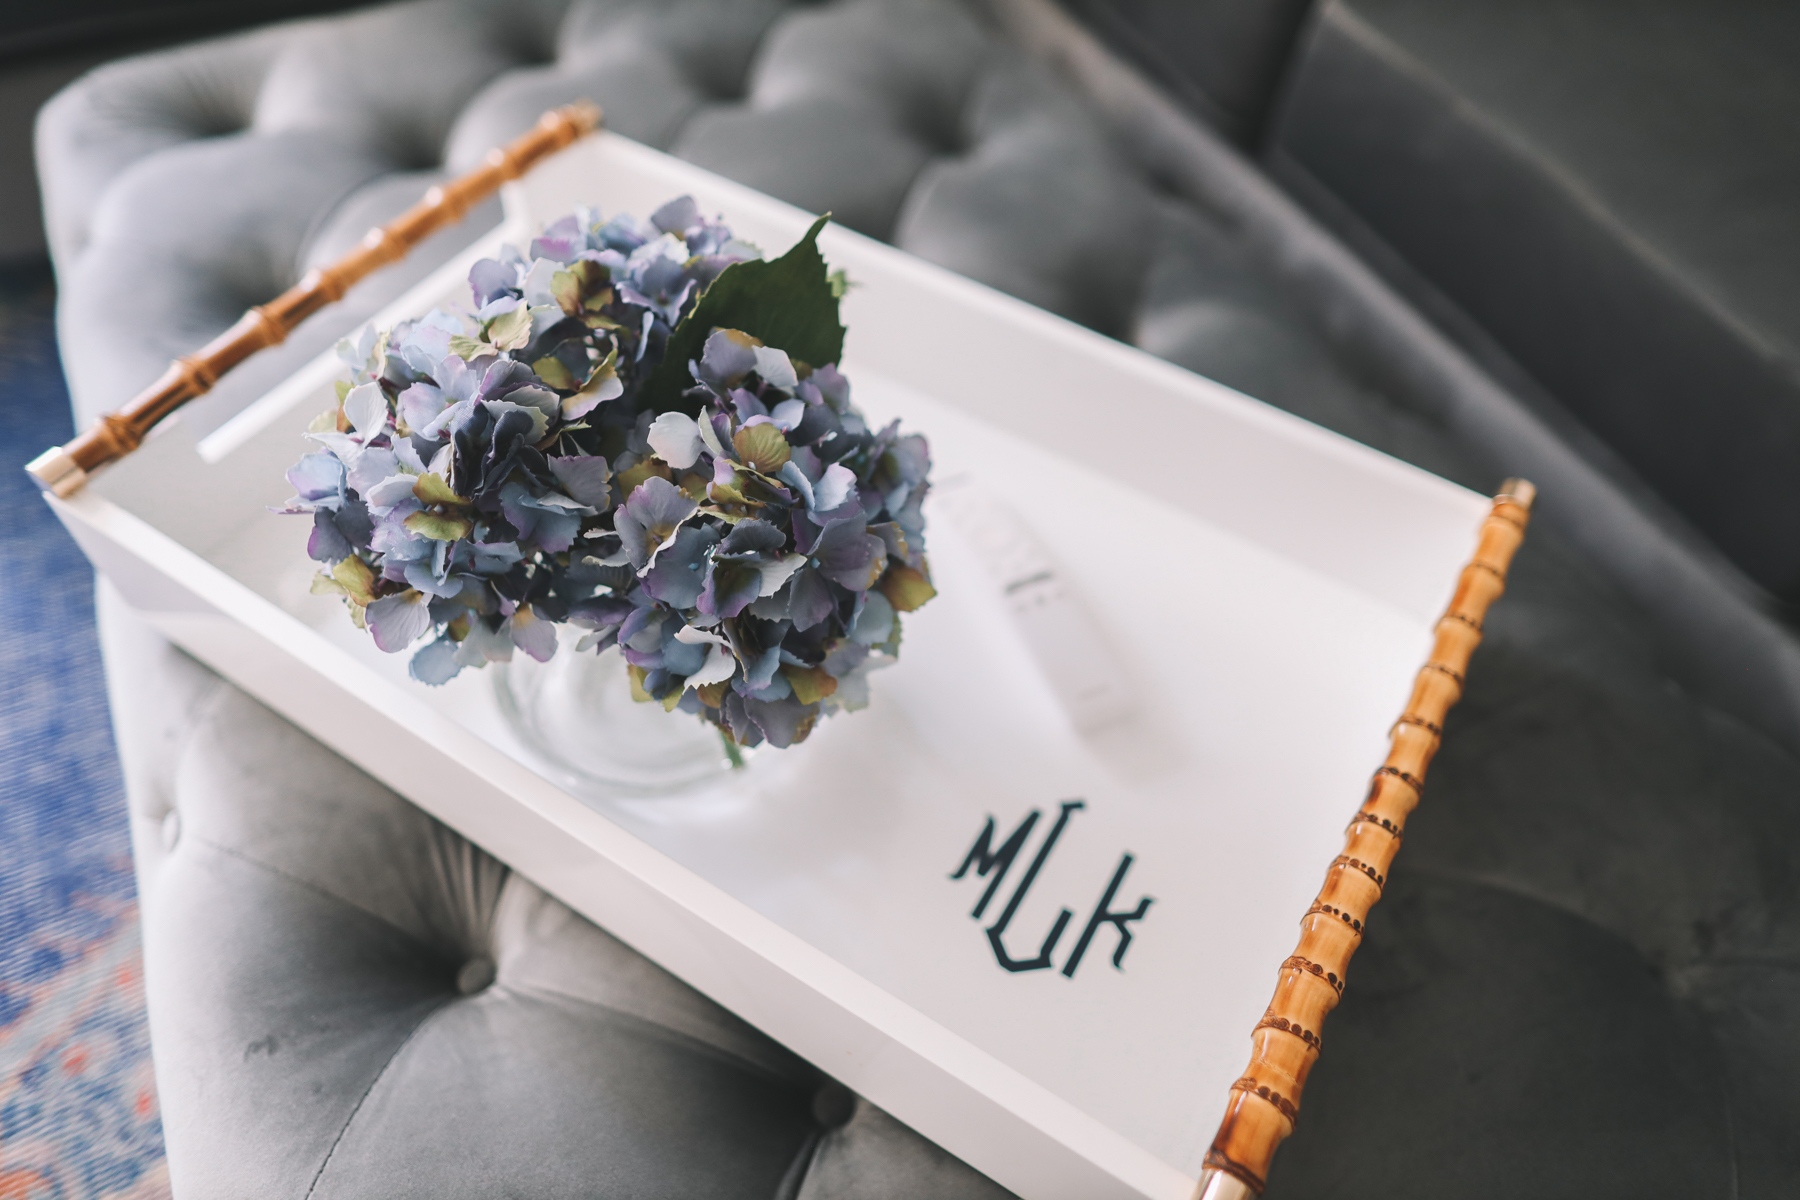
Bamboo tray: Mark & Graham
Faux hydrangeas: Amazon
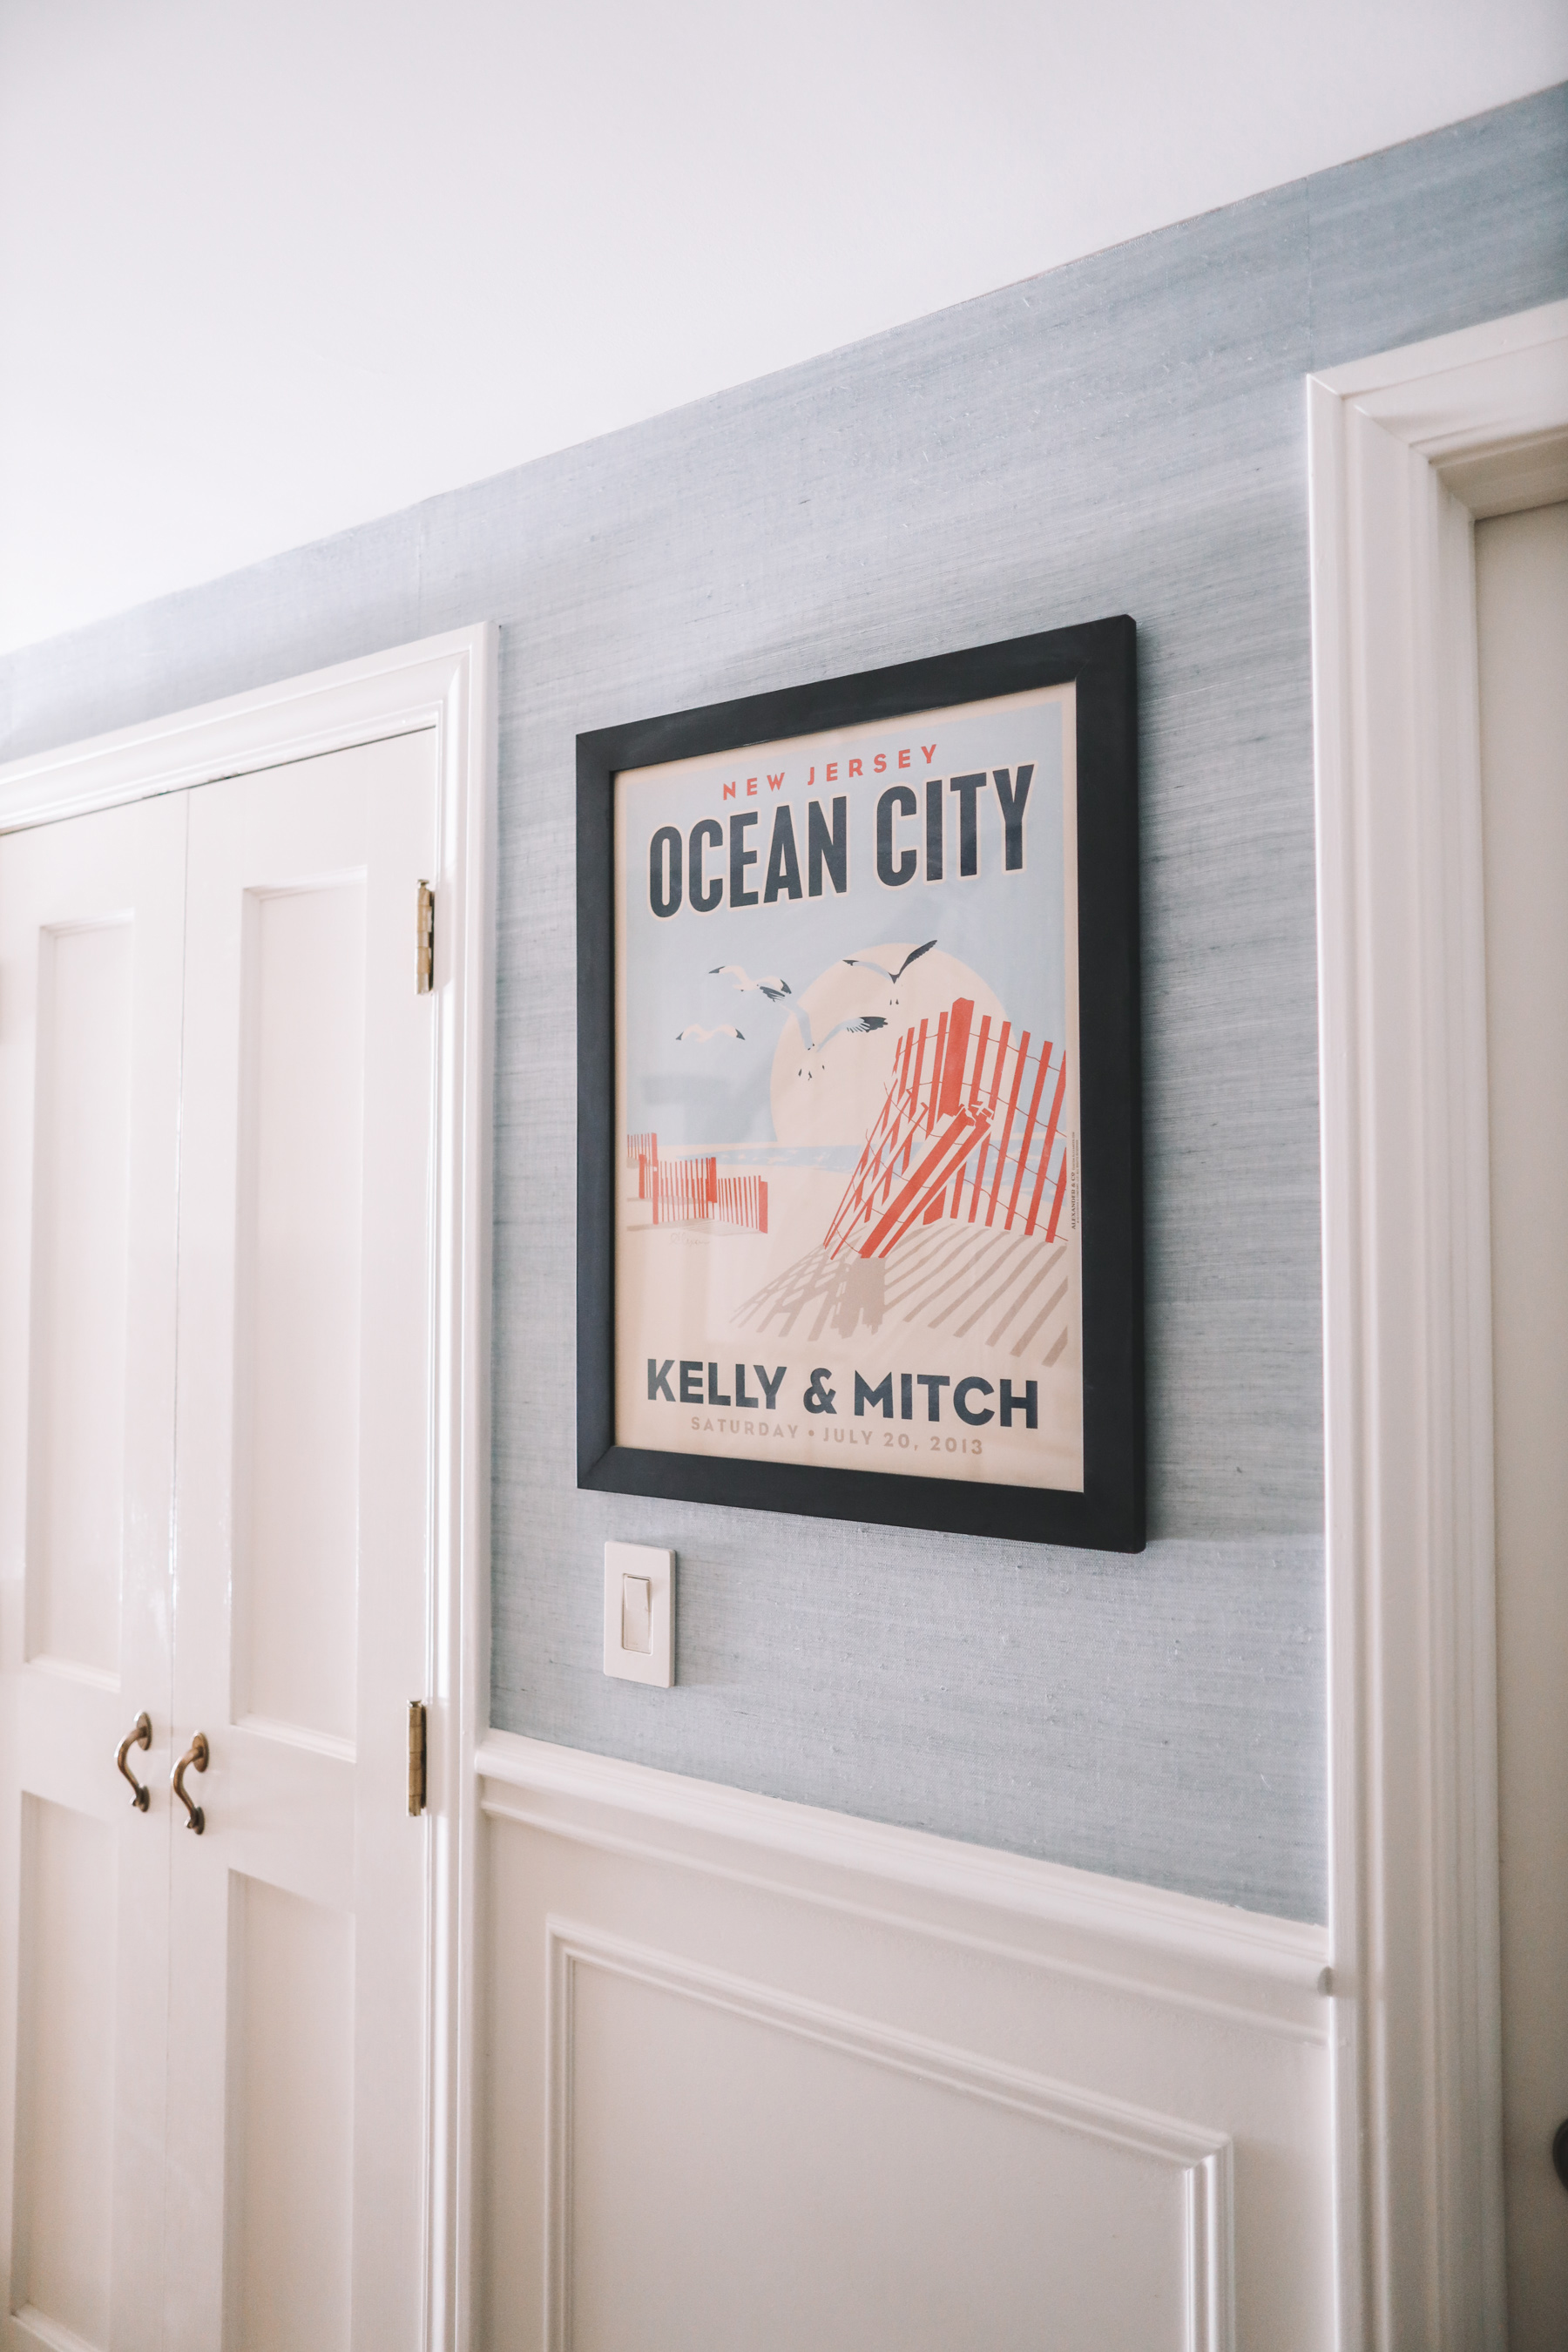
Personalized Ocean City wedding frame: My aunt! It’s from a store called “The Depot” in Morristown, New Jersey.
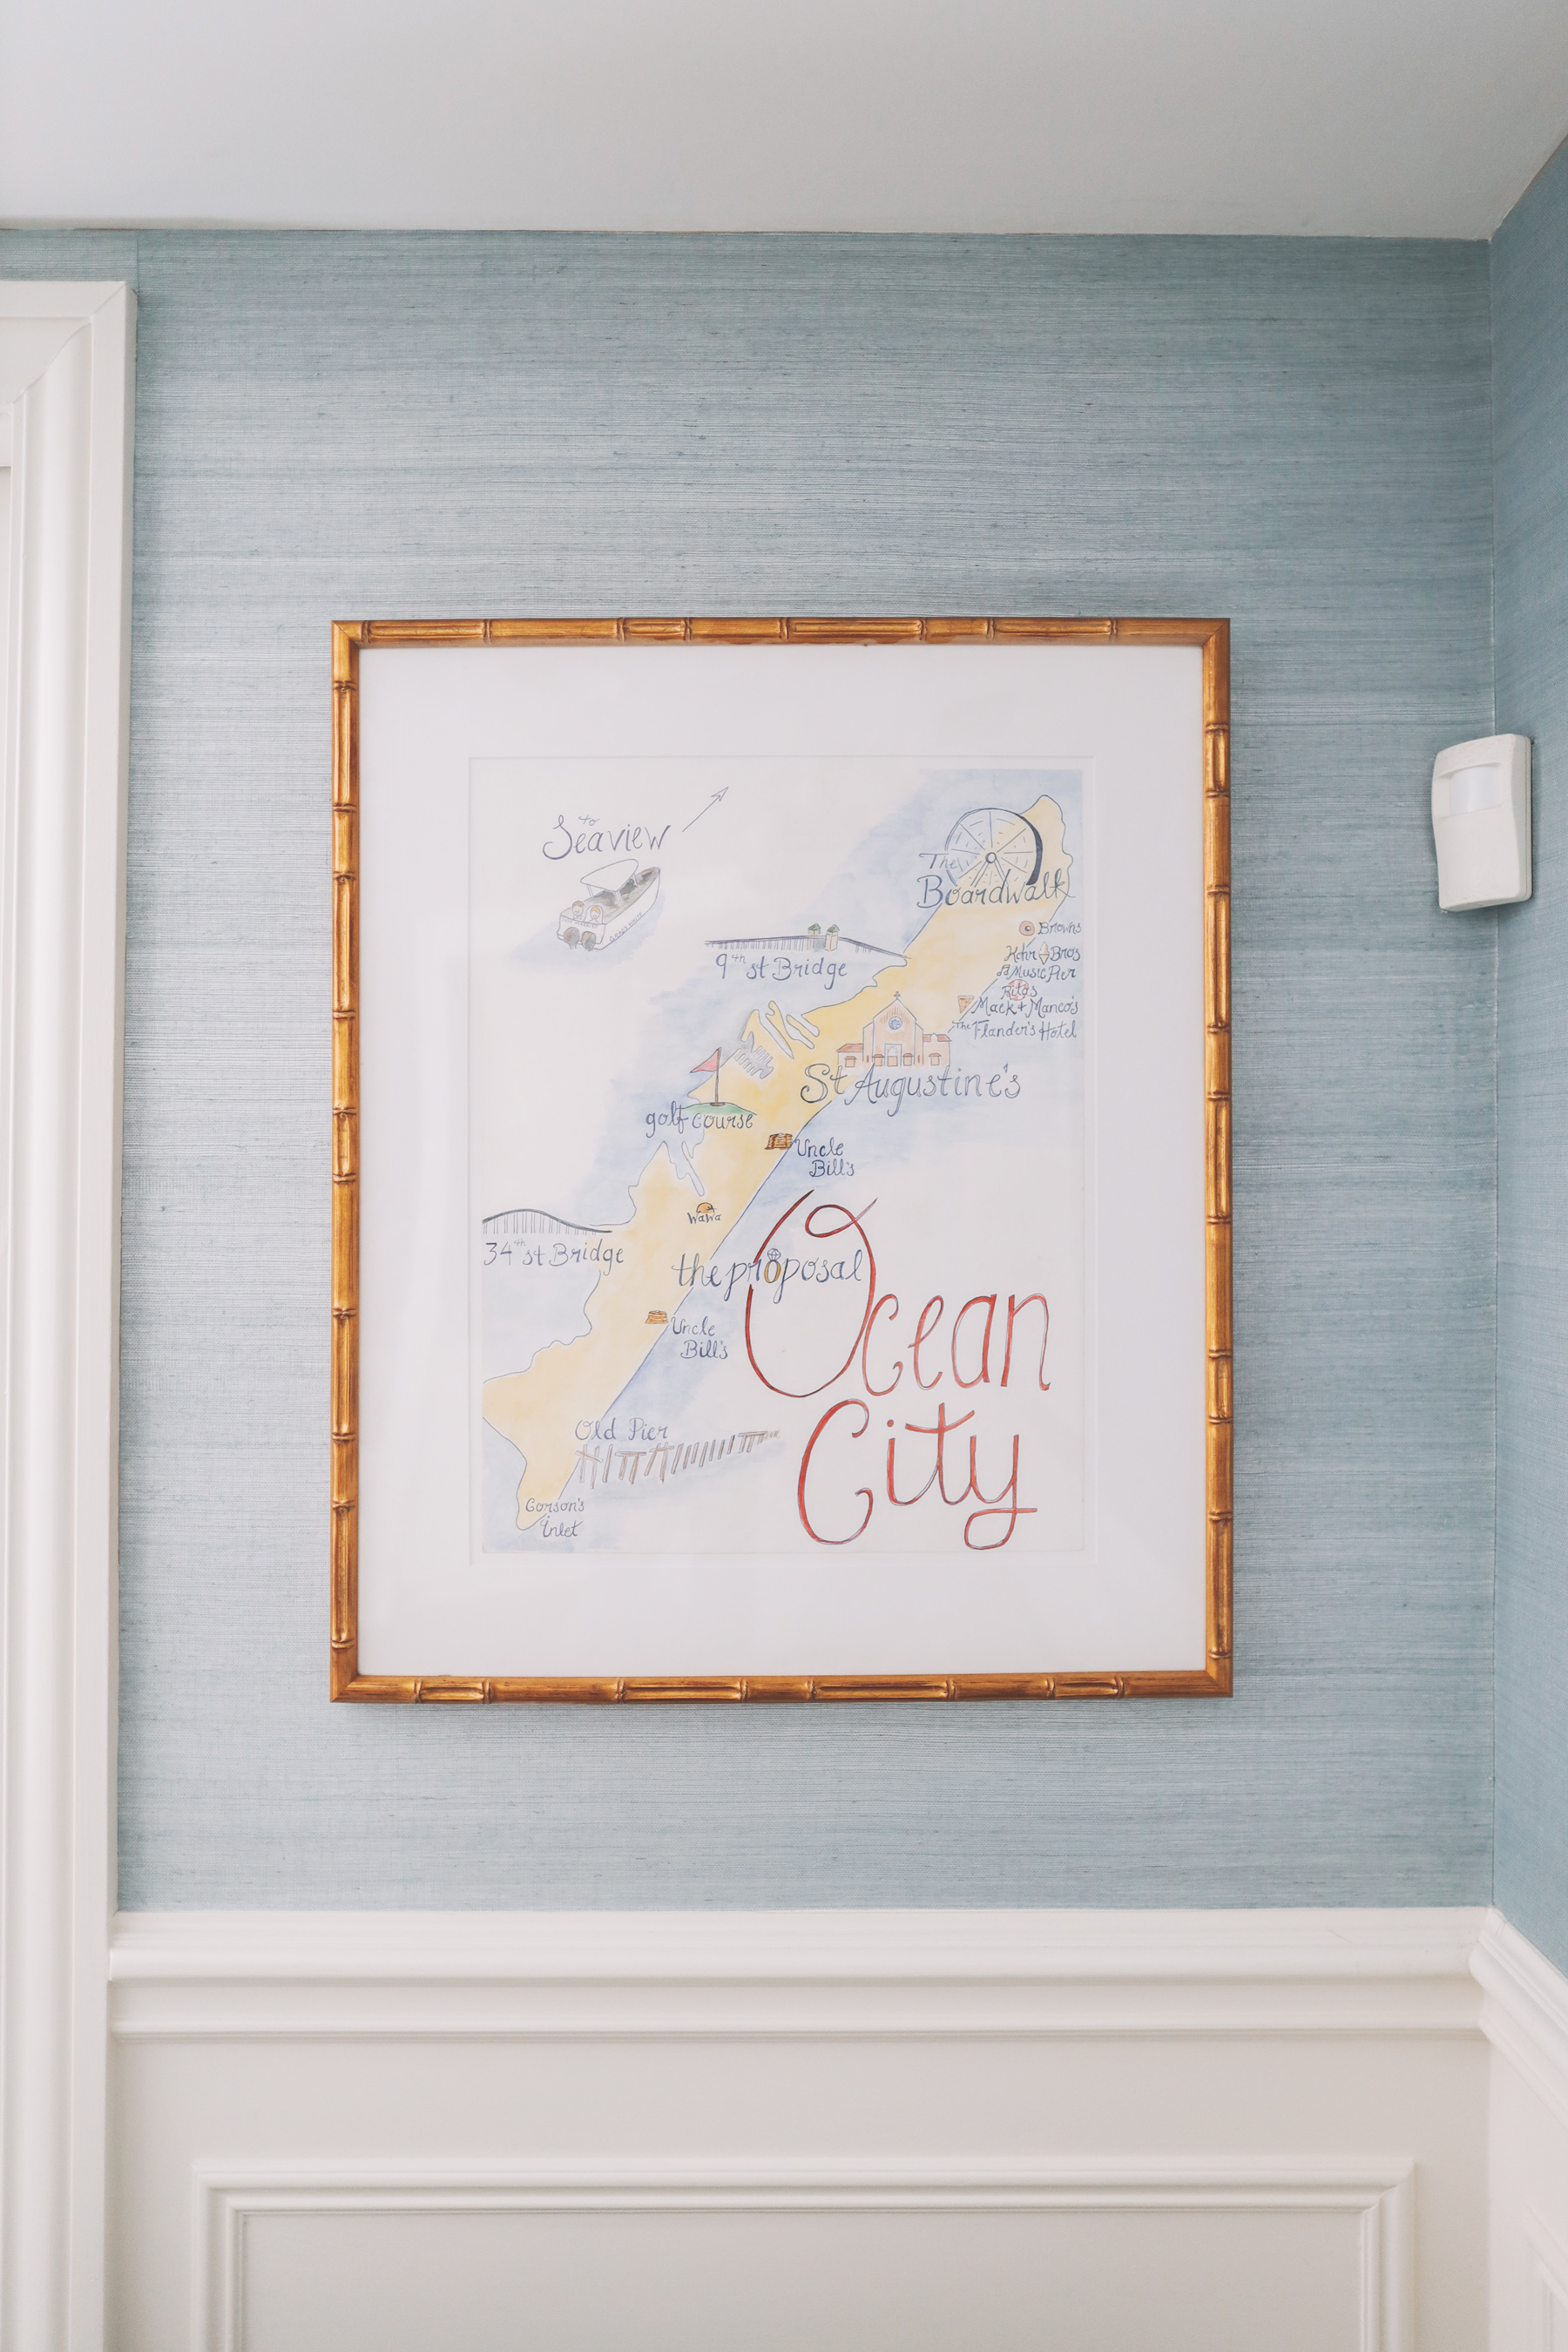
Ocean City wedding map: My cousin (and maid of honor), Annie, drew it! It was part of our wedding invasions. So amazing!
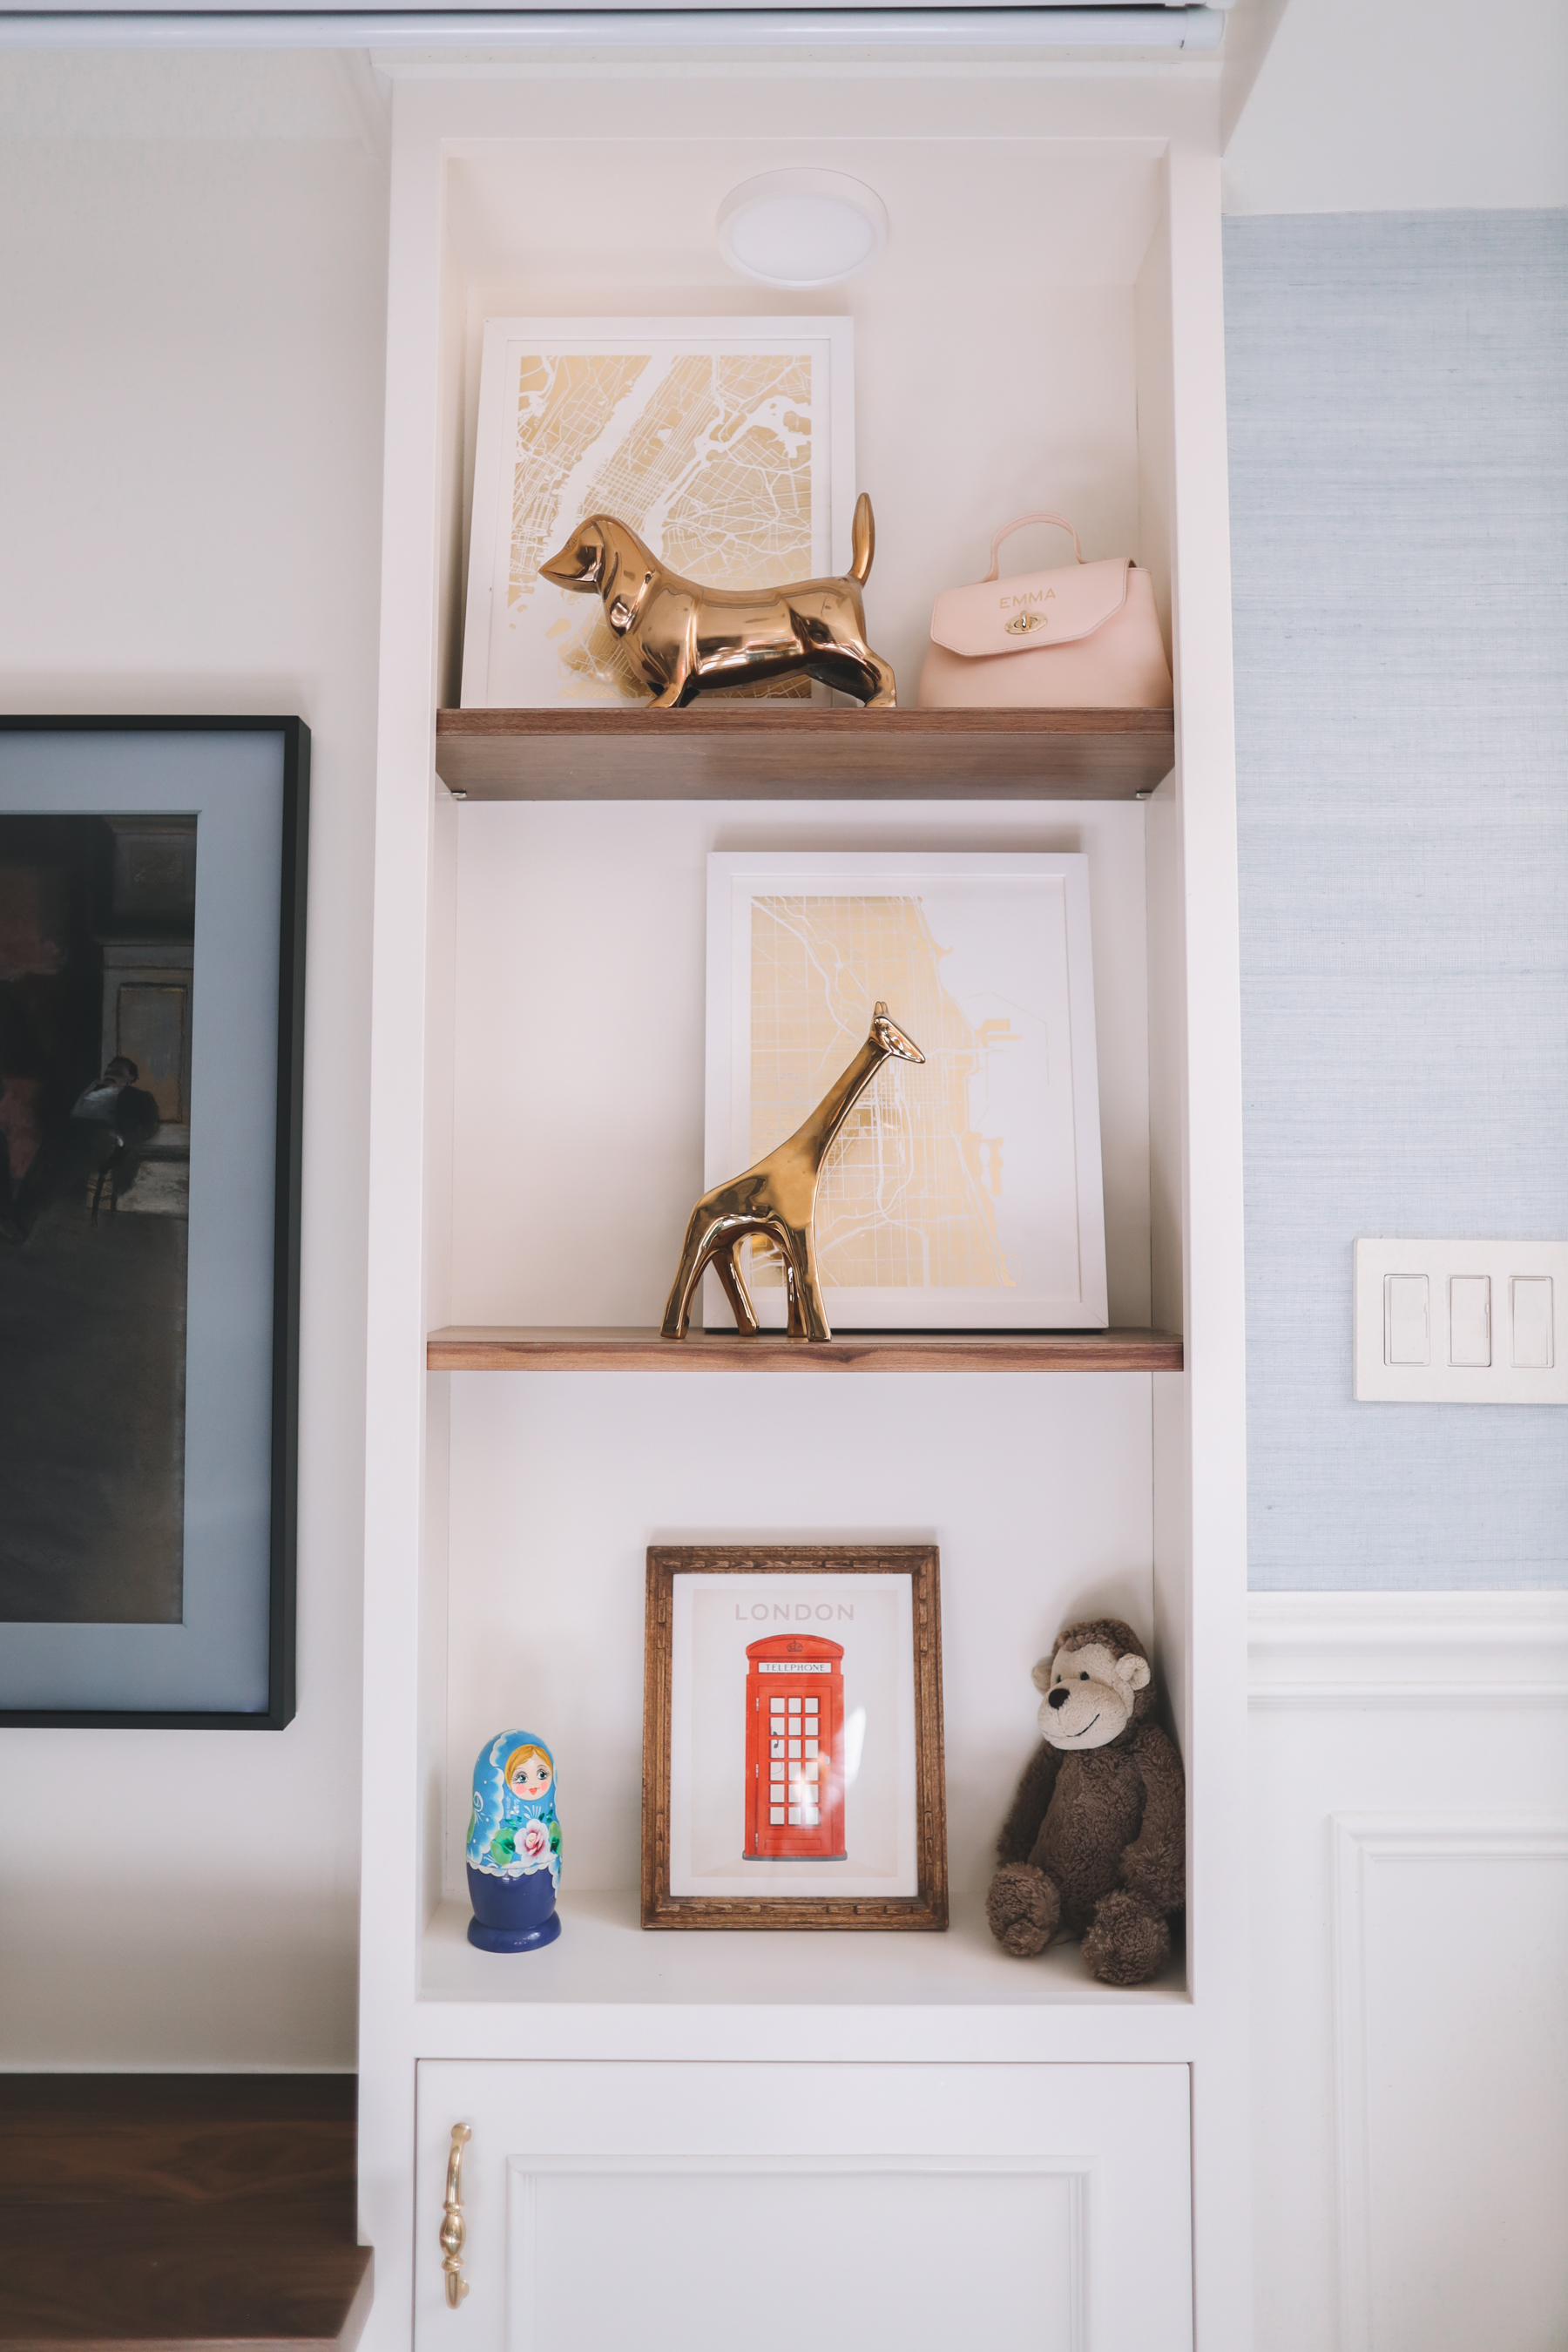
Chicago skyline: Minted
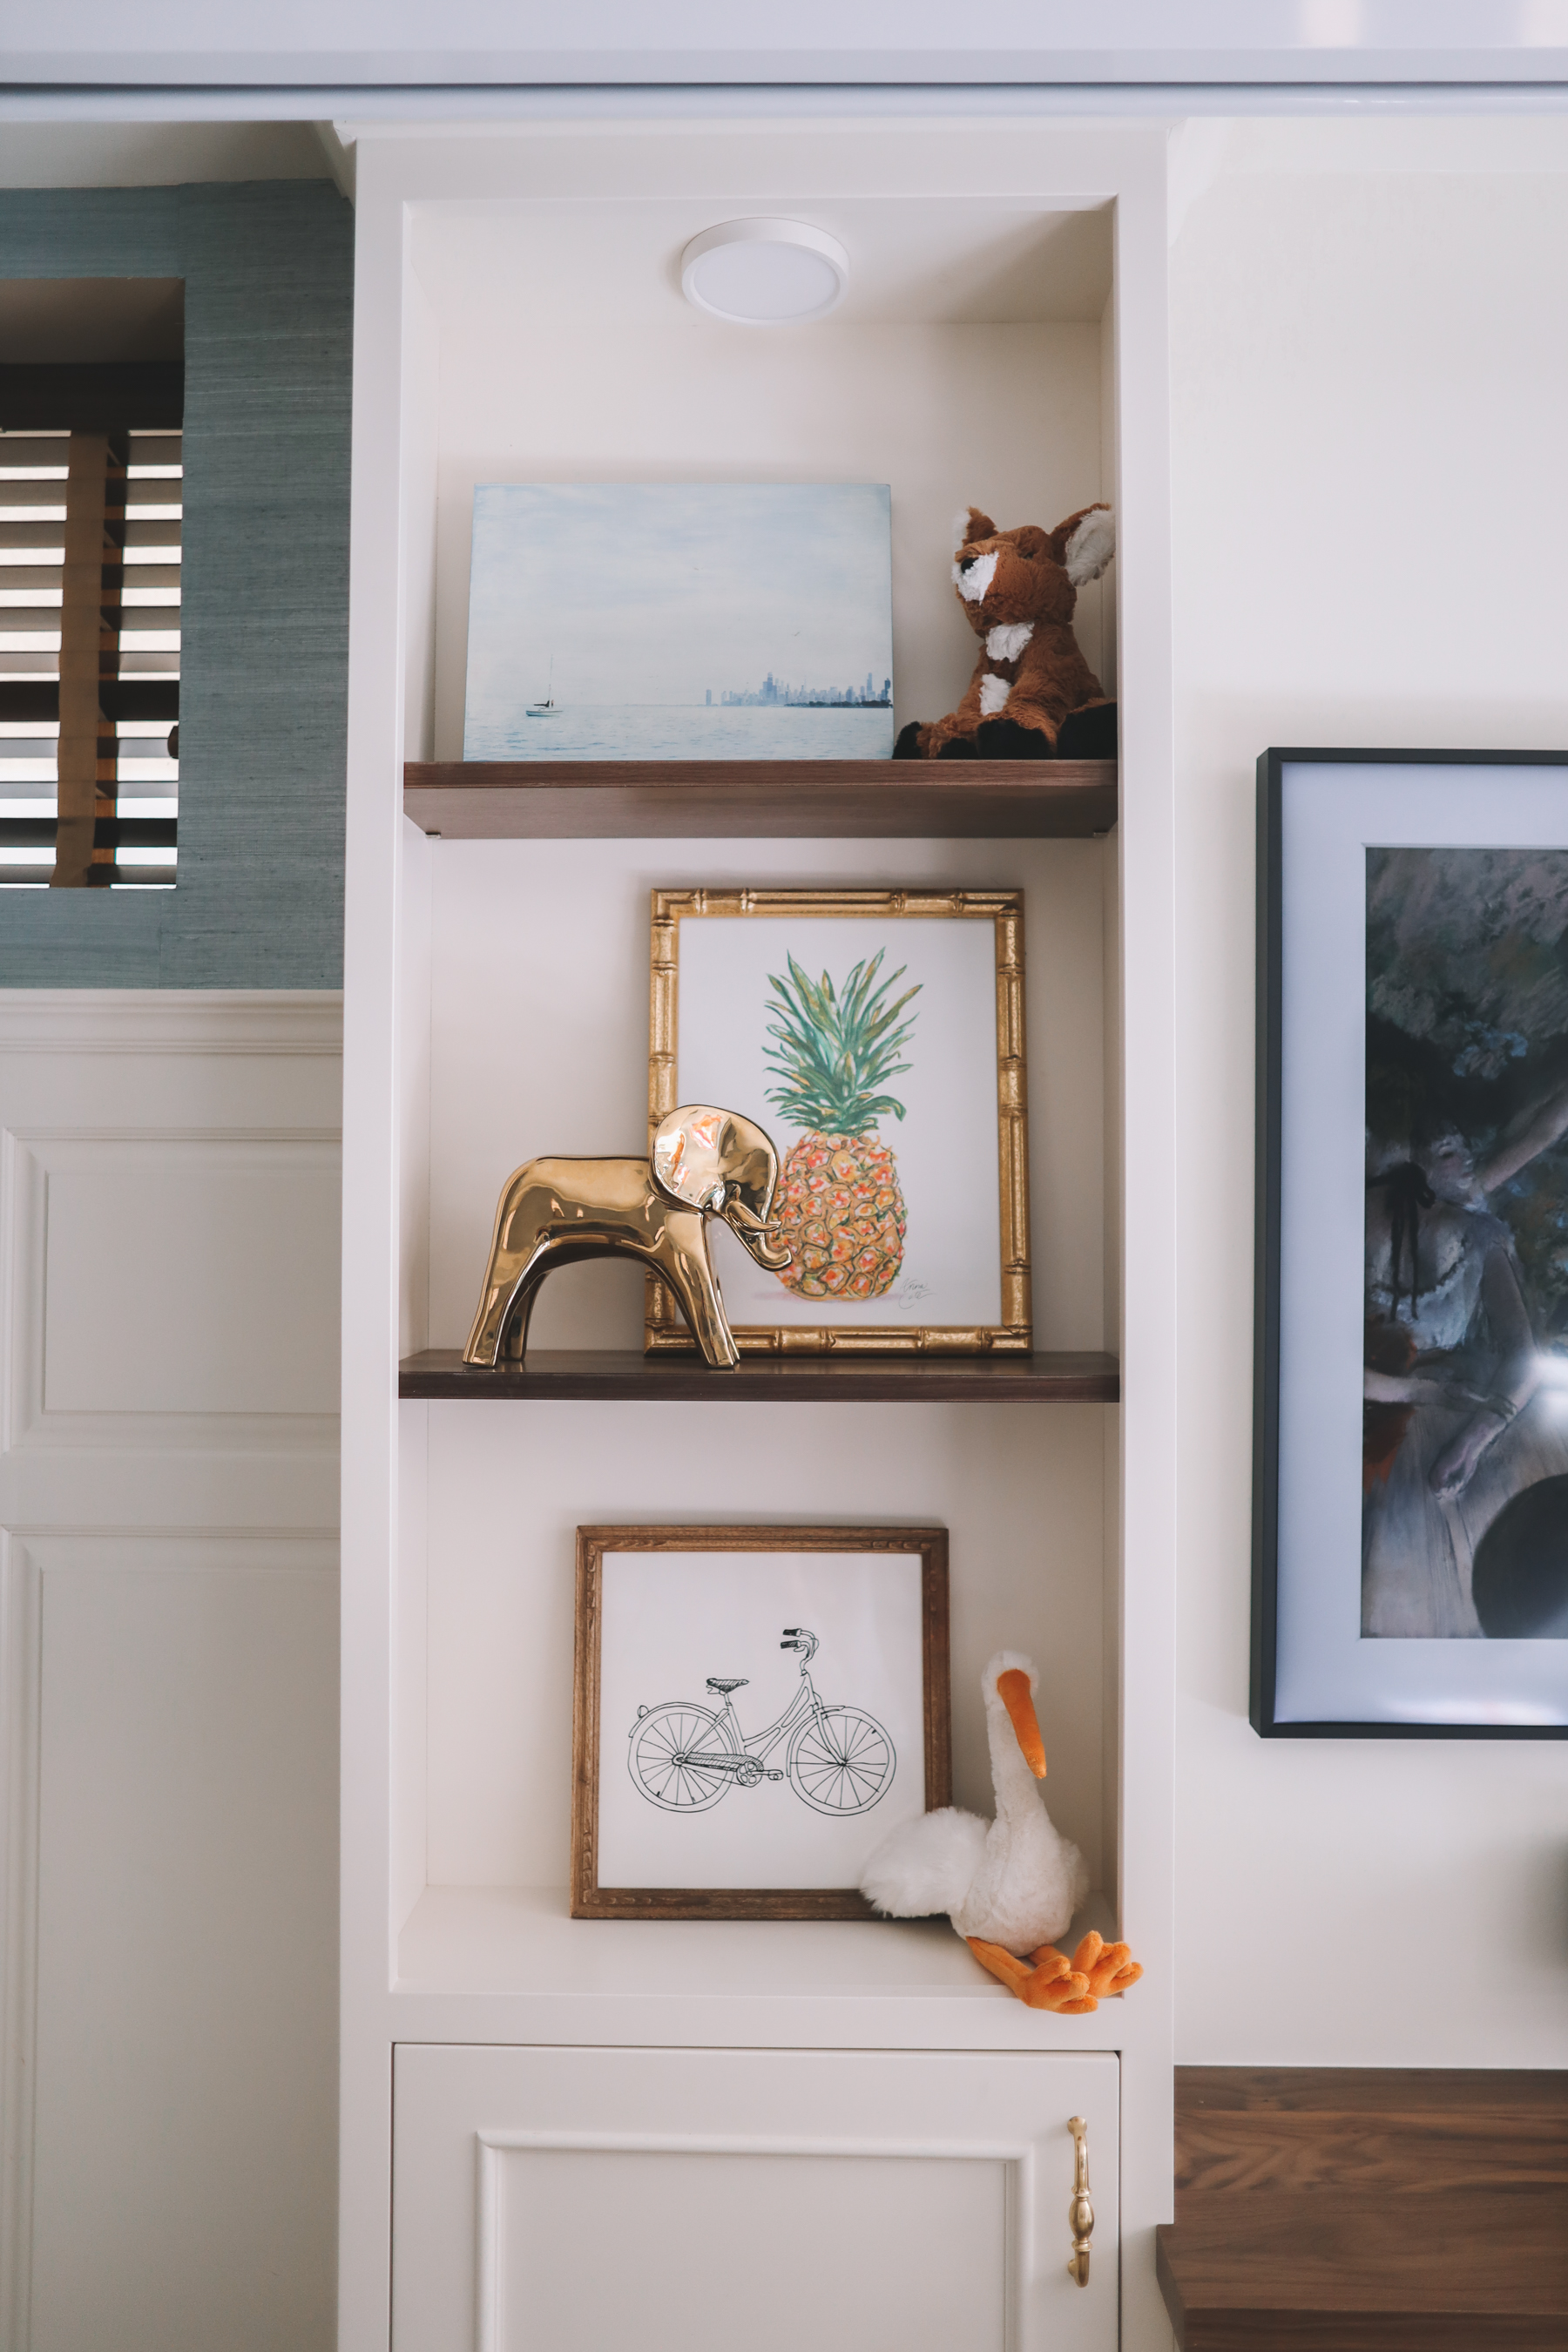
Bike print: Minted
Brass elephant, giraffe and dachshund: Wayfair, but old
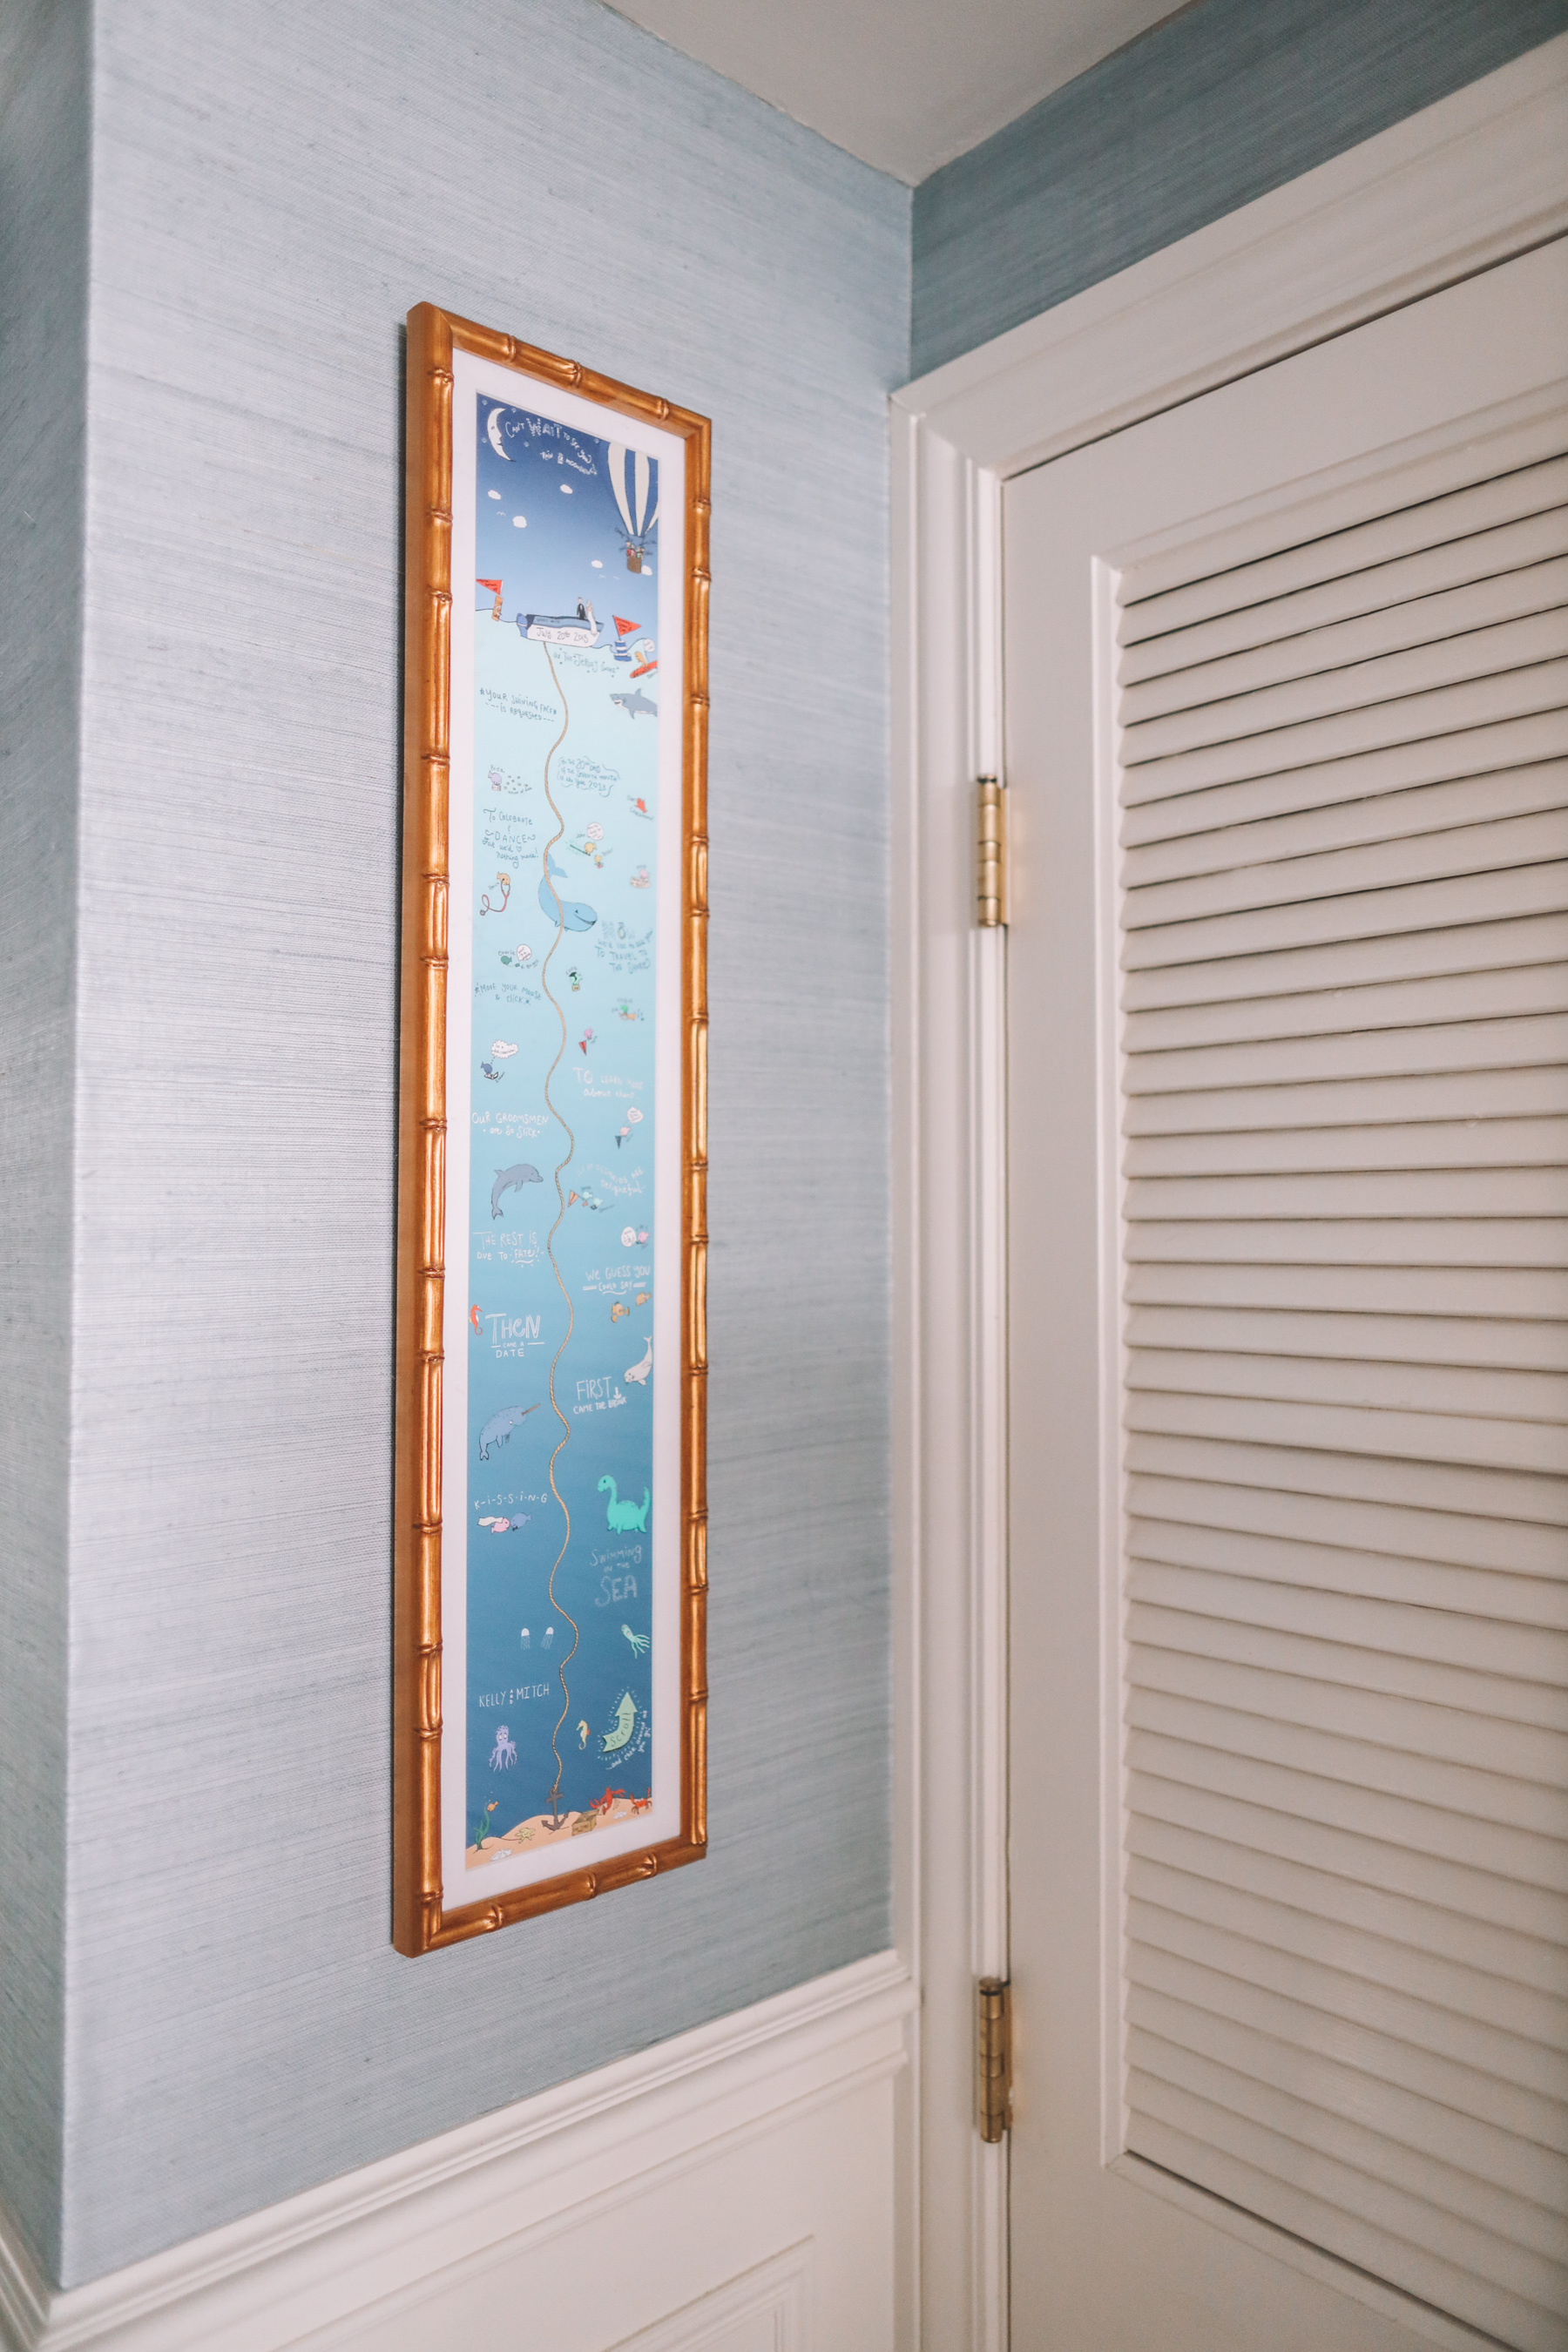
Framed wedding website: Framebridge
Jellycat stuffed animals: Nordstrom
Monogrammed purse: tde.
First pineapple print: Minted
Second pineapple print: Anna Cate Home
Chicago map and NYC map: Minted
London phone booth: Minted
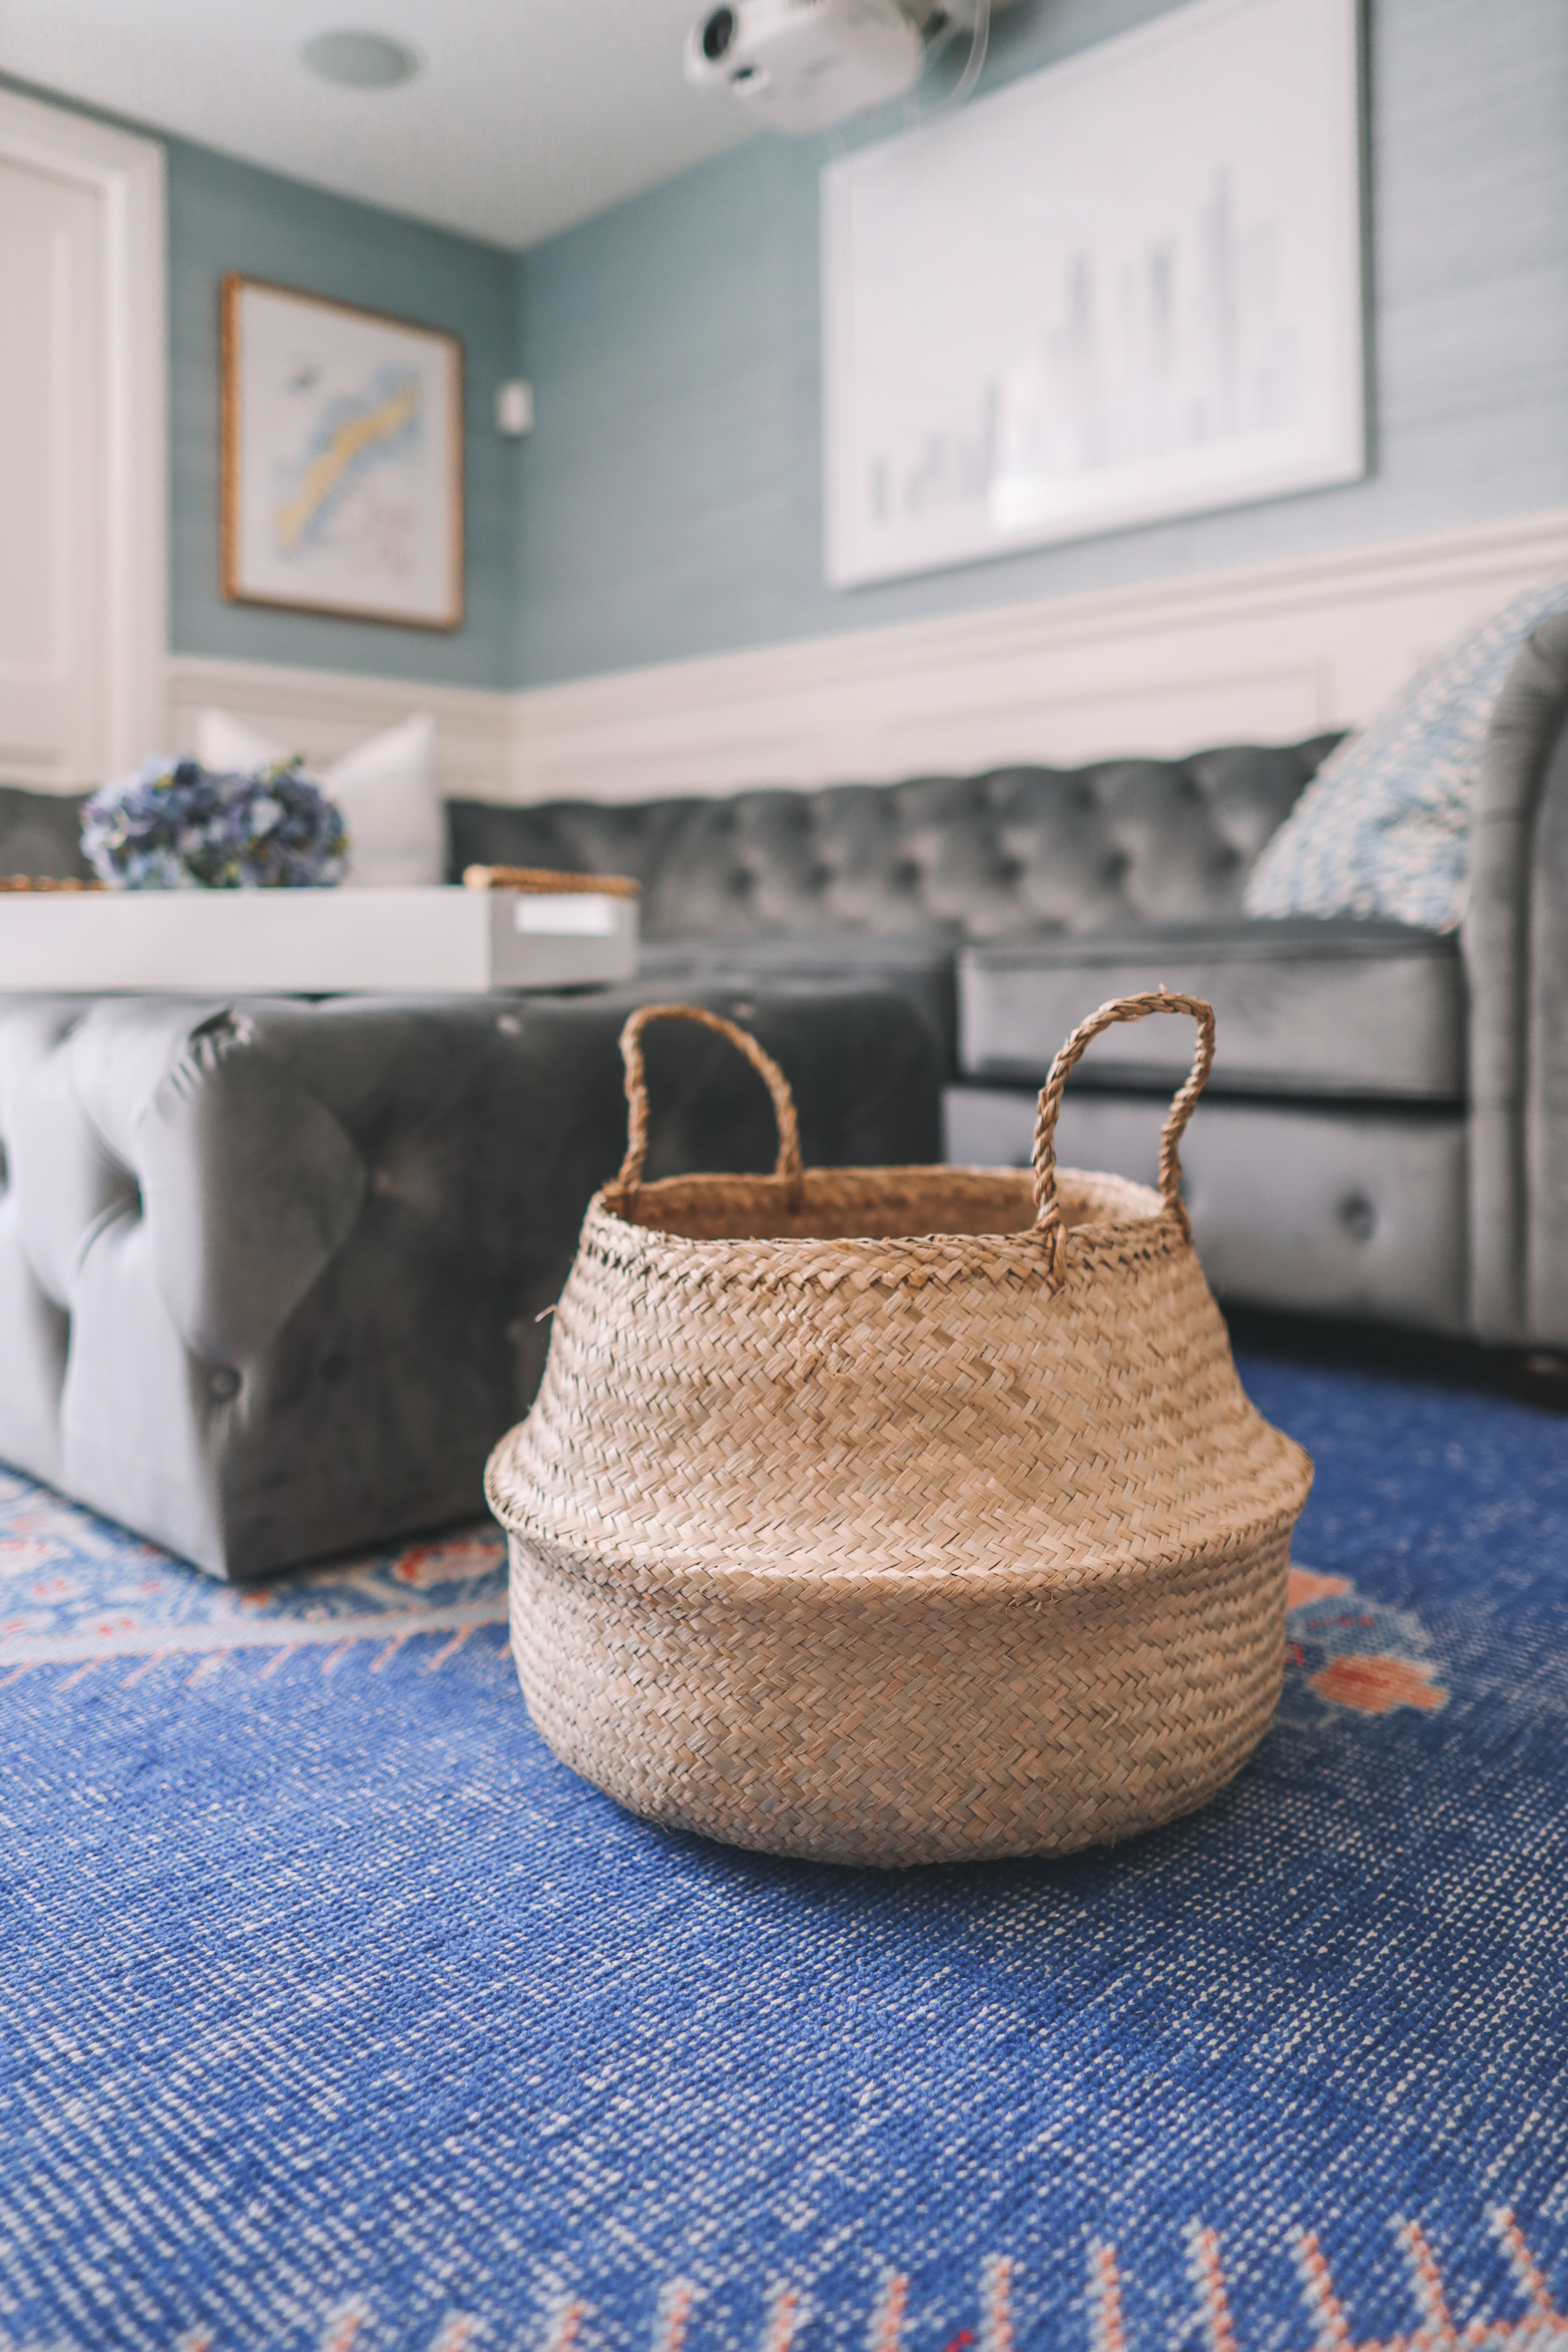
Baskets: Amazon
Before
After
Nook lighting + play mats
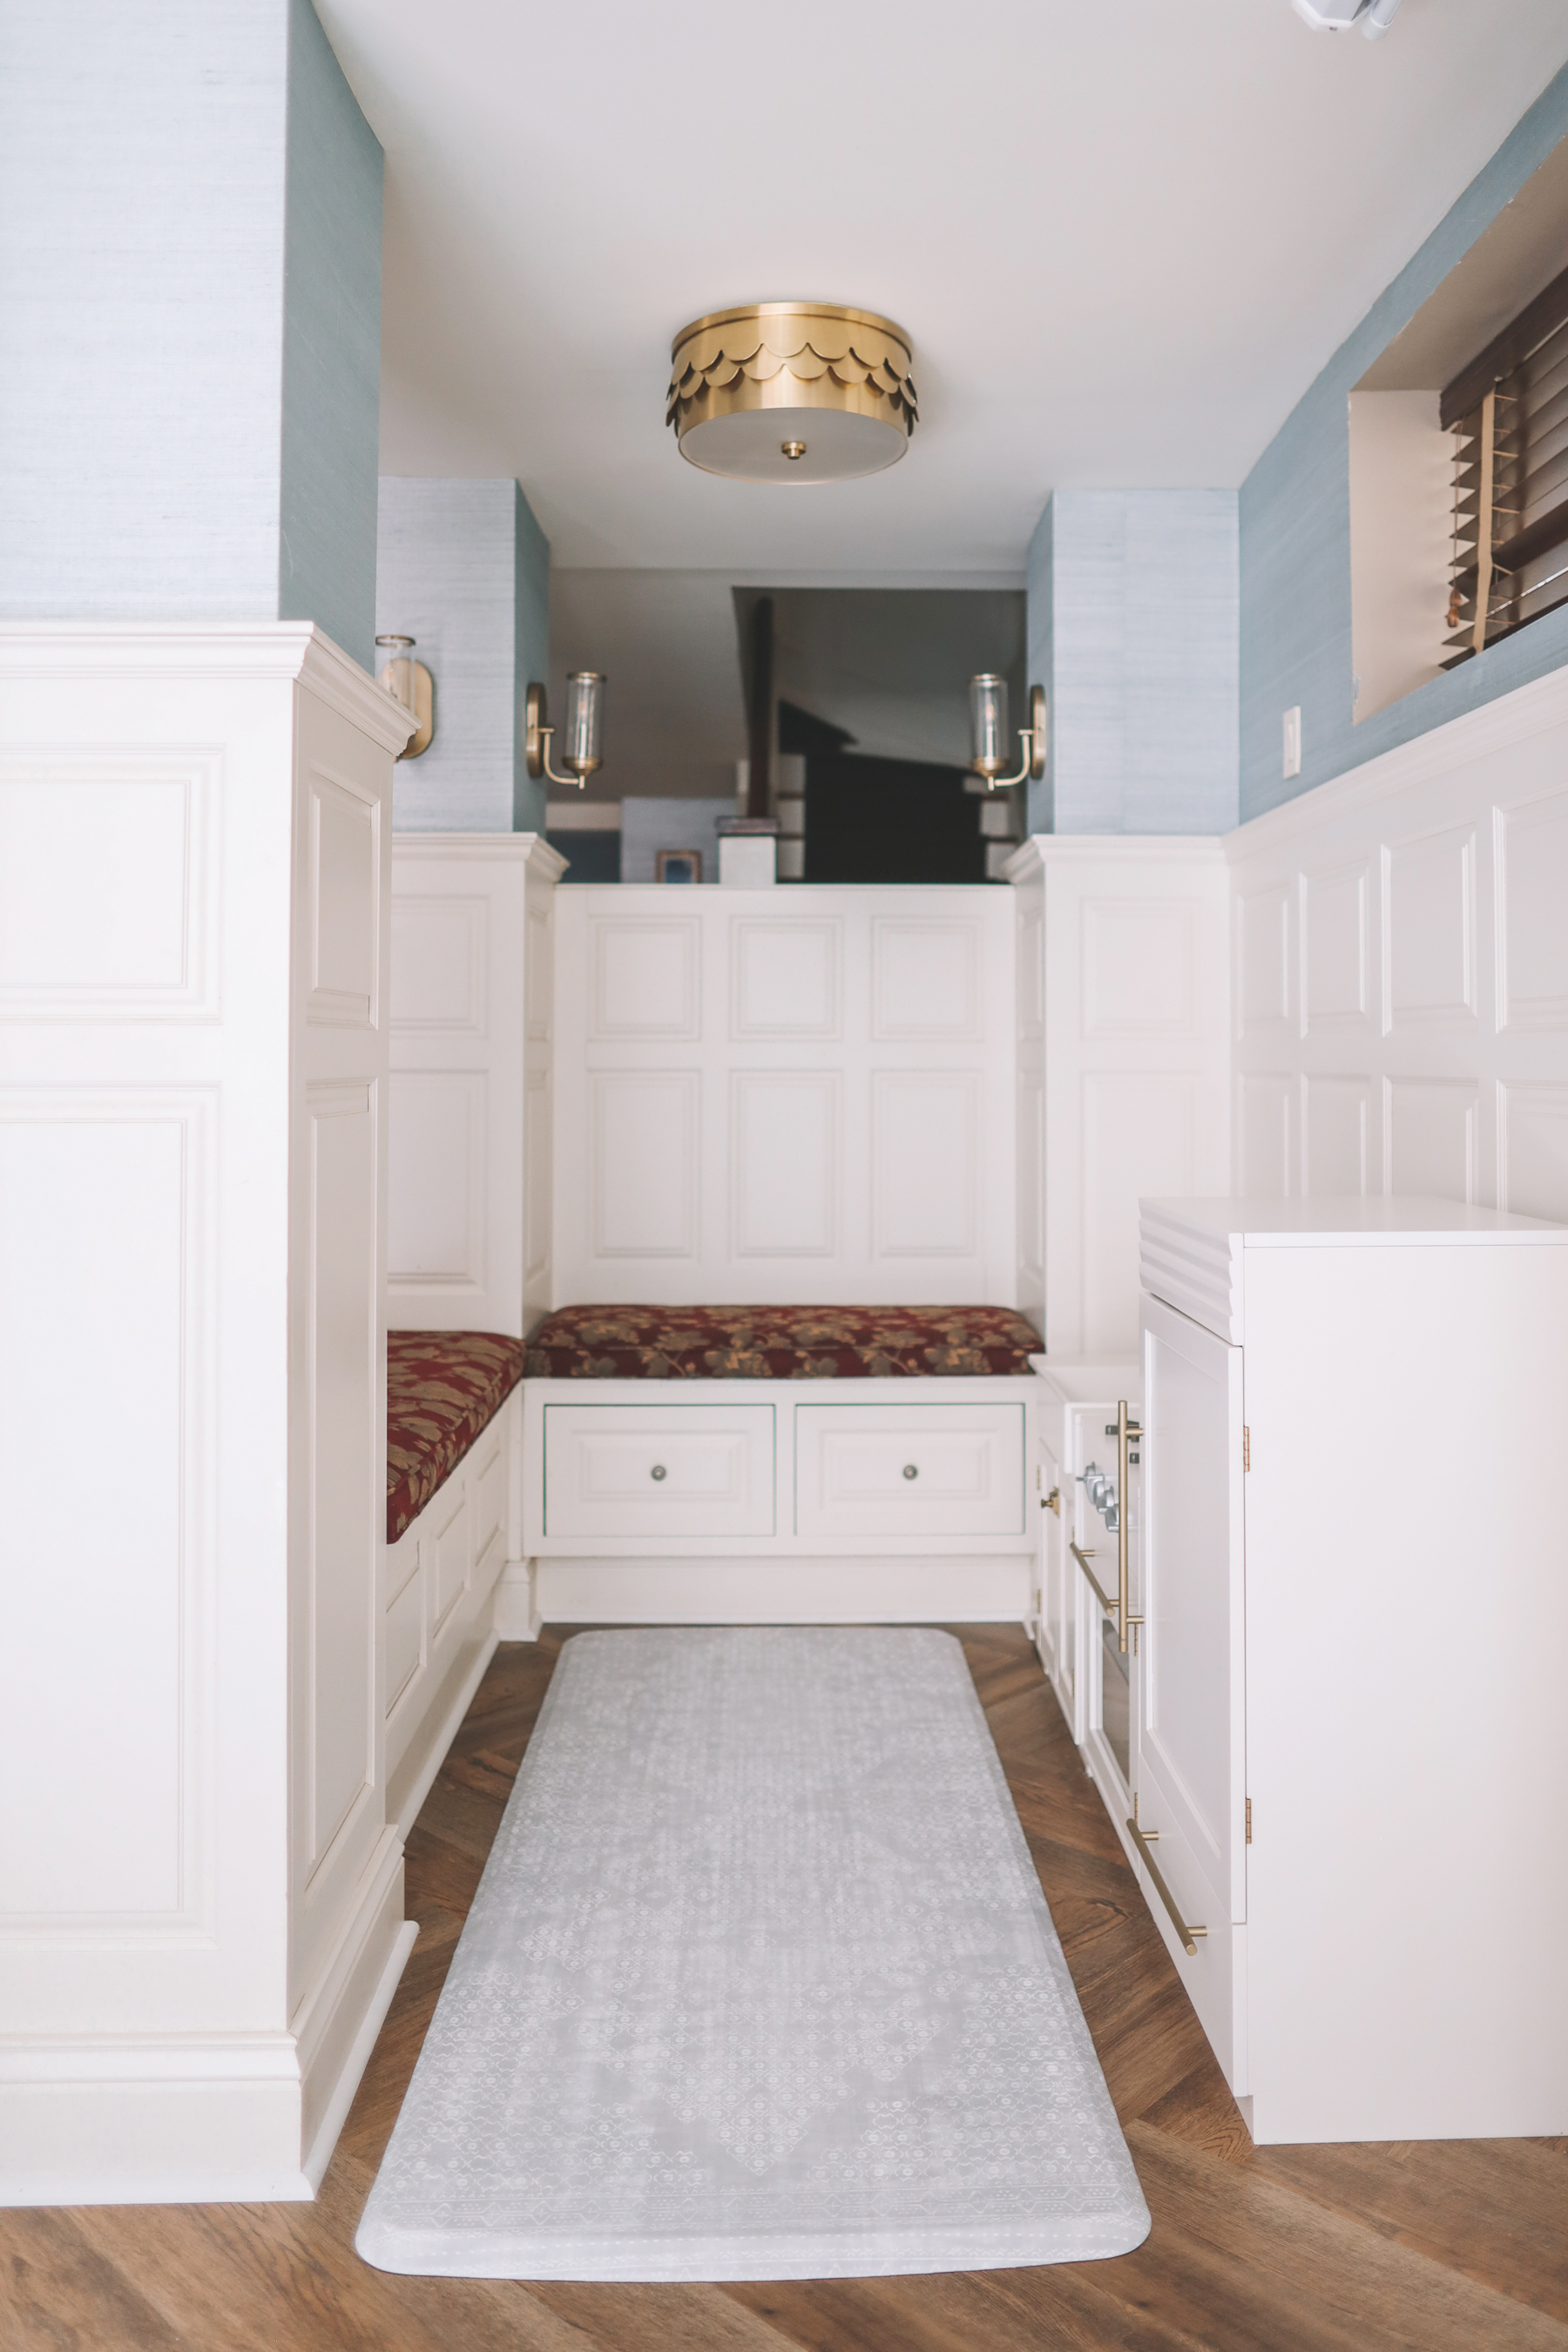
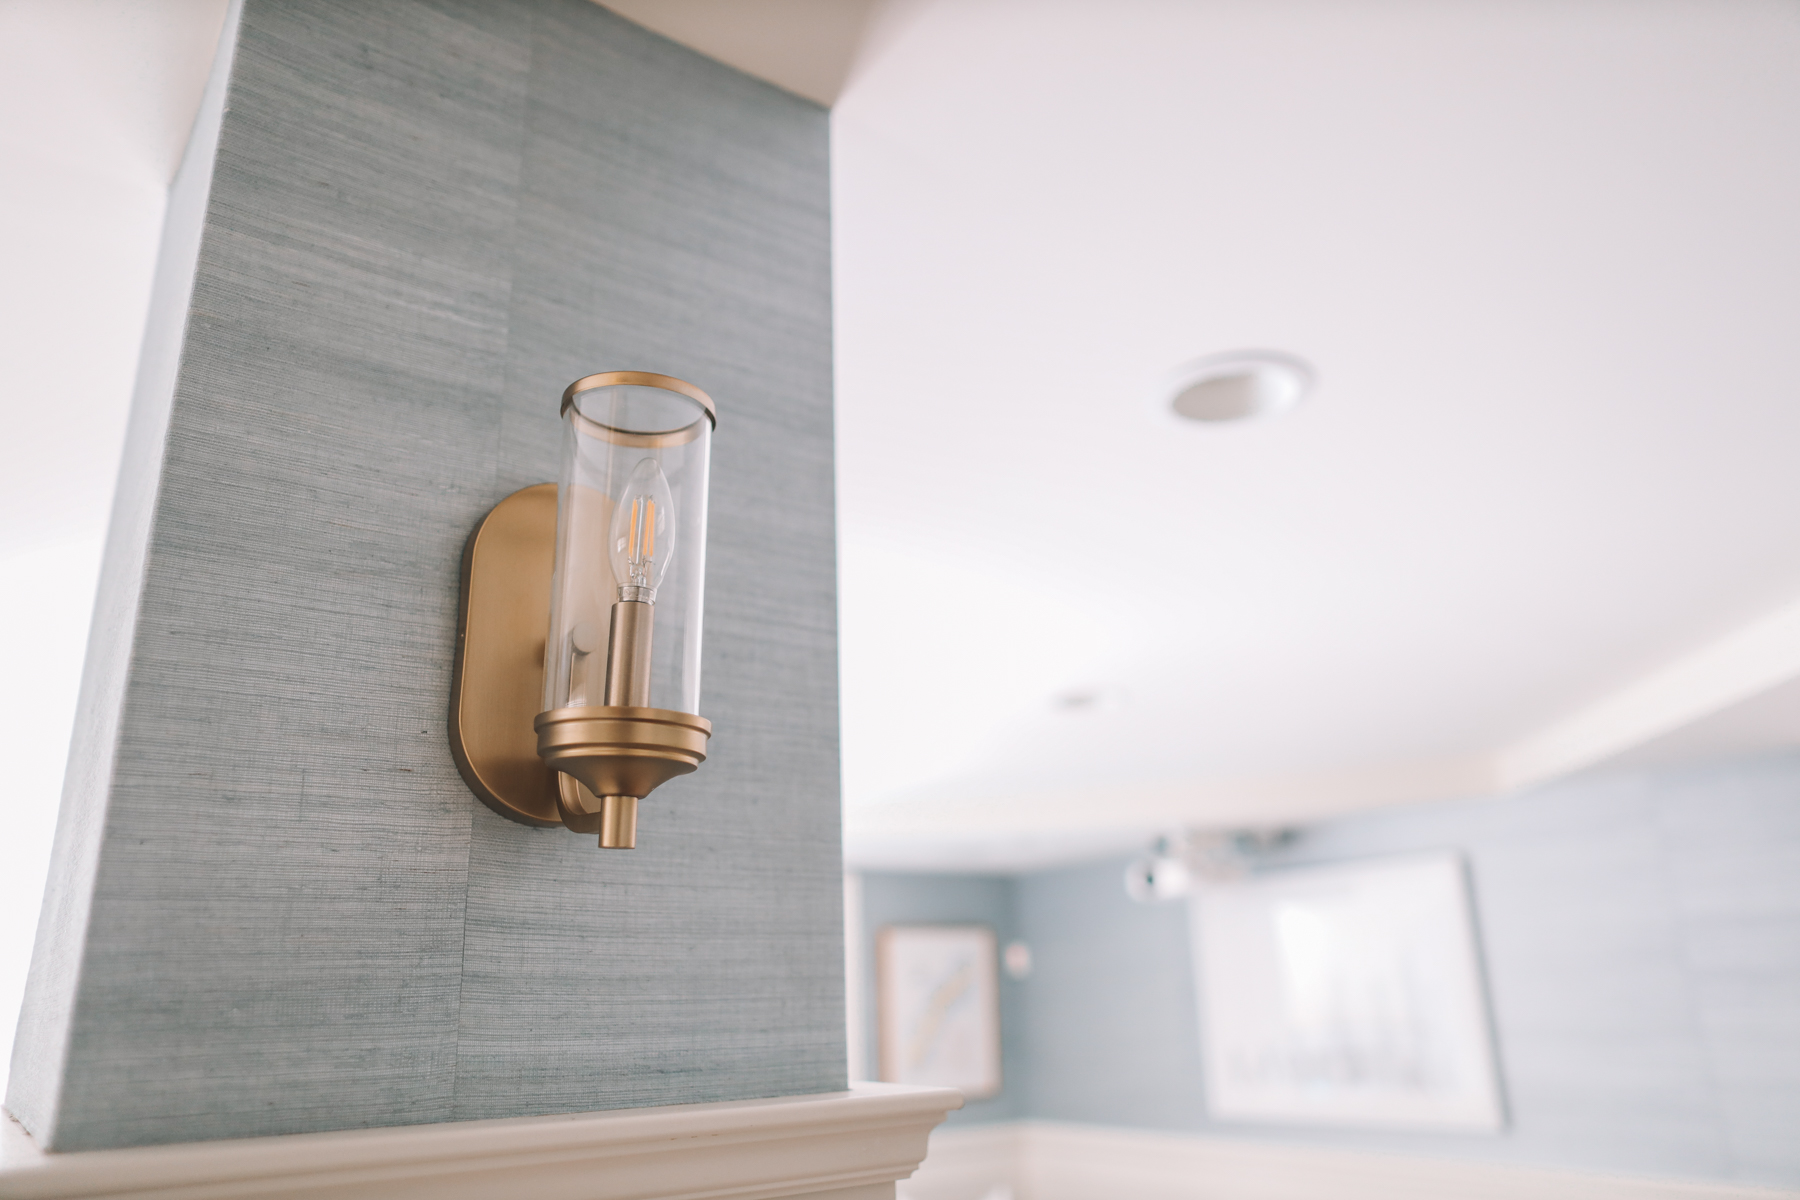
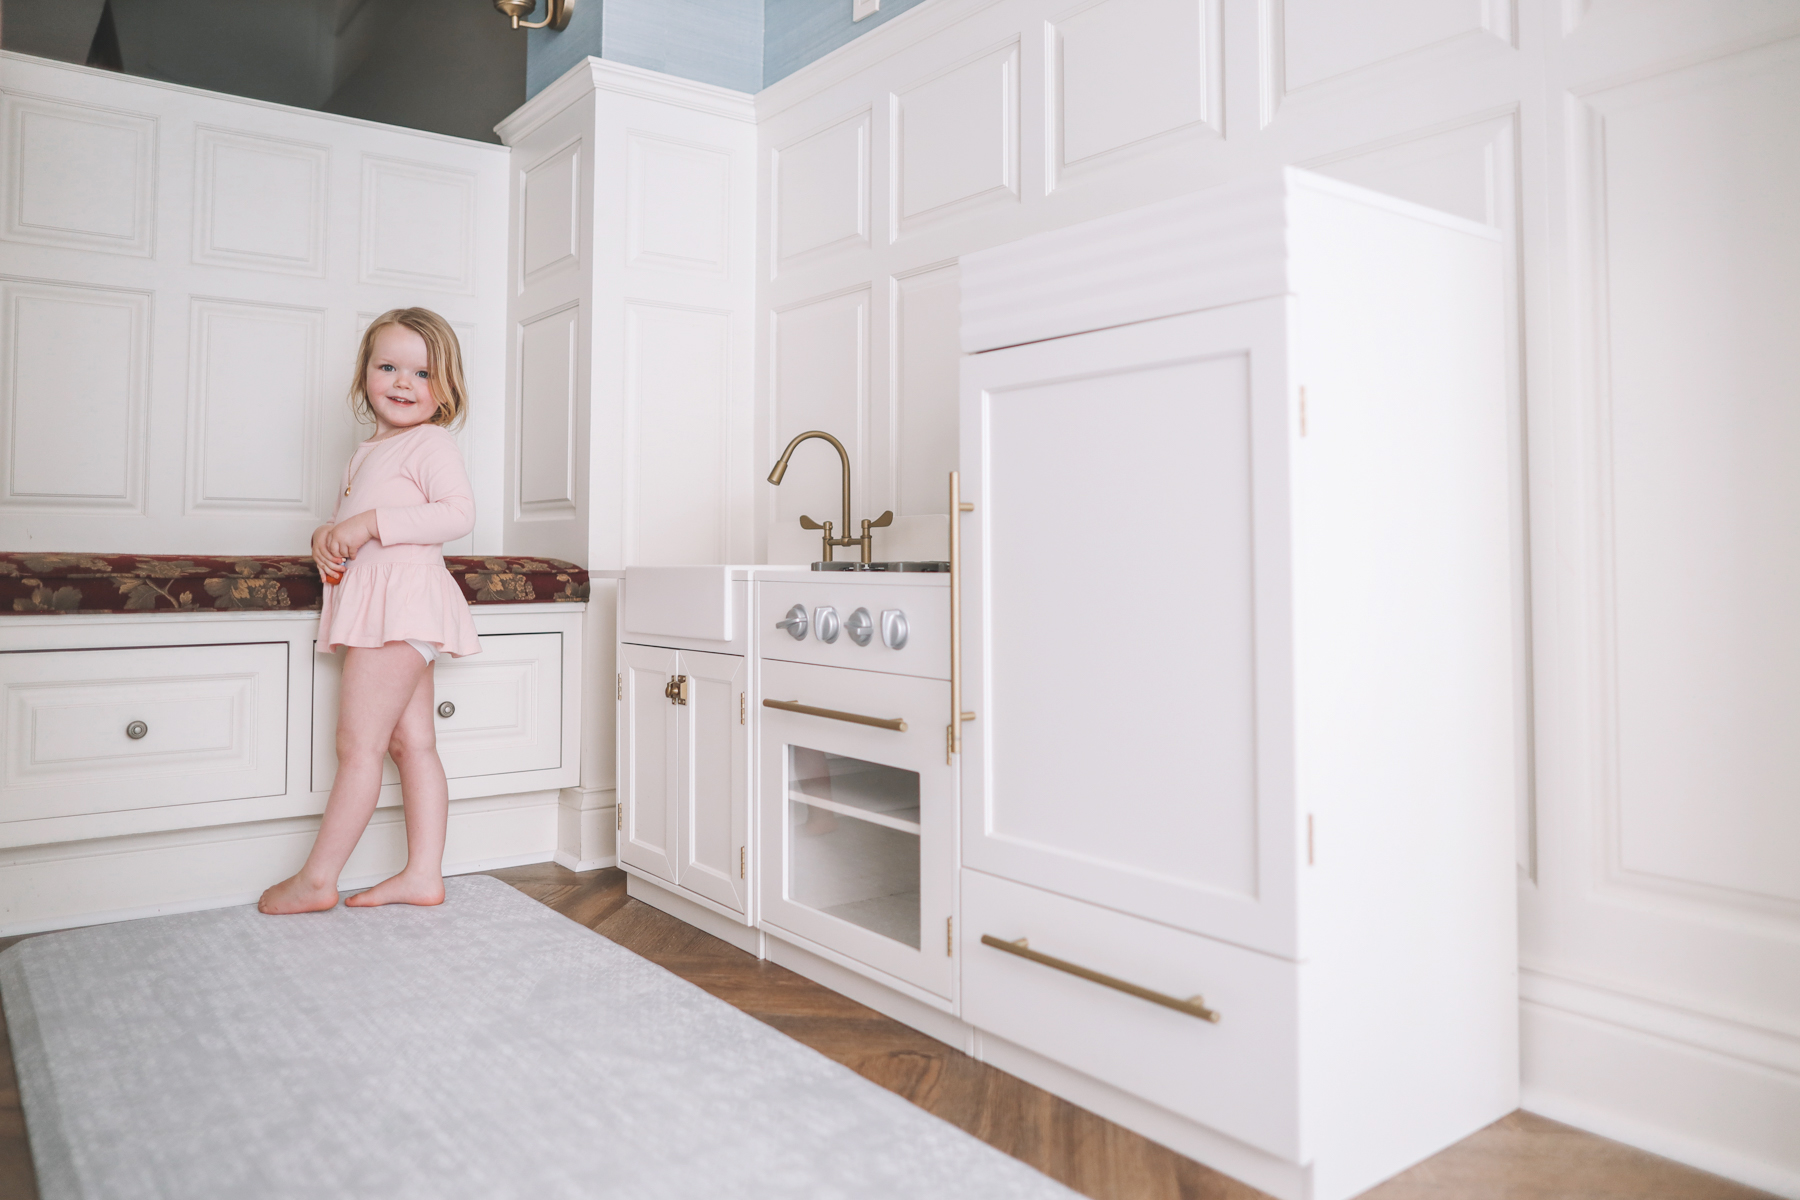
Welcome to the playroom nook! I think the previous owners maybe used it for playing games, but at the moment, it works really well for the girls’ play kitchen, which was a birthday gift for Emma from my parents.
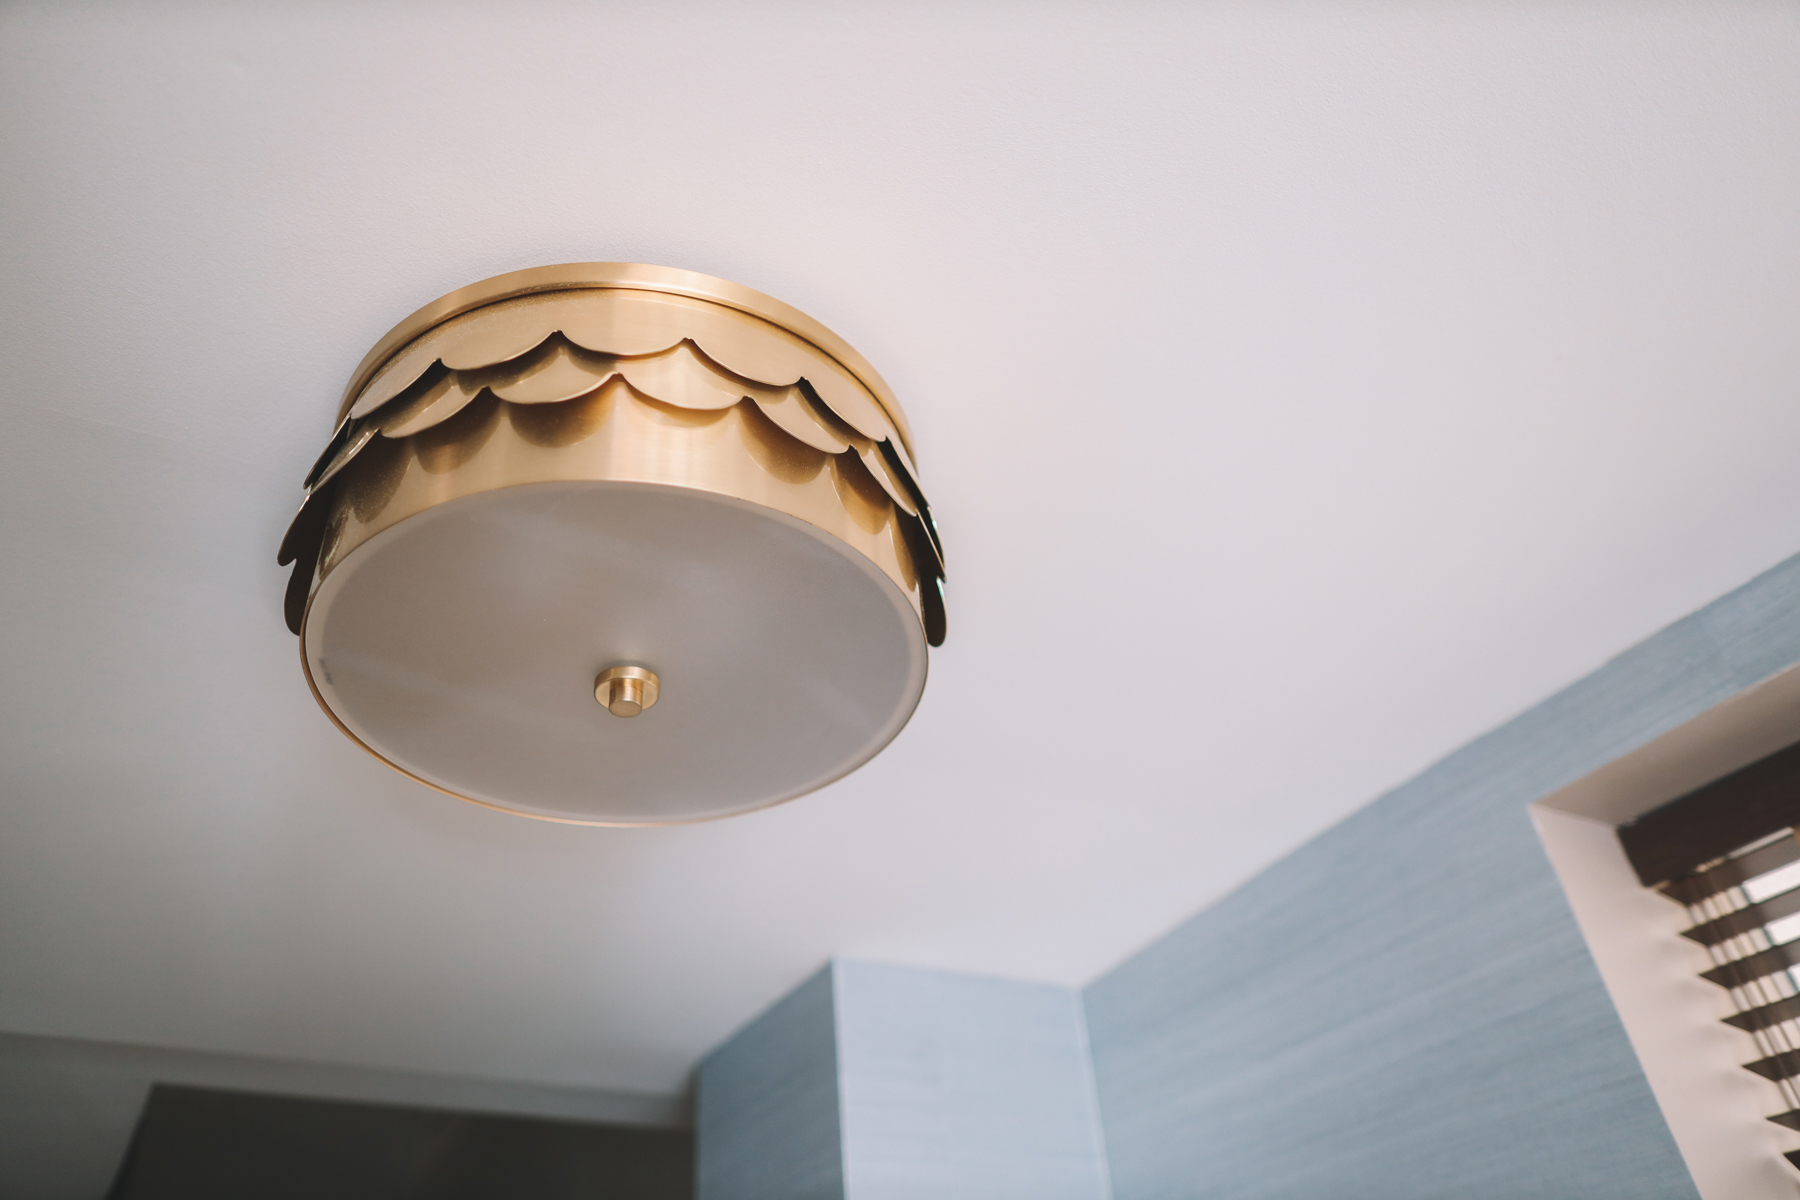
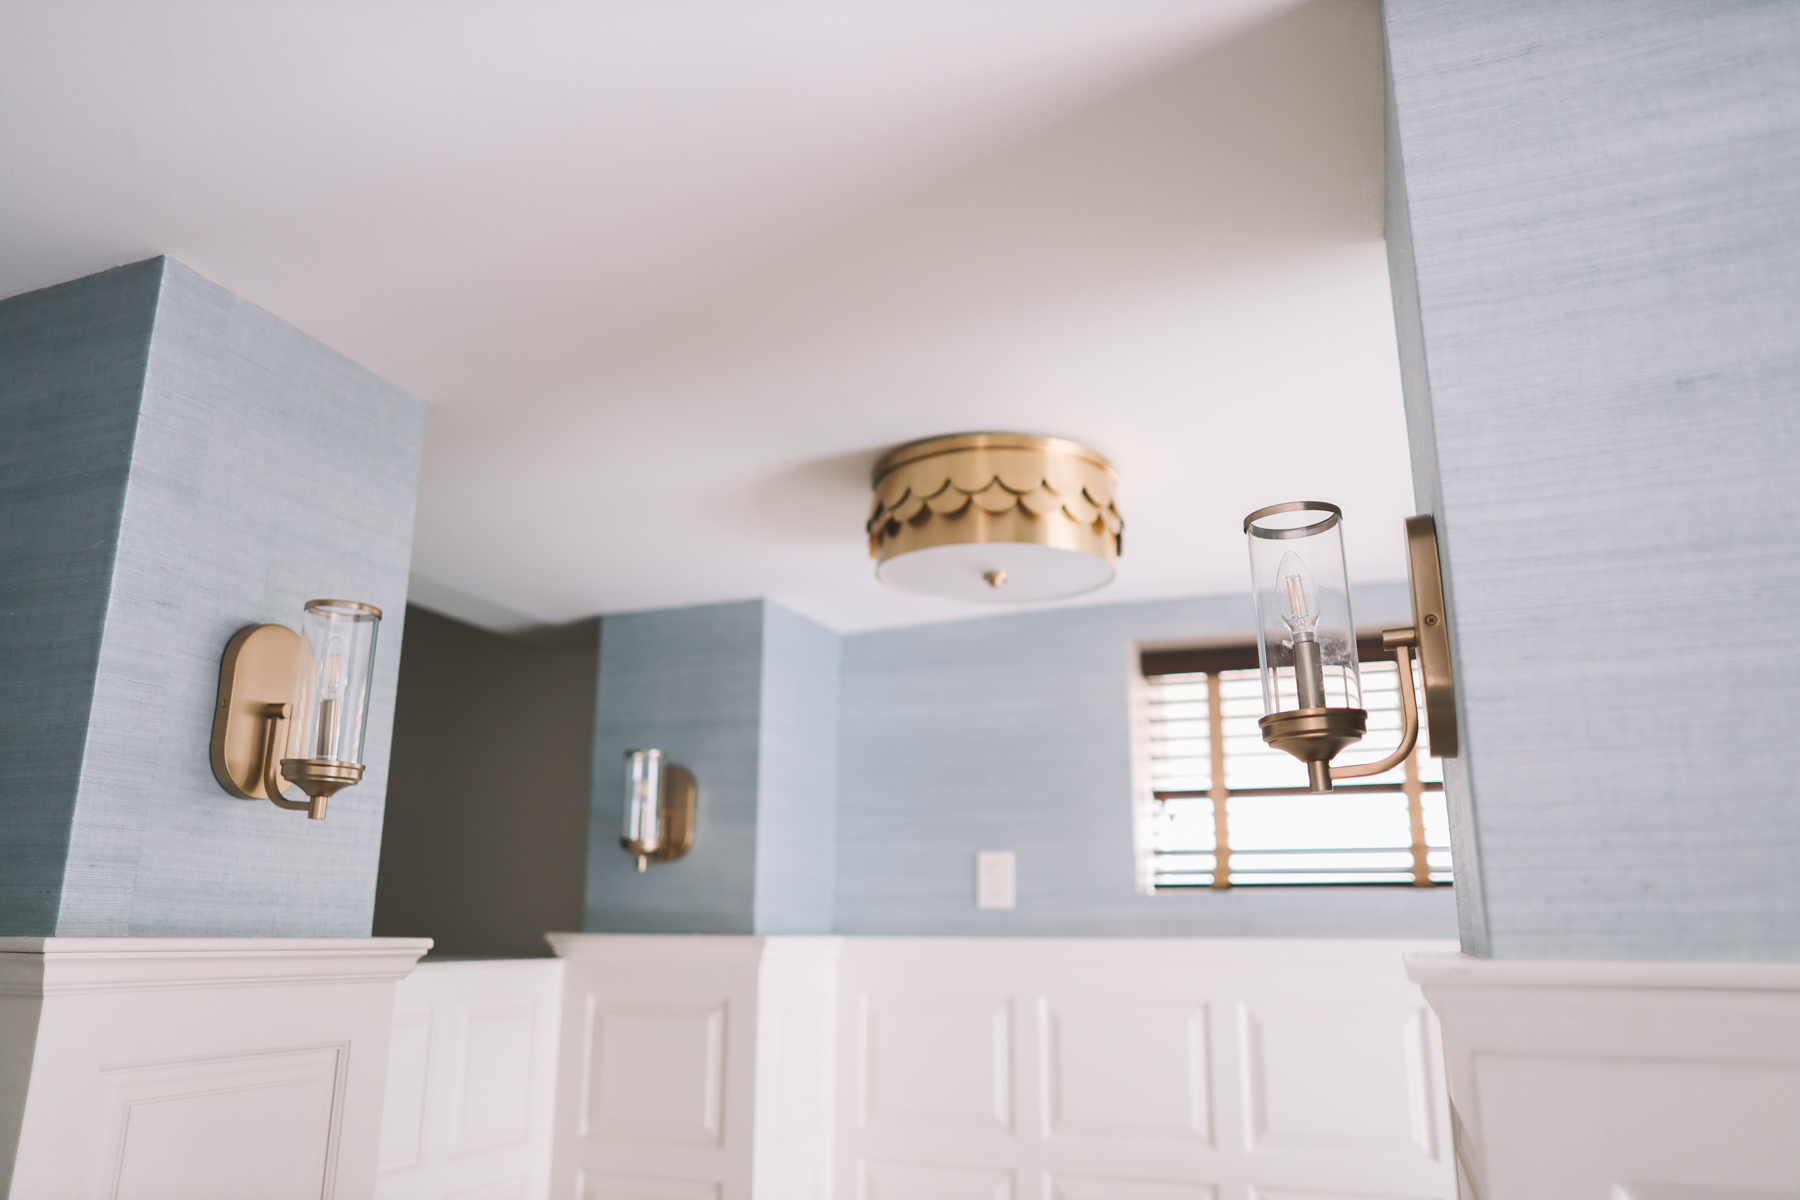
The lighting was a quick and easy upgrade that made a big impact. I fell in love with these sconces from Pottery Barn, but they were unfortunately sold out. I did, however, find these on Wayfair… and they’re fantastic! The scalloped flushmount light is from Ballard. I love how playful it is; it looks like it was made for the playroom!
The long mat is from House of Noa, where all our play mats are from. I love that this one looks a bit like a traditional Persian rug yet it’s actually squishy and comfy! Really warms up the nook. I love saying nook. Nook, nook, nook.
We also have this larger play mat, also from House of Noa, right in front of the TV. That gets a ton of use, too, and calms my nerves about Lucy who will likely be taking some tumbles for another couple of years.
As for the bench cushions, we do want to get them reupholstered, but there’s a pandemic so that’ll have to wait. ;) Love this material in chambray, though! (As well as this in “Coastal Blue” and this in “French Blue.”)
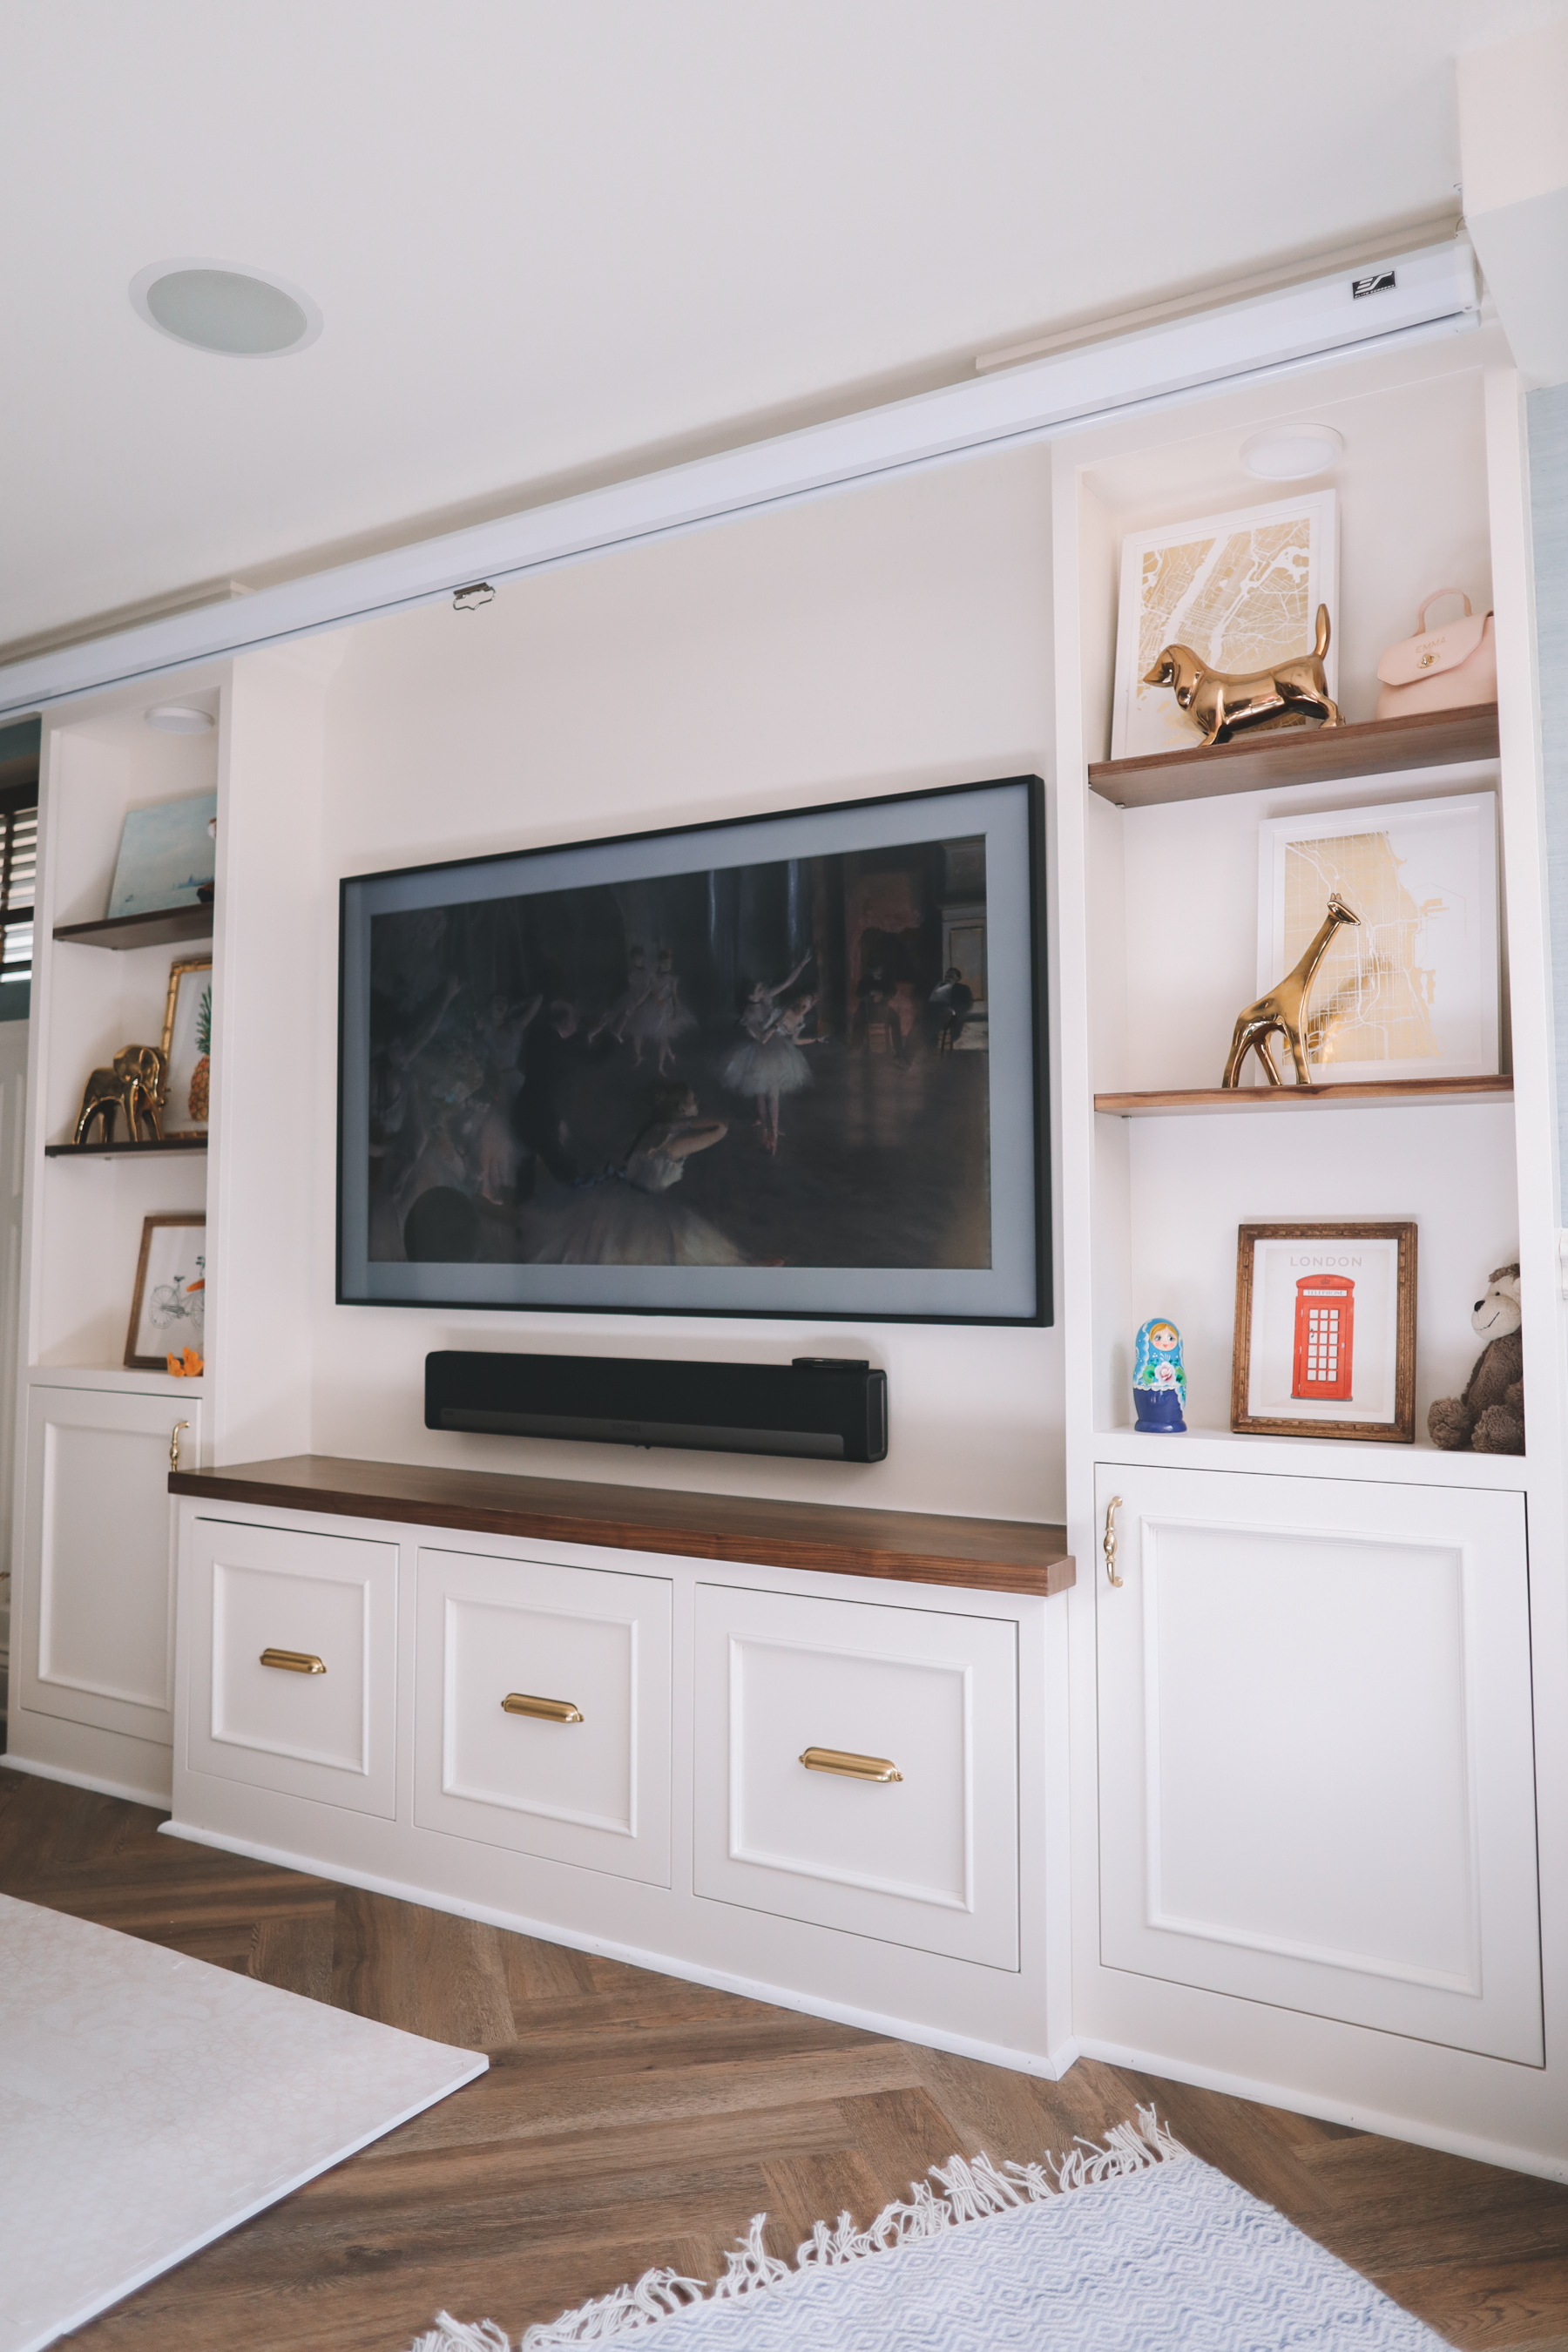
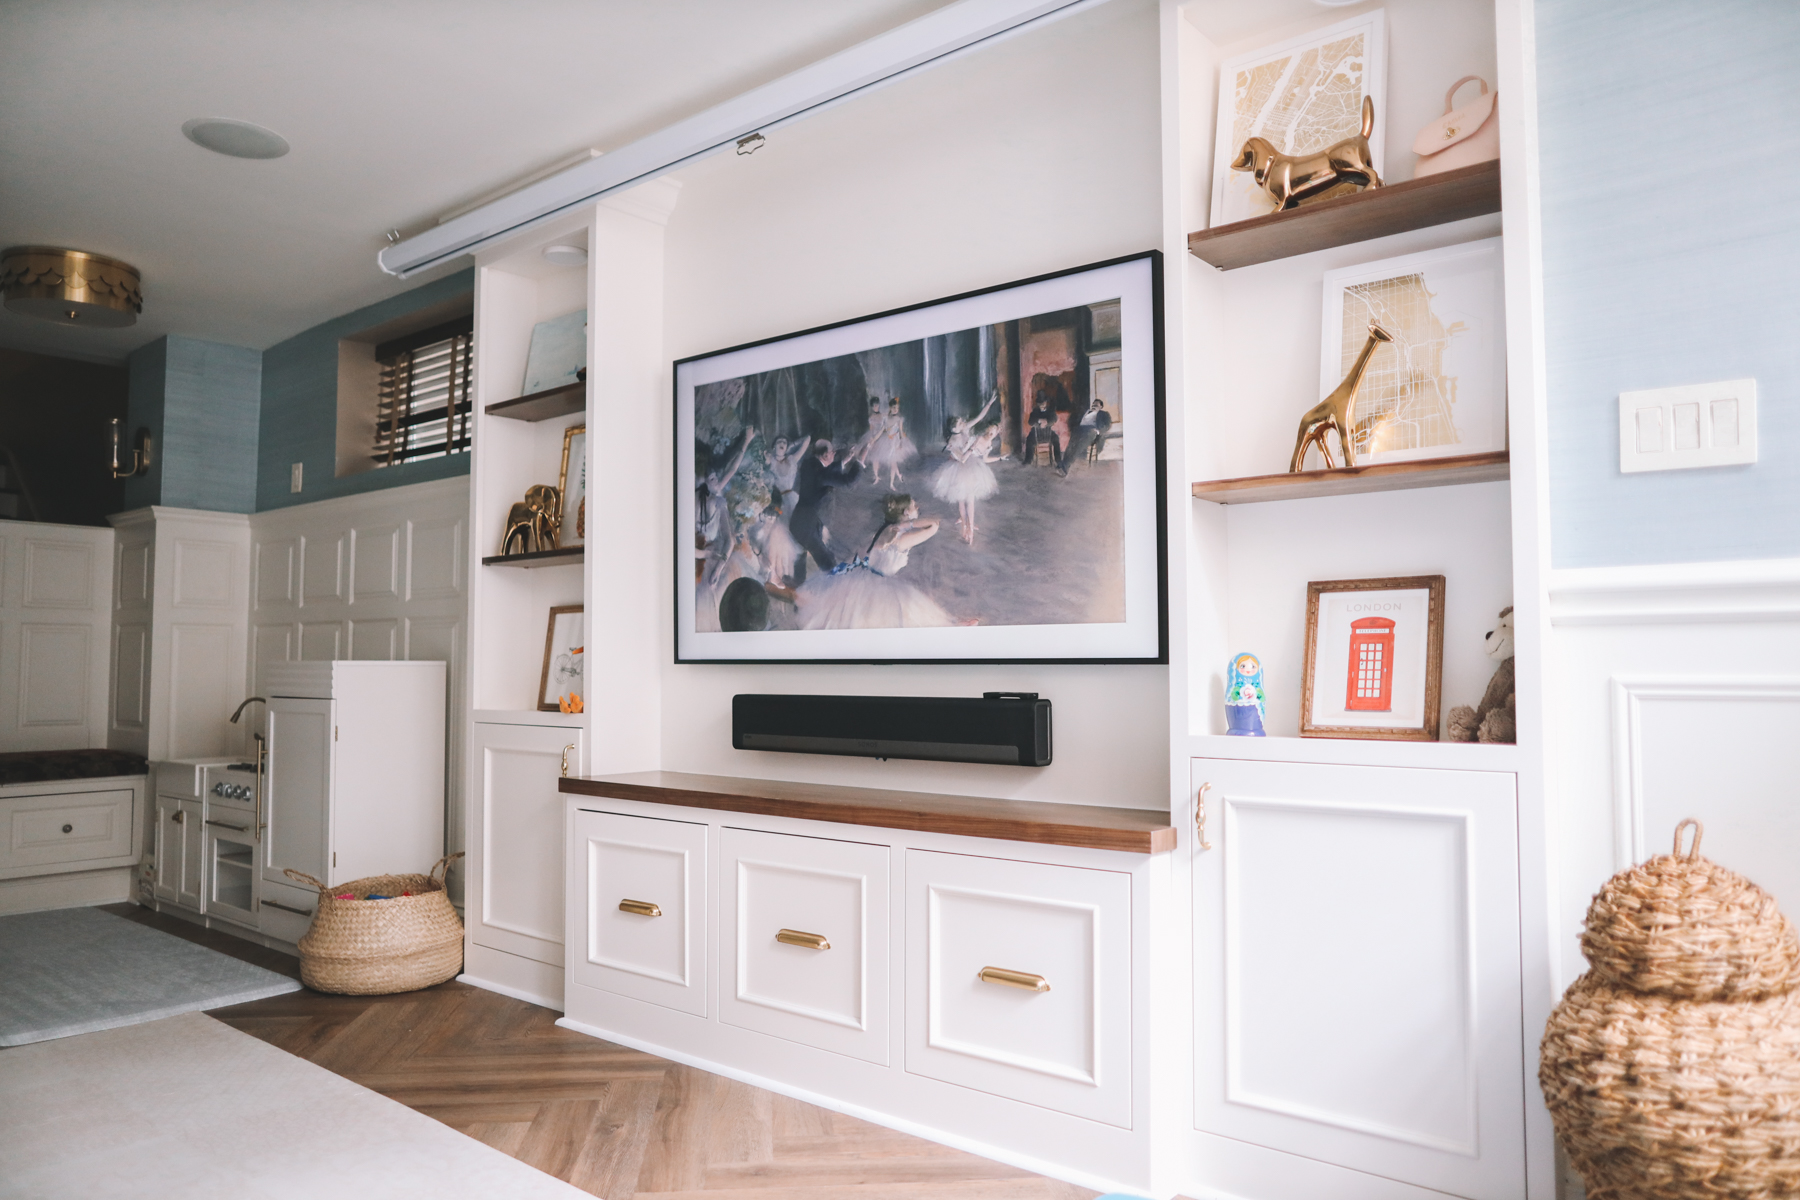
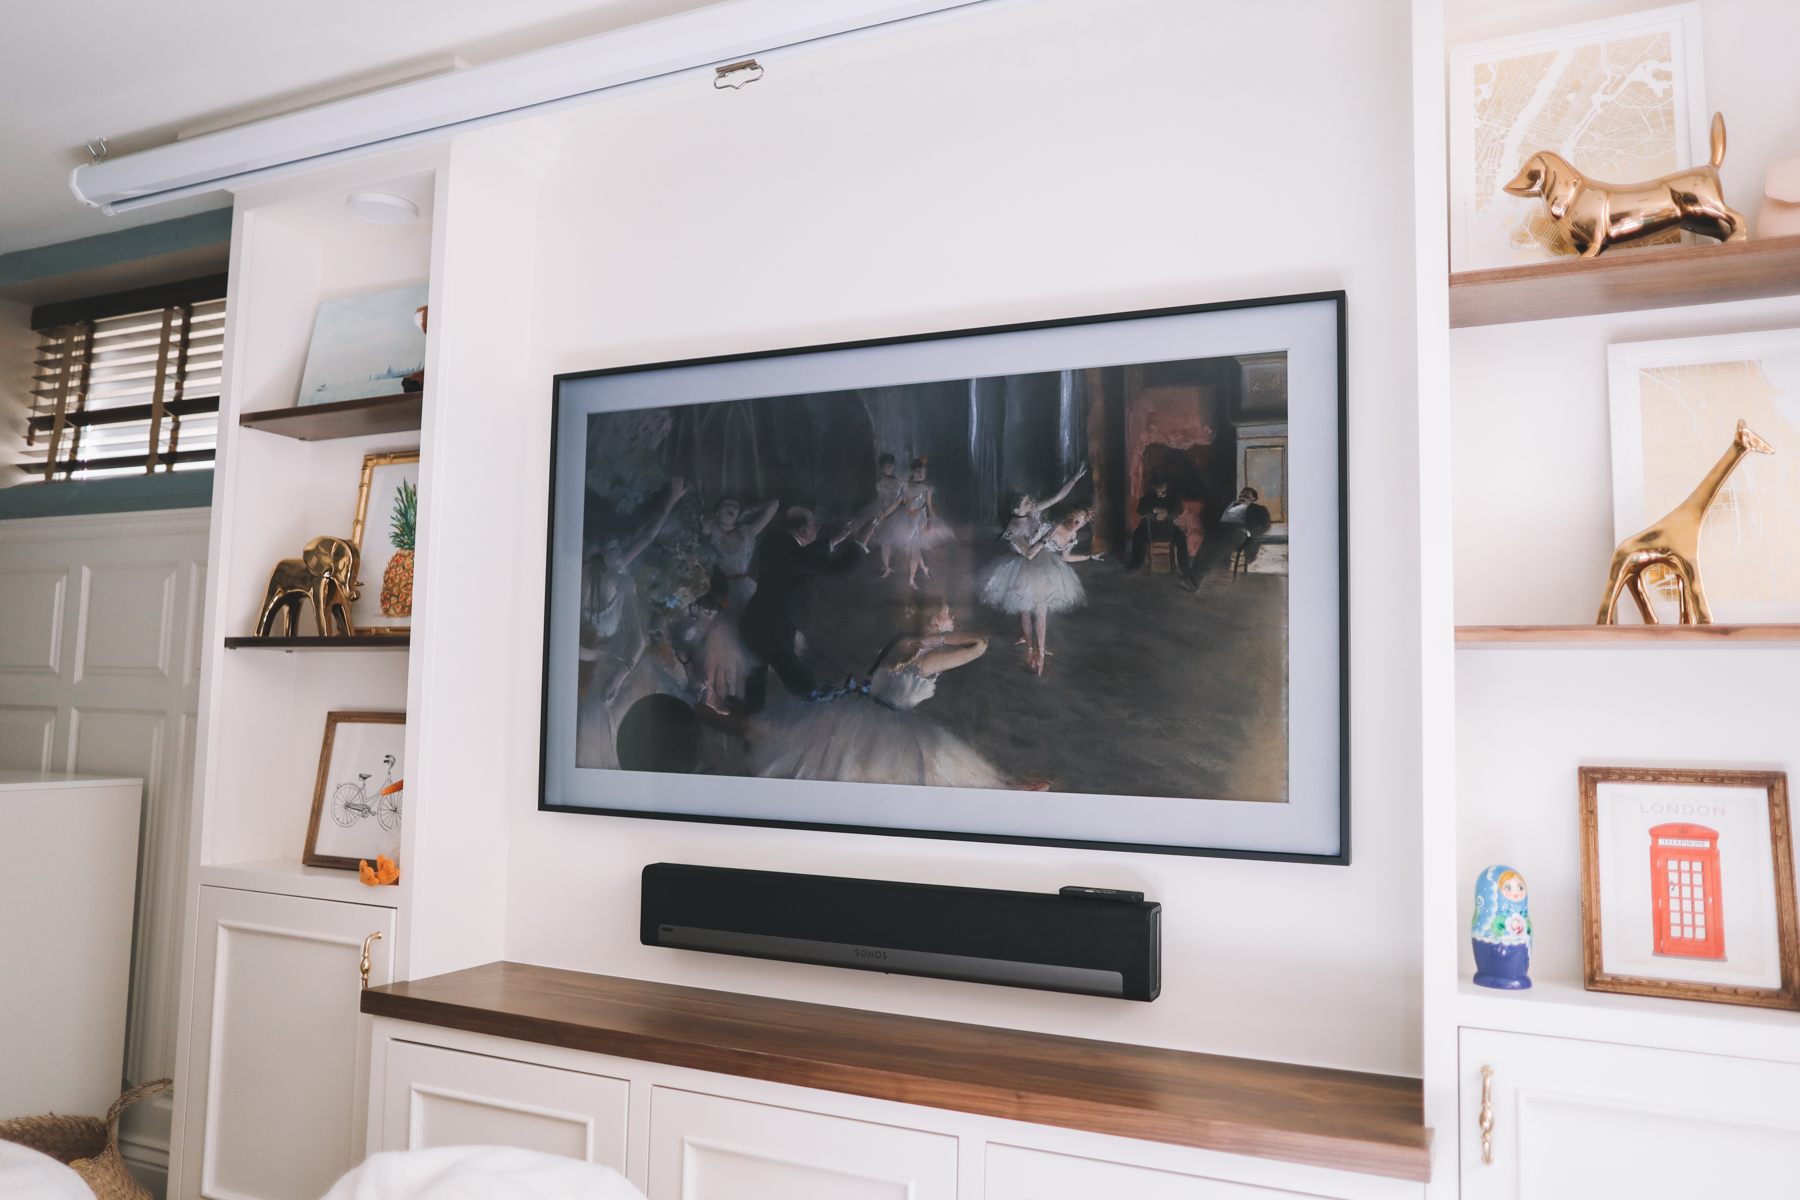
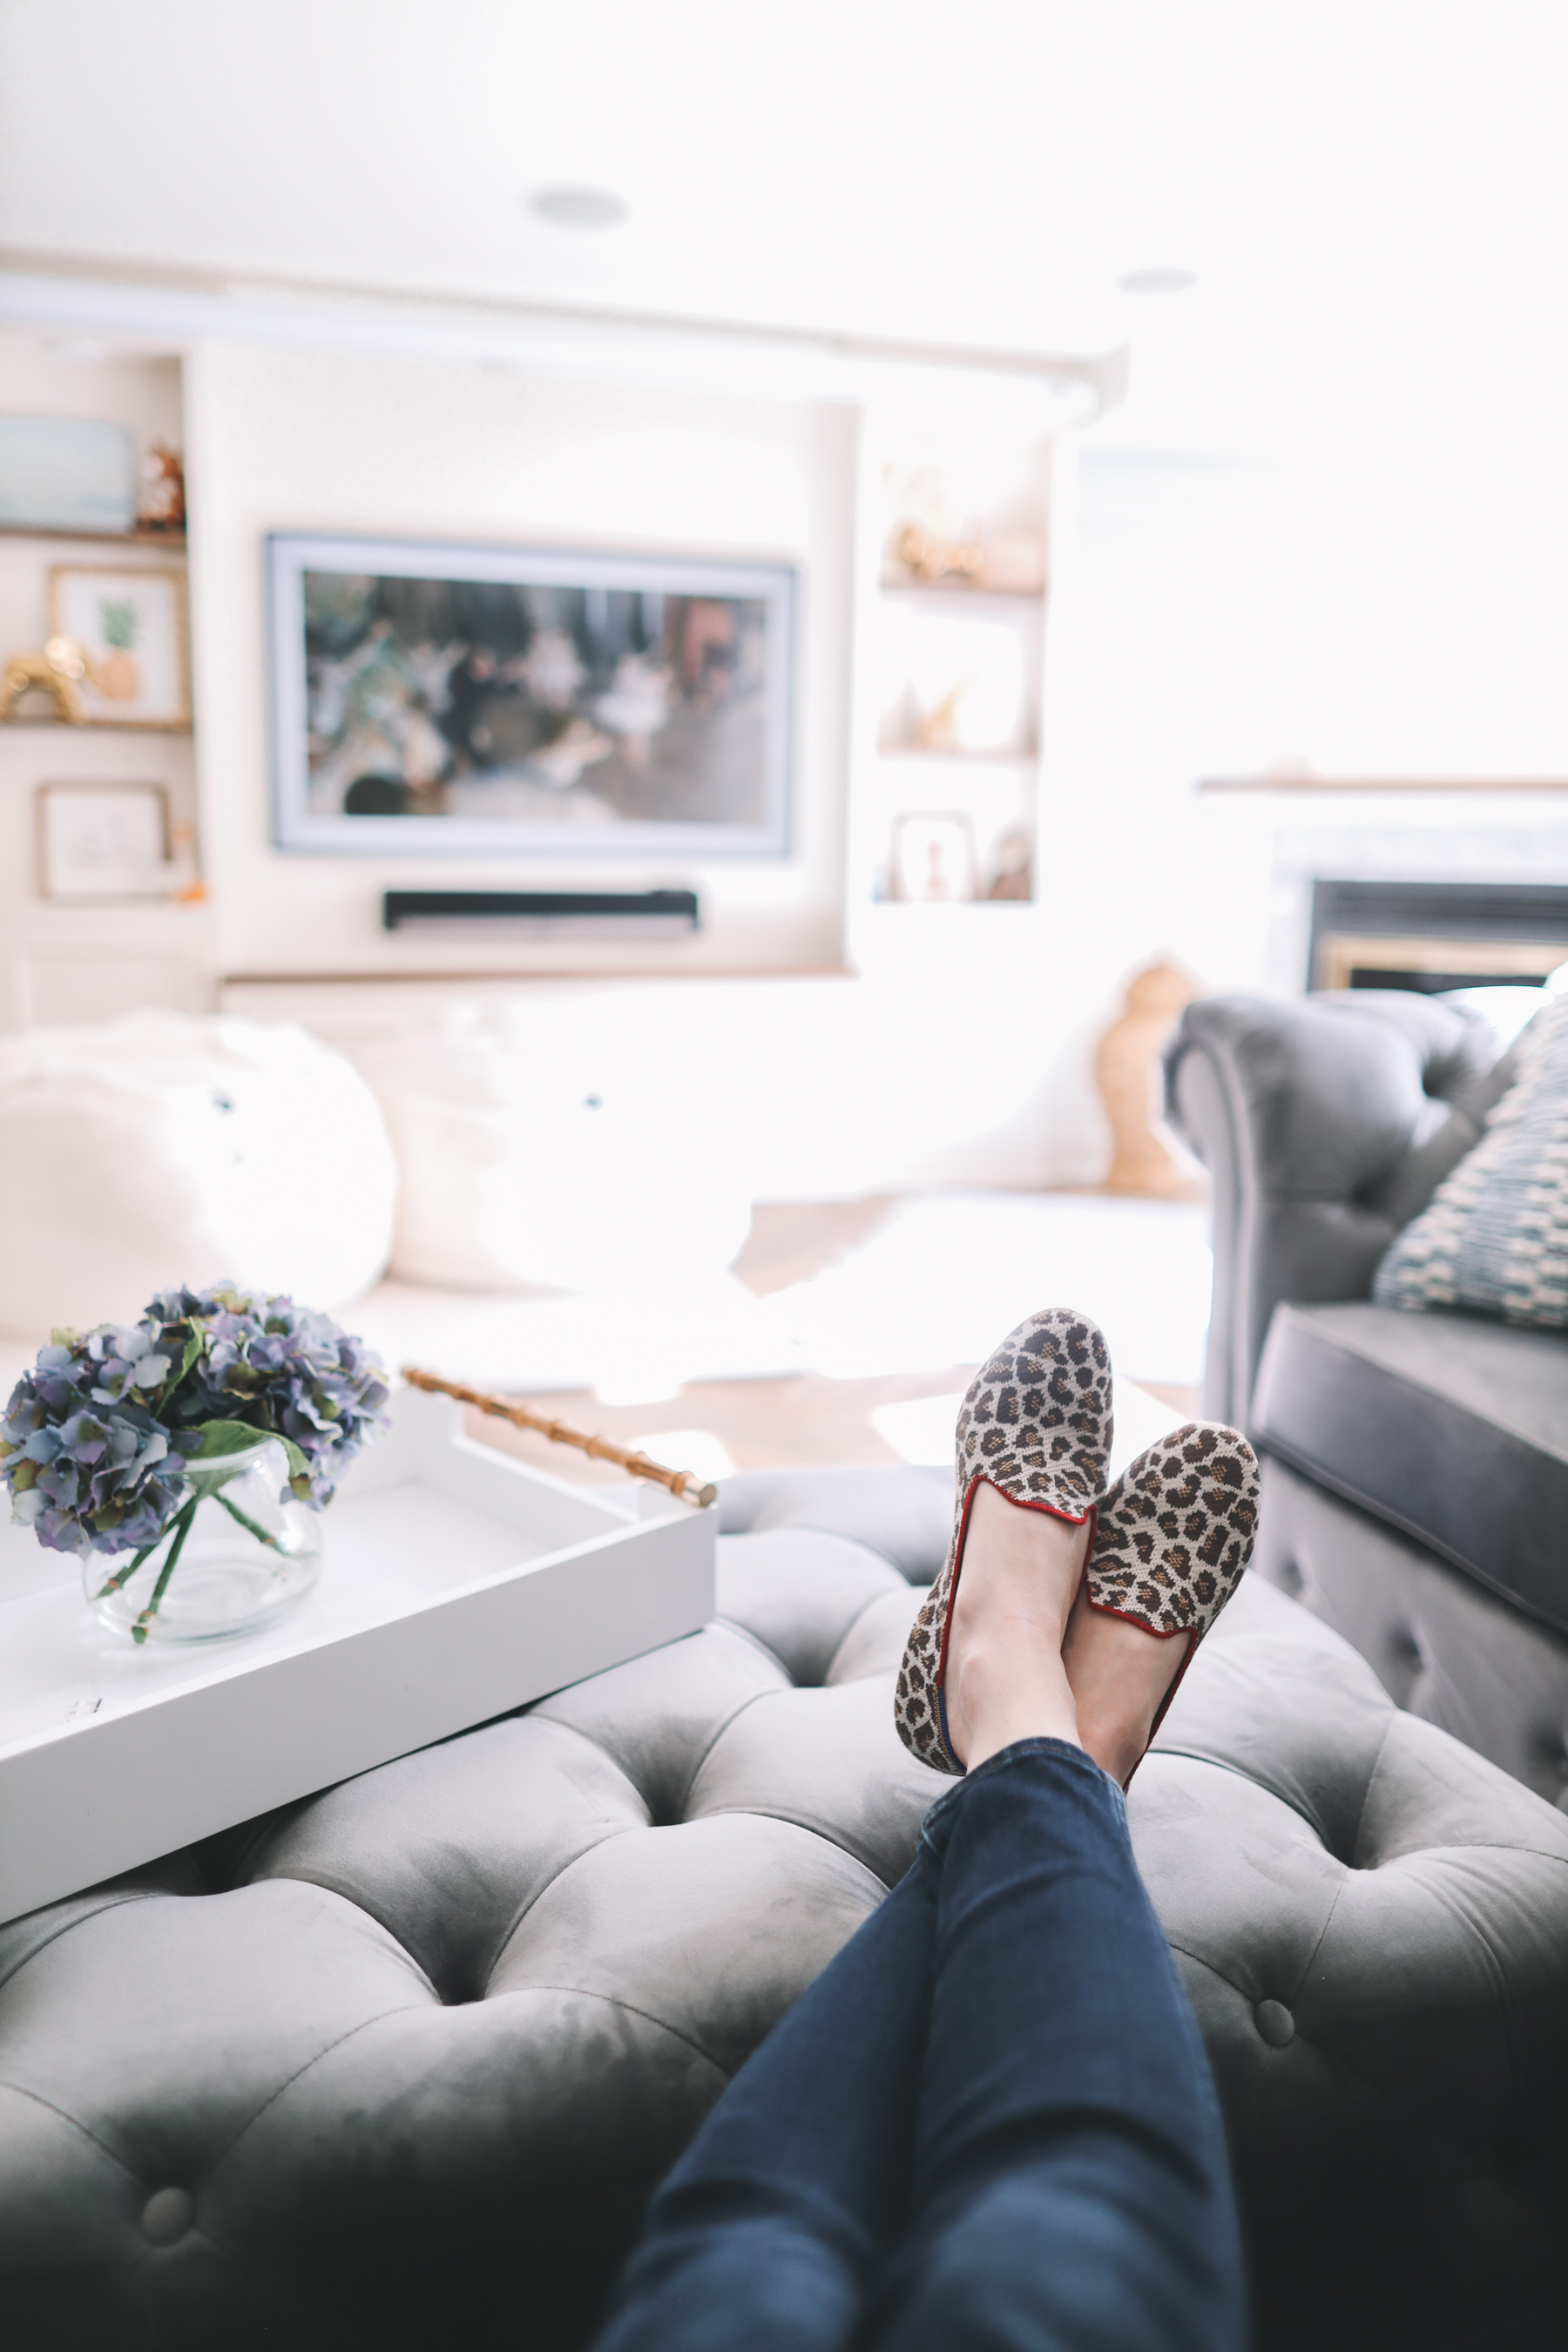
Frame TV
Mitch is almost done with his post on this! He’s writing it because he can speak far more intelligently about the subject matter, but a few things I really like about the Frame:
- In photos, it looks very much like framed art. (It’s certainly less realistic in person, as it has a glow. But you can adjust the settings and make it dimmer, which is very helpful, and let’s be serious: it is a visual upgrade!)
- We can put the girls’ artwork up, which is fun for the whole family. Emma is so excited when we do this!
- It’s “smart” on its own; you don’t need an Apple TV. (Of course, Mitch has one in the basement because he lives for that stuff. But we don’t have one upstairs for the living room Frame, and it works just as well, in my opinion! Very easy to operate.)
Projector setup
Another post from Mitch coming soon (regarding the projector). Sorry!
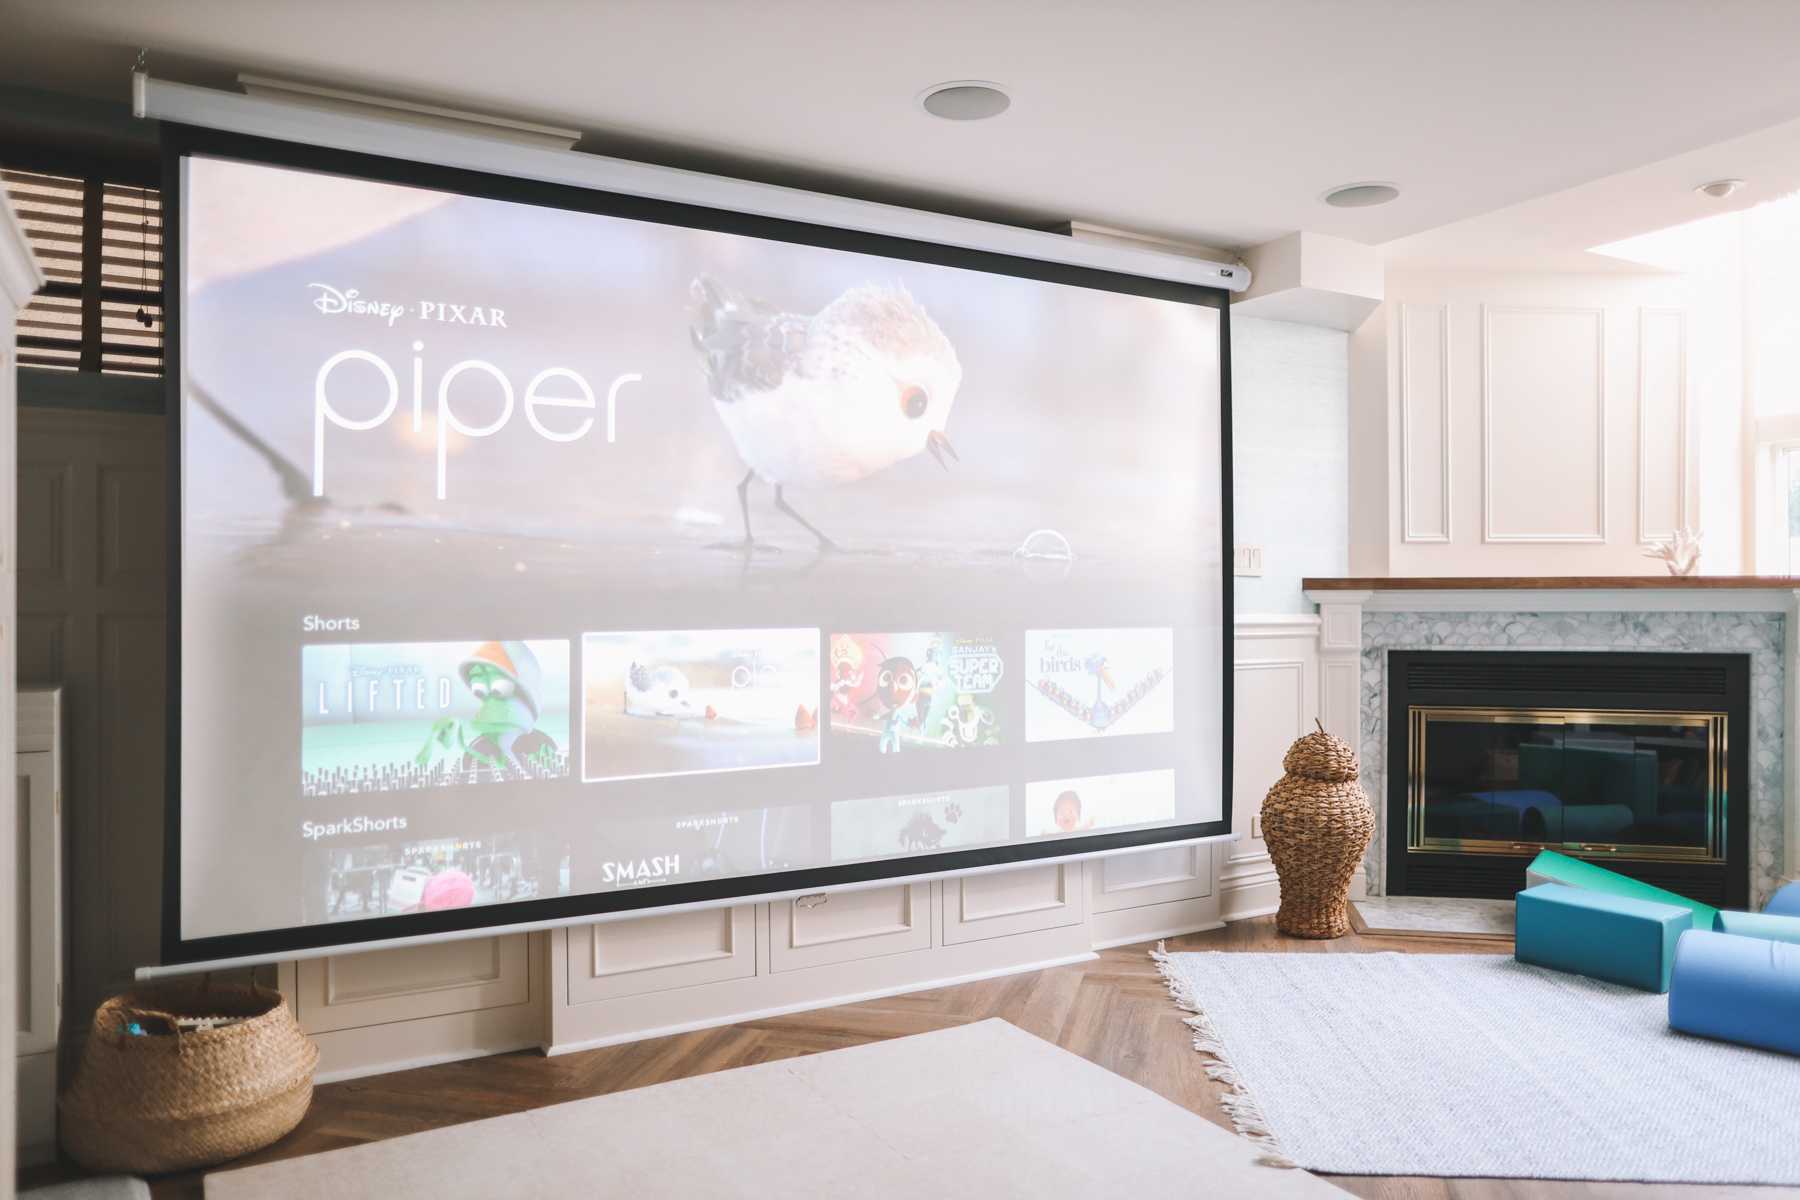
But as I said before, Mitch, a self-proclaimed tech nerd, put his heart and soul into designing a projector setup. And while I initially resisted the idea, I now fully admit that I was wrong. It’s a really freakin’ awesome and relatively inexpensive way to still go to the movie theater while raising two small children… or while navigating a global pandemic. It’s been the source of some of my most cherished memories!
And while the screen is HUGE 😂, it rolls right up when not in use.
This is the projector, btw, which Mitch found on Craigslist for a crazy deal. If he hadn’t stumbled upon it, he would have purchased this one, which is around $250. We’re both big fans of Epsons, as we used them in our classrooms in the Bronx. I bought mine during my first year of teaching because I didn’t have access to a printer or photocopier (at all 🙄) and the projector + bulb lasted through my SEVEN years at the school. Best investment I ever made in my classroom, and I couldn’t believe how great image quality was!


Toys
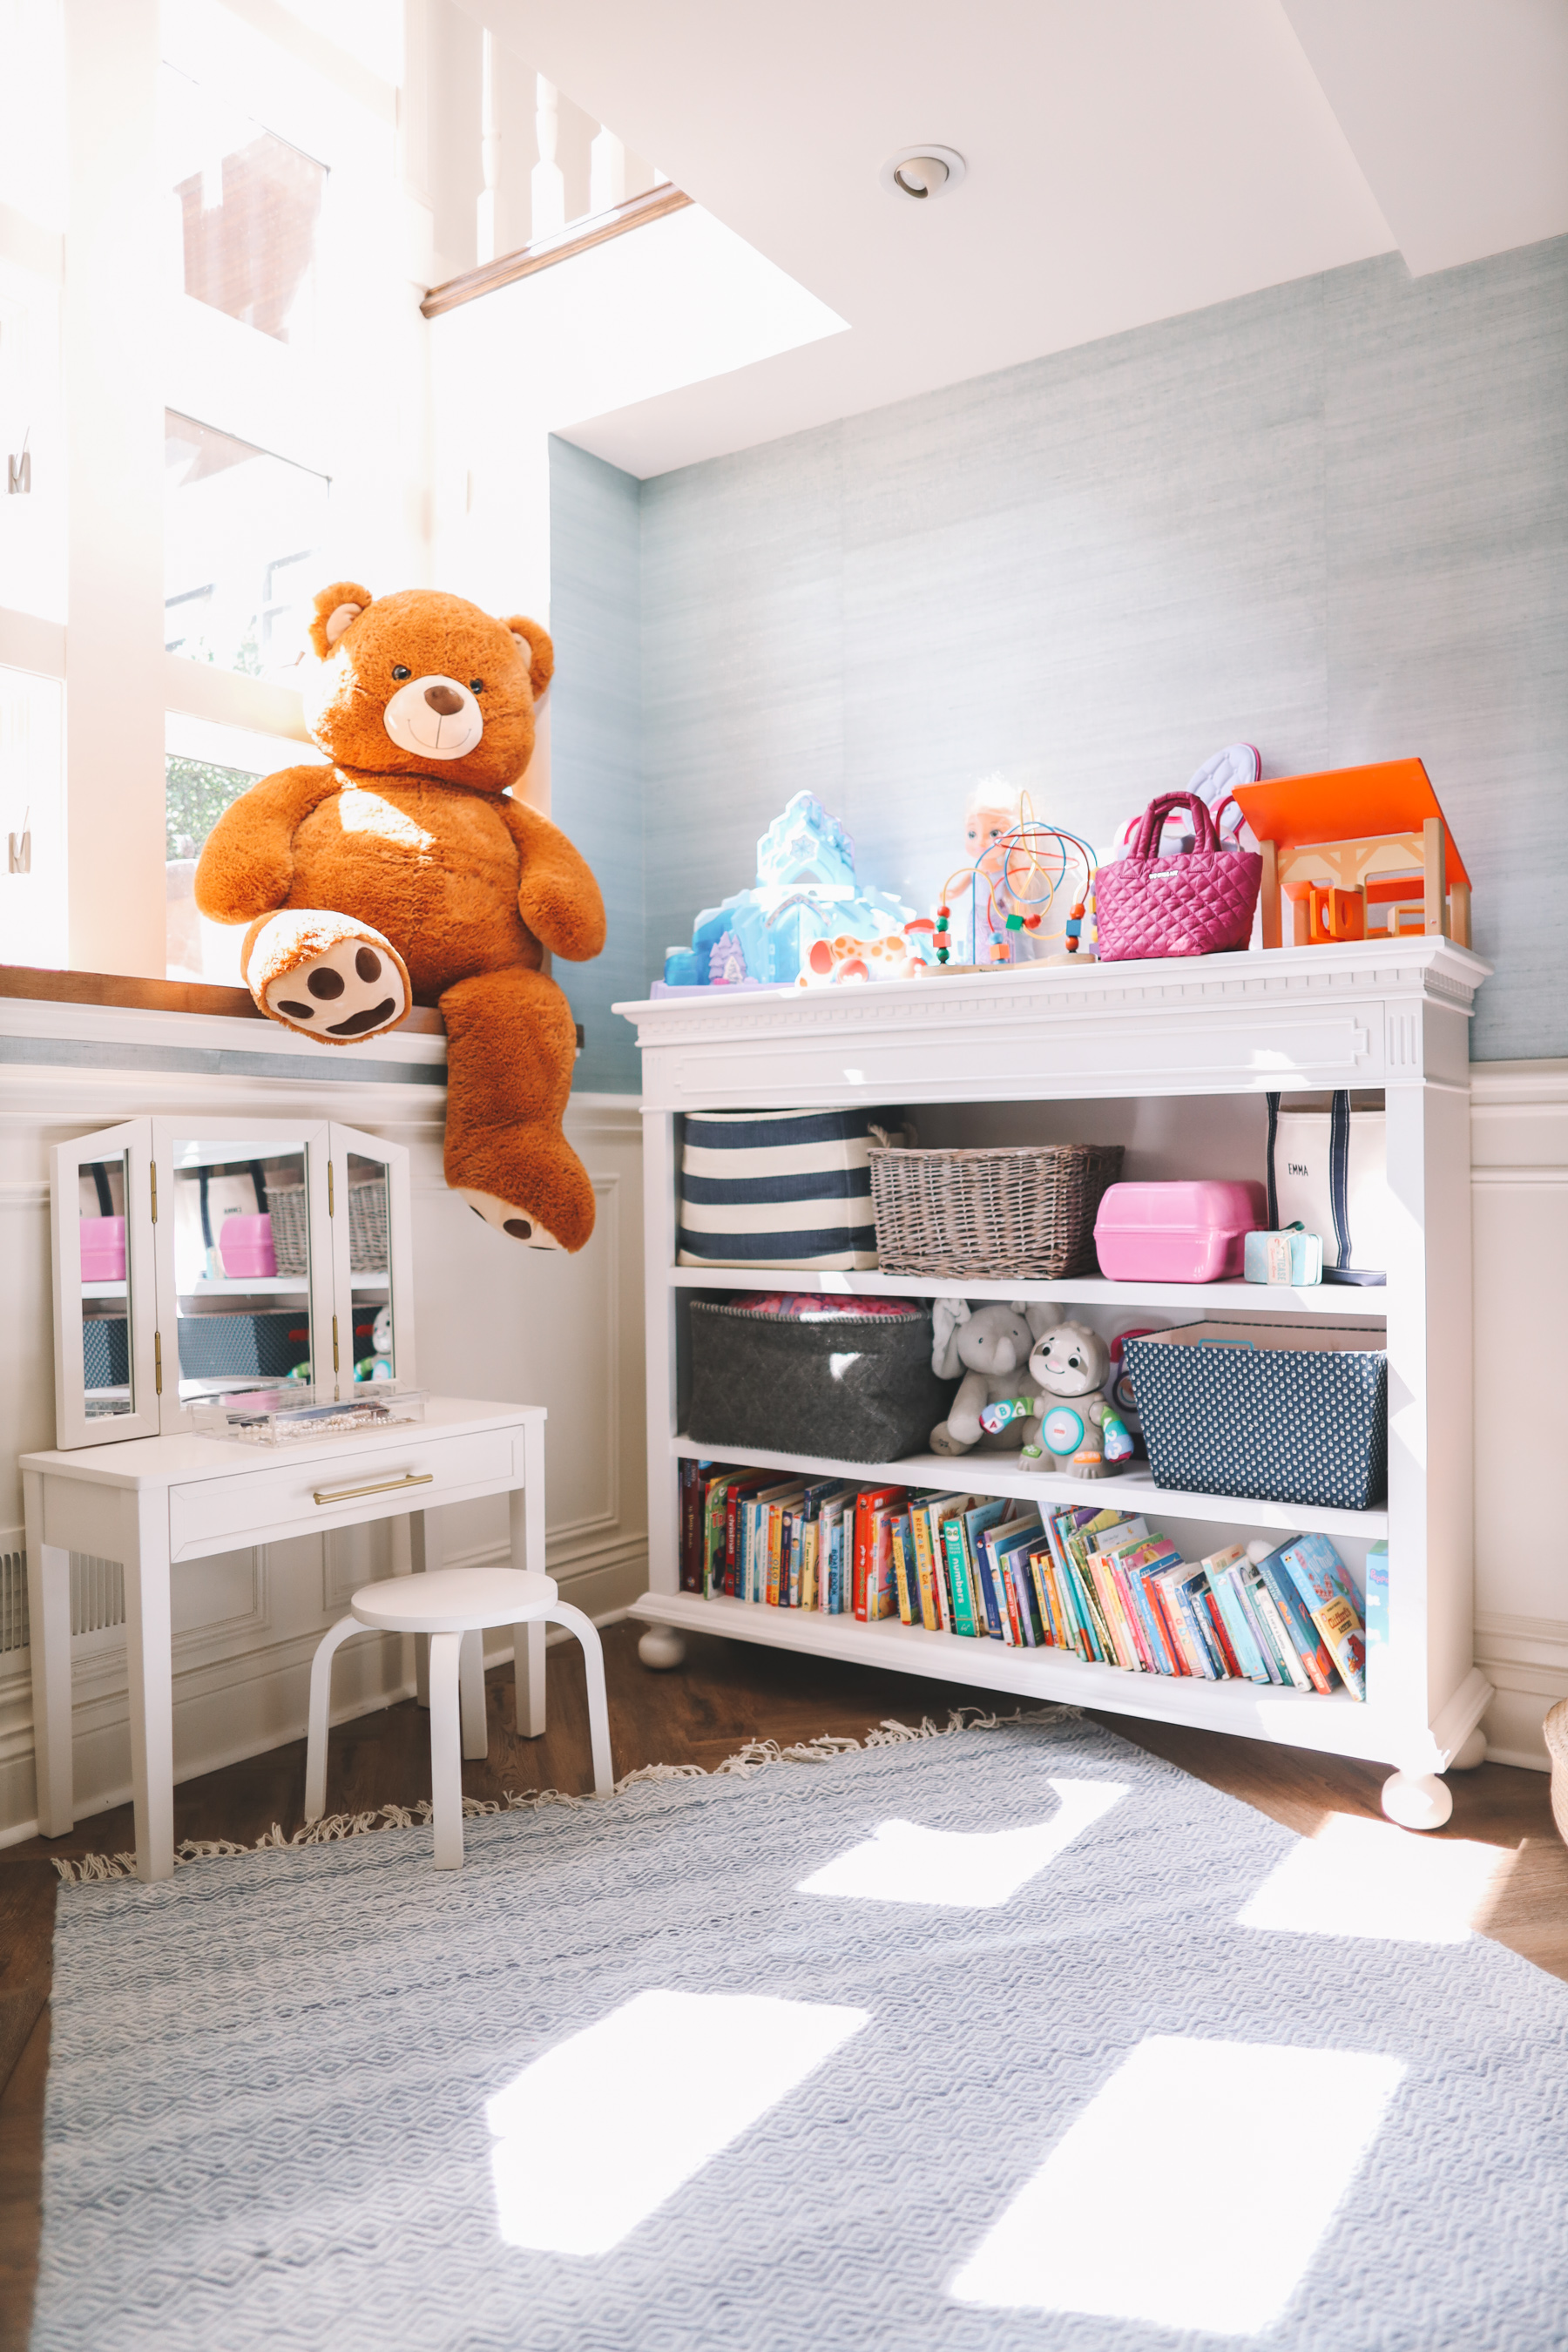
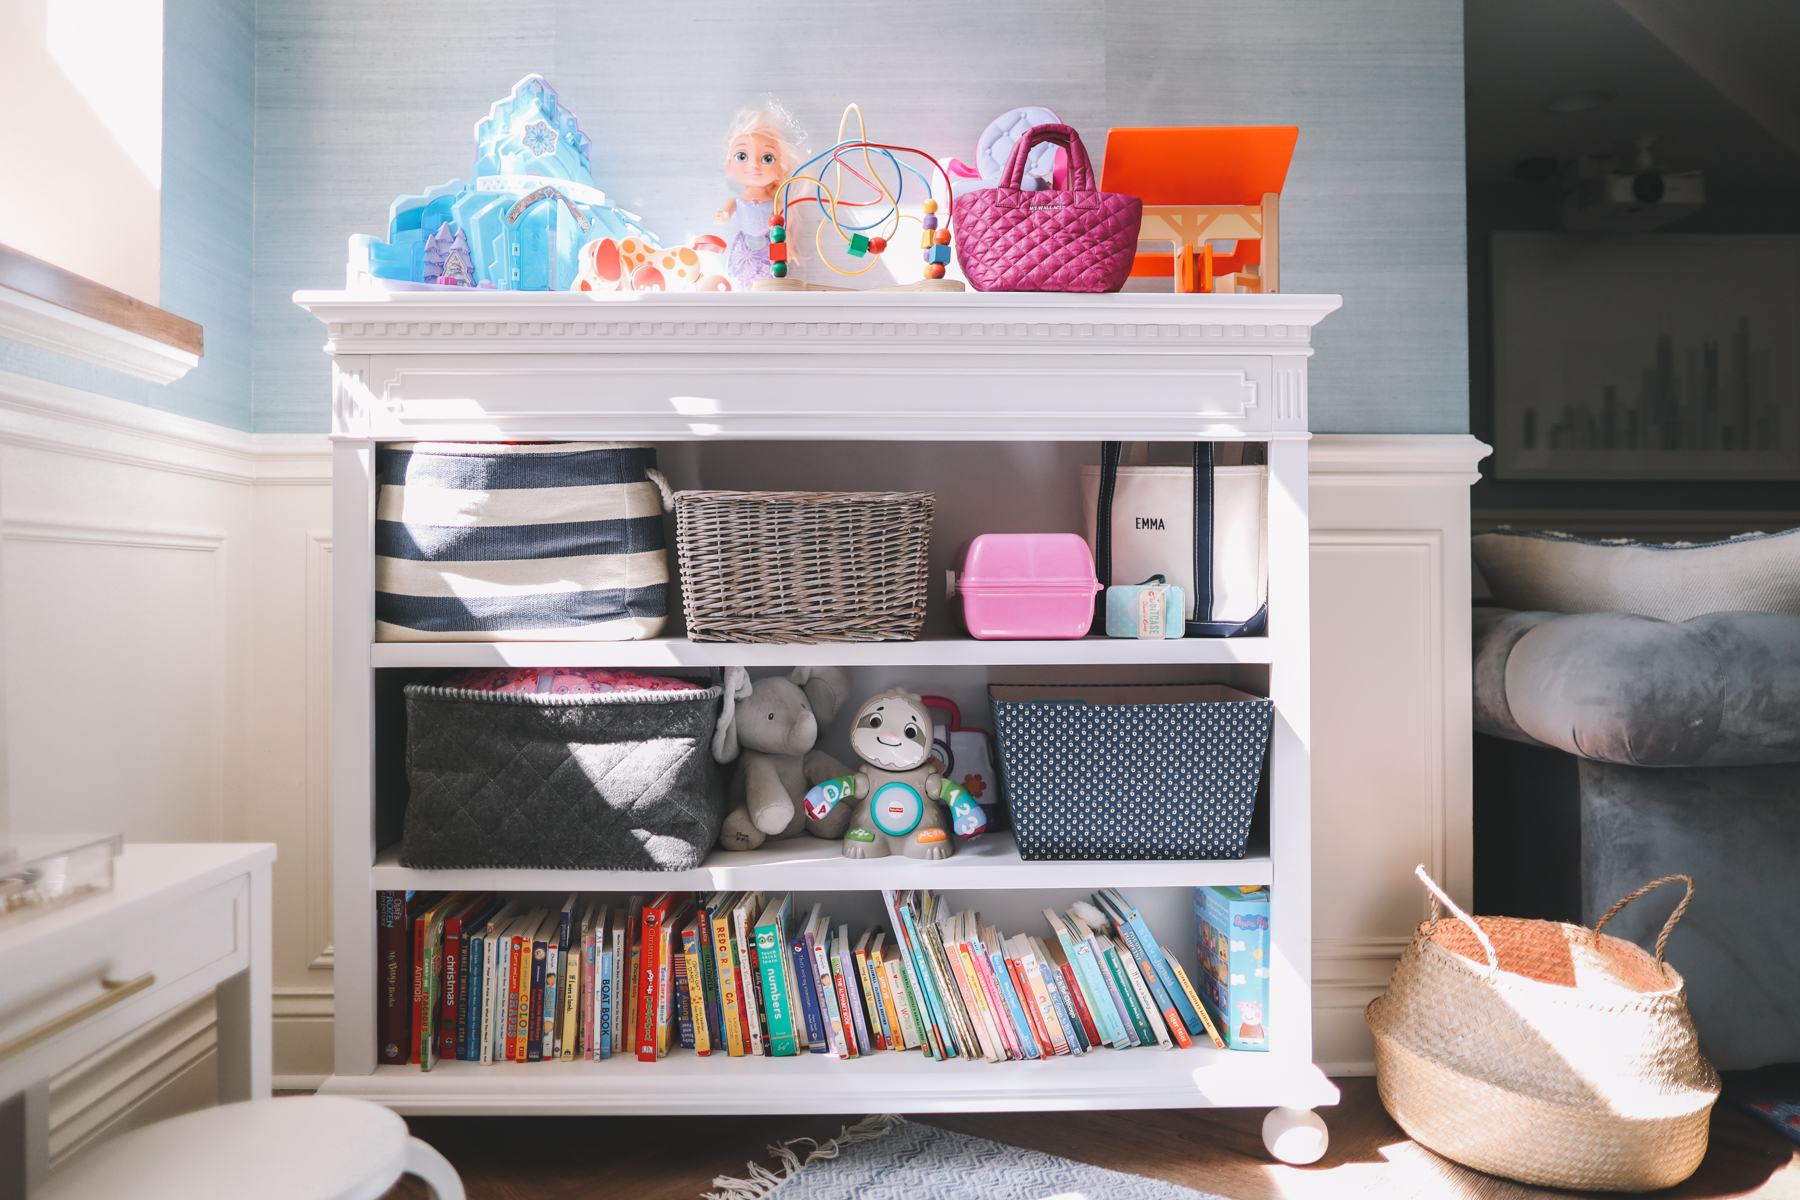
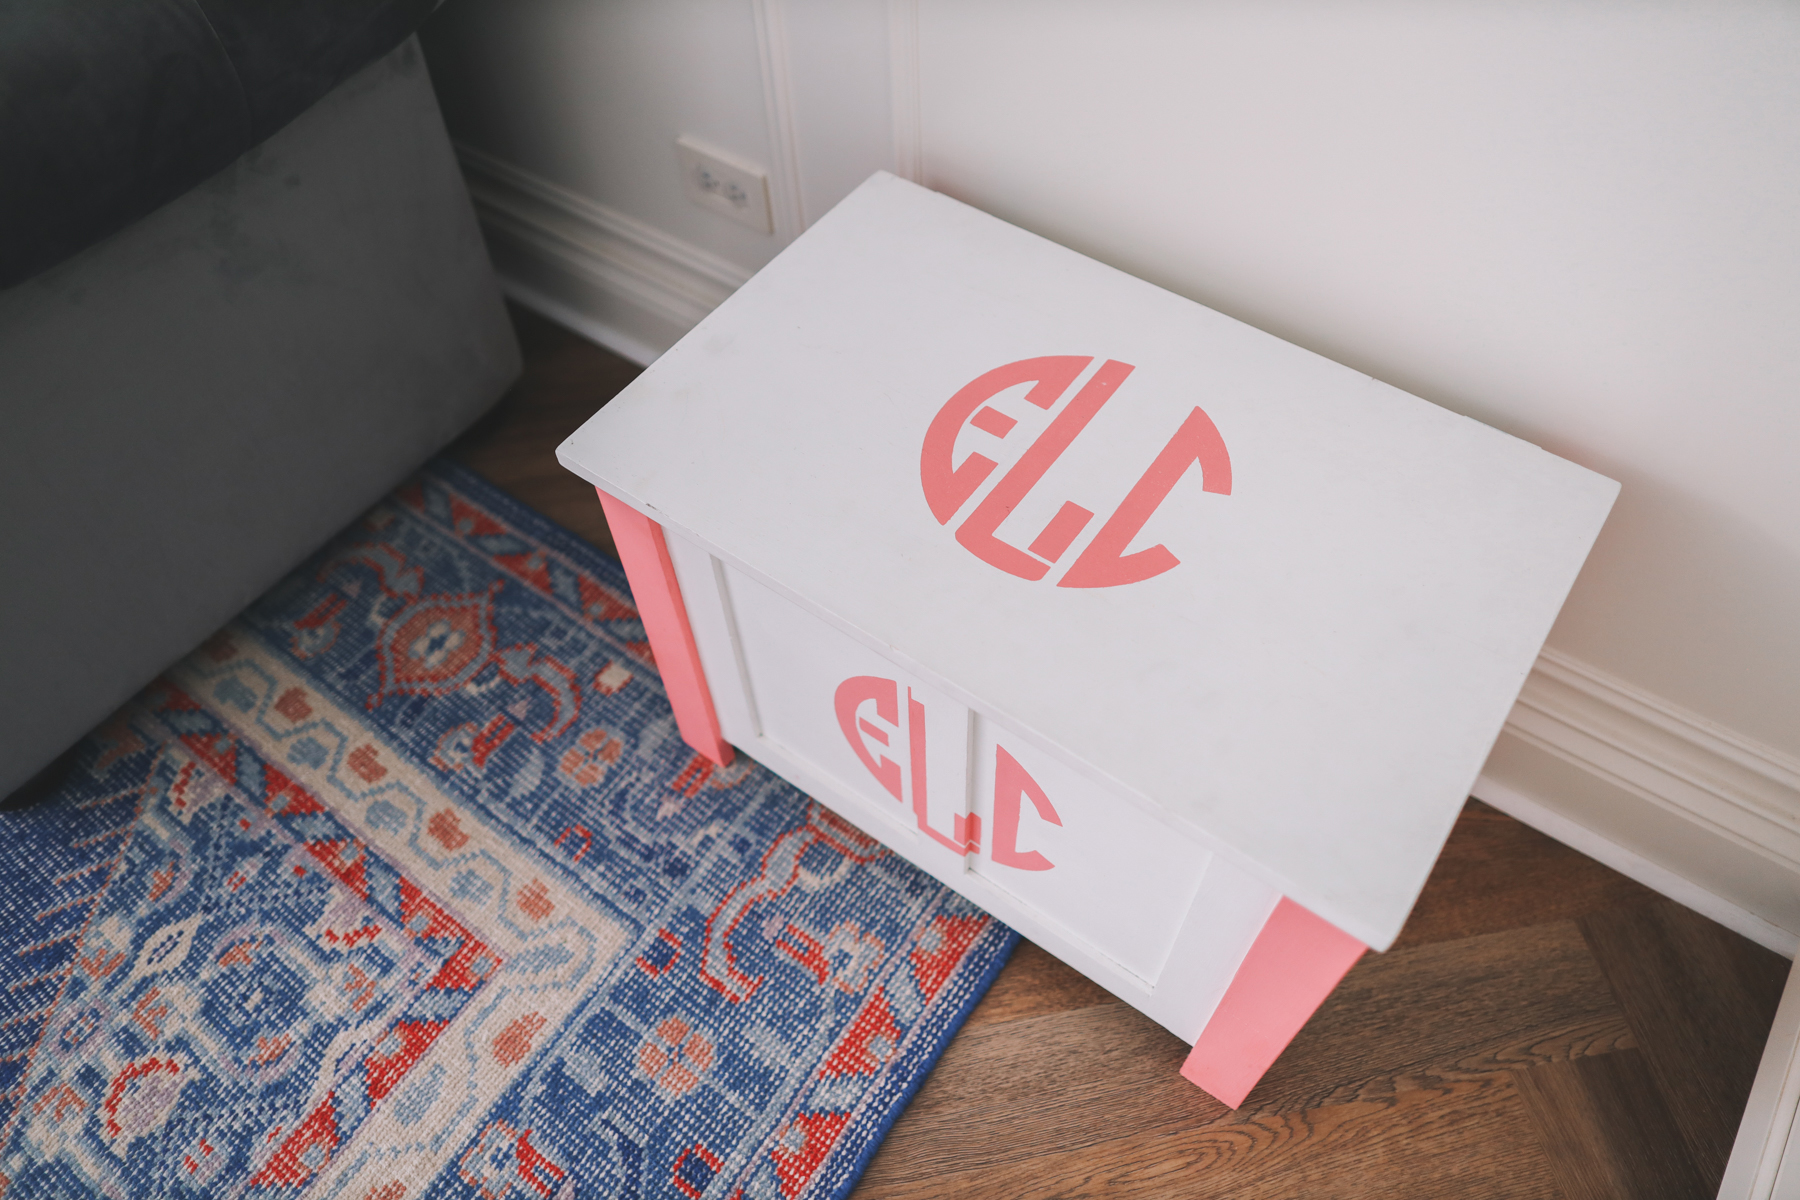
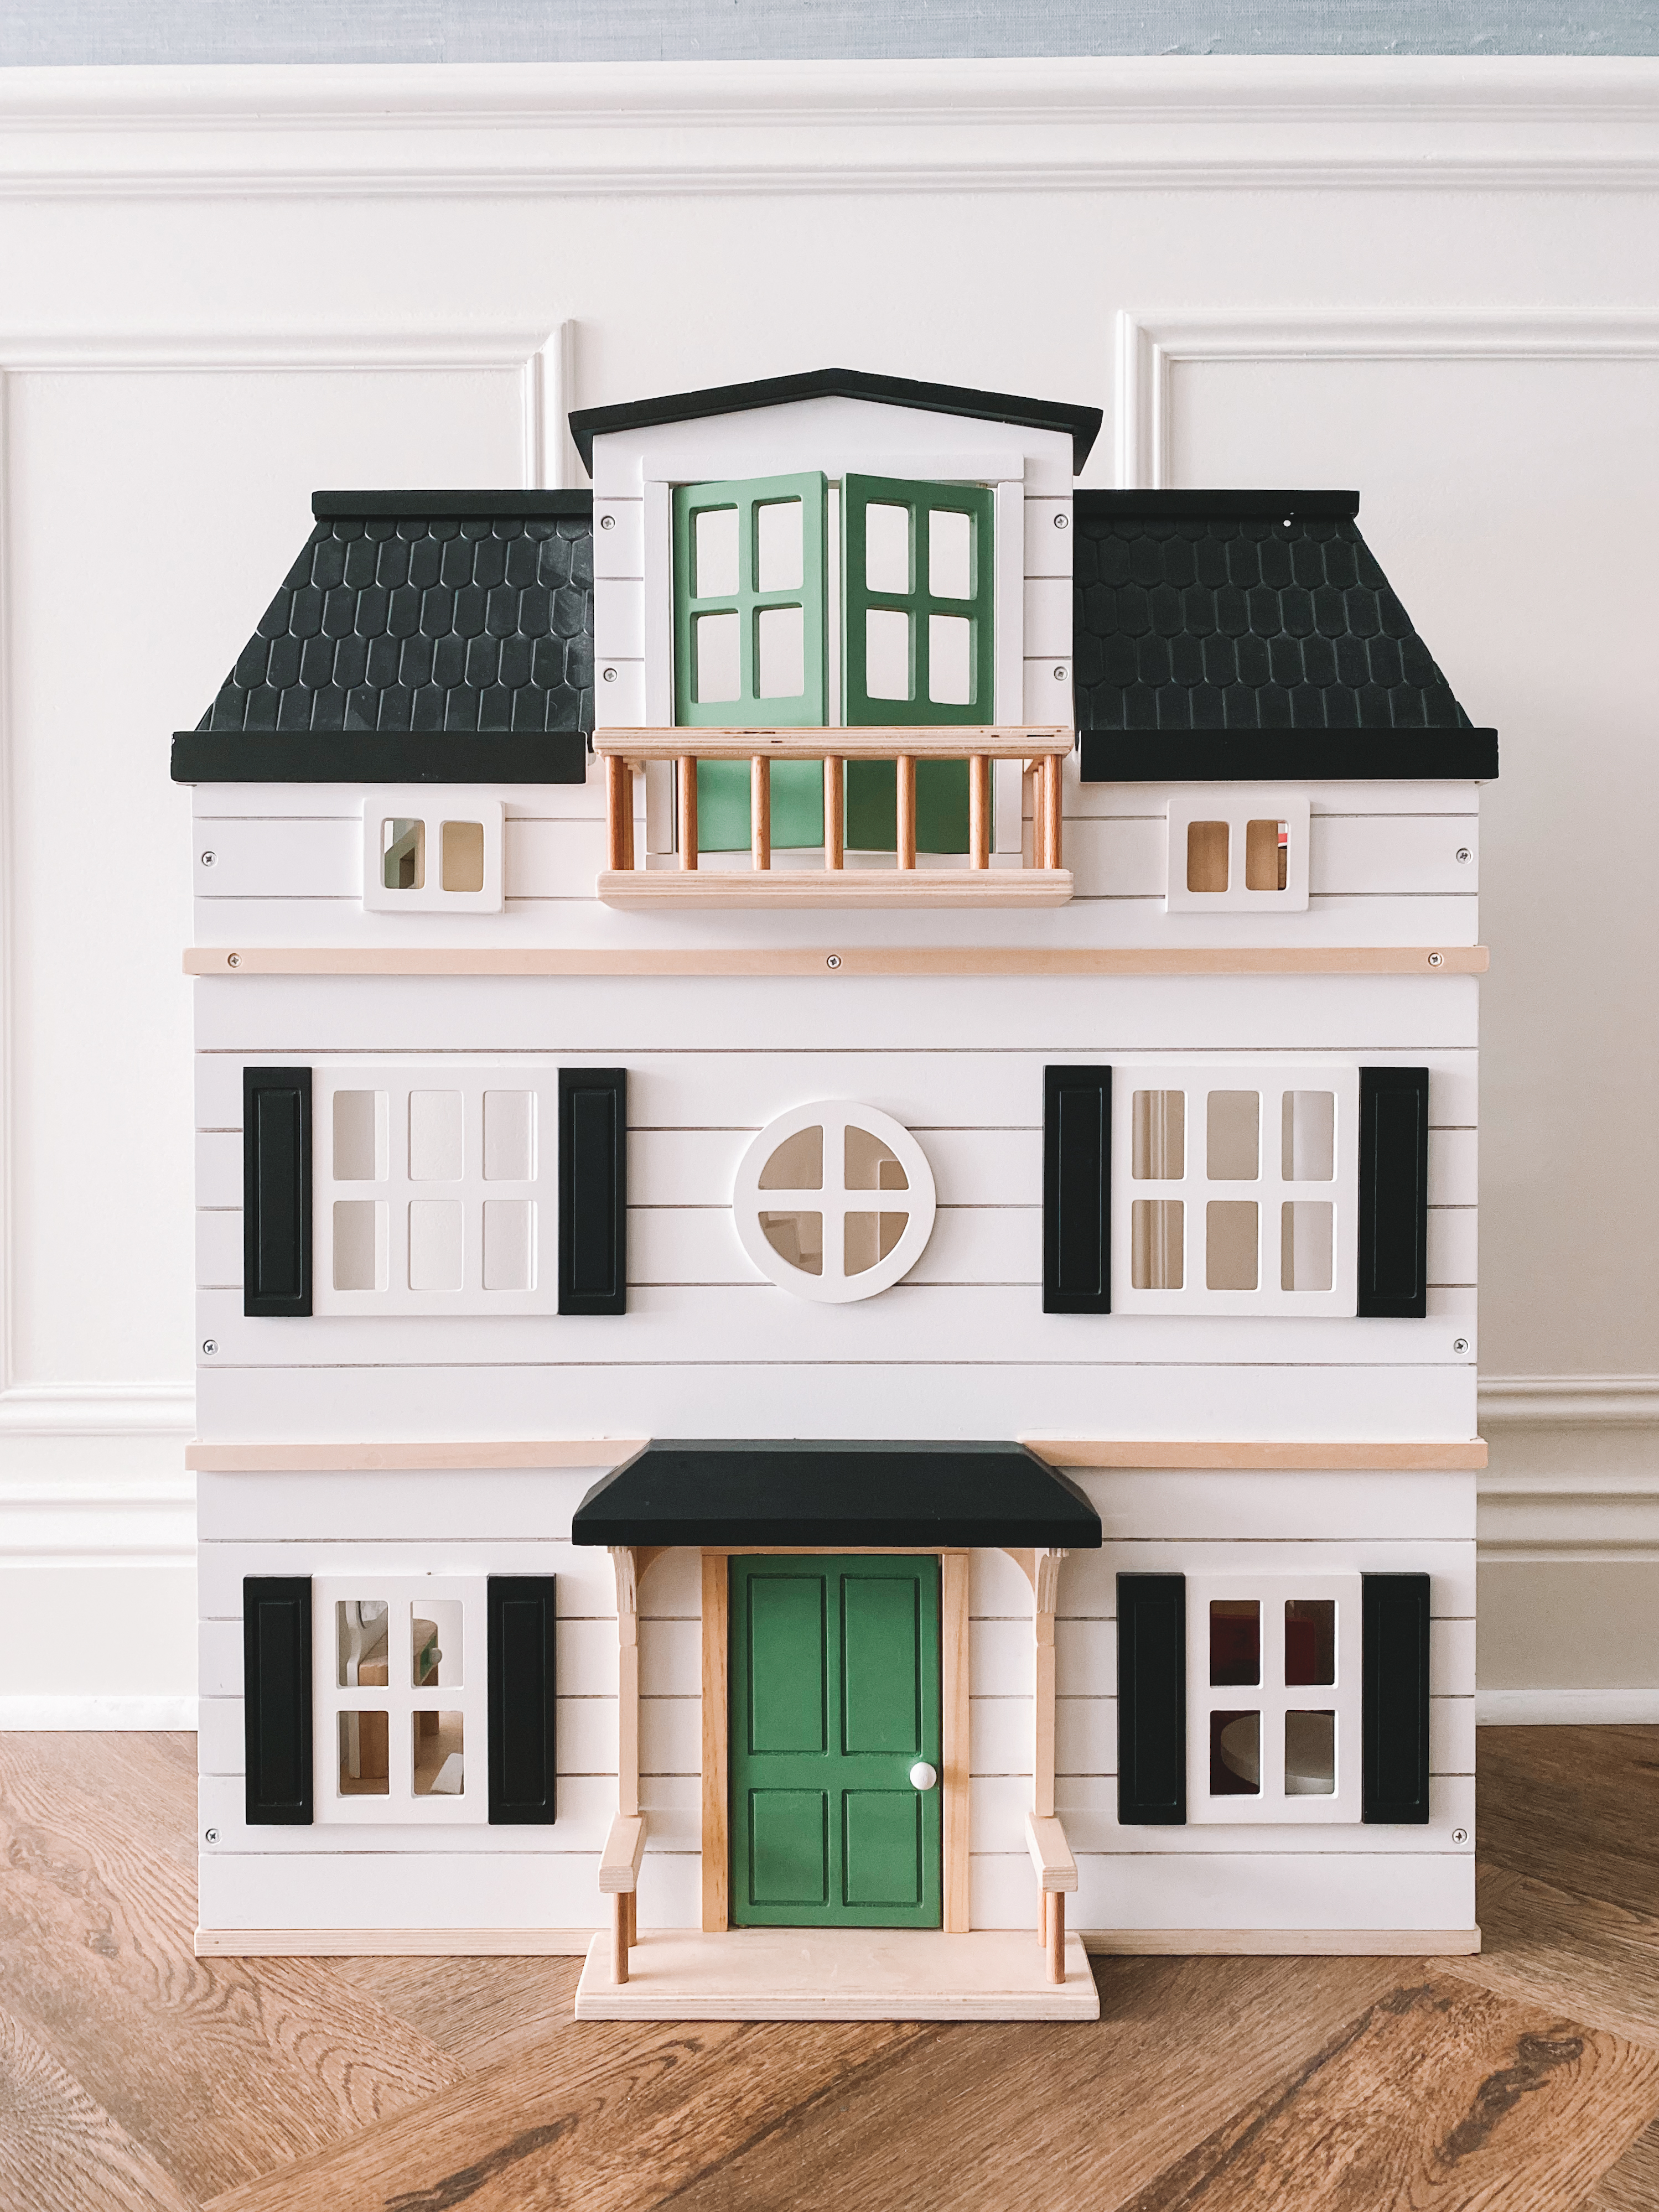
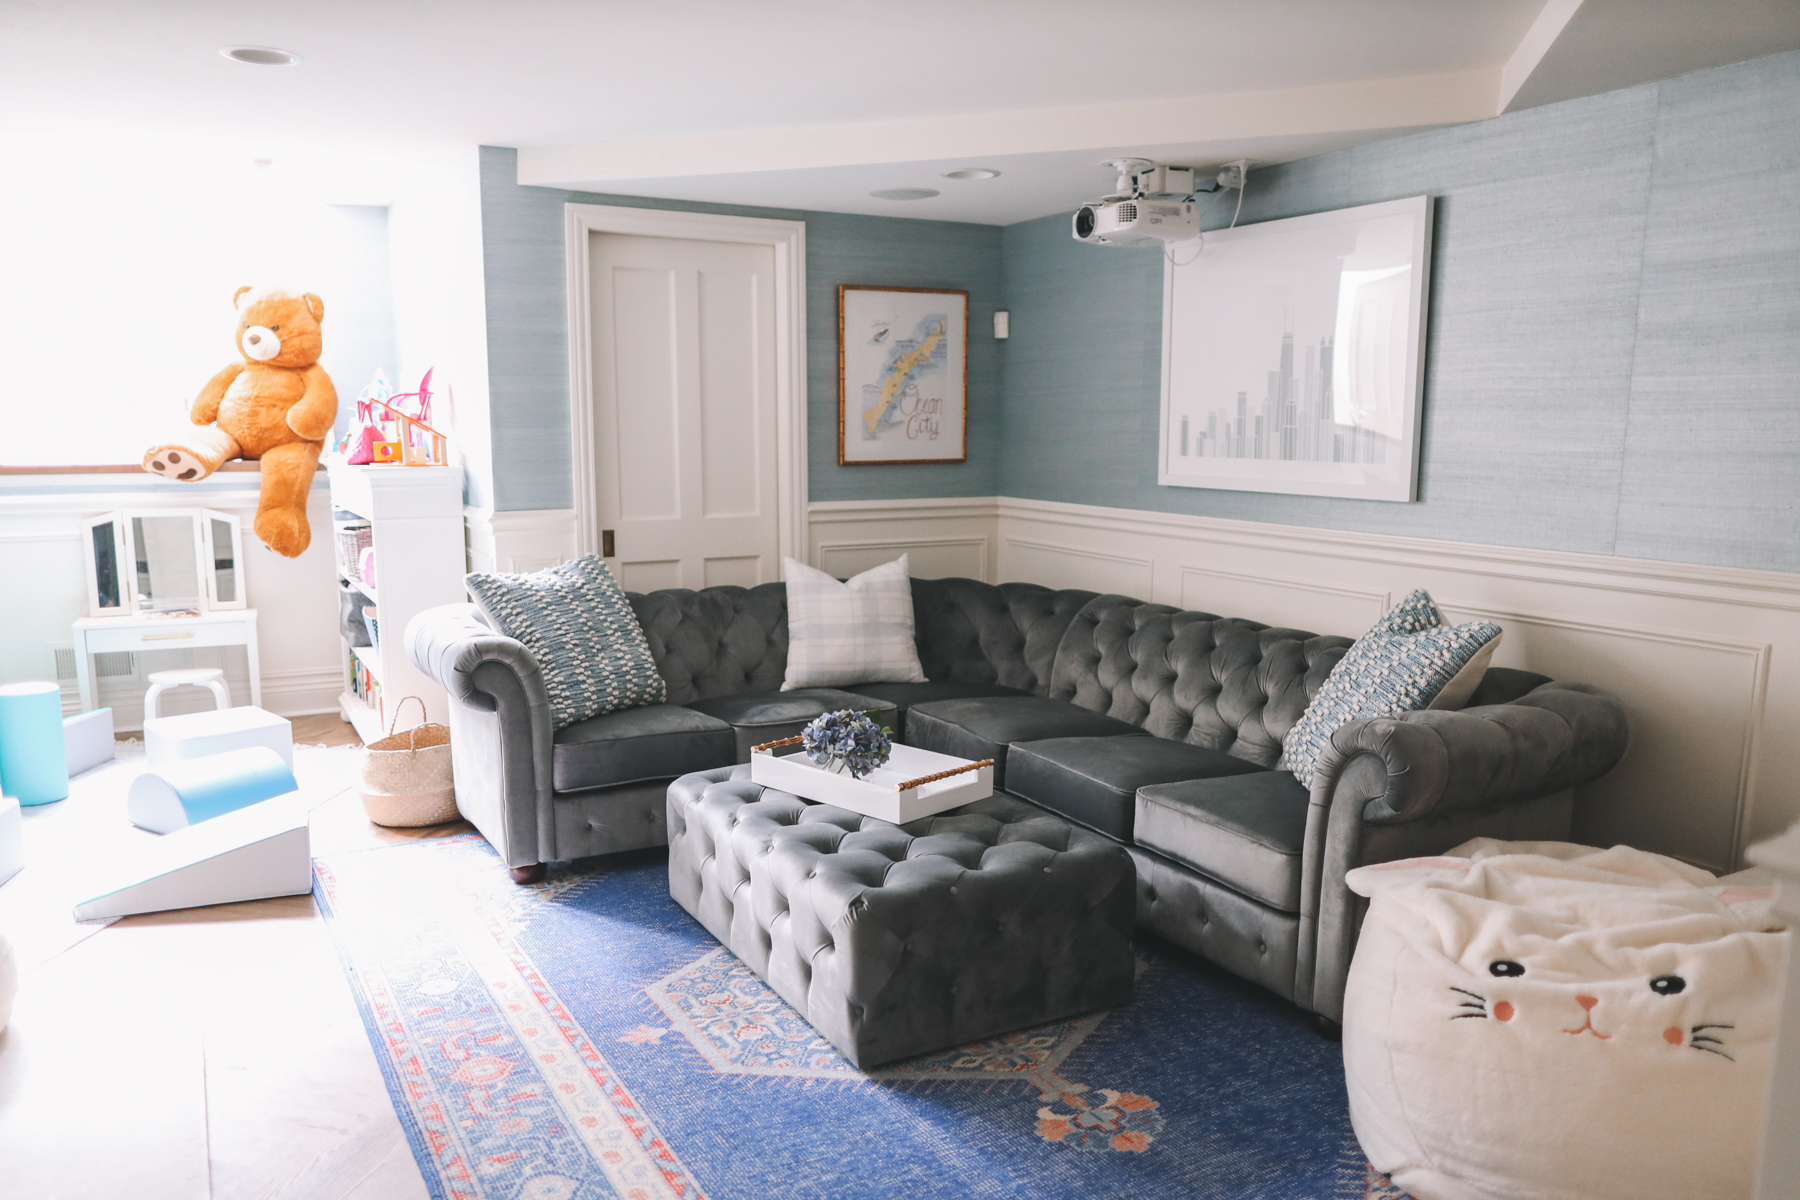
To the best of my ability, I tried to include the toys that you see in these photos, but let me know if I missed anything! My hope is that I can direct readers to this post whenever I feature the basement, that way everything is easy to find. :)
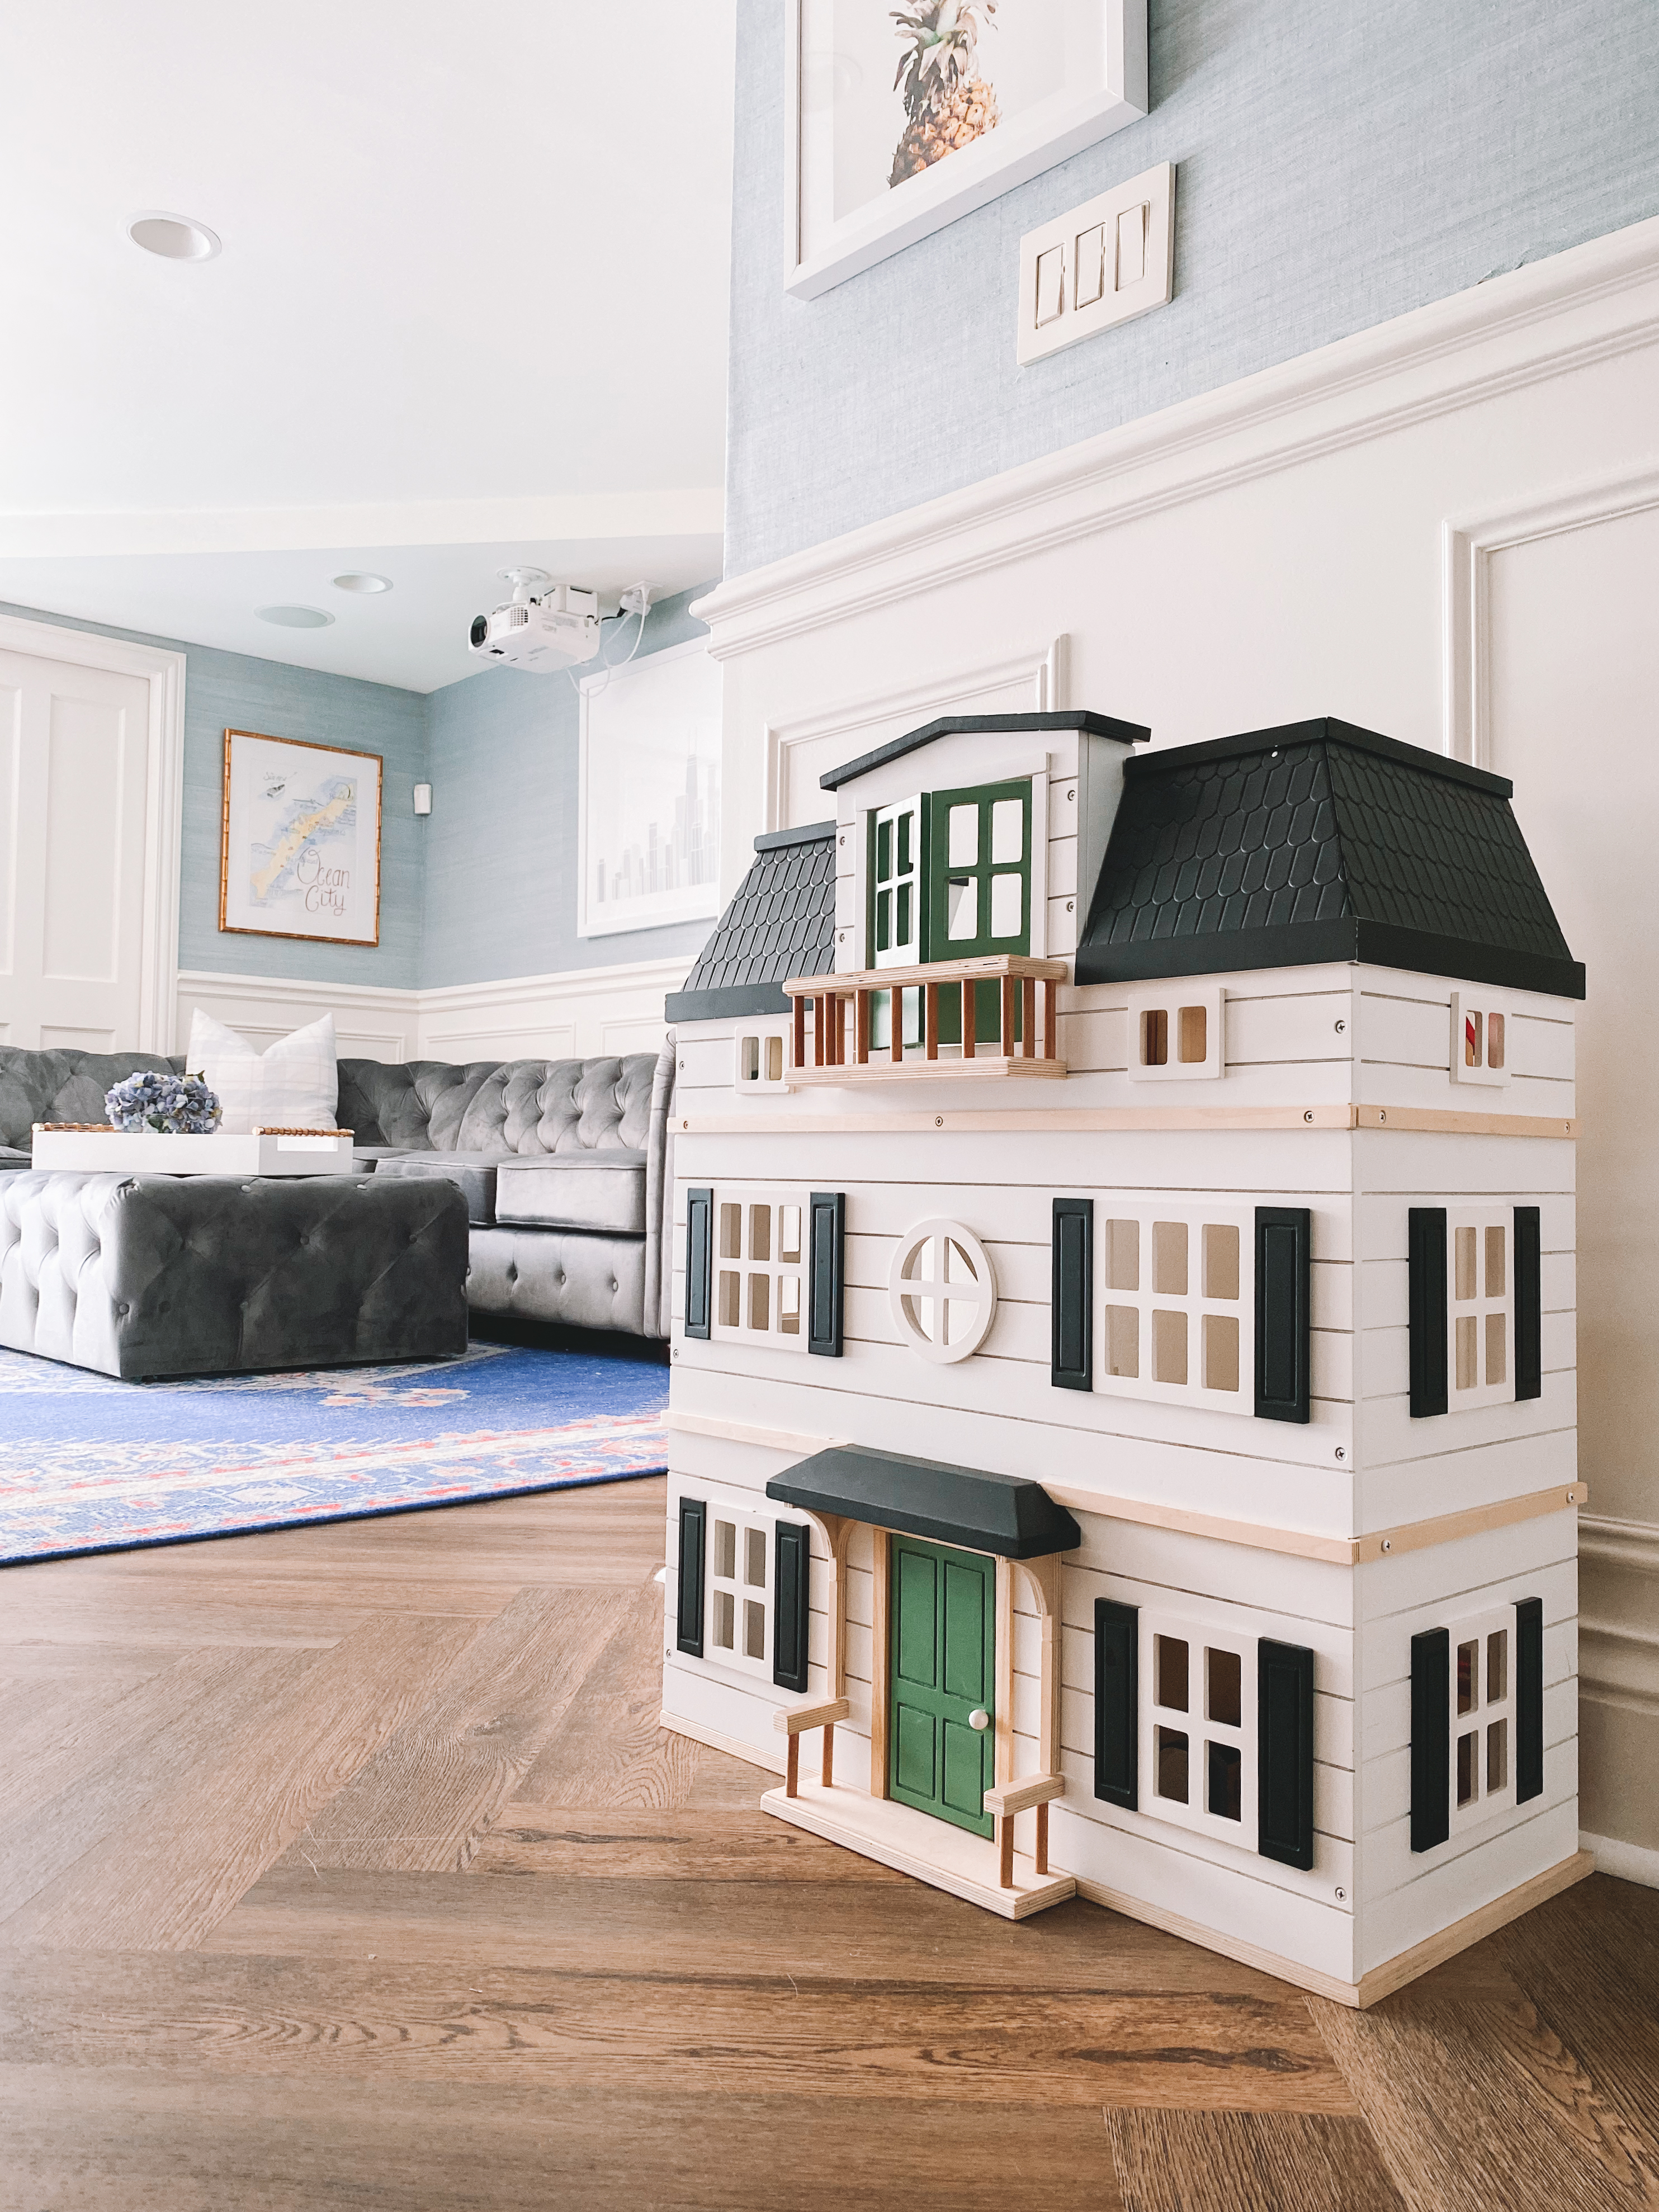
Dollhouse: Target
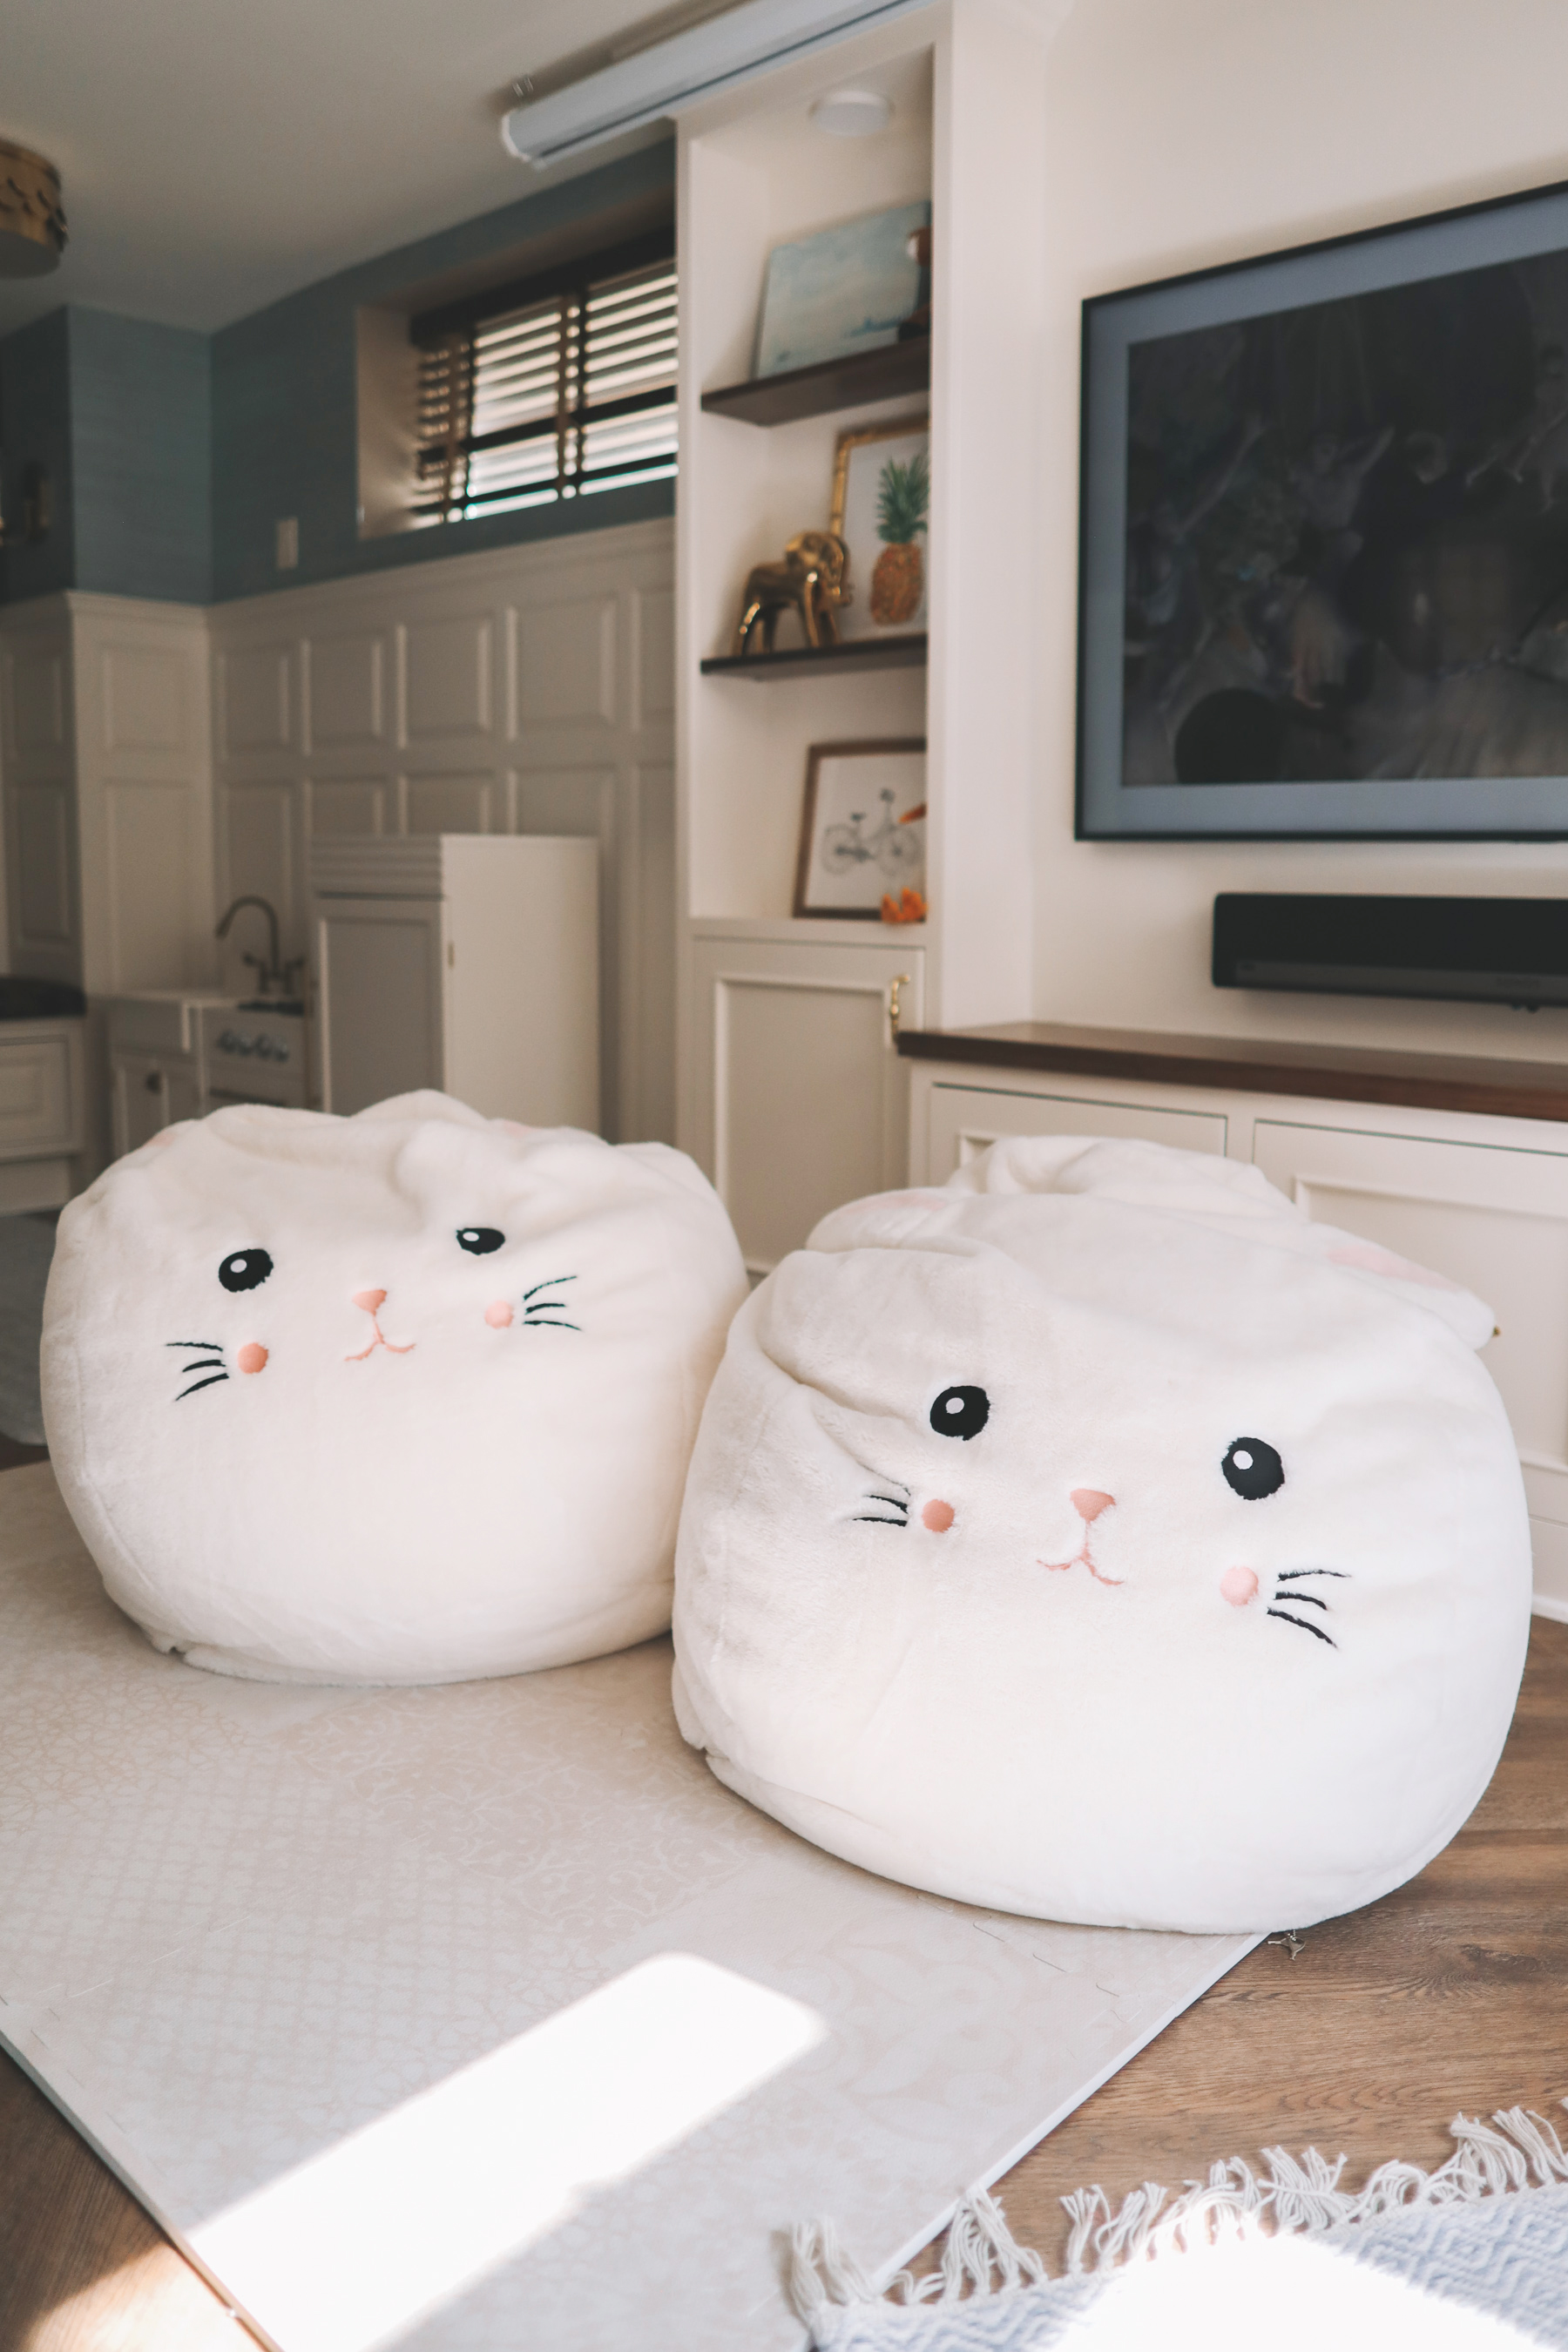
Bunny bean bags: Crate & Kids
Similar giant stuffed bear: Amazon
Play kitchen: Pottery Barn Kids
Vanity: Pottery Barn Kids
Storage Baskets: Amazon
Climbing Blocks: Amazon
Foam Blocks: Amazon
Toy box: Homemade
Frozen castle: Target
Sloth: Target
Tote: LLBean
Quilted Bag: MZ Wallace
Striped Cube: Crate & Kids
Singing Elephant: Amazon
Hape Dog: Amazon
Elsa doll: Amazon
Salon Chair: American Girl
Thanks for reading, Friends! This was such an enjoyable project, and I can’t wait for years of fun in our playroom. Have a great day!

