


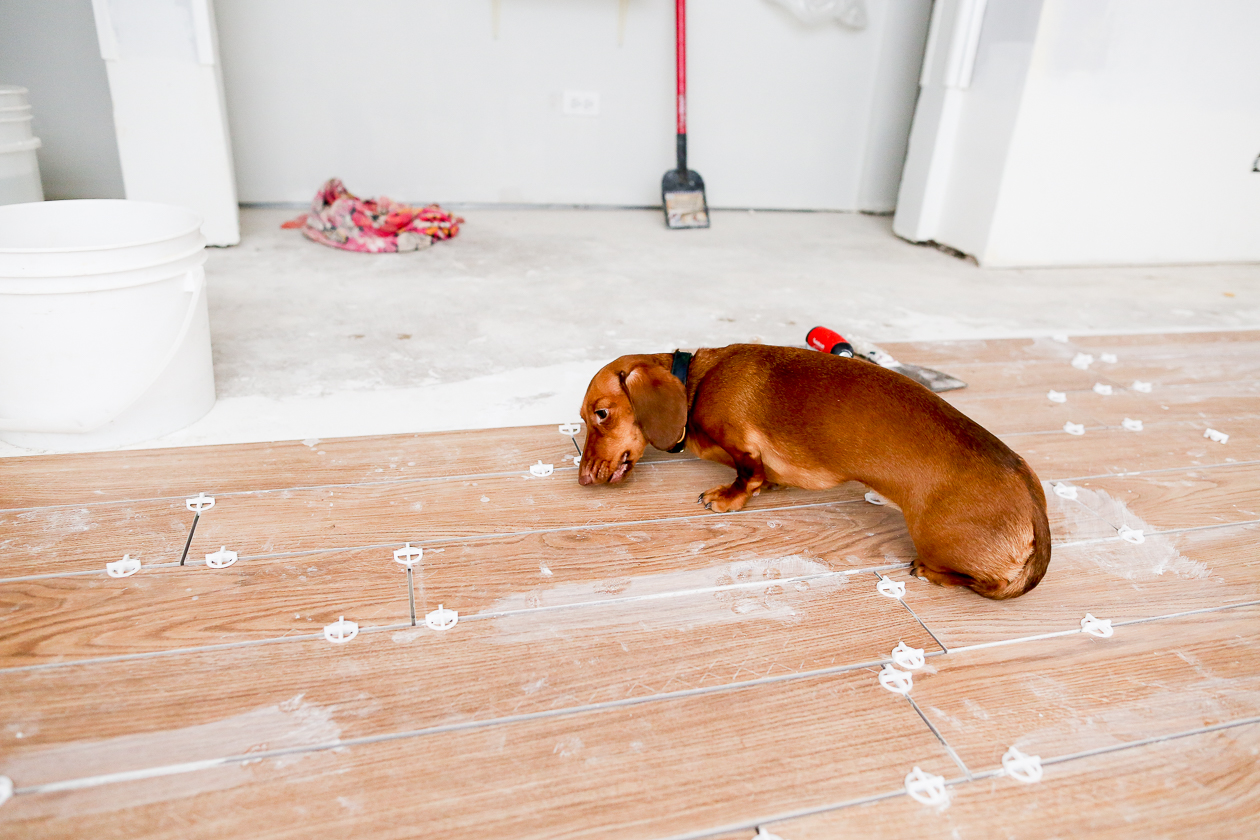
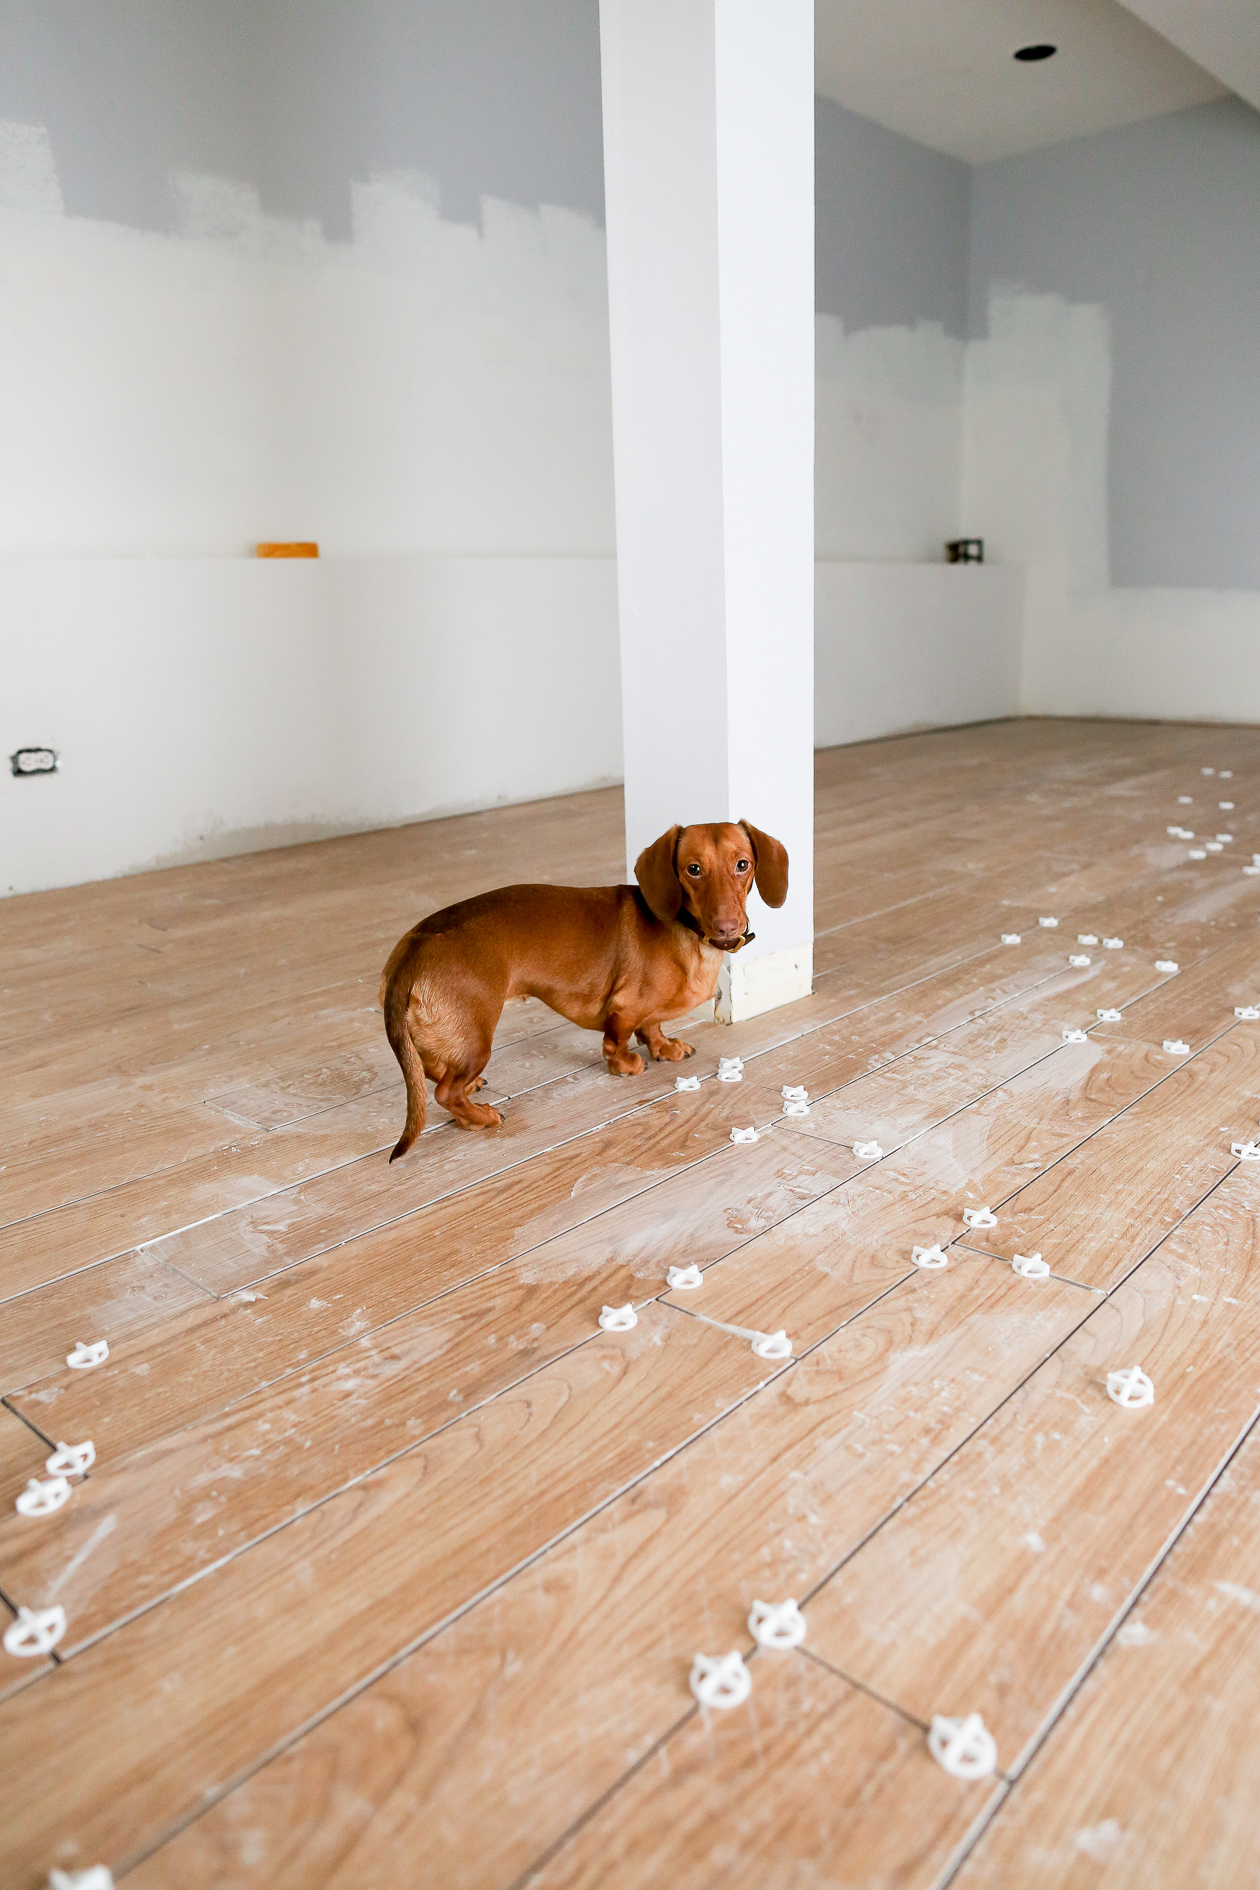
How great does Noodle look sitting atop of our new floors from BuildDirect’s Home Marketplace?!
No big deal, but ALL MY DREAMS ARE COMING TRUE RIGHT NOW.
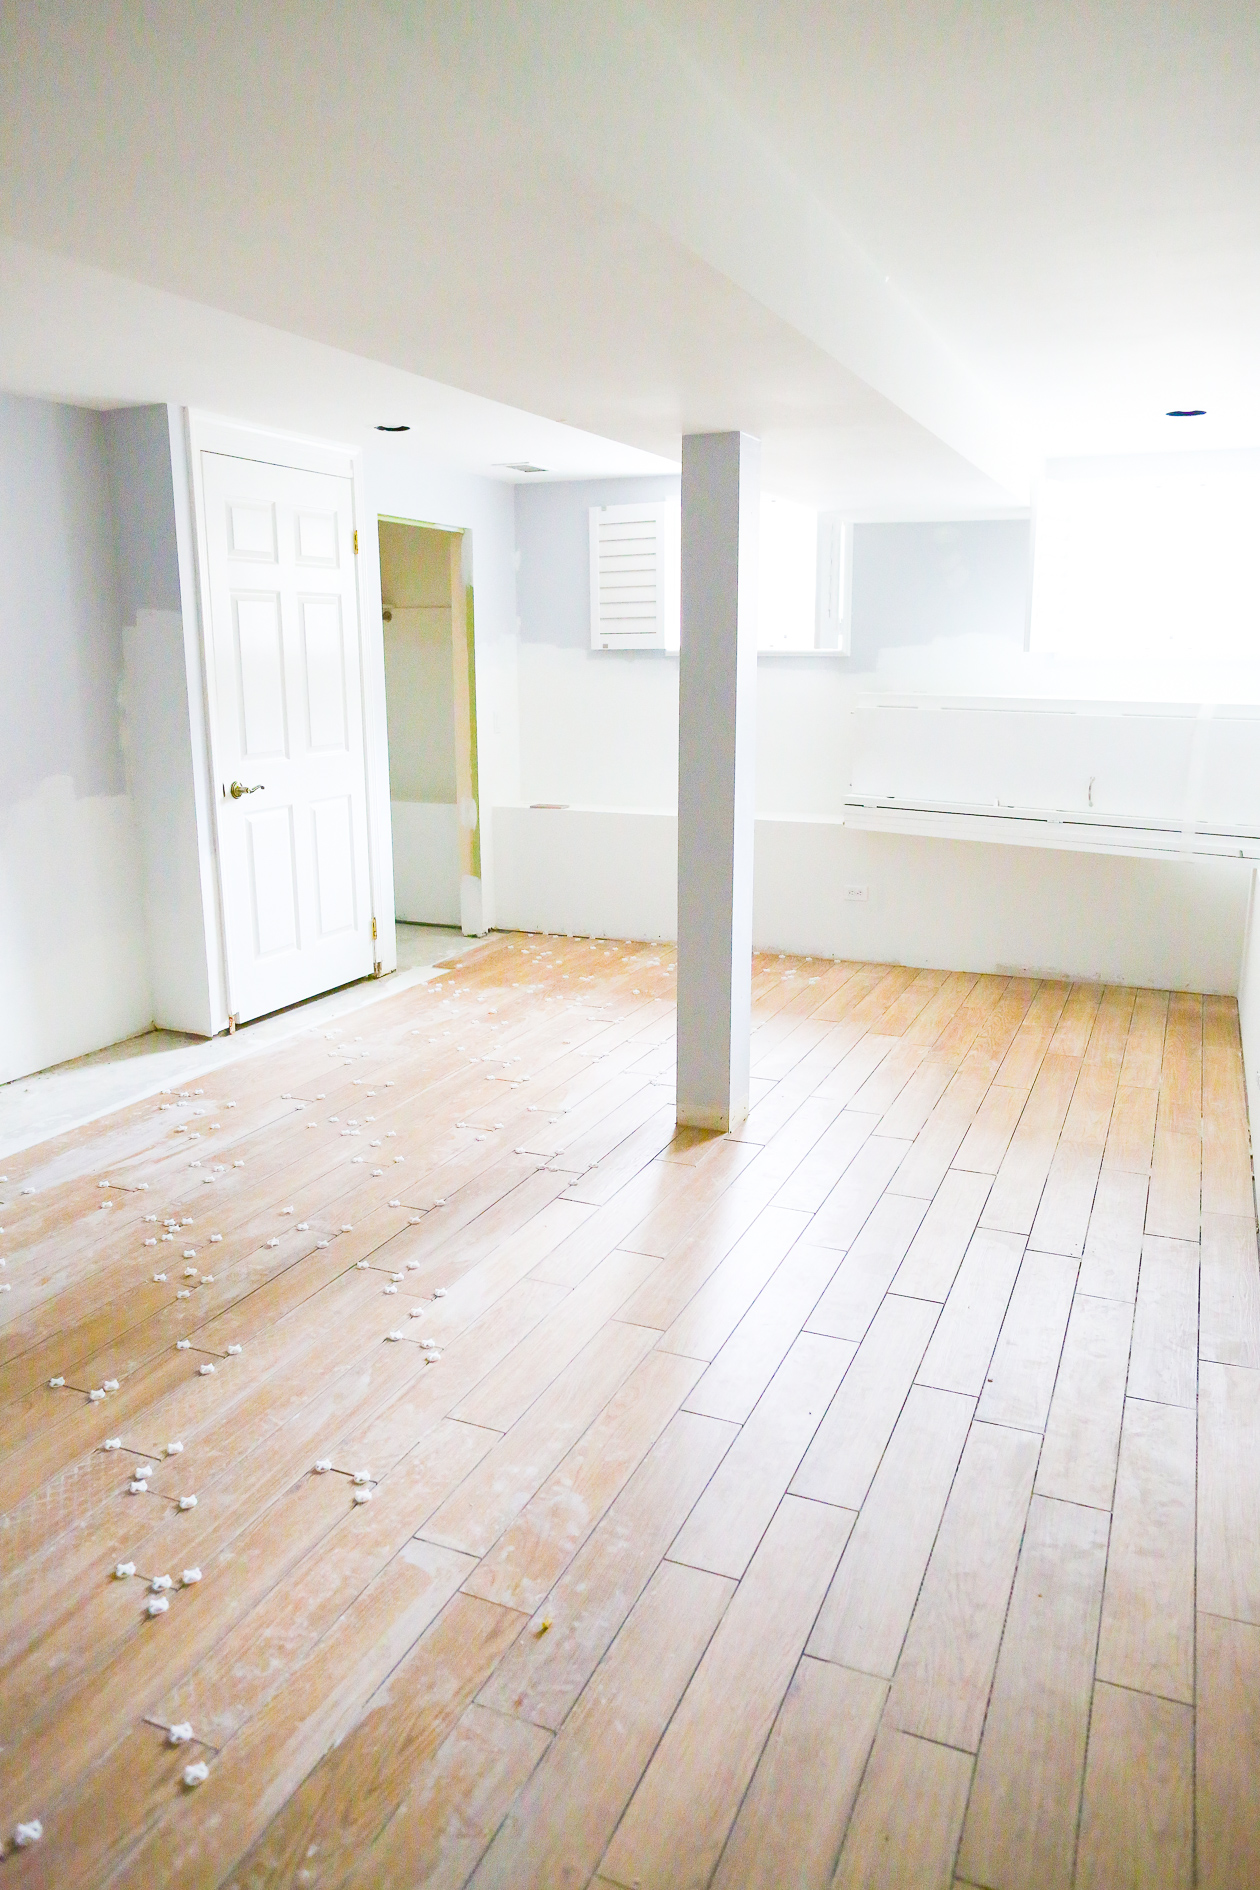
Okay. Maybe not all my dreams. ;) But one big dream is totally happening: the floors in our master bedroom are currently being installed!
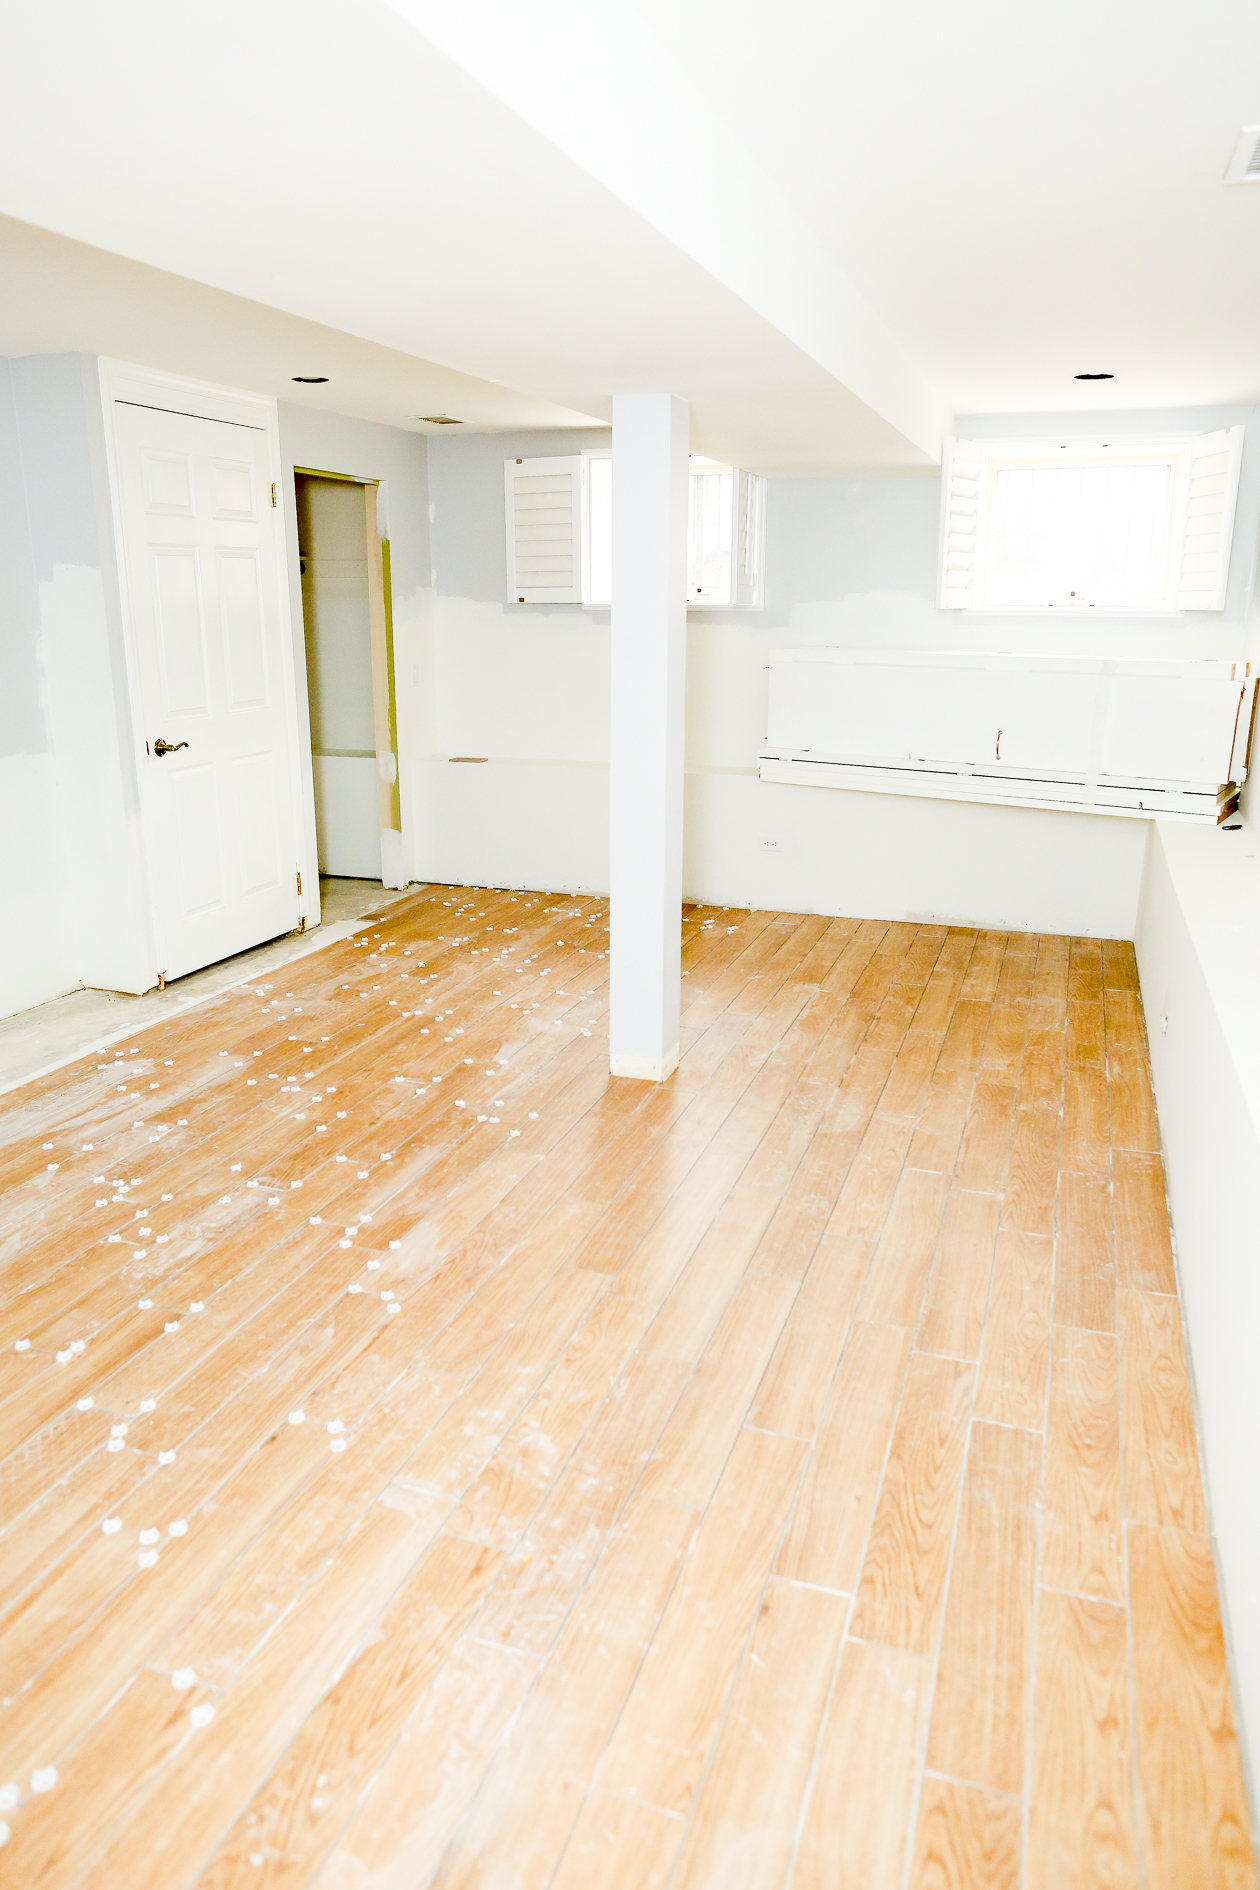
If you’re just tuning into Kelly in the City now, Mitch and I lost our ground floor (which is halfway underground, as you can see from the photos) due to a flood back in September. In the beginning, there was a lot of back and forth with associations and insurance companies, which delayed the first phase of construction–the excavation of the floor and installation of a drainage system–for a long time. But seven months and one super fancy drainage system later, we’re FINALLY getting to the exciting part!
I love that our house was built in the 1800s. While the inside has been renovated, I’m obsessed with its brick exterior, which has remained unchanged, and the history behind the house. Just think about all people who have resided here, and all the stories and memories that have been collected within these walls. It’s pretty awesome.
However, with an old house comes problems. And one of our problems is our foundation–which, unfortunately, our inspector didn’t catch. (I won’t go into the whole story here, but let’s just say we extensively looked into this issue after the flood, and spoke with many lawyers. Legally, there was nothing we could really do. But we’re okay with it now. We adore this house, and we have zero regrets about purchasing it!)
In short, our foundation is made of limestone. And limestone leaks.
We have one very leaky foundation.
The good news is that there are drainage systems that can totally take care of all the leaks, and make your home completely waterproof. They’re insanely expensive, but whatever, right? What’s done is done, haha.
While our home is now waterproof, we still wanted to go the safe route with the flooring. Both Mitch and I can’t stand carpeting–while it’s not as expensive as hardwood, it’s easily ruined–and hate the idea of traditional tile. We desperately wanted the look of wood, but also knew hardwood probably wasn’t the best decision. Pricey wood floors in a water-prone area? Yeah. No thanks.
So when we heard about porcelain wood-grain flooring (a relatively new thing), we jumped up and down and high-fived each other. Porcelain wood-grain flooring is simply tile–impervious to water–that looks and feels exactly like wood. (Plus, it doesn’t scratch.) It’s magic. In fact, we had Jess and Maya over this past week, and both couldn’t believe the flooring (from BuildDirect’s Home Marketplace) isn’t actually wood!
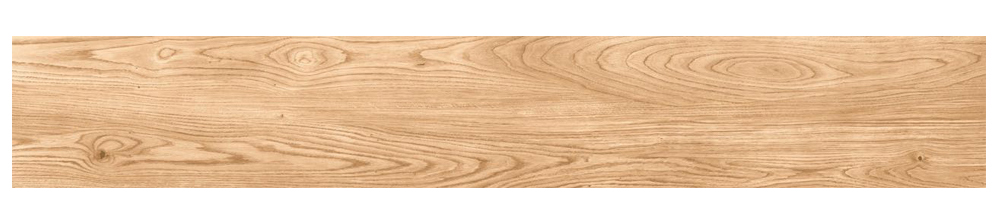
Salerno Porcelain Tile – Burnt Wood Series – “Oak”
The one problem was finding porcelain wood-grain tile that we actually liked. We had a lot of requirements:
- It needed to look real
- It needed to feature a light “stain” to brighten up the space
- It needed to come in long, wide planks, so as not to resemble Burger King flooring
- It needed to not cost a zillion dollars
We spent months going to brick-and-mortar stores, but there simply weren’t a lot of options. So we gave up, and turned to BuildDirect’s Home Marketplace, the world’s largest marketplace for home improvements.
SO GLAD WE DID. You can read about the wonders of BuildDirect in my master bedroom inspiration post, but the gist is that we went with the company because of the extensive product selection, stellar customer service, low prices, and free samples that are shipped overnight. It took us 1.5 months to find literally nothing at local home improvements stores, and only a week to find the perfect flooring from BuildDirect’s Home Marketplace. Pretty legit, right?!
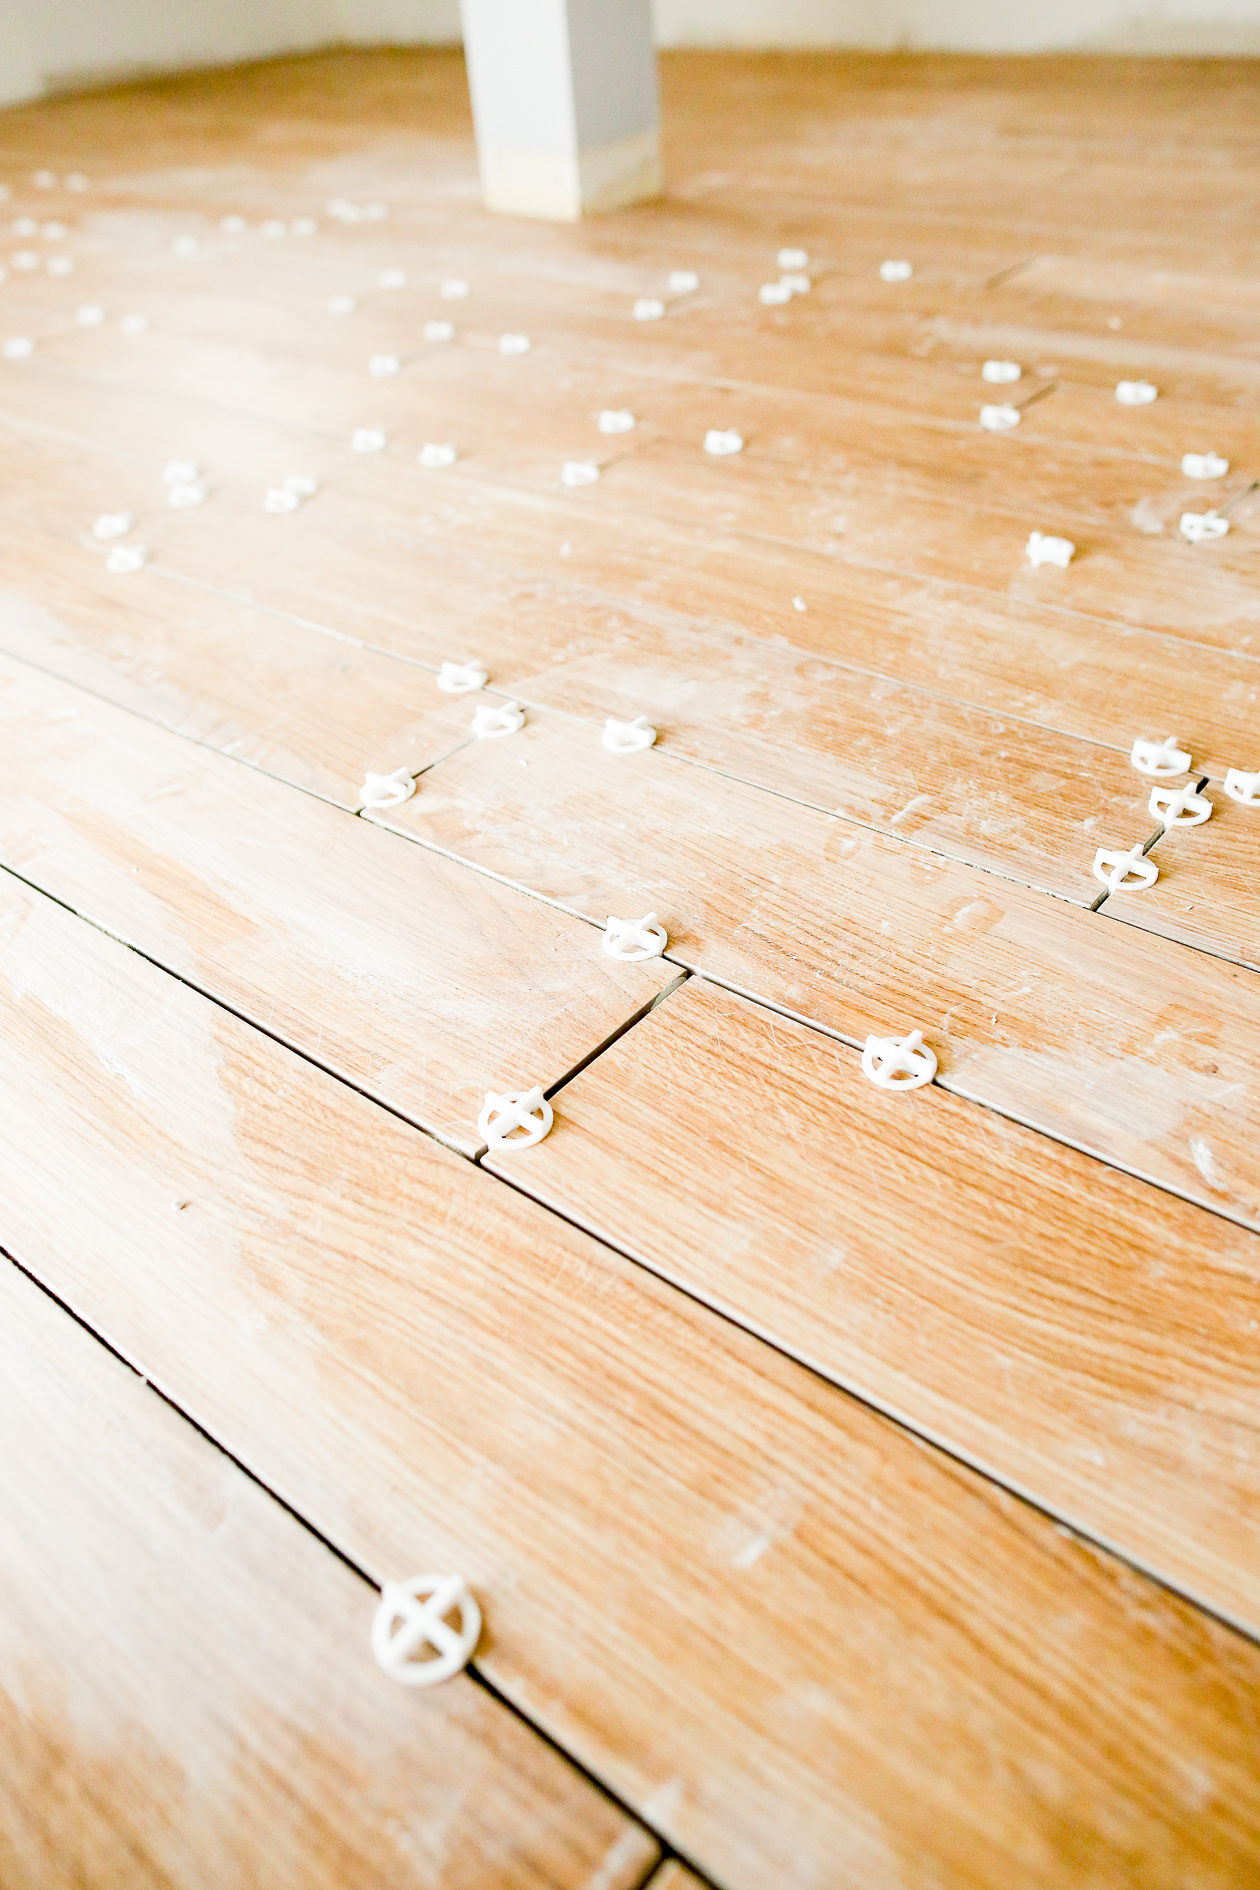
The flooring we went with is Salerno Porcelain Tile from the Burnt Wood Series in “Oak.” First, we loved its dimensions: 5″ x 32″. Second, we were thrilled that it’s created with digital inkjet technology, which provides high-variance of patterning for more realistic natural effects. (Seriously: doesn’t it look JUST like wood?!) Third, we liked that there are distinguishable differences in shading and pattern from tile to tile. Fourth, we were super happy with the fact that it’s designed for wet rooms like bathrooms, spas, and kitchens, and can even be used in commercial and (some) outdoor spaces. And fifth, we liked the price point. You can purchase it for as little as $2.44 per square foot! It’s also porcelain, which is more durable than ceramic. (Good thing to know, if you’re in the market for tile.)
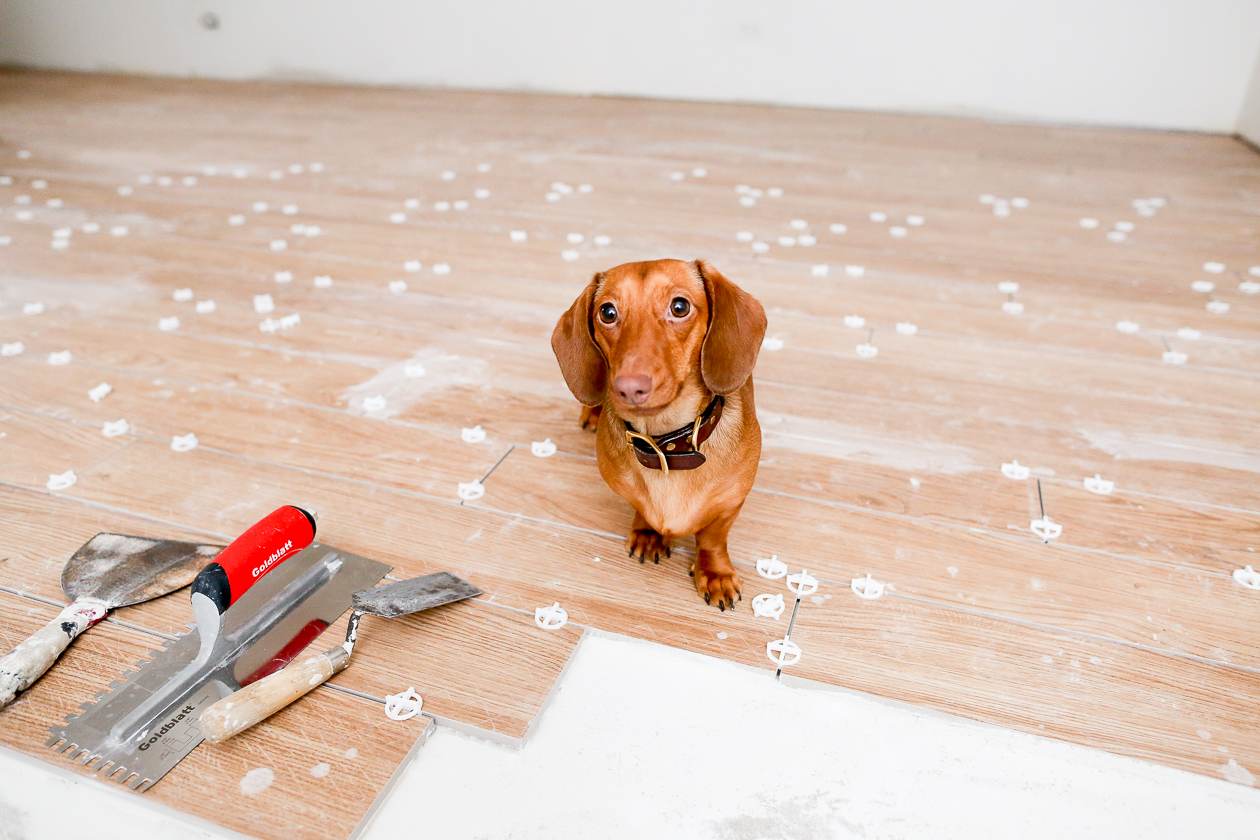
For installation, we hired a contractor because restoration has been a long and trying journey for us, and we wanted it done quickly and perfectly. While it’s going a bit slower than we’d expected (our contractor only works weekends), we’re SO happy with the results, and everything truly looks perfect so far. That said, if you’re interested in installing wood-grain tile on your own, it’s not impossible. So many great tutorials online!
A few things we’ve learned about installation:
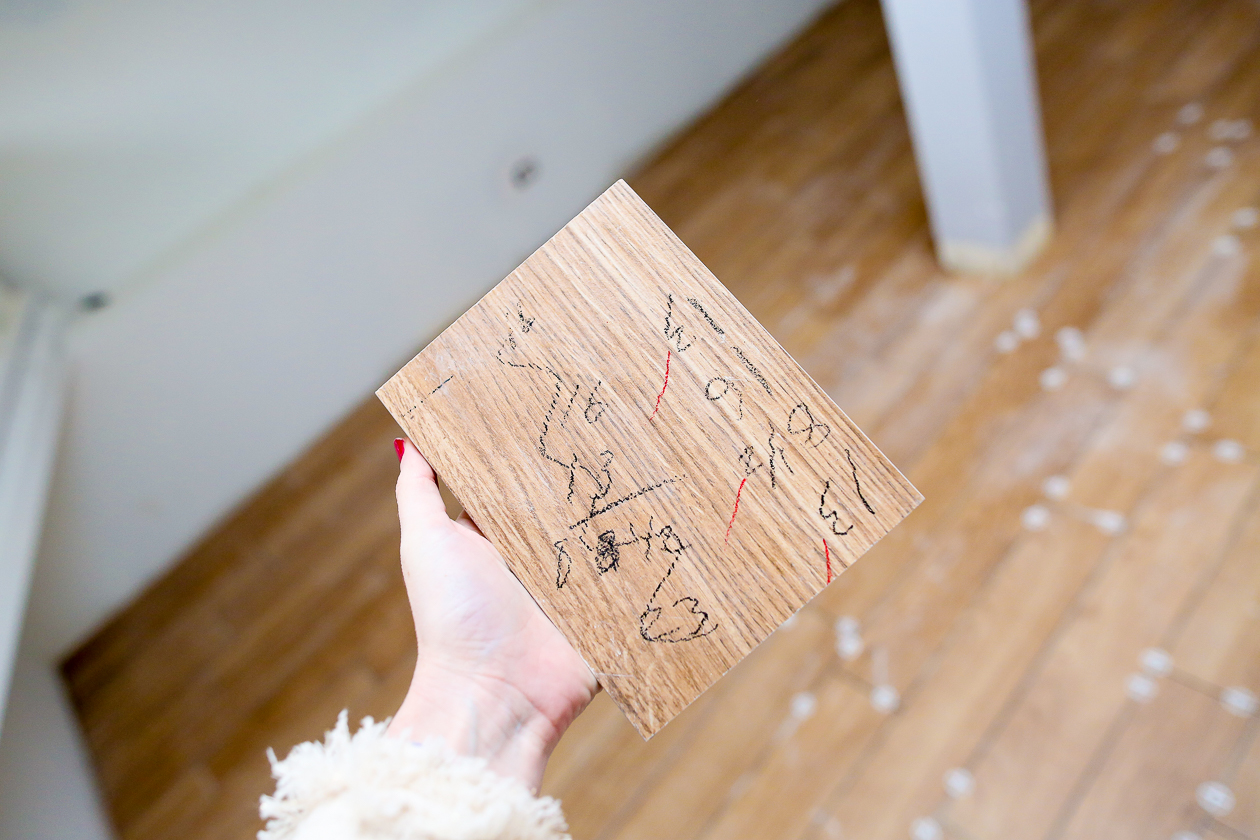
- It looks more natural when you go with a “random offset” pattern. This means that you need to cut the first pieces to random lengths with a tile saw/cutter. Easily identifiable patterns are no bueno.
- Wood-grain tile is not flat. It’s actually slightly raised in the center, which means a 50-percent offset isn’t your best bet. As you can see from the photos, we went with a 25- to 30-percent offset for most of the tiles. This helps ’em remain even, so there are no lips.
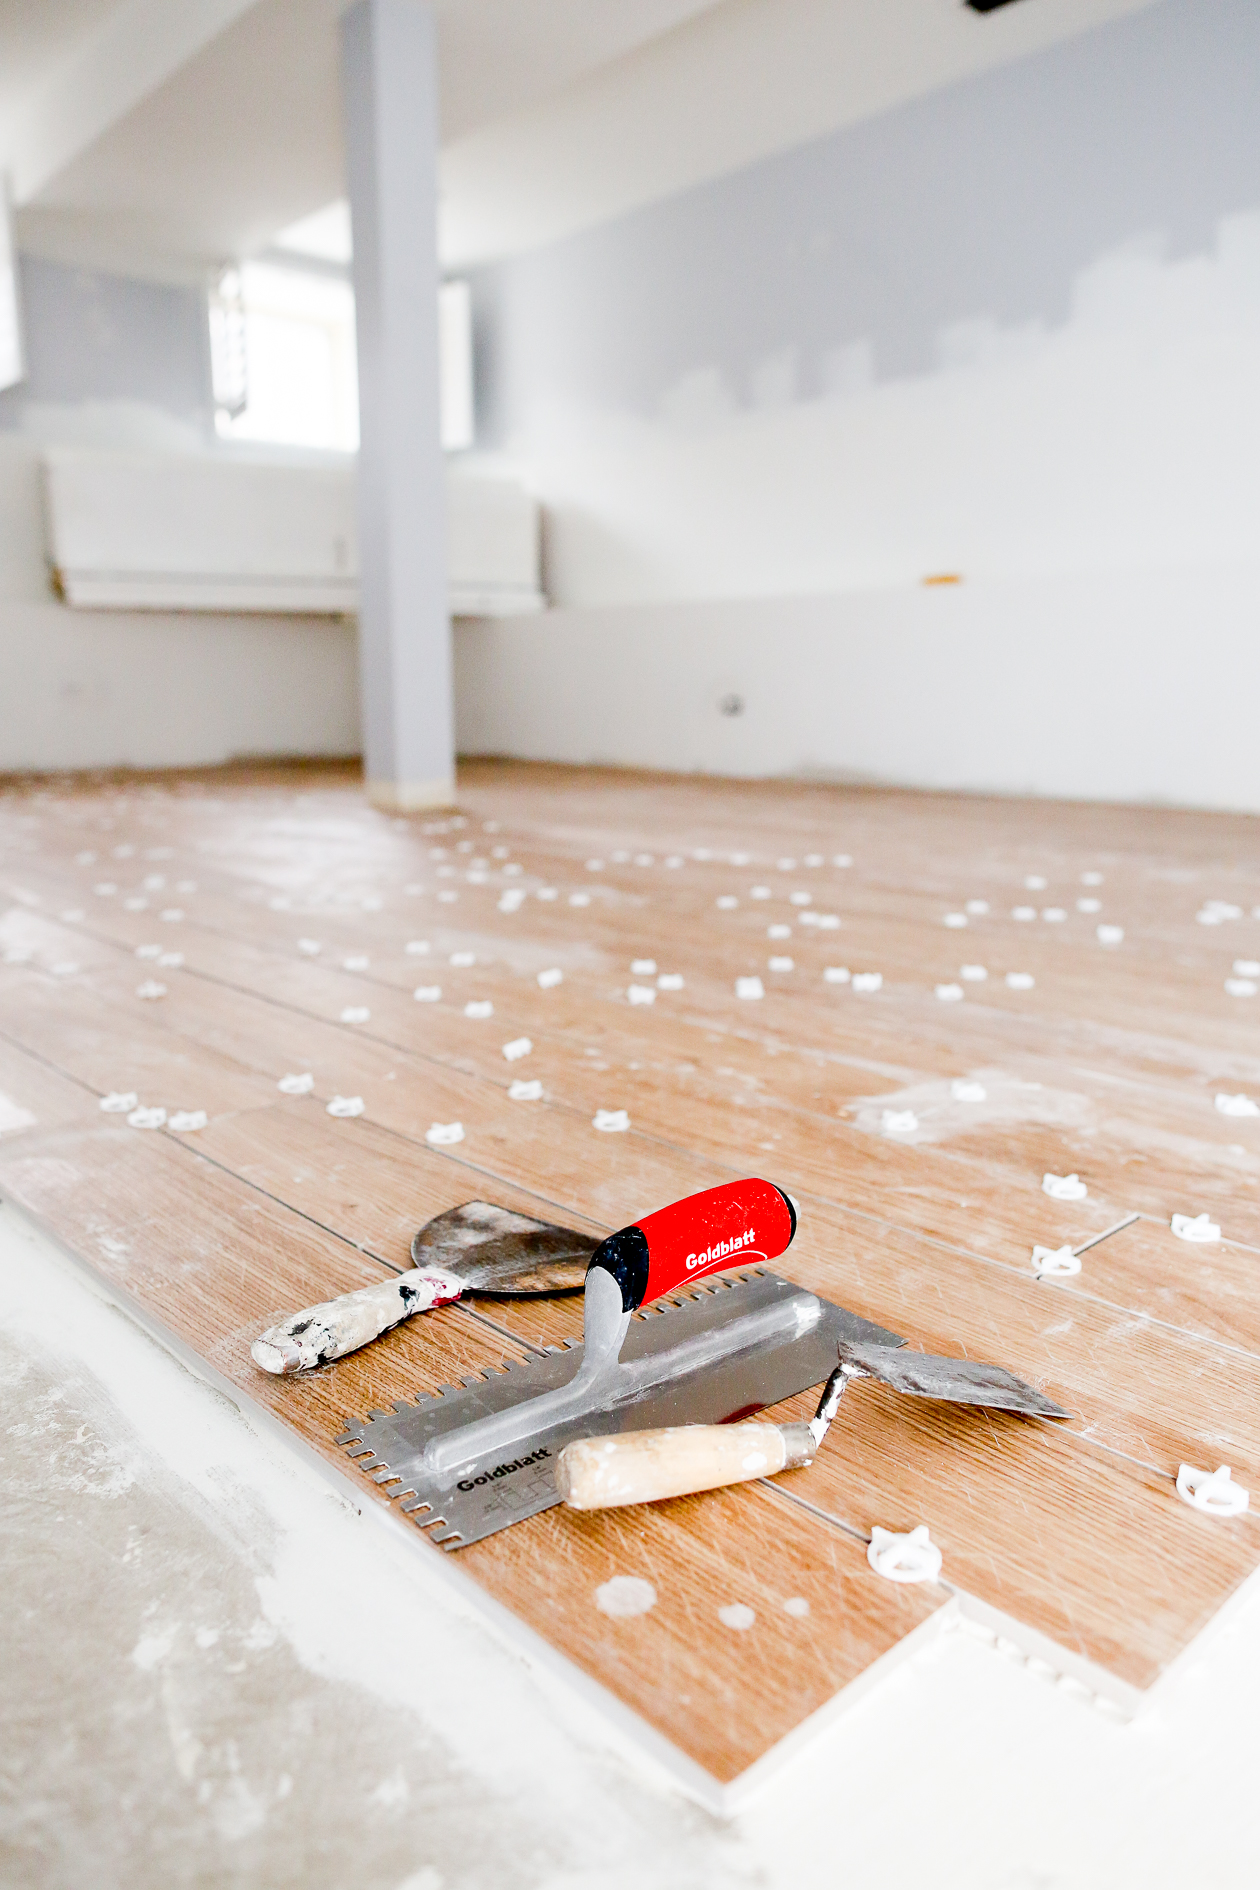
- The tiles are secured to the floor with mortar, which isn’t expensive. :)
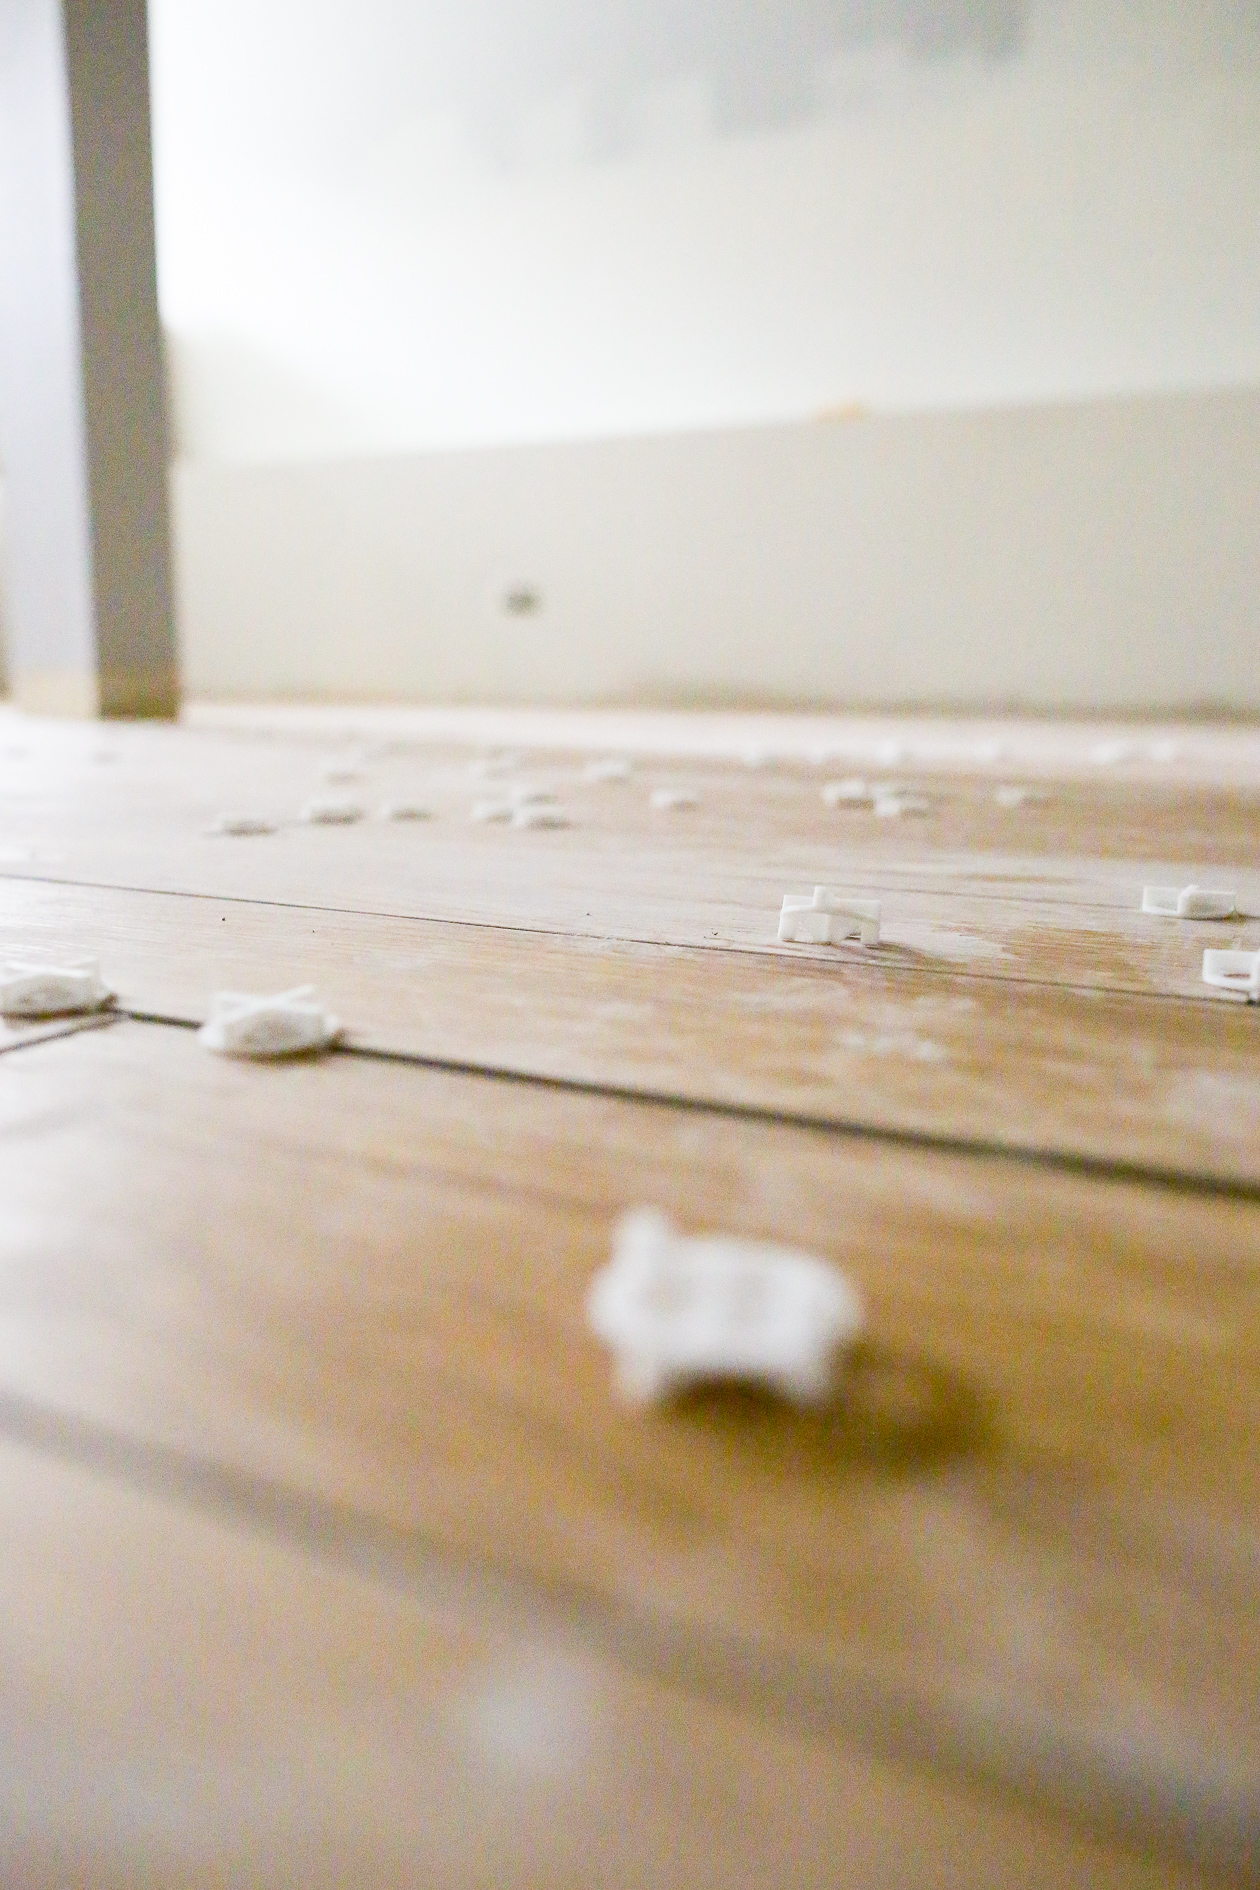
- You need to use spacers when securing the tiles to the ground. Those are the little white things you see all over the place in these photos! Once the mortar dries, you remove them. (We went with 1/8″ spacers because it’s apparently the smallest width that’s recommended. If you go even smaller than that, you might see your tiles crack on extremely cold or humid days.)
- You fill in the spaces with grout. We went with Polyblend in “Fawn” because visually, it looks similar to the tile we have. But it hasn’t been installed yet, so cross your fingers for us that it comes out nicely! We’re going to try it out in the closet before we fully commit.
So what do you guys think?! With any luck, my “final reveal” post will go live sometime in the next couple of weeks. We probably won’t have all our furniture in there by then, but it should be fun to see the blank canvas. I’m also going to be asking for a ton of advice, decor and design-wise, so just be ready for that! ;)
Also, a huge thank you goes out to BuildDirect’s Home Marketplace. Never in my wildest dreams did I think our flooring would look this good!
Disclosure: While BuildDirect’s Home Marketplace is providing the flooring for this project, Mitch and I had decided to go with BuildDirect before the partnership was formed. As always, thank you so much for supporting the collaborations that keep Kelly in the City up and running!