Mitch here!
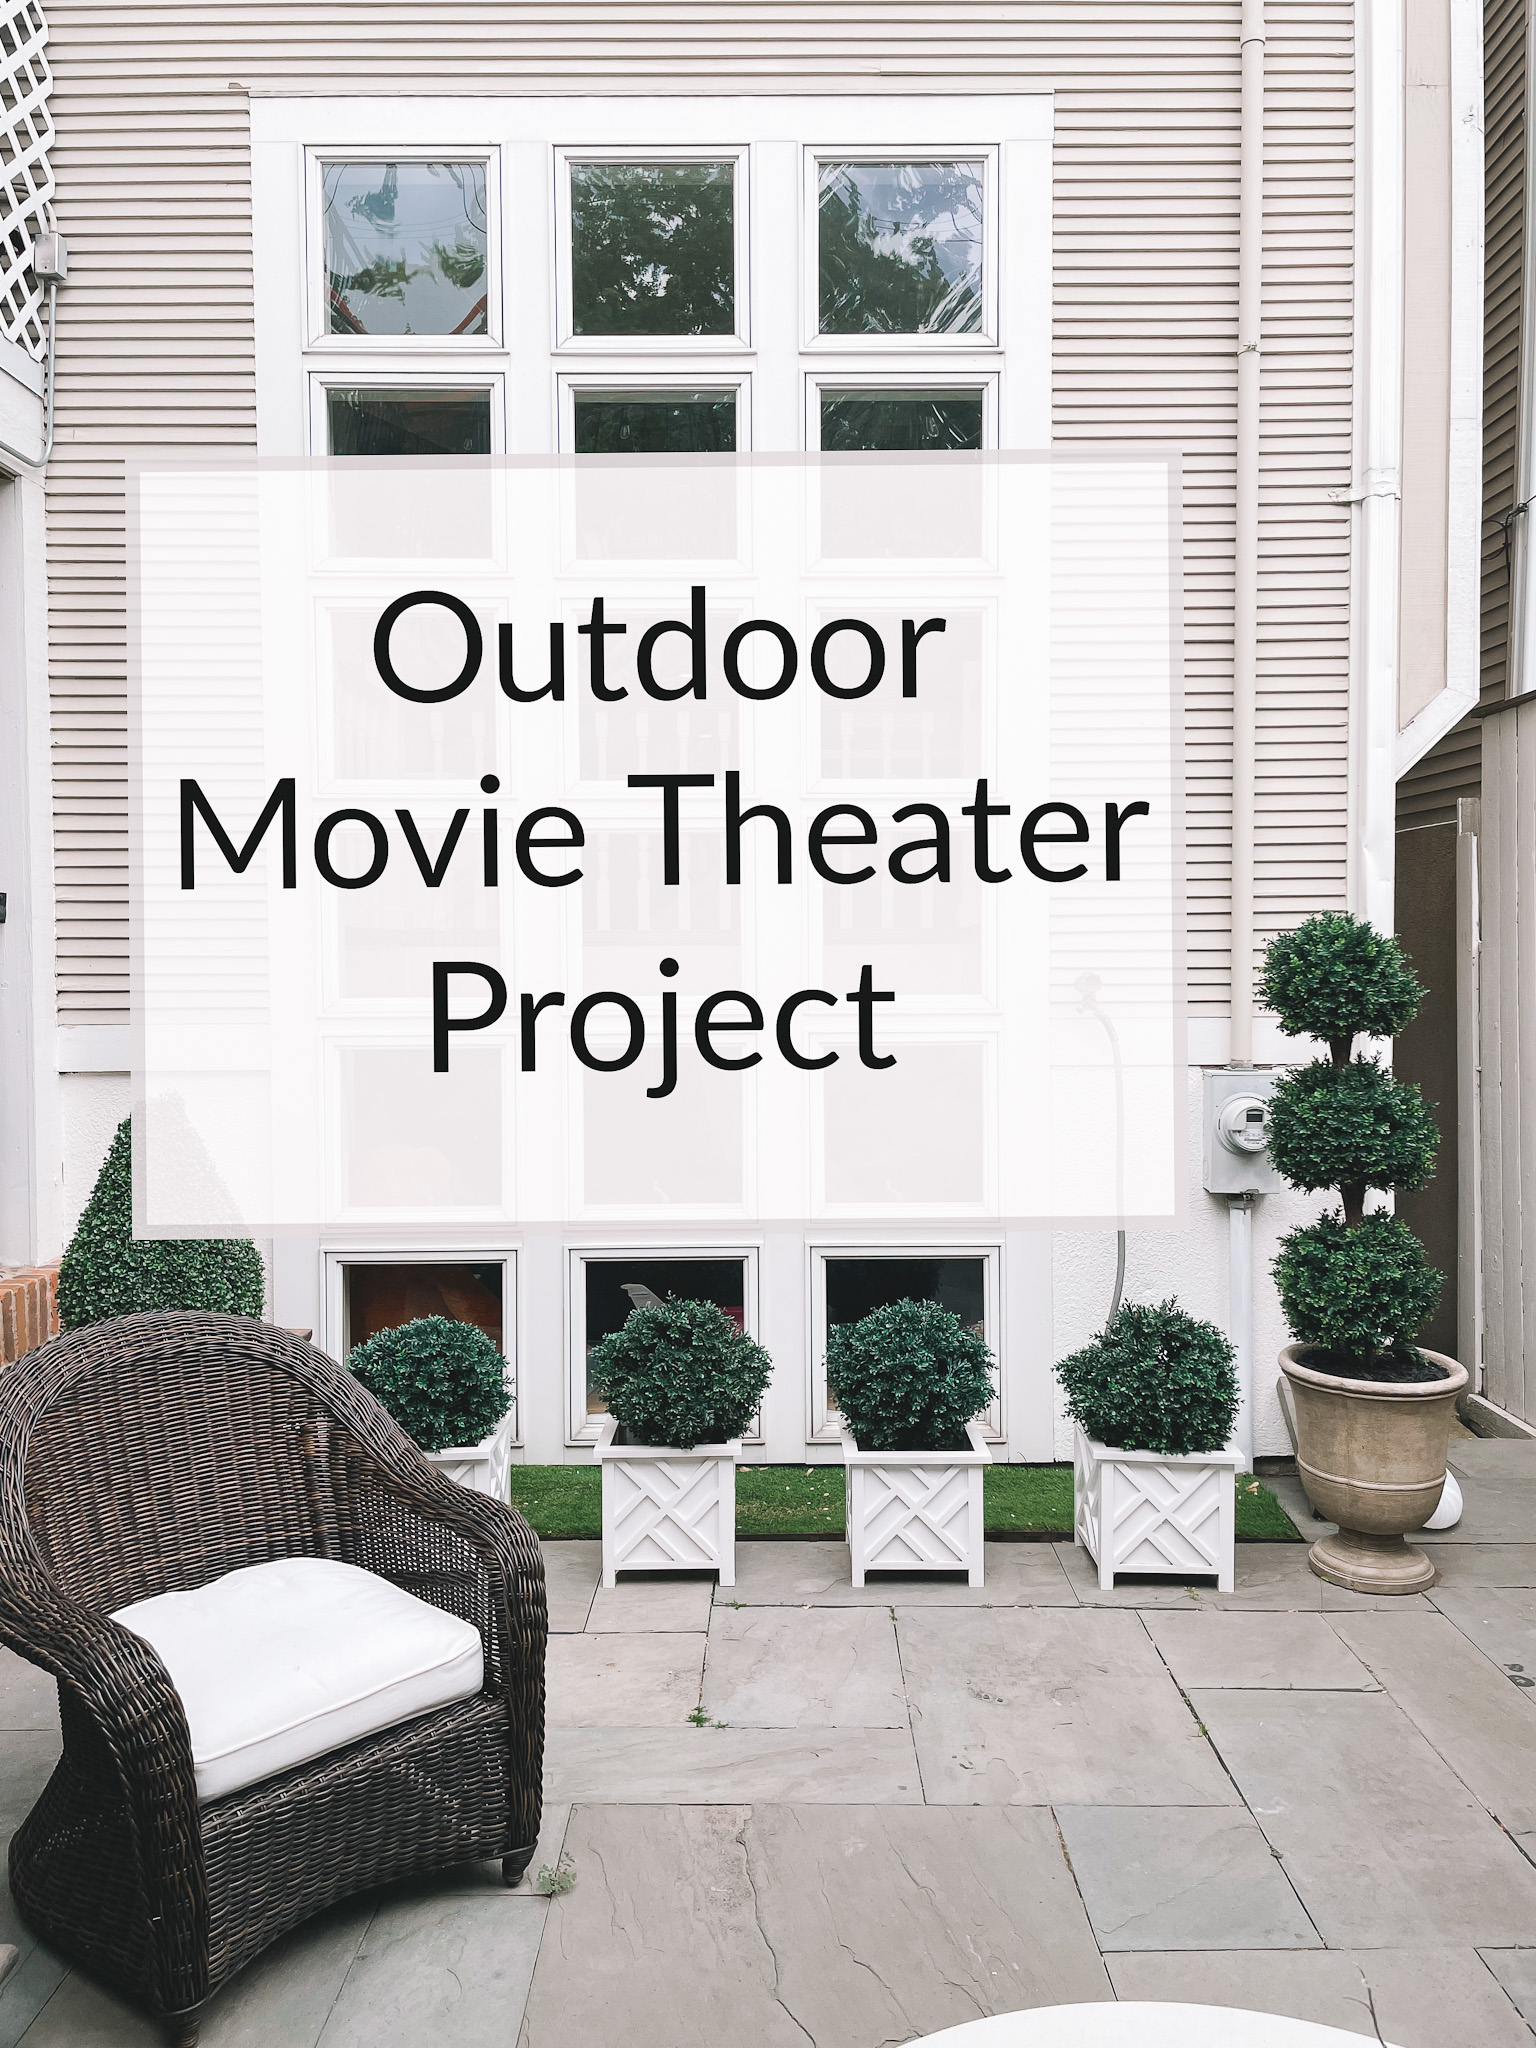
Do I need an outdoor movie theater? No. But am I going to obsess over it until I figure out how to make one? And will I be taking you along for the ride? Yes!
I have high hopes for this project. I anticipate big family movie nights with popcorn, huge smiles, wine, kids running around—all that stuff. If I can pull it off it’ll be great, but now that I’m in the middle of it, I’ve encountered the following issues:
- Our patio space is small, cramped and not necessarily conducive to watching movies.
- I don’t want to spend a ton of money on this because I don’t know whether it’ll be a hit with the family, and outdoor movie theater equipment is expensive. I’ll need to be creative to get it done.
- To actually use it, the system has to be simple enough for Emma to operate it. Not an easy task.
The goal is to get the whole thing done for under $1,000. To make it happen, I’ll need to buy used equipment, do all the work myself, and not screw it up so badly that Kelly shuts the whole thing down. Wish me luck!
The projector
I spent countless hours researching the merits of outdoor TVs vs projectors. Outdoor TVs are robust, permanent, simple to install and much more likely to be used. But they’re extremely pricey, ugly when not being used, and comparatively small for an outdoor theater. So in the hopes of staying within my budget, I’m going projector for this project.
Projectors are comparatively inexpensive and capable of the true movie theater-sized image I’m looking for. Unlike outdoor TVs, projectors are not designed to be left outside all year, which is fine for me as I don’t want ugly junk cluttering up my patio. I don’t, however, want to disassemble and reassemble the projector set-up each time we want to watch a movie. Quite the pickle! But I came up with a solid idea: If the projector could live in our garage and shine out through a window, I could accomplish my goals of an inexpensive, simple-to-use and permanent movie theater setup. No need for an electrician or anything; just need an extension cord and a stack of books. This is the kind of cheap I’m talking about.
We use the Epson Home Cinema 2100 in our basement and love it. It’s a super simple, affordable and reliable device. But I don’t need high-end features like 3D or 4k. Besides, I’m on a budget. So I’m going with Epson’s lower cost model, the Epson Home Cinema 880, which has a strong enough image throw as well as keystoning capabilities to perfectly fit the picture on the screen. It’s also currently on sale at Amazon.
Projector Cost: $500
The screen
The initial idea for this theater was to install the largest screen I could find. Conceptually, I wanted it to be visible from space. But the back of my house just isn’t very wide. So I had to reel in my expectations a bit.
I considered inflatable and motorized screens, but their cost and complexity seemed totally out of wack with their usefulness. Instead, I decided to use a simple temporary retractible screen hung from two hooks on the back of the house. I’ll retract it when not in use and leave it hanging out there throughout the summer. In the late fall, I’ll store it in the garage. While it’s not quite as exciting as what I’d originally envisioned, the retractible screen hits on the three core tenets of the outdoor movie theater project: cheap, functional and simple to use.
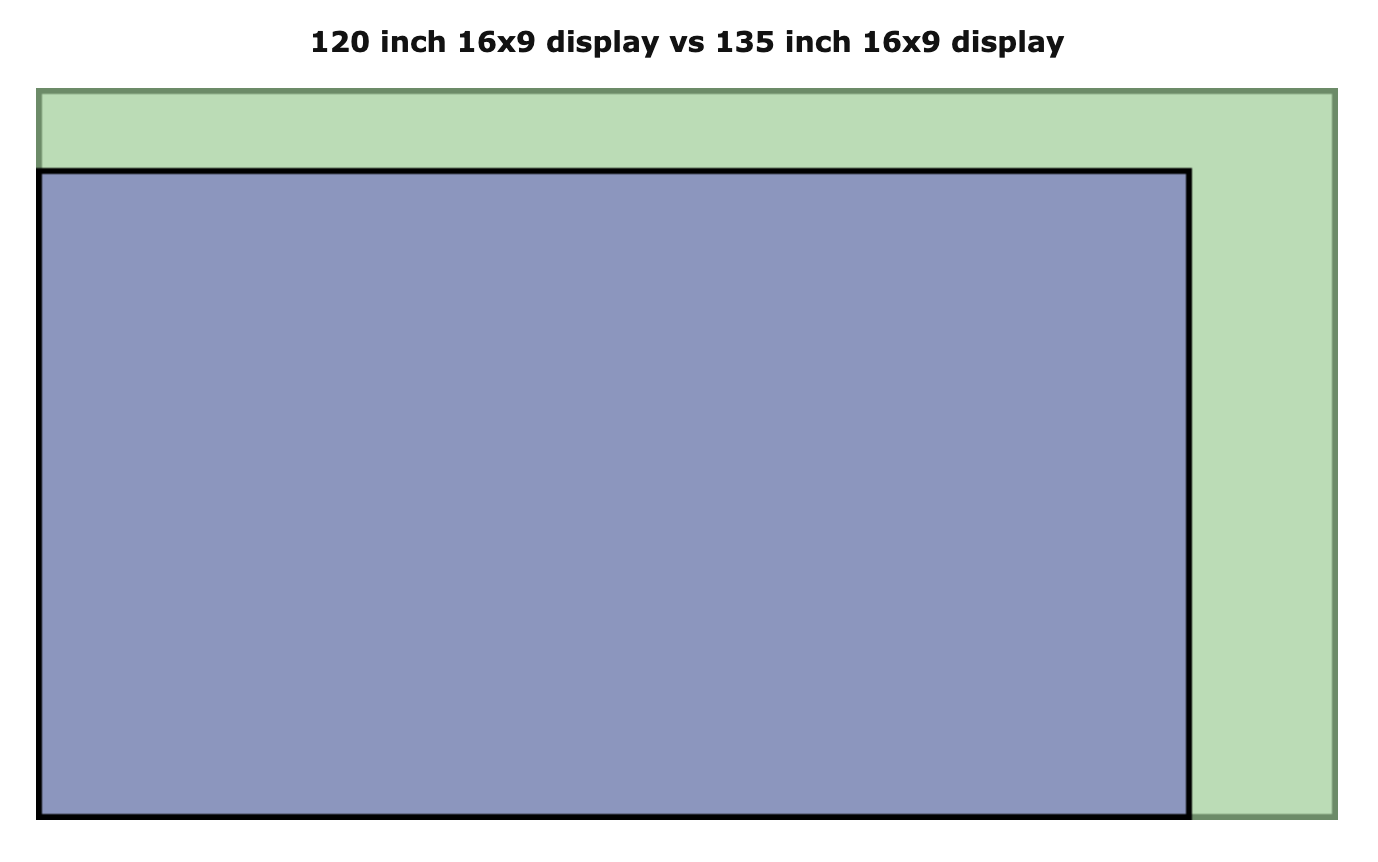
I have two size options for the screen: large at $70 and larger at $250. And because I’m well within my budget to do so, I’m going larger. This screen is 135″ which gives it a 25 percent larger viewing area than the smaller option. Shout out to Display Wars for making the math easy.
Screen Cost: $250
Sound
I’m lucky to have already invested in a Sonos wireless speaker system and expanding it to cover the outdoor movie theater shouldn’t be too difficult or costly. As an added bonus, we’ll gain the ability to play music on our patio which is great.
Filling the patio with sound will involve installing outdoor speakers and an amplifier to power the speakers. New Sonos equipment isn’t cheap so I’m planning to buy an older used amp like the ZP-100 or Connect: Amp from Craigslist or Facebook Marketplace to stay within budget. With a little diligence and patience, I’ve been able to find these components for around $100 in the past. Both of these Amps are powerful enough to drive four speakers which should be plenty to cover the patio with great sound.
I had a knowledgeable friend help me to select these Polk Audio Outdoor Speakers for my deck about a year ago. They were discounted to $60 for four speakers in an open-box special from Amazon Warehouse. The speakers sound great on the deck and have given me no problems, so I’m happy to use the same model for the patio project. I should also mention that Amazon is a great source for the speaker wire I’ll need to run from the Amp in the garage out to each speaker.
Amplifier and Speaker Cost: ~$200
Media
The last piece of the puzzle is the streaming box that will deliver content to the projector. Competition is fierce for these little devices and there are dozens of incredibly affordable options including the $15 Amazon Fire Stick or the $25 Chromecast. I know it’s cheating because the device would put me over budget, but I’m planning to use an old Apple TV that’s collecting dust in my basement. It works fine and I don’t mind leaving it in the garage most of the year since it’s not worth that much. The Apple TV will give us access to all the streaming apps we could need, even though in reality Disney Plus will be the only thing necessary.
Final budget: $950
Thanks for sitting through this long post. Writing this all out has helped me to design the system and also helped to convince Kelly that I can actually pull this off within budget. Now it’s just time to click buy and get to work. See you on the patio!
Mitch. OUT!


