Full basement playroom tour here.
Mitch here!
I’ve been training my whole life for this post. TVs and projectors and gadgets are my passion, and while I lack the time to actually use them much these days, I somehow found the time to create a solid home theater. Funny how that works.
Either way, today’s post is How to Set Up a Home Movie Theater, and I’m really excited about it!
Tips for buying A/V (audio/video) equipment
Let’s start out by stating the obvious: tech is expensive.
Over the years, it’s been my experience that it’s worth paying up for quality, with few exceptions. This is difficult for me as I love gadgets but I’m also cheap. Luckily, though, I have a few tried-and-true tricks up my sleeve to save money. They just require a little extra work!
Craigslist and Facebook Marketplace: I buy and sell stuff on Craigslist and Facebook Marketplace all the time. I love it. I’m more familiar with Craigslist, so my tip here is to use the site’s “Save Search” function which notifies you anytime someone posts a new matching product. When I’m on the hunt for something, I respond to almost every listing, and then negotiate the price down. Most of the equipment in this post is from Craigslist, and it’s fun to recount some of the unique people I’ve met while acquiring it!
Best Buy “Open Box”: Best Buy lists all their open box and discounted items in an easily searchable part of their site. You really have to sift through everything, but the products are worth a look. I’ve found some gems.
Amazon “Open Box,” Refurbished and Used: Nearly every item sold on Amazon has a “Buying Choices” section with significant discounts. Granted, these products are often used, but they come with Amazon’s warranty and are easy to return if you have any issues.
SlickDeals: This site looks like it’s from 1998, but they have an extremely dedicated user base that rabidly posts online deals. SlickDeals “Deal Alerts” are super useful as they’ll notify you of a matching deal. Have I said “deal” enough here? Because deal, deal, DEAL!
All of this said, I’ve included more affordable options at the bottom of each section in this post if you prefer to buy new products. Hope that helps!
Full basement playroom tour here.
The Setup
Projector
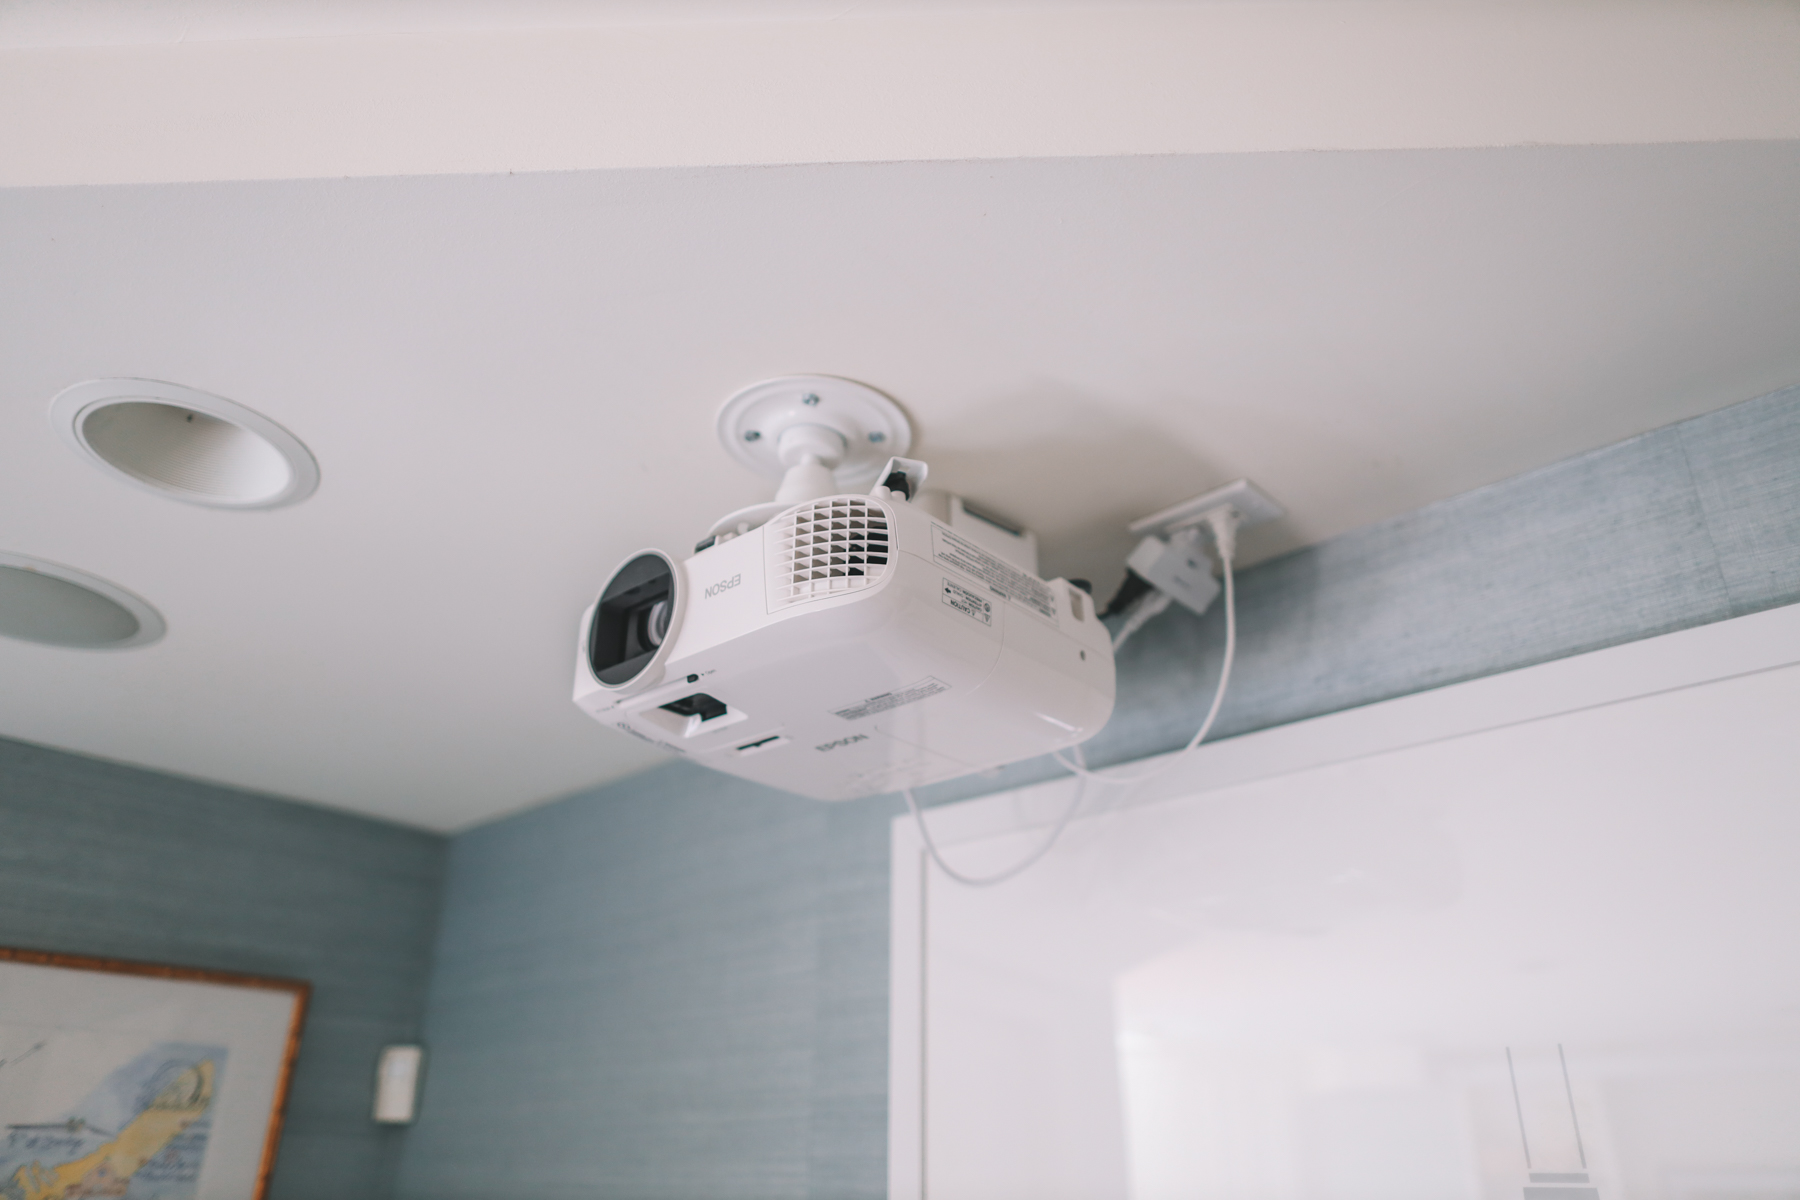
I’m an Epson Guy after years of using and loving their projectors as a teacher. (Kelly also had an Epson projector in the Bronx, and her bulb lasted SEVEN YEARS.)
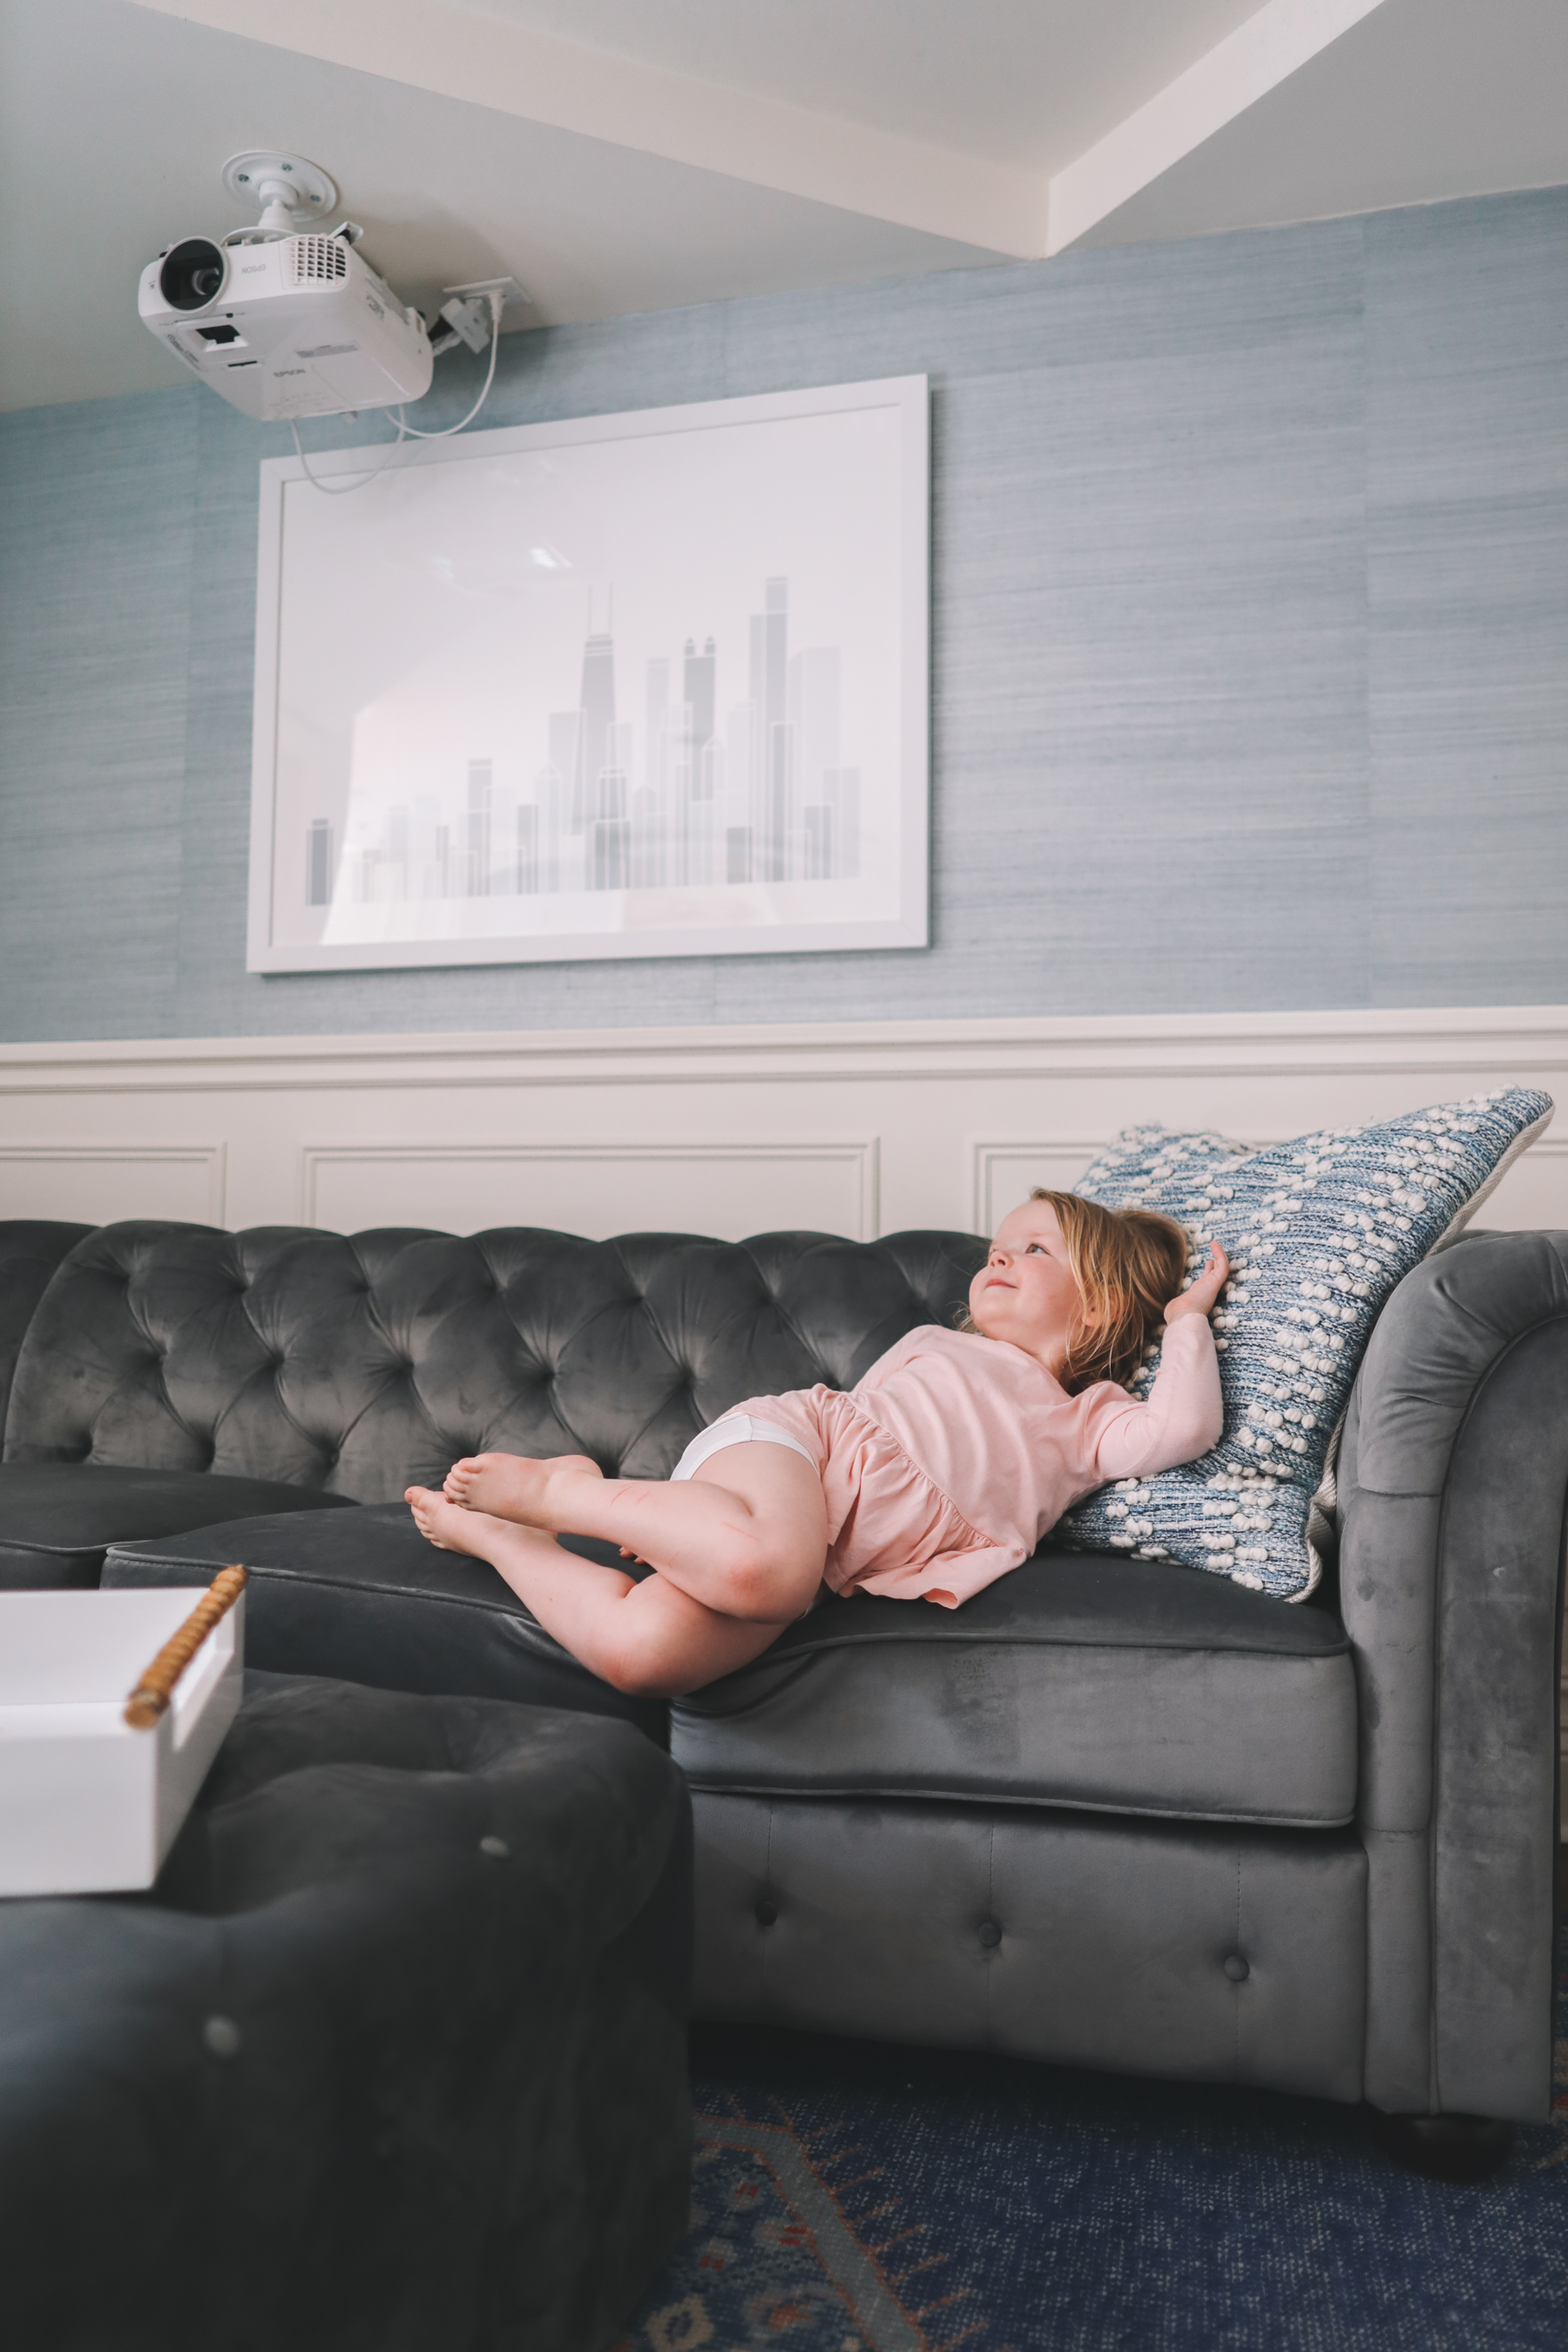
So for this project, I chose the Epson Home Cinema 2100 based on its reviews and the fact that I found an open box unit for a deal on Amazon. While there are expensive 4k projectors on the market, I chose to save money and go with a 1080p unit because we stream most of our content and none of the the major streaming platforms natively stream in 4k anyway.
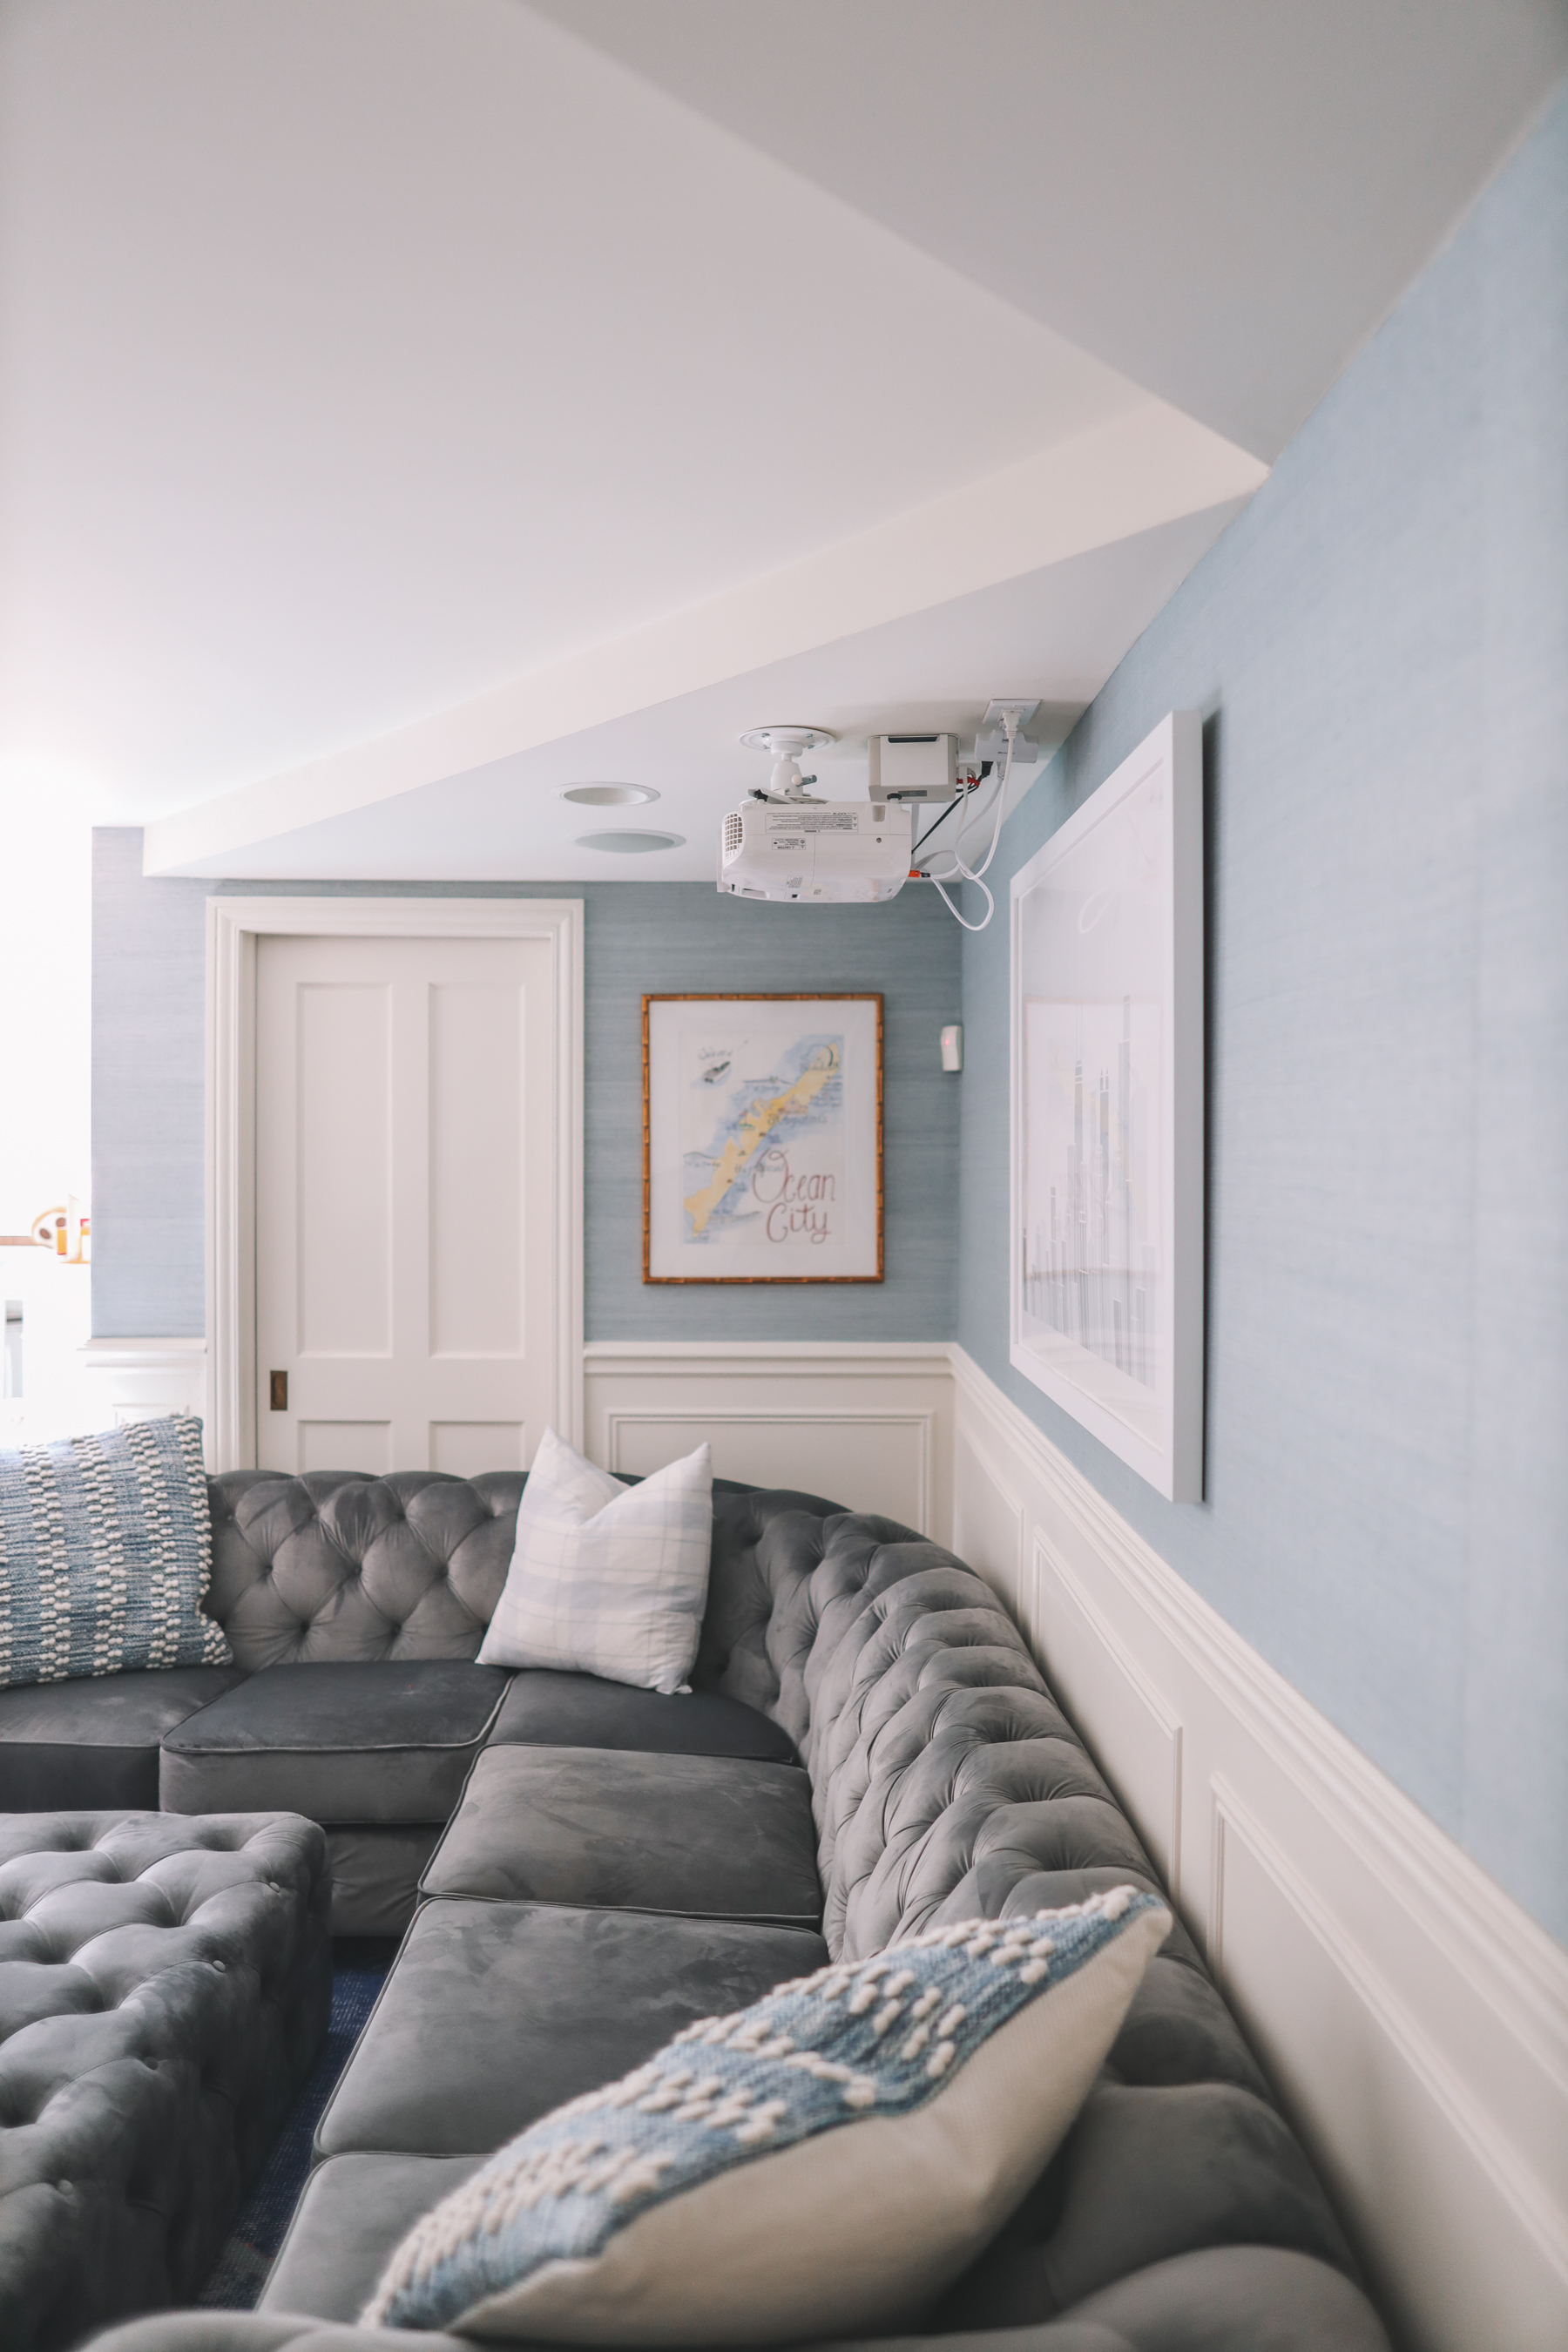
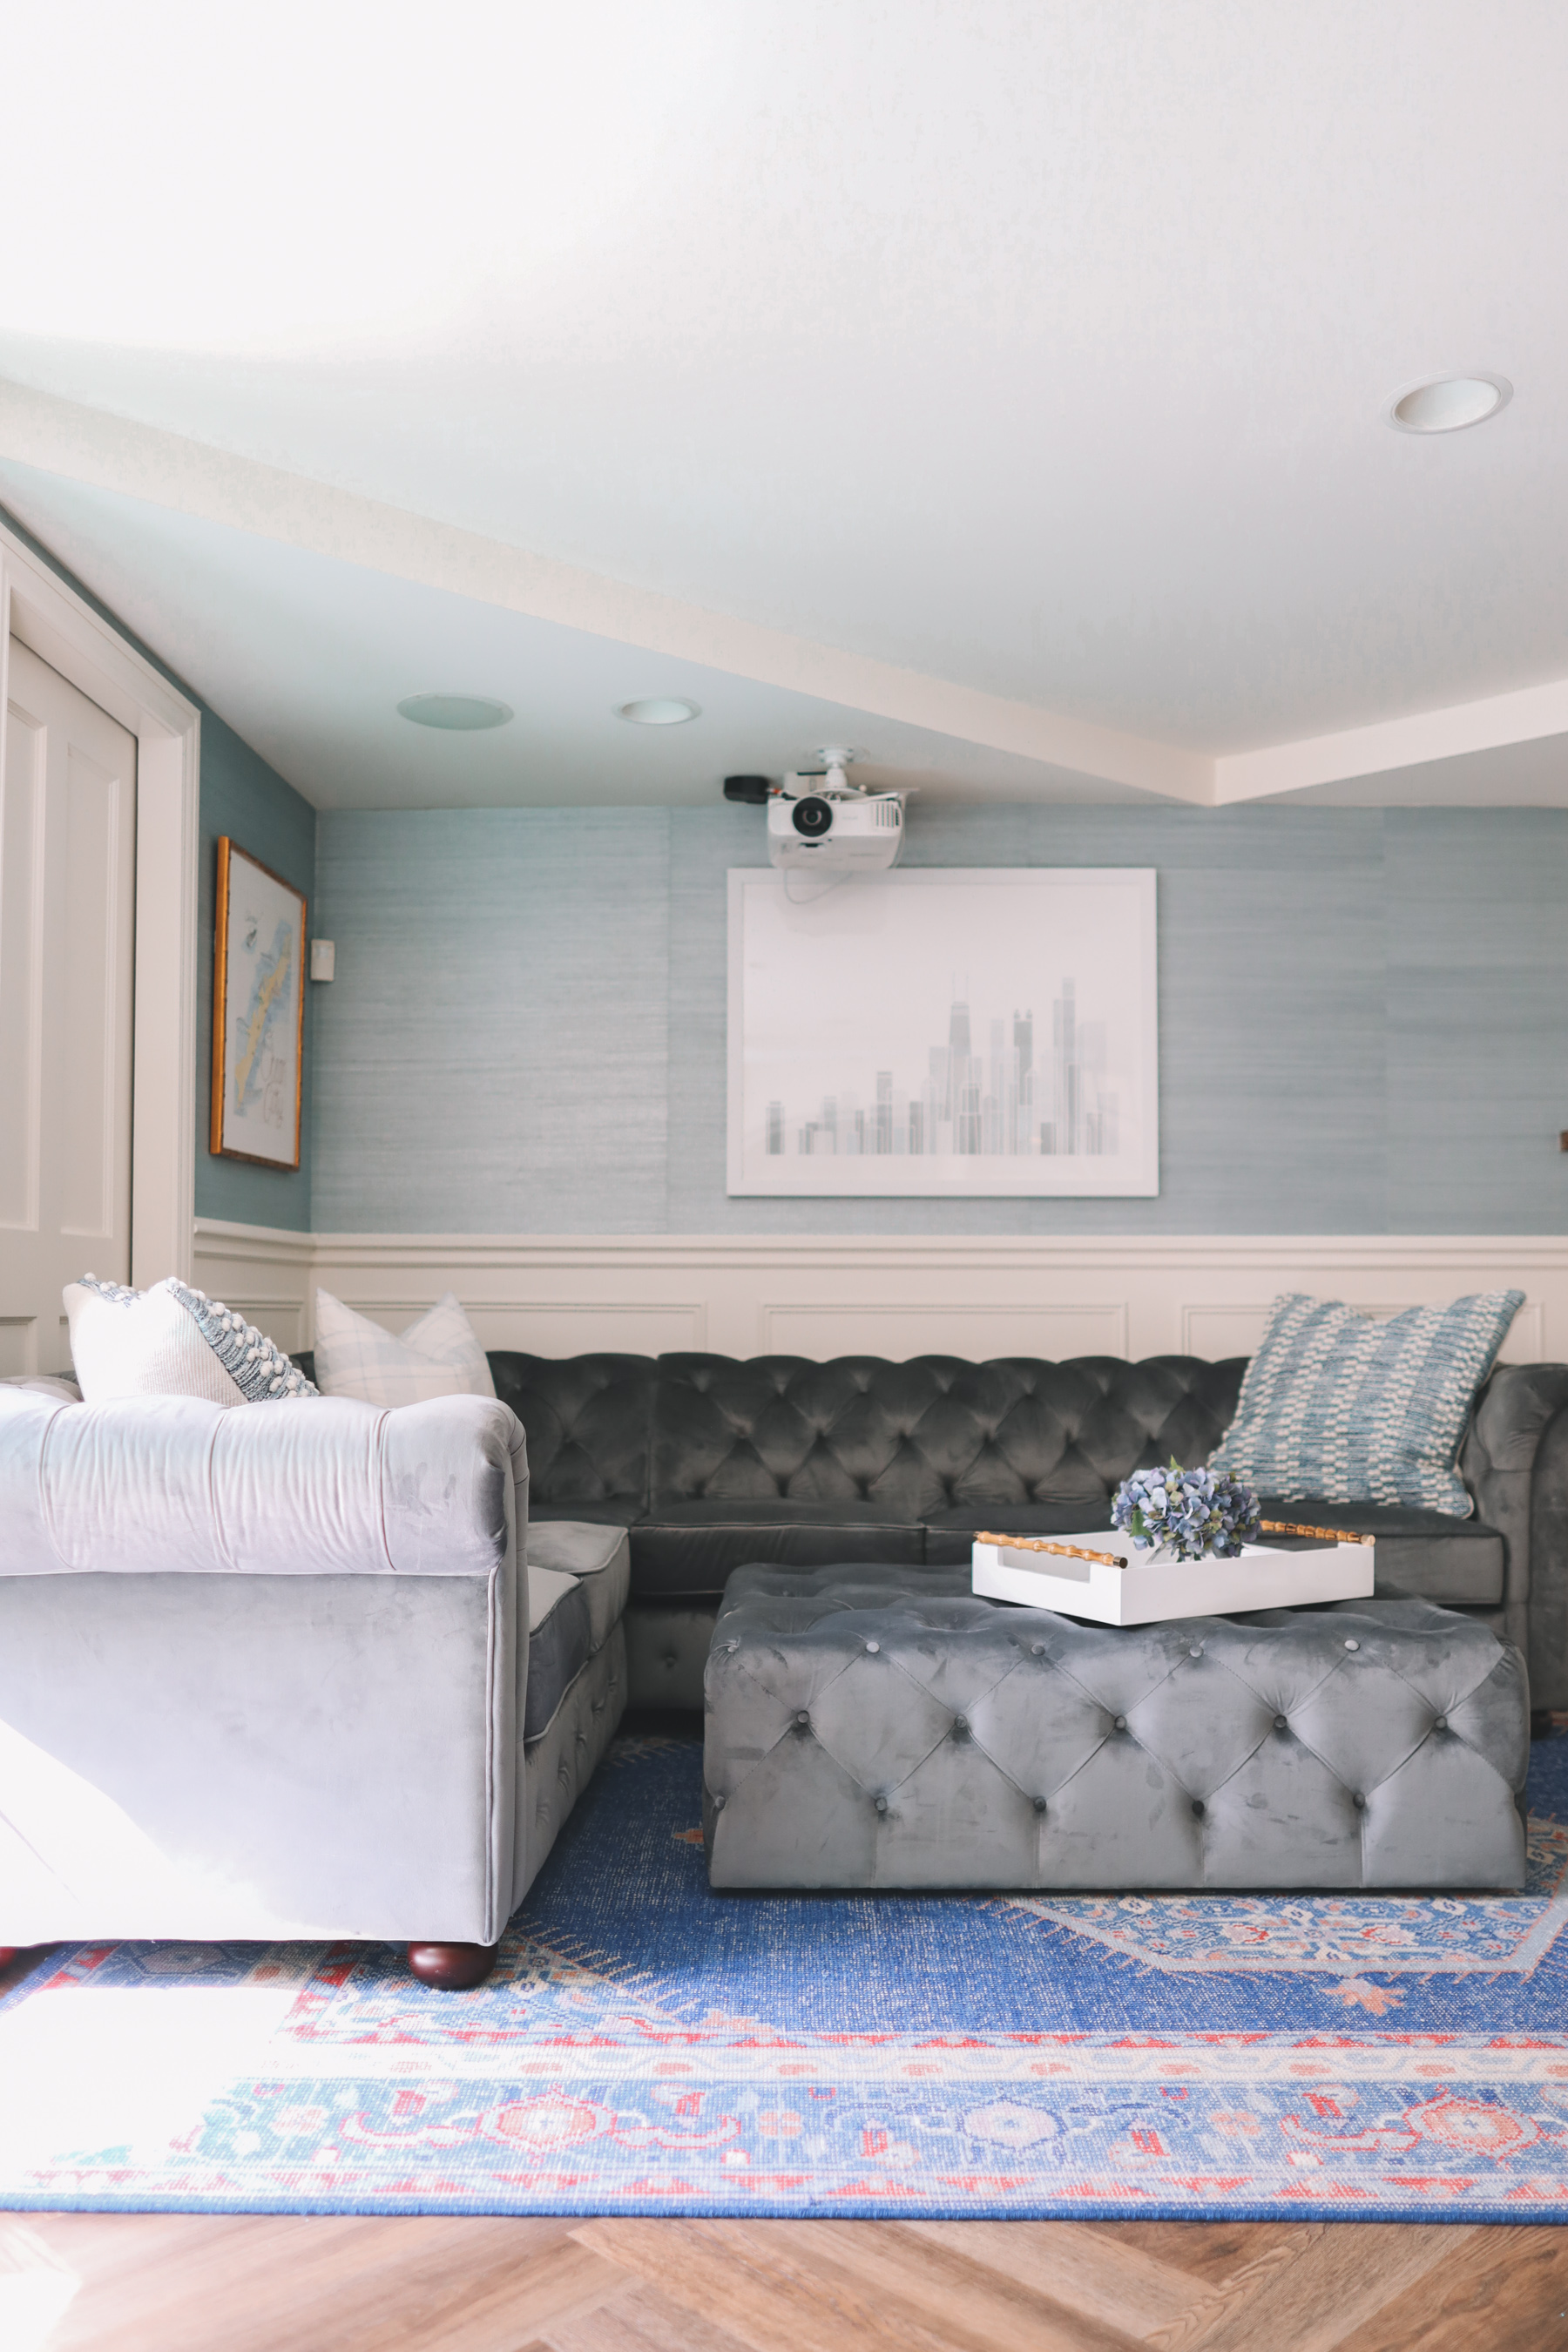
A projector needs to have the brightness to project in the daytime, the power to throw your image across the room, and the keystoning functionality to warp the image to fit your screen. Many “short throw” projectors can do this from right under the screen, but my kids instantly destroy anything within reach so a ceiling-mounted projector seemed smarter.
Note: The projector needs power, and unless you happen to have a random outlet in your ceiling in the exact right spot, you’ll likely need to hire an electrician to put one there. I needed to do this, too.
More affordable projector option: ViewSonic 3600 Lumens 1080p Projector with Keystone
Screen
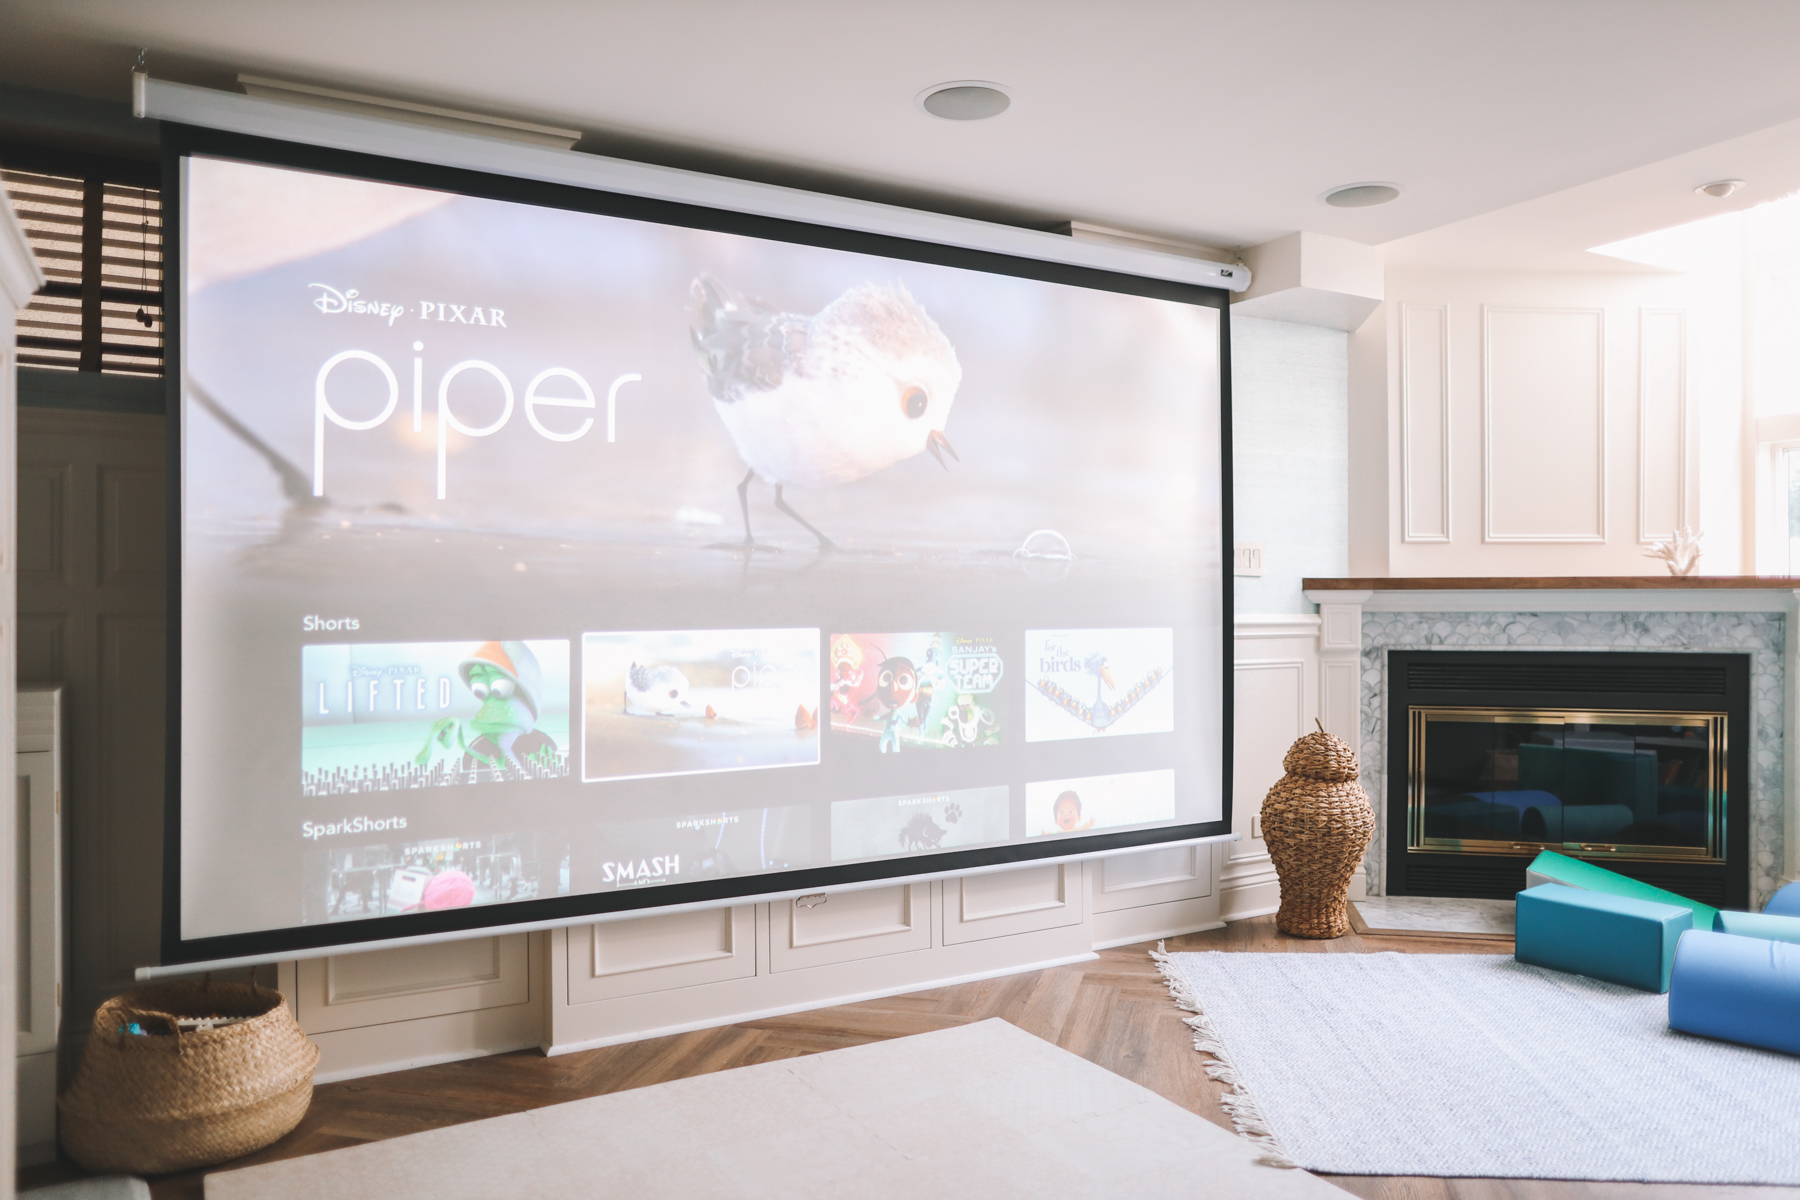
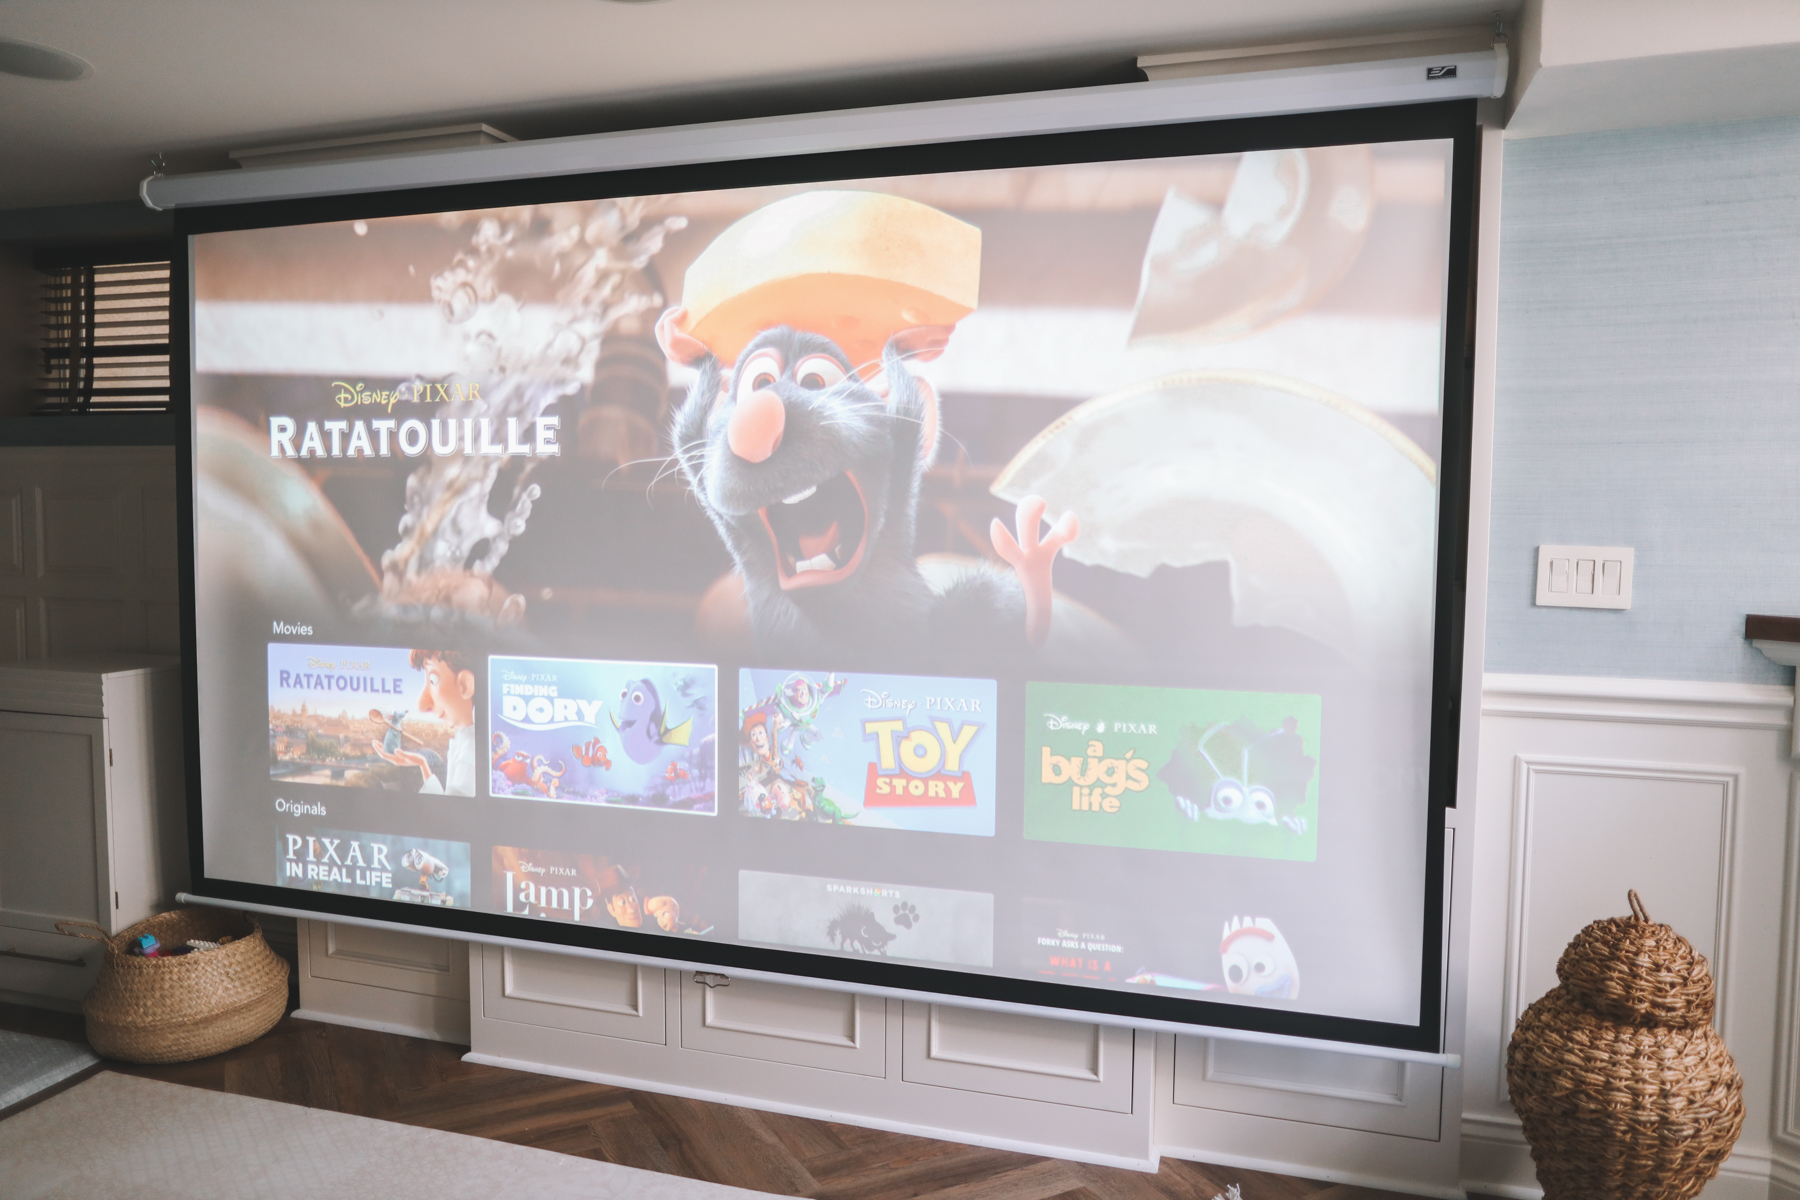
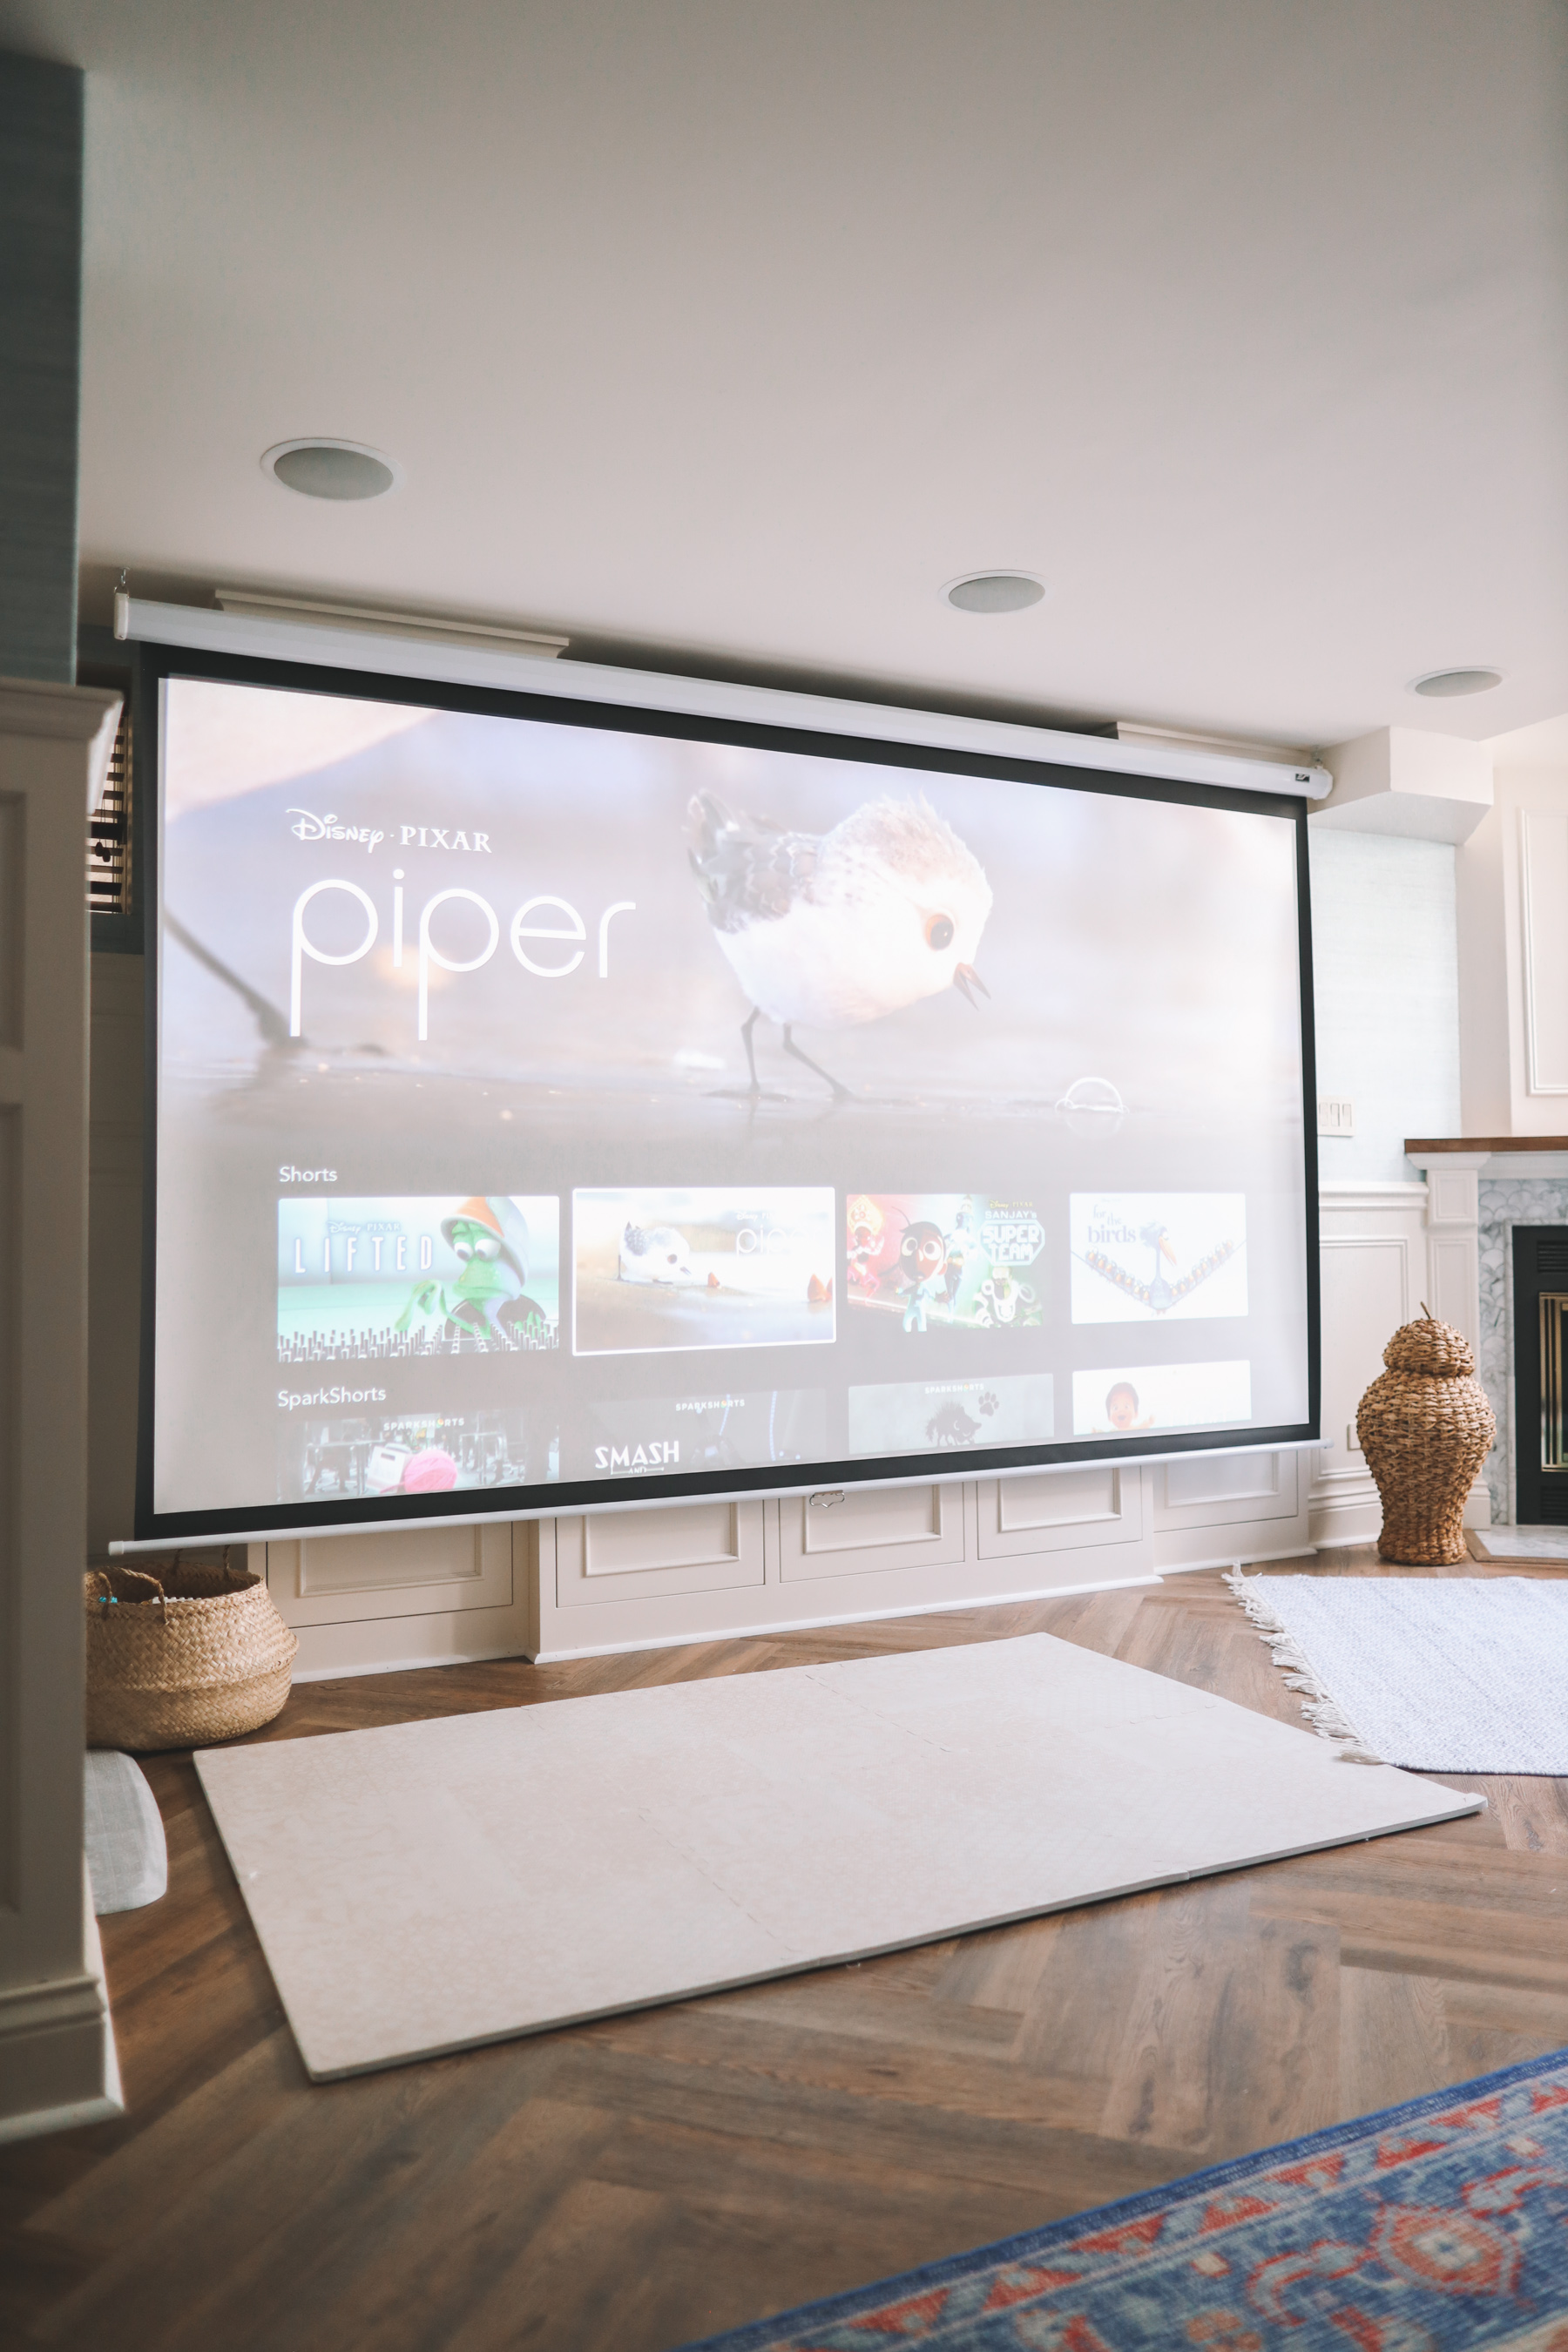
I know it’s overkill, but I’m a movie guy, and having the largest possible screening situation is VERY IMPORTANT TO ME. So I went overboard and installed this Elite Screen. It’s 135″ diagonally which makes it 500 percent larger than a 55″ TV. It’s huge. Weirdly enough, though, Kelly didn’t care because all of this is in the basement. Which I guess is another reason I went nuts with it!
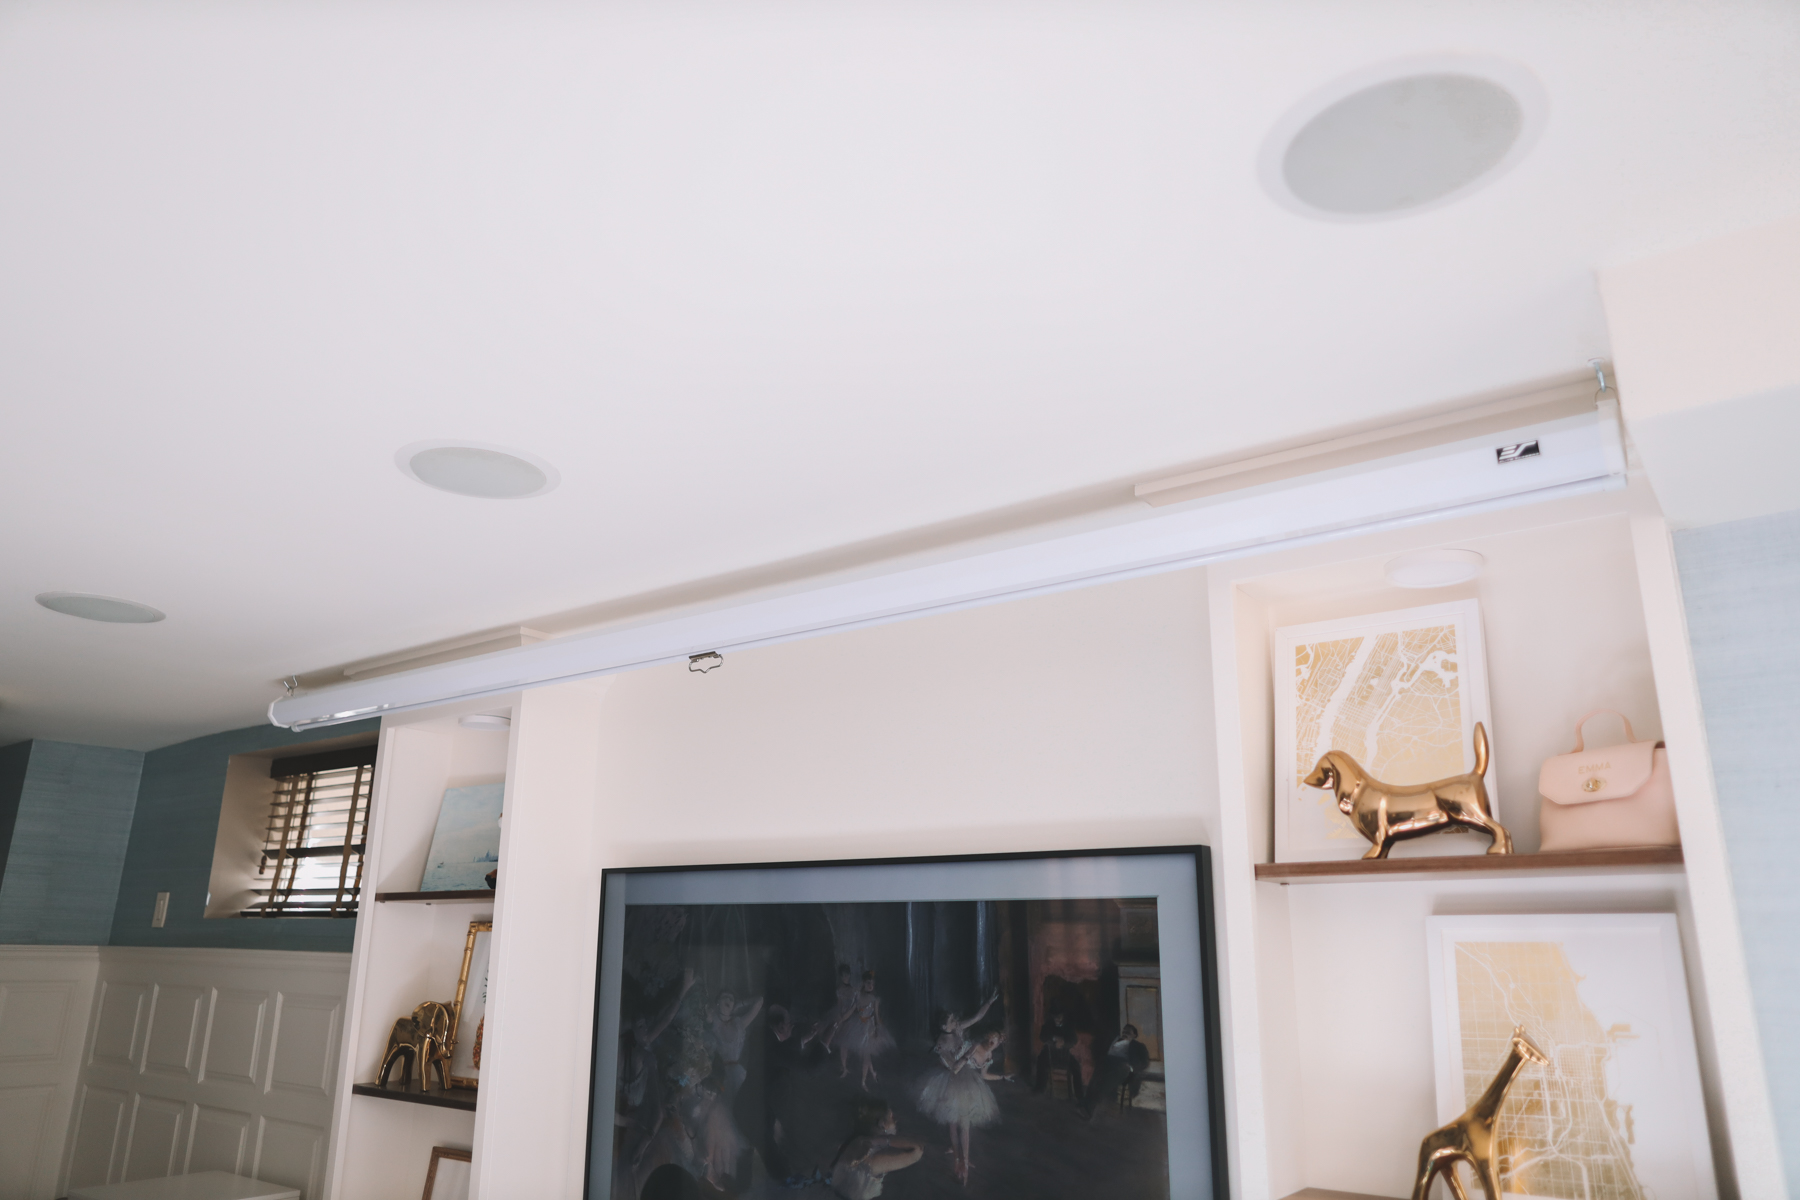
When designing this system, I thought I’d remove the screen after watching a movie, and I’ve officially done that zero times. The screen is too gigantic, and I’d have nowhere to put it. So just keep that in mind if you’re considering doing this; you’ll likely need to be okay with the look of the retracted screen on your ceiling. I totally am, and again, the wife has never complained.
Life pro tip: if you can’t locate studs you can use these super strong anchors to secure your screen.
Note: I opted for a manual pull-down screen instead of an electric one to avoid the cost of a second ceiling outlet.
More affordable screen option: Elite Screens 100″ Pull-Down Projector Screen
Apple TV
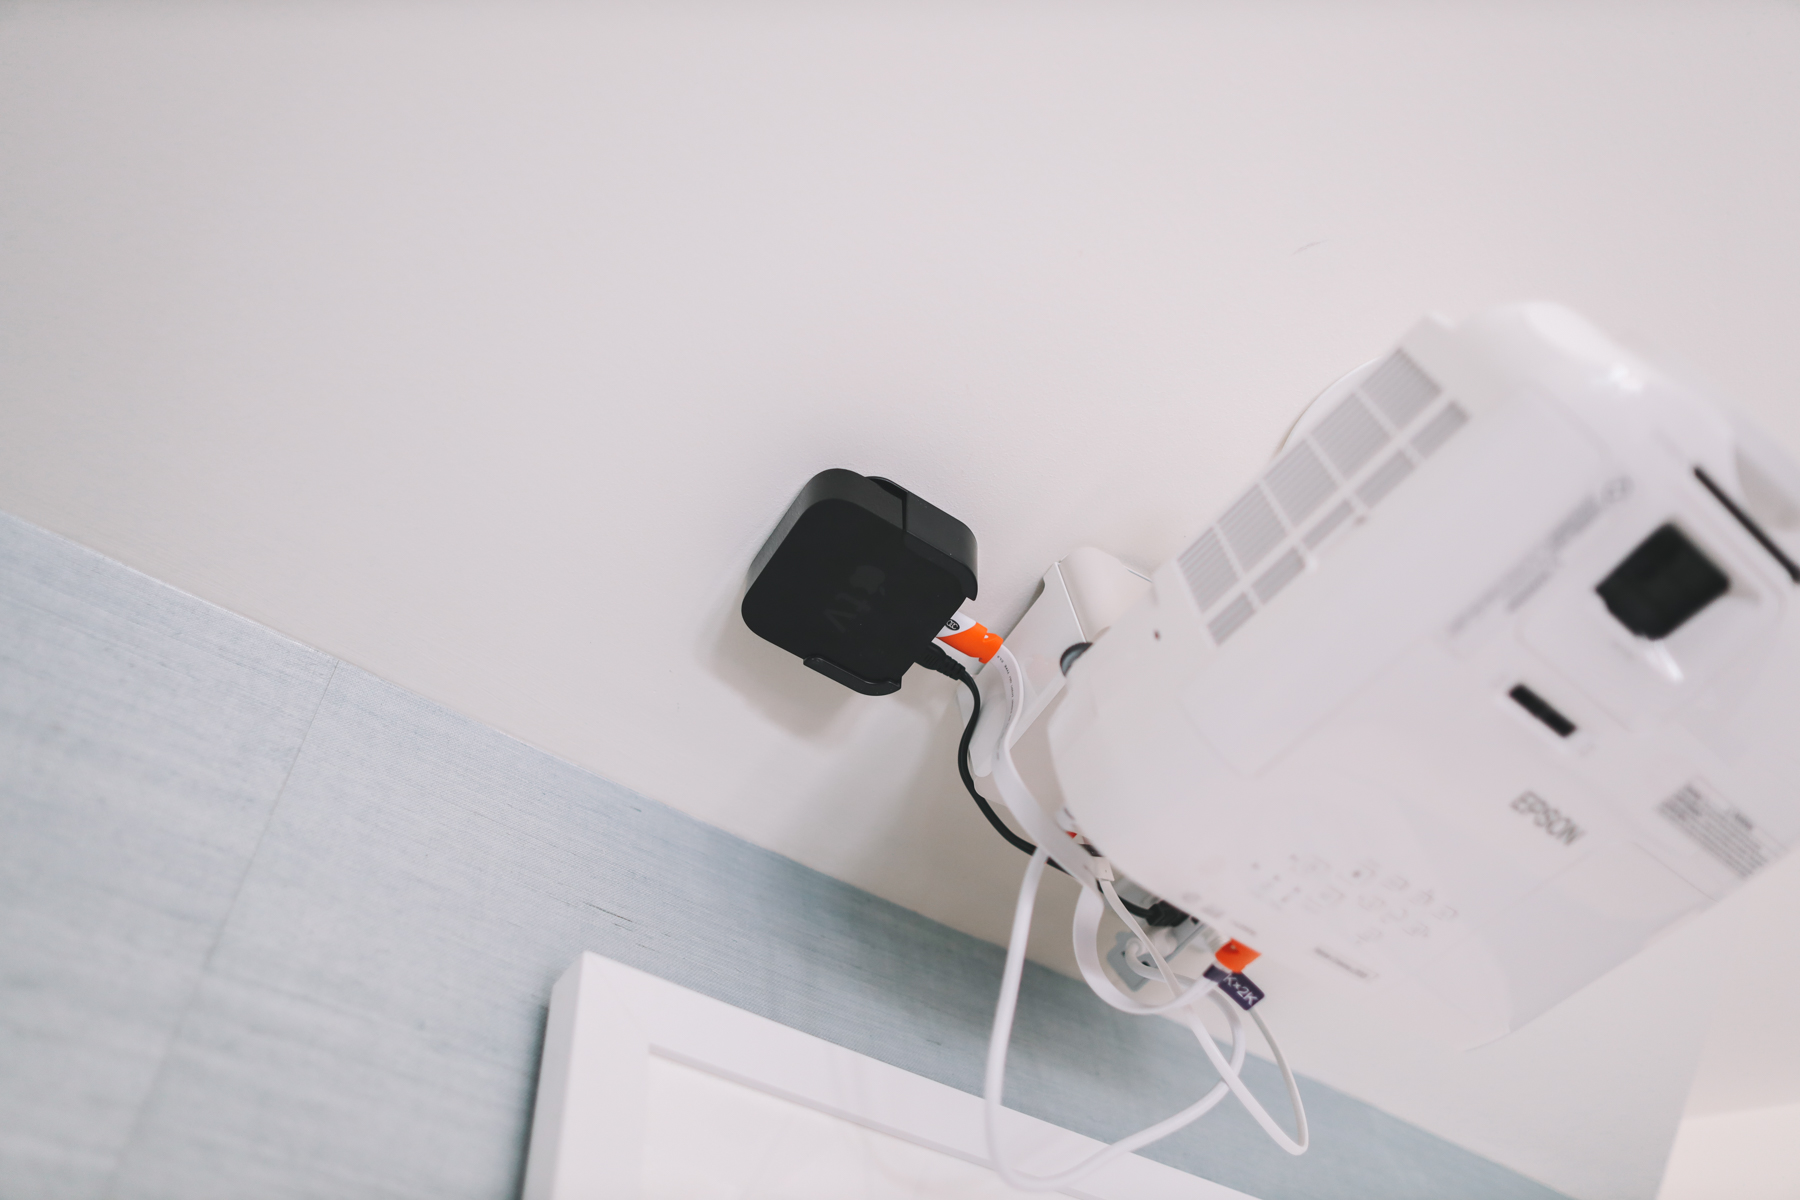
I mounted an old Apple TV (that we already owned from our first home) next to the projector to bring apps to my “dumb” projector so we could actually watch stuff. It’s not ideal to use Apple TV over WIFI, but this was a small-scale project and I really didn’t want to run Ethernet cables to the ceiling. So WiFi it was. No real problems thus far.
More affordable option: Google Chromecast or Fire TV Cube
Sonos Speakers
The best option for multi-room home stereo equipment is, without question, Sonos. Sonos speakers are wirelessly linked together, allowing you to create distinct zones of sound throughout the home. With a Sonos system, you can do crazy stuff like push the sound of the big game to the whole house or divide your speakers into distinct zones. It’s one of my favorite parts of our home. (My father-in-law actually got me hooked on the brand.)
I should mention that Sonos is pricey–again, see above for money saving tips!–and that they do not support their older equipment for long, which can be wildly frustrating. For example, they recently released a new app, S2, and my old speakers can’t use it. And the old app, S1, totally stinks. Simply put, Sonos is great as long as you’re willing to pay–and then pay again when Future Sonos launches S3 and bricks all your speakers. My best advice would be to buy used. I’ve found nearly all my speakers on Craigslist for a song.
But I digress.
The Sonos catalogue is confusing and I think it’s best understood if I break their products into four categories: Sonos Port/Connect, Sonos TV Speakers, Sonos Standalone Speakers, and Sonos Amps.
Sonos Port or Sonos Connect
Since I wanted my Sonos speakers to work with my projector and Apple TV without hardwiring, I needed a Sonos Port (new technology and more expensive) or a Sonos Connect (old technology and less expensive). I found a used Connect on Craigslist, so I went with that. I mounted it next to the projector and paired it with the speakers in the room, and this wirelessly brought the Apple TV’s content to the speaker system.
For the record, this is a complicated way to handle sound but I really wanted the projector to be linked with my speaker system. It’s so complicated that no one else in the family can figure out how to use it.
Sonos TV Speakers
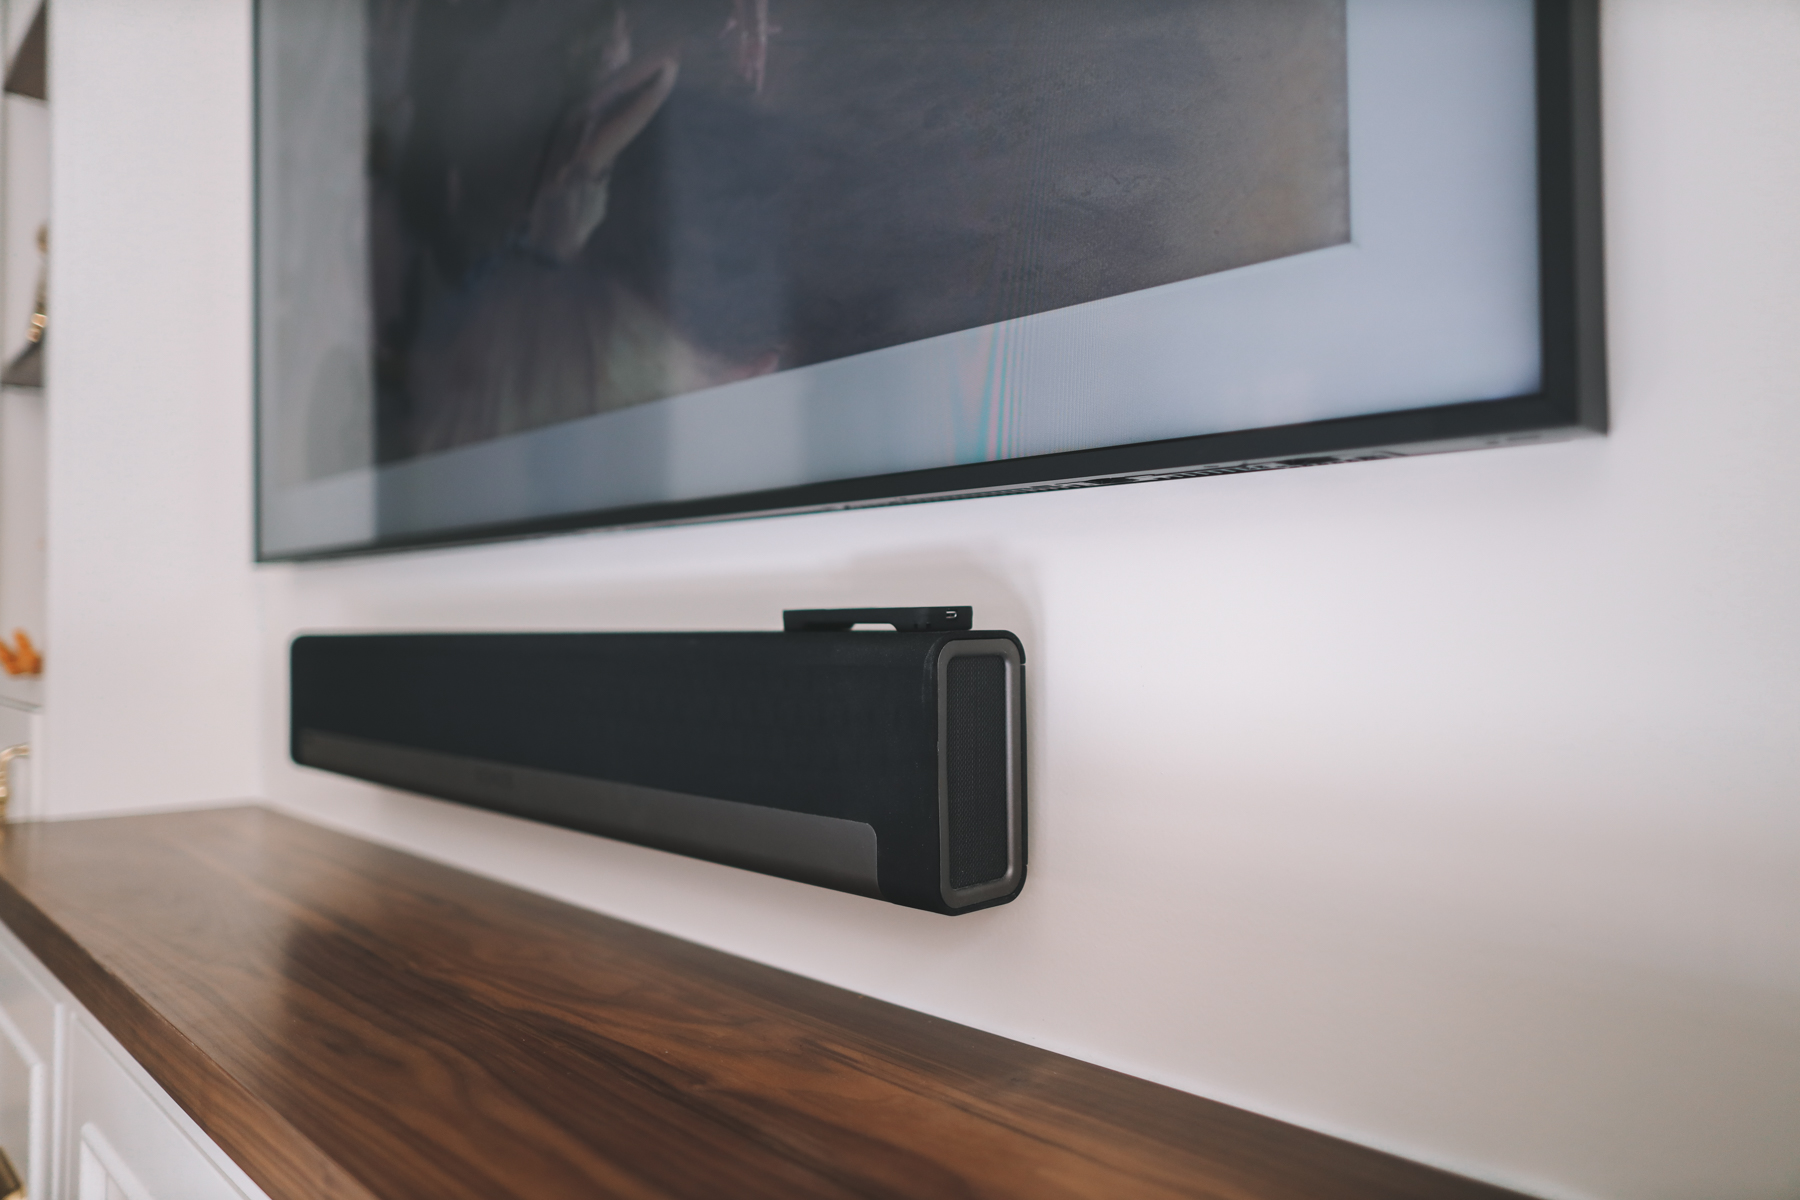
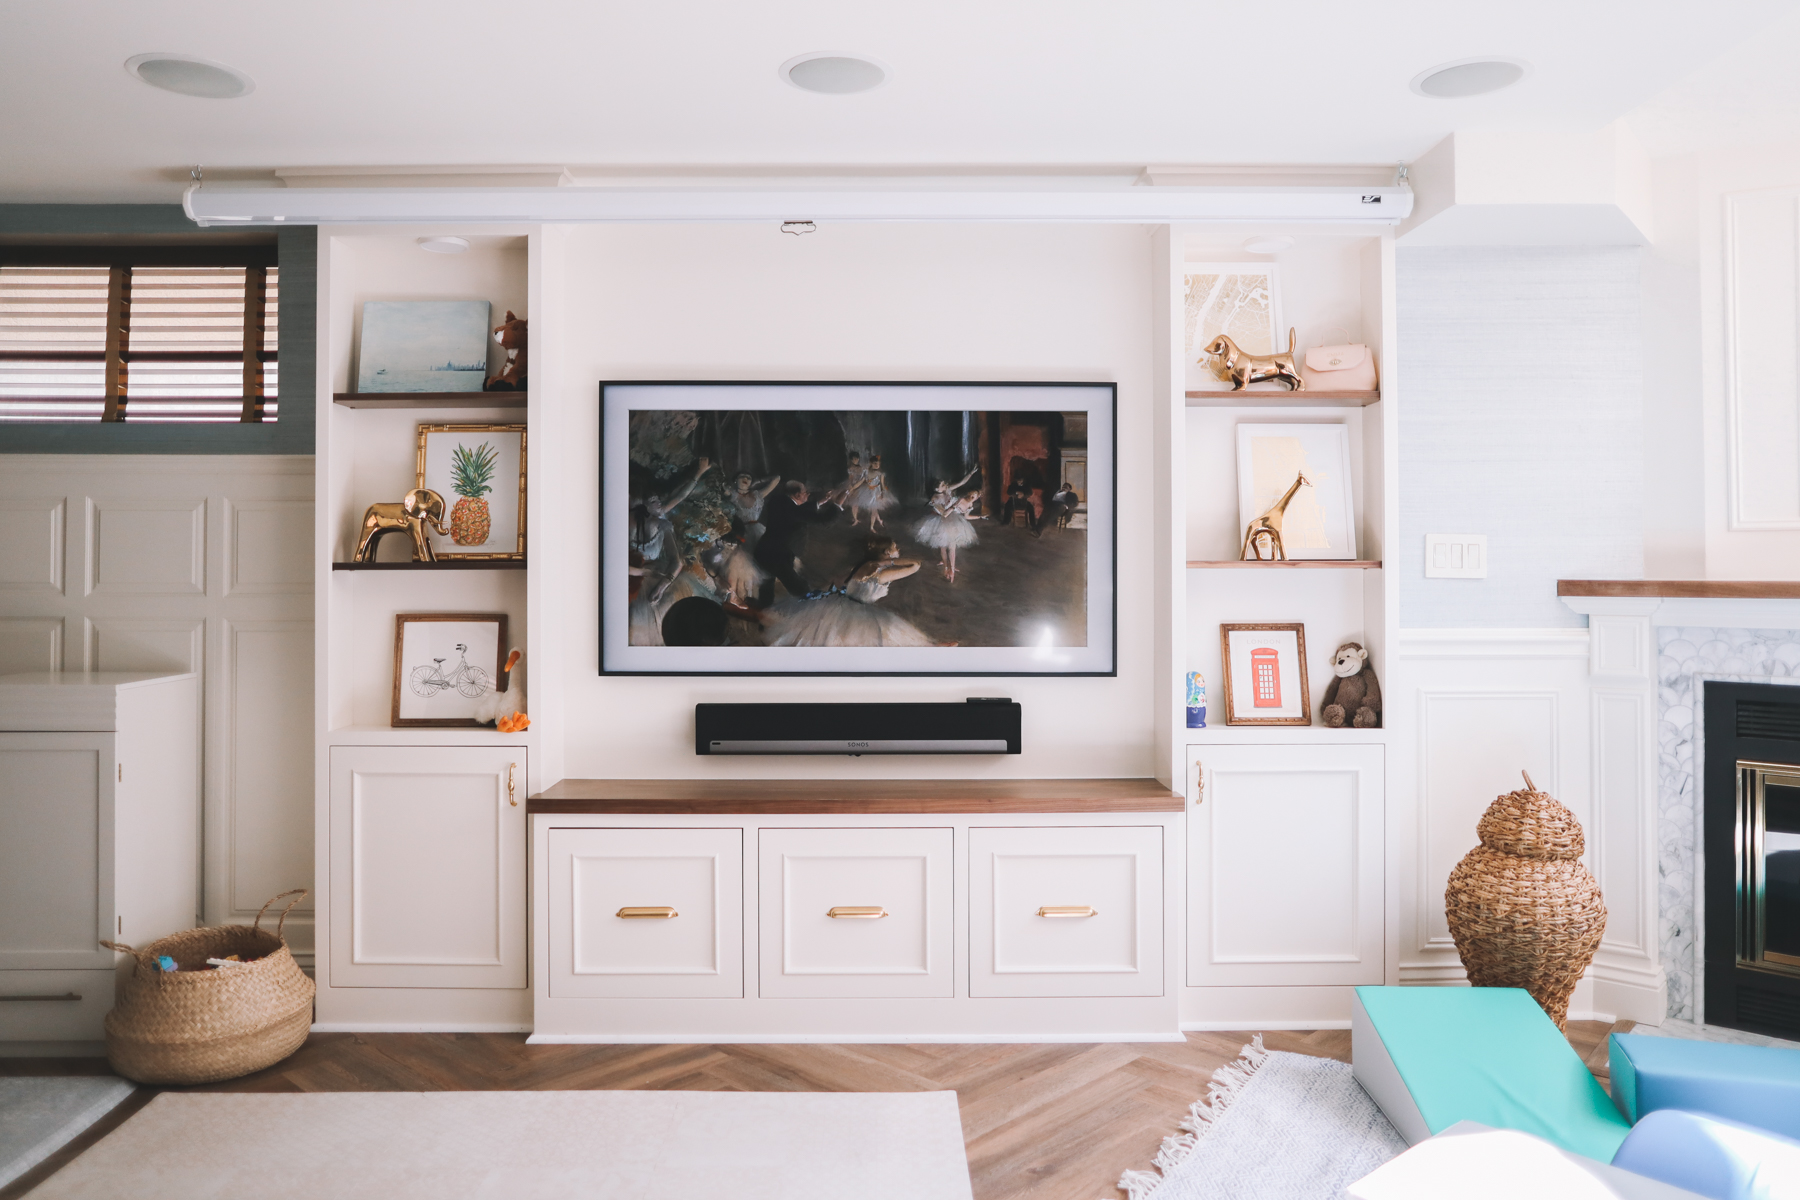
I use a Playbar and a Beam for TV speakers and they work flawlessly–both with the TV and the projector’s Apple TV/Sonos Connect setup.
The Playbar is bigger and more capable, but it’s also more expensive and it only comes in black. The Beam is smaller and less expensive, and it comes in both black and white. Additionally, it can be turned into an Alexa or Google Assistant if that’s your thing.
Practically speaking, I think the cheaper Beam is perfect for most living rooms, whether it’s being used for regular television viewing or projector viewing.
Note: If this sounds intimidating, fear not. The Sonos TV setup process takes you through the steps of replacing your TV’s speaker with the Sonos speaker. It handles pairing your TV’s remote with the Sonos as well.
Second note: I also have a Sonos Sub linked to the projector so I can shake the whole house when I’m watching movies. This is not necessary but very fun.
Sonos Standalone Speakers
If you don’t like the look of the Playbar or Beam, Sonos also sells smaller standalone speakers. I don’t have them in the playroom/basement, but I do use them to create zones in rooms with no other stereo equipment. We have a Sonos One in the kitchen, a Play Three in our bedroom, a Play One in the laundry room and a Play 5 in the bathroom so I can rock out in the shower. Kelly occasionally turns them on.
Sonos Amps to connect ceiling speakers
The Sonos Amp brings non-Sonos devices into the Sonos network. In other words, it Sonos-ifies ’em! We have old ceiling speakers from the previous owners in the basement, so I used a Connect Amp to power them (and then the Sonos Connect to pair them with the projector).
More affordable speaker option: Newer Amazon Echo speakers that wirelessly pair with Fire TV devices to stream TV content.
Looking for information on our TV?
On a somewhat related note, I recently wrote an in-depth post about the Samsung Frame TV, and I can summarize it into a single sentence:
If you and your partner disagree on how prominent a TV should be in your family room, the Frame is for you.
In addition to being a phenomenal 4k TV, it mounts flush against the wall, it can be customized with Samsung Bezels to fit your home, and it displays ambient artwork when not in use. It’s an investment, but it’s a great TV. Luckily, discounts are easy to find if you’re willing to buy an older or used model. (See above.)
More affordable TV option: Hisense 65″ Quantum Series LED 4K
In conclusion
This is a big system and I realize, after writing this post, that I sound like a maniac. But, as the father of two young children stuck at home during a global pandemic, I take home movie theaters very seriously. Let me know if you have any questions! I REALLY LOVE TALKING ABOUT THIS TOPIC.
Mitch. OUT!


