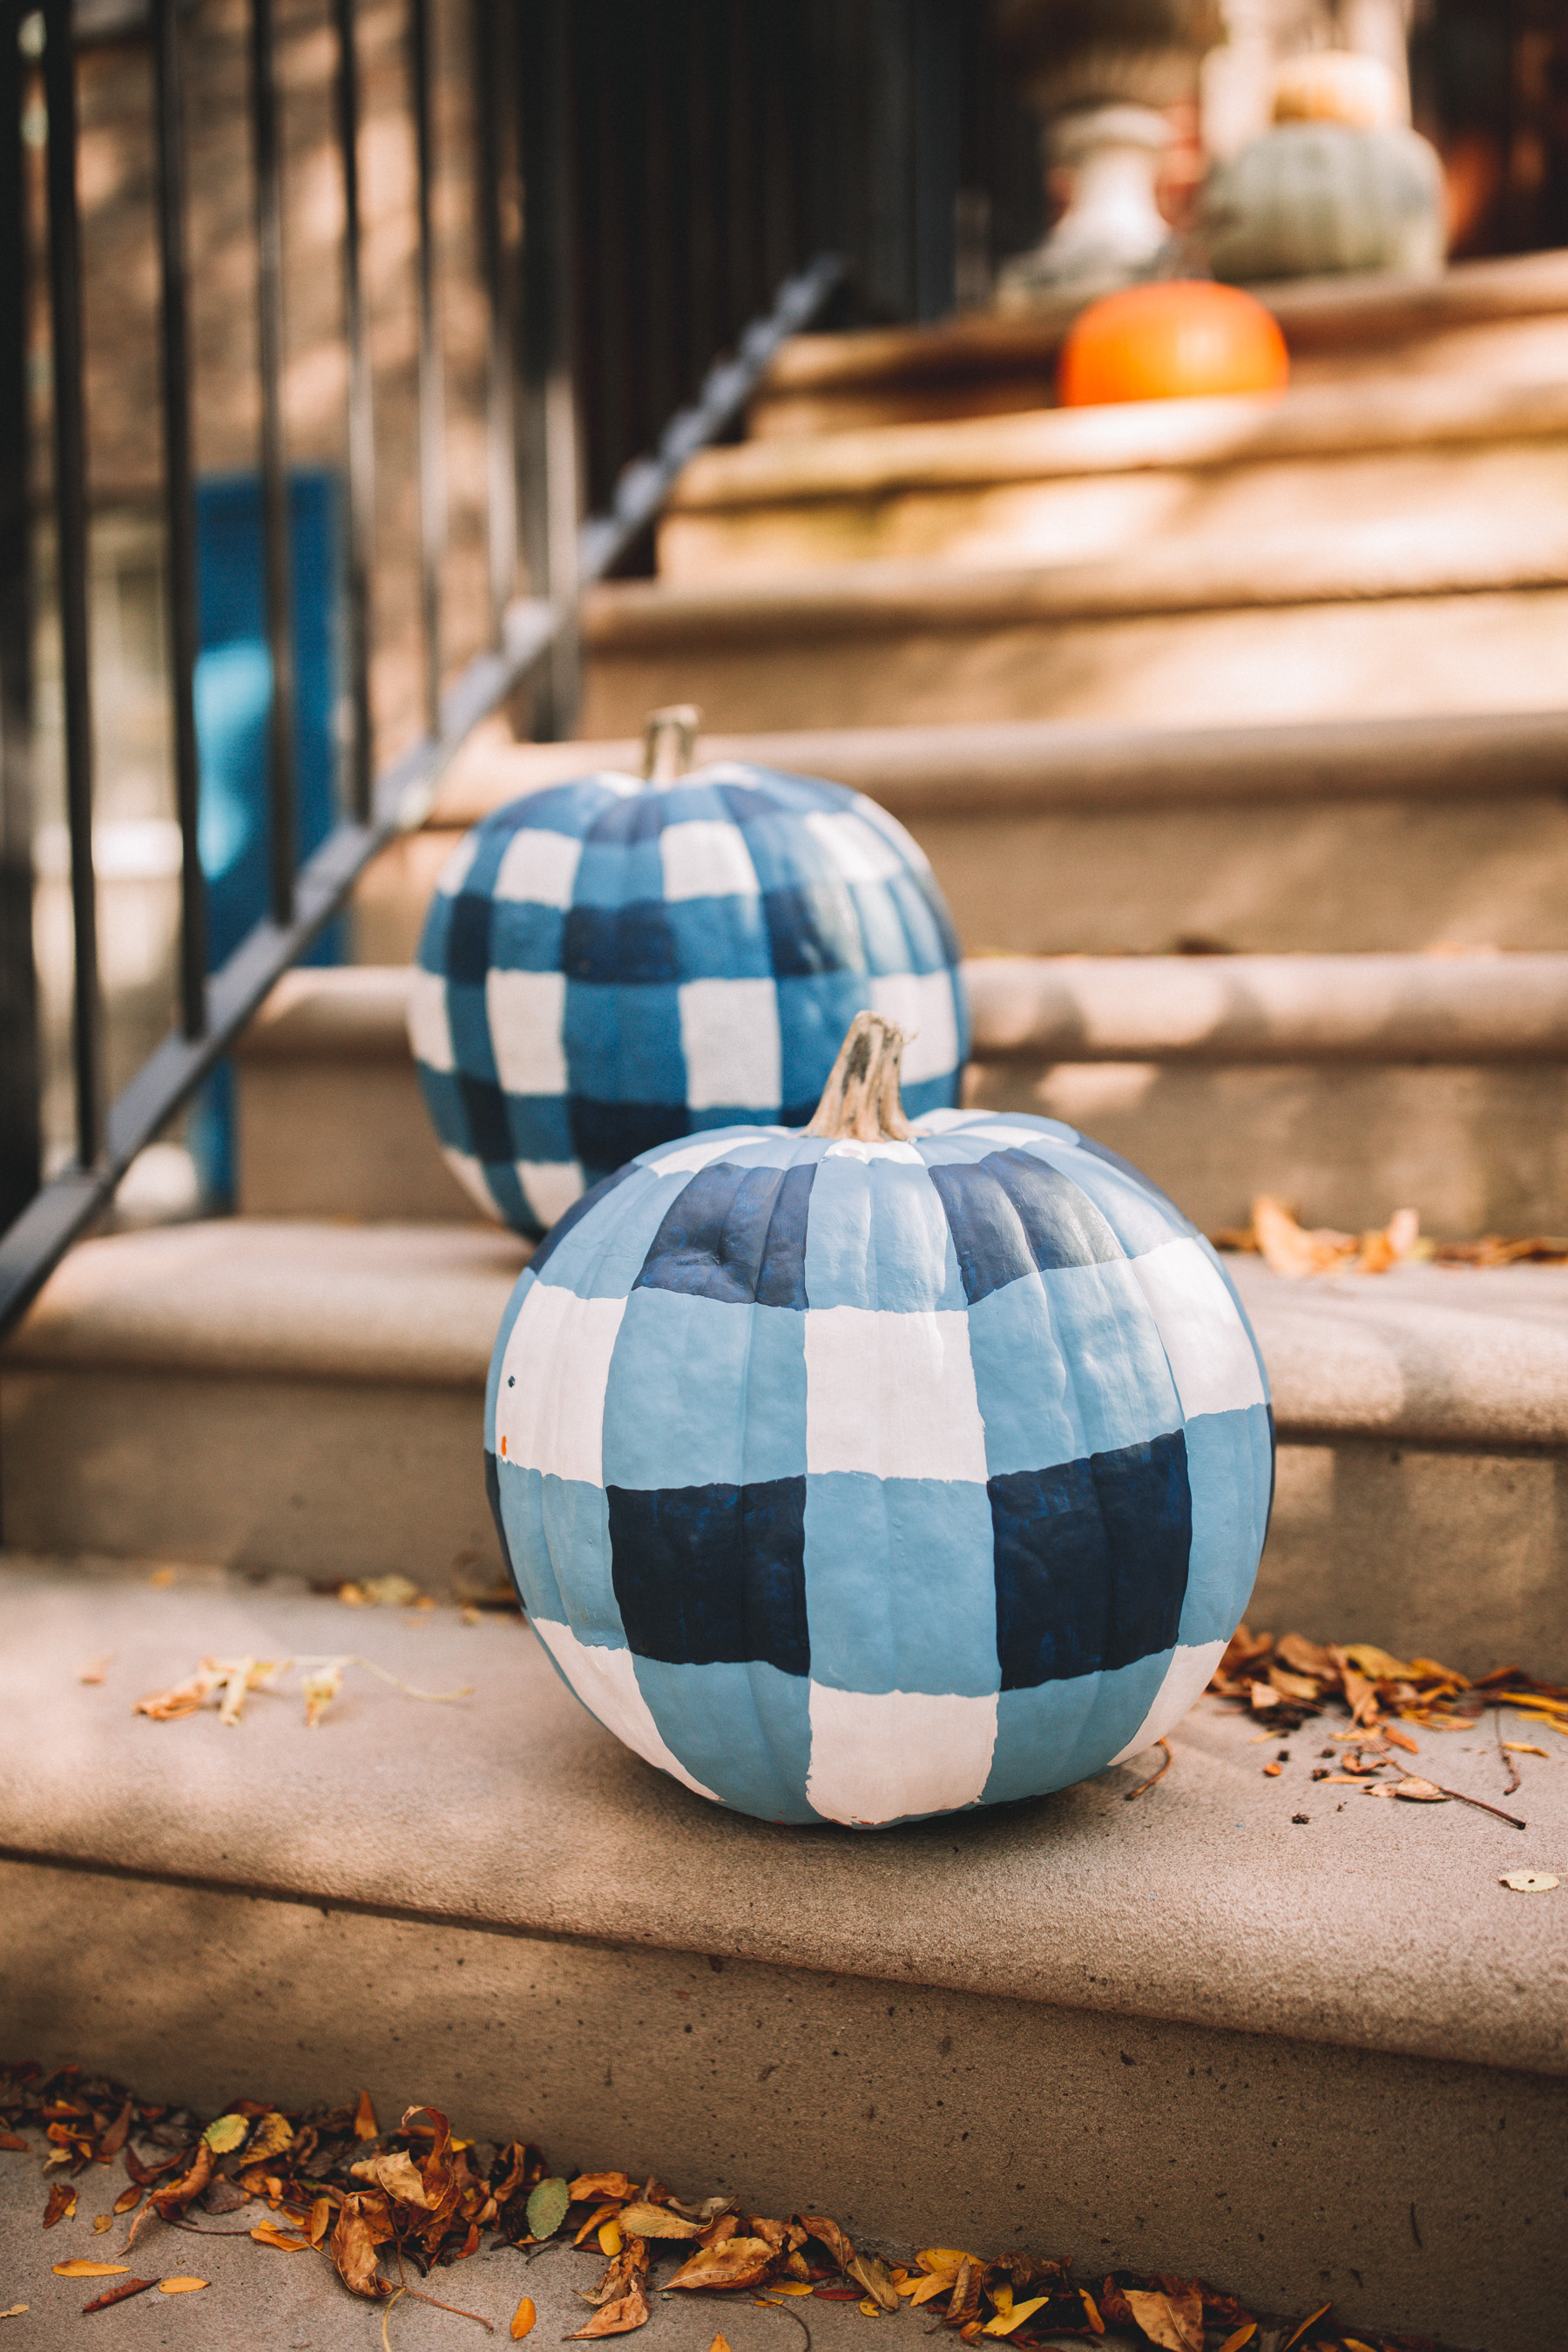
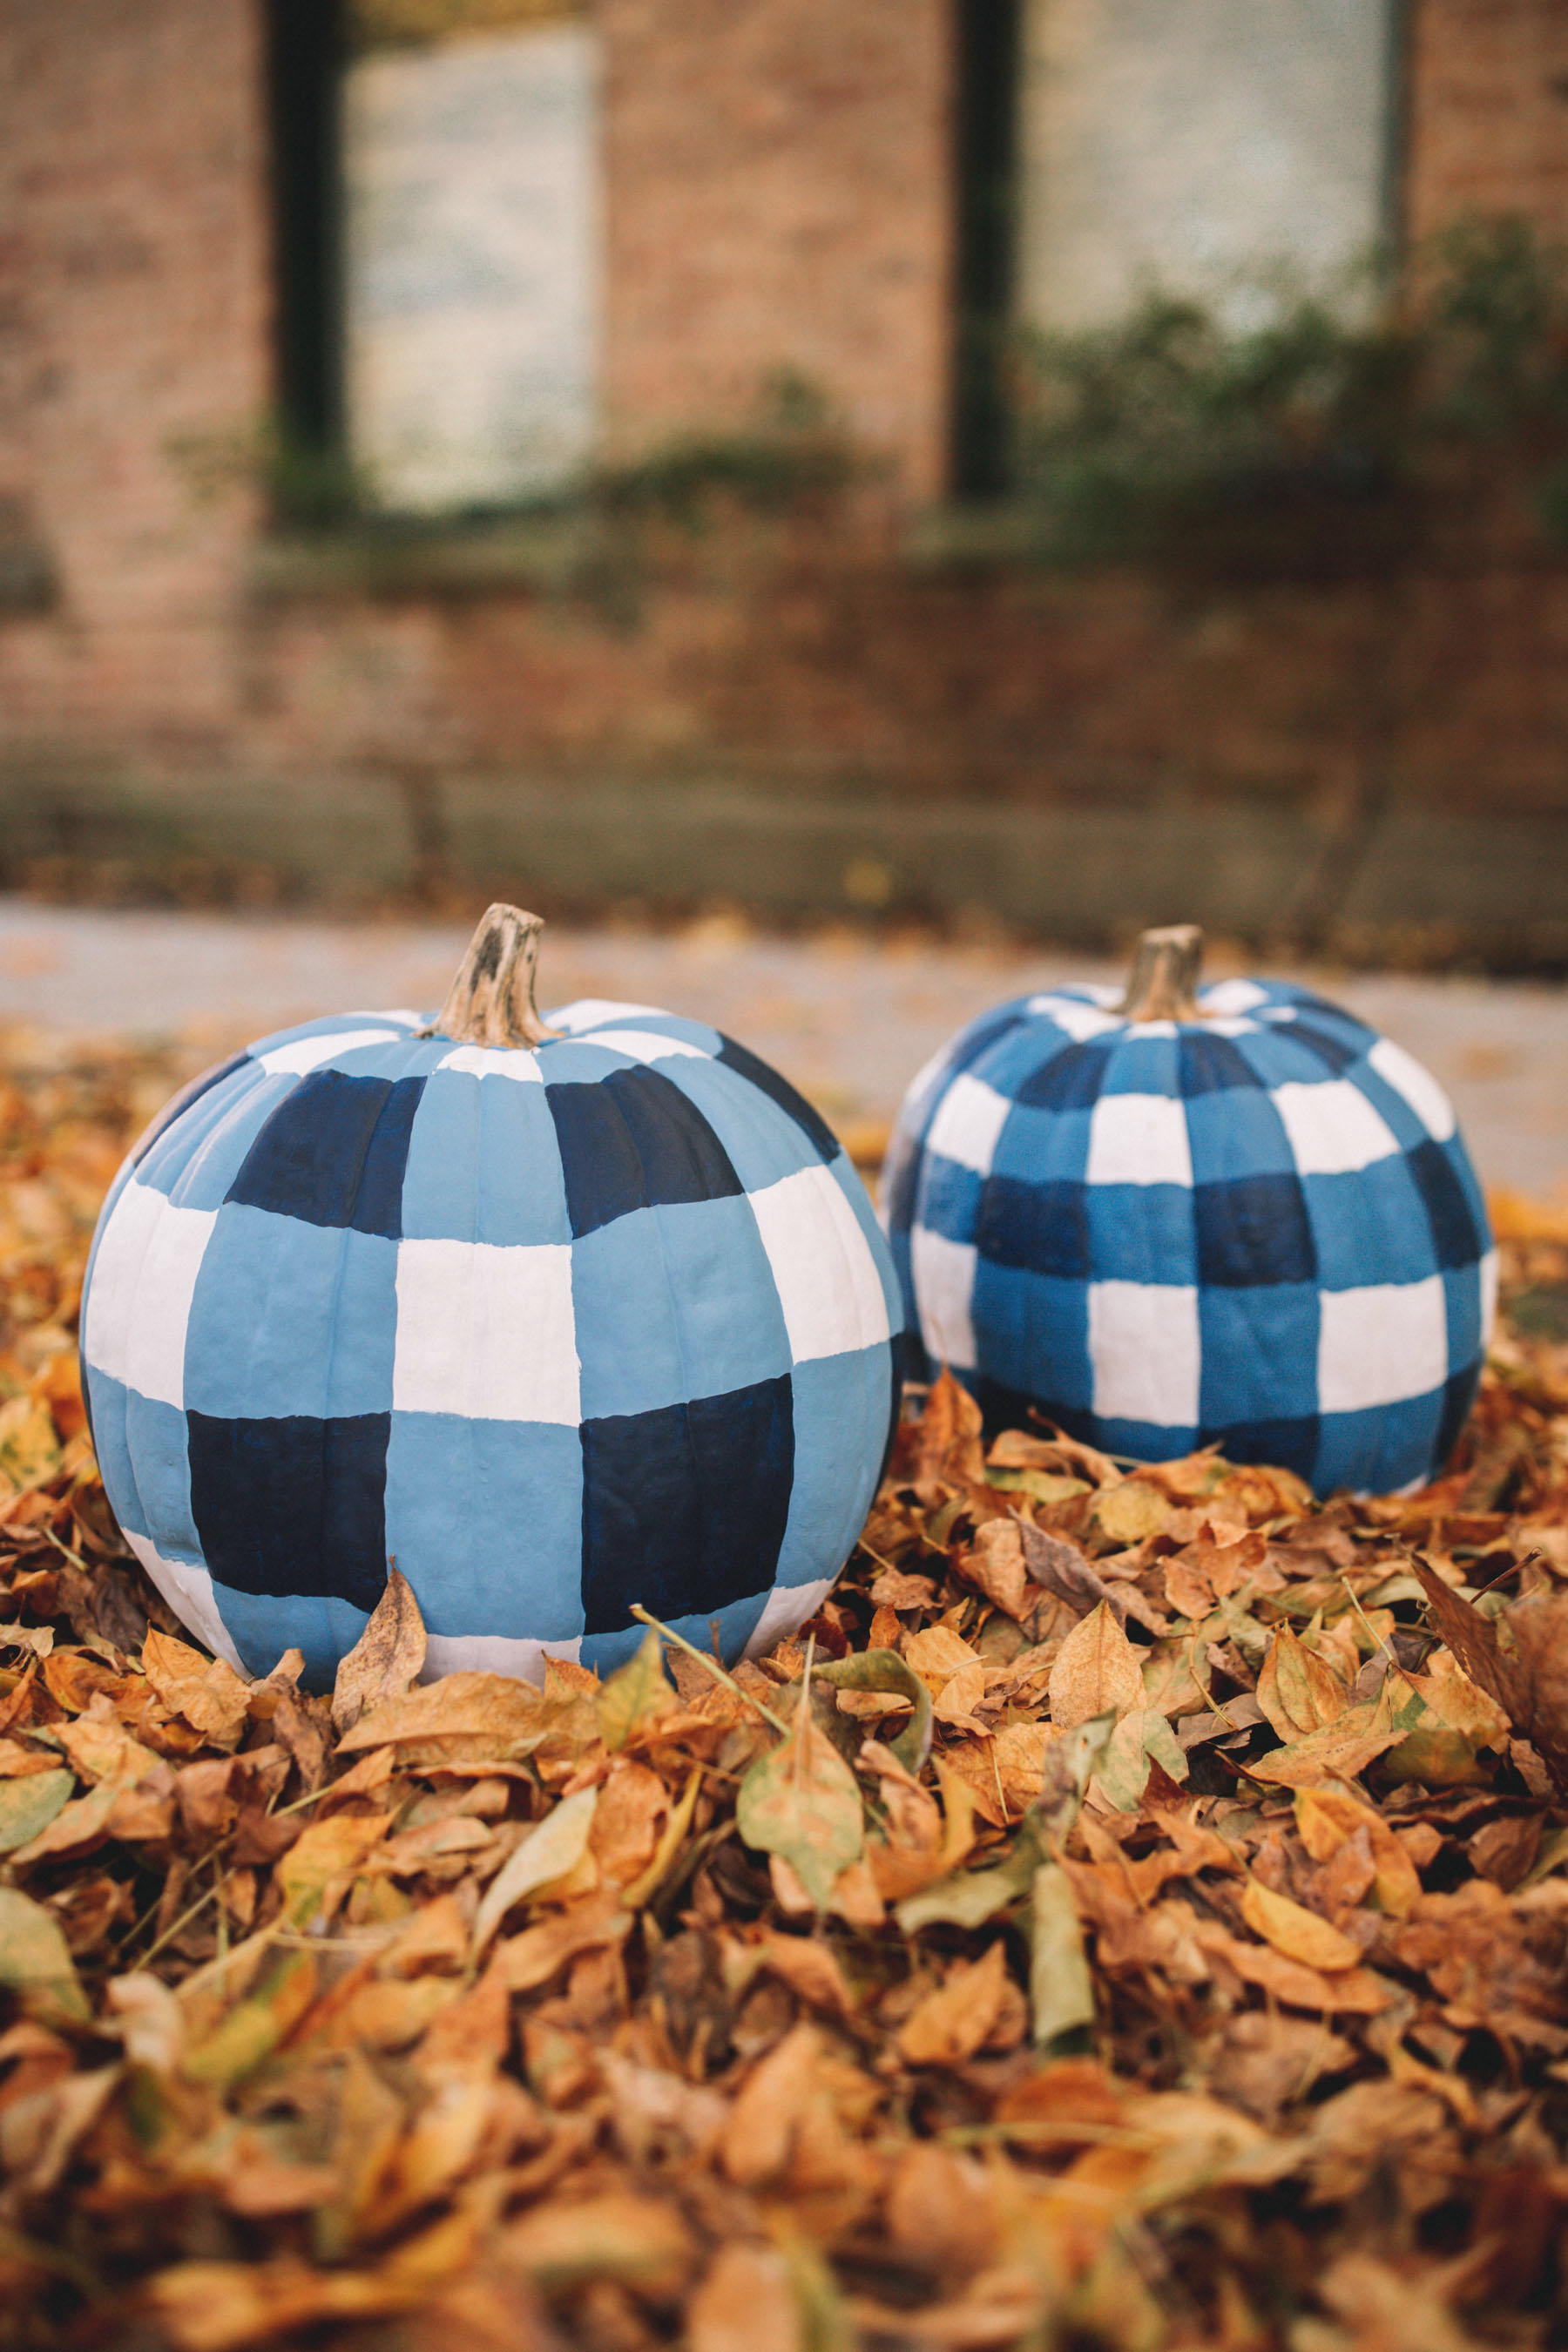
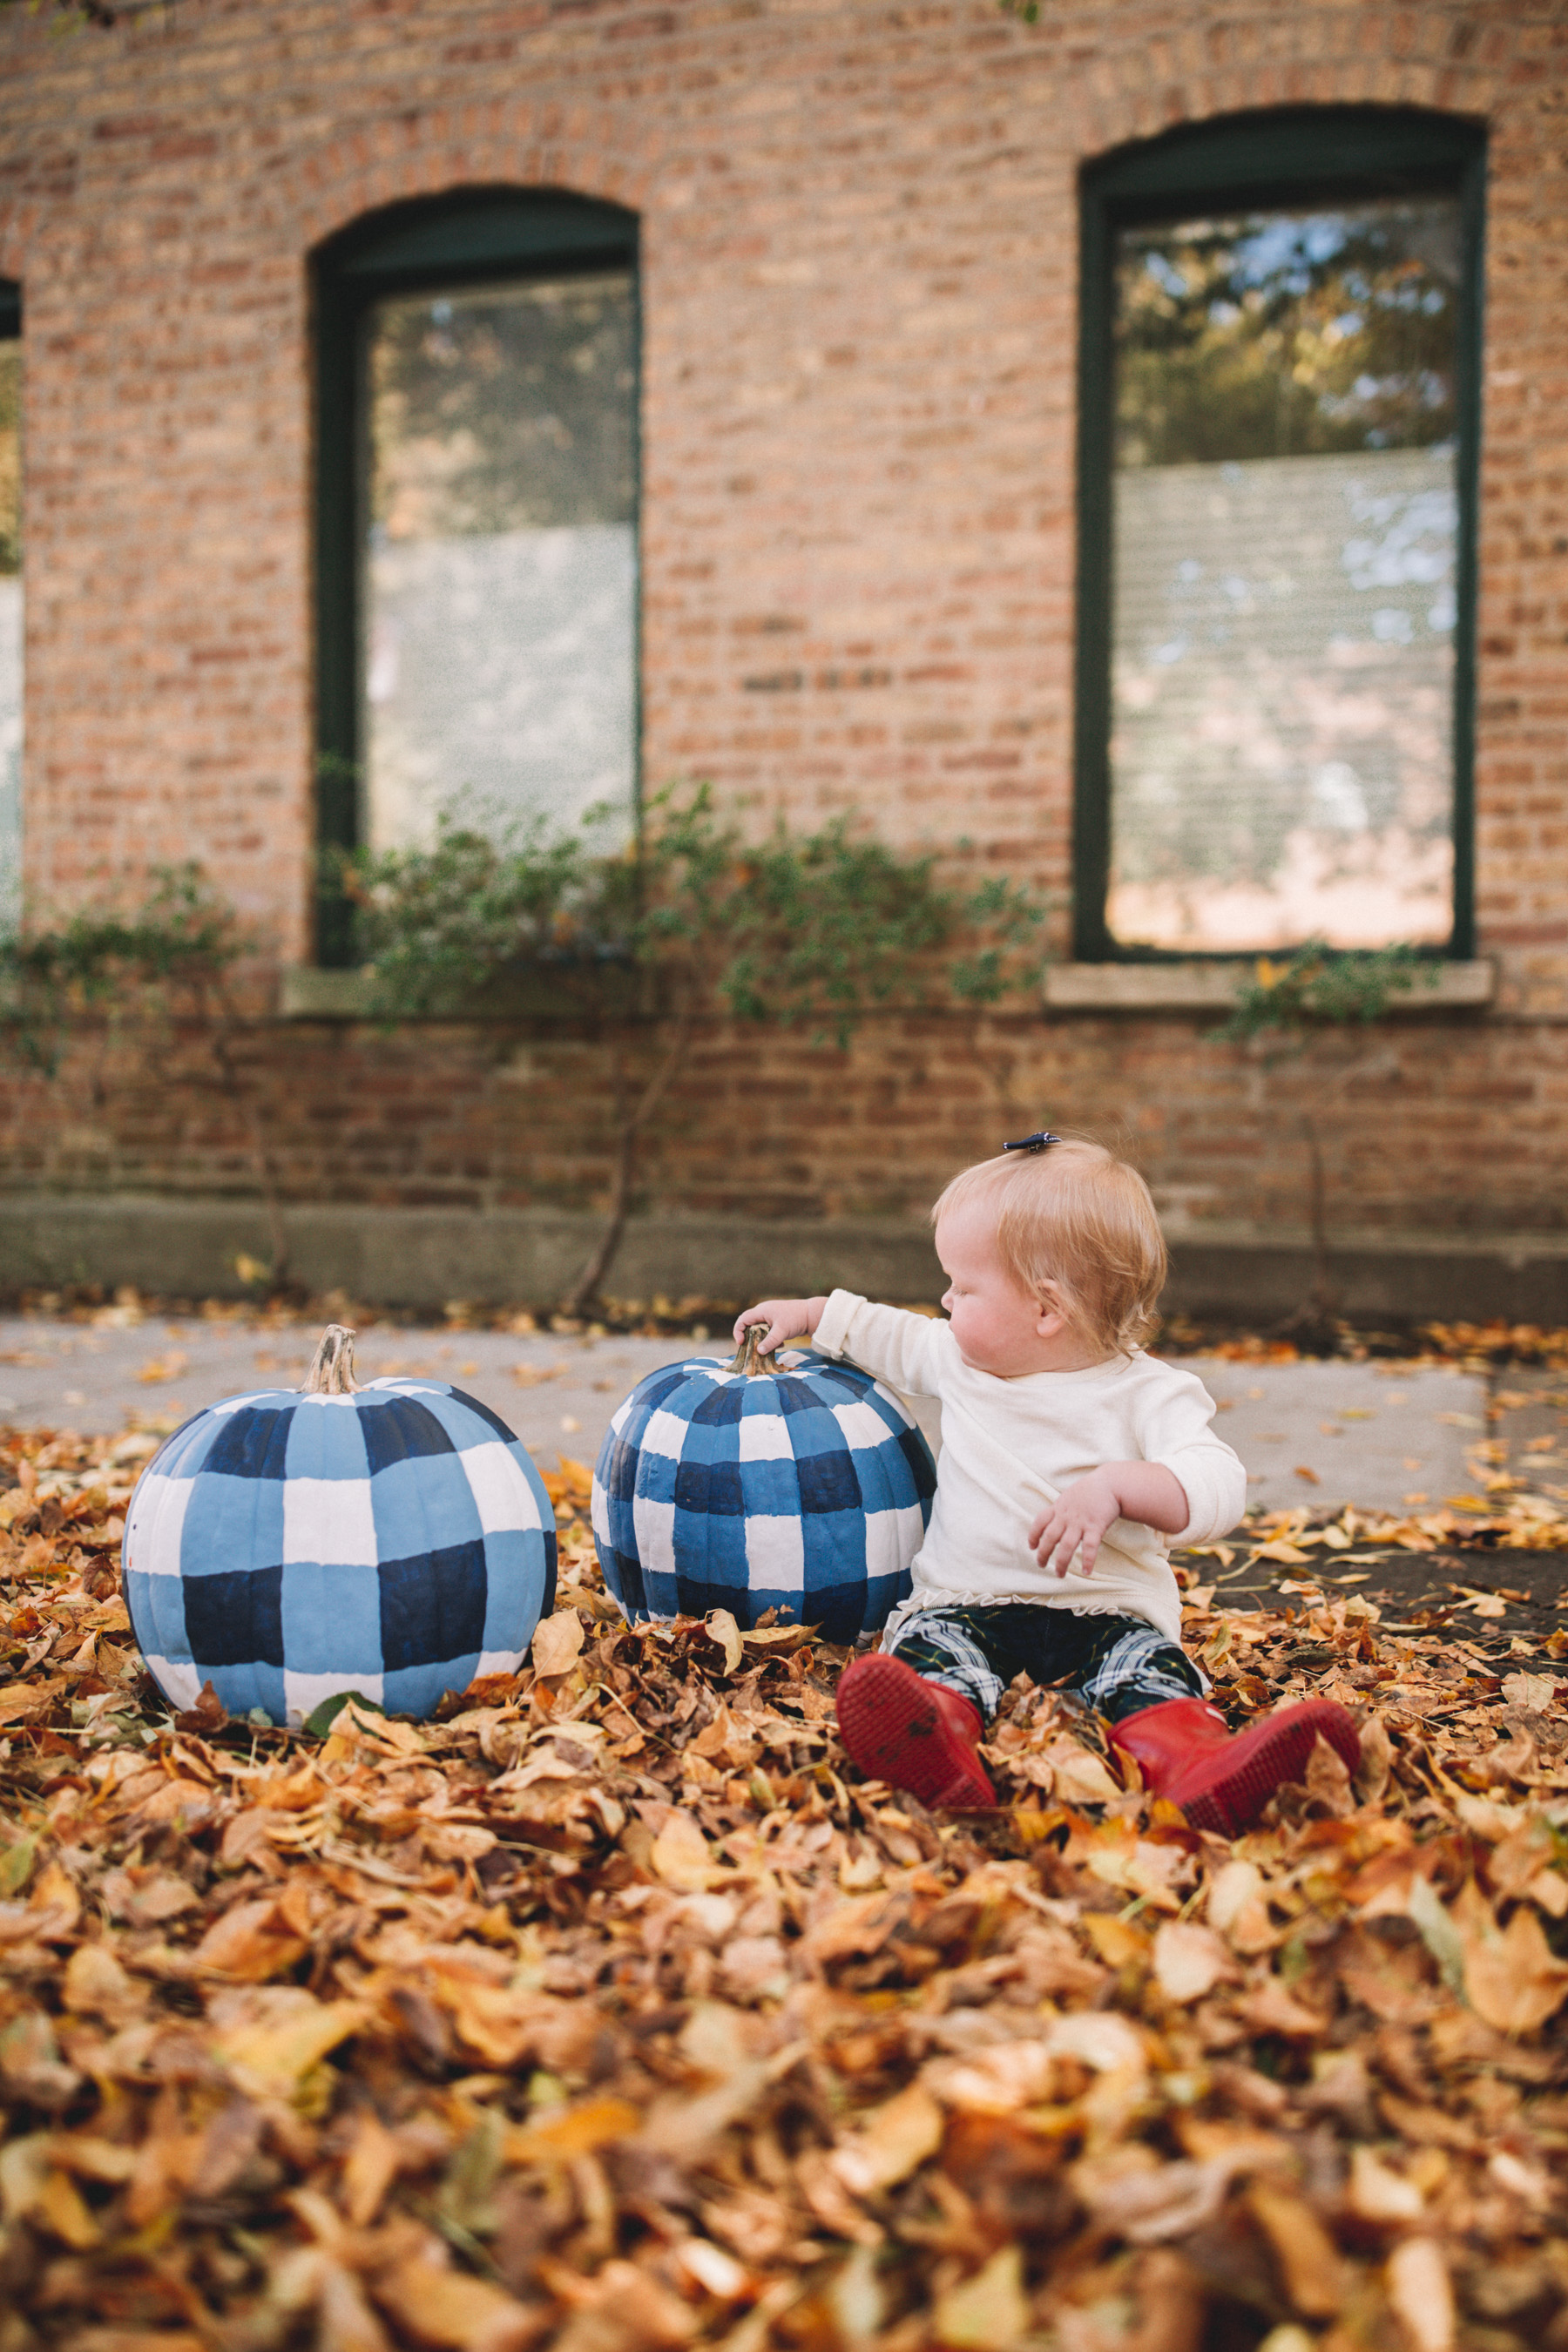
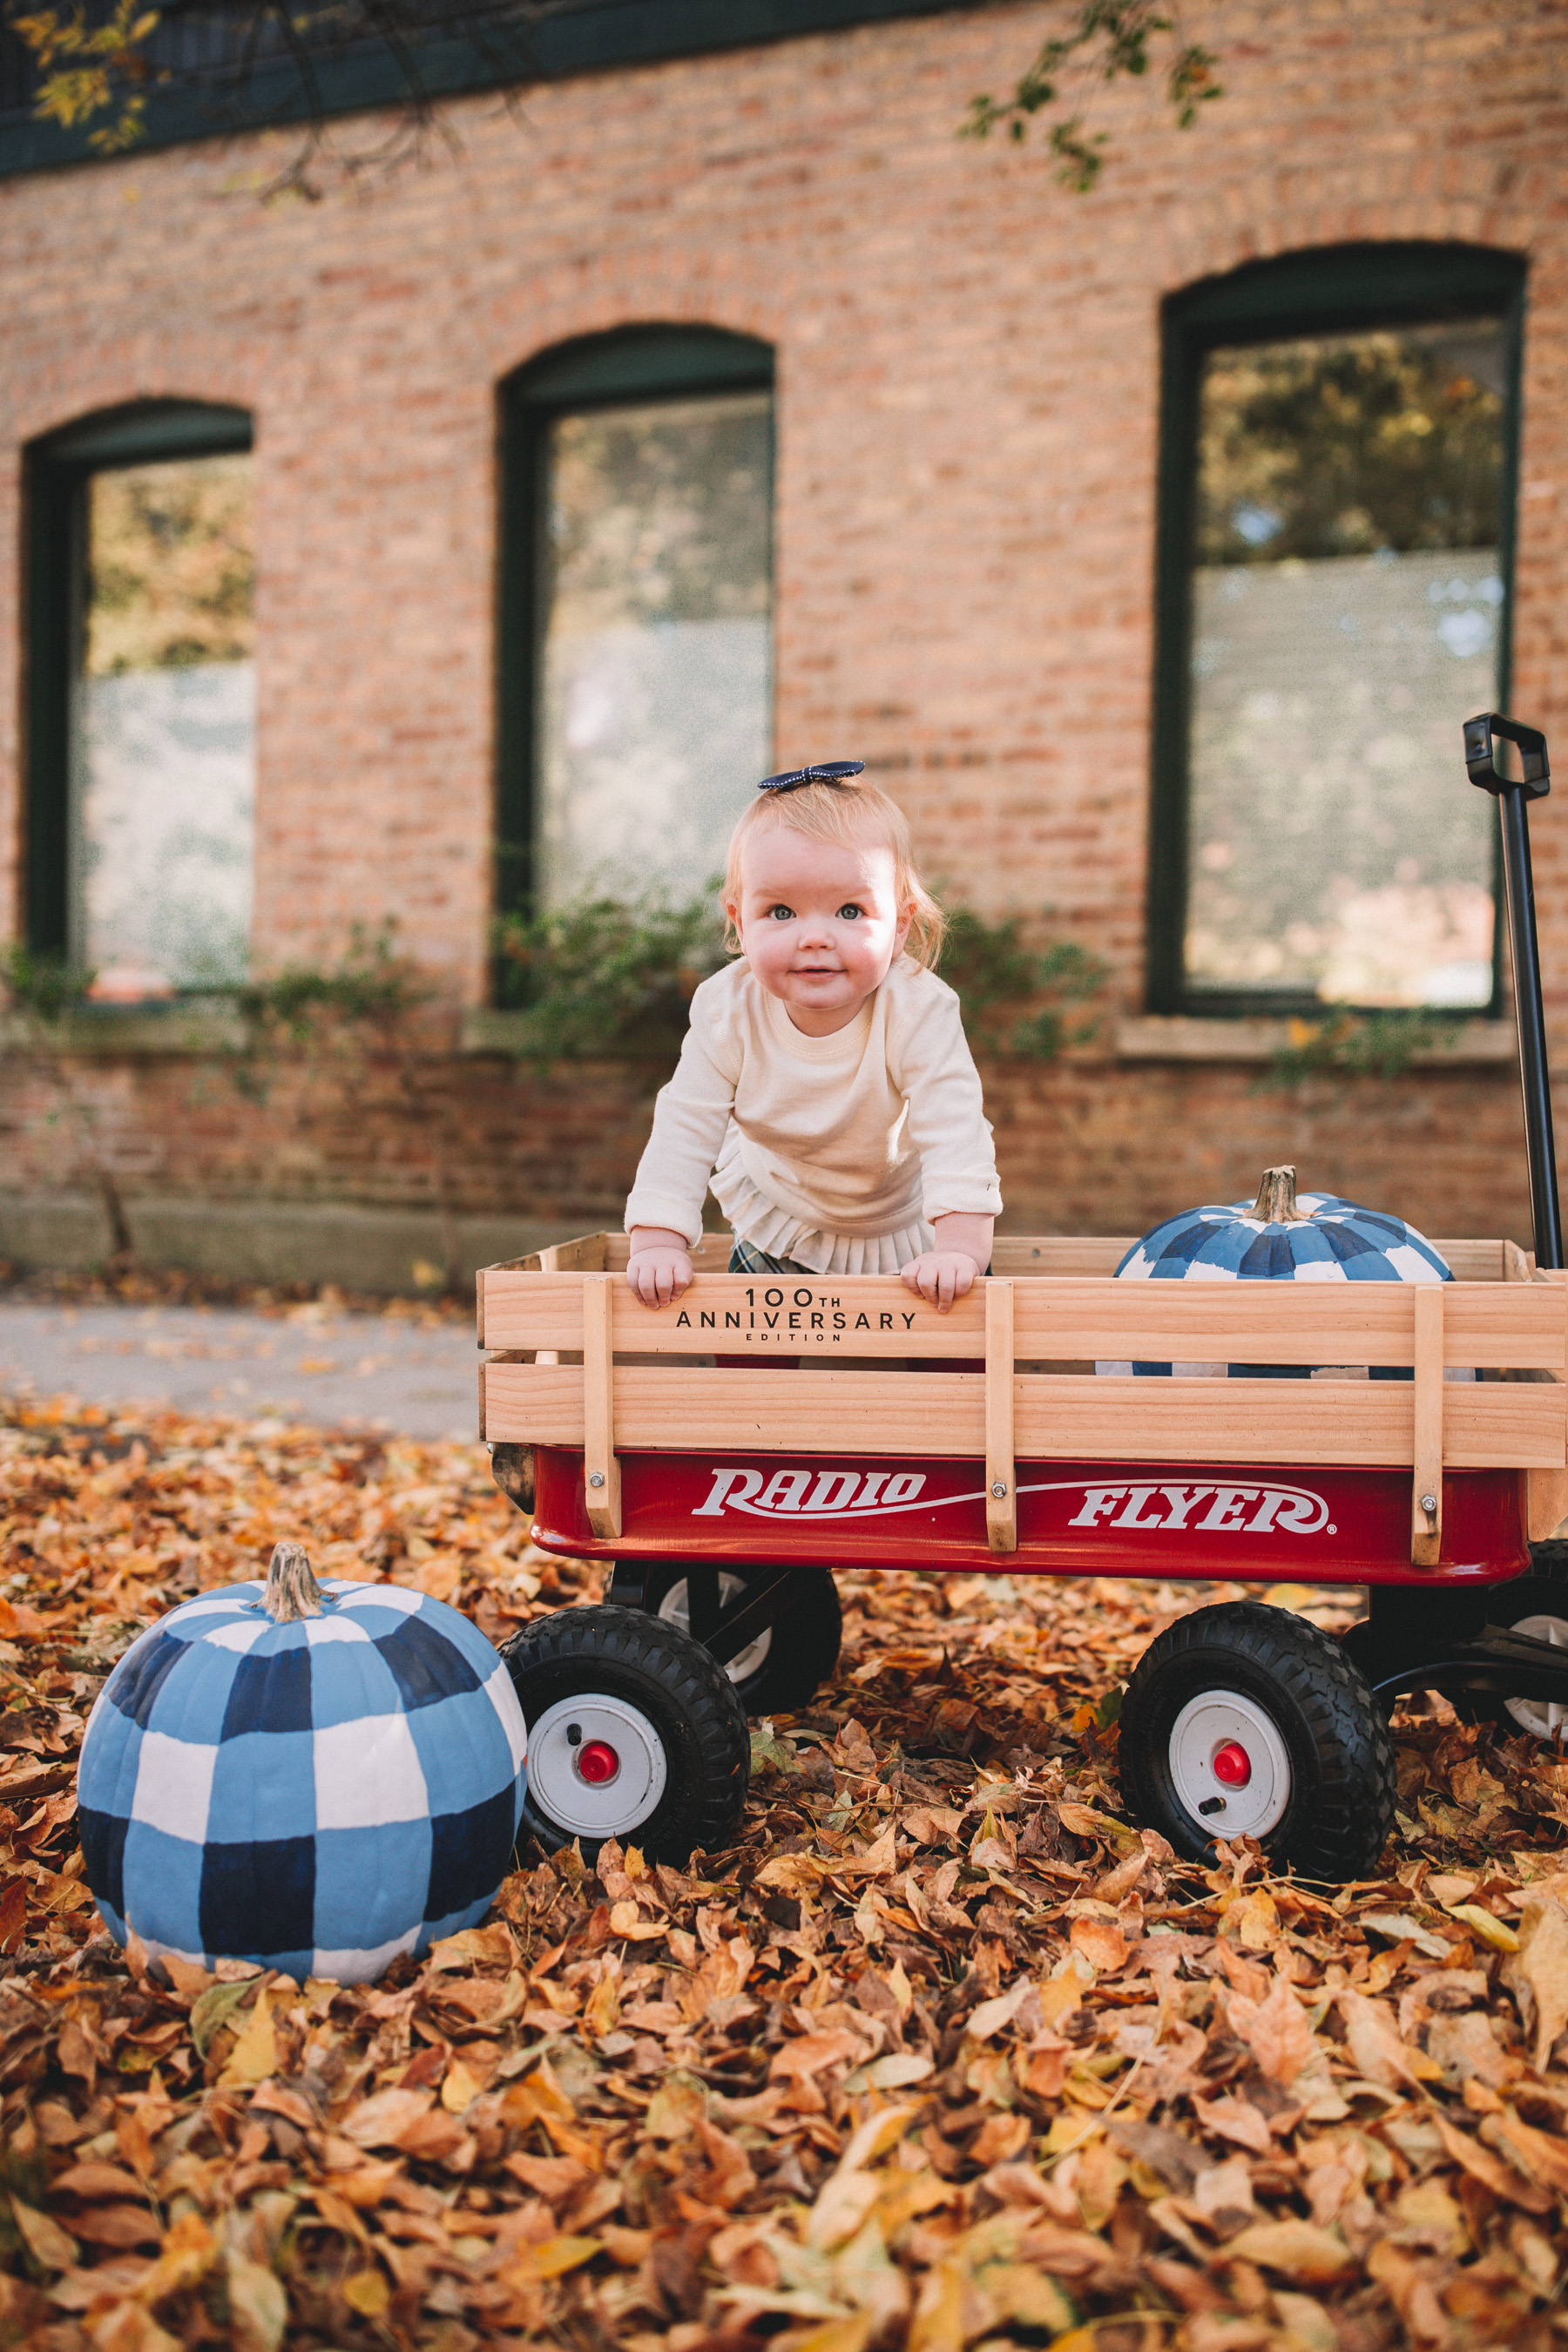
A few years ago, Mitch and I made gingham pumpkins and our photos started showing up all over the place! It was really fun. And since it’s somehow the middle of October already, I thought I’d re-publish my most-loved fall post, shot on our first block in Chicago. ♥️
Let us know if you have any questions; it’s pretty easy!
DIY Gingham Pumpkins Tutorial
Time: Approximately 1-2 hours with drying
Steps: 5
Materials:
- Pumpkins
- Drop cloth or newspaper
- Paper plates or cardboard
- White paint (Acrylic is best, but we actually used Behr house paint since we had it laying around. Ha! Worked fine.)
- Navy paint
- Paintbrushes
Step One
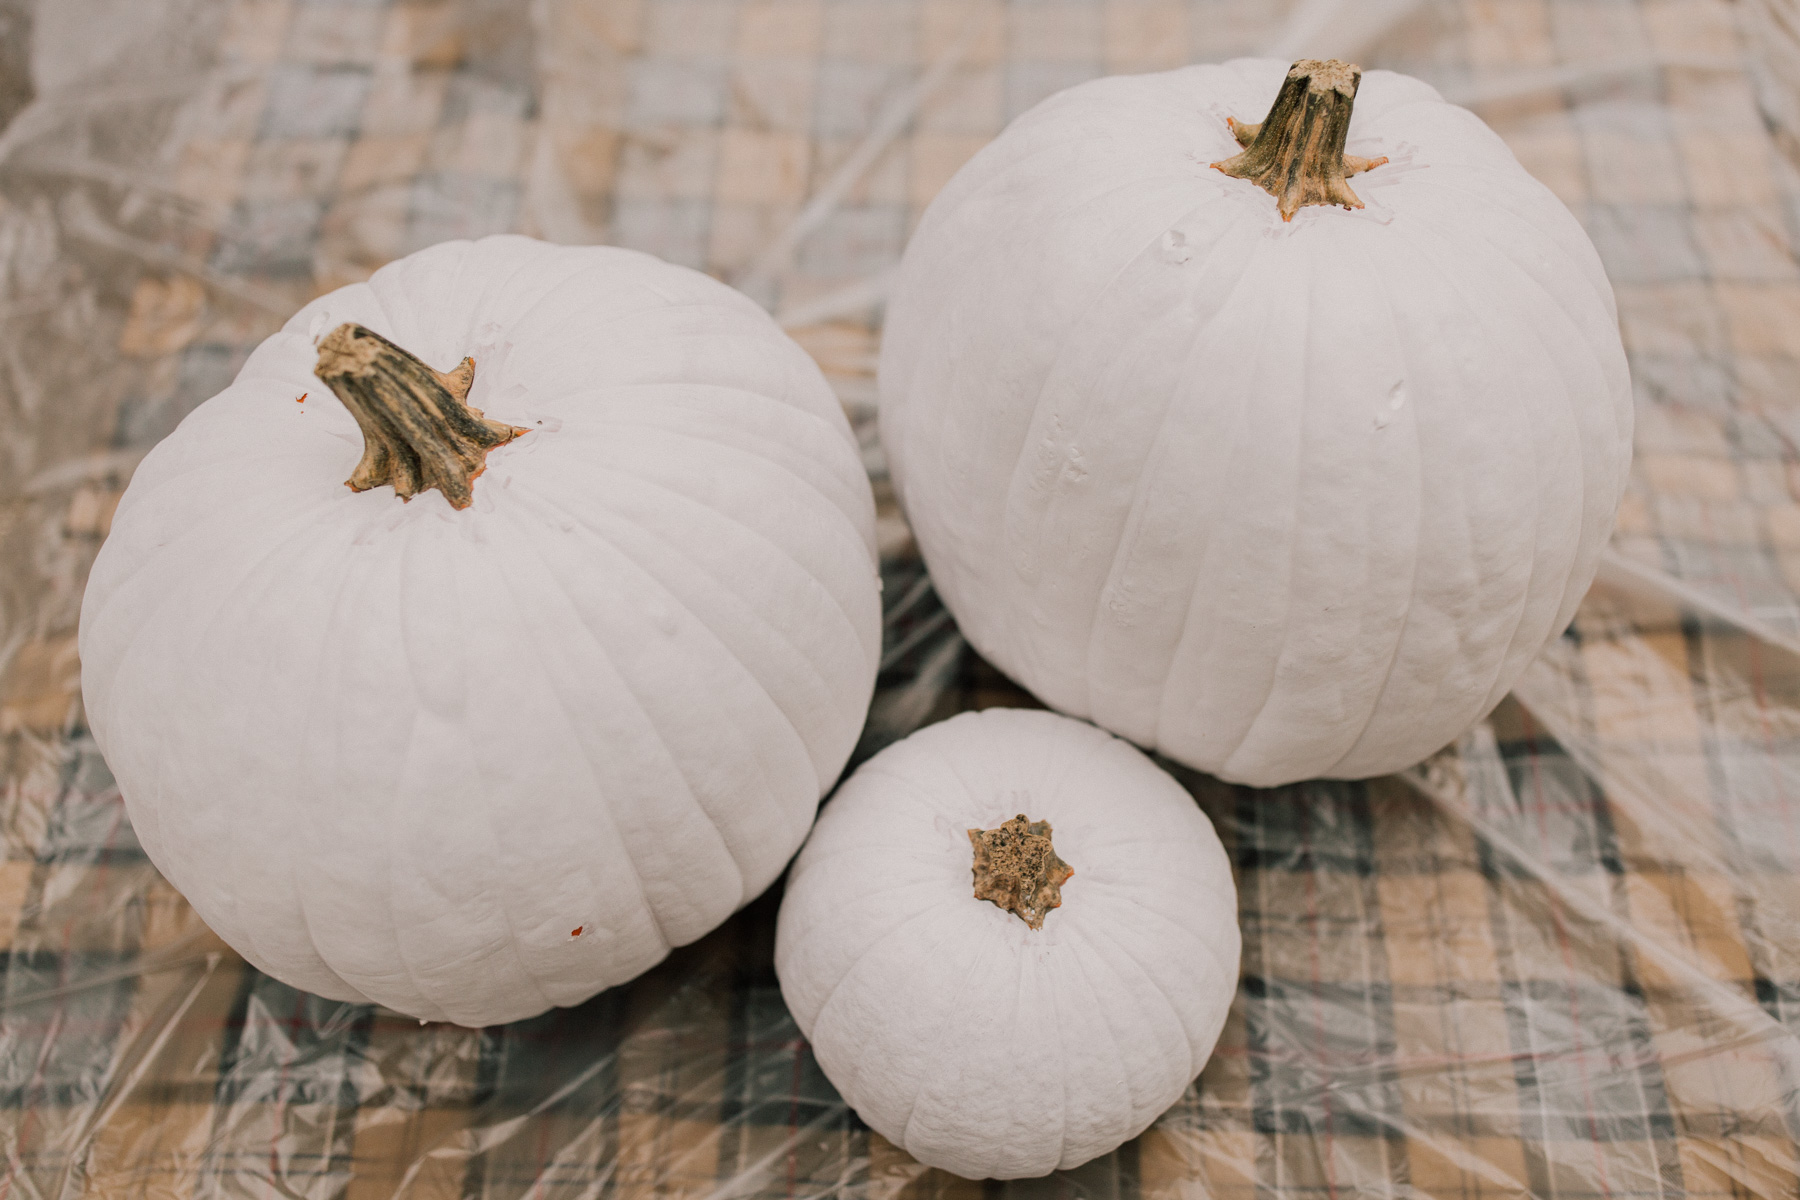
Start by painting the pumpkin white. We used Behr paint only because we happened to have it in our back room. (Worked great.) Our pumpkins took two coats.
Let dry.
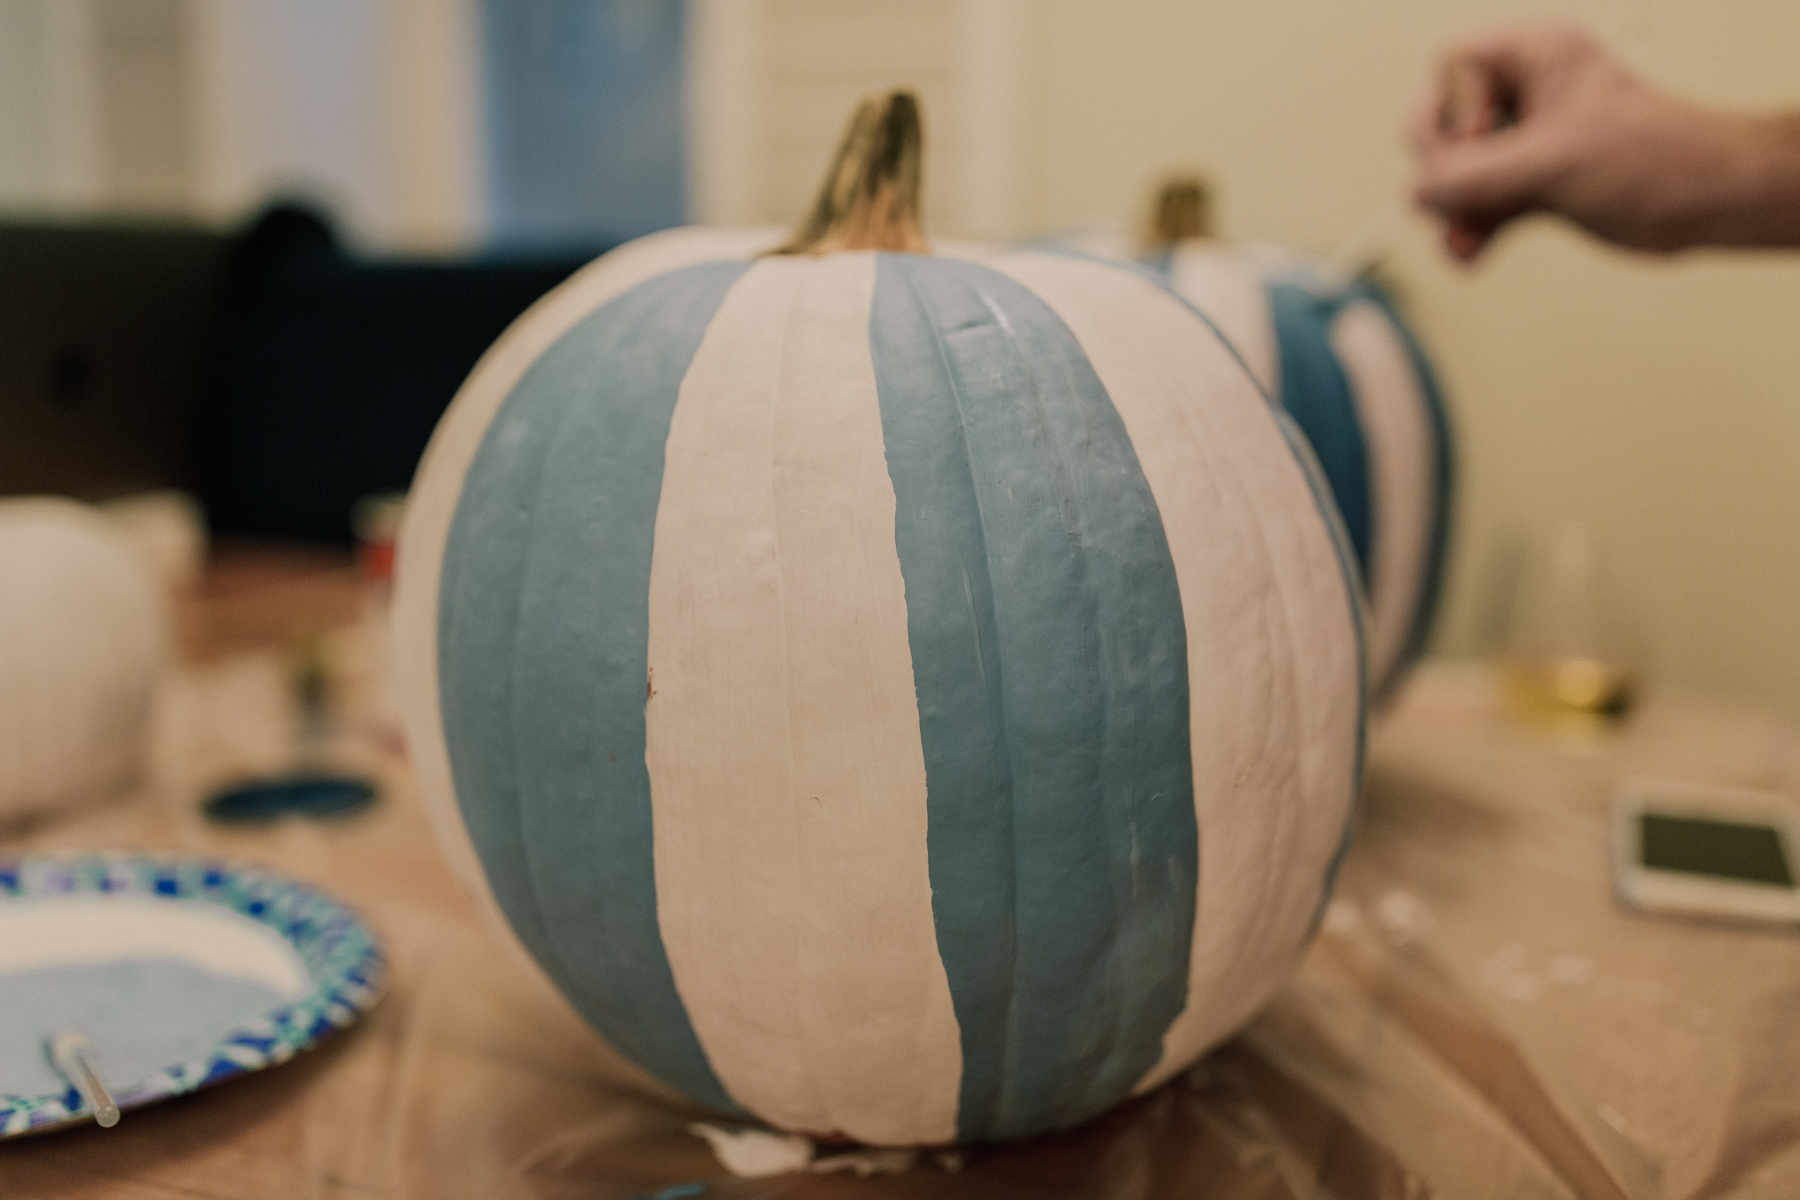
Step Two
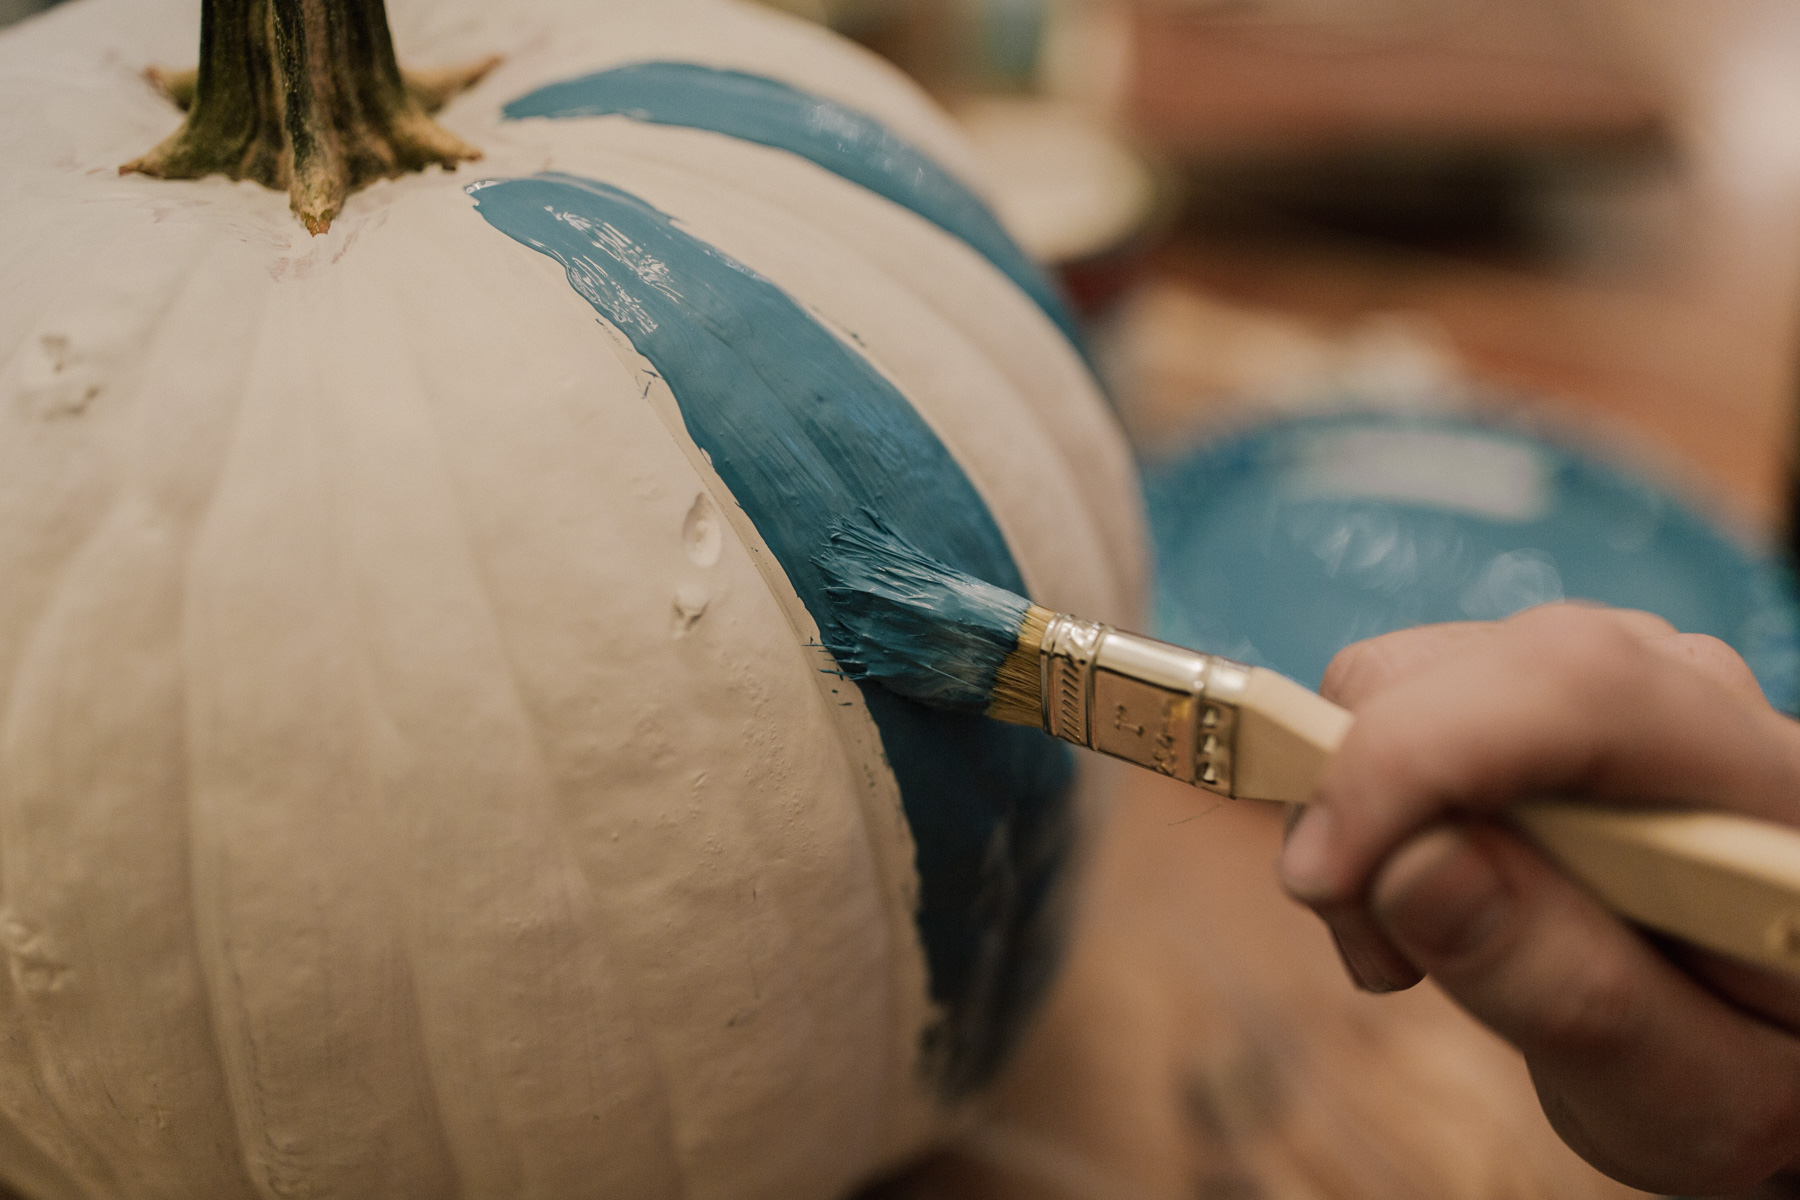
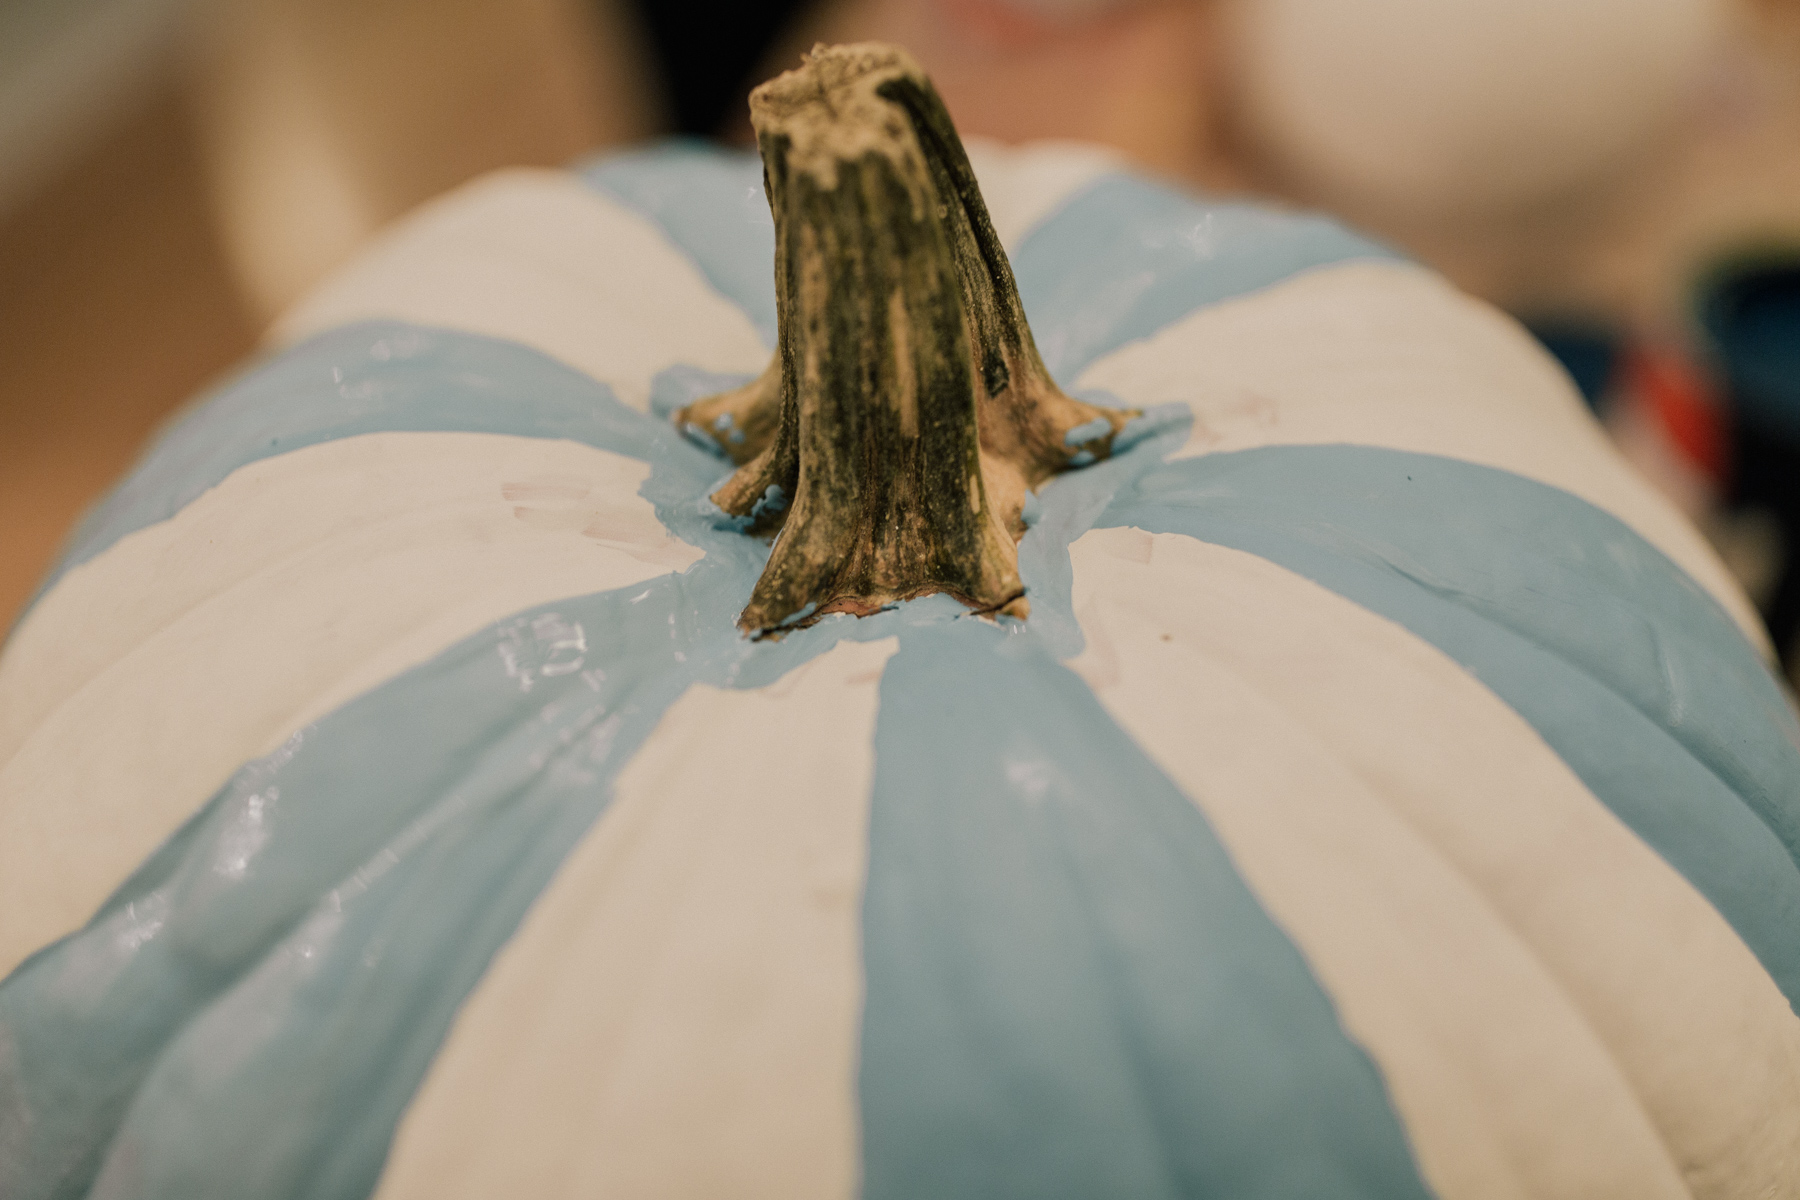
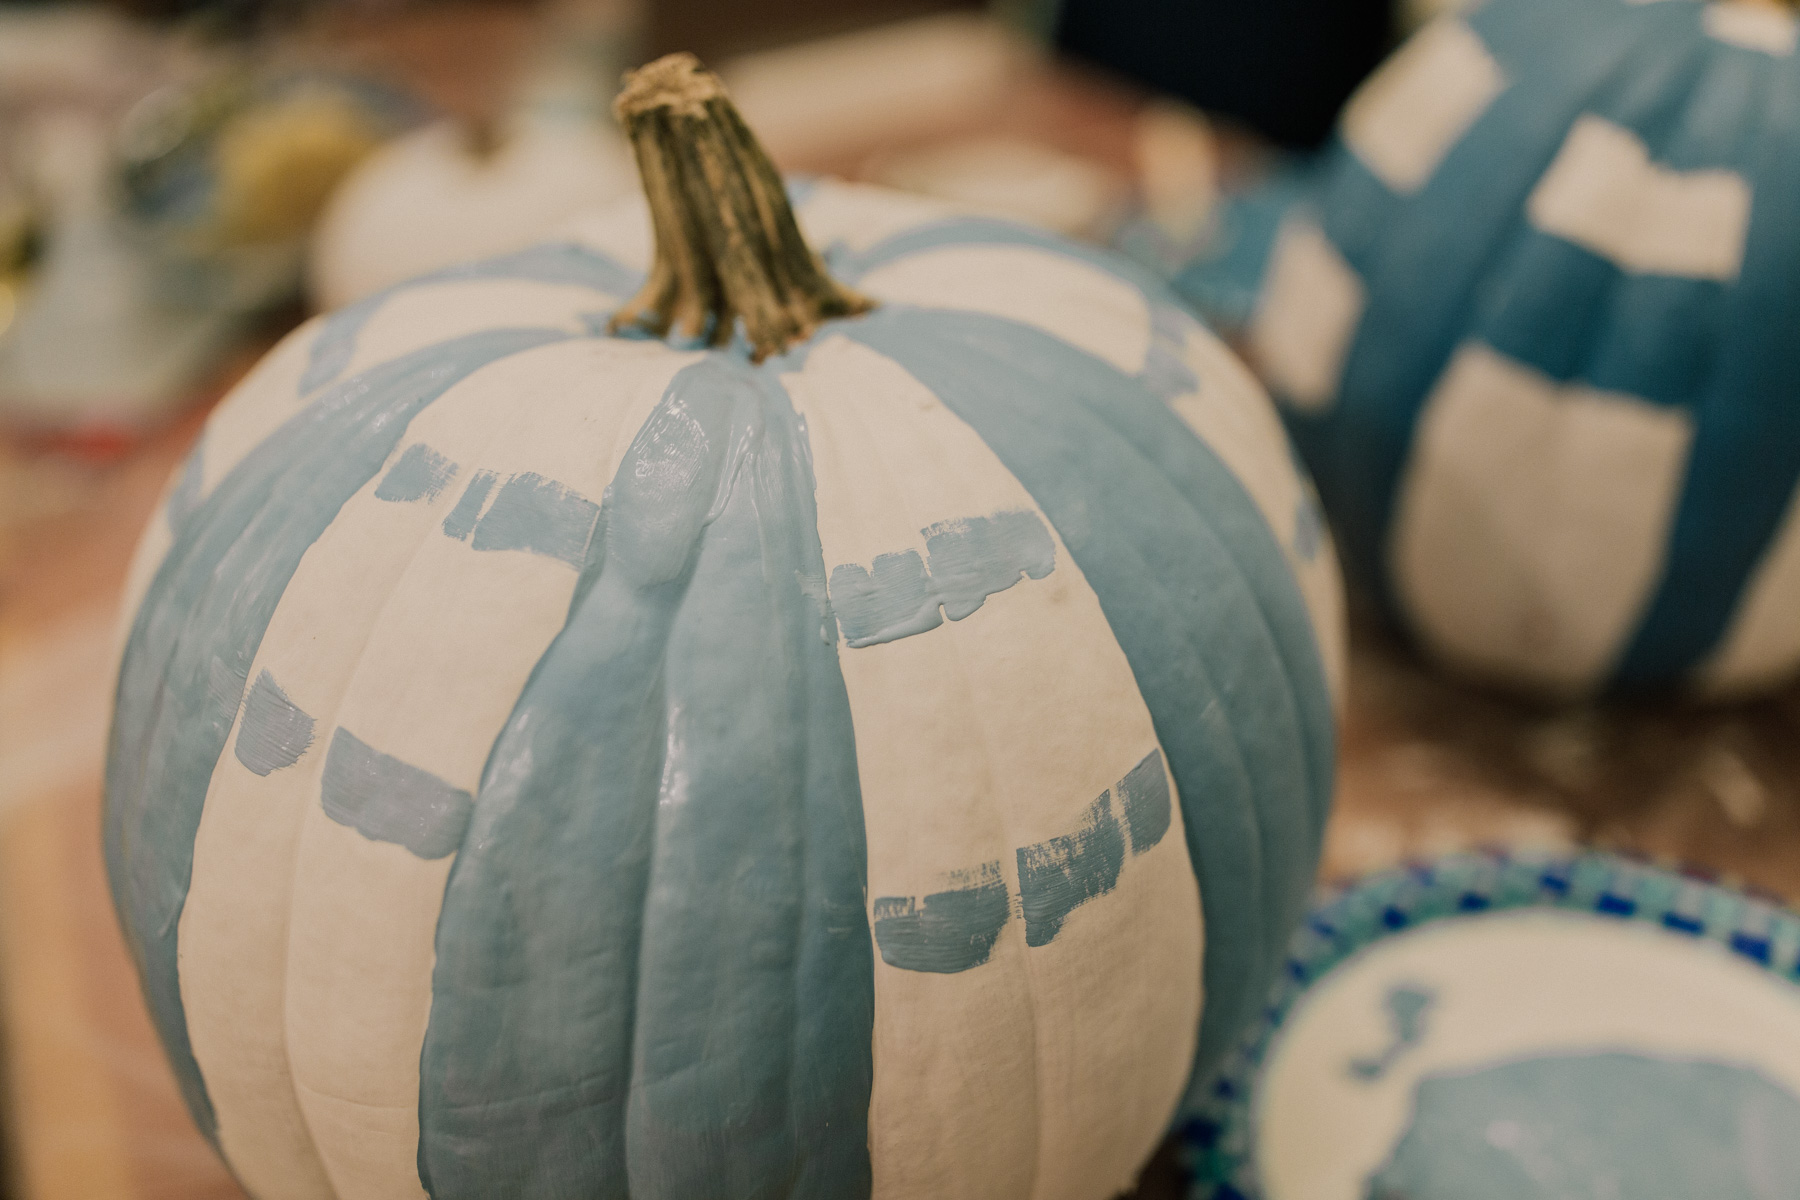
On a palette or paper plate, mix the white and navy paint to to create your desired light blue shade. Then paint vertical stripes following the natural lines of the pumpkin. These lines are narrowest at the top and widest in the middle.
Let dry.
Step Three
Paint a small border around the jagged areas around the stem.
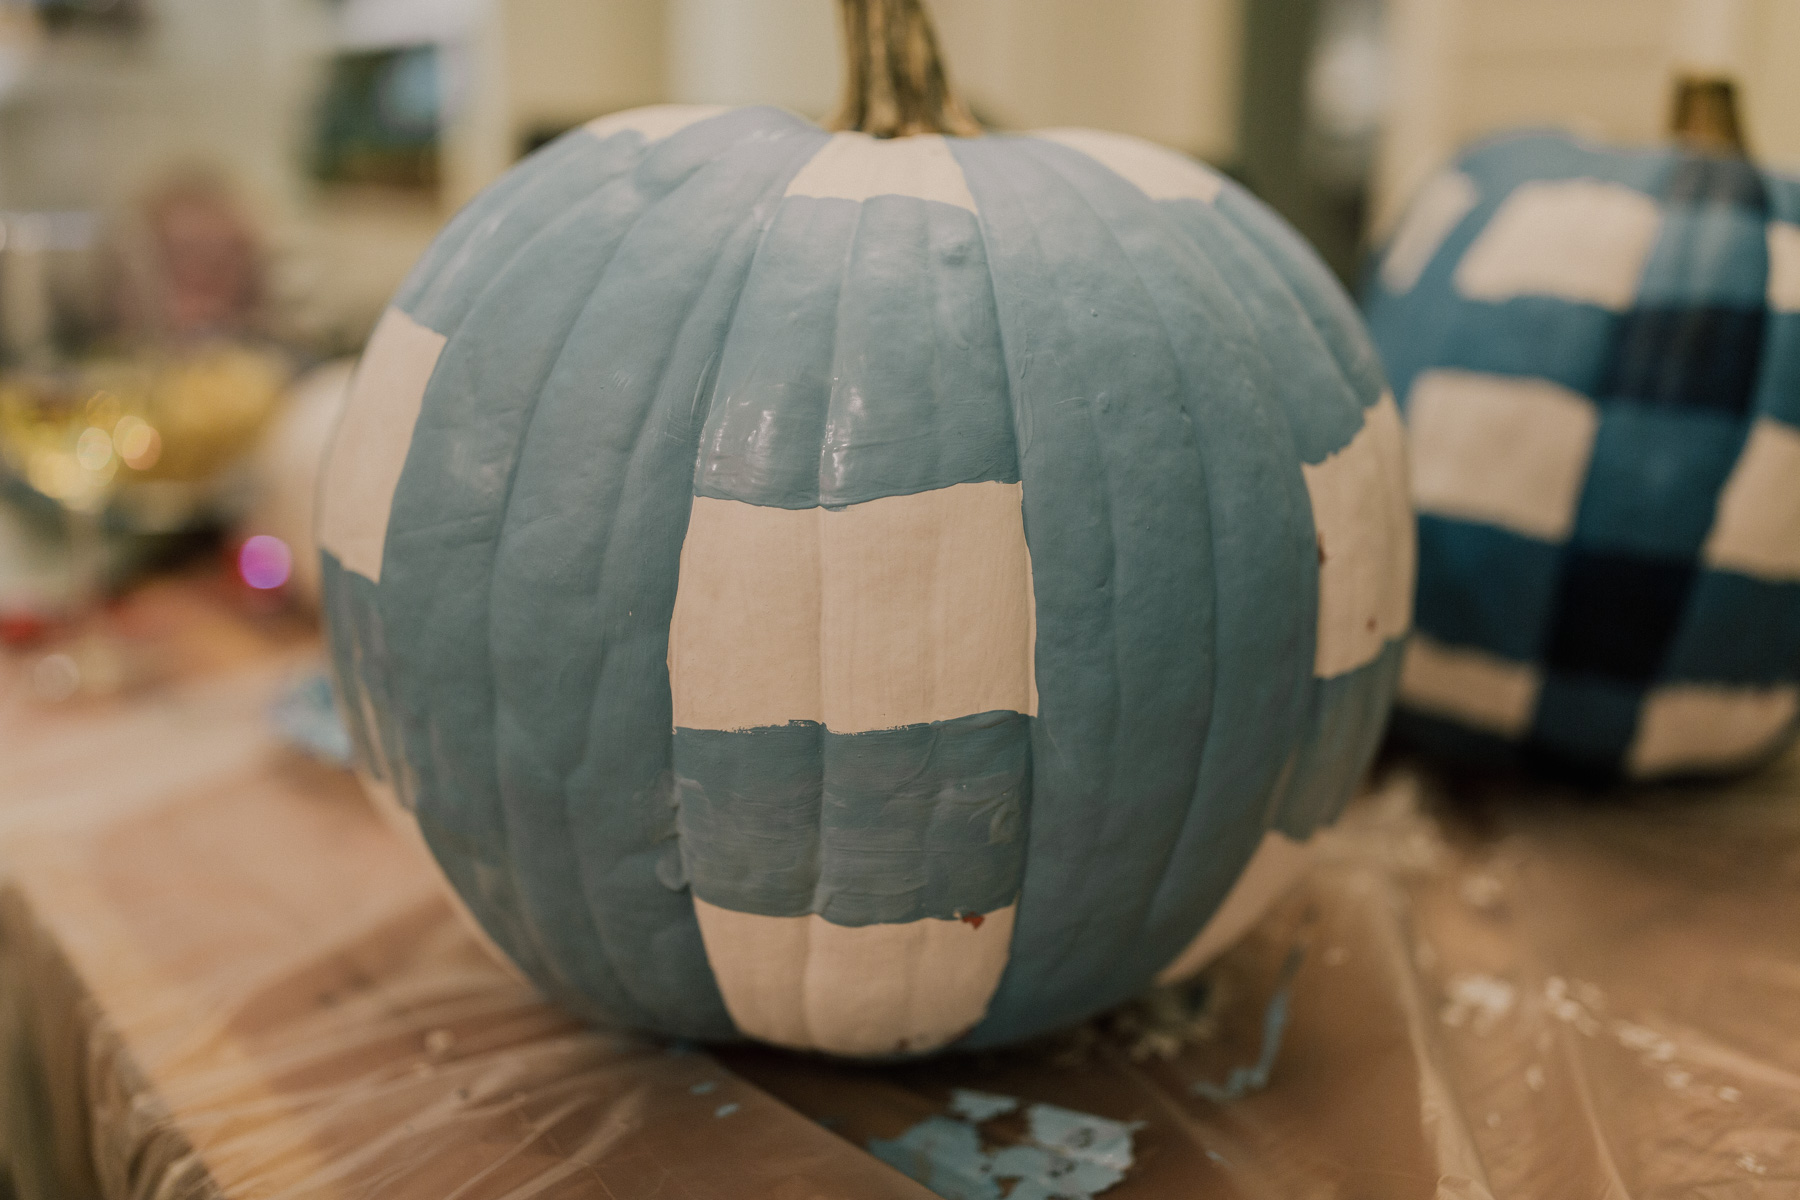
Step Four
Paint horizontal stripes by filling in the gaps between the vertical lines. Some measurement may be required to keep the lines a consistent width.
Let dry.
Step Five
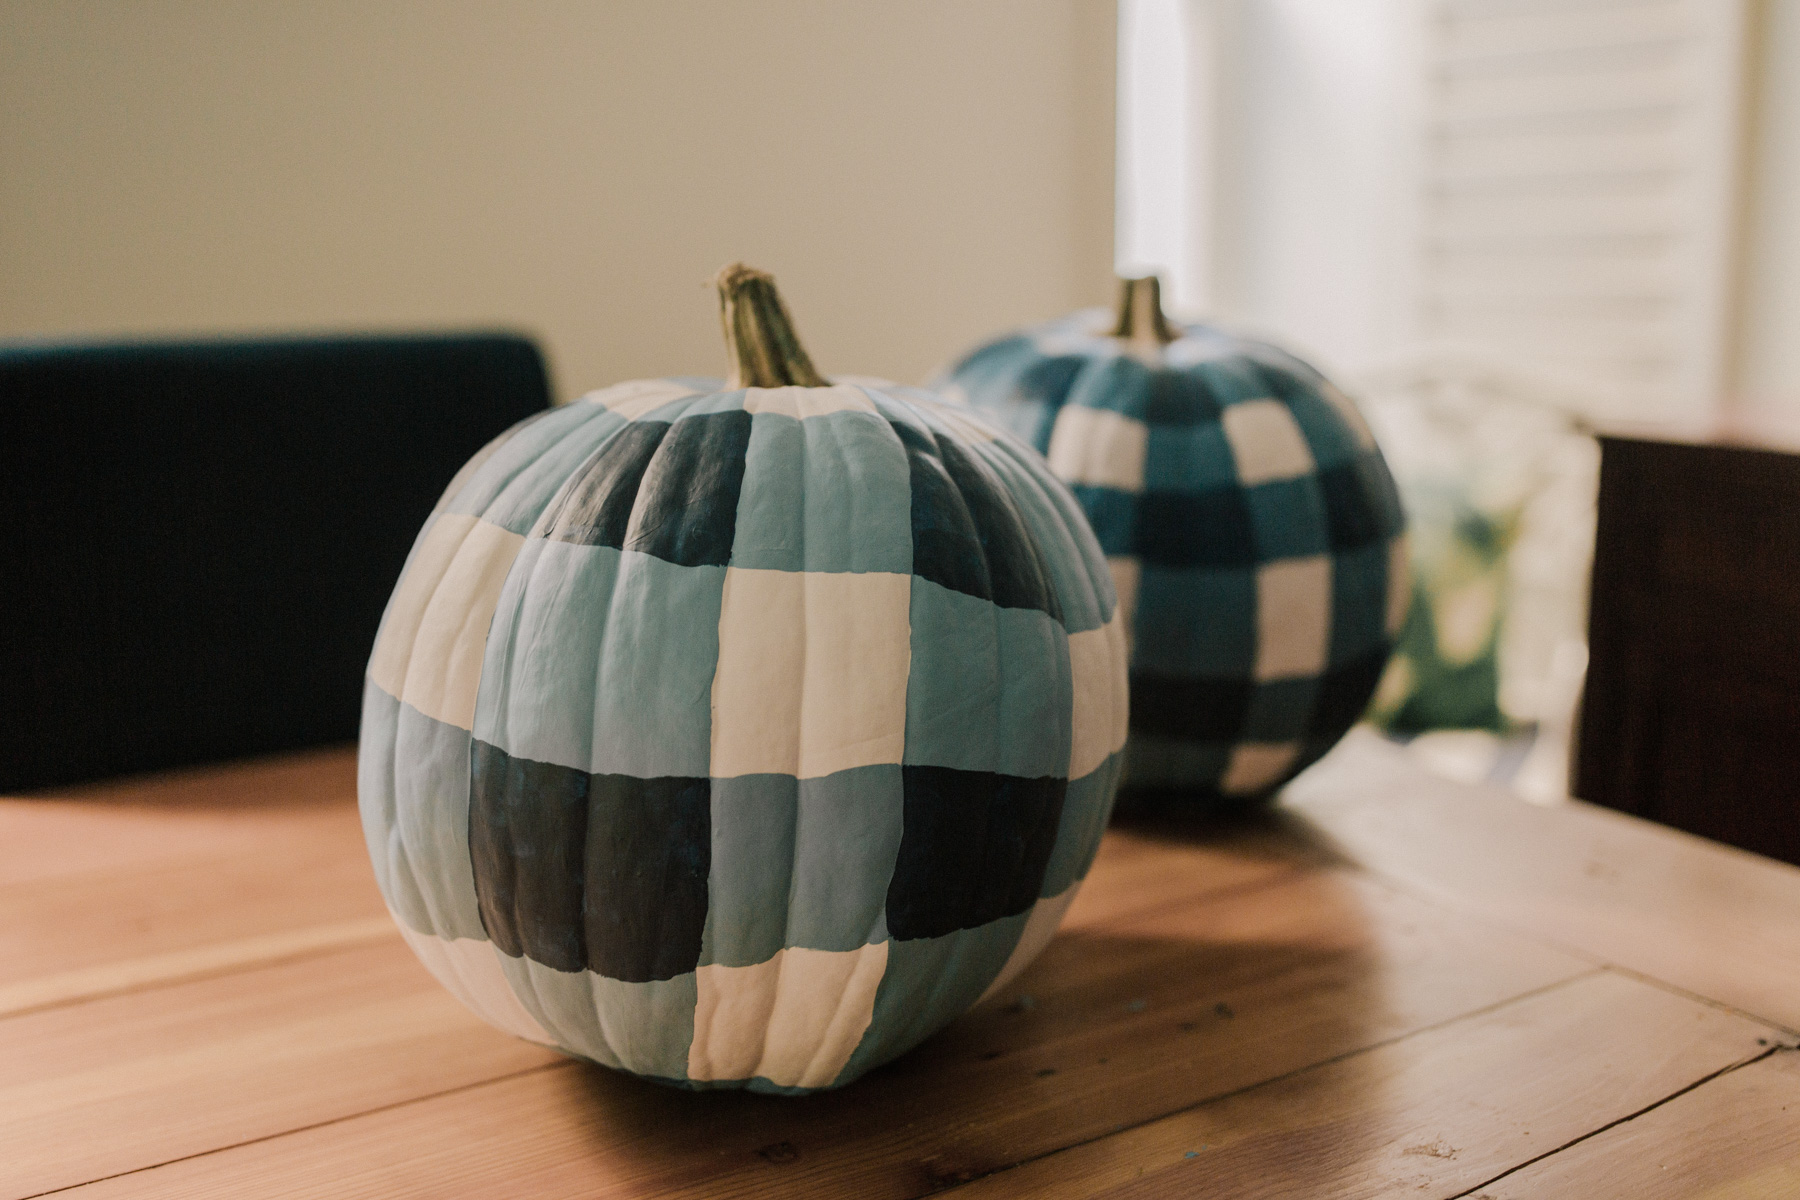
Darken the areas where the vertical and horizontal lines intersect.
Let dry.
Aaaand you’ve done it!





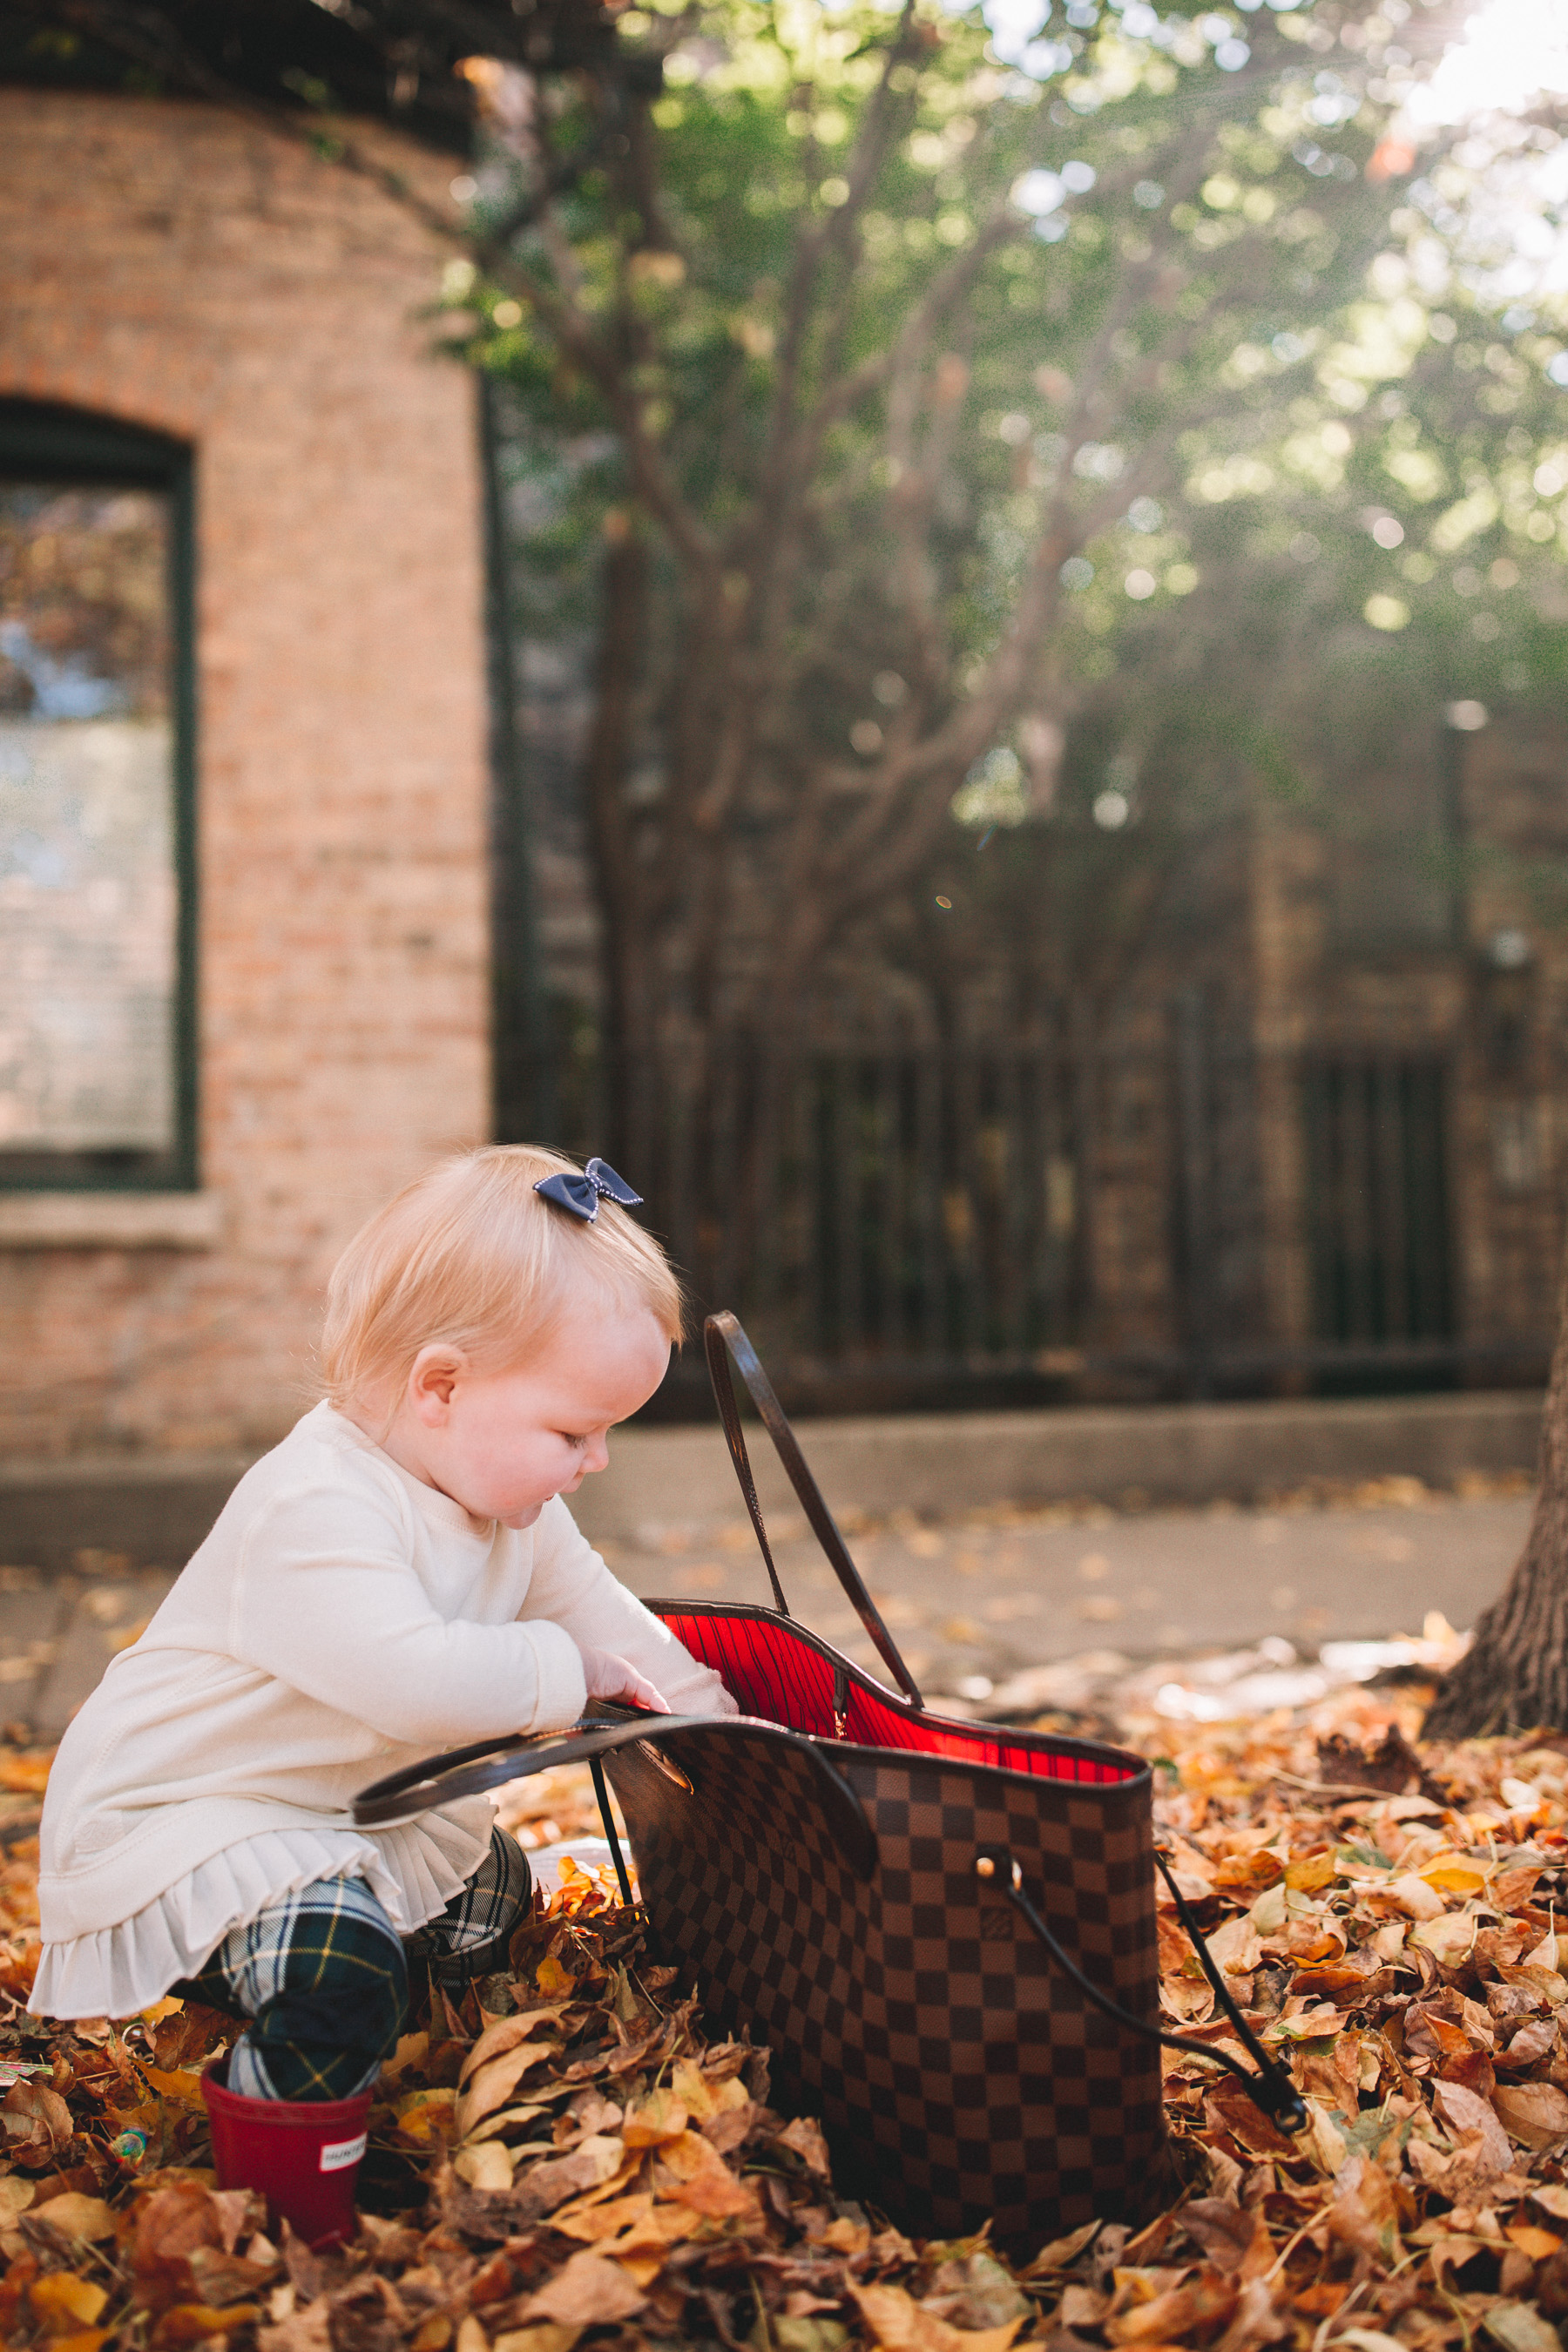

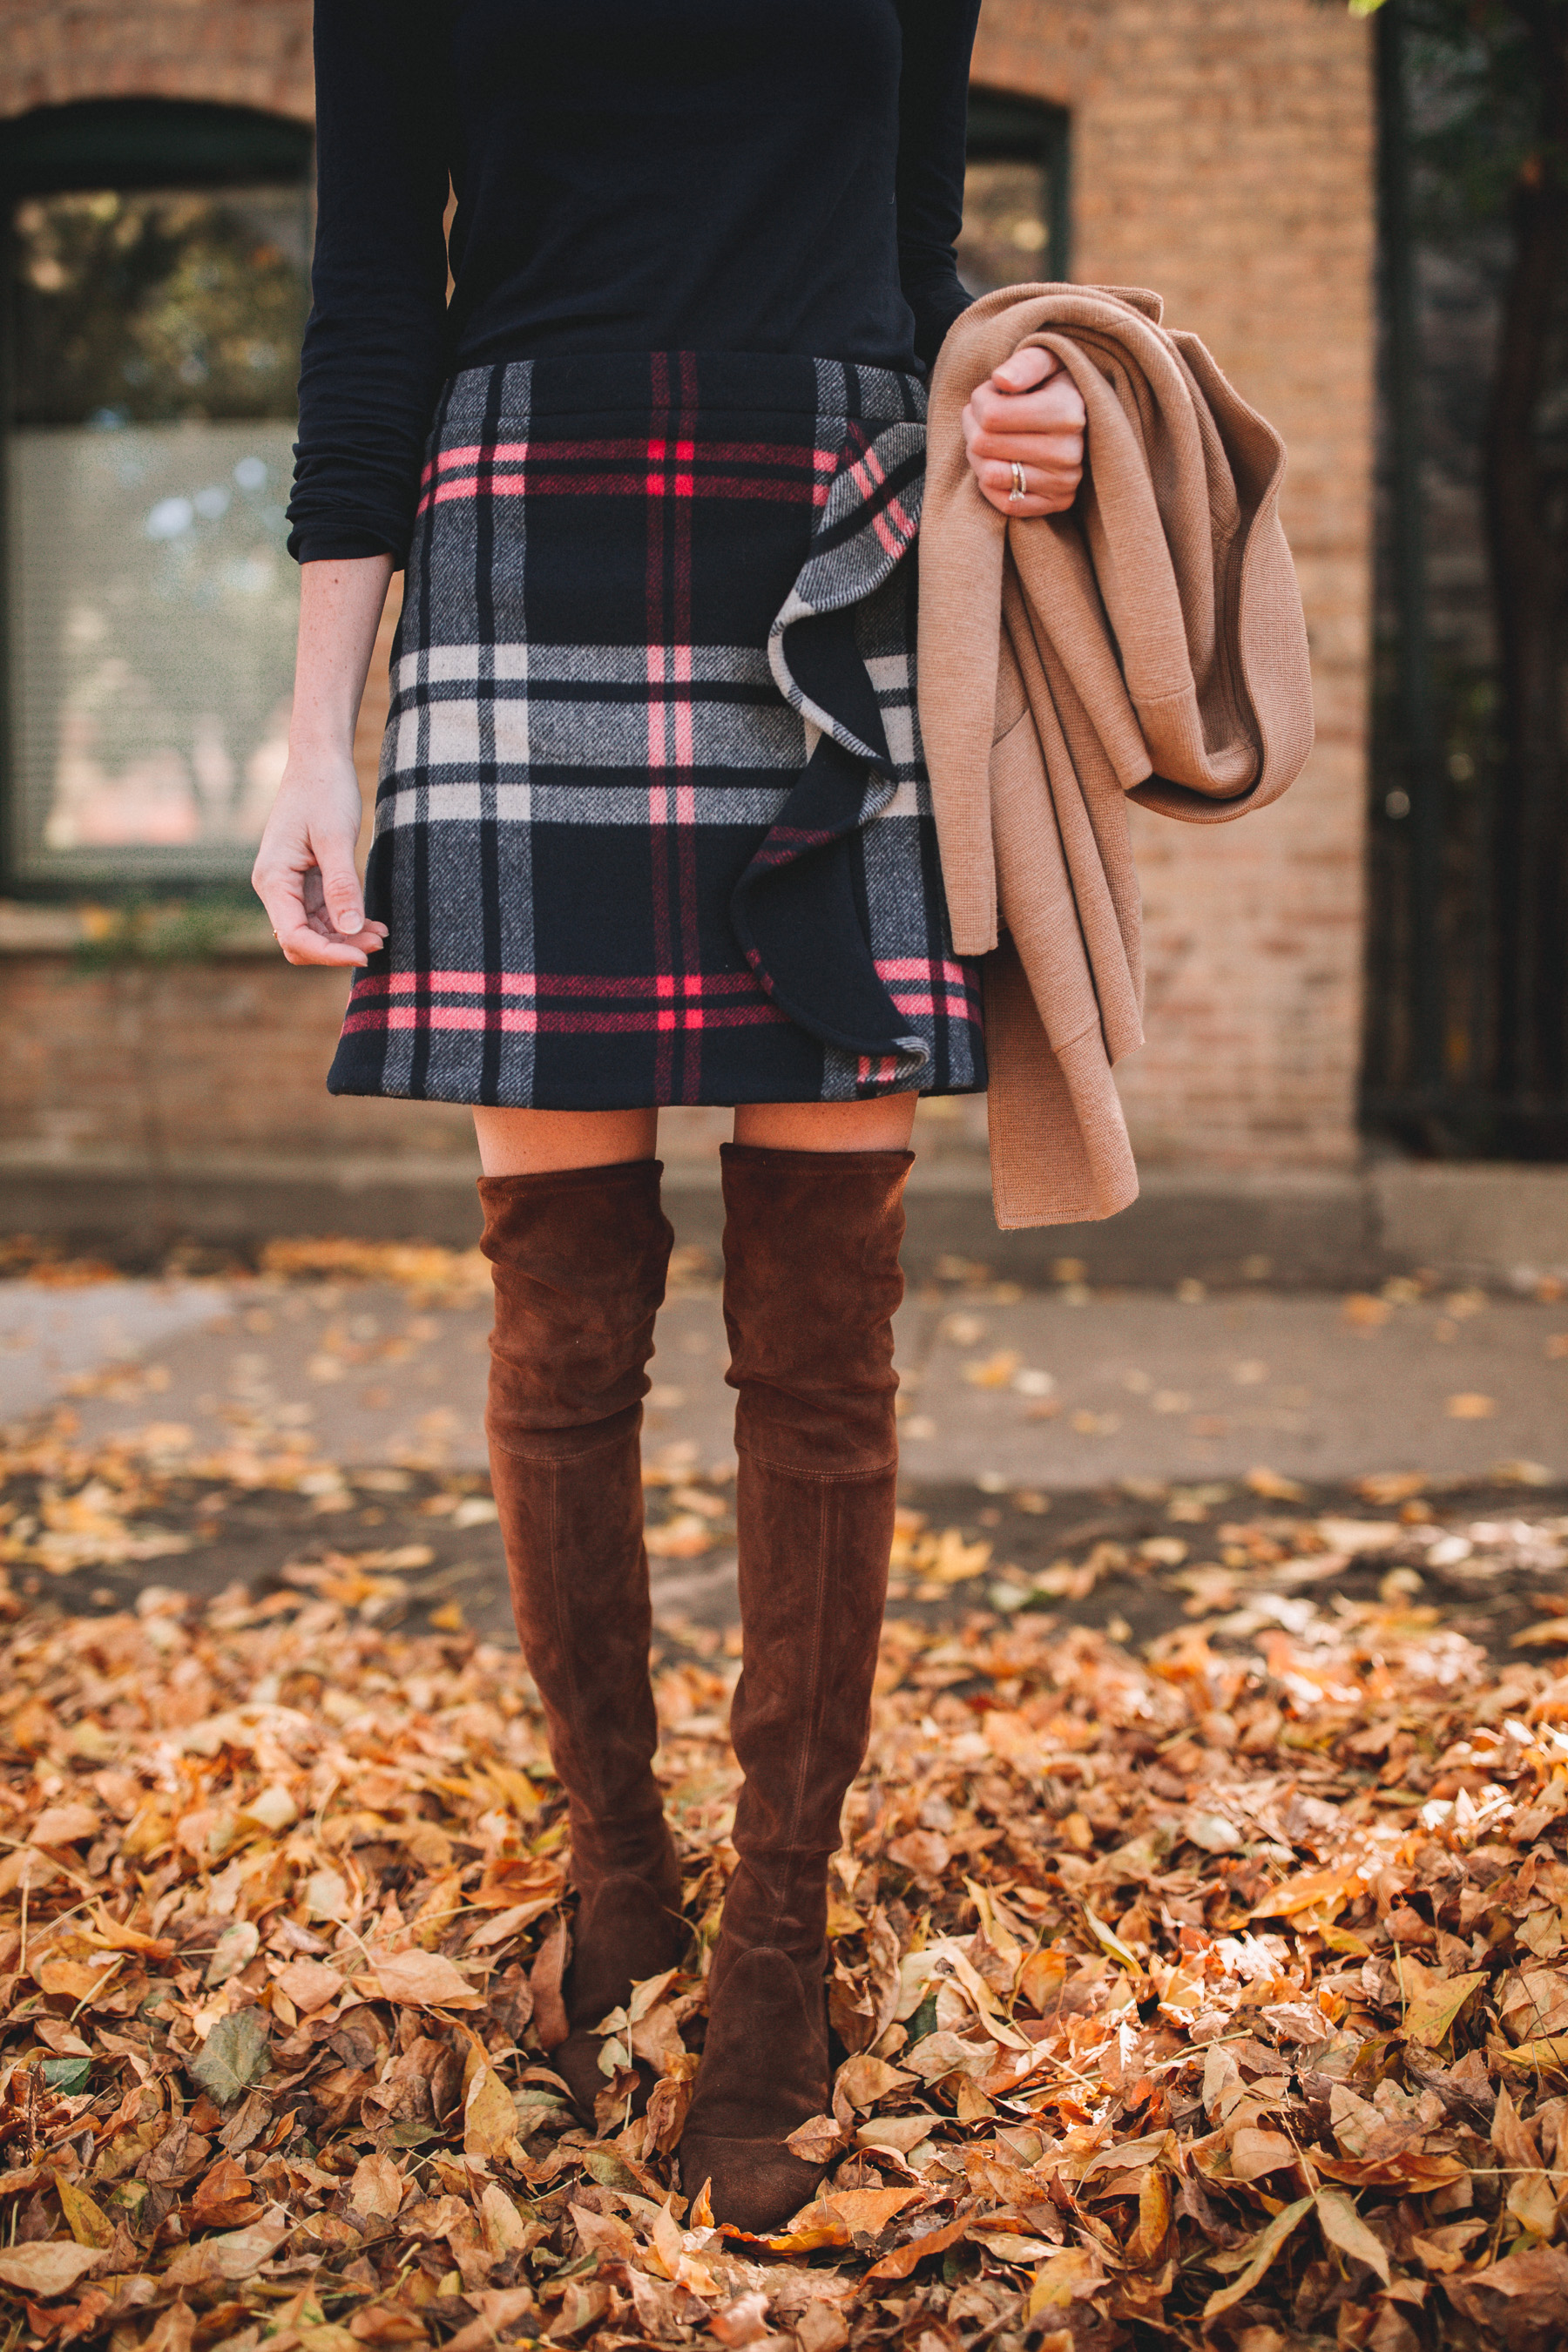
Shop the post:
Materials:
Pumpkins / Drop cloth or newspaper / Paper plates or cardboard / White paint (Acrylic is best, but we actually used Behr house paint since we had it laying around. Ha! Worked fine.) / Navy paint / Paintbrushes
Clothing:
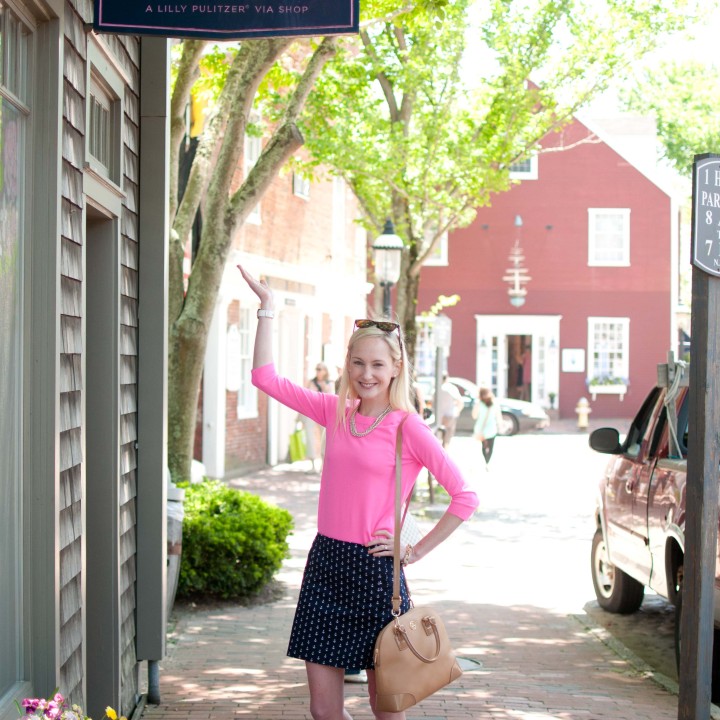
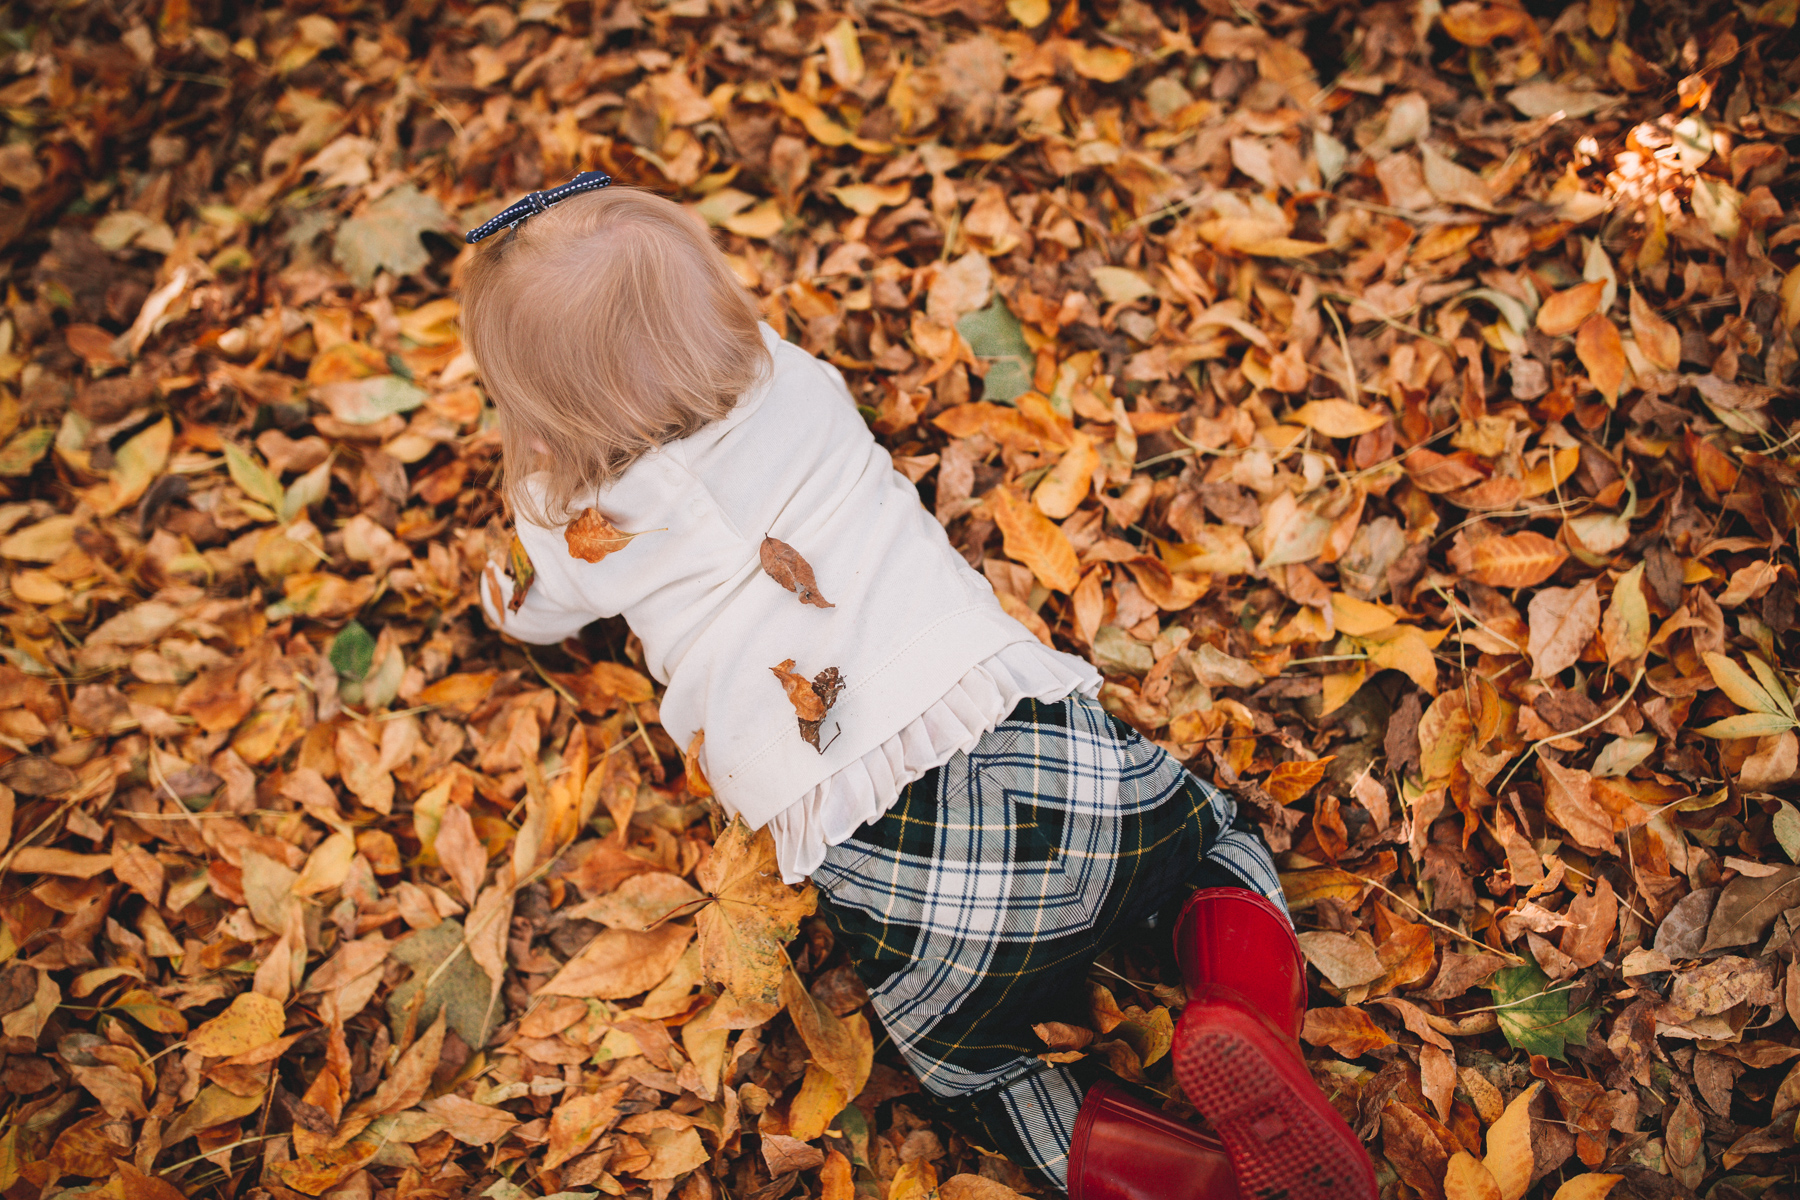
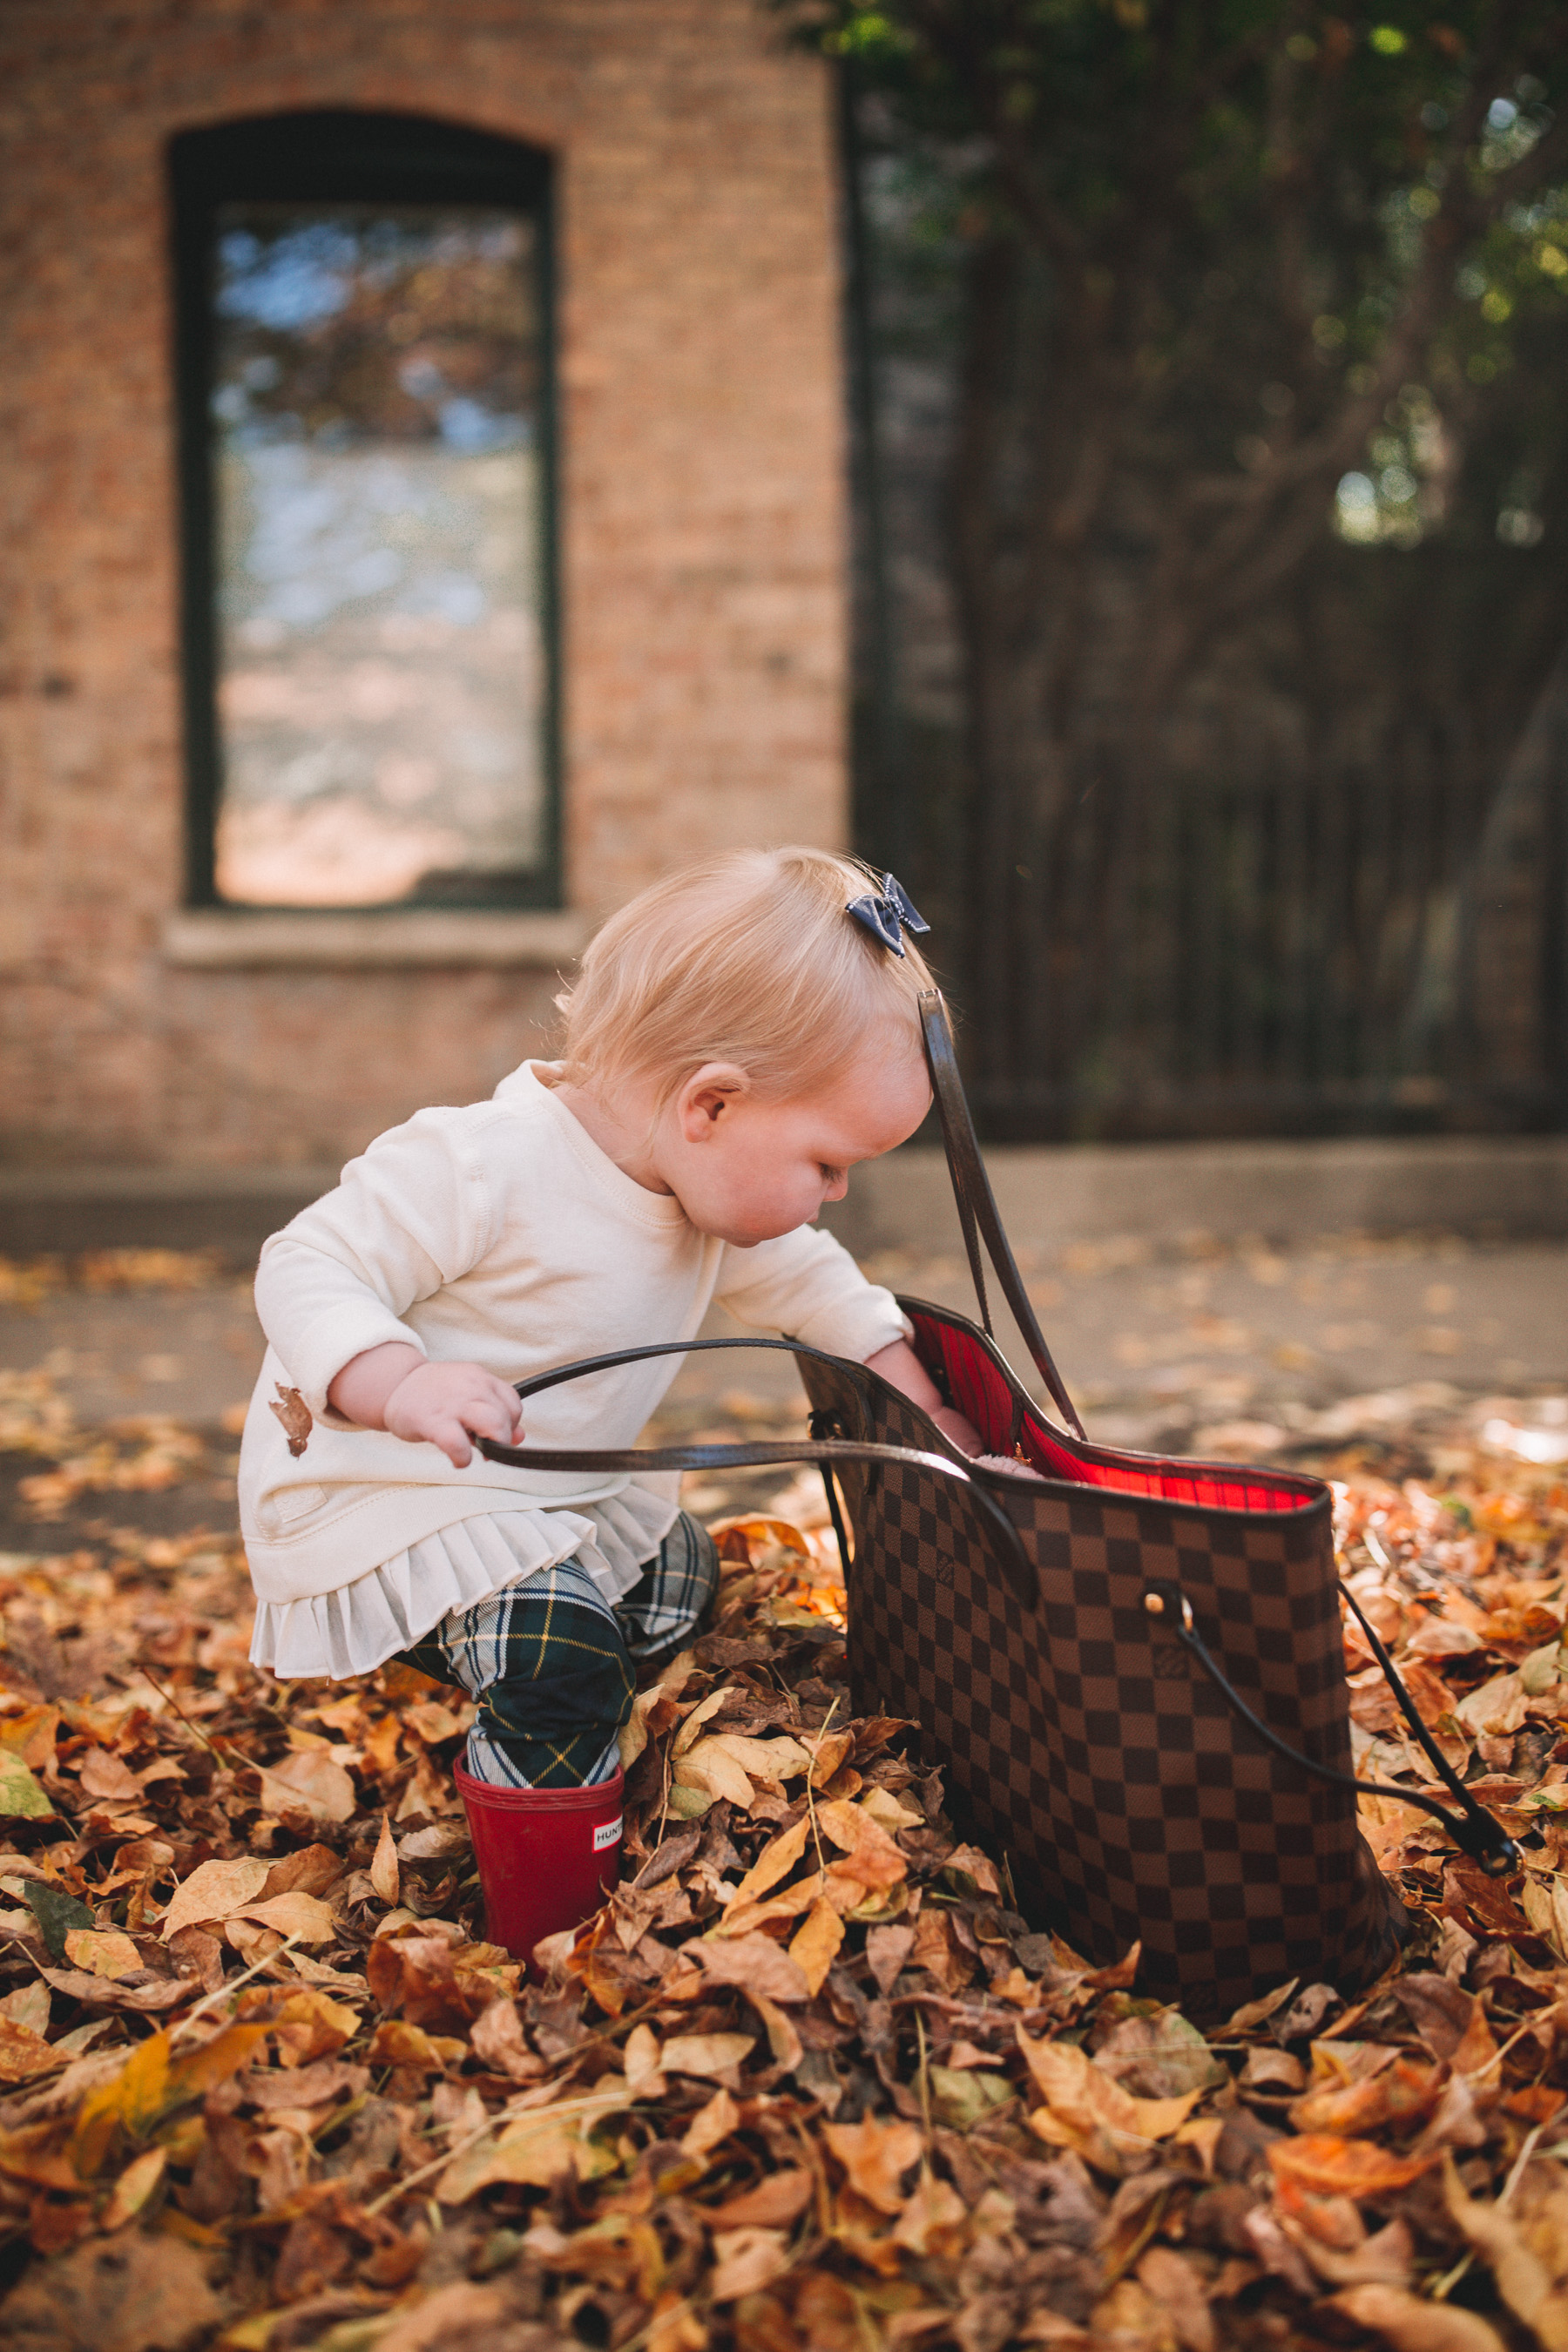
Navy Turtleneck (Also love this one and this one.) / Stuart Weitzman Lowland Boots (Here in brown and here in brown with a gold heel!) / Newer Plaid Skirt / Louis Vuitton Neverfull MM (Looking for an affordable brown tote? I LOVE this one!) / Sweater Blazer (More affordable here.) / Emma’s Hunter Boots (Non-glossy here. Adult version here.) / Emma’s Tartan Leggings

