


If you saw this post or this post, you have a pretty good idea of what Emma’s nursery looks like. We love it. It was a complete scramble to get it done in time for her arrival because we were under major renovations from that pesky, somewhat devastating house flood. Somehow, though, everything came together a couple of weeks before she was born, and today, her room is so much more than just a room to us. These four walls symbolize how much we wanted her, how much went into getting her here, and how much we adore her. The nursery is where our days begin and end; it’s where we play, read stories, and hug and kiss. It’s a room full of love in every possible way.
The nursery is, however, over a year old now… and we currently use it very differently than we did when Emma was first born. Like I mentioned before, we do a lot of playing in there, and about six months ago, we realized that we needed way more storage. The toys were everywhere. I started searching for a toy chest that matched Emma’s nursery furniture, but unfortunately, everything available was much too big for our city livin’ space–not to mention pretty pricey. So in true Kelly fashion, I gave up, and continued shoving the toys into her already-stuffed closet and dresser.
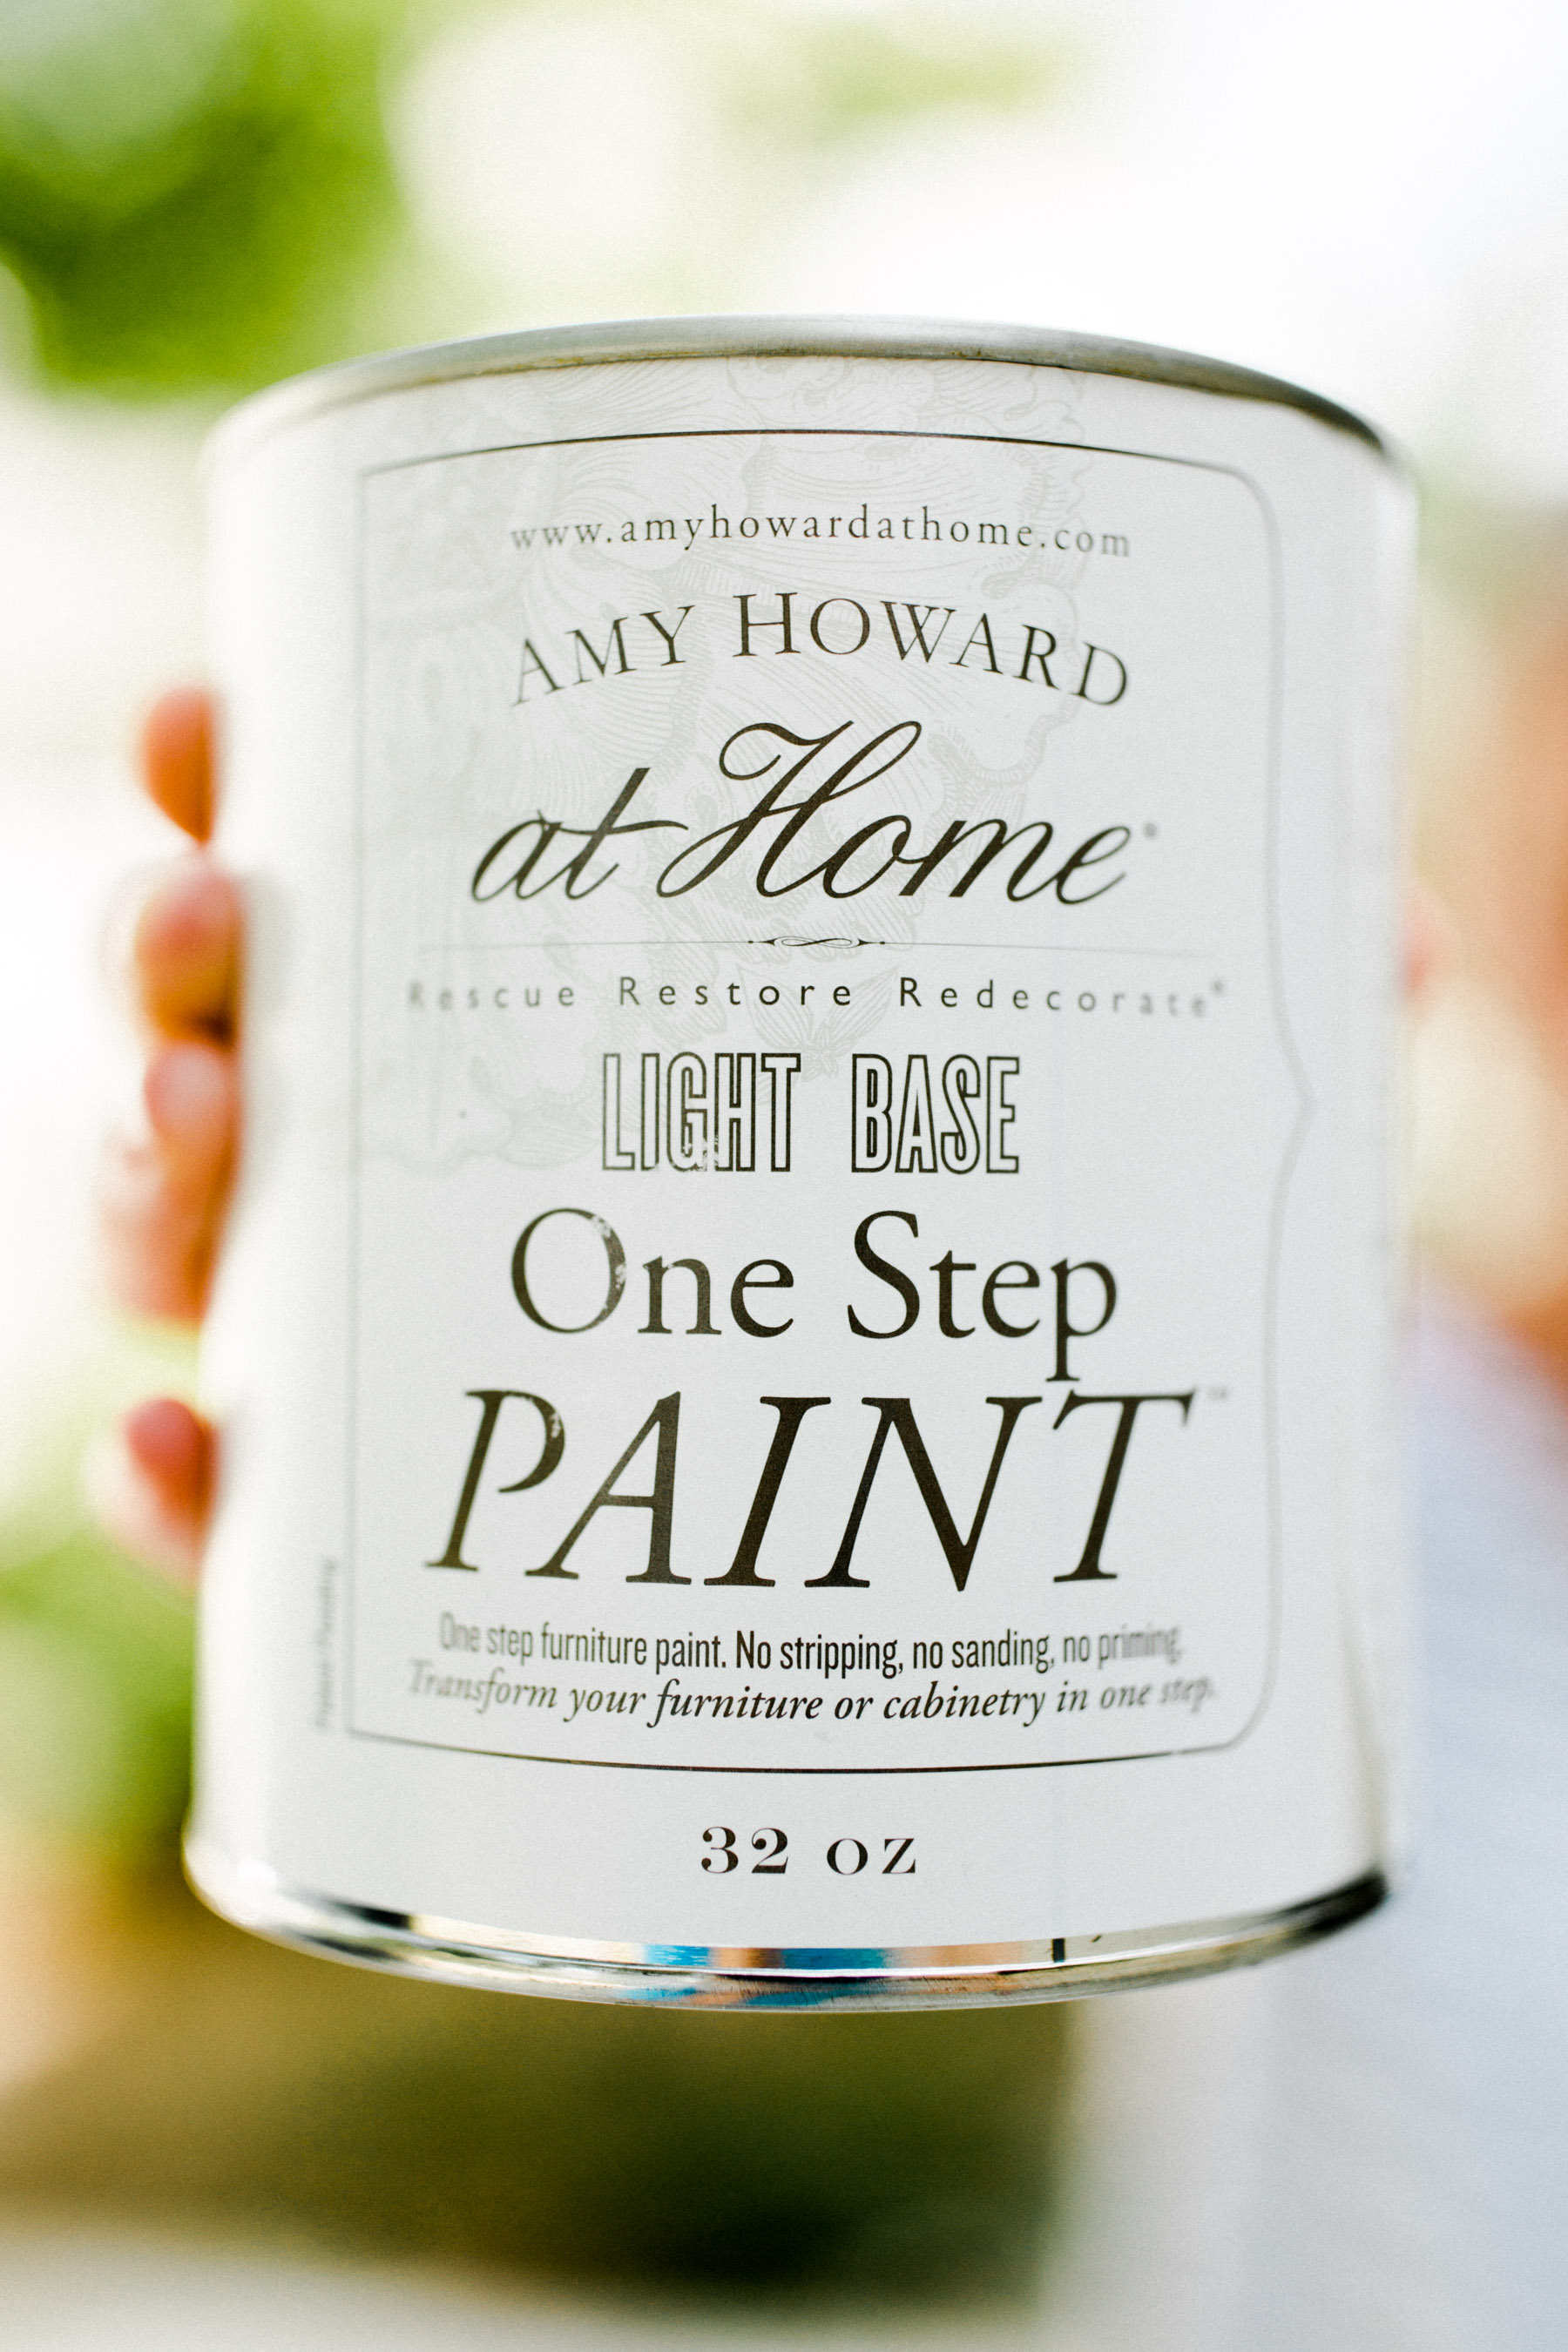
And then I discovered Amy Howard at Home, available at Ace Hardware stores nationwide. DIY projects had always made me nervous because I didn’t have a lot of experience with them, but great things were promised by Amy Howard’s One Step Paint: a revolutionary product that offers color matching and complete furniture transformation without stripping, sanding or priming. Ace and Amy herself invited me down to the workshop in Memphis to learn how to use the Amy Howard at Home product line, so my little family hopped a flight and touched down in the land of the Delta Blues. (Couldn’t help myself there.) Remember this post and this post?! That’s why we were in Memphis!
I learned so much from Amy while in Tennessee, but I think my #1 takeaway was that anyone can transform furniture using her products. You don’t need a background in studio art; you don’t even need an eye for design. Heck, you can simply find something you like on Pinterest and recreate it! Anything is possible because her products are easy to use yet yield amazing results.
As you can imagine, the wheels were turning while I was in Amy’s workshop. Yes, I knew my primary focus should be the nonexistent toy chest. But I had a few other ideas: my dining room chandelier needed a facelift; I hated our living room end table; our KitchenAid stand mixer didn’t match our kitchen redesign (which is still in the works). But I kept coming back to that chest. ;)
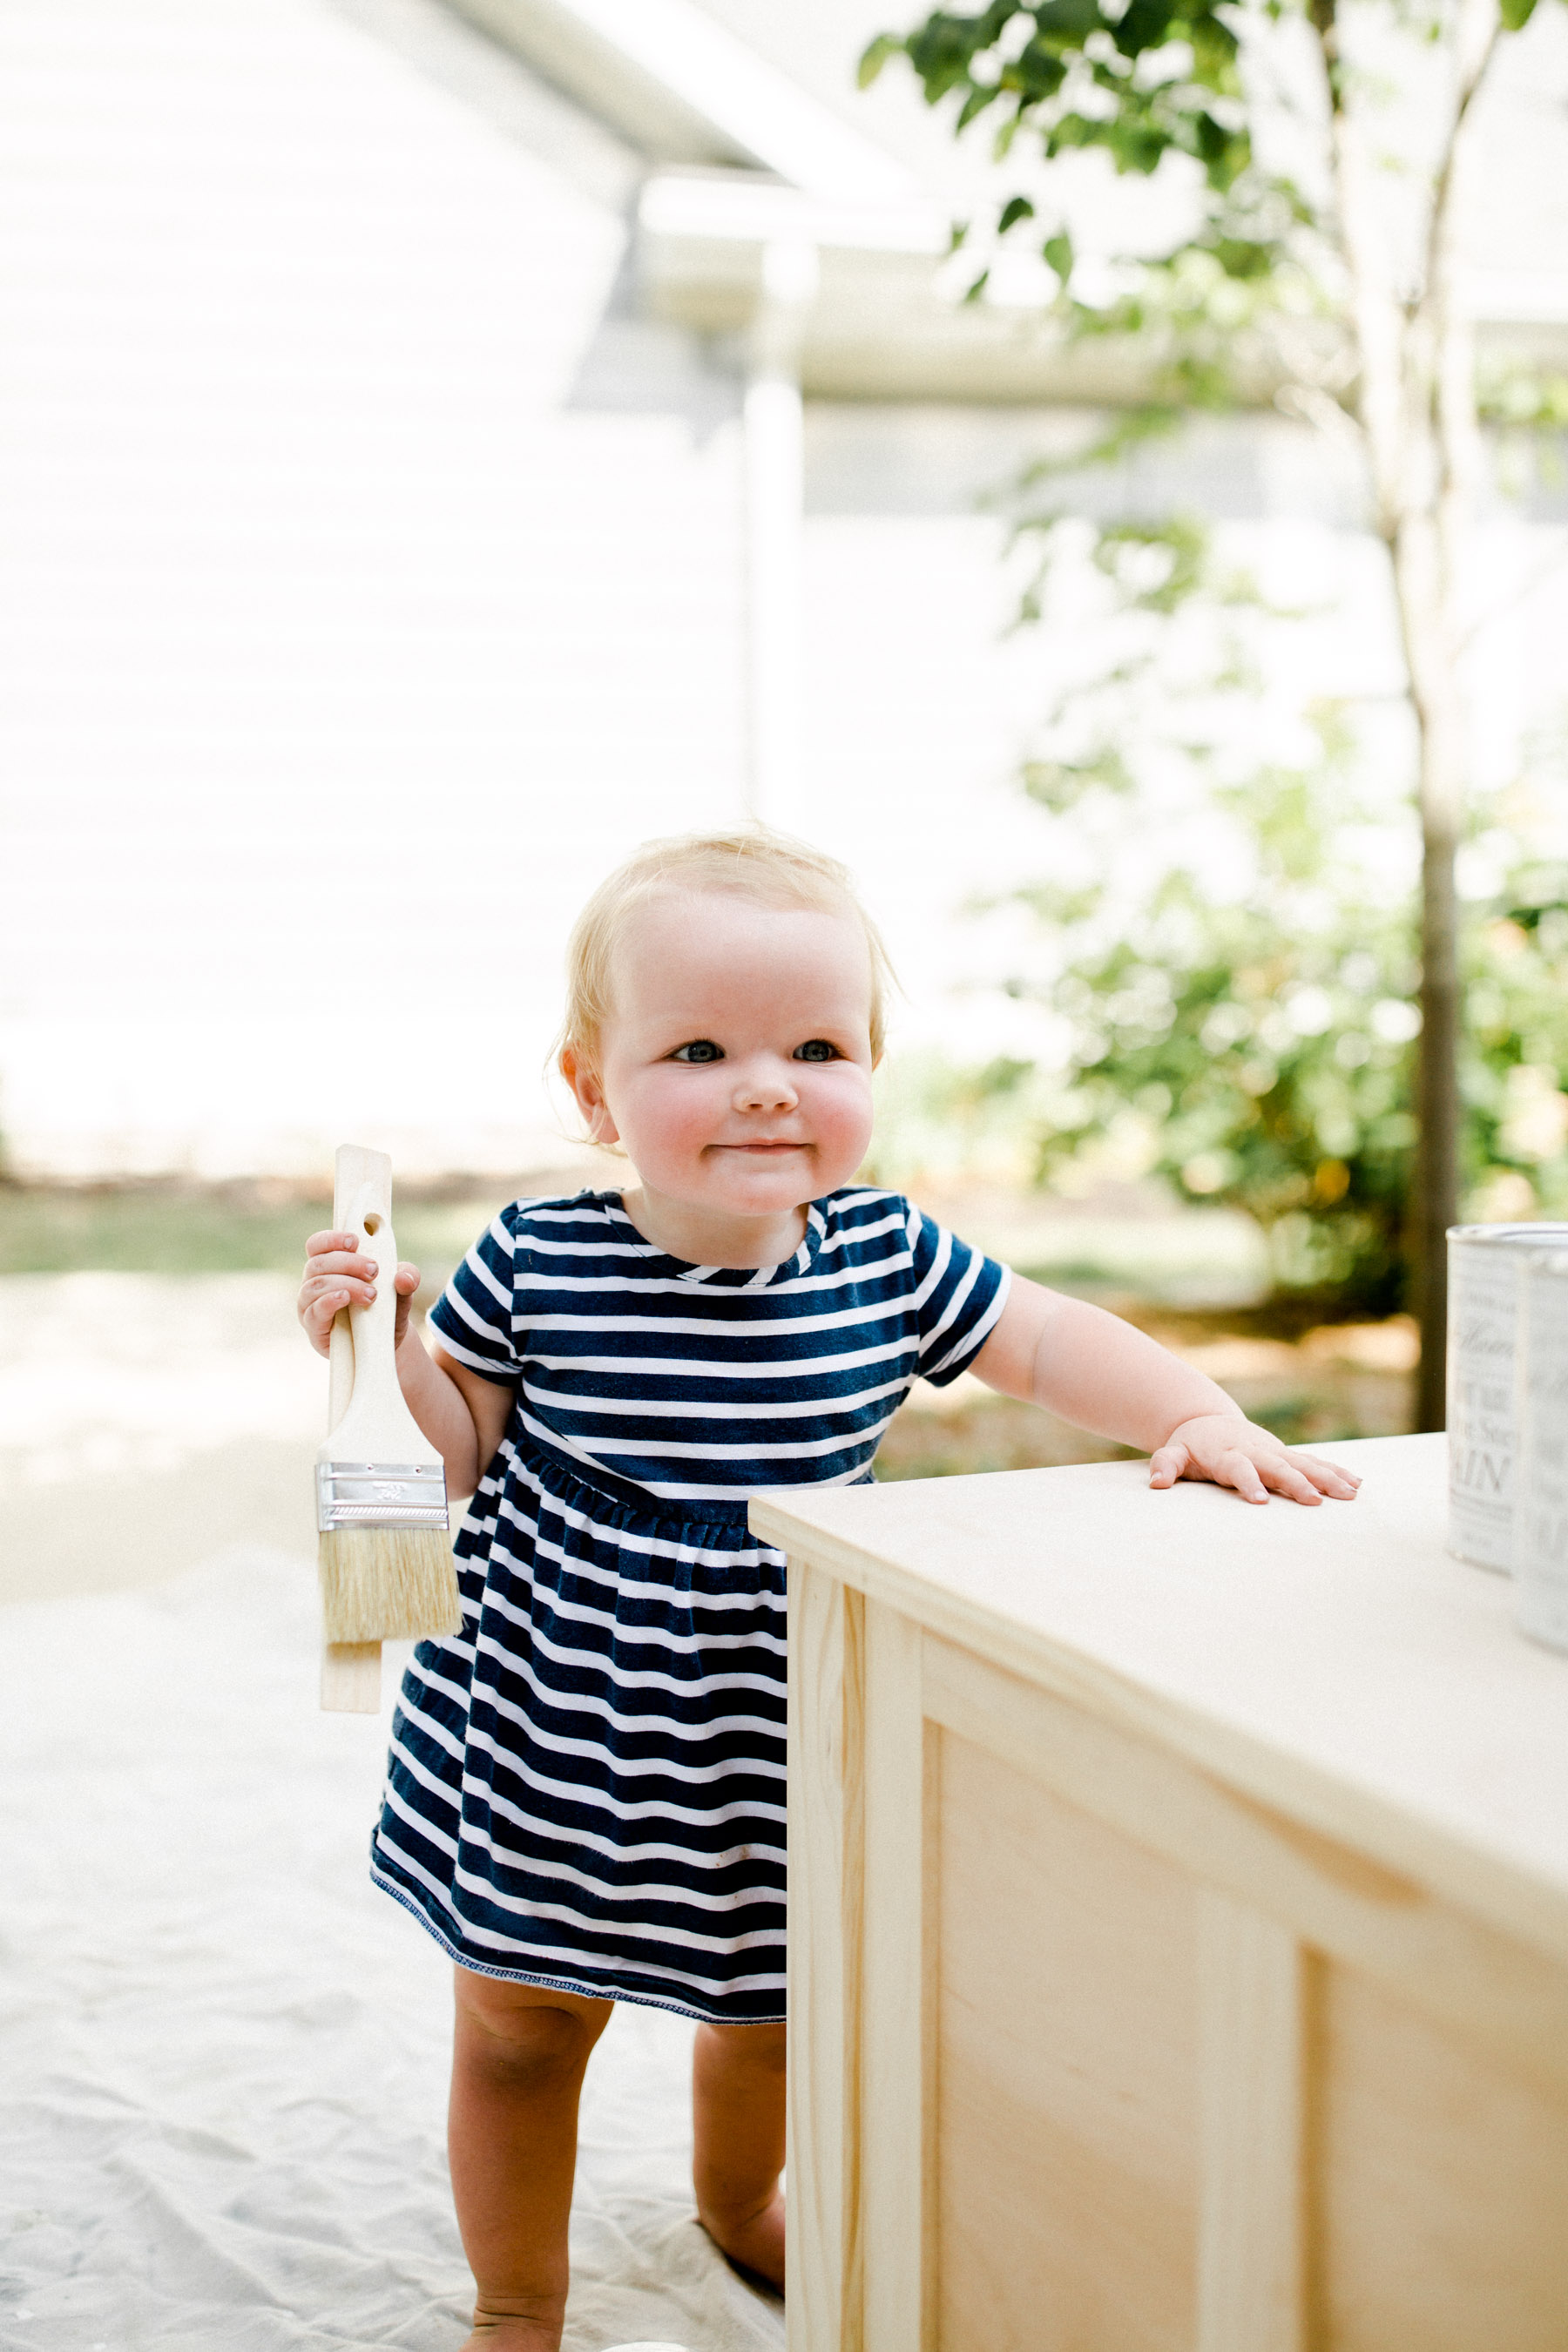
Emma didn’t help with the project, but I couldn’t resist including this pic, which is totally staged, haha. Such cuteness! Though Amy Howard products are certifiably green (no VOCs!) which made me feel better about painting in her general vicinity.
When we got back from Memphis, Mitch and I browsed Pinterest and came up with a design for the toy chest. And then we measured and determined what dimensions would work best for Emma’s room. And then we called a local carpenter friend who built it for us. You can see it above, in all its unfinished glory!
We brought the chest down to my in-laws’ lake house over Labor Day Weekend, as we knew we’d have some awesome babysitters to watch Emma while we worked on our project. Honestly, though, I couldn’t believe how quickly we completed the project. Let me walk you through how easy it was!
Gather materials
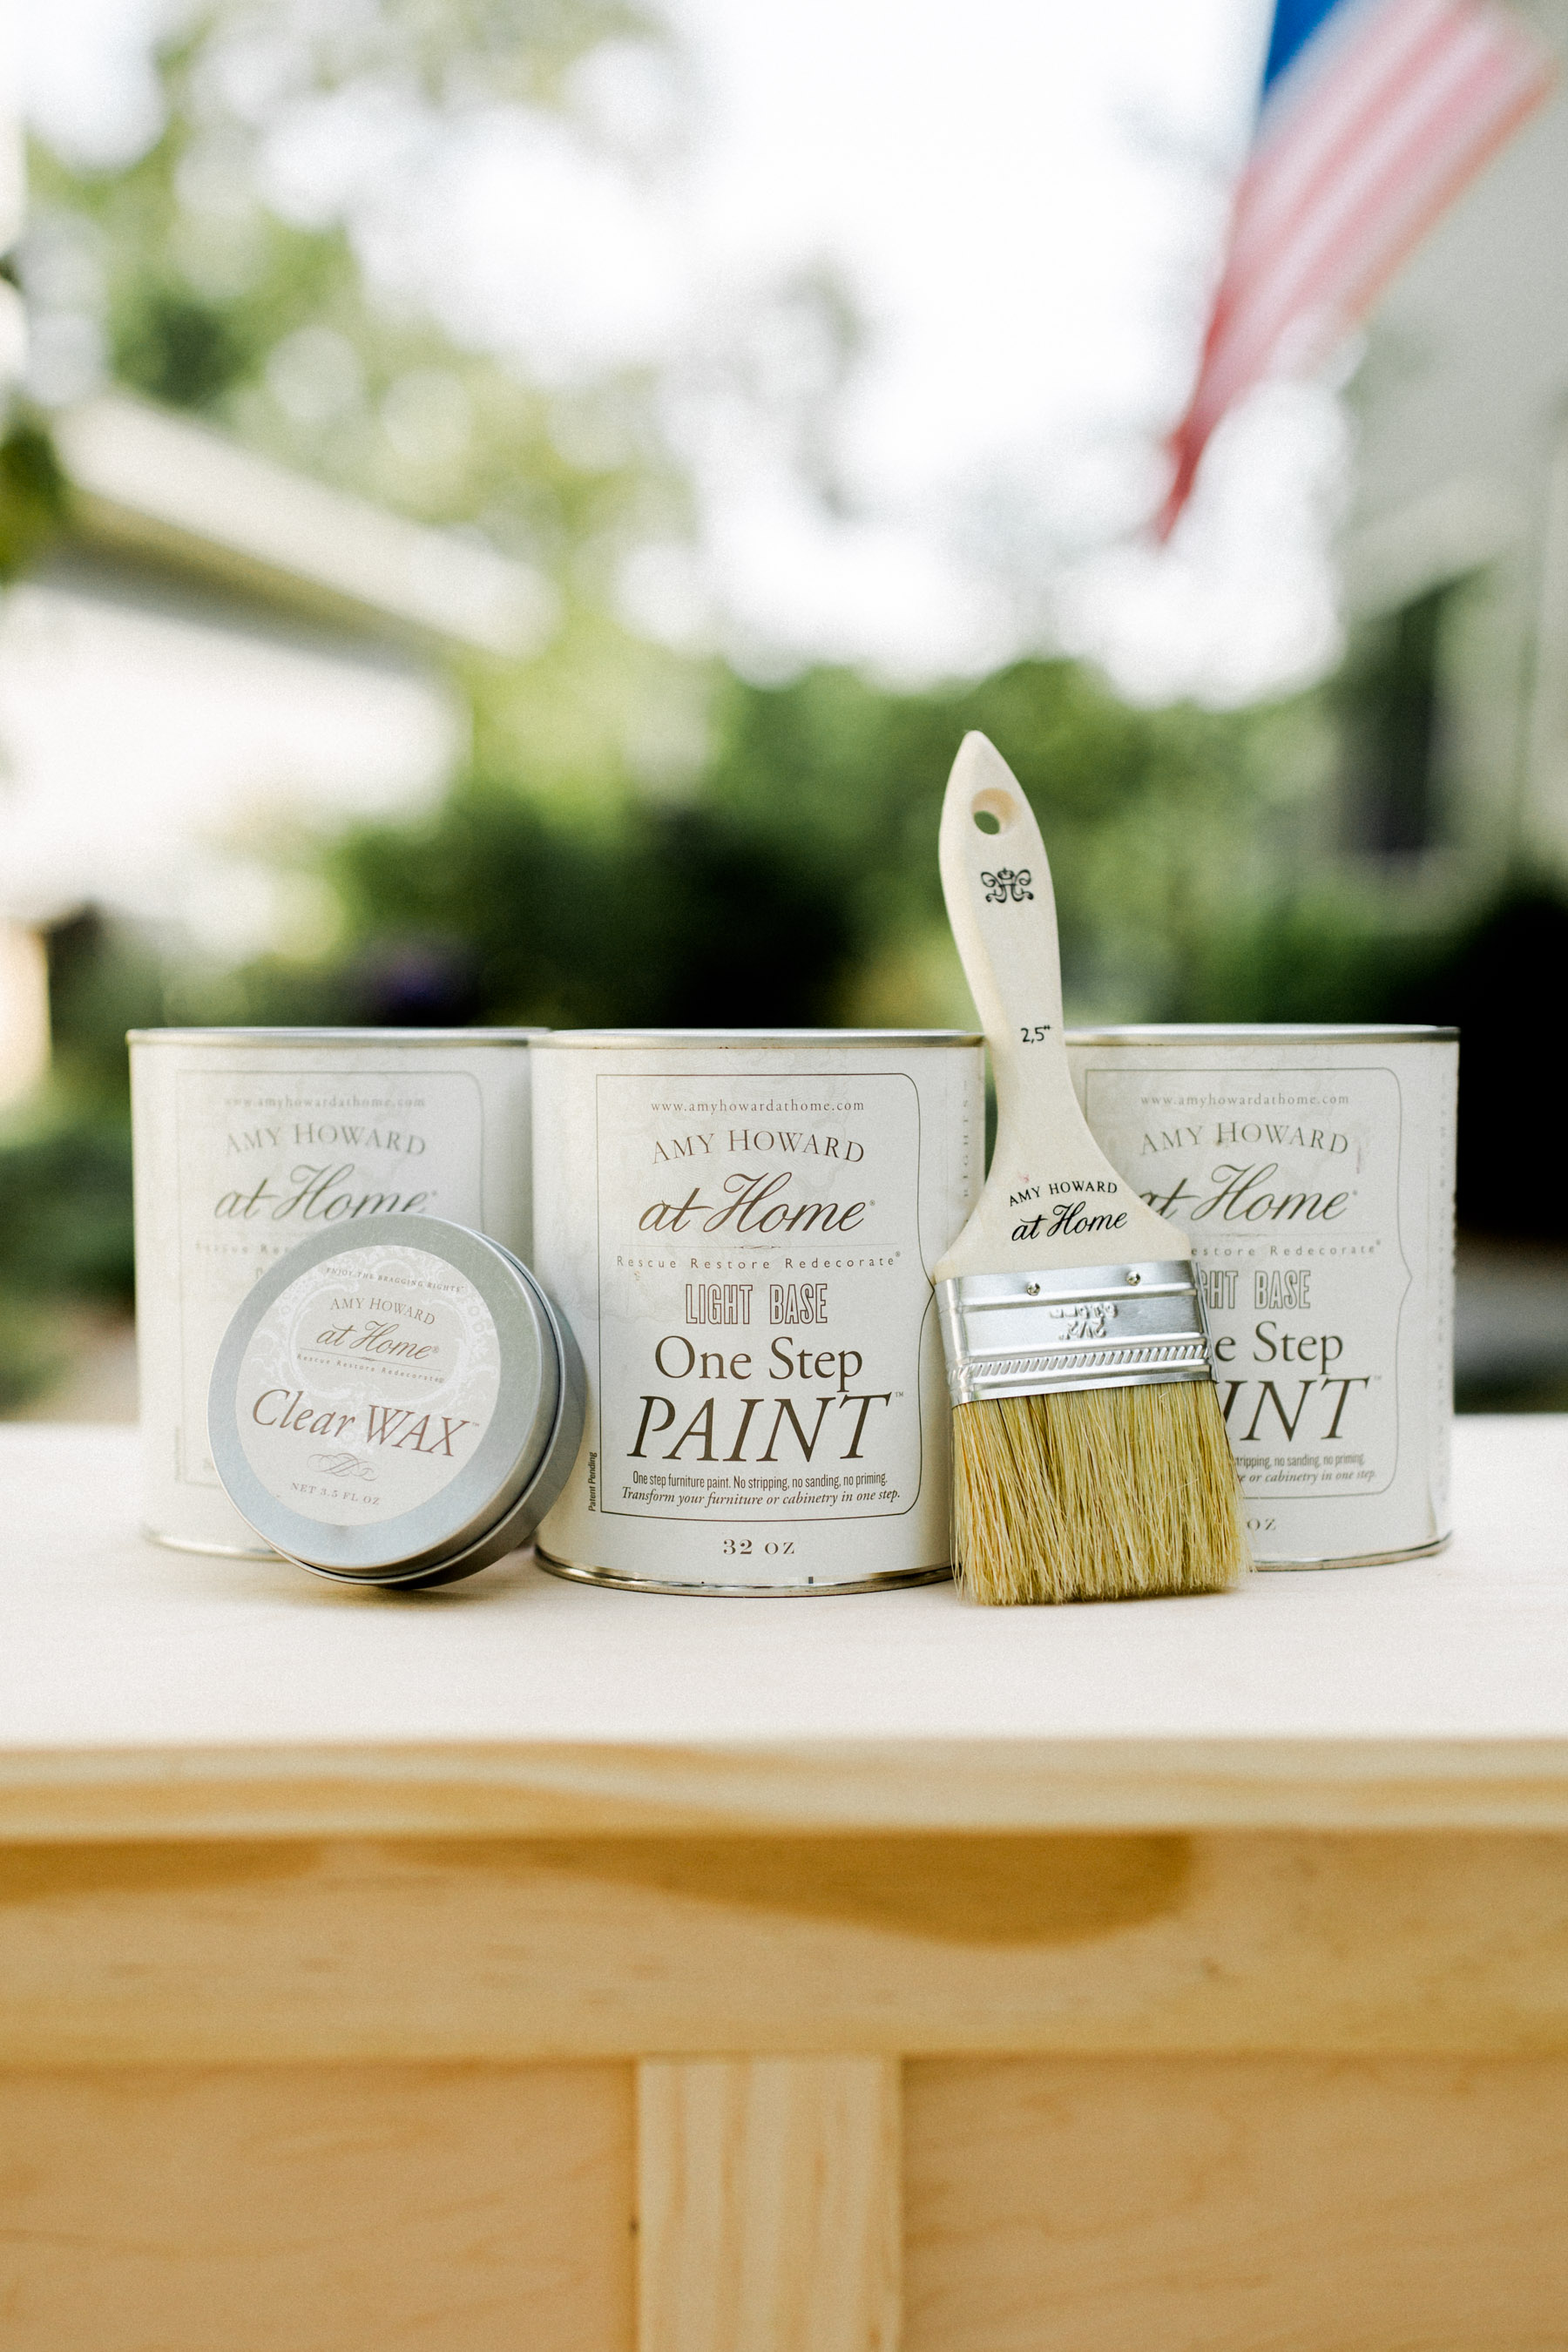
This was very simple. We visited our nearest Ace Hardware in Chicago, and picked up Amy Howard at Home One Step Paint in two colors that we worked with Ace to color match in white and pink. We brought in part of Emma’s bookshelf in so the Ace staff could match the whites, and since I’m awful at selecting paint colors on my own, we brought in a Vineyard Vines whale sticker for the pink. ;) I was truly amazed at how well Ace’s Paint Studio’s technology worked; the colors were spot on! I also loved that the staff was incredibly friendly and genuinely excited about our project. If you’d prefer to choose one of Amy’s pre-mixed One Step Paint colors, the closest available at Ace are Table for One and Ballet White Oh! We picked up Amy Howard at Home Clear Wax, too, as well as this brush and this brush.

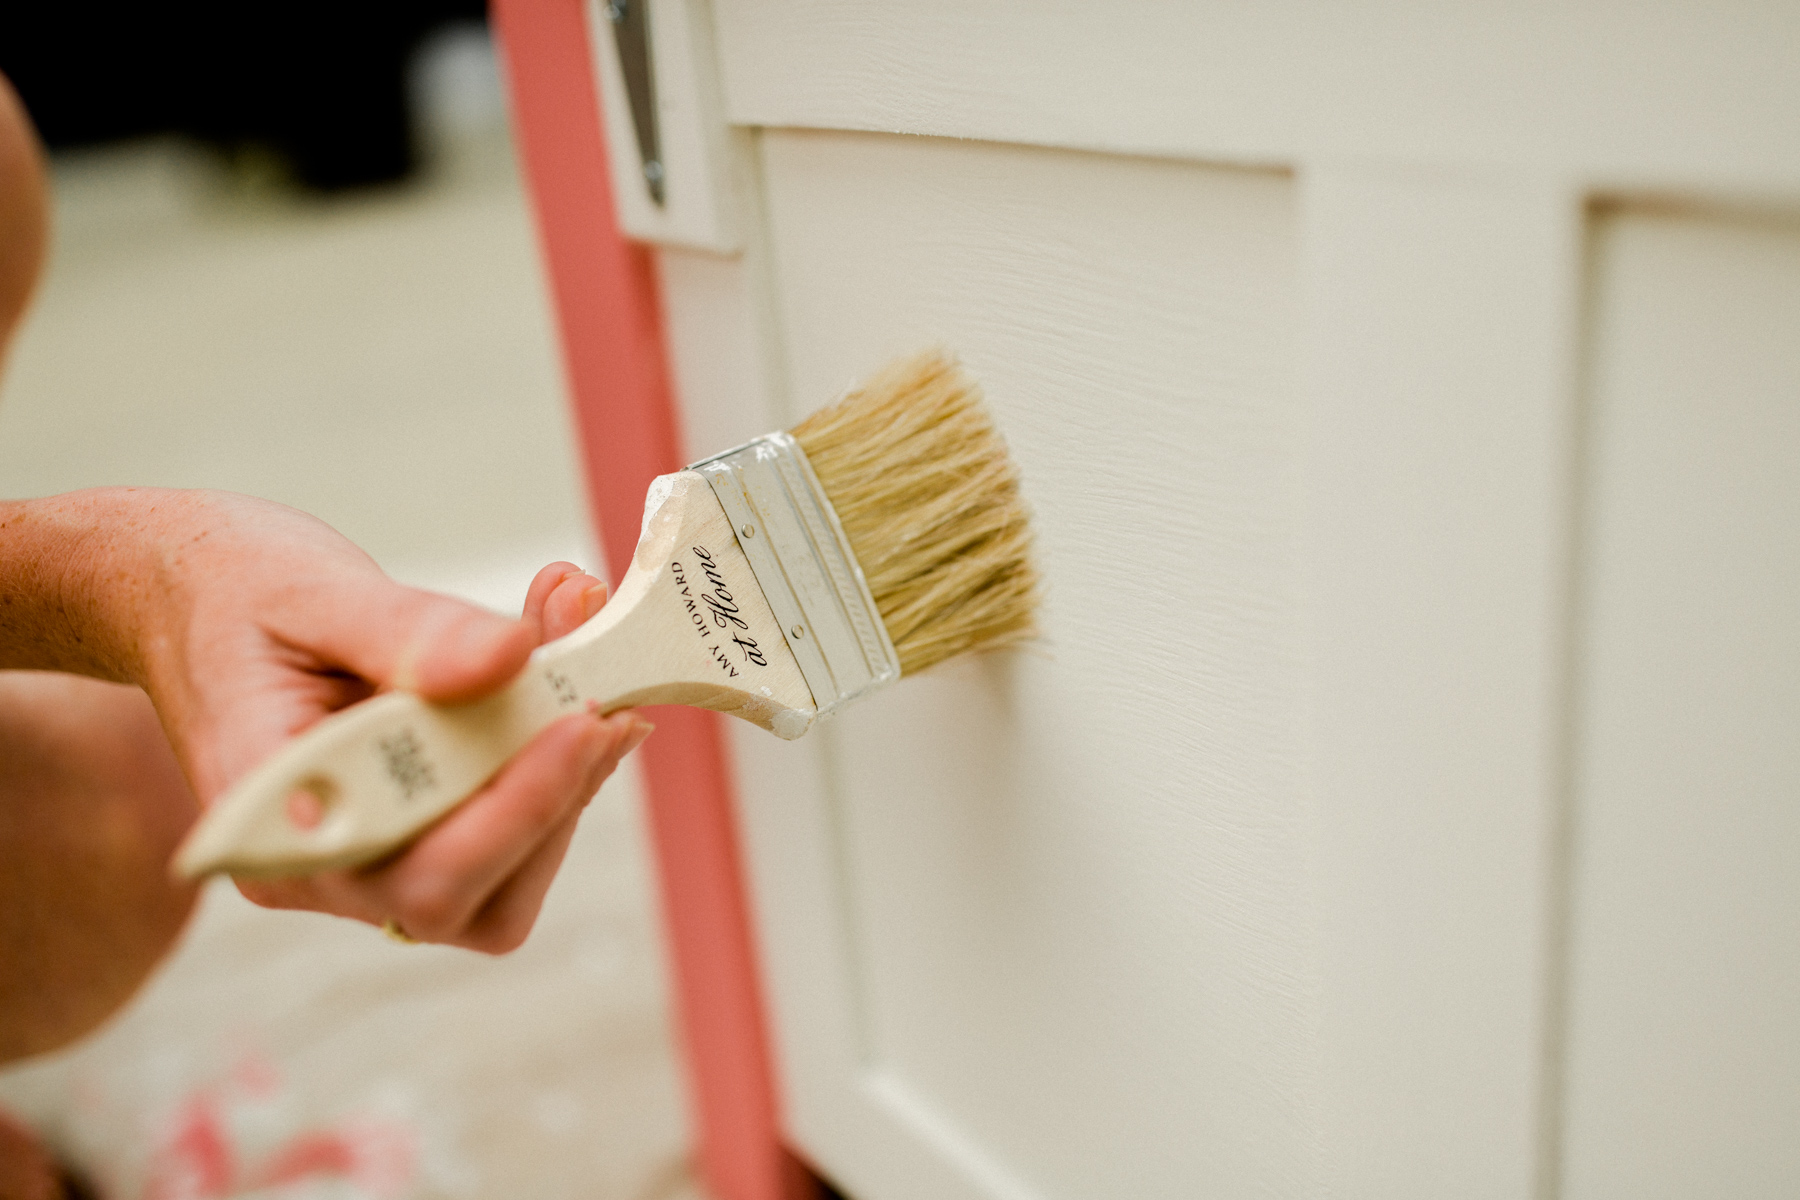
Paint
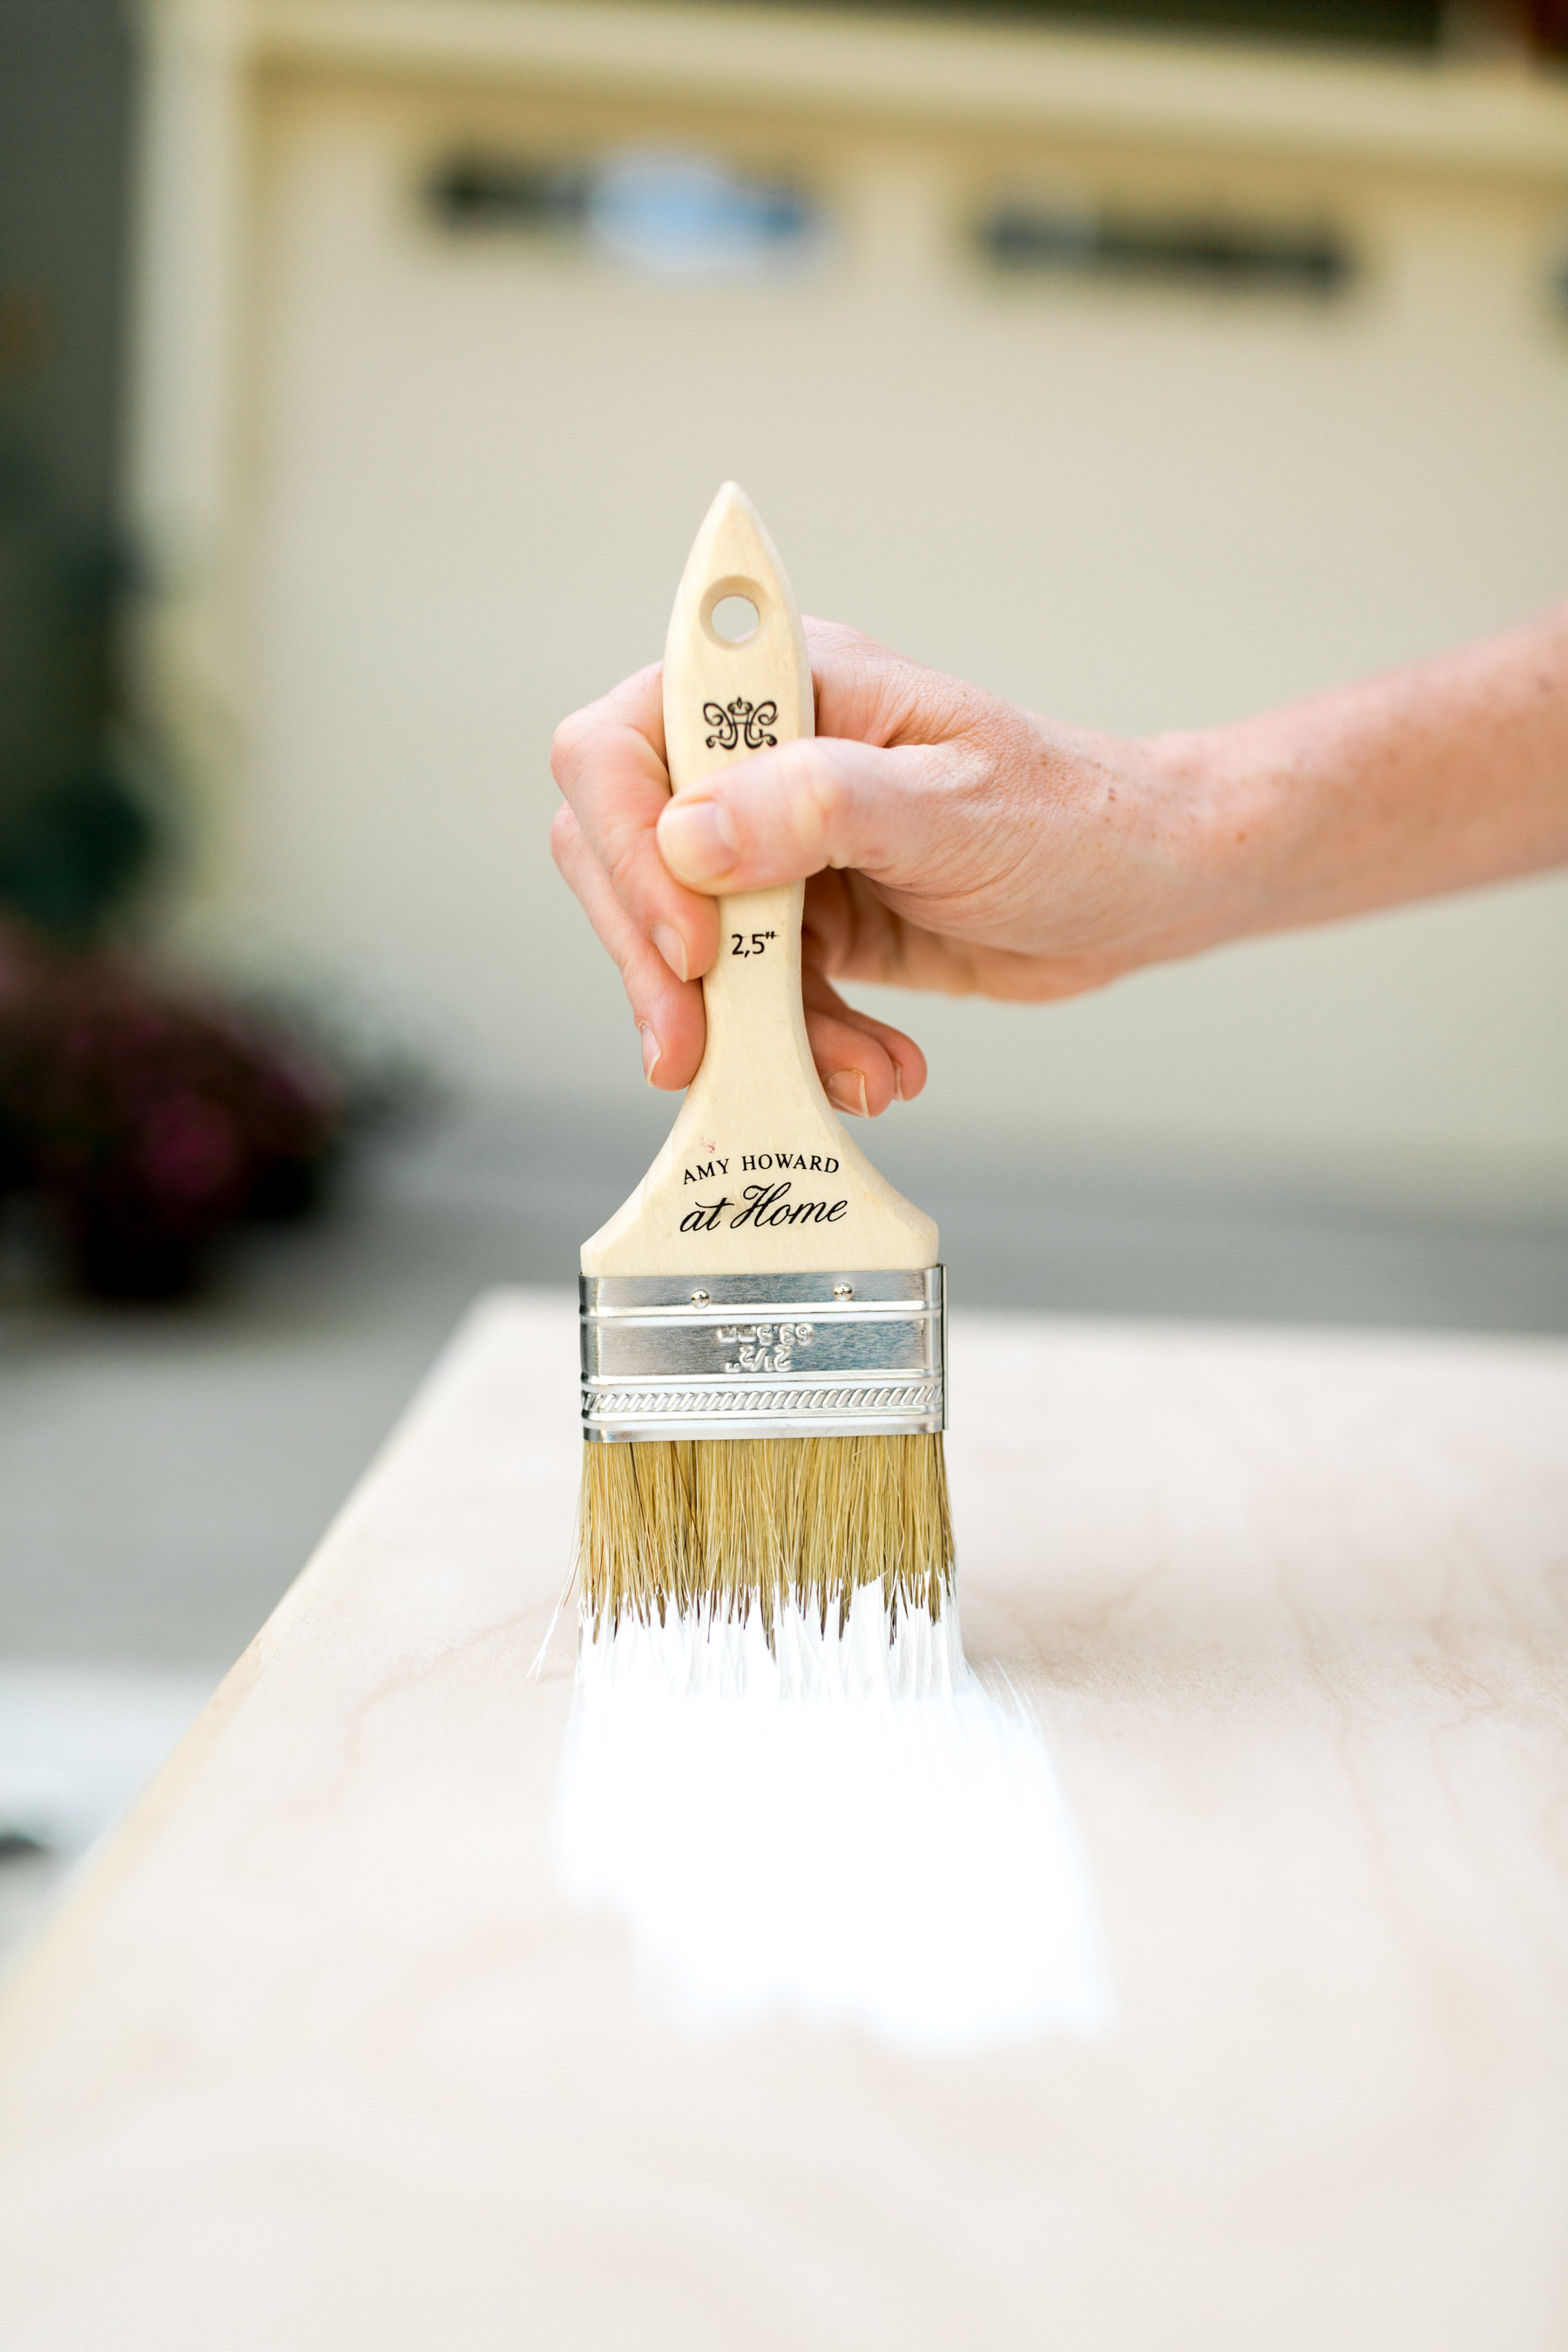
What a cinch! Painting our fireplace and bookshelves took a solid week. Yes, I know that Emma’s toy chest is much smaller, but Amy Howard at Home One Step Paint goes on easily, and it dries in no time. During the fireplace/bookshelf project, I remember having to let the first coat dry overnight. And two coats didn’t really cover everything! With the One Step Paint, though, we were able to get two coats on in under an hour, and that’s truly all it needed. So satisfying, especially during Labor Day Weekend, when there were so many fun lake activities to take part in. :)
Monogram
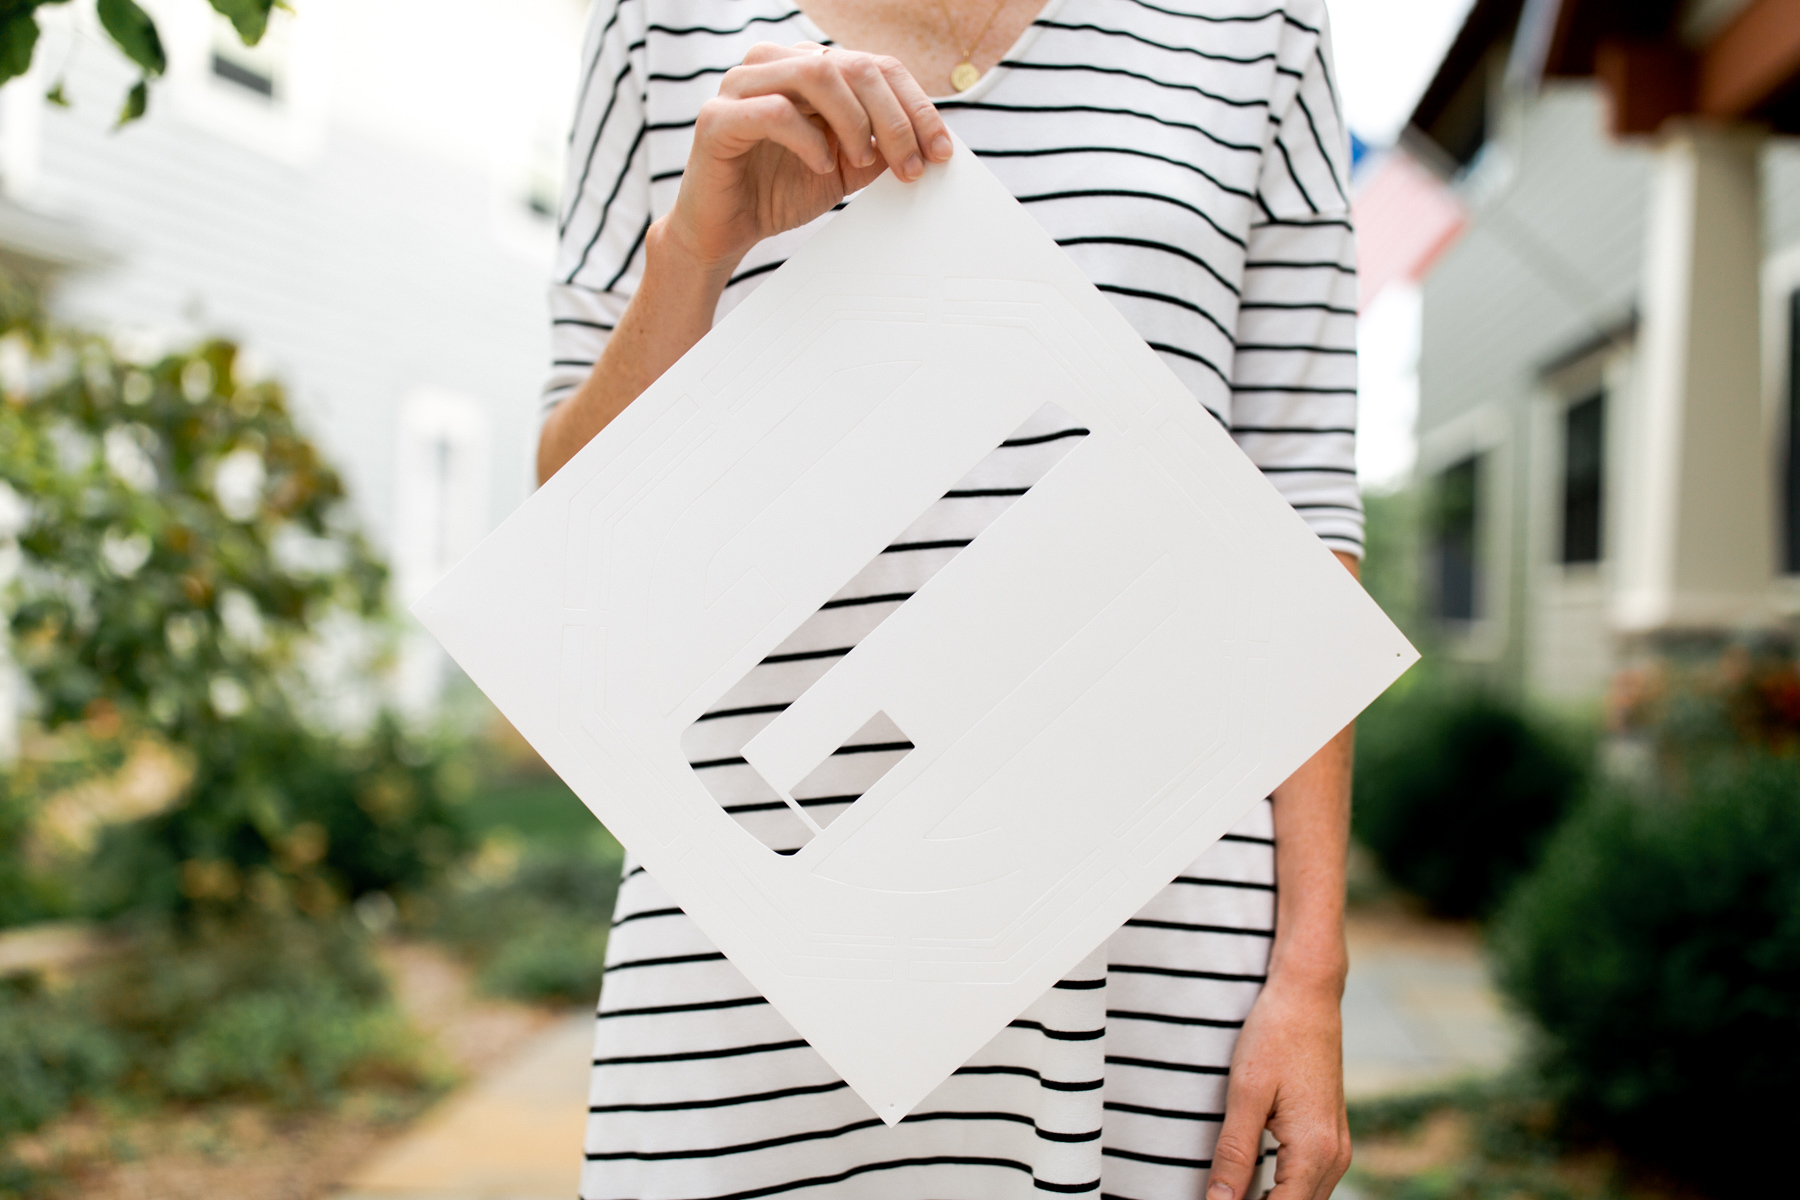
Holy goodness, guys. I can’t tell you how worried I was about this, but the skills I learned at Amy’s workshop really worked. My mom had a random monogram stencil kit laying around–the apple doesn’t fall far from the tree–so she mailed it to me, and it just so happened to be the perfect size for Emma’s chest.
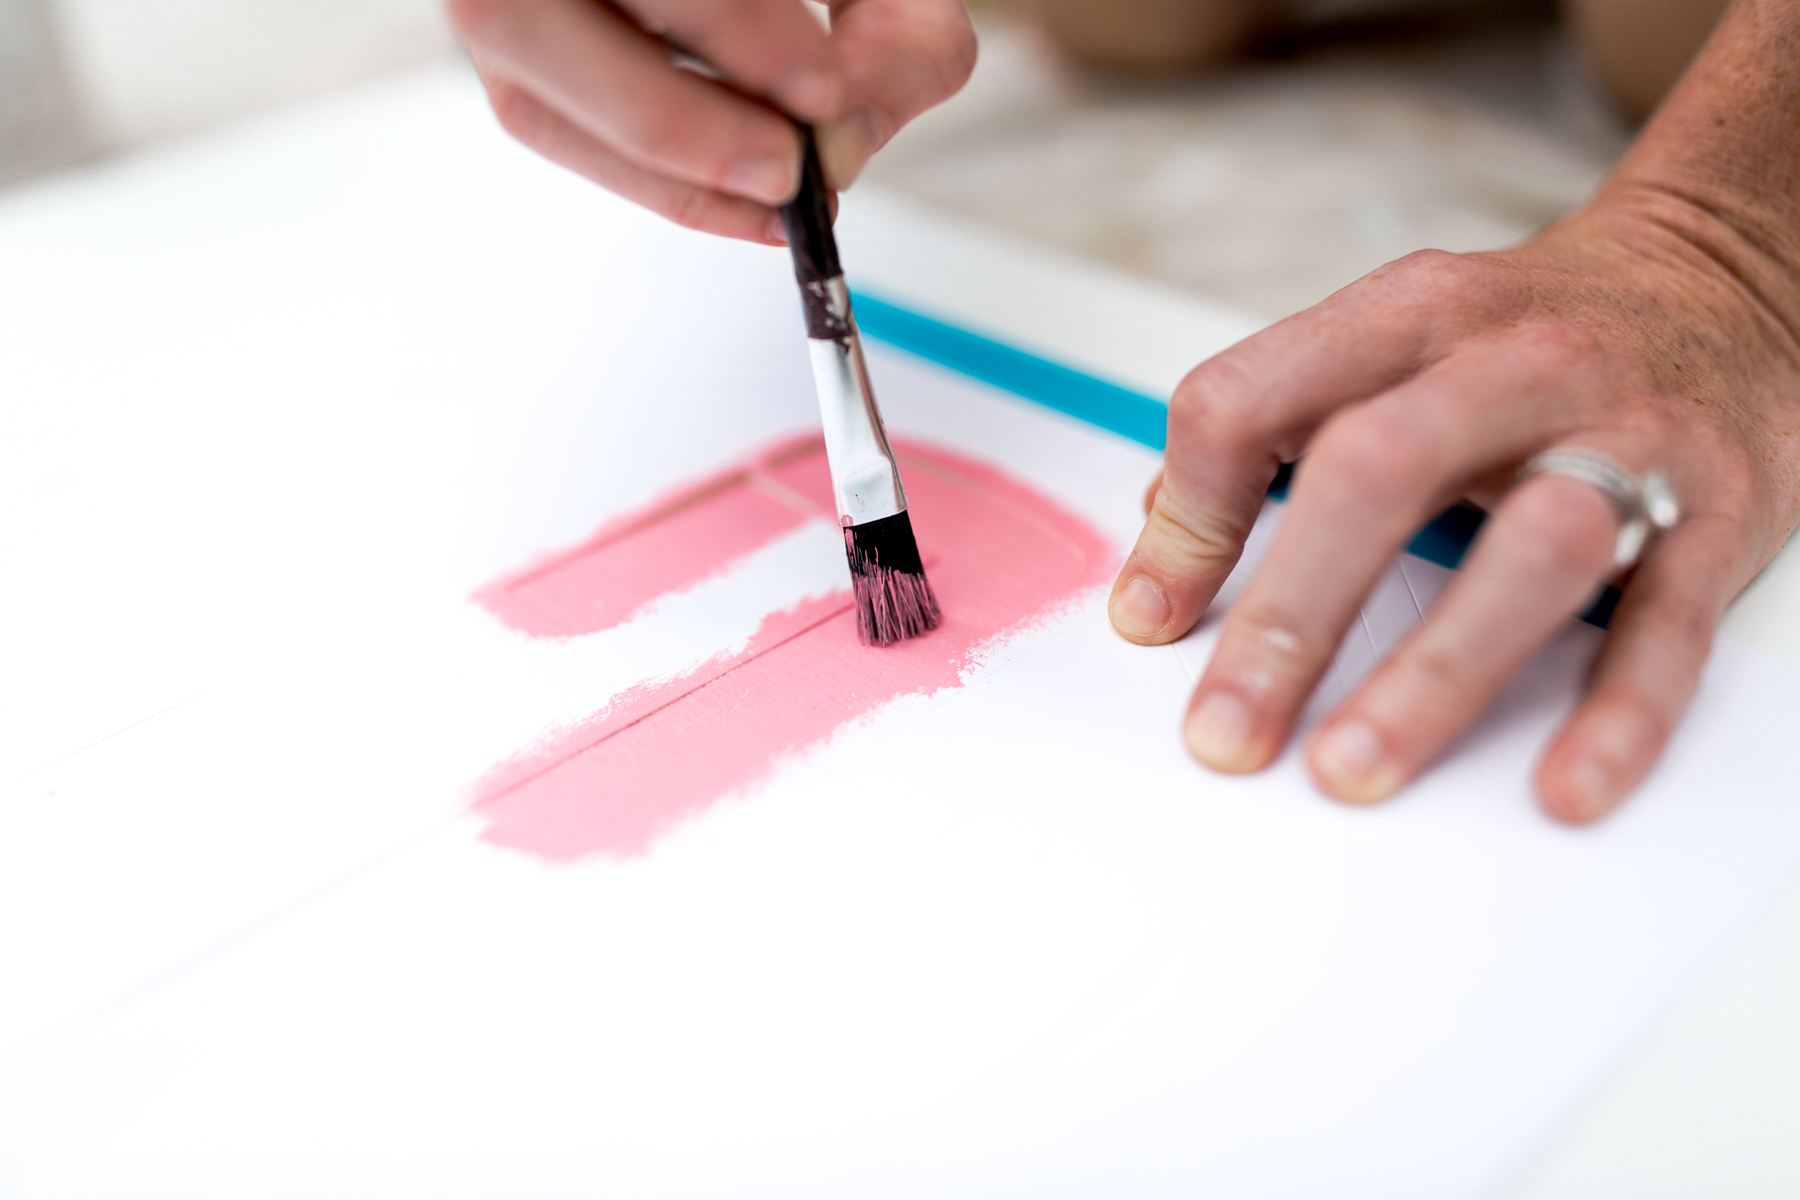
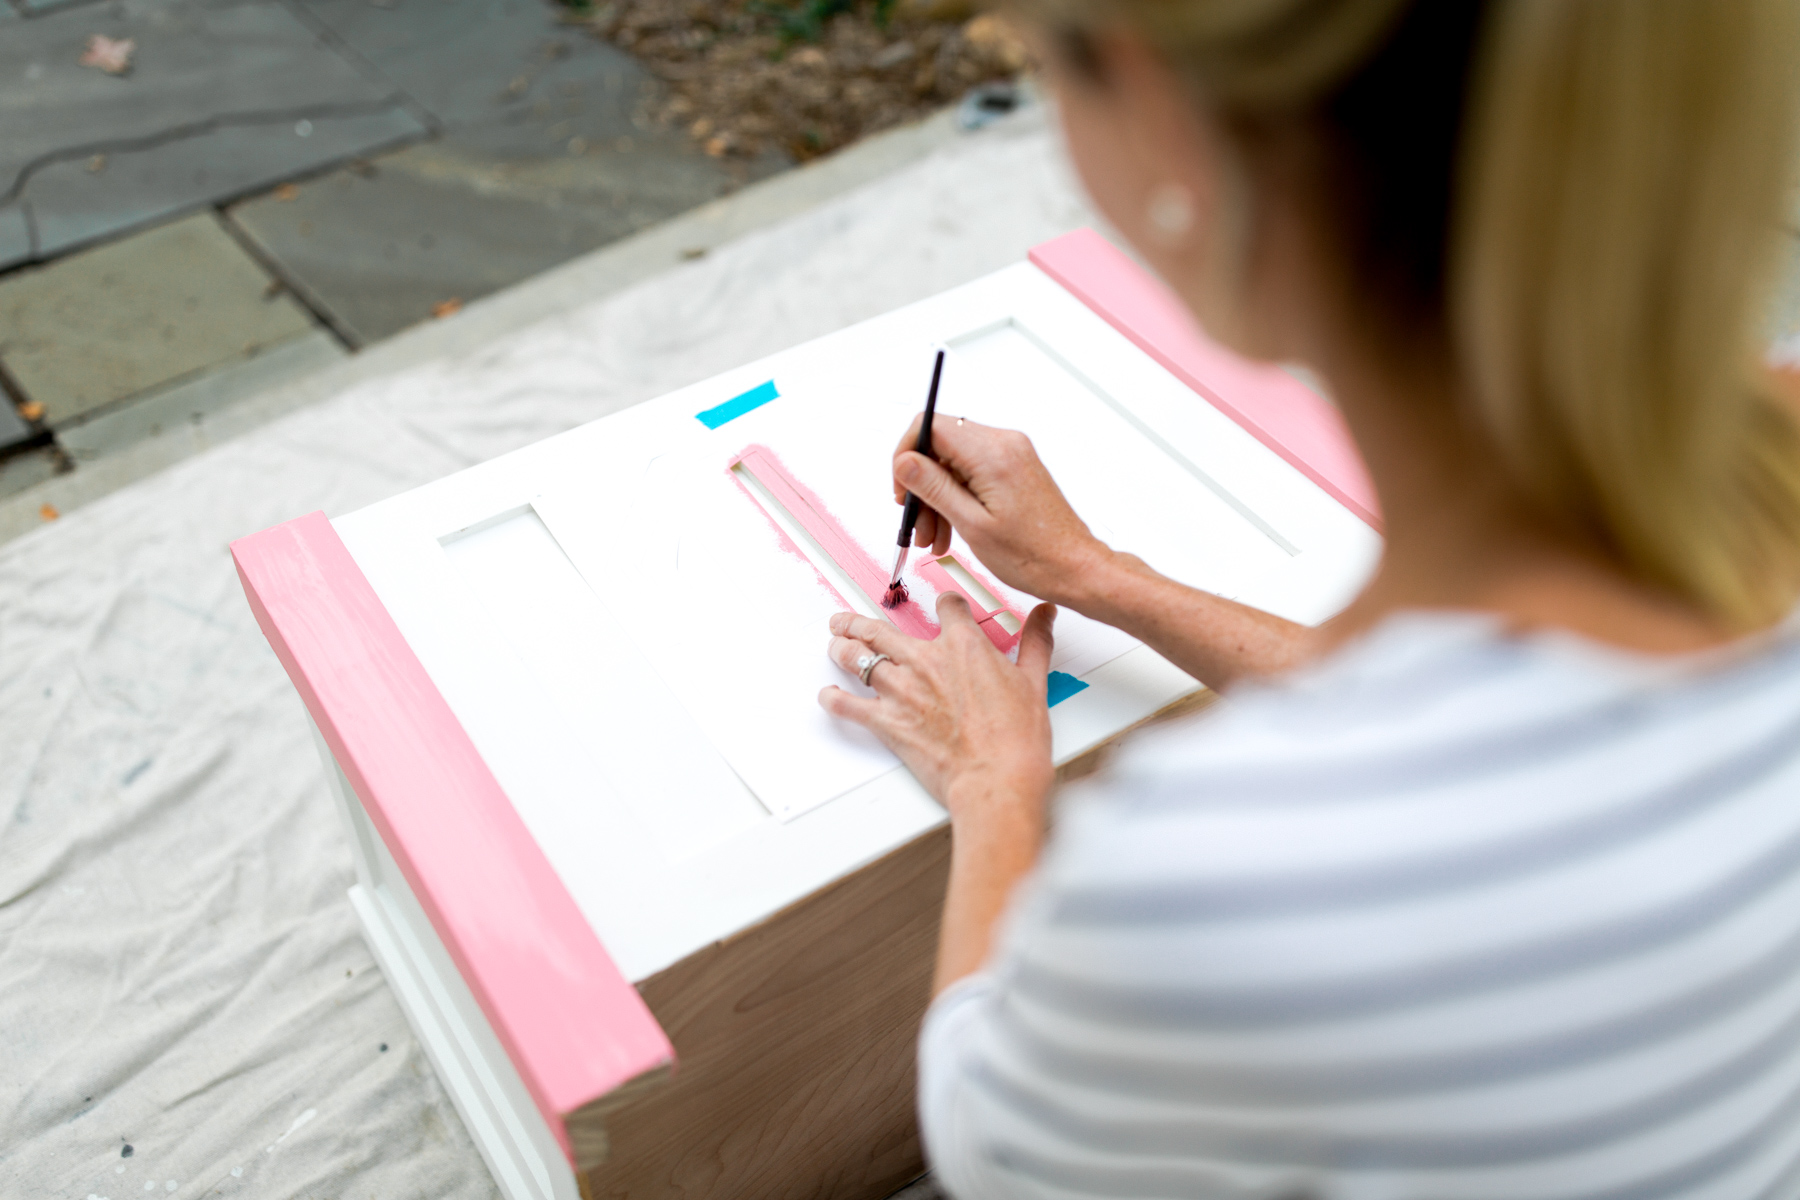
While stencils with adhesive backing are ideal for this type of project, I didn’t have that, so I used tape and made sure to press down on the edges while painting. I also made dabbed the brush against a piece of cardboard before actually painting, which Amy calls “off-loading.” This prevents excess paint from seeping underneath the sides of the stencil–something I learned in Amy’s workshop!
The other slightly challenging factor here was that our chest wasn’t completely flat on the front, making for some tricky monogramming. (Clearly didn’t think the design through beforehand.) Thank goodness Mitch has a background in math and I’m good with a pair of scissors!
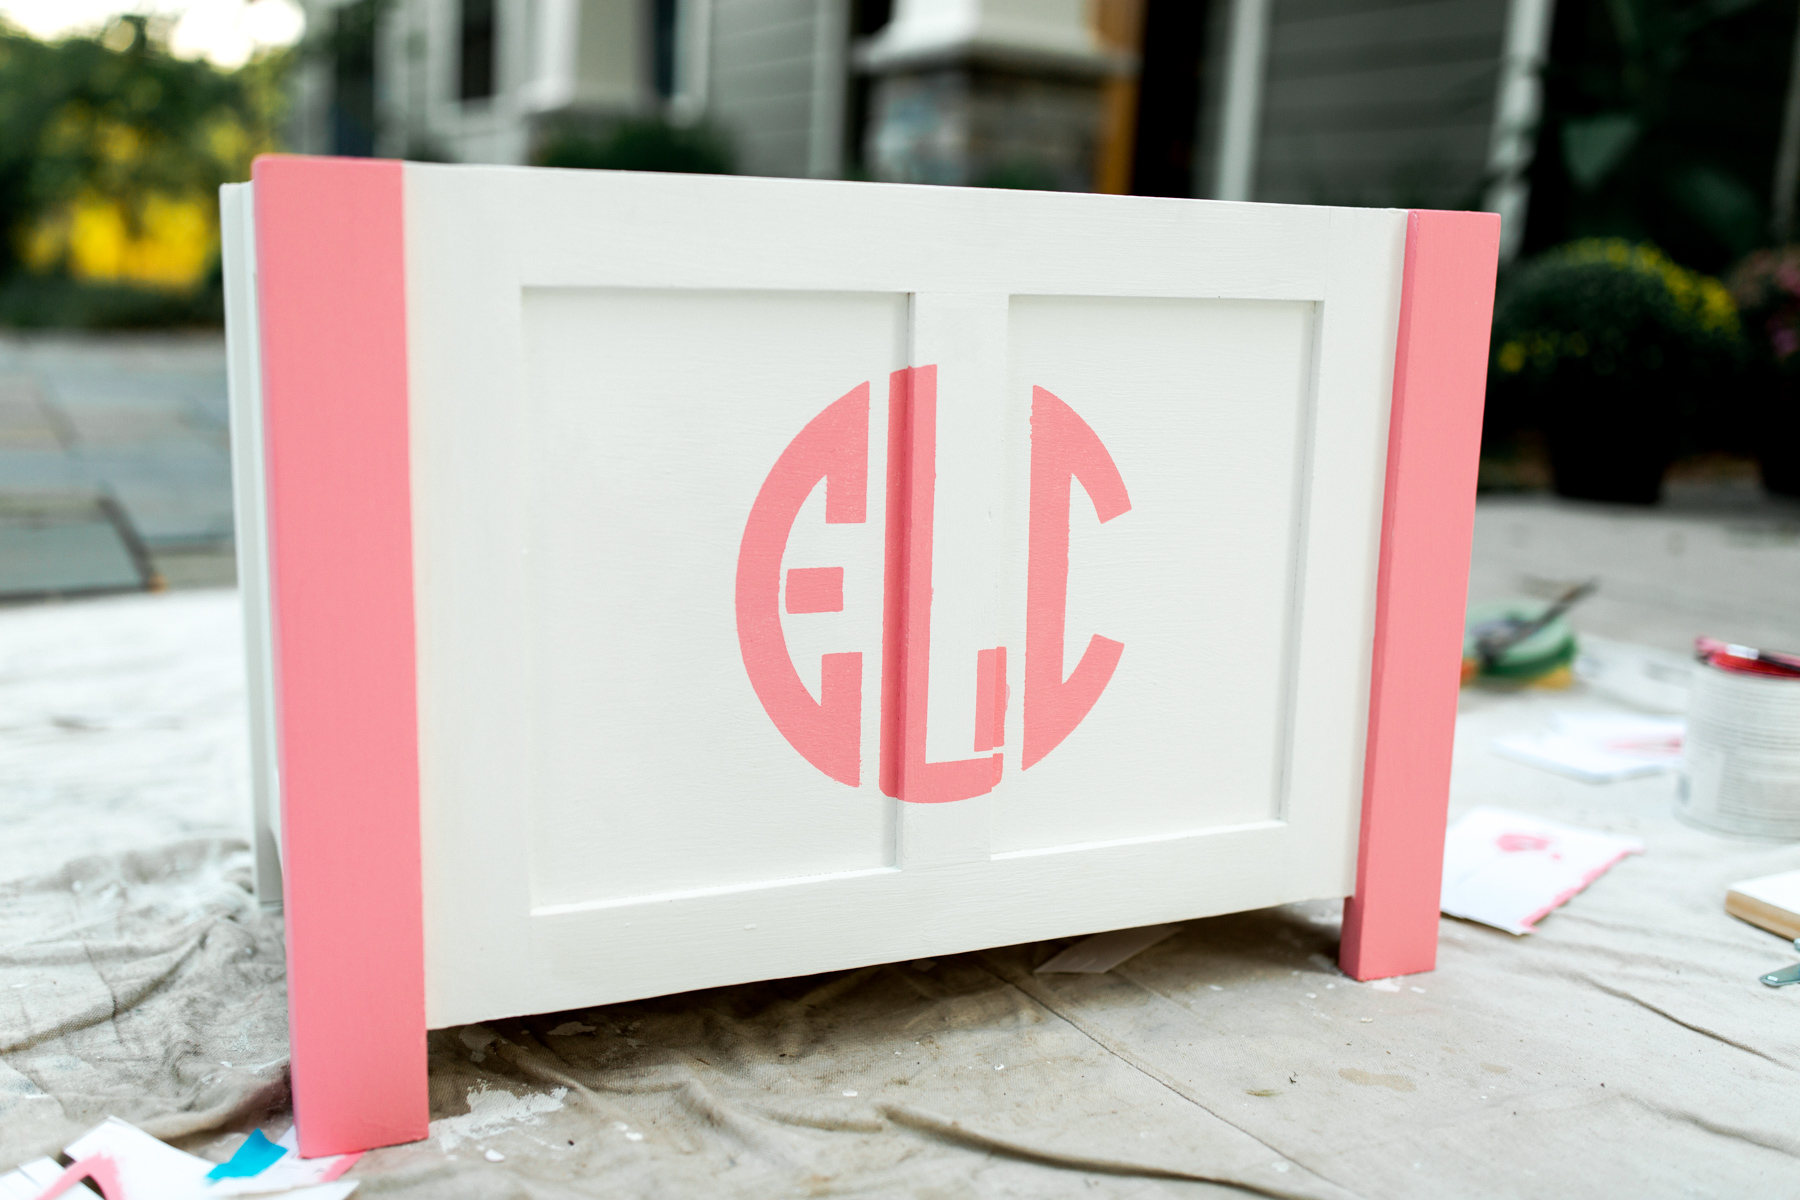
I did need to do some minor touchup after I was done stenciling, but overall, I think I did pretty well. Though Mitch’s whole family thinks the “L” looks like a “J,” haha. I swear that’s what an “L” looks like in the circle monogram, guys. Swear!

Waxing
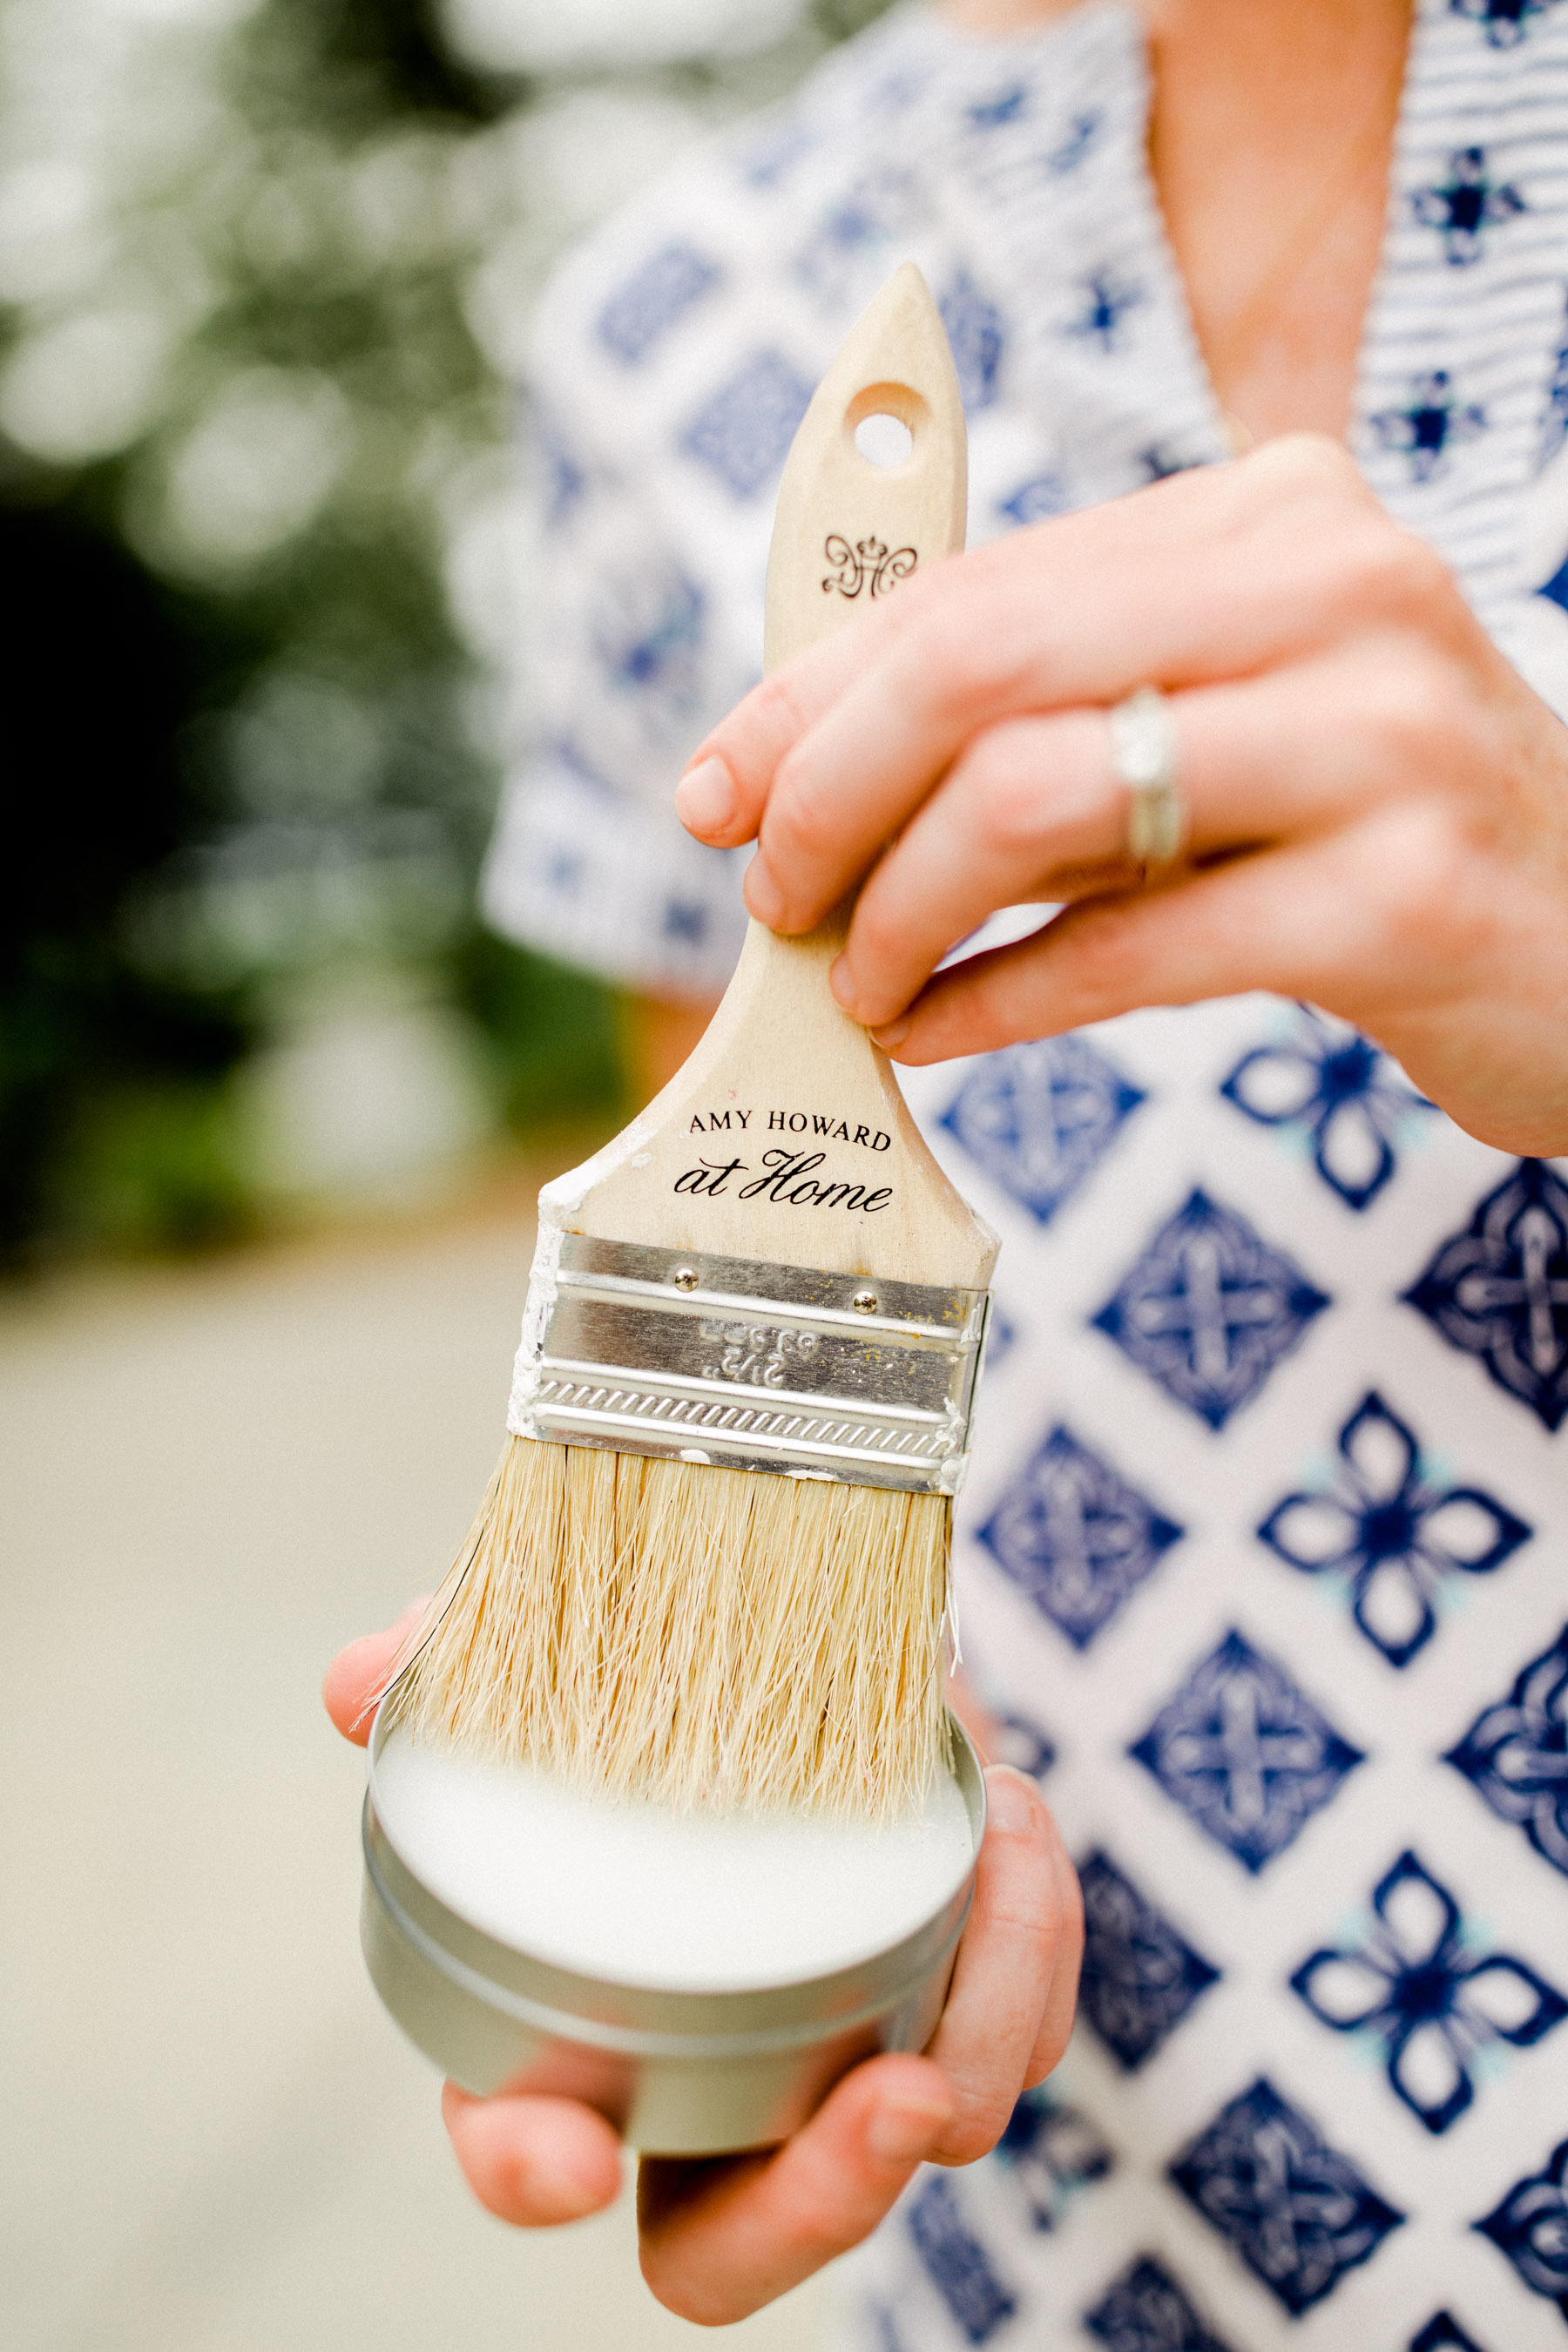
When Amy first told me about waxing furniture, I’ll admit that I was skeptical. I assumed that it would leave a waxy residue on the furniture, as the name of the product kind of suggests. But this wax left a beautiful satiny sheen on the chest, and I know it would have looked unfinished had we not used it.
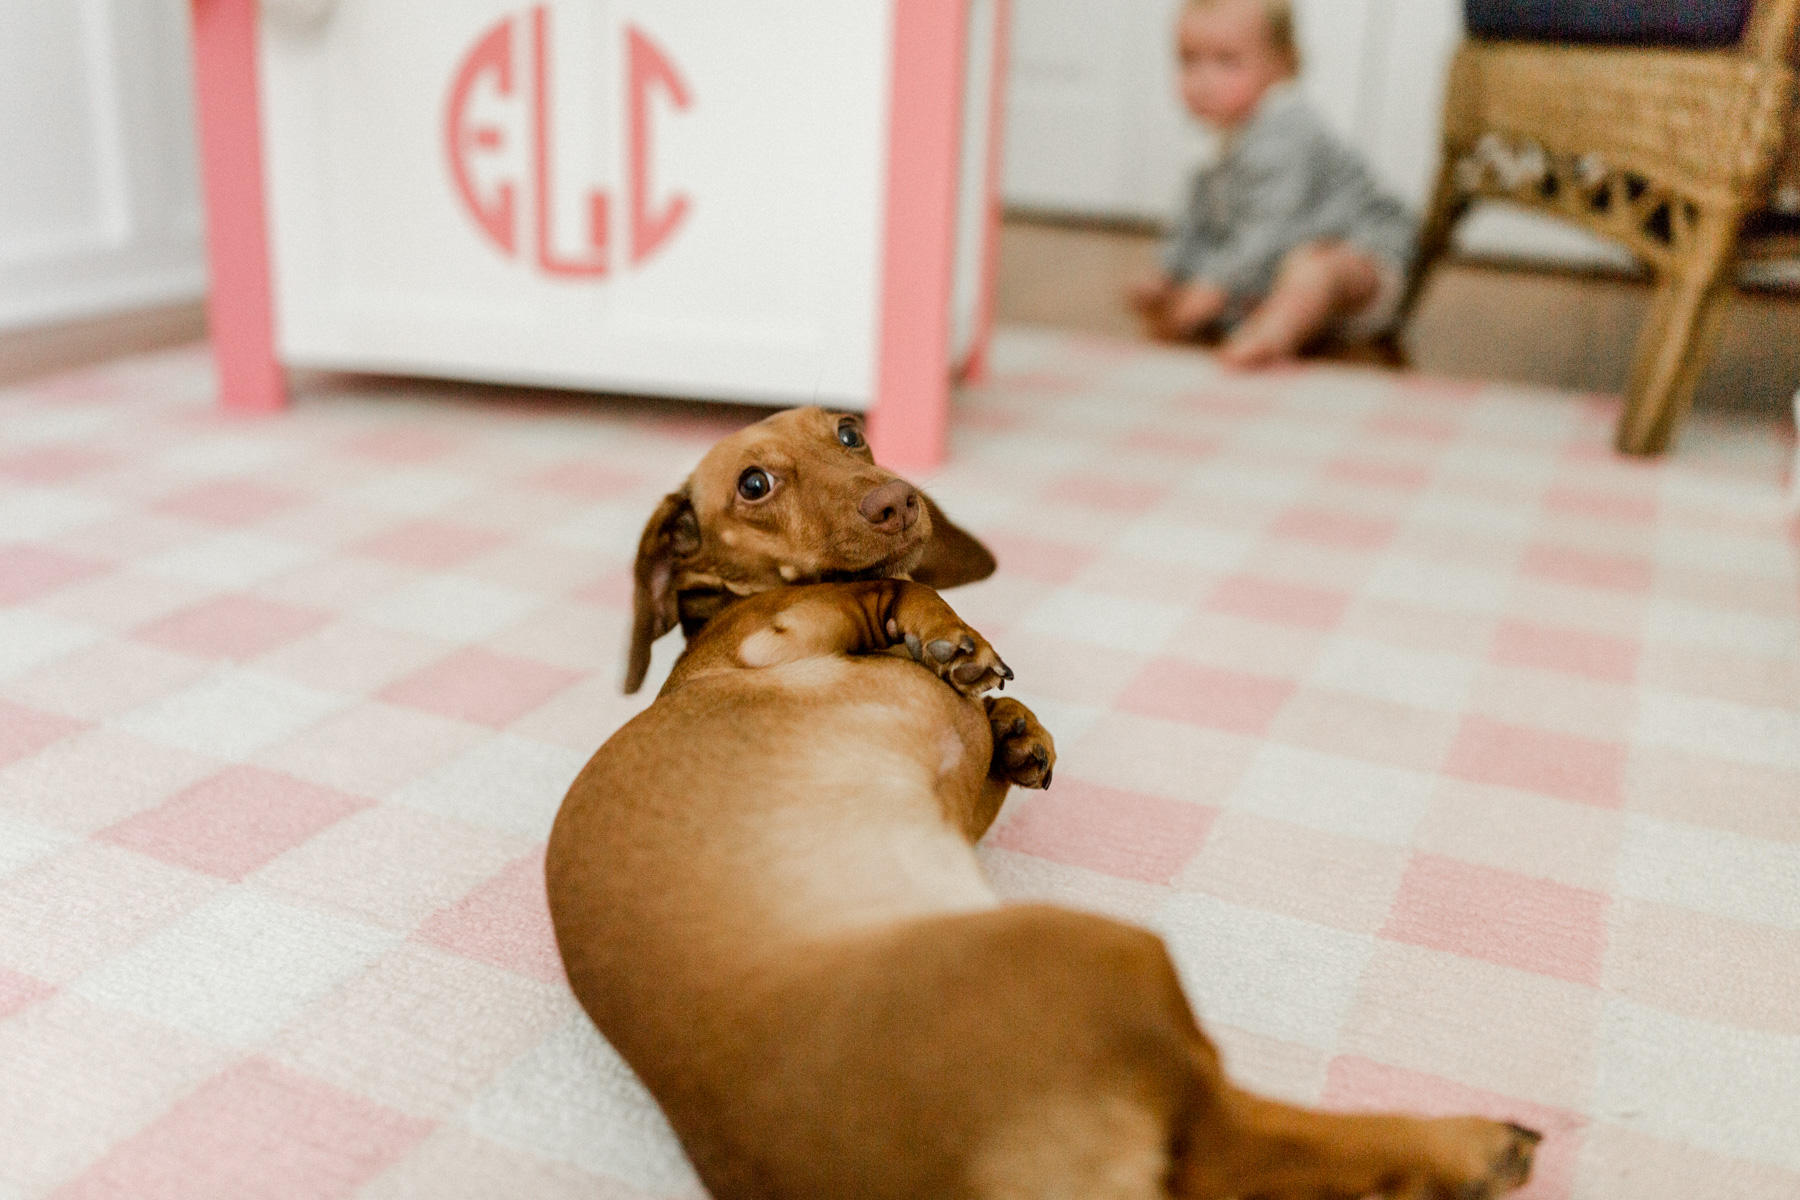
Applying the wax was extremely easy. I wanted to use this two-inch paint brush, but Noodle unfortunately ate all the bristles off it while we were driving down to the lake house. (This is my life, friends.) Luckily, though, our other brush worked just fine! I pressed down on the wax in circular motions, off-loaded excess wax, and then applied it to the chest in the same circular motion as before. It dried quickly and looked amazing!
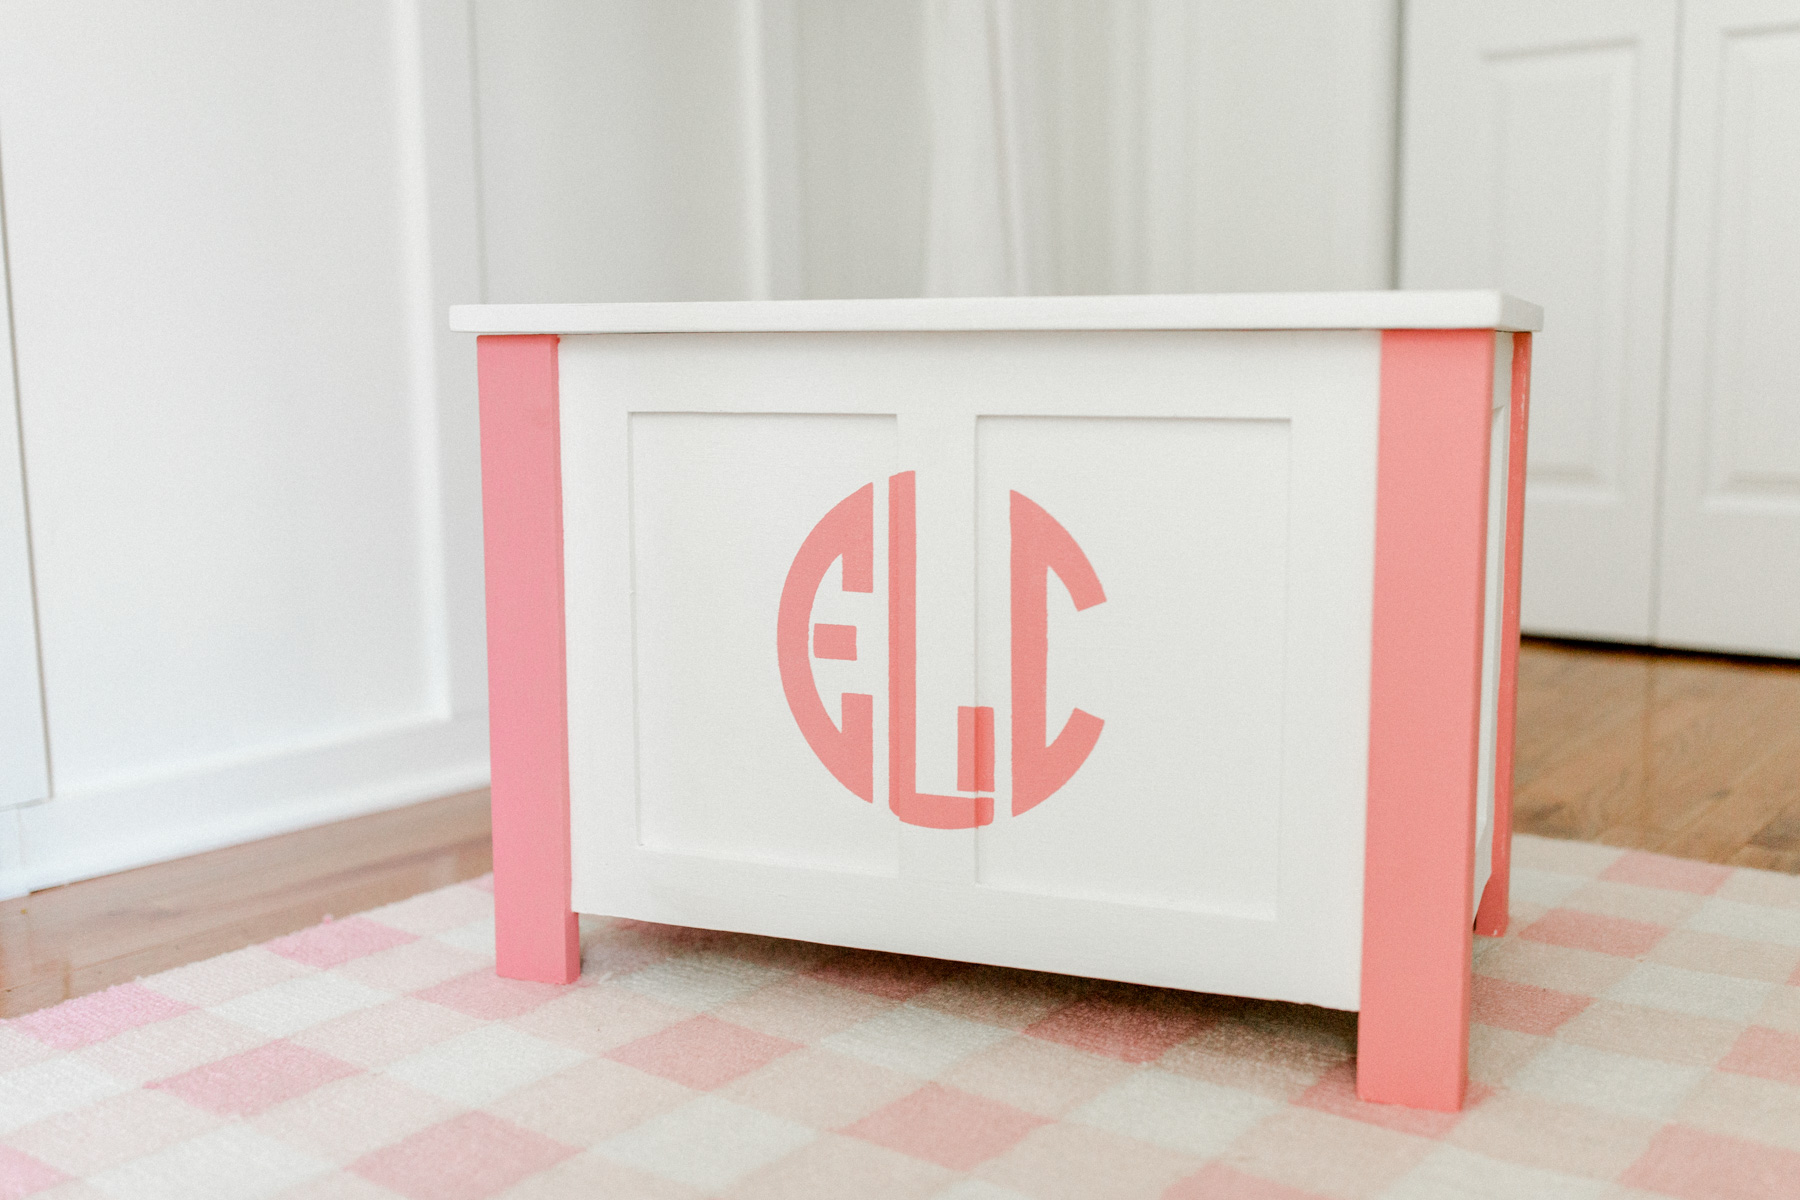
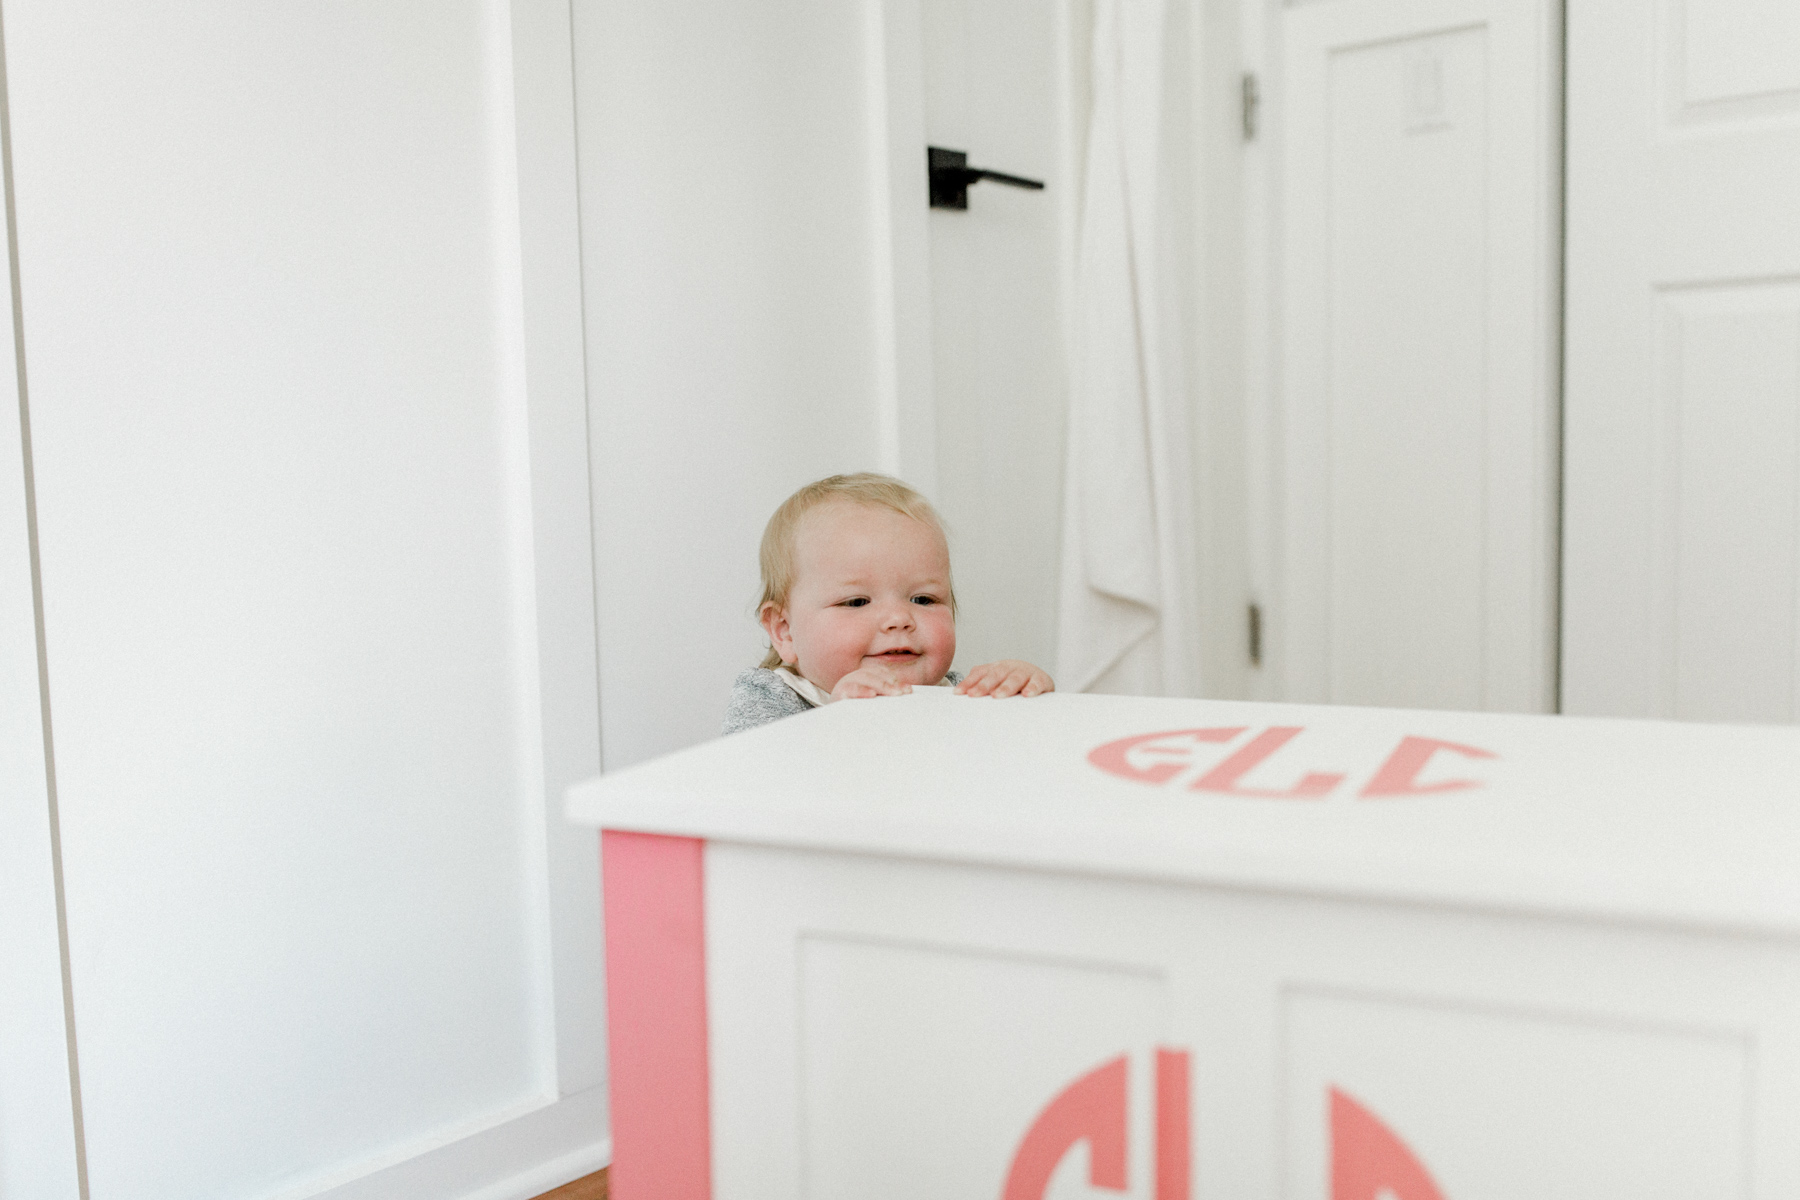

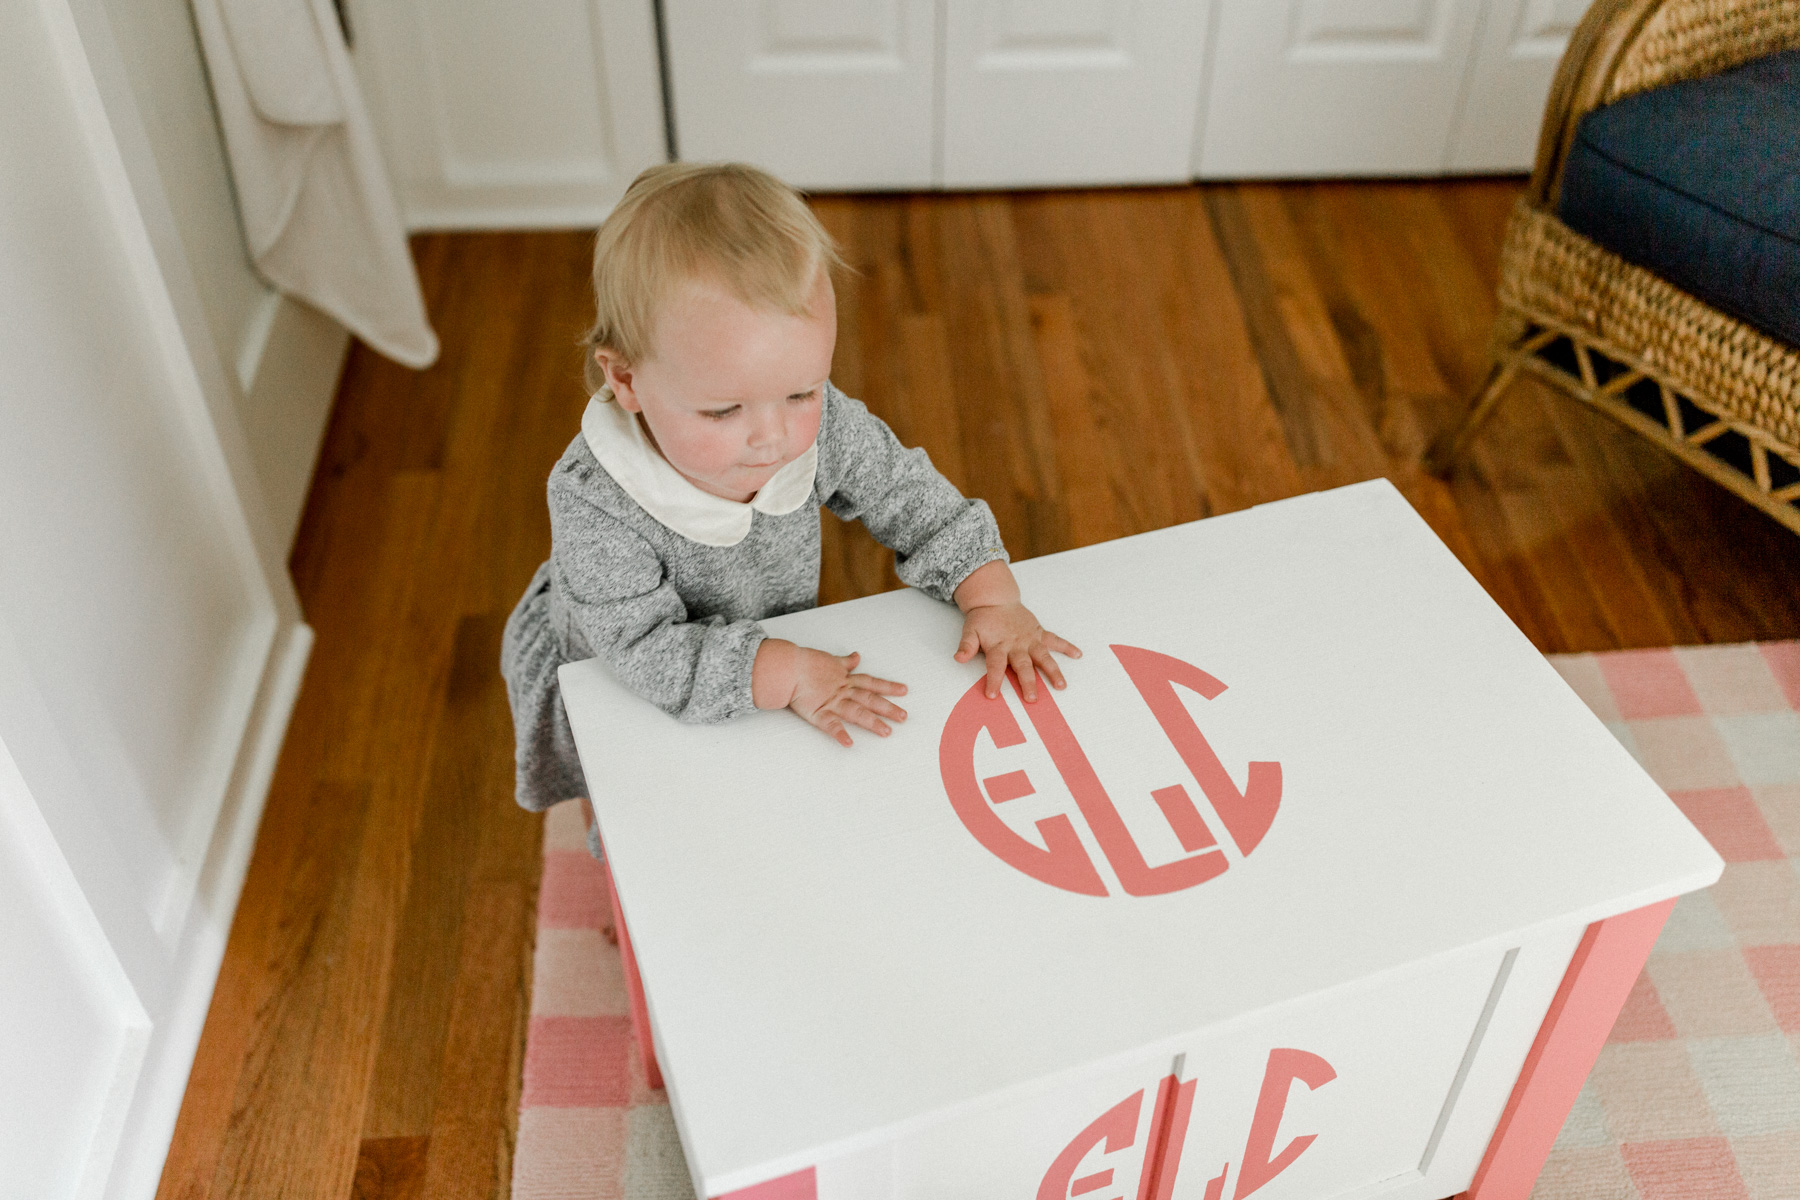
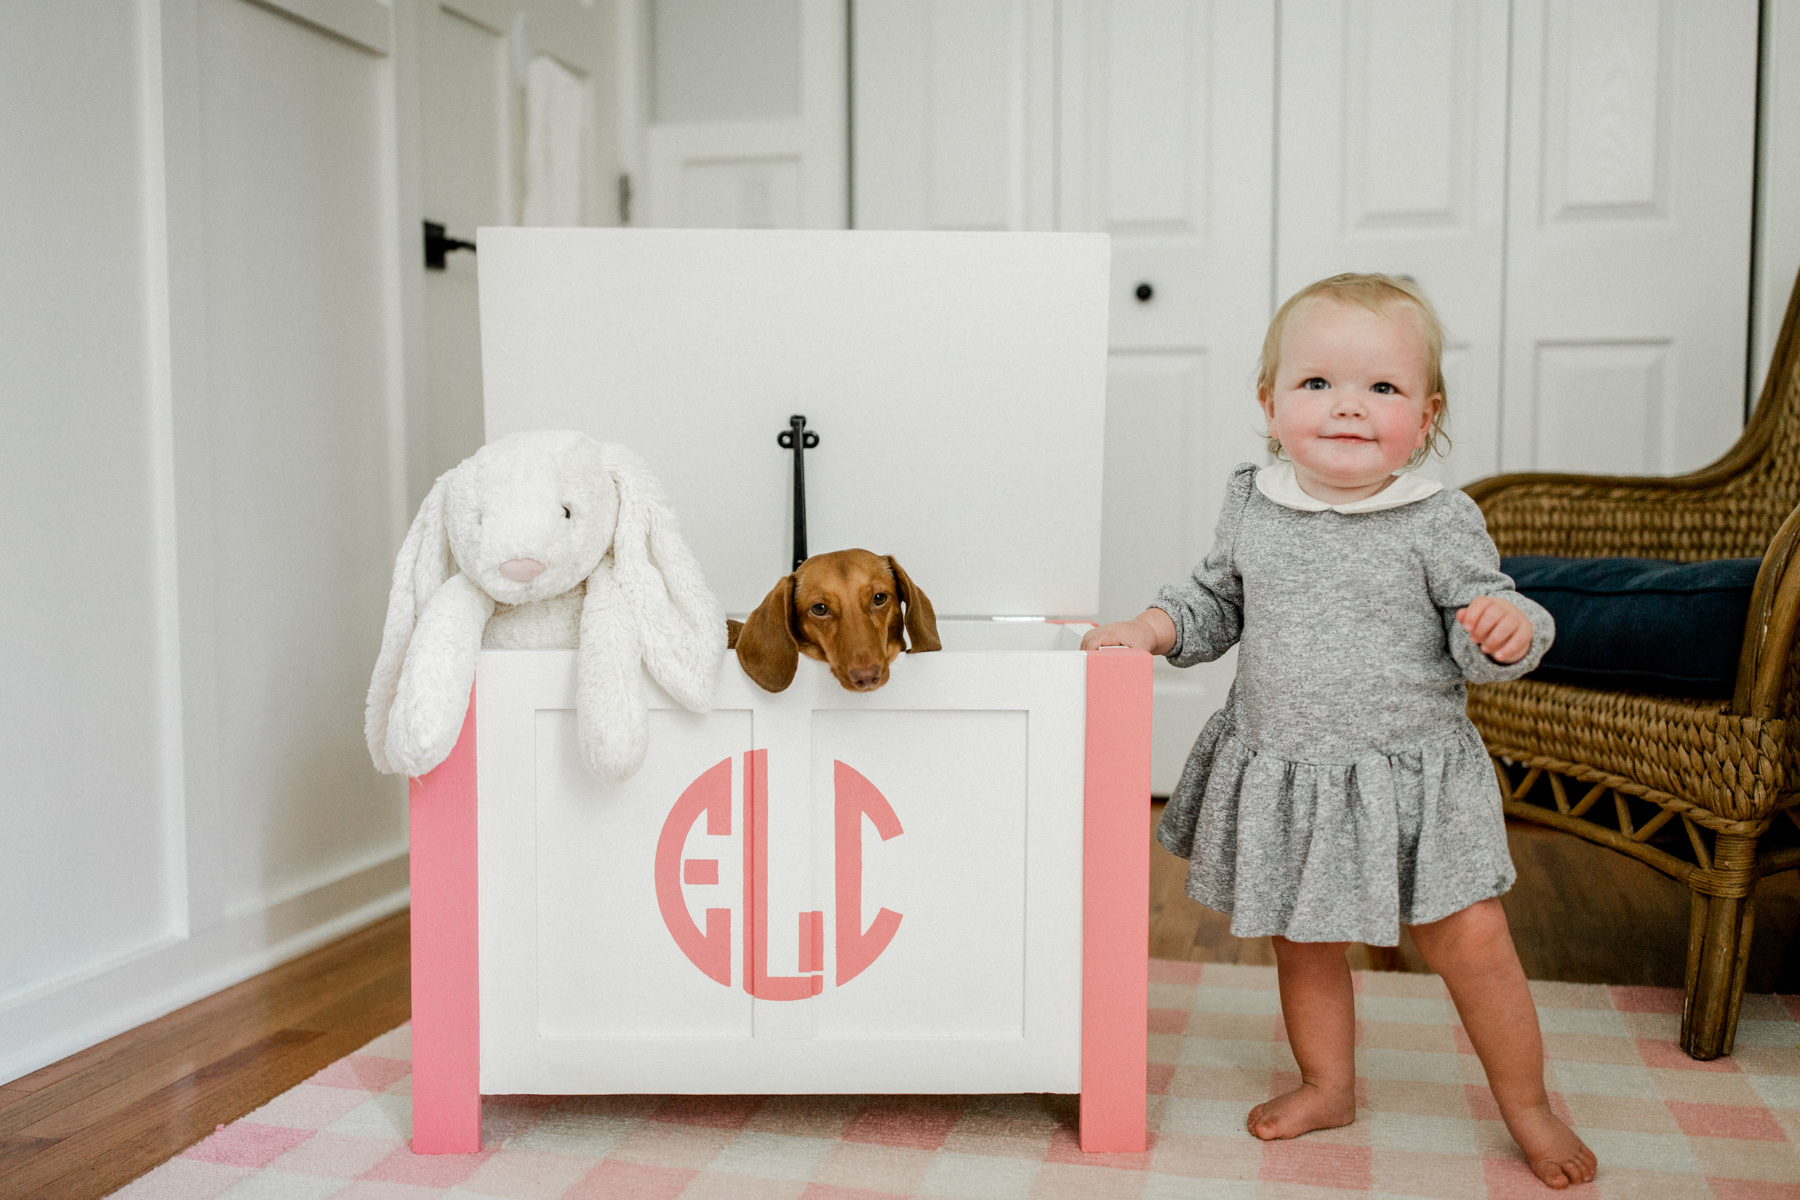
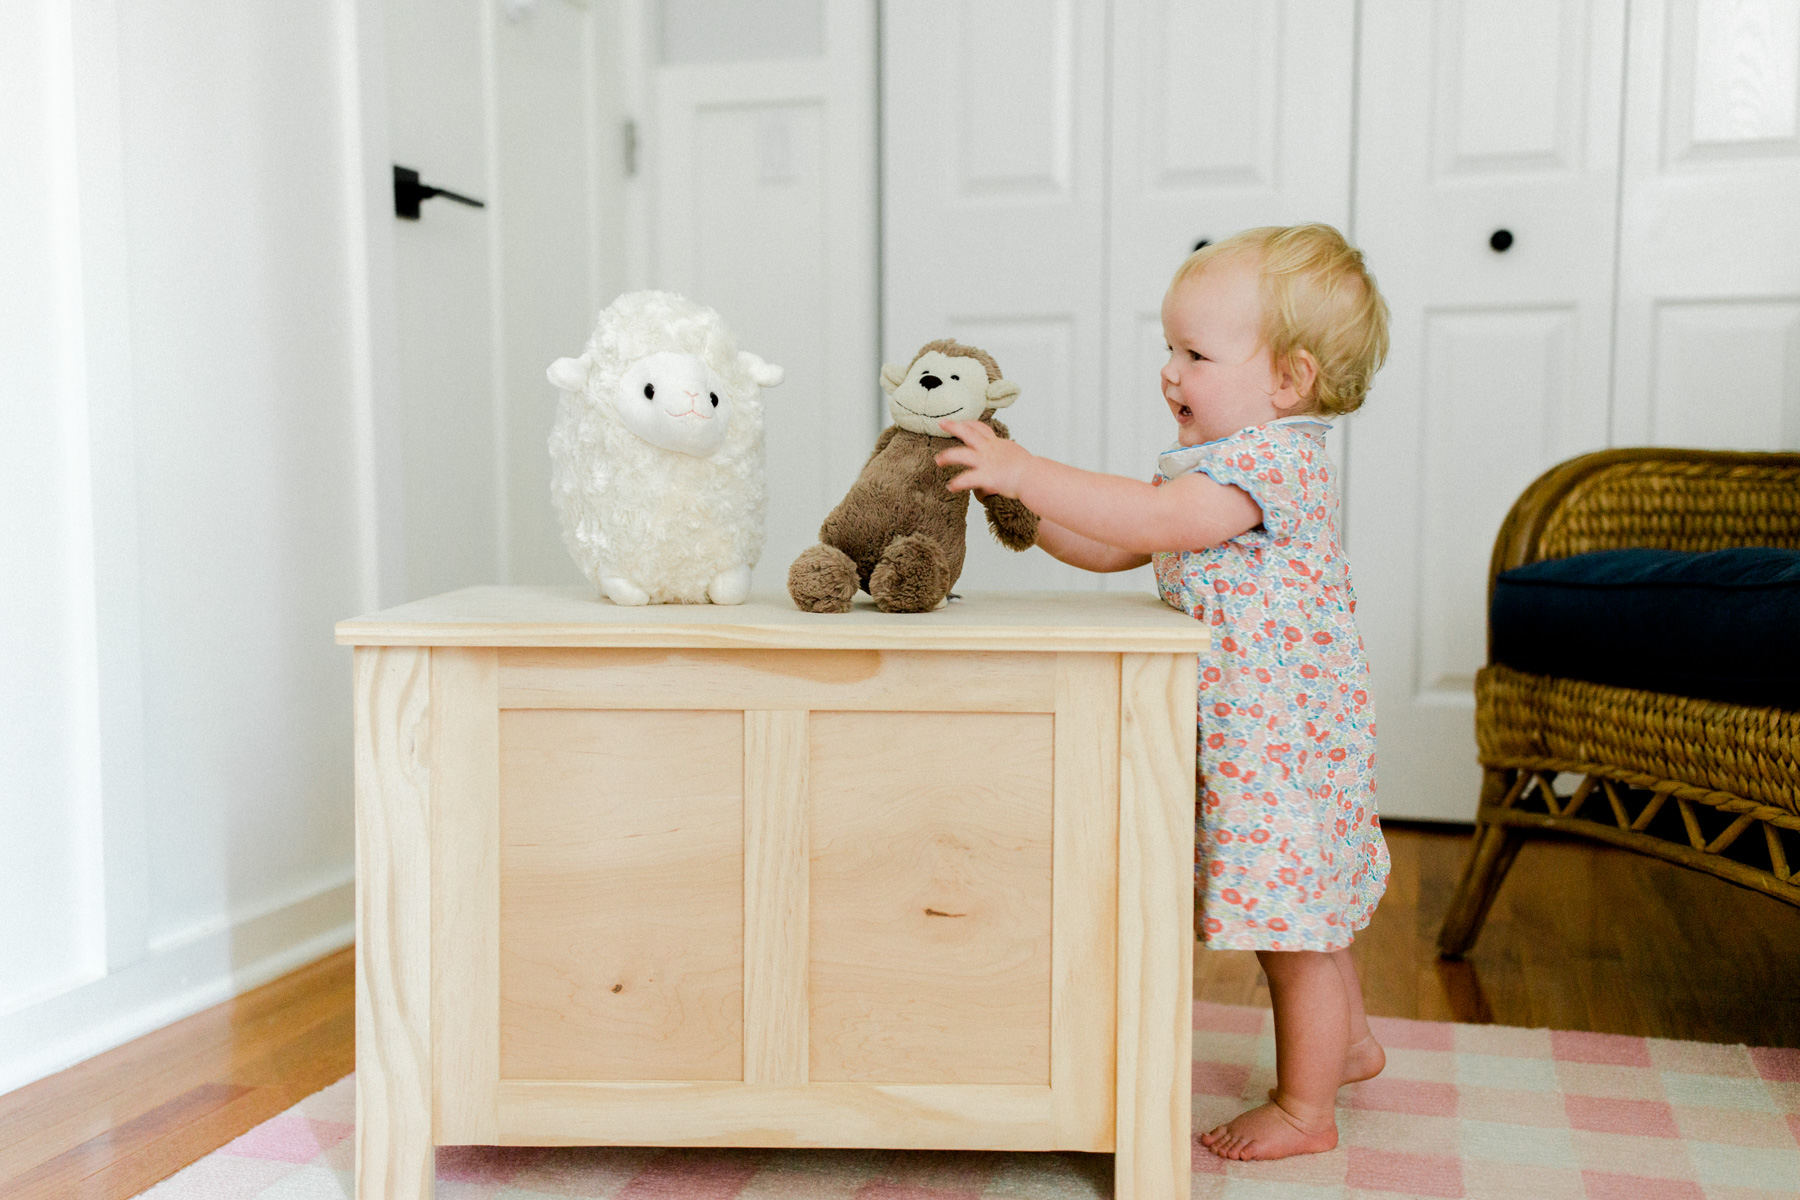
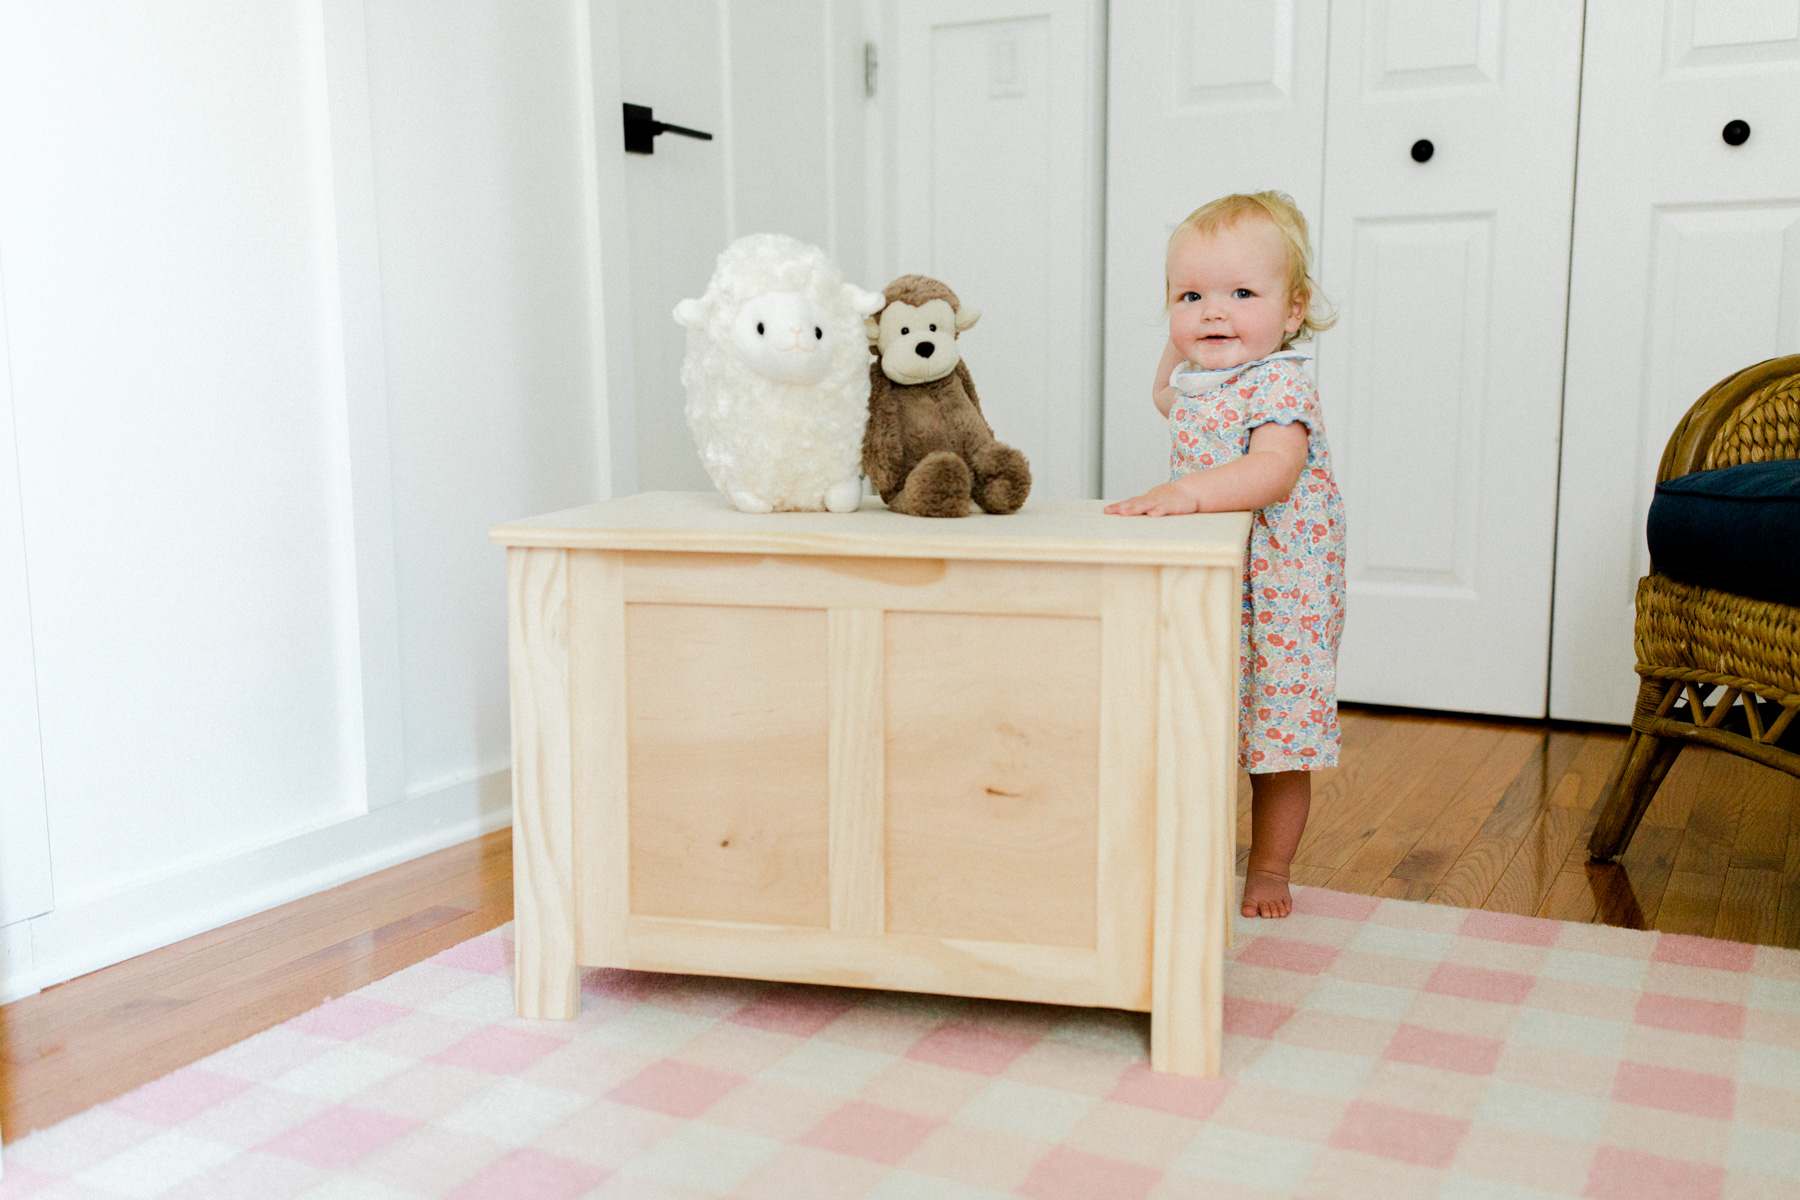
The final product
I’m in love, and so is Emma! We filled the chest with her favorite toys and stuffed animals–and, okay, with Noodle–and brought her into the room to see it. She literally shrieked. It was the cutest thing. :) The chest fits perfectly in the small space, it matches the rest of her furniture and her rug… and, in my opinion, it’s way cuter than anything we could have purchased. It’ll also hold a lot of happy memories for years to come!
Do you have any interest in taking on a creative home improvement project?! I’d love to hear about it! And be sure to check out the Amy Howard at Home collection at Ace Hardware. Next up for me is using the Furniture Lacquer to achieve that Jonathan Adler look without the crazy price tags, and the Gold Leaf to spruce up our dated chandelier – stay tuned for more DIY projects!
This post was sponsored by Ace Hardware, but all opinions are my own. As always, thank you so much for supporting the partnerships that keep Kelly in the City up and running!