


This post has been pre-scheduled because of Emma’s arrival. #maternityleave ;)
It’s done! As we experienced nearly every delay possible during construction, it’s hard to believe that our master bathroom has finally been completed. I can’t even tell you how great it feels to no longer be living out of dopp kits piled up on the floor of our guest bathroom! Rolling my preggo self out of bed and walking a few steps to this space–complete with actual countertops–is a dream. I really can’t imagine what it’ll feel like when I’m not carrying around a watermelon!
I won’t lie: this project was a rough one. For various reasons which I’ll get into shortly, the renovation took the better part of a year, from demolition to completion. While we absolutely love the final product, Mitch and I thought we’d team up to write a very honest post about the costs associated with a project like this as well as the time and work that goes into it. We live in a “Pinterest world” these days, and we’re constantly surrounded by images of gorgeous homes that we can’t help but dream about having one day. However, what I didn’t realize is that there’s so much that goes into those picture-perfect home Pins. Definitely not saying that home renovation projects aren’t worth it; I just think they’re made to look a LOT easier than they are in reality. ;)
The decision
The backstory is that when our house flooded last fall, we lost the entirety of our master bathroom, which you can see at 21:08 in this video. (Love how I absentmindedly call it a kitchen, haha.) When we found out that the space needed to be demolished in order for a drain system to be installed, Mitch and I tried to look at the situation as optimistically as possible, and remember the fact that were planning on redoing the bathroom down the road, anyway. That said, we’d planned on renovating it in something like five years… not a couple of months after purchasing the home! And it was pretty devastating once we learned how much the project would cost.
I’ve mentioned this before, but Mitch and I are not independently wealthy. I’m the first to admit that pretty blog photos and sponsorships can make it seem otherwise, but really: we are very normal people, with normal jobs and normal salaries. Our parents don’t support us–we’re old, nor would we ever want that!–and we do everything we can to save, save, save. (And sell, sell, sell!)
Because of this, we decided against hiring one of those big contracting companies. Each one quoted us around $15,000 for the project (all in), and that sounded absolutely insane… especially considering we had a baby on the way, and several other home improvement projects to complete before his or her arrival. (The fireplace, master bedroom, nursery and guest room. More final reveal posts coming soon!) So instead, we went with an independent contractor who agreed to do the work on the side–at night and during weekends–for $5,000. While this number did include some pretty intense plumbing, electrical and structural work, it didn’t include materials. We’d need to purchase those on our own… but we liked this, as we’d always been savvy shoppers.
The design
Here’s the original inspiration post. I’d fallen completely in love with Alison Cayne’s West Village bathroom whenever these photos came out, and Mitch said that if that was my dream bathroom, that we should go with it. Best husband ever, right?!
Mitch also made some pretty significant changes to the structure of the room:
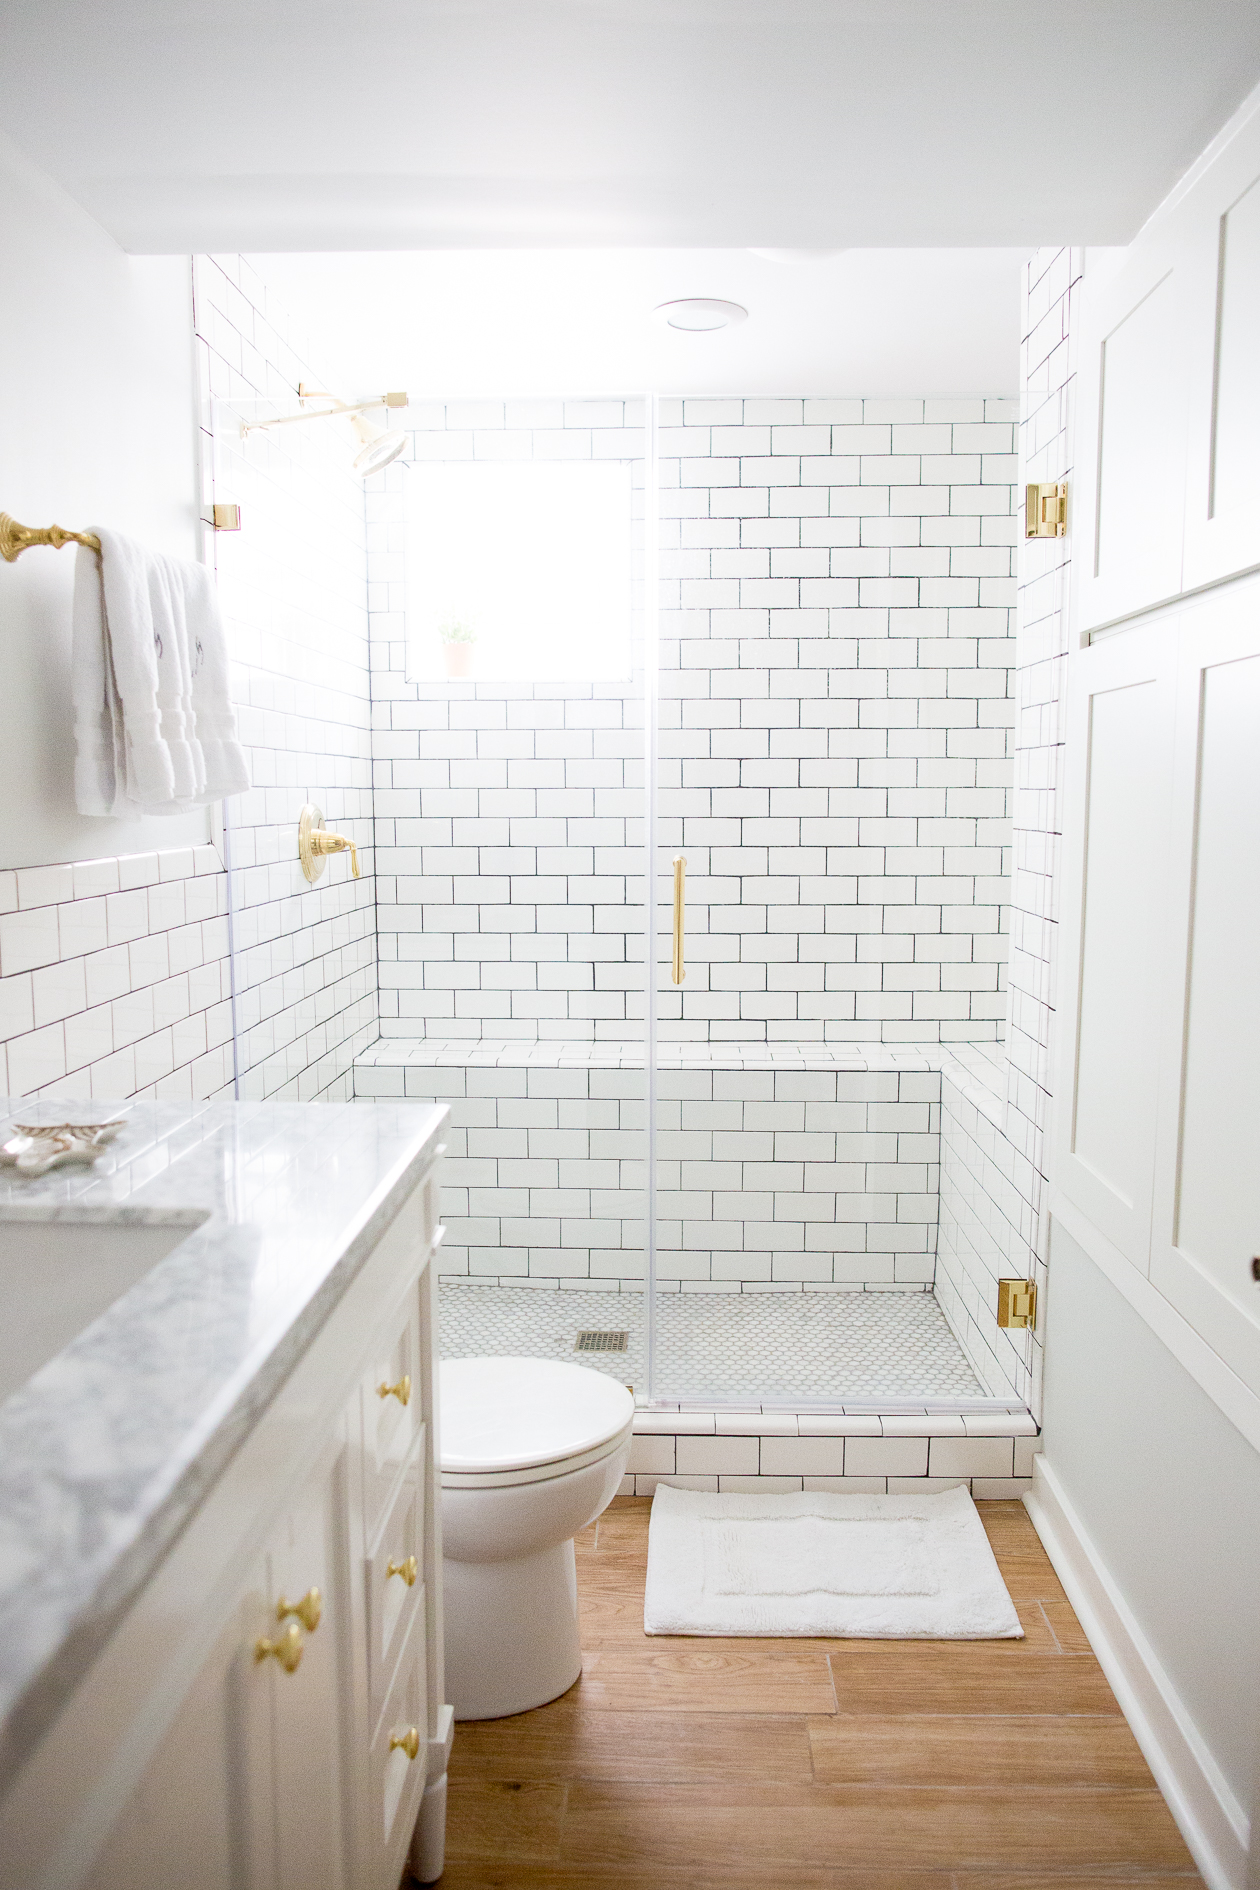
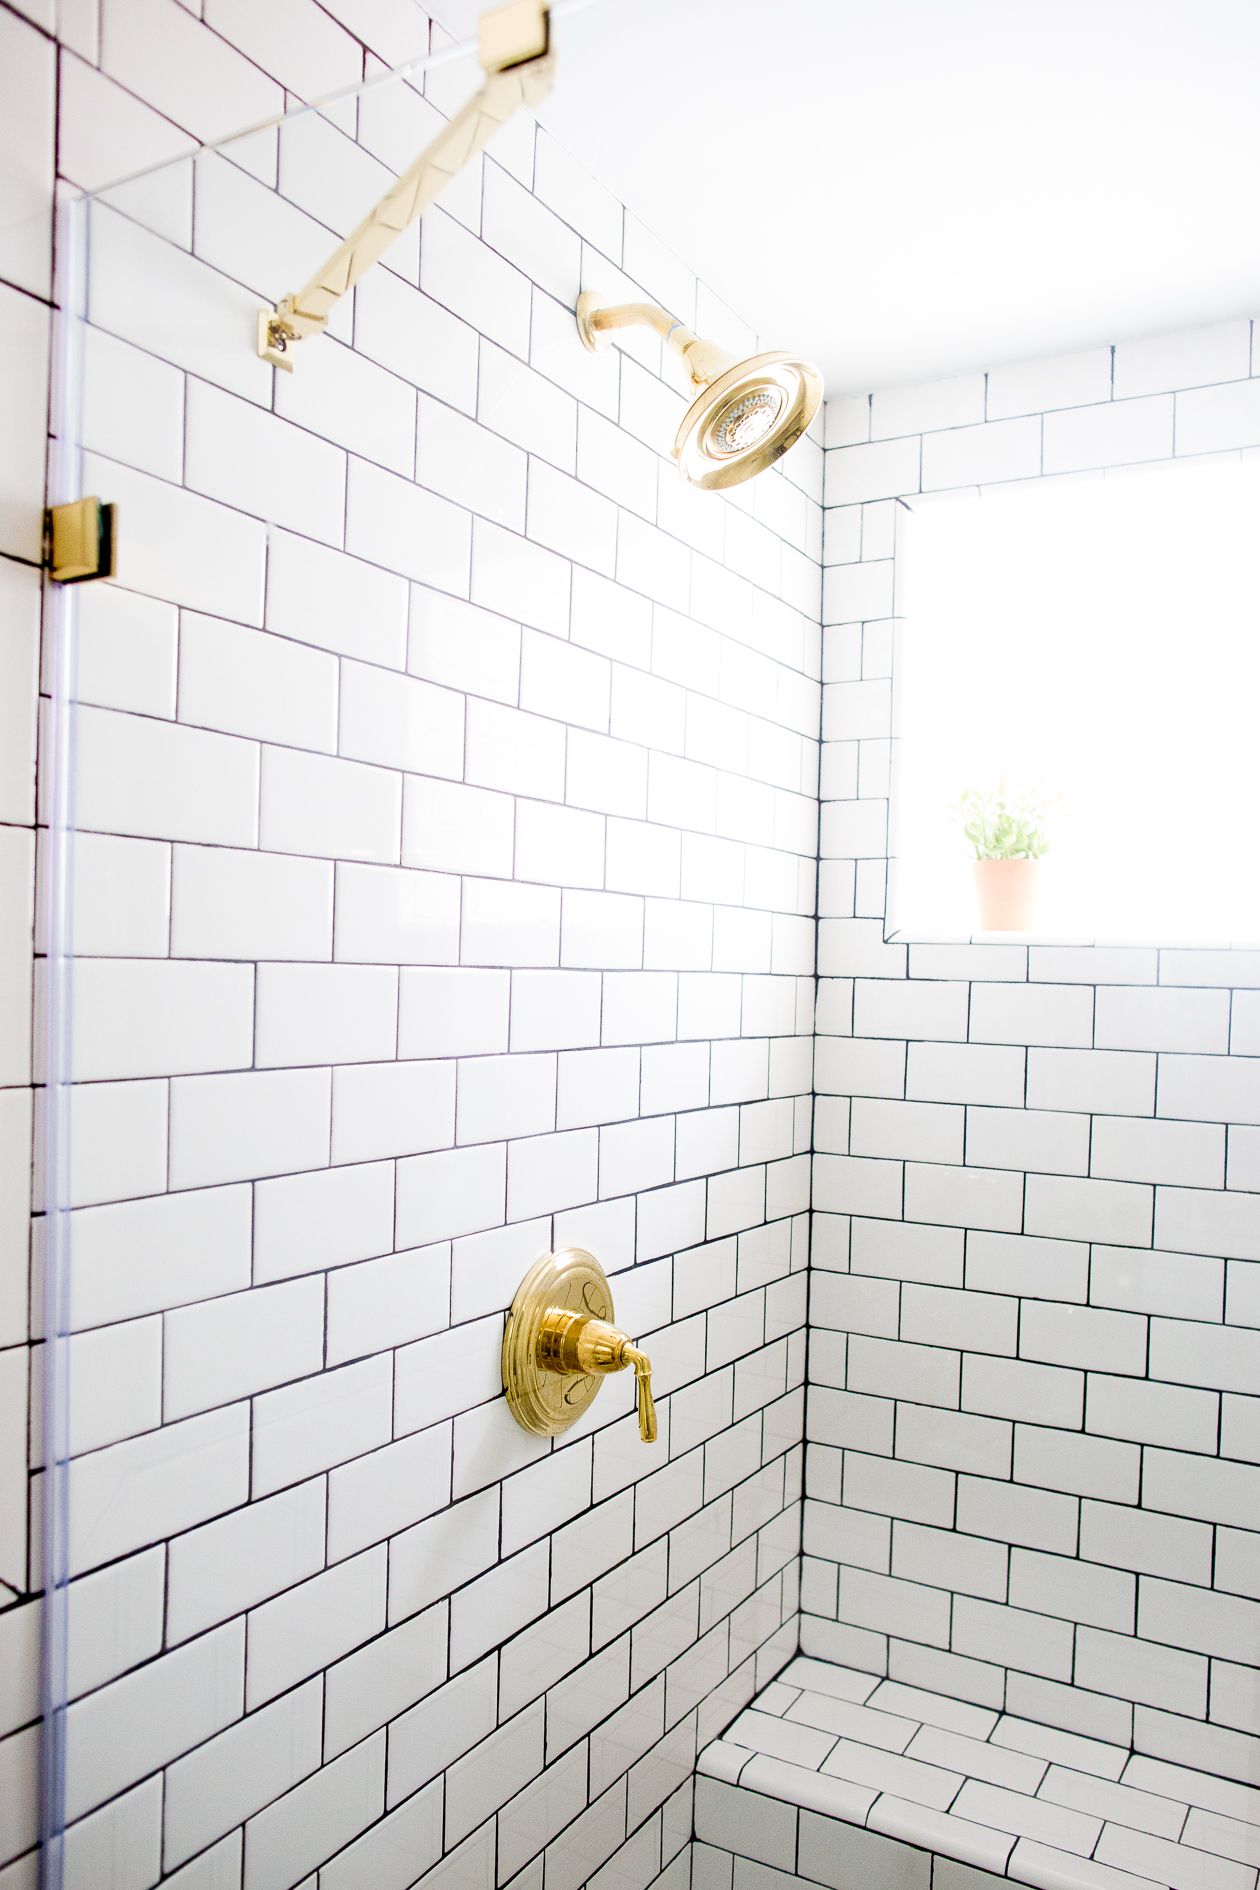
- Opening up a previously bricked-over window. I was actually pretty against this in the beginning because removing bricks from our old house sounded very scary to me. (What if everything came crashing down?!) But I’m SO glad we did it. Our contractor agreed to include this in the original quoted price, so it was kind of a no-brainer. (Actual “window day,” though, was a bit nerve-wracking for me!) Isn’t natural light just the best?
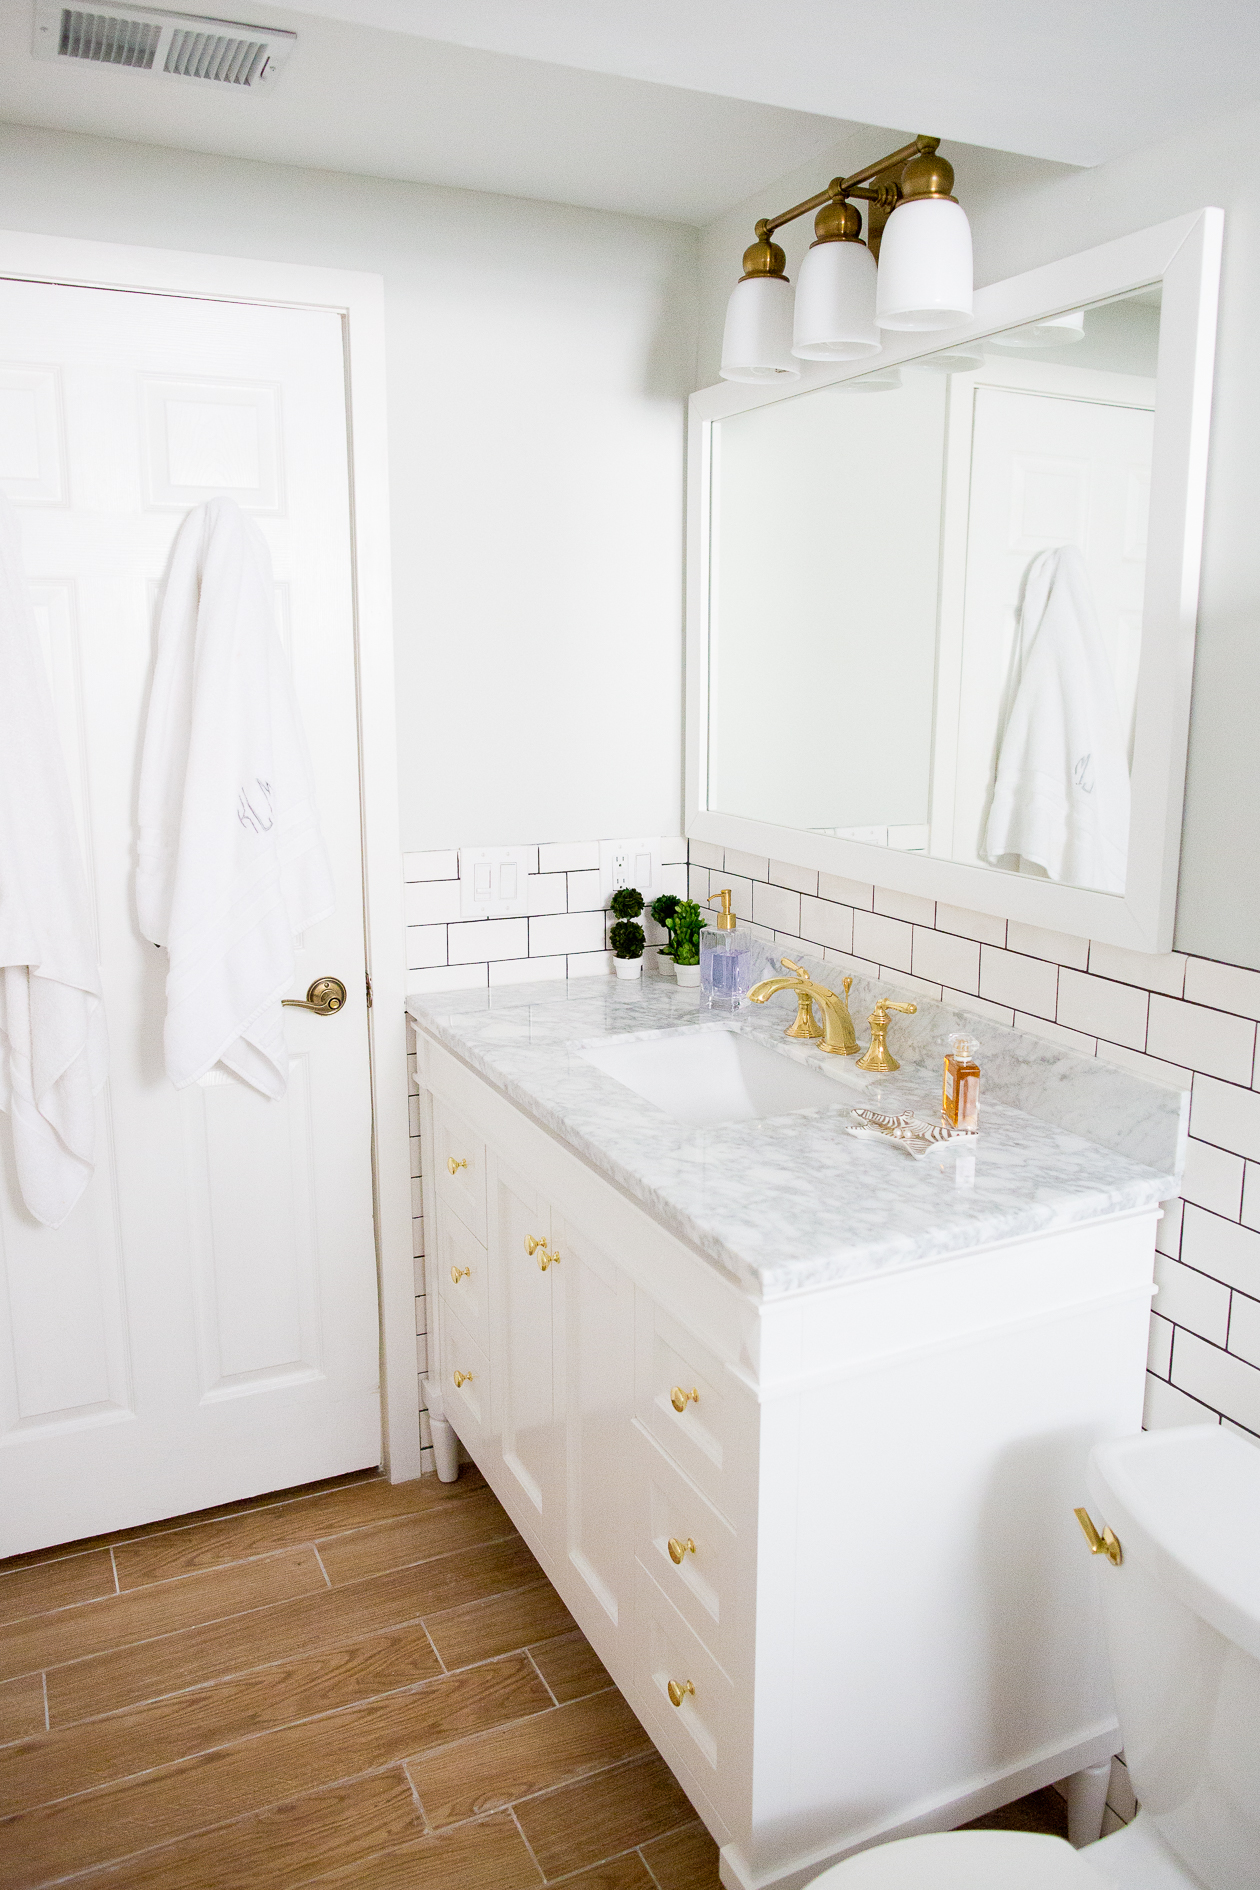
- Removing a linen closet. Originally, there was a linen closet to the left side of the vanity, which made the bathroom look pretty tiny and only allowed for a small vanity. Taking it out made for so much more counter space!
- Knocking down a wall and installing built-in cabinetry. To the right, you can see a wall of white cabinets. Before, that was just a wall. Mitch was convinced there was space behind it… and lo and behold, there was. I LOVE the built-in cabinetry. So much space for toiletries, cleaning supplies and towels!
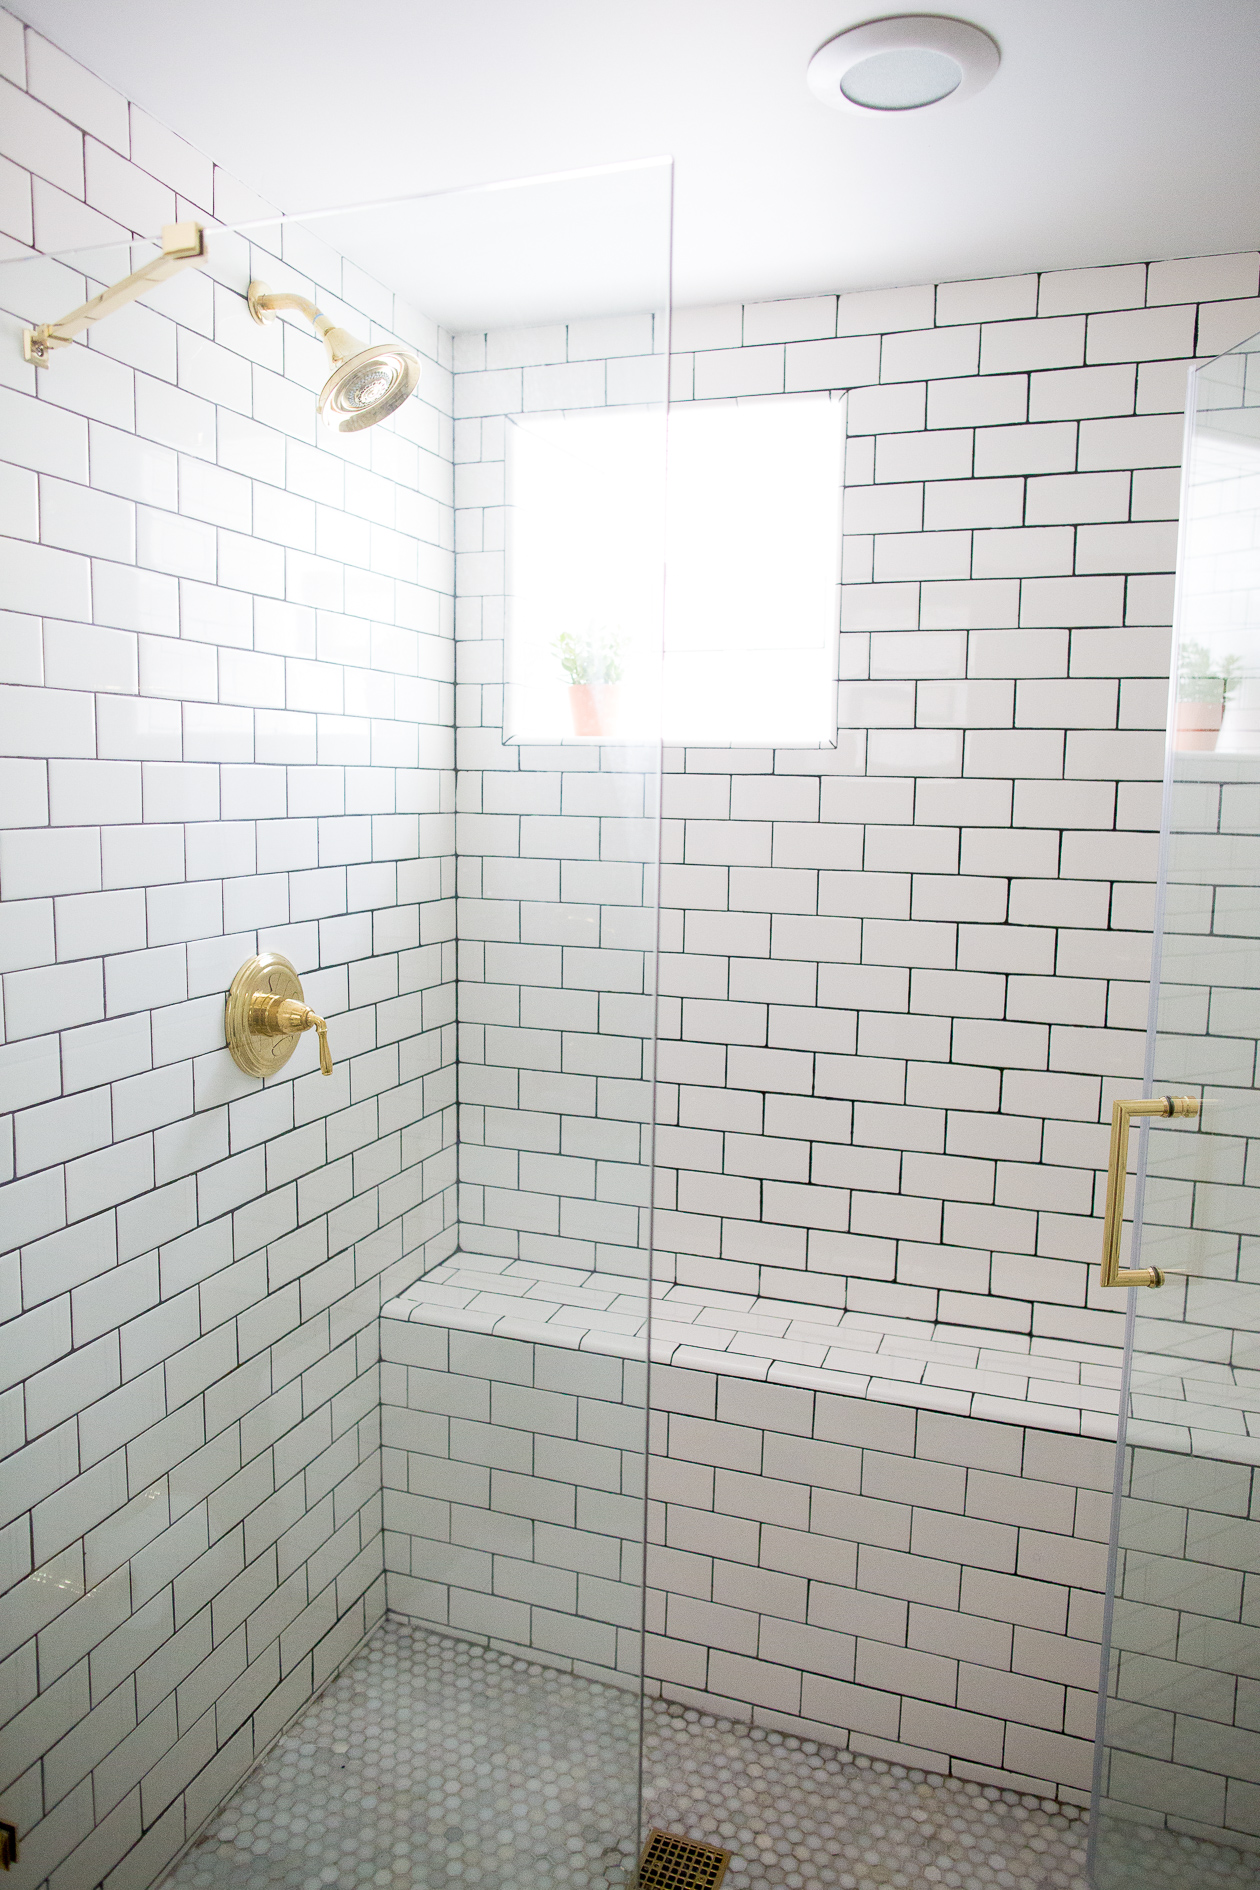
- Knocking down another wall and embracing the weird foundation. As you can see, the shower has a “bench” around its perimeter, which is actually a structural part of the foundation. It’s bizarre, for sure… and apparently, it was a shortcut when the garden level was dug out many, many years ago. But instead of drywalling it and covering it up, Mitch thought it would be a good idea to embrace it–both for aesthetics and for functionality. SUCH a good idea! (Makes shaving your legs a lot easier, too.)
The floors
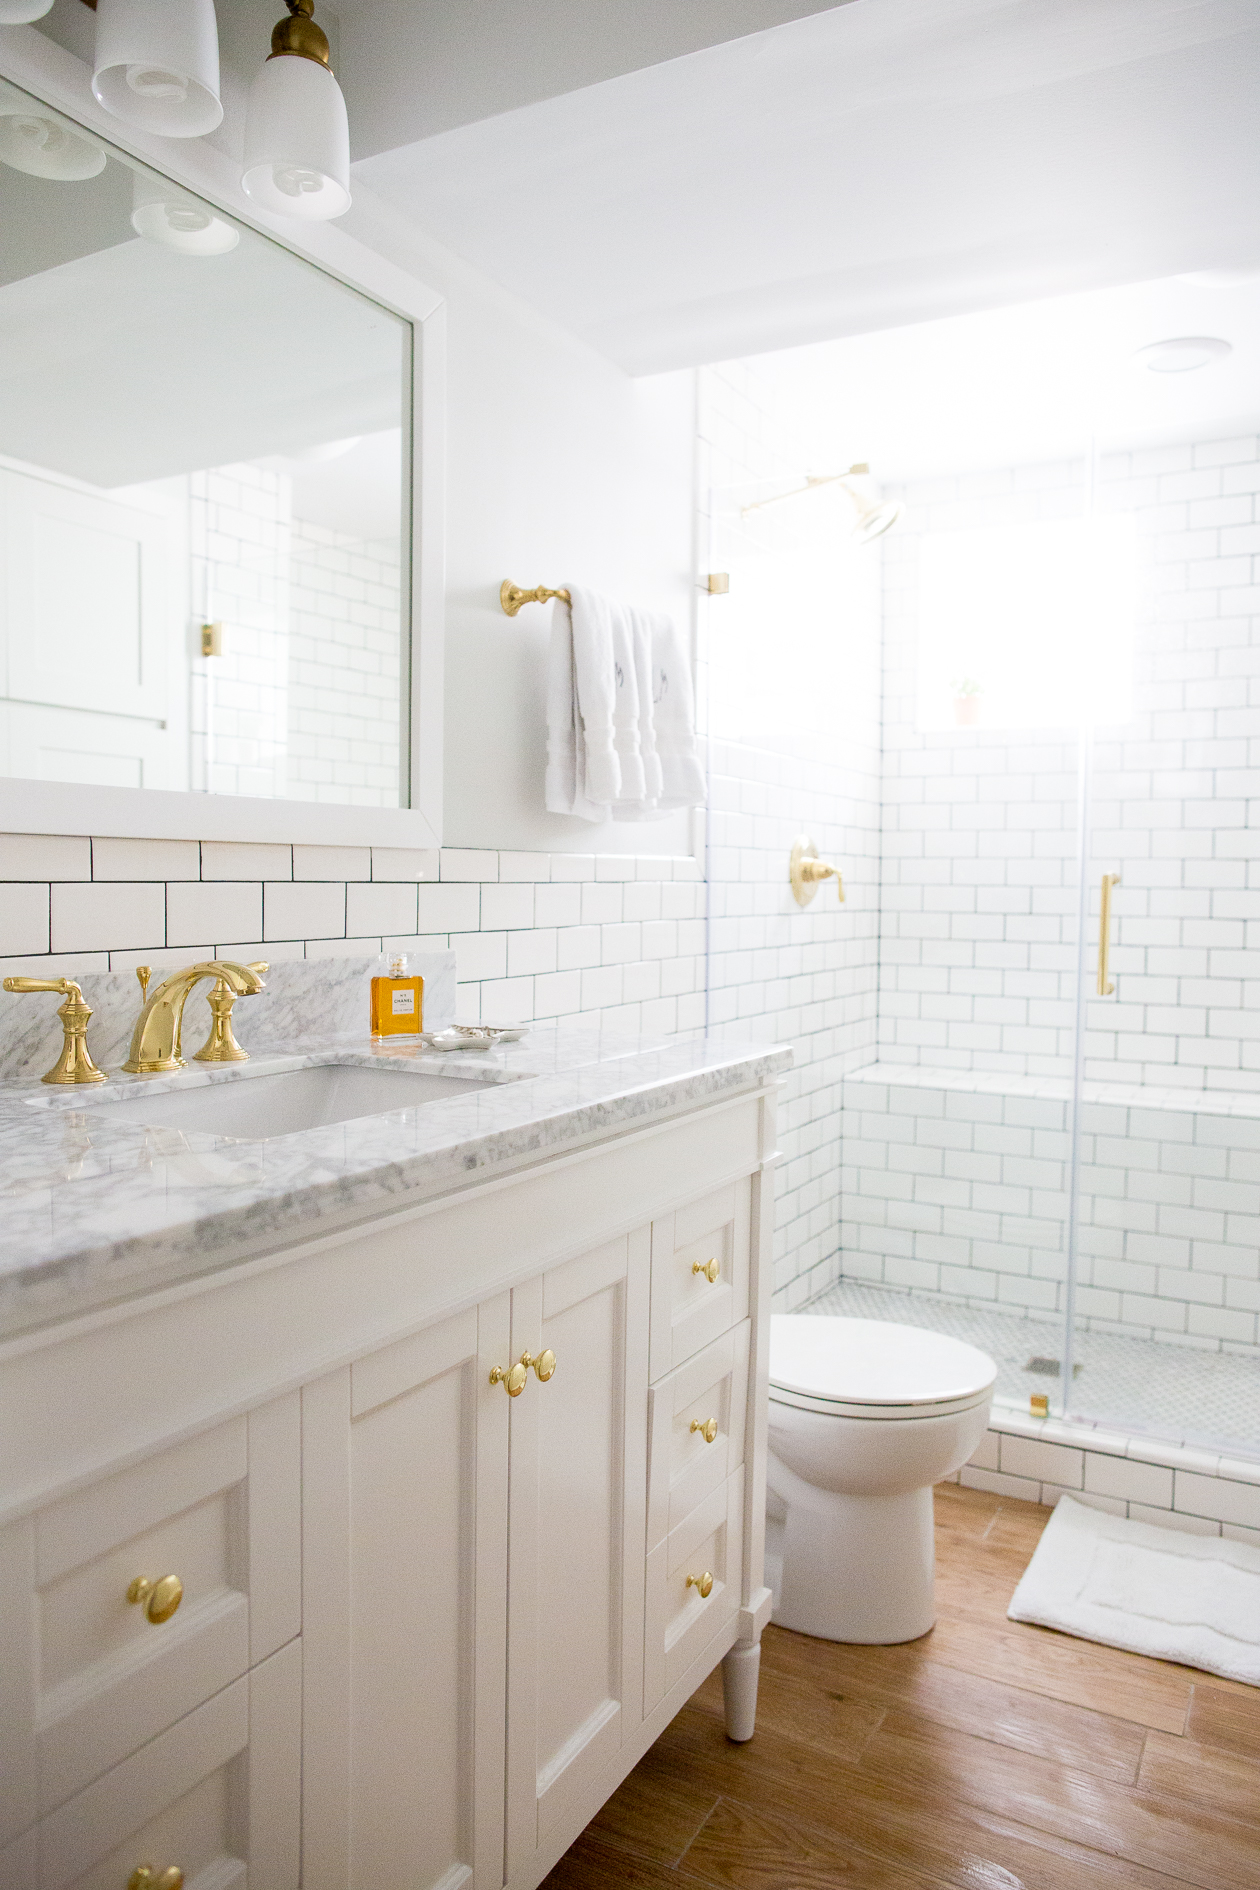
Hello, most magical floors in the entire world! If you read this post and this post, you might remember that Mitch and I partnered with BuildDirect’s Home Marketplace to install Salerno Porcelain Tile that looked just like wood in our master bedroom. (Since we suffered such a major flood in September, we decided that carpeting, vinyl and real hardwood were out of the question for flooring. We needed something that was impervious to water… just in case.) We loved the final result so much that we decided to bring the floors into the bathroom, too. (In keeping with the original Alison Cayne inspiration!) We are SO happy with them. They look just like hardwood, but they’re completely safe for a bathroom. They’re also super affordable. Couldn’t recommend them more. Read an in-depth piece on our experience with BuildDirect here!
The other materials
Note: most of these numbers are exact, but we lost a few receipts, so some of them are estimates.
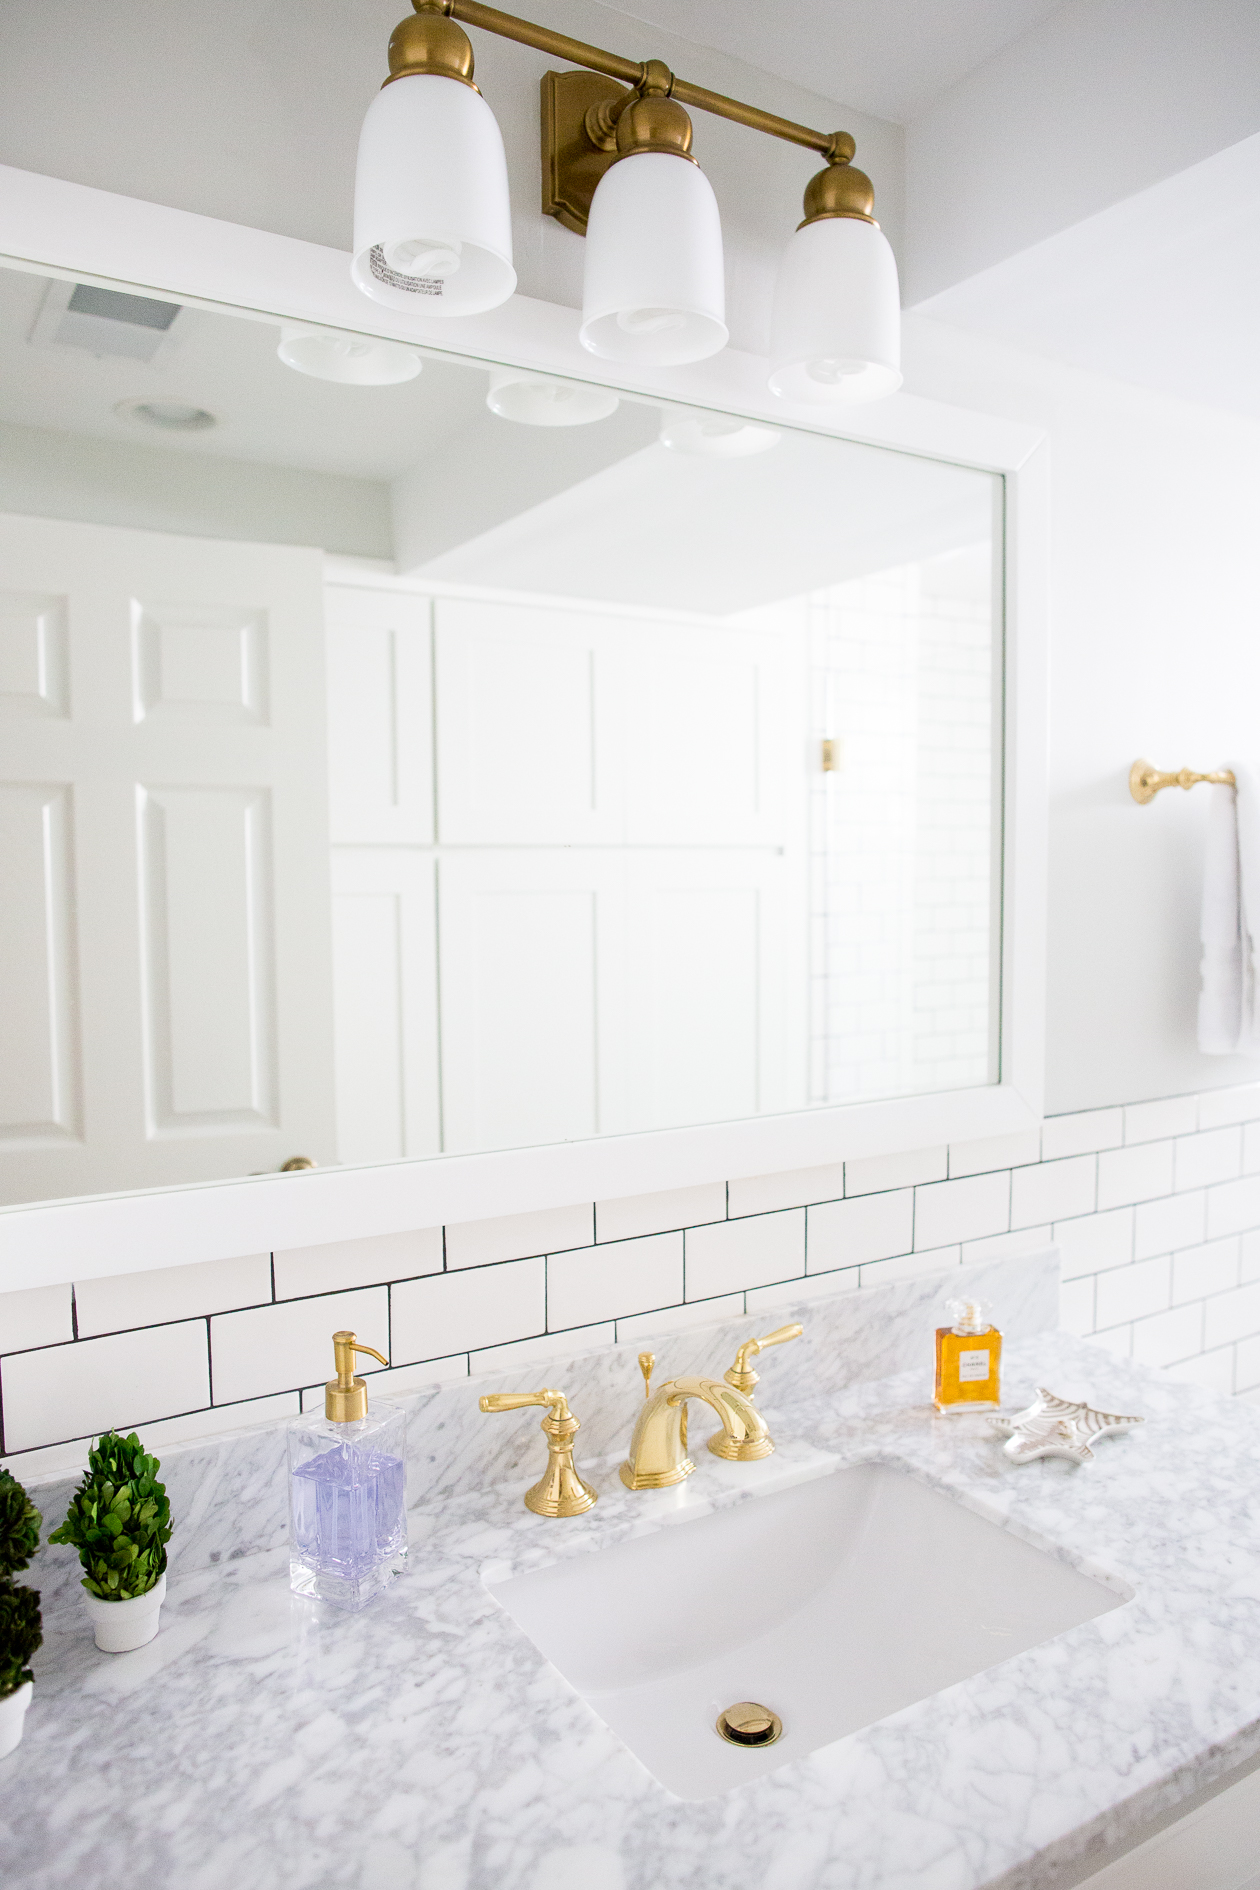
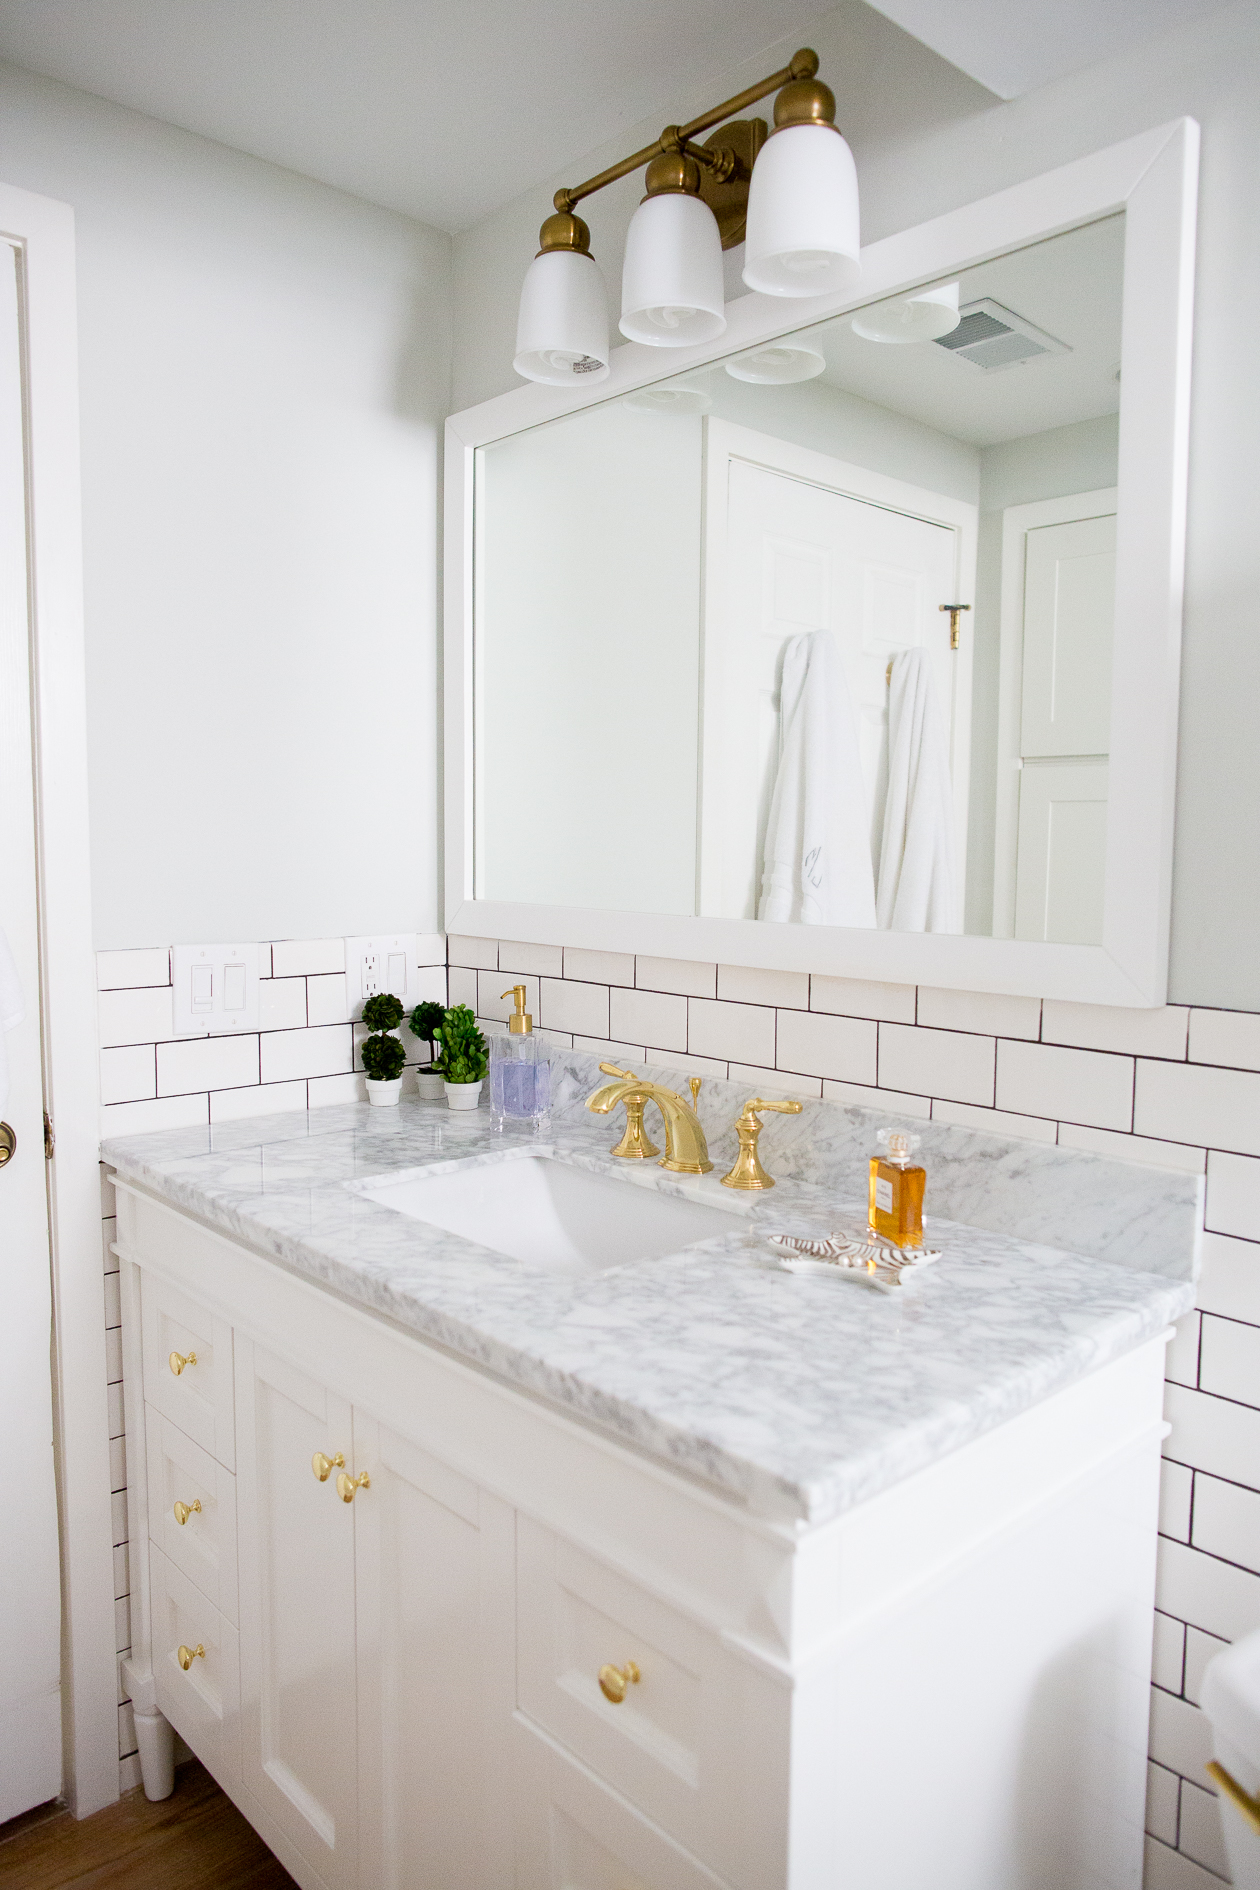
- Vanity: I loved the vanities from Pottery Barn, but HELLO MONEY. We went with this much less expensive vanity from Overstock instead, and it’s perfect. The quality is truly out of this world, and it came with the mirror! We waited for a coupon code and ended up paying $939.24 for it. (That sucked, but better than designer prices.)
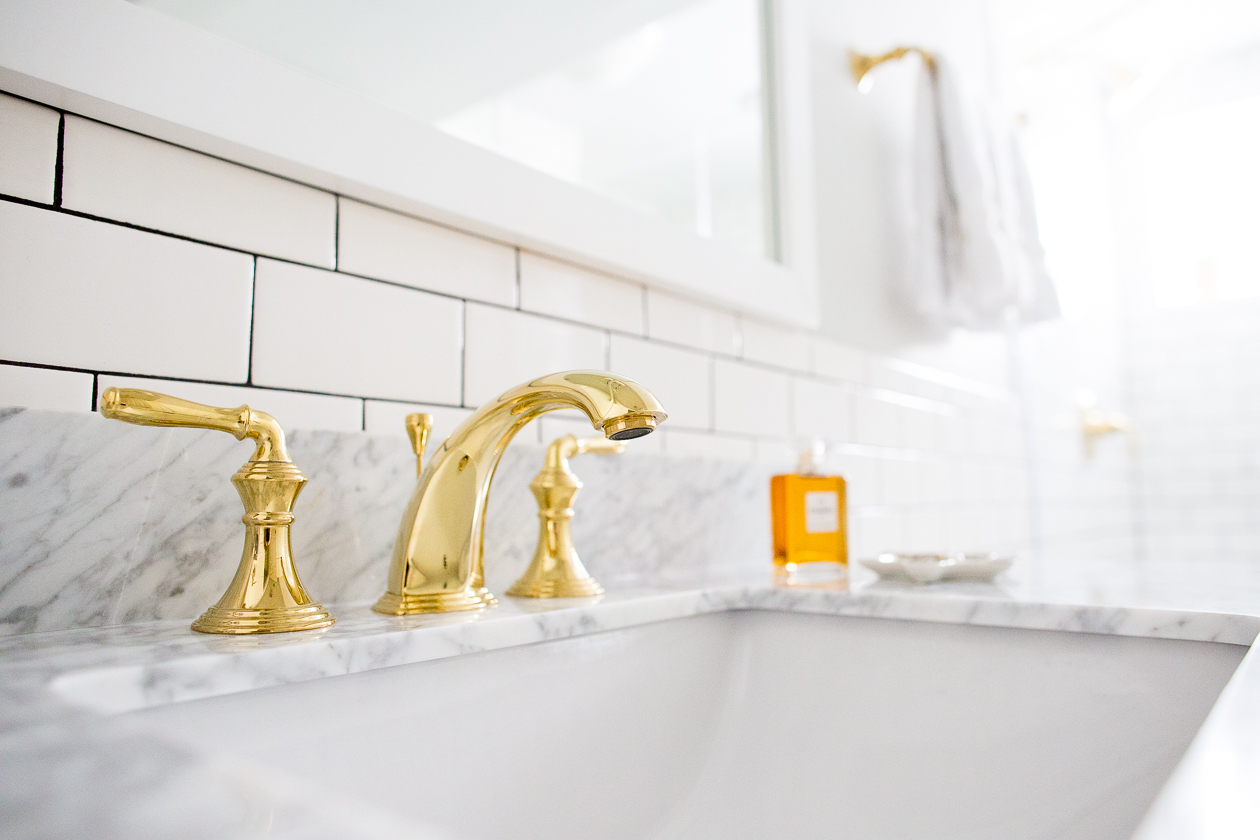
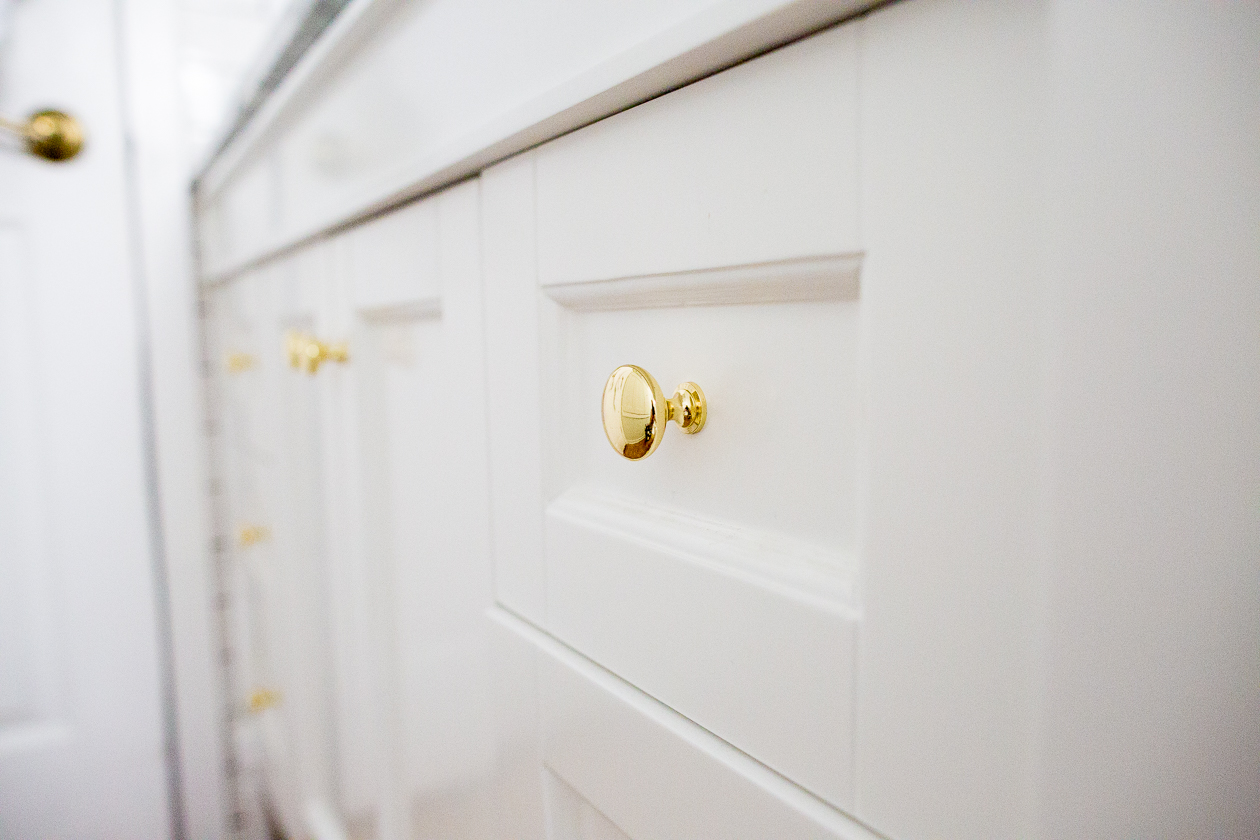
- Knobs: The vanity came with darker knobs, but I really wanted polished brass fixtures. We ordered these from Amazon, and they’re great! Twenty-five of ’em were $25.38. (Clearly we now have extras. Want ’em?)
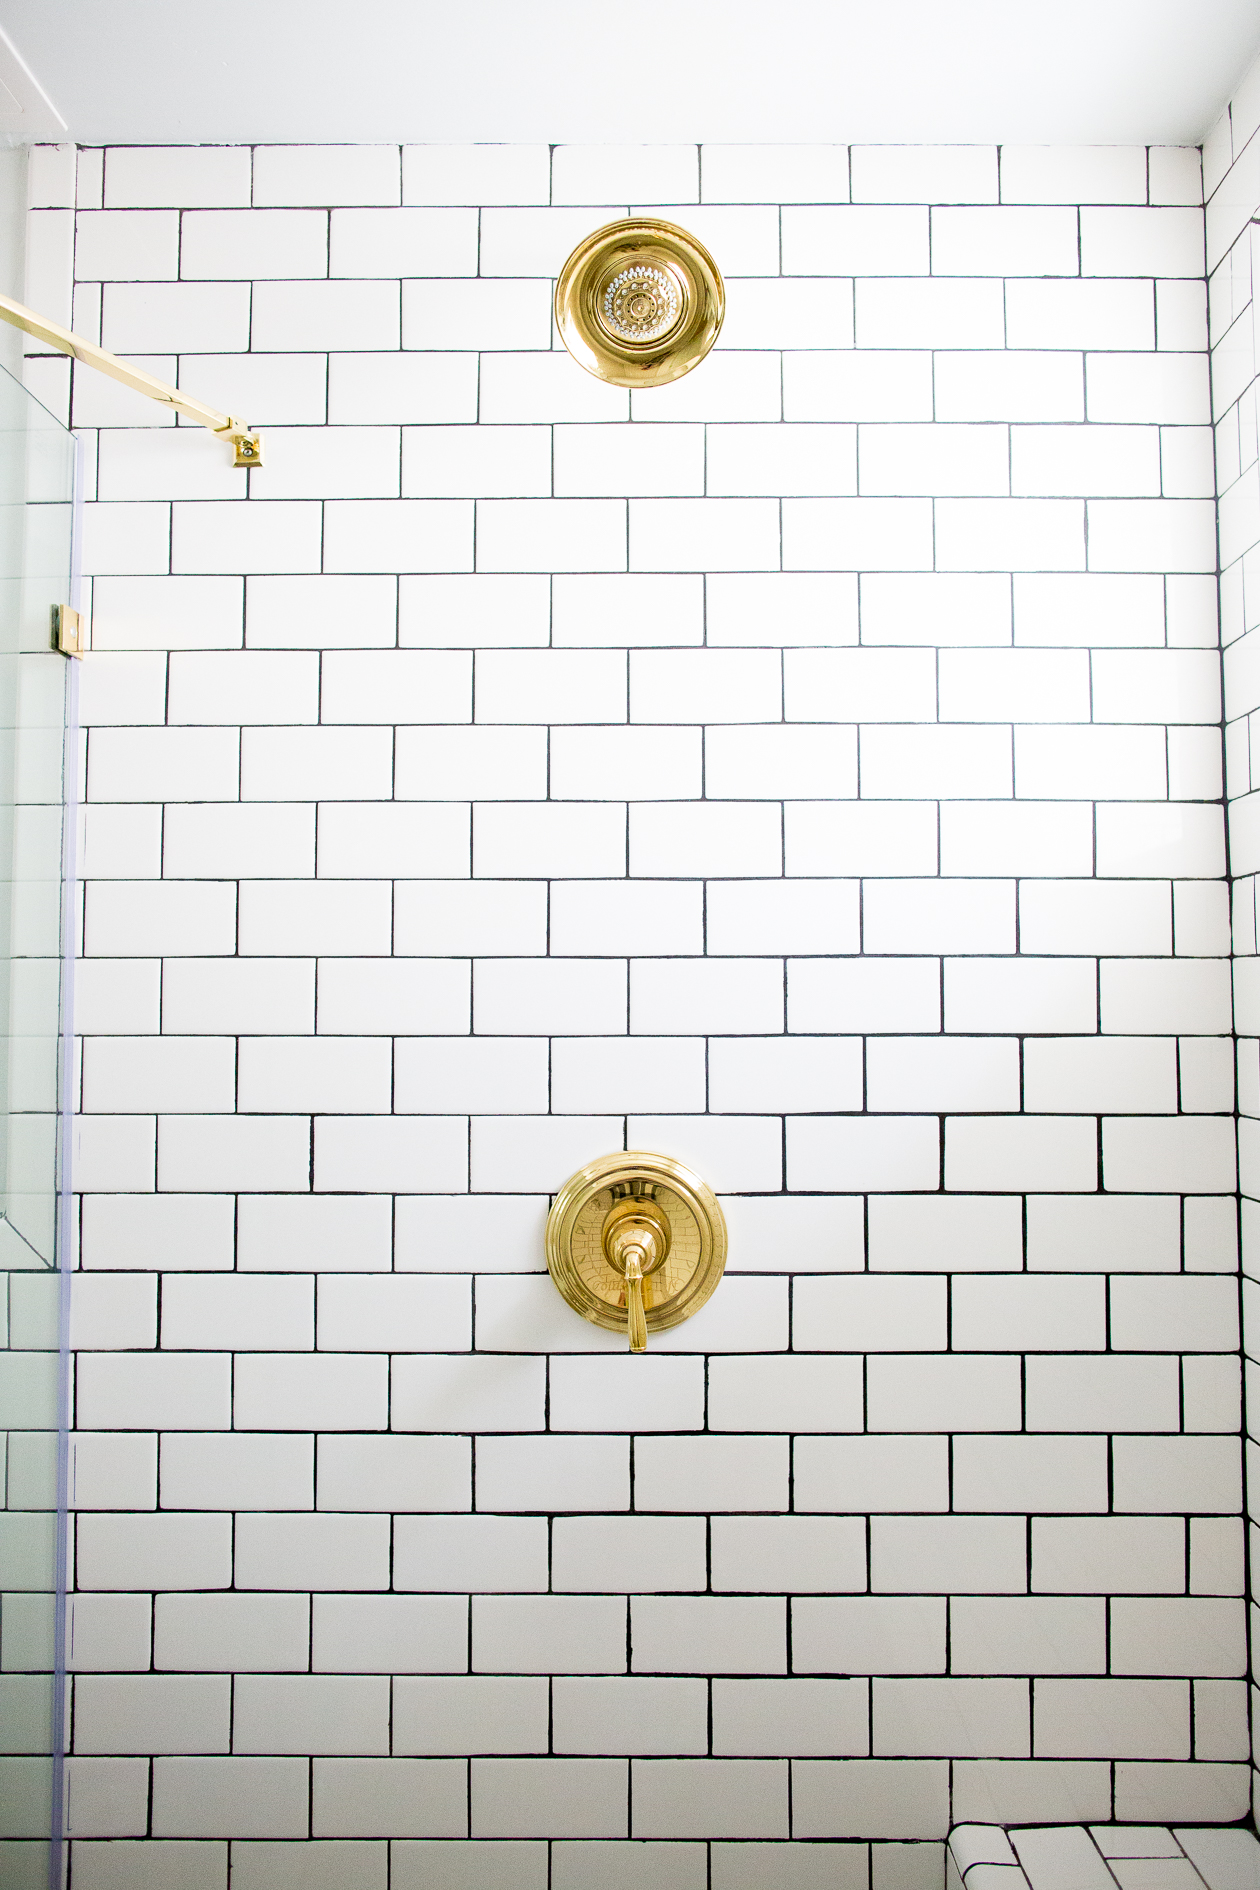
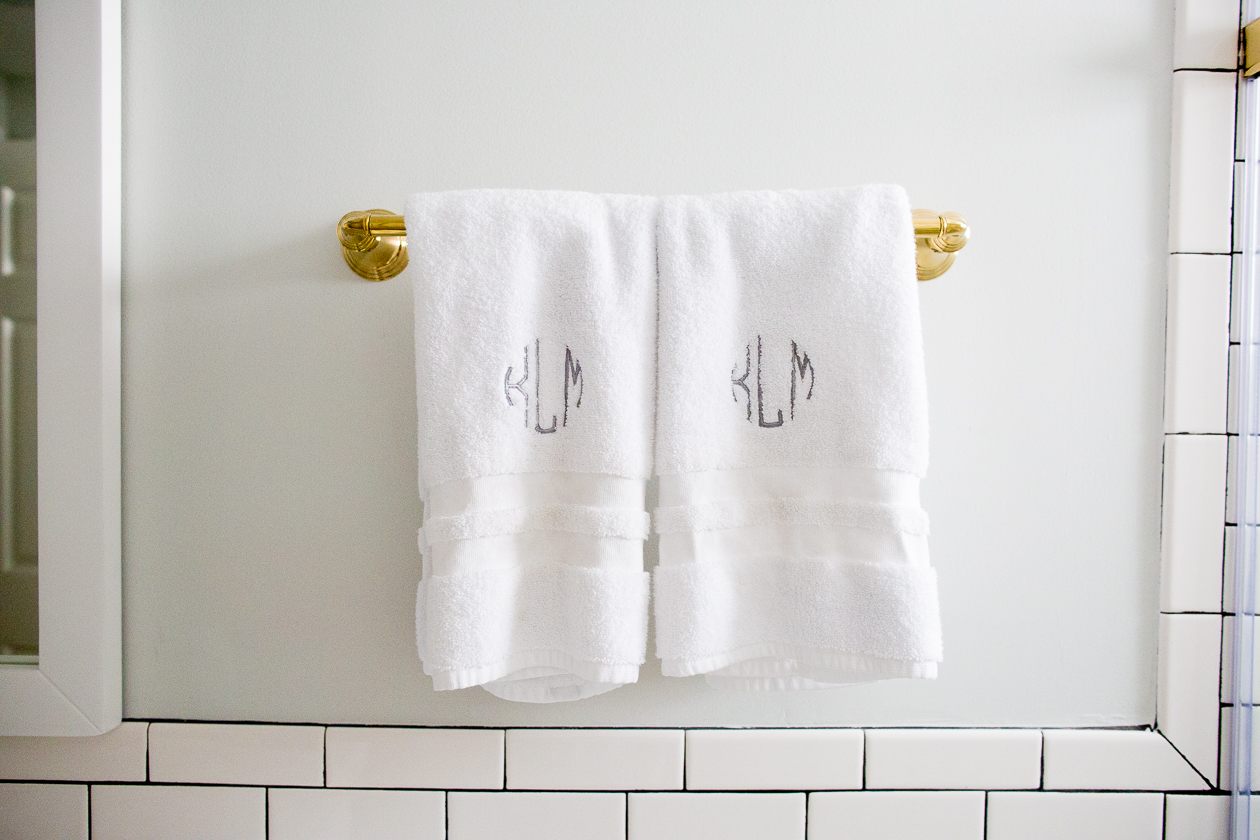
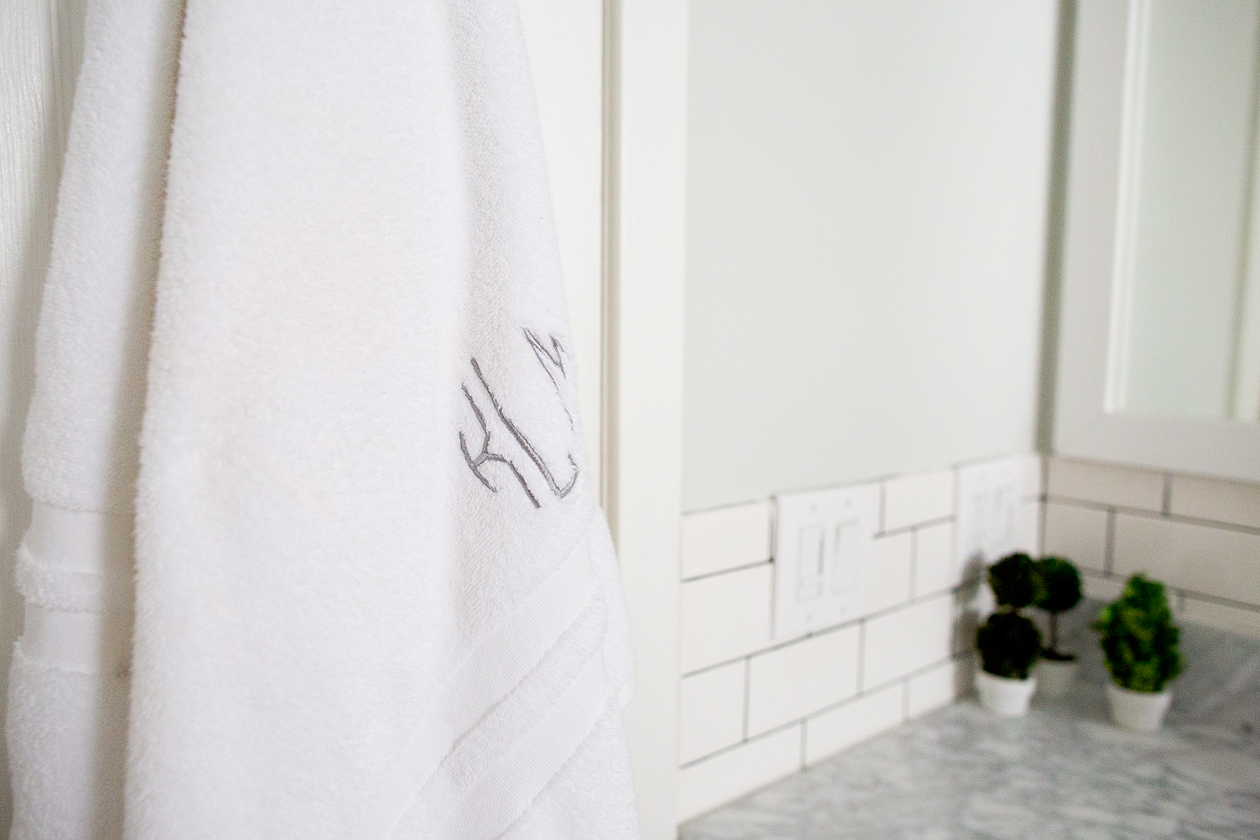
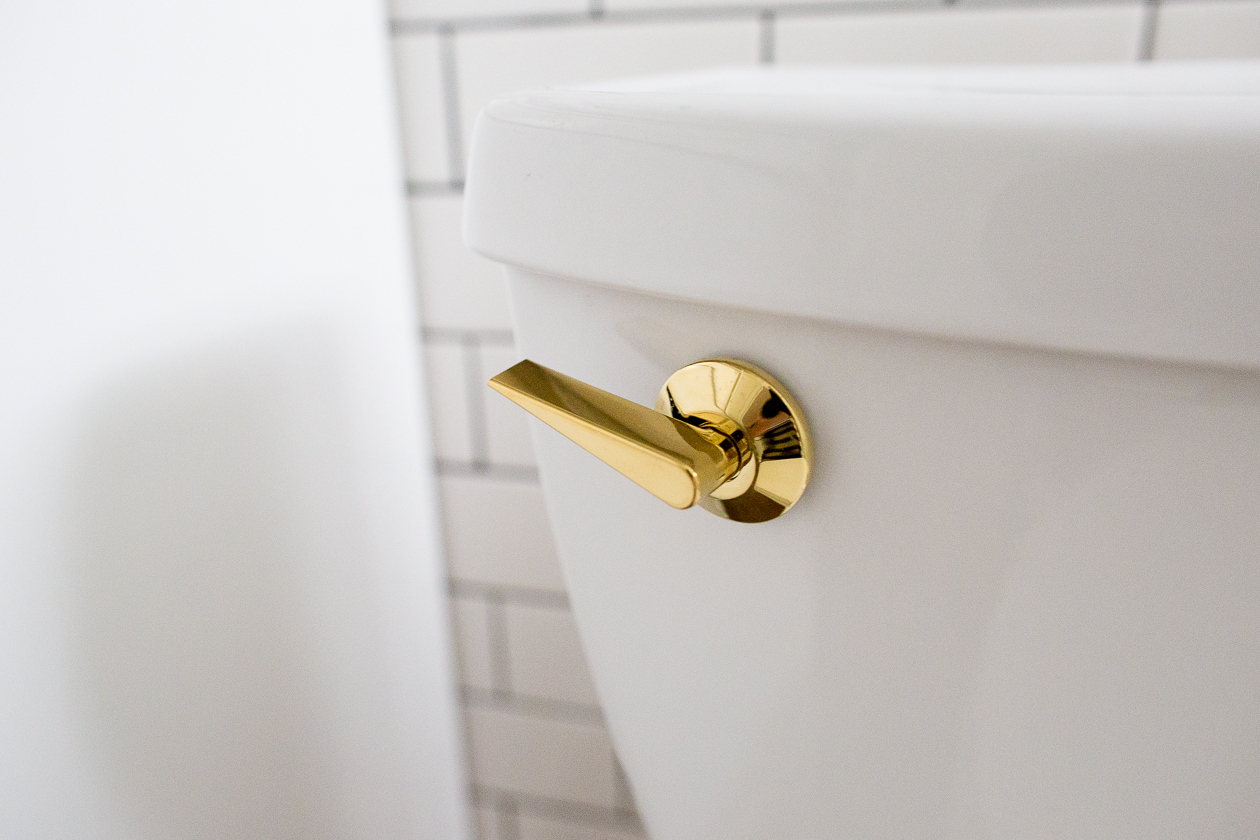
- Fixtures: We went with Kohler’s Devonshire line in “polished brass” for the faucet, drain, shower head, valve, toilet lever, towel rack and towel hooks. Mitch hated the toilet paper dispenser, haha, so we went with this one instead. Truth be told, we were pretty shocked at how much this all cost: about $800 with all the discounts, coupon codes and sales we could find. Whomp, whomp.
- Lighting: We couldn’t find the Devonshire sconce in polished brass, so we purchased this sconce from Pottery Barn on sale for $194.65 with a gift card from our bridal shower. It doesn’t 100-percent match the other fixtures, but it’s close enough. :) We kept the ceiling lights from the old bathroom.
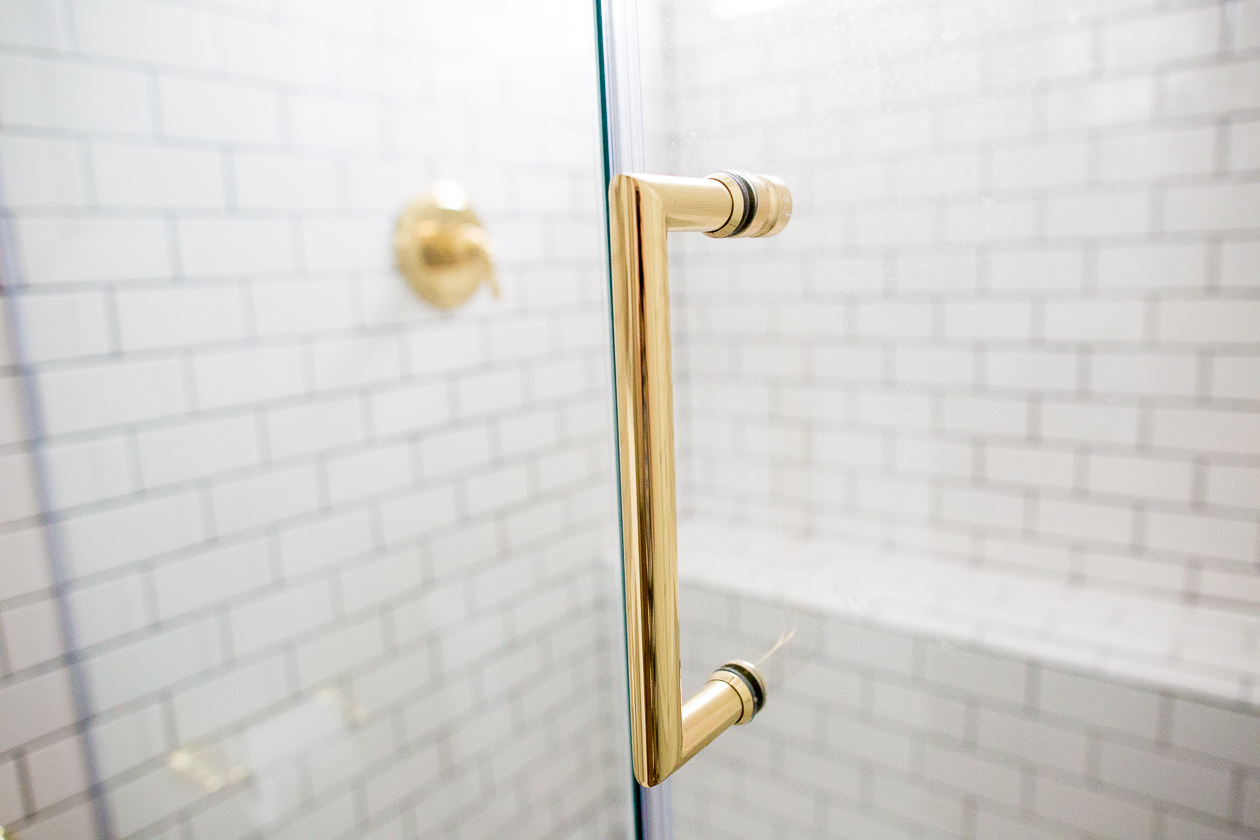
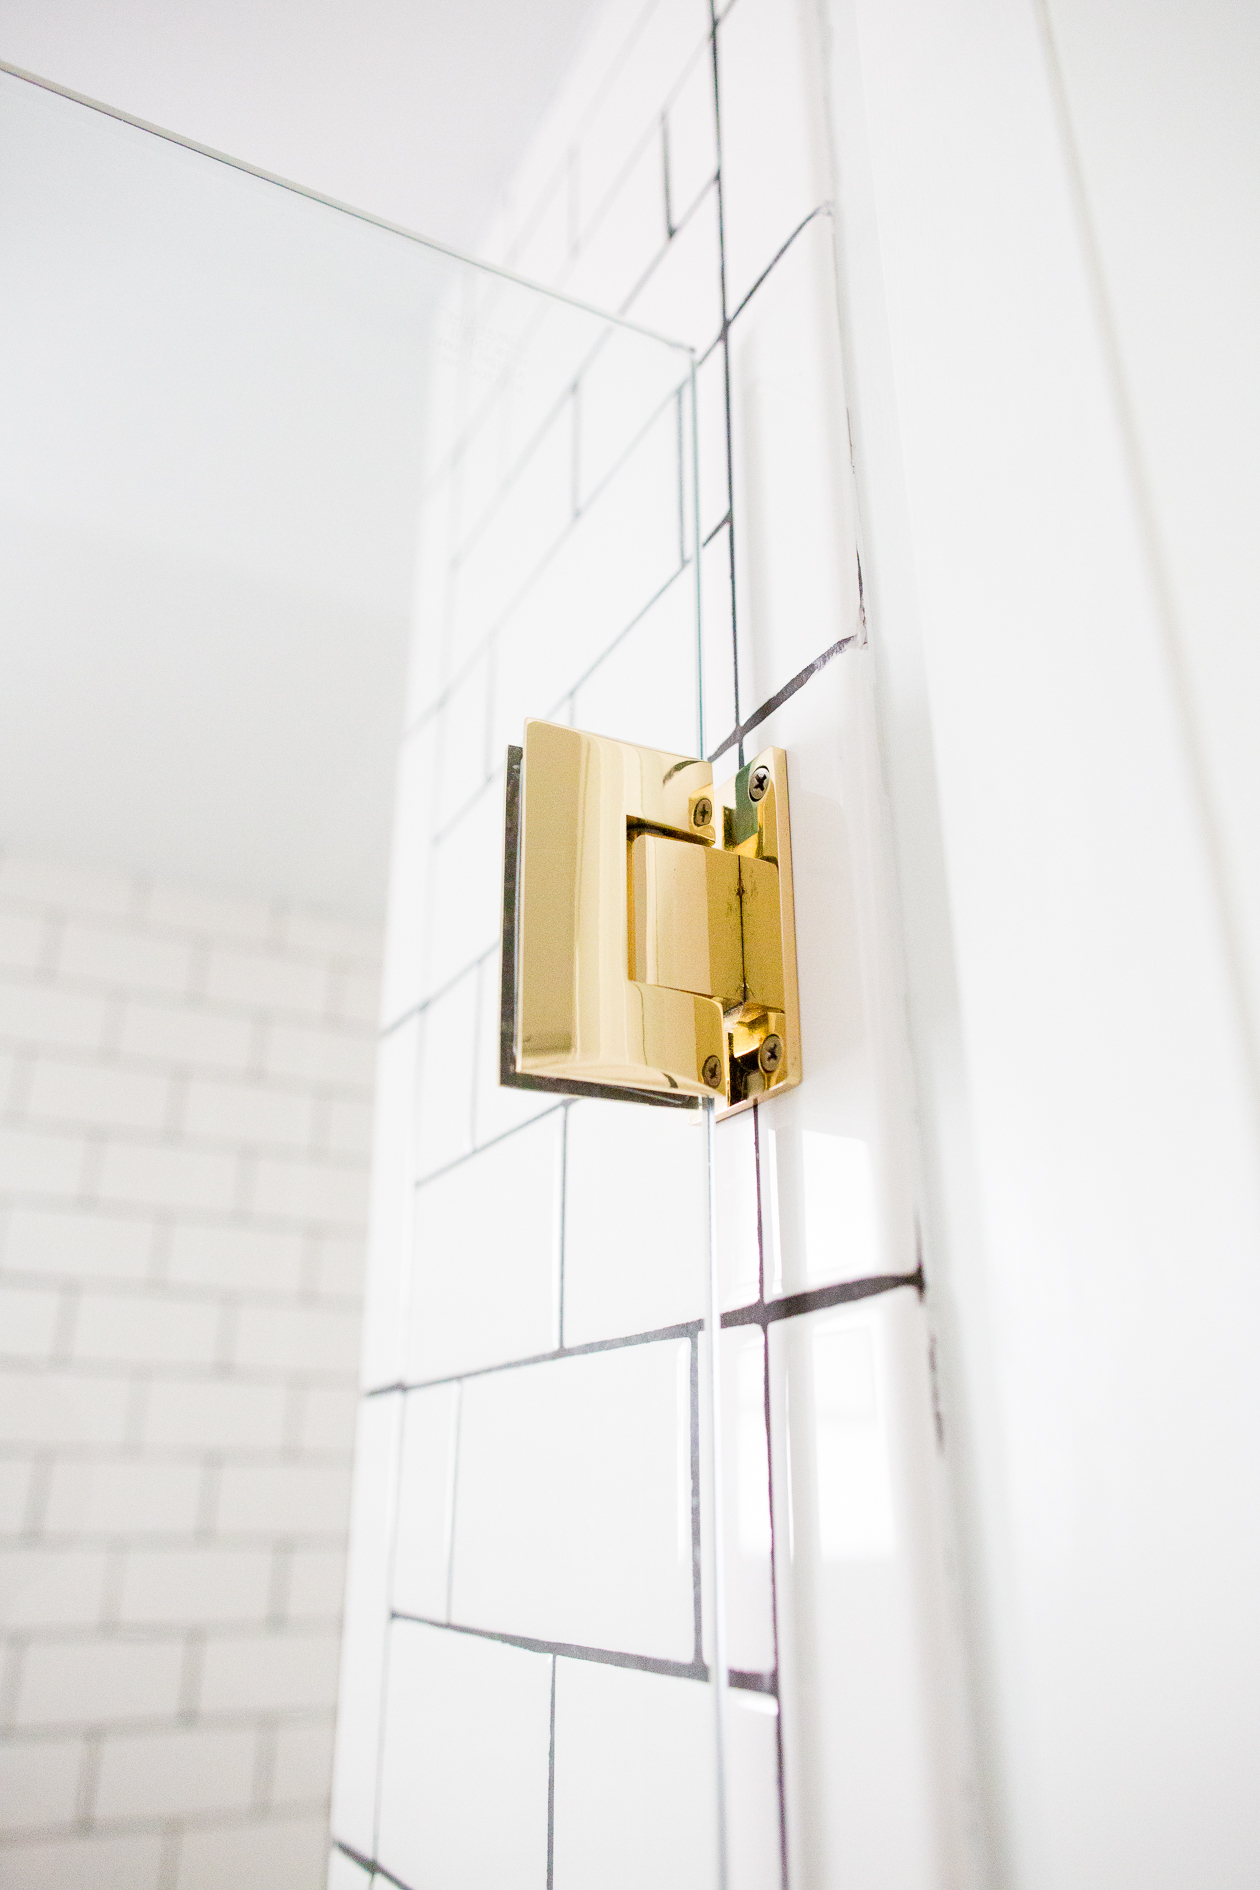
- Frameless shower door: For the life of me, I couldn’t find a frameless shower door with polished brass brackets. So we went with this one, which had chrome brackets. We paid $589.24 for it. There’s a story here. Wait for it…
- Shower brackets: UGH. My biggest mistake, and I’m still kicking myself over it. I figured I’d just have the shower’s chrome brackets professionally spray-painted or something. PROFESSIONALLY SPRAY-PAINTED?! So not a thing, Kelly. Apparently, you really can’t spray paint shower brackets. I mean, you can, but you probably don’t want to do it for a brand new bathroom. After talking to several designers, I learned that the only way was having the brackets plated in polished brass. It took me weeks to find someone in Chicago to do it for me, and the grand total was $600 for four tiny little brackets, the thing that goes across the top of the shower, and the handlebar. (I know.) Rest assured, Mitch almost killed me. ;) In hindsight, we probably should have gone with chrome fixtures as everything would have been much less costly.
- Cabinetry: After a ton of research, Mitch purchased these cabinets because their quality was much better than what he could find in-person yet they were far less expensive than custom cabinetry. Mitch haggled with the company and got them down to $800.
- Subway tile, shower floor tile and grout: Recommended by my friend Kira of The Imperfectionist Blog, we went with classic 3×6 subway tiles from Daltile, this marble shower floor tile, and black and gray grout. As you can see from the photos, we covered a rather large area, and we estimate that these materials cost about $350.
- Baseboards, wallboard, framing, paint, etc.: Our contractor handled this and gave us the bill, which was about $500.
The total cost
Brace yourselves. All in, with labor, the bathroom cost about $9,800. Much better than the original quotes we received, and the costs were spread out over five months, making the whole thing a bit easier to swallow. But still: we were kind of shocked. The bathroom project was more expensive than our fireplace, master bedroom, nursery and guest room remodels combined. Holy goodness.
The end result
We adore it. I really can’t explain how amazing the space is, and it’s truly my dream bathroom. I also love that it was a team effort. Mitch handled all the true design elements of the project, while I focused on the look. I’m proud of how well we worked together, and I’m also proud of myself for only crying a handful of times. ;) (Due to frustration with our contractor’s speed and stress over whether everything would be done before the baby arrived!) And despite how long it took, I’m really glad we went through with it. It’s made our lives so much nicer, especially considering how often we have guests! (Sharing one bathroom had proven to be challenging.)
A few of my favorite things:
- How spacious the shower is and how awesome the water pressure is. It’s a great way to start the day! Incredibly relaxing.
- How much natural light we have. Thinking back to the old bathroom, it was like we were showering in a dungeon. ;)
- Counter space! Haven’t had that since our East Village apartment in New York. It’s the best.
- Storage. Mitch was obsessed with the cabinetry part of the project, while it was an afterthought for me. Now, though, I can’t believe I didn’t see how important it was! We have a tiny house, and extra storage is always helpful. I also love opening up my door and having all my toiletries and makeup at eye level. It’s wonderful!
- The modern (and bright!) look. As I’m sure you’ve noticed from my home posts, I tend to go very classic when it comes to design. I’m trying really hard to incorporate more modern styles, though, and I’m proud of this one. :) Alison Cayne, what do you think?!
Lessons learned
- Bathrooms are SO expensive. Before undertaking this project, I had assumed that the project would cost somewhere between $2,000 and $5,000. Of course, there are ways we could have reeled in the cost even more. But turns out I was WAY off with my estimates.
- Time is money. Right now, Mitch and I agree that we made the right decision in going with the cheaper, less reliable contractor to save $5,000. That’s a ton of money for us. But a few months ago, we were singing very different tunes. Our contractor went to Mexico for an entire month during construction, and only worked one or two days per week–not full days–when he was here. From demolition to completion, the job took the better part of a year to complete. But time is money. While it was a rough experience, I’m happy we recognized how expensive the first year of homeownership can be and went the less expensive route.
- Renovations are stressful. Like, REALLY stressful. Especially when you’re a first-time homeowner and don’t know the first thing about ’em. We had to research everything, and we made a ton of mistakes. (The shower bracket thing is a prime example!) So many trips to hardware stores, so many returns, and so many days and nights spent Googling and calling our parents. Such confusion! I wish I’d been a little more prepared for what was in store for us.
- There’s no such thing as perfection. Despite how much time we put into the project and how much we paid for it, there are a few imperfections and little mistakes. It took me a while to accept the fact that no renovation project is perfect. It goes without saying that if you see a HUGE mistake or notice a ton of little ones, you should speak up. But it’s important to remember that contractors are humans, too, and there’s a lot that can account for imperfections. For example, our house was built in the late 1800s, and therefore there’s a lot of crookedness going on. I ended up having to embrace some of that, and start thinking of the crookedness as charm!
- It was worth it. Again, Mitch and I are so happy with how the bathroom came out, and we can’t believe this thing is INSIDE OUR HOUSE! There were a few months when we nearly killed ourselves with all the extra freelance work we took on to pay for it, but it’s the absolute best, and we think it’ll be really nice for our first year as parents. We’ll be spending a good amount of time at home, after all!
- Breaks are important. We’ve had a long year of remodels, and we’re fed up with living with construction. While we’d fully intended on painting our kitchen cabinets, painting the exterior trim/doors, and ripping up the carpeting on our staircase this year, that was before the house flooded and we were confronted with the master bedroom and bathroom renovations. So we’re pushing all other projects back. We can wait to enjoy our home, and actually live in it. :)
A final note
When I first started writing this post, I didn’t include prices. But halfway through, I realized that if I were a reader–and interested in remodeling–I’d want to know what actually goes into a gut bathroom renovation. Paying for and undertaking the project was hard for us, and my hope is that this honest post is somewhat helpful for first-time homeowners looking for guidance with budgets and planning. So with that, the full tour… :)
Questions? Leave them in the comment section below. Mitch will be helping to answer them!


Shop the Post:

Other products:
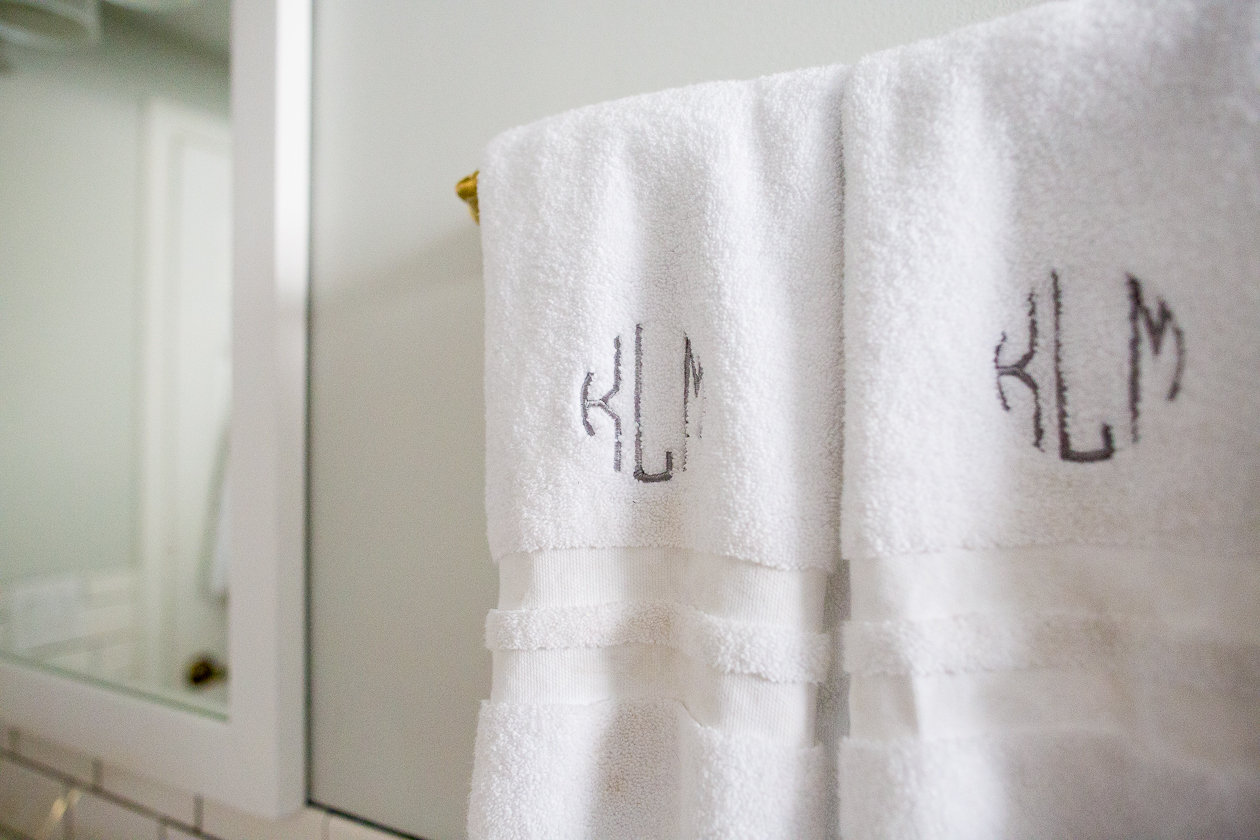
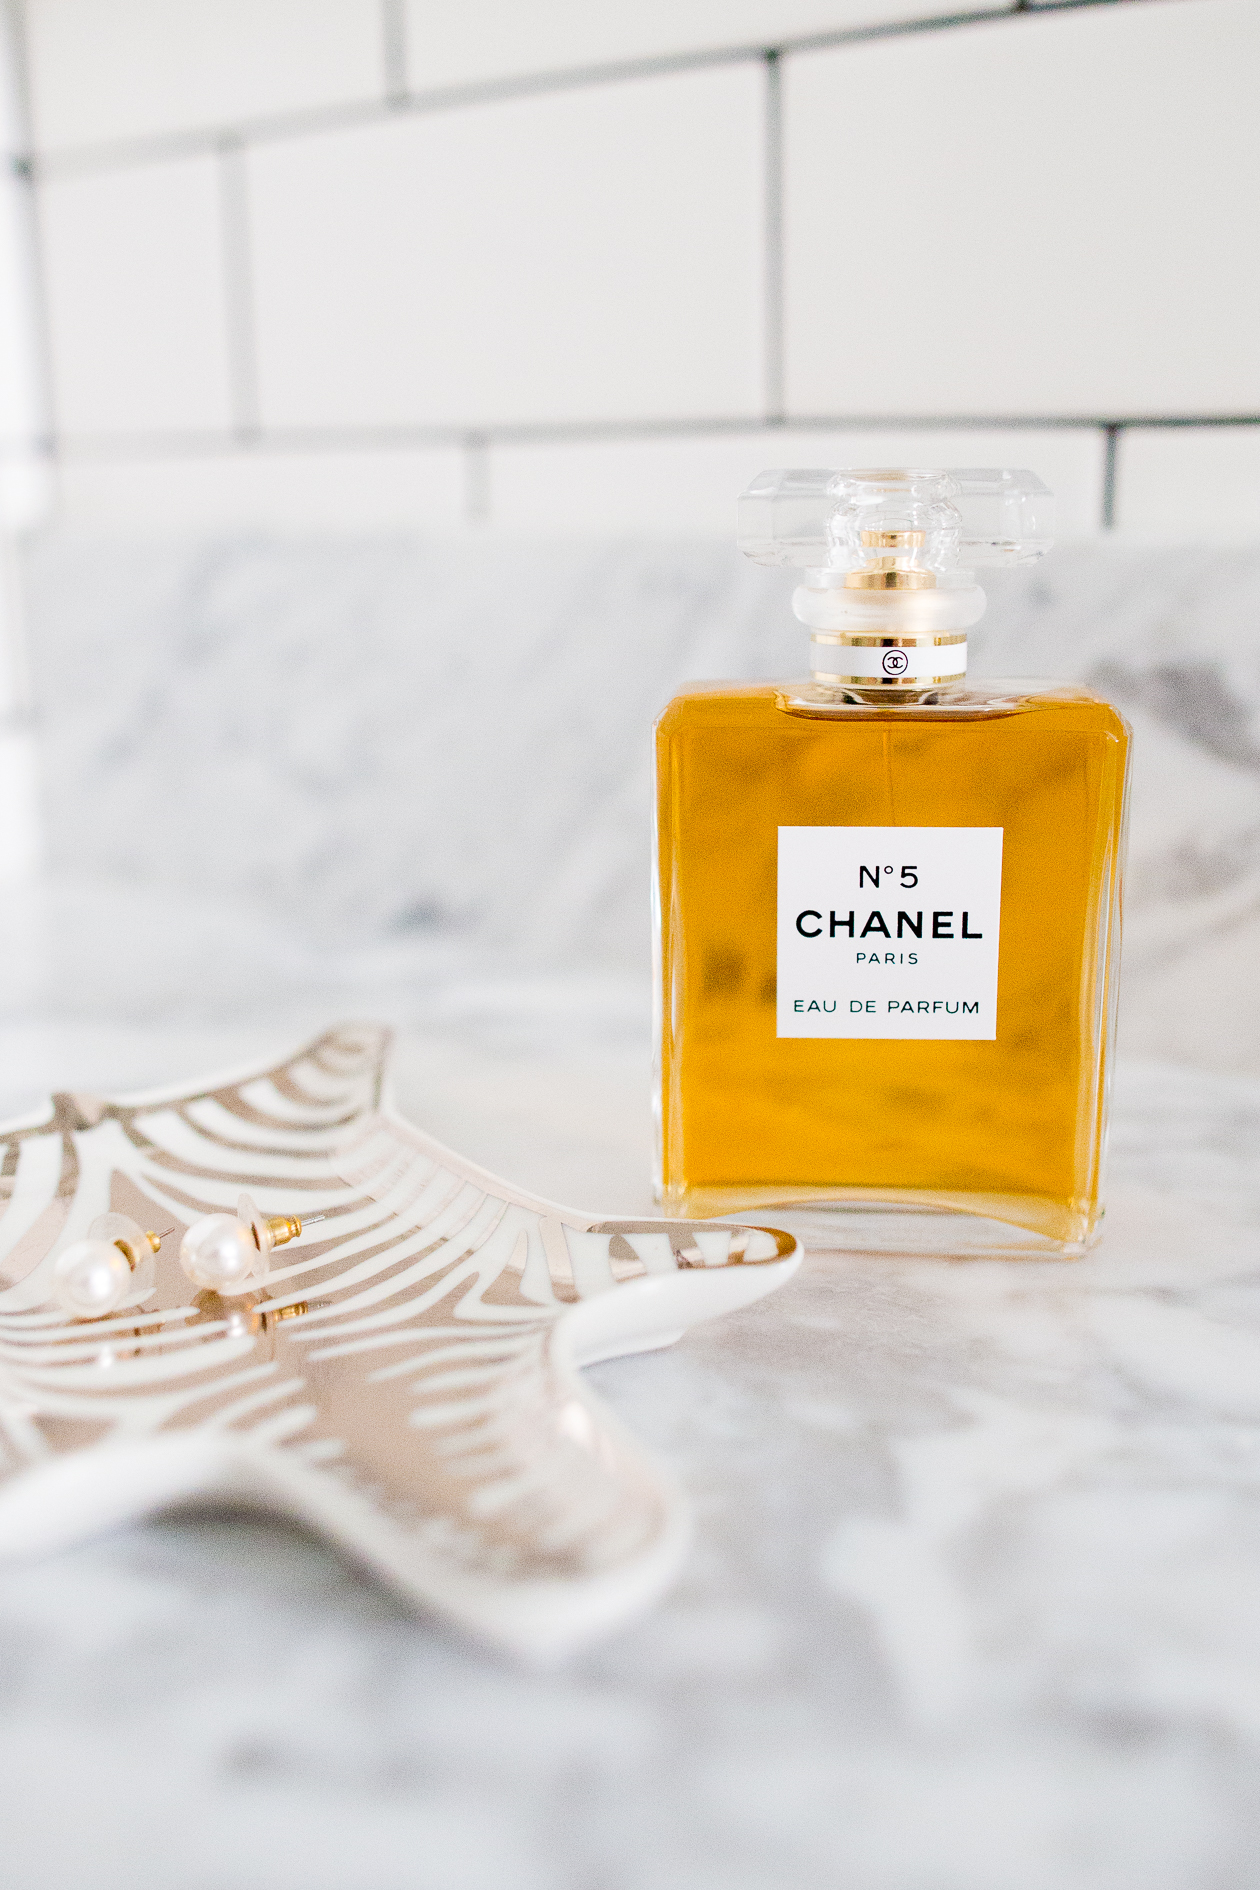
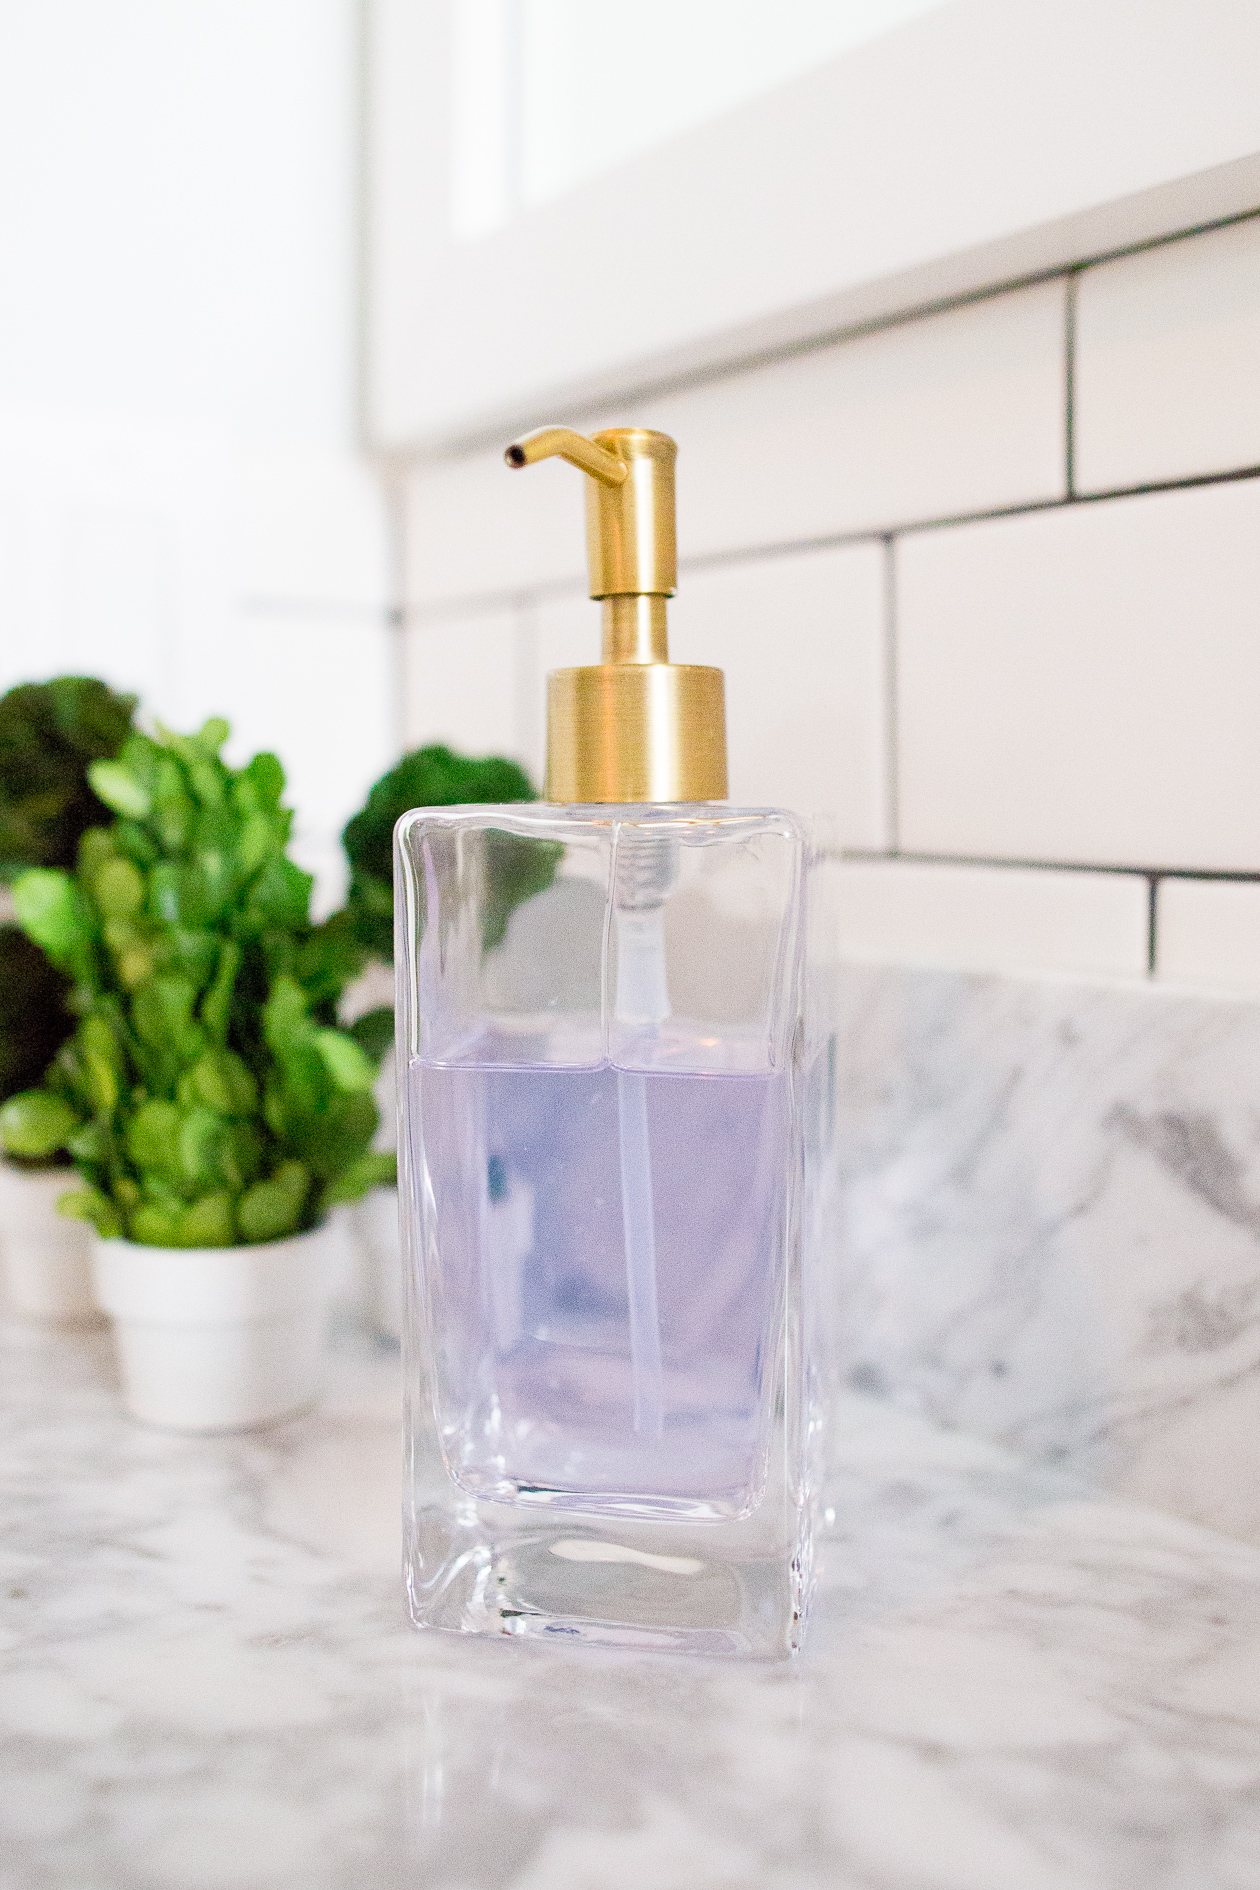
Pottery Barn Soap Dispenser / Jonathan Adler Zebra Dish c/o / Chanel Perfume / Home Depot Plant / Pier 1 Topiaries c/o / Lands’ End Towels
Disclosure: While BuildDirect’s Home Marketplace provided the flooring for this project, Mitch and I had decided to go with BuildDirect before the partnership was formed. (Only flooring was supplied.) As always, thank you so much for supporting the collaborations that keep Kelly in the City up and running!